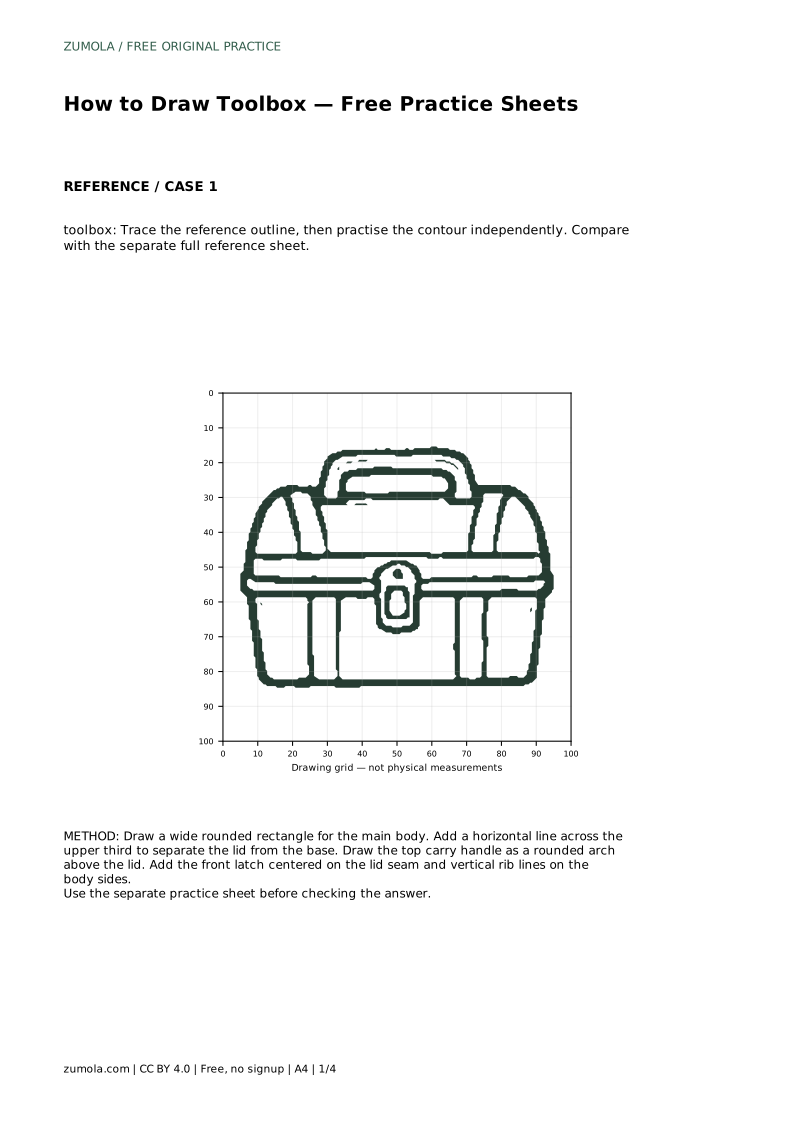
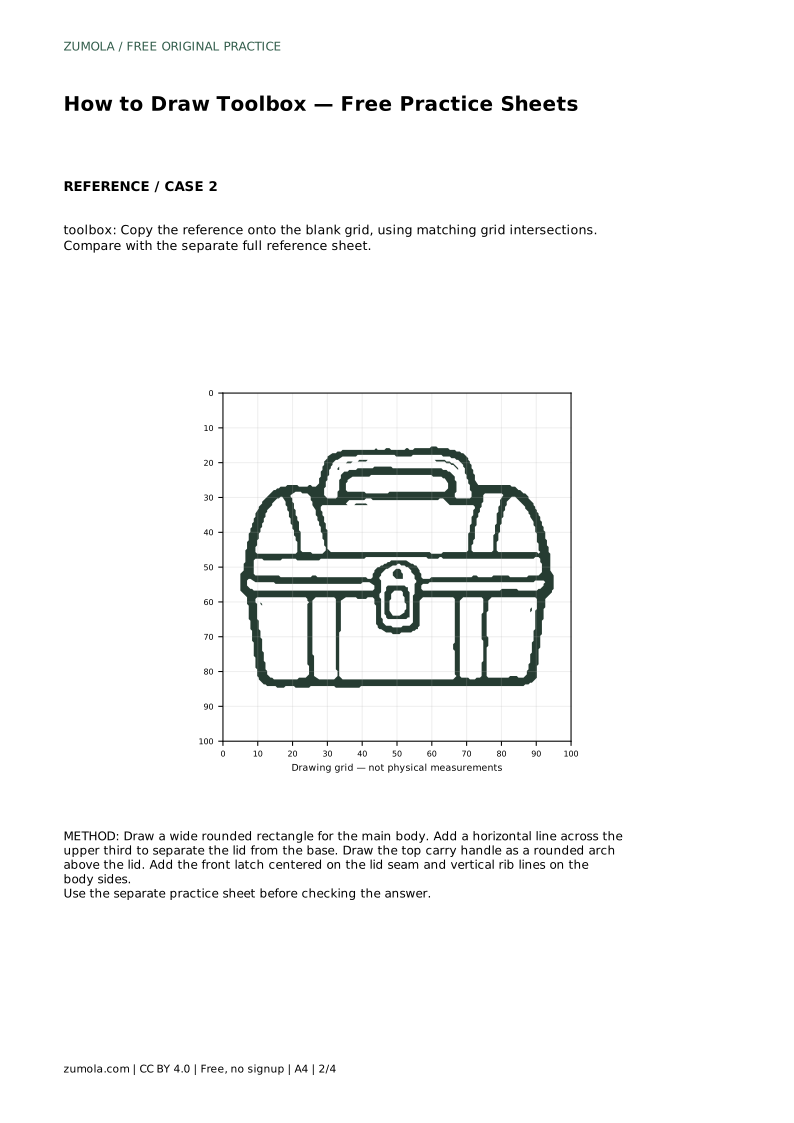
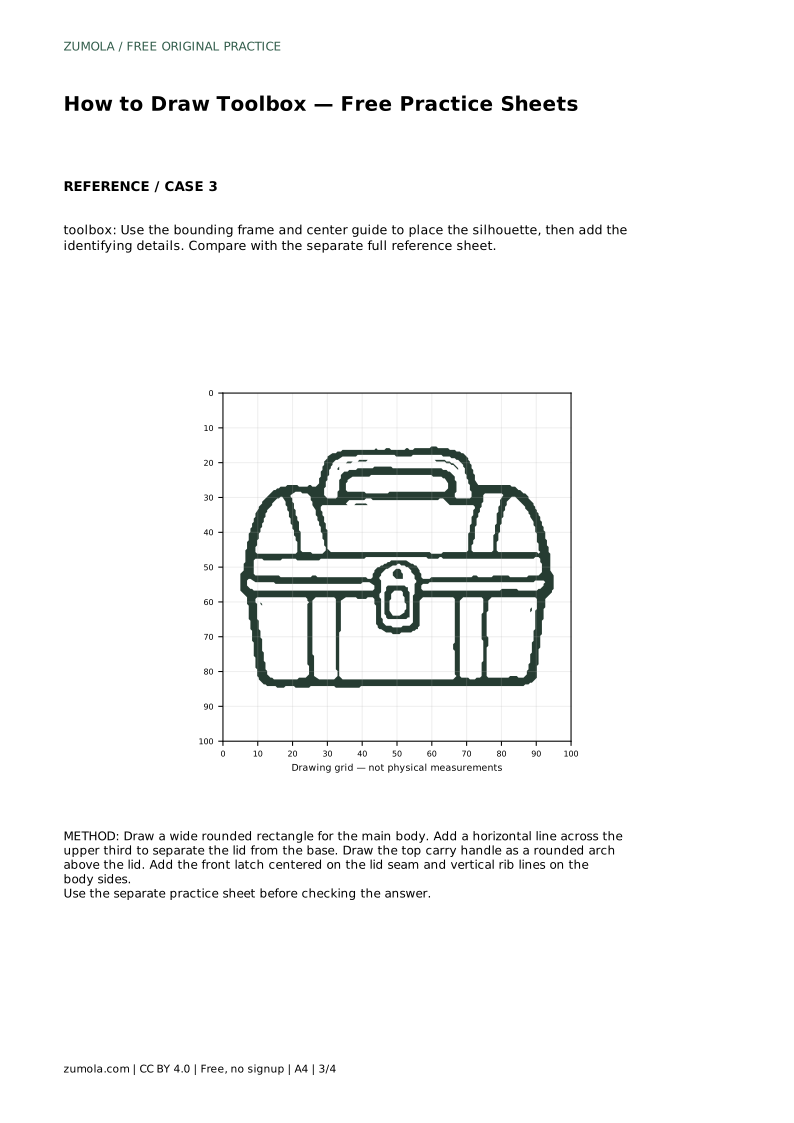
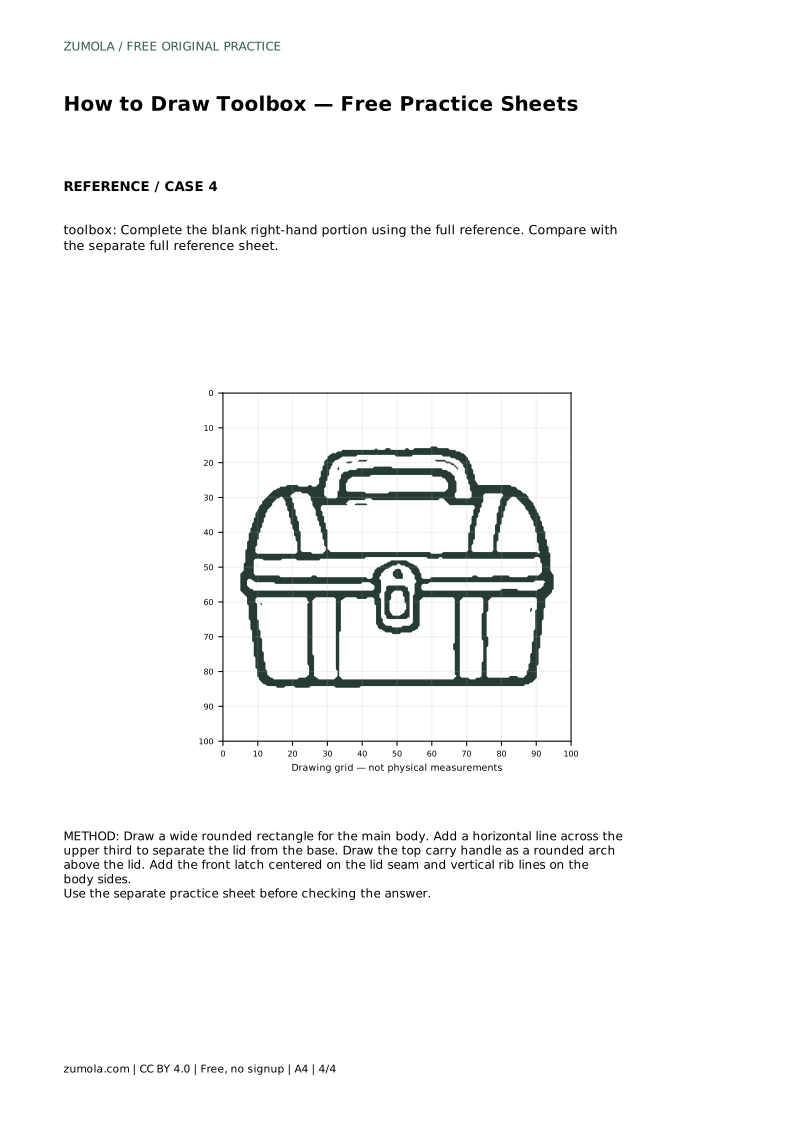
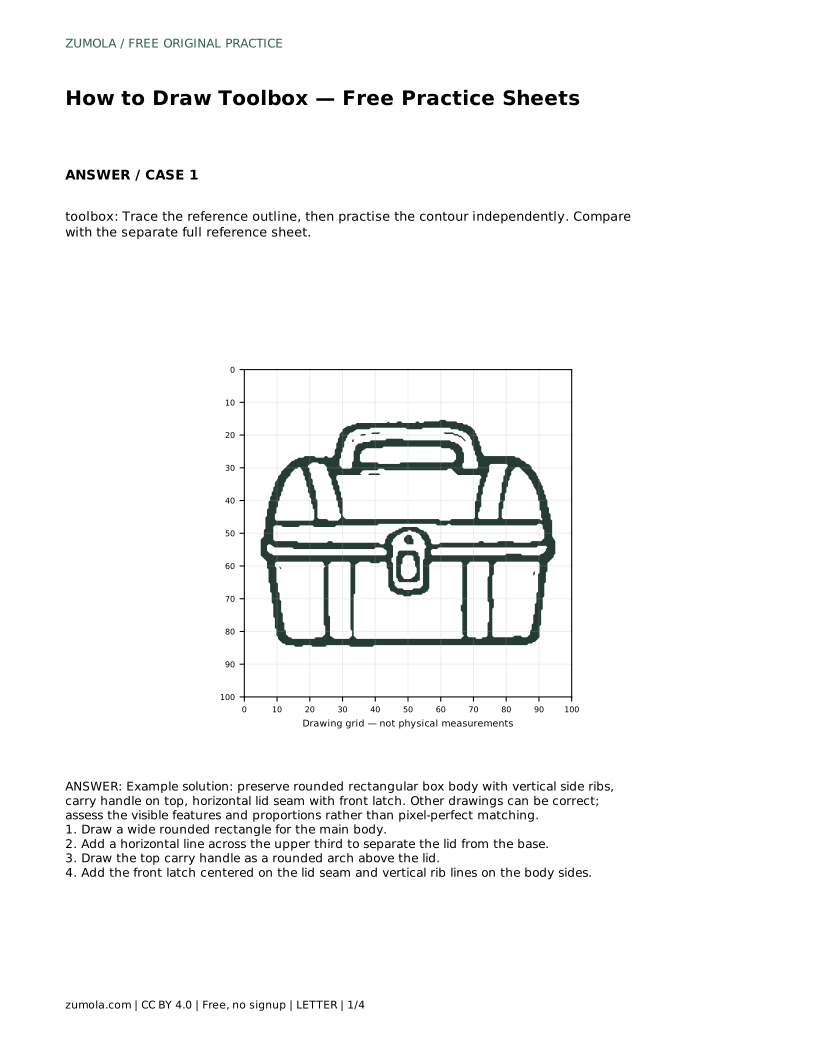
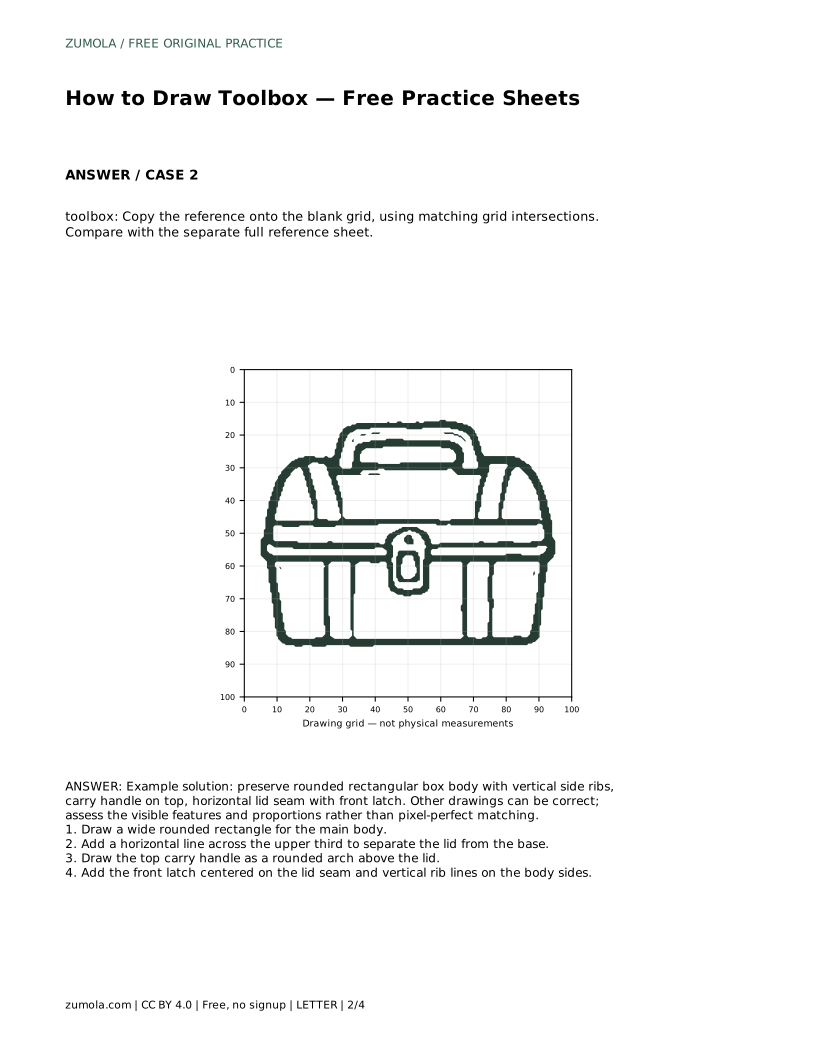
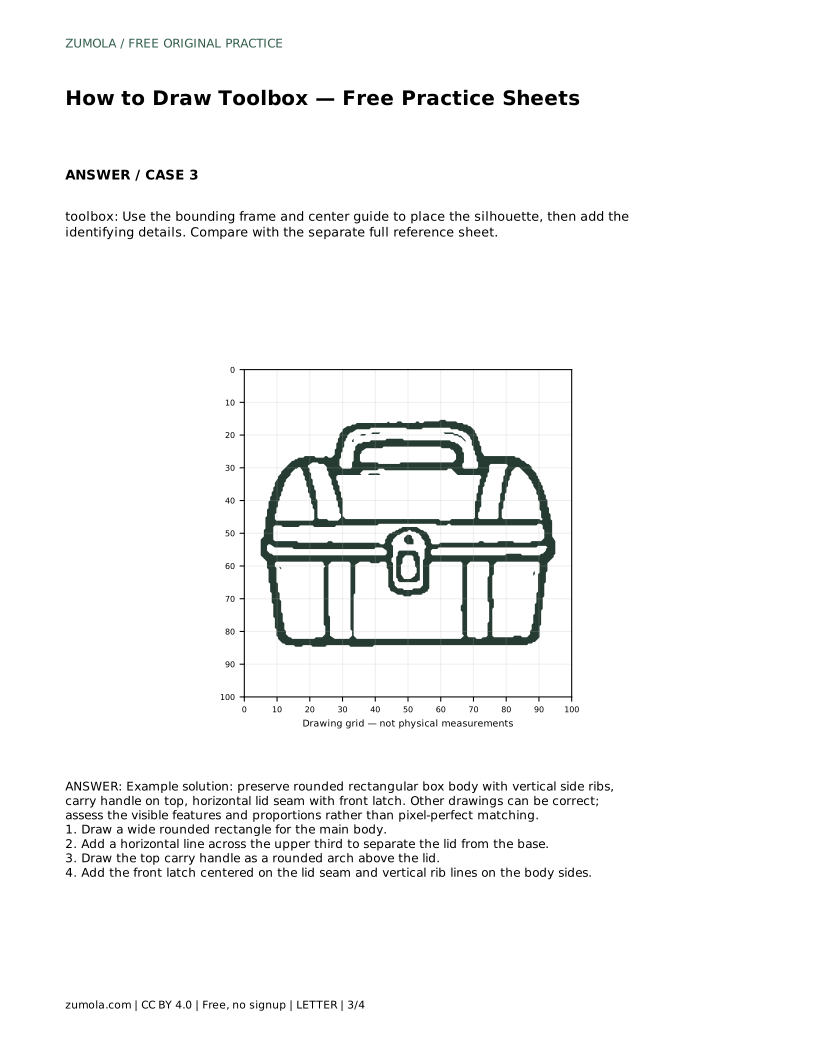
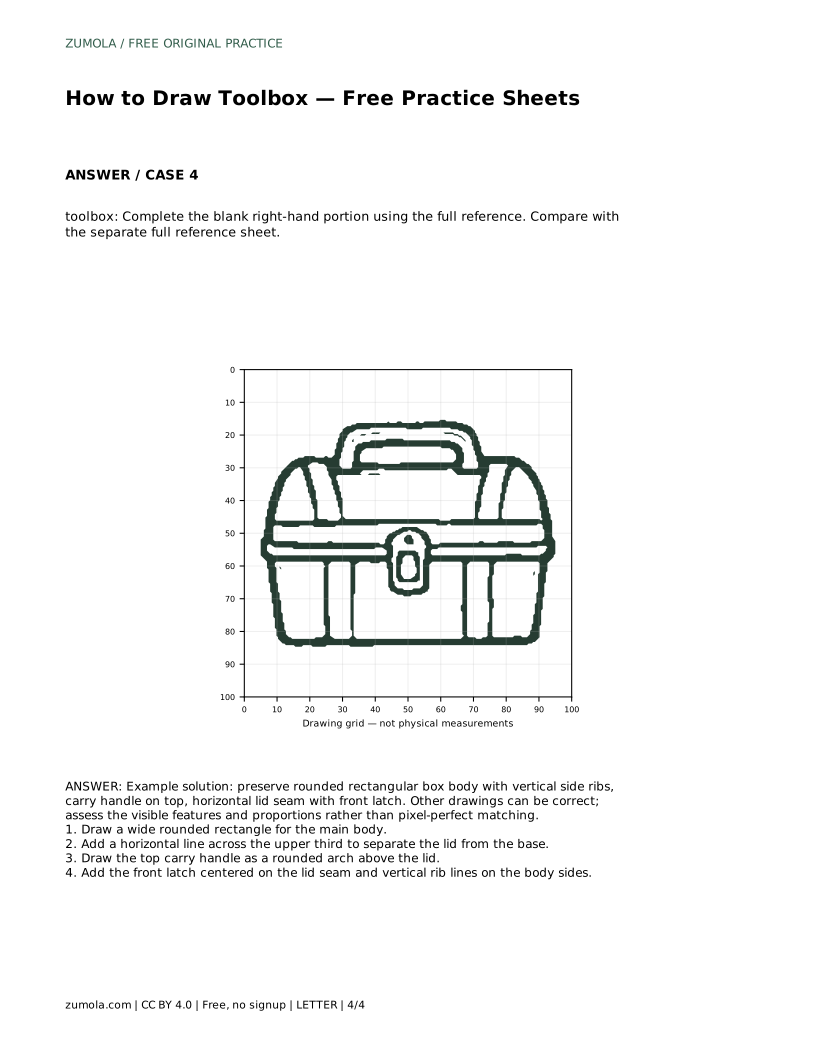
Reference diagrams
LETTER · Download PDF
A4 · Download PDF
Free original resources
Learn to draw a toolbox by building a rounded rectangular body, lid seam, carry handle, latch, and side ribs. Practice with tracing, grid, and frame sheets.
Four original cases, with reference diagrams, practice sheets and worked answers. Everything is free; no signup required.
LETTER · Download PDF
A4 · Download PDF
LETTER · Download PDF
A4 · Download PDF
LETTER · Download PDF
A4 · Download PDF
Use A4 or US Letter to match your printer. Use the stated values and conditions to solve each exercise; diagrams are not physical measuring rulers.
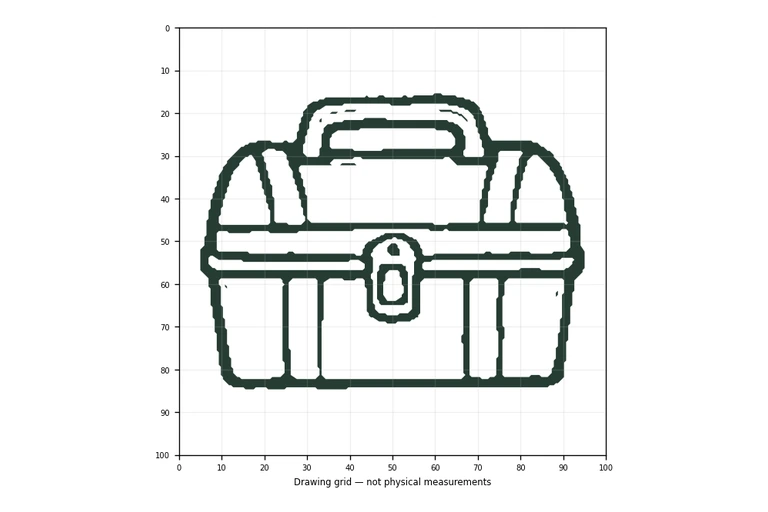
A toolbox is a forgiving subject for drawing practice because its identity comes from a few clear features rather than fine detail. This page shows how to construct the body, place the lid seam, add the carry handle, and finish with the latch and side ribs. The practice sheets let you trace a reference outline, copy onto a grid, use a bounding frame and center guide, or complete a partly blank drawing. Each method trains a different part of observation, and each accepts more than one correct result.
Start with the main body, because every other feature is positioned relative to it. A toolbox body is usually a wide rounded rectangle: wider than it is tall, with softened corners rather than sharp points. Keep the top and bottom edges roughly parallel and the two sides roughly equal in height. If the body is tilted or uneven, the handle and latch will look misplaced even when drawn carefully.
Next, divide the body with a horizontal lid seam. Place this line across the upper third of the rectangle, not through the middle. The seam separates the removable lid from the deeper base and gives the object its toolbox character. Keep the seam parallel to the top and bottom edges so the lid reads as a fitted cover rather than a slanted band.
The carry handle sits above the lid as a rounded arch. Center it over the body so the weight looks balanced, and leave a small gap between the arch and the lid surface. The arch should be narrower than the full body width; a handle stretching edge to edge looks unstable.
The front latch belongs on the lid seam, centered horizontally. Draw it as a small shape that crosses the seam, since a latch that floats above or below the line no longer appears to fasten anything. Finally, add vertical rib lines on the body sides. These short lines suggest structural reinforcement and help the flat rectangle read as a three-dimensional container. Keep them evenly spaced and parallel to the body sides.
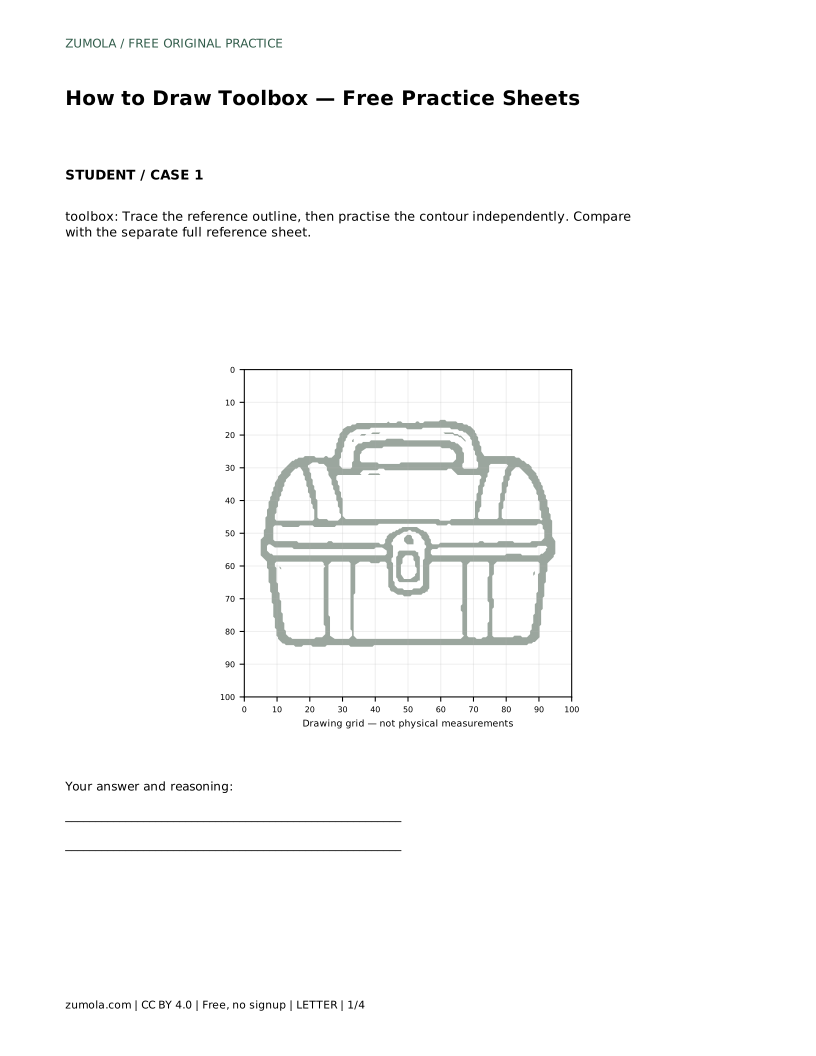
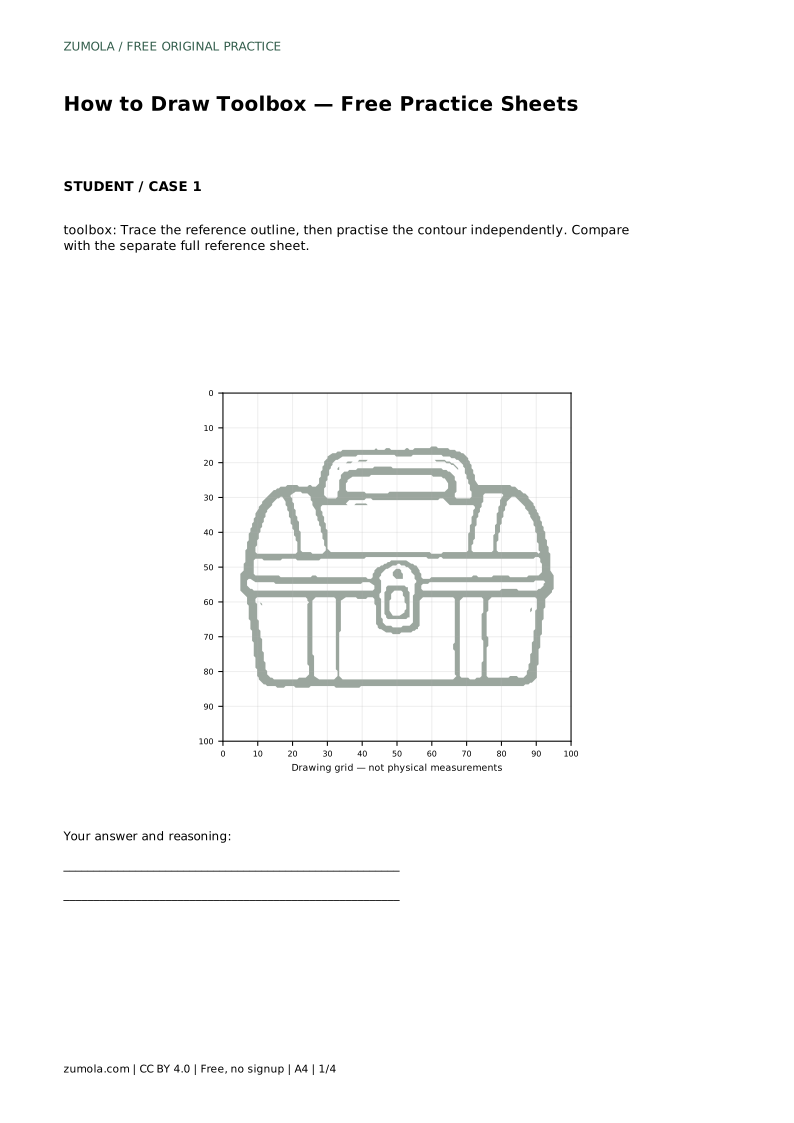
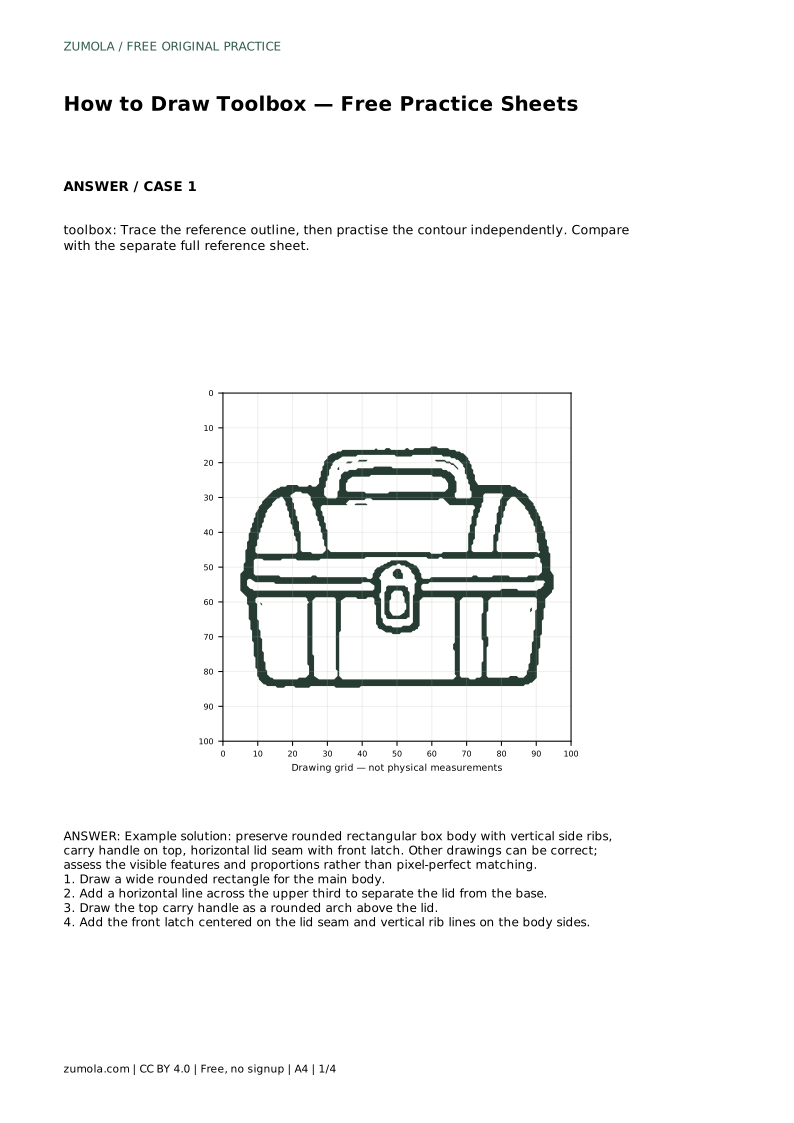
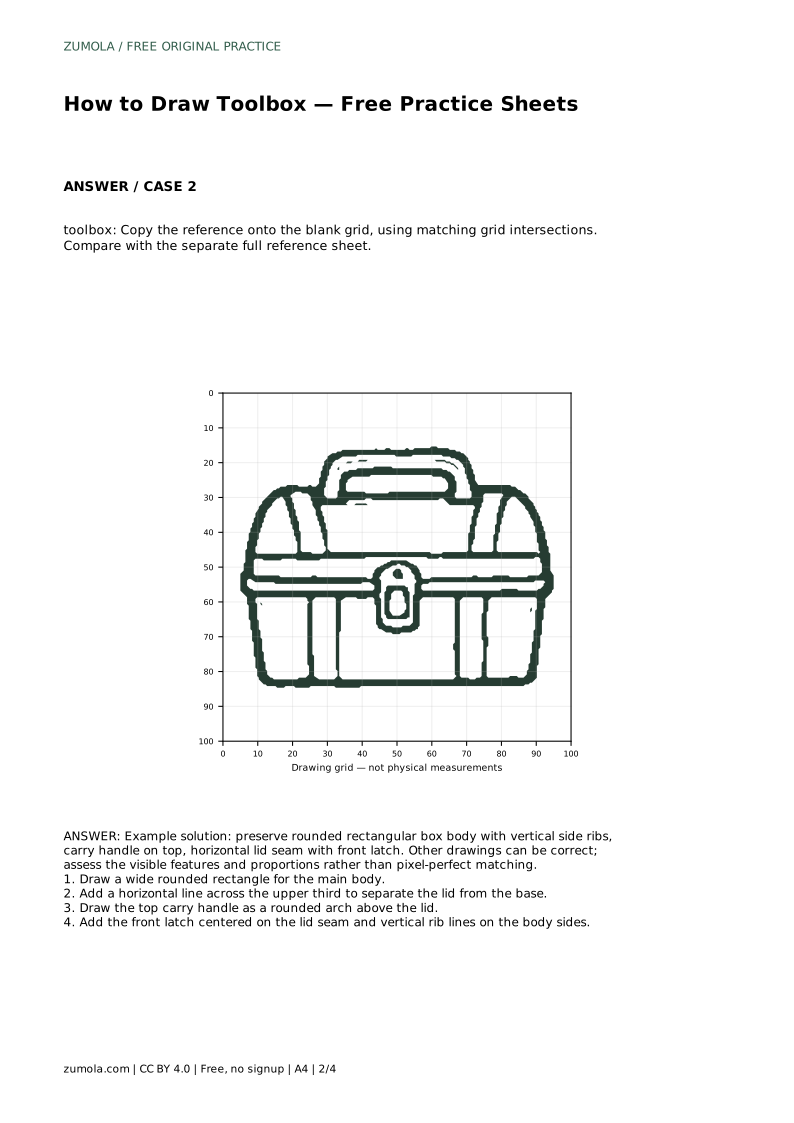
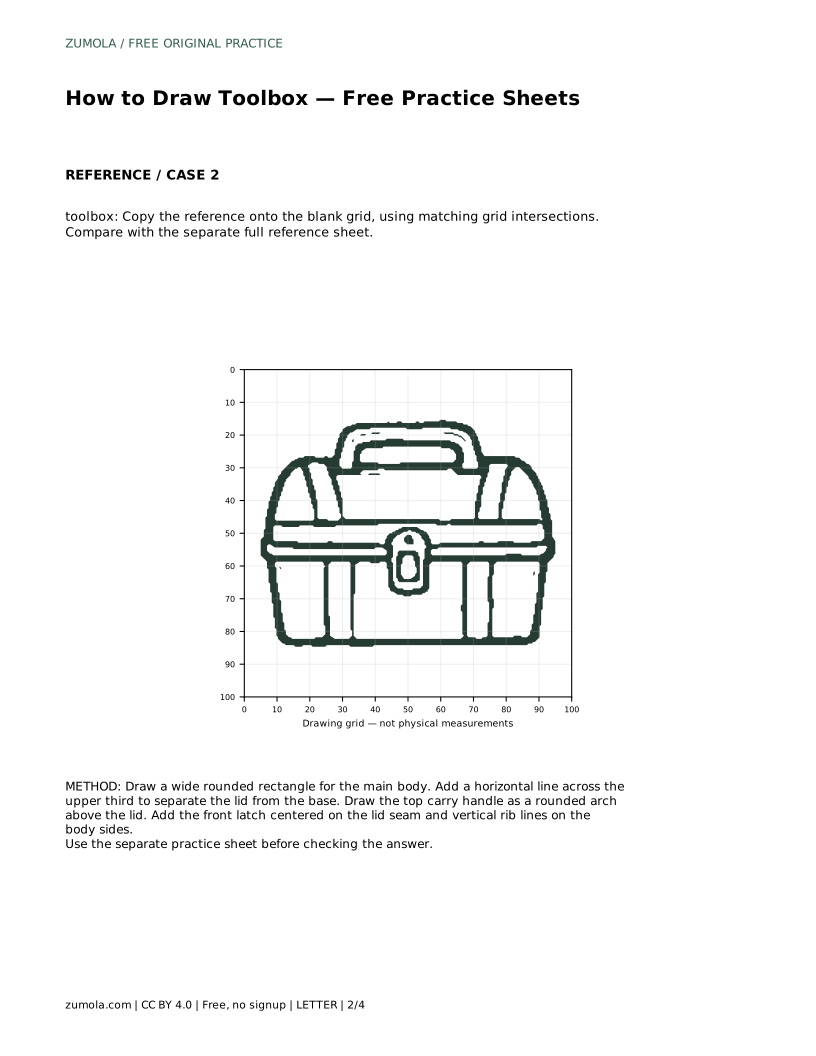
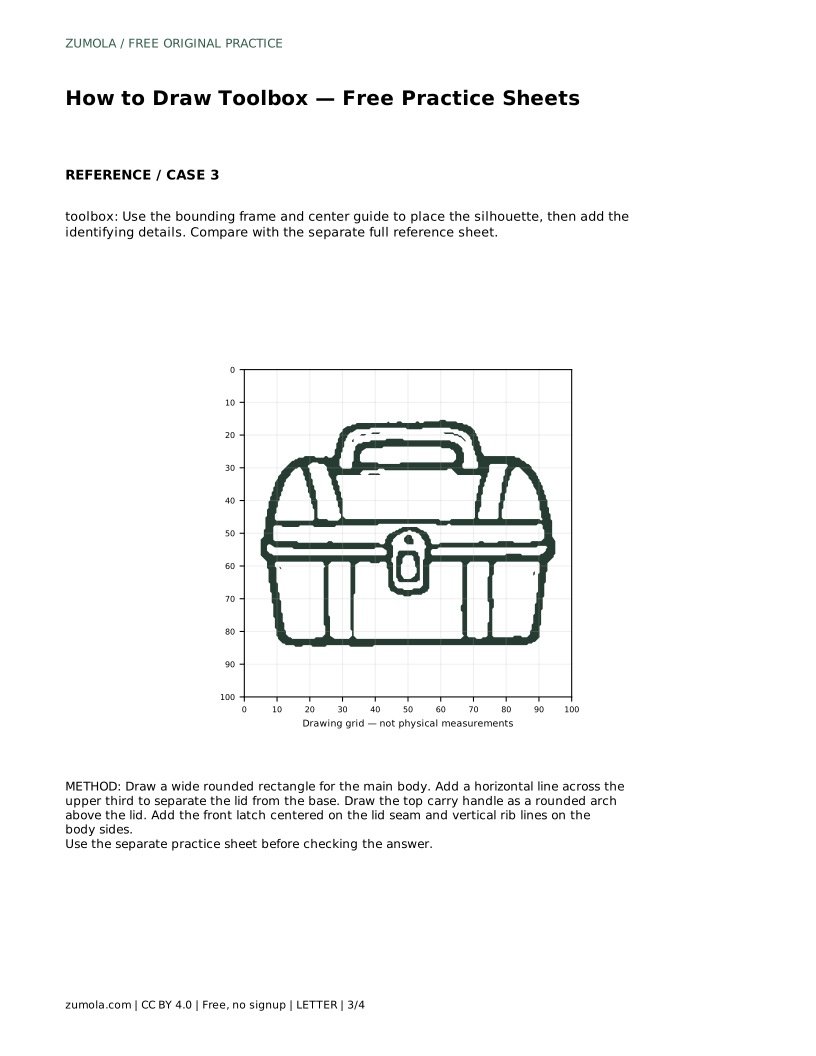
Tracing the reference outline builds familiarity with the contour before you draw it independently. After tracing, cover the reference and redraw the contour from memory, then compare with the separate full reference sheet. Copying onto a blank grid trains proportion: match where each feature crosses grid intersections rather than guessing distances.
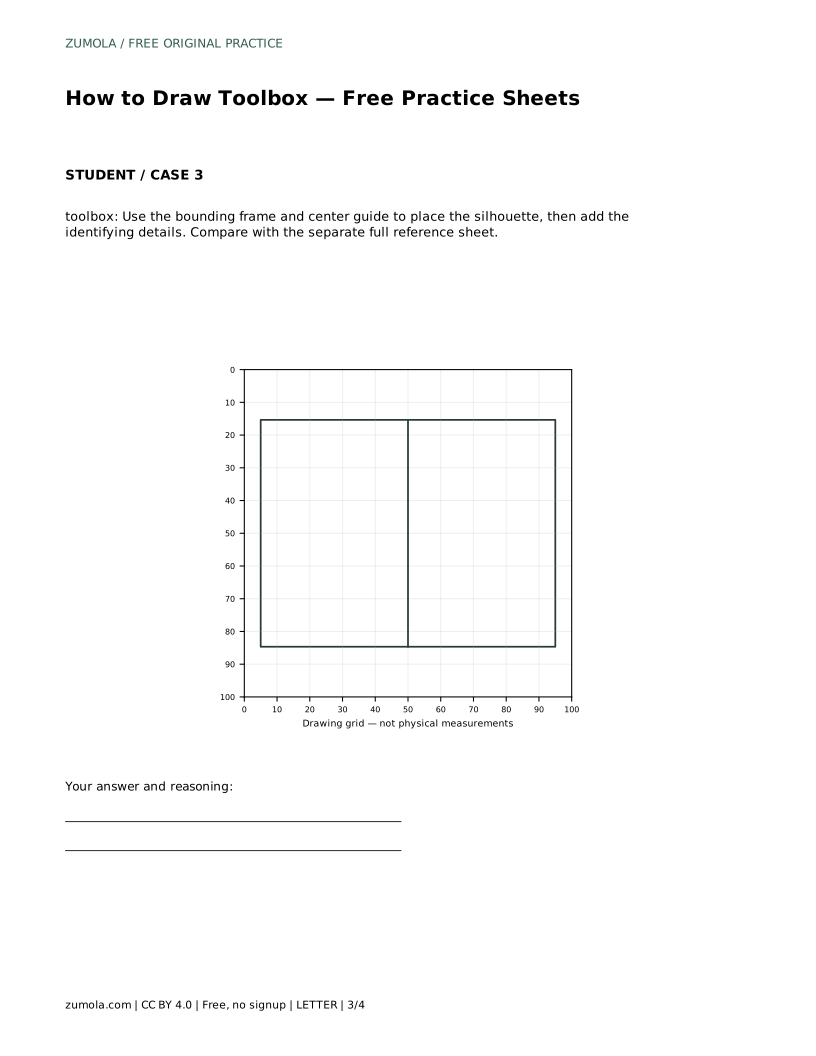
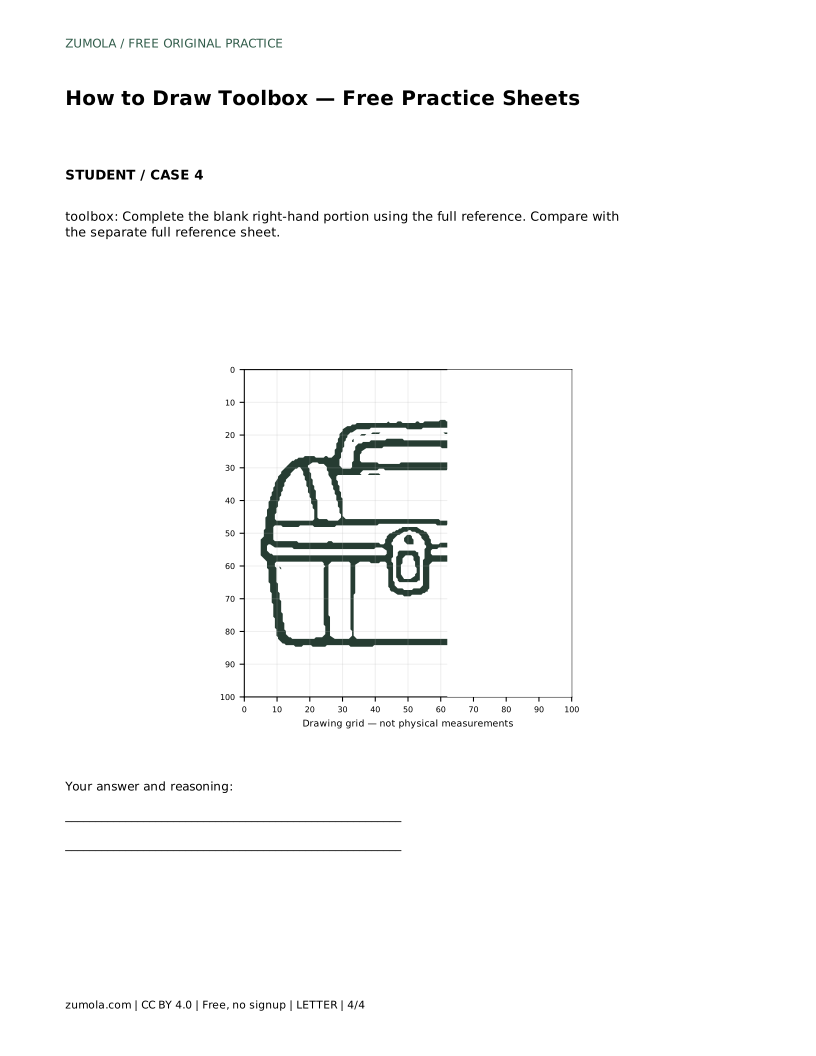
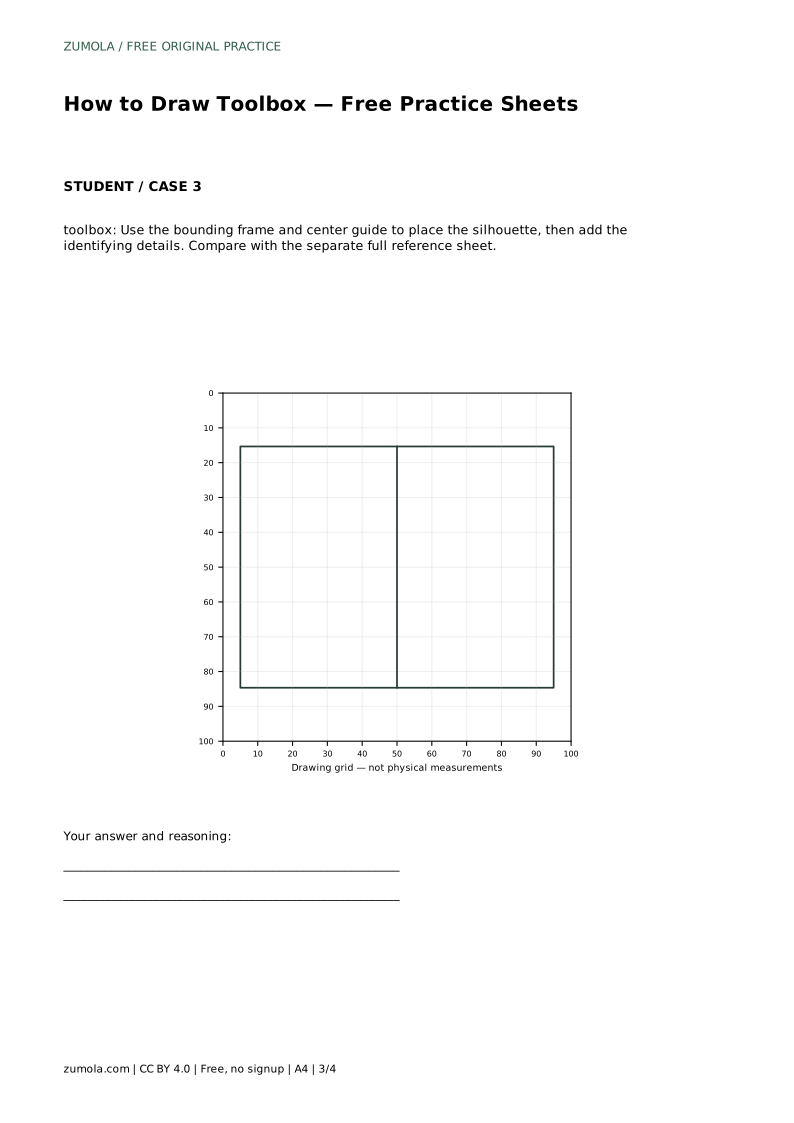
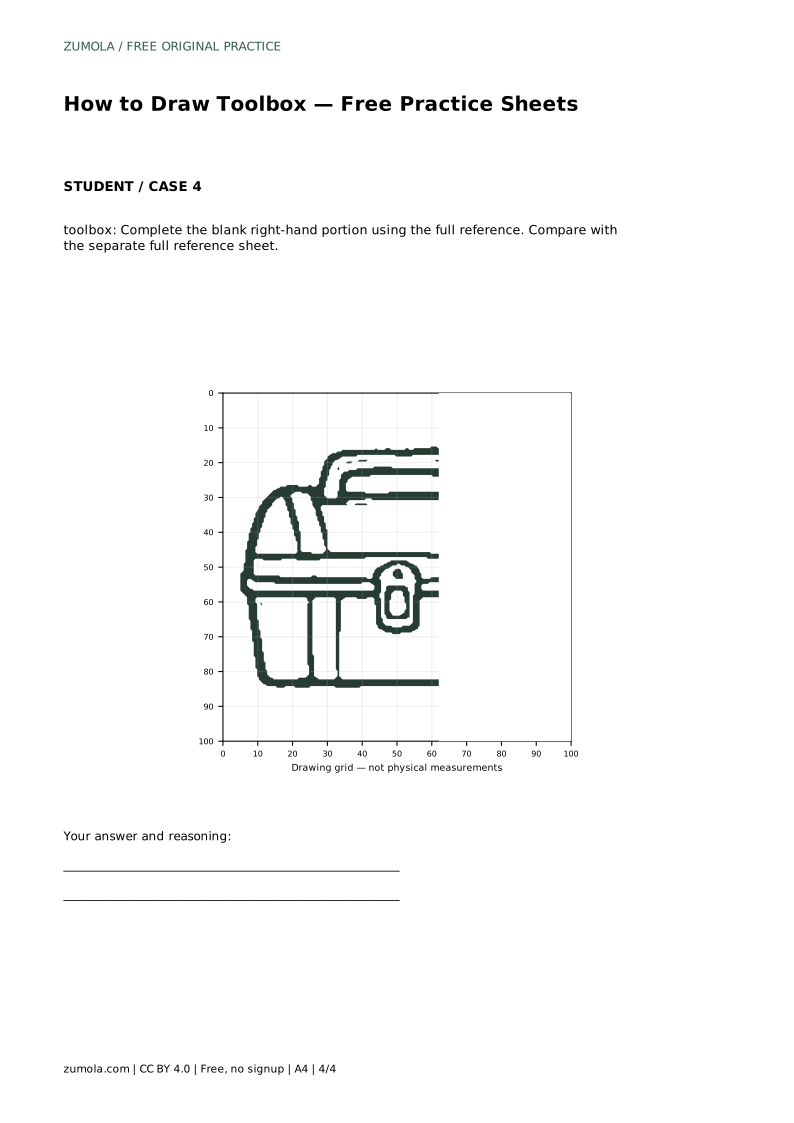
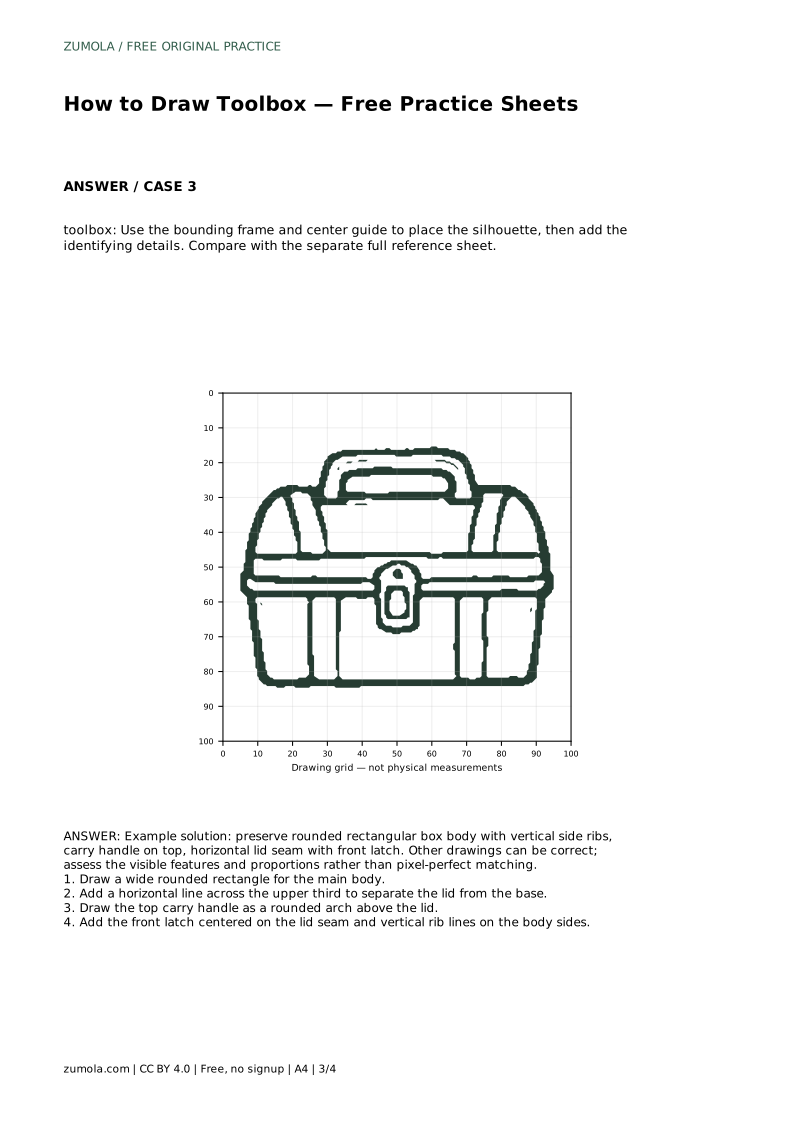
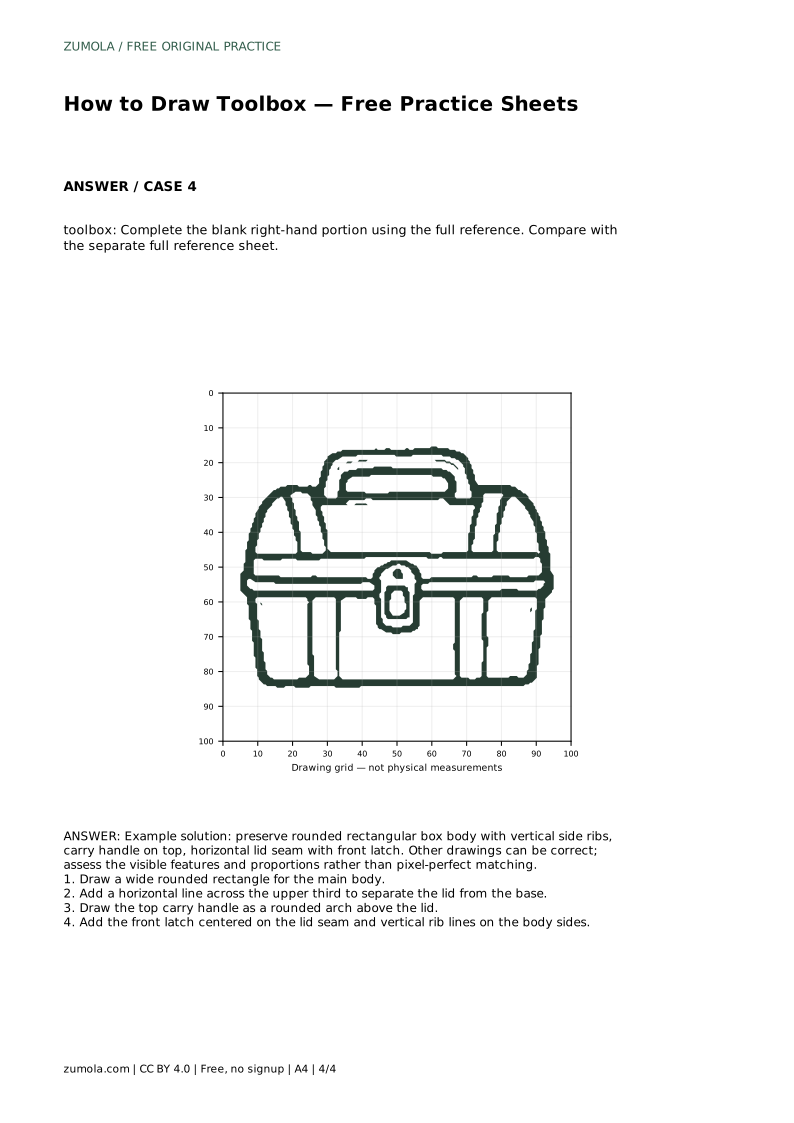
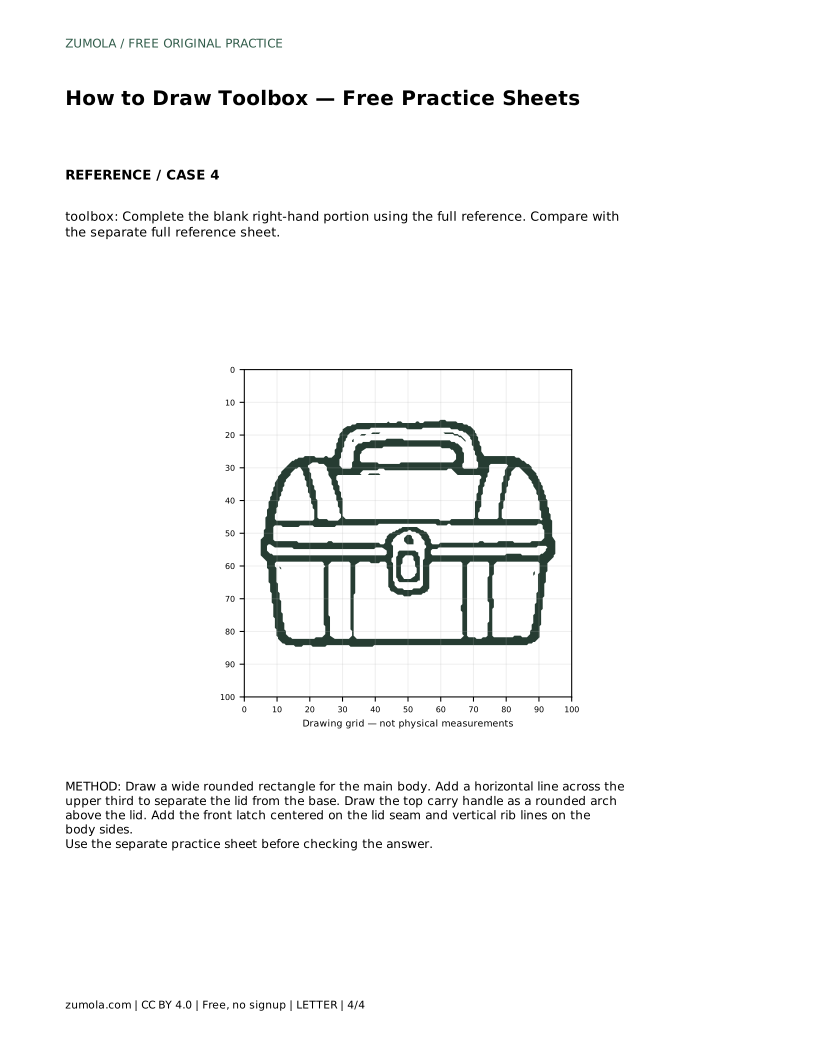
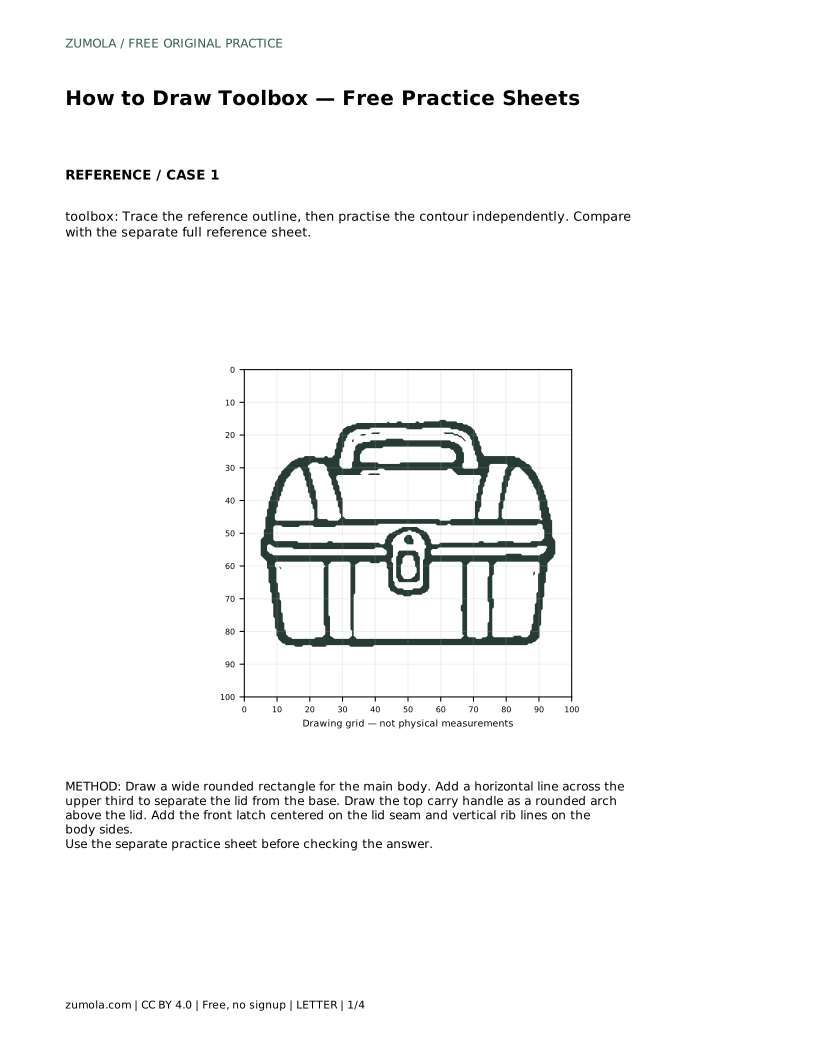
The bounding frame and center guide help you place the silhouette before adding details. Use the frame to set the overall width and height, and the center guide to keep the handle and latch aligned. The partial sheet, where the right-hand portion is blank, asks you to continue the drawing using the full reference. In every method, compare your result with the reference sheet and judge the visible features and proportions rather than pixel-perfect matching.
A toolbox drawing can be correct in many styles, so compare features rather than exact lines. Ask whether the body is a wide rounded rectangle, whether the lid seam crosses the upper third, whether the handle is a centered arch above the lid, whether the latch sits on the seam, and whether the side ribs are vertical and evenly spaced.
Proportions matter more than polish. If the handle is too wide, the latch off-center, or the seam too low, adjust those relationships before adding shading or extra detail. A clean, well-proportioned outline reads as a toolbox even without decoration.
toolbox: Trace the reference outline, then practise the contour independently. Compare with the separate full reference sheet.
Example solution: preserve rounded rectangular box body with vertical side ribs, carry handle on top, horizontal lid seam with front latch. Other drawings can be correct; assess the visible features and proportions rather than pixel-perfect matching. Draw a wide rounded rectangle for the main body. Add a horizontal line across the upper third to separate the lid from the base. Draw the top carry handle as a rounded arch above the lid. Add the front latch centered on the lid seam and vertical rib lines on the body sides.
No. Other drawings can be correct. Assess the visible features and proportions, such as the rounded rectangular body, lid seam, centered handle, latch, and side ribs, rather than pixel-perfect matching.
Center it horizontally on the lid seam so it crosses the line. A latch that sits entirely above or below the seam no longer appears to fasten the lid.
Draw the body first, then the lid seam, then the handle, and finally the latch and side ribs. Each later feature is positioned relative to the body, so fixing the largest shape first prevents misalignment.
All drawing practice · Free coordinate paper
Original resources · CC BY 4.0 · Free for personal and classroom use with attribution.