Reference diagrams
LETTER · Download PDF
A4 · Download PDF
Free original resources
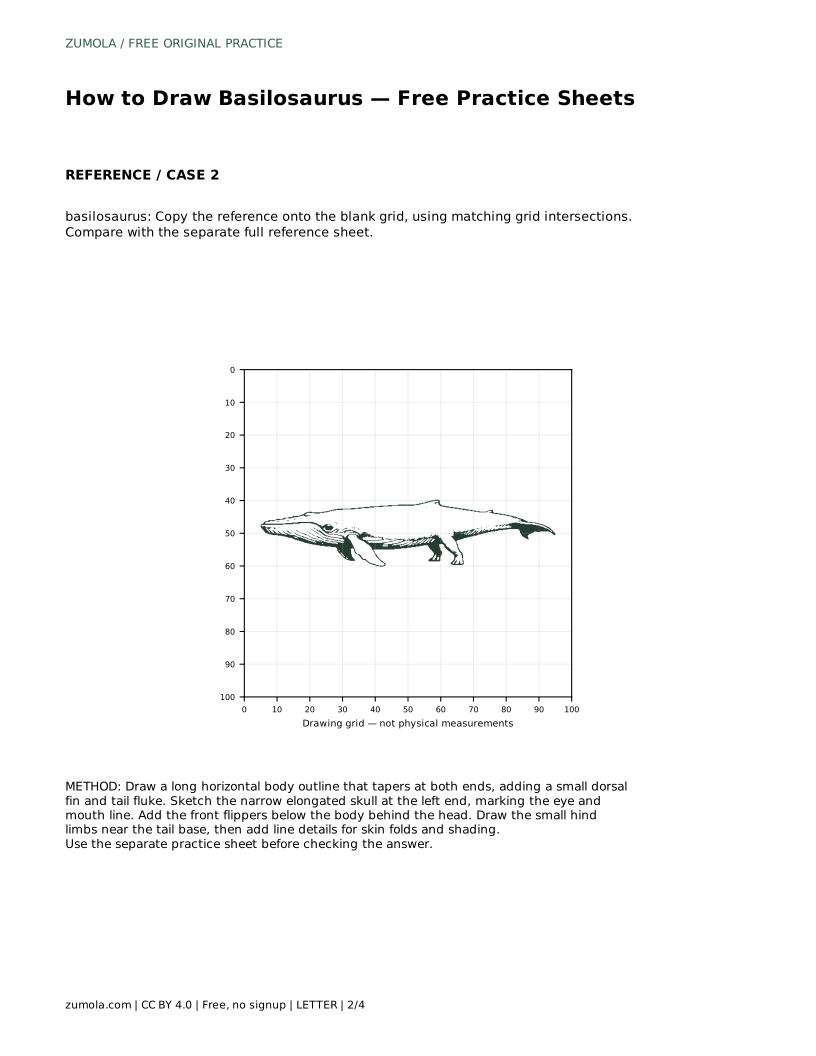
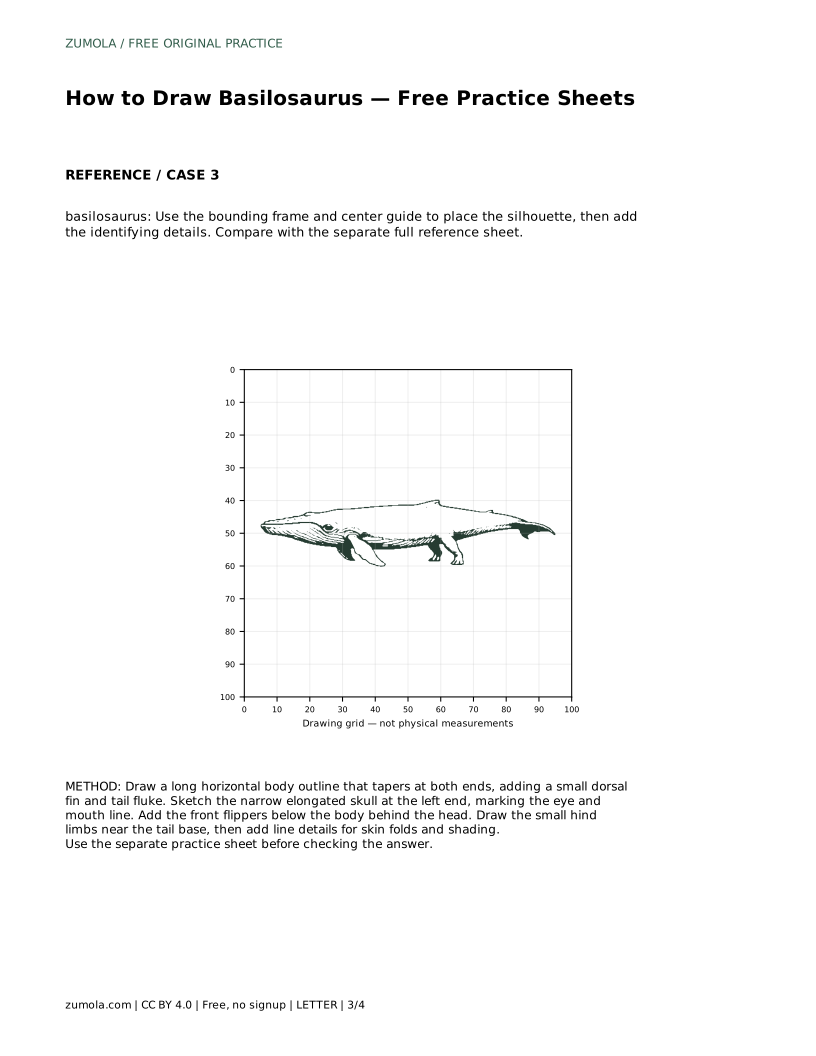
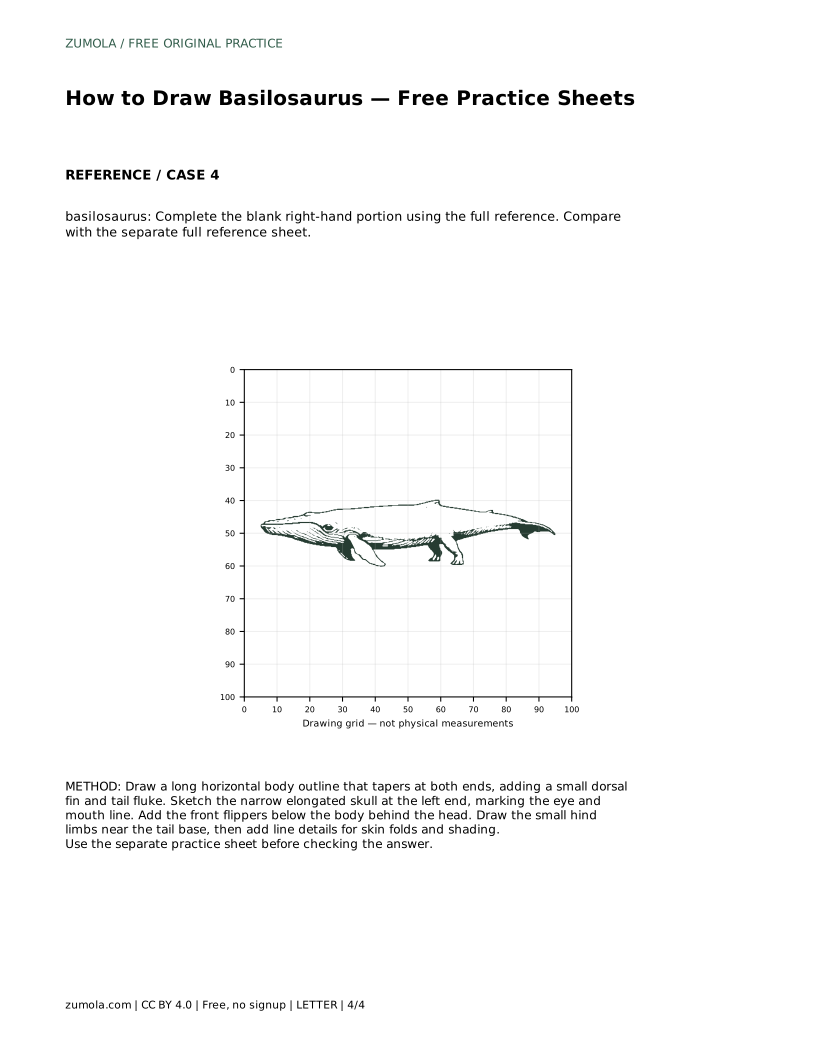
Learn to draw Basilosaurus by tracing, gridding, and completing a reference. Practise its long body, narrow skull, flippers, and small hind limbs.
Four original cases, with reference diagrams, practice sheets and worked answers. Everything is free; no signup required.
LETTER · Download PDF
A4 · Download PDF
LETTER · Download PDF
A4 · Download PDF
LETTER · Download PDF
A4 · Download PDF
Use A4 or US Letter to match your printer. Use the stated values and conditions to solve each exercise; diagrams are not physical measuring rulers.
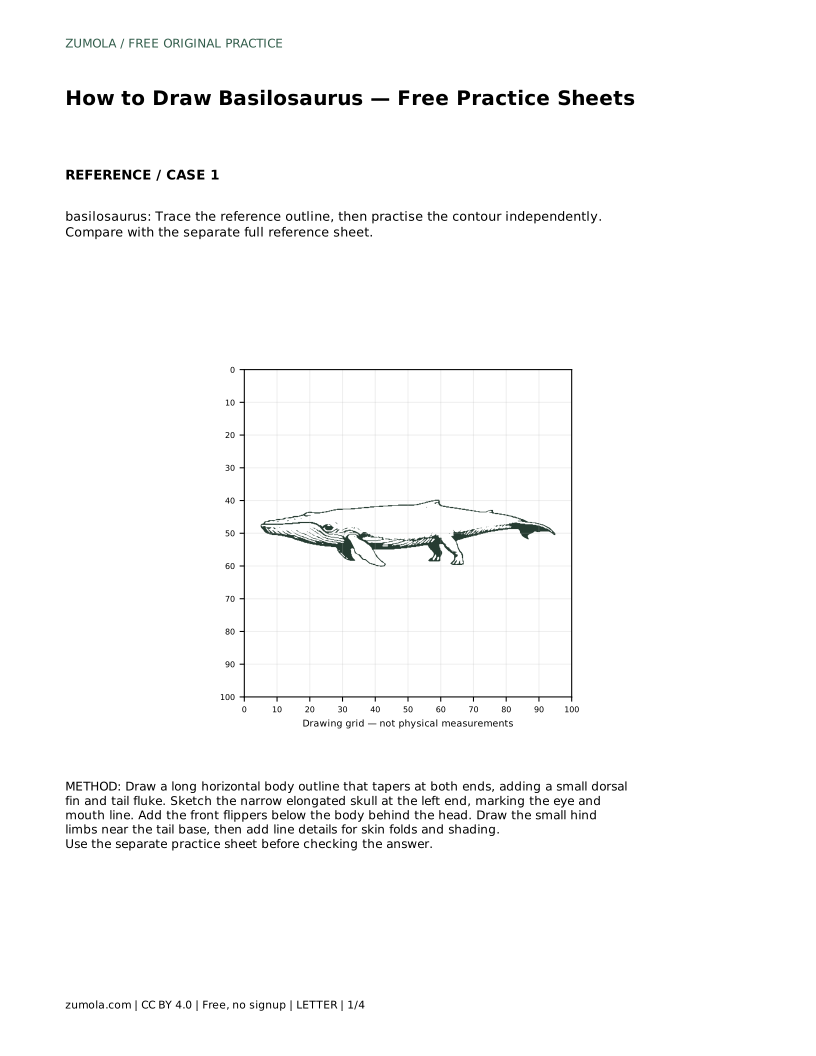
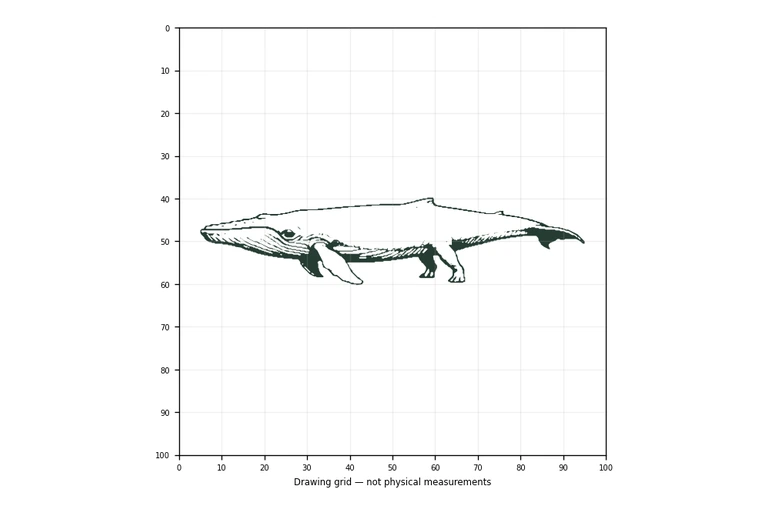
Basilosaurus was a long, serpentine prehistoric whale, and its shape gives you clear landmarks to draw: an elongated body that tapers at both ends, a small dorsal fin, a narrow skull, front flippers, and tiny hind limbs near the tail base. This page explains how to use the practice sheets to build those features in order, then check your drawing against the separate full reference sheet.
Begin by placing the overall silhouette before any detail. Basilosaurus is long and low, so a horizontal body outline that tapers toward the head and toward the tail gives you a stable frame for everything else. Keep the body line smooth rather than lumpy; the animal reads as a whale, not a fish.
Add the small dorsal fin along the back and the tail fluke at the end. These two features help you judge whether the body is the right length and whether the tail sits at the correct height. Leave the head area open until the body proportions look balanced.
The skull is narrow and elongated, which is one of the most recognisable parts of Basilosaurus. Sketch it at the left end of the body, keeping it slim rather than rounded. Mark the eye and the mouth line so the head reads clearly.
Below the body, behind the head, add the front flippers. Near the tail base, draw the small hind limbs. These hind limbs are a distinctive feature, so place them deliberately rather than treating them as an afterthought. Finish with line details for skin folds and light shading.
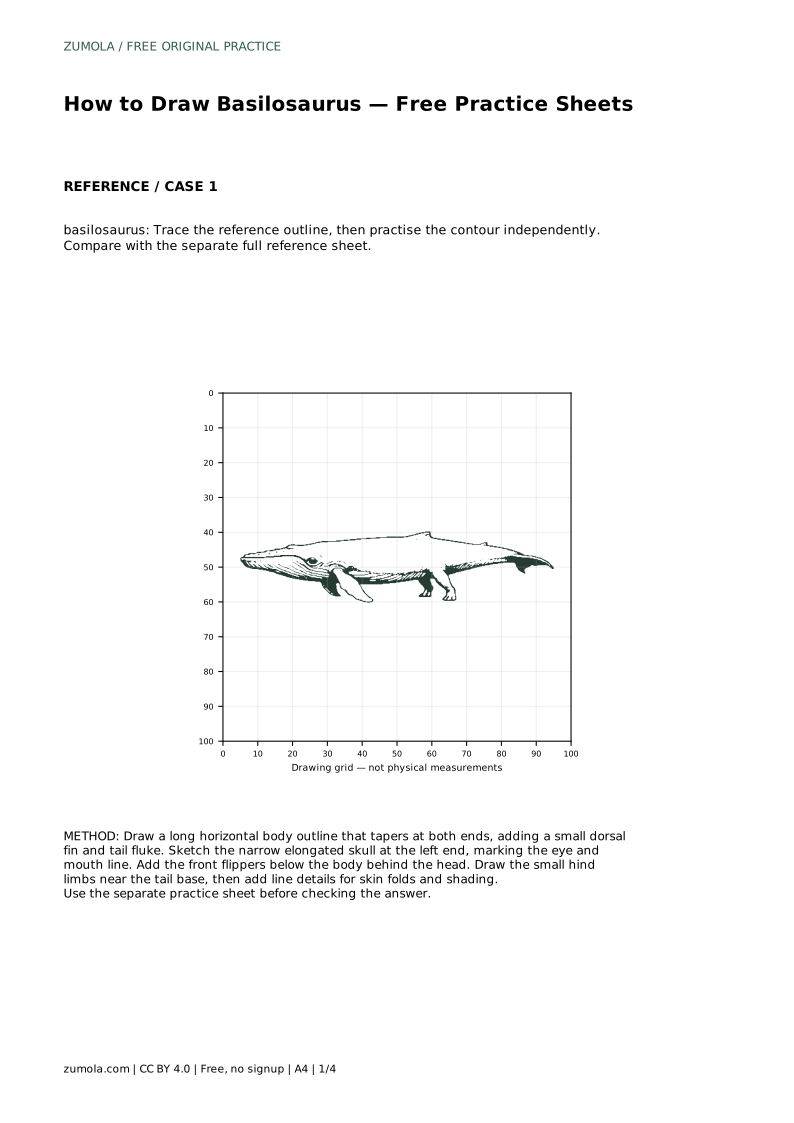
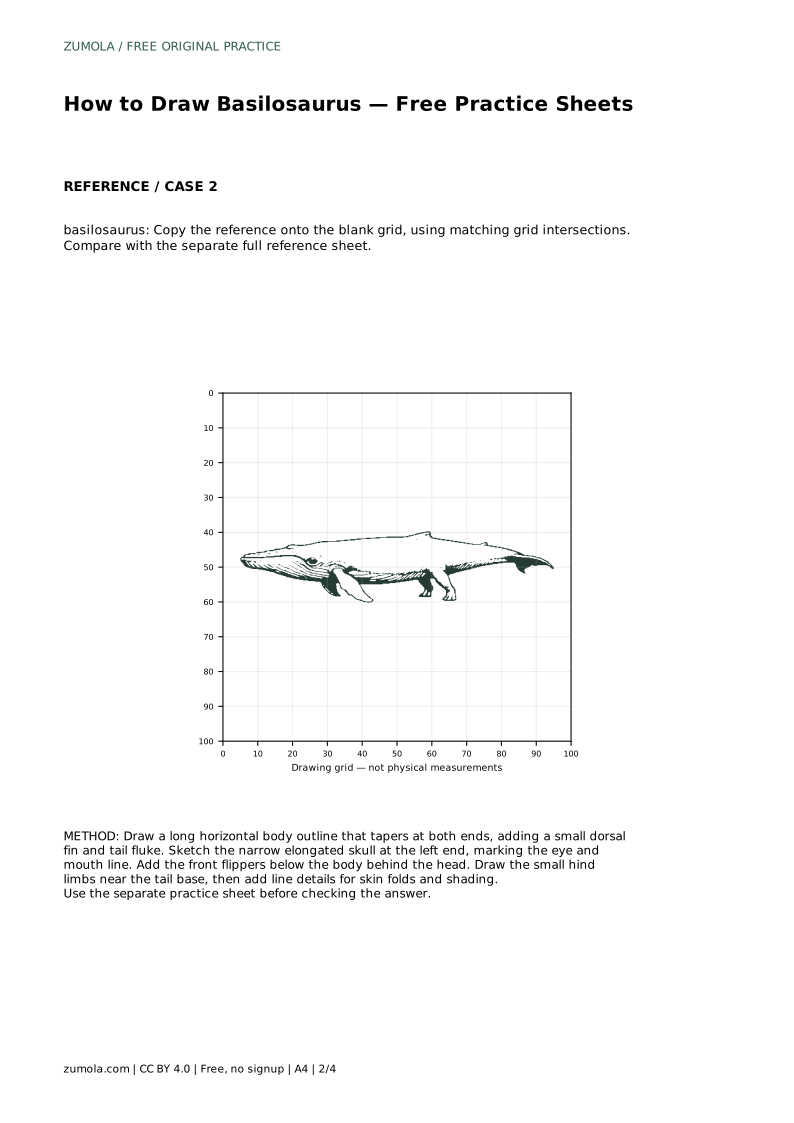
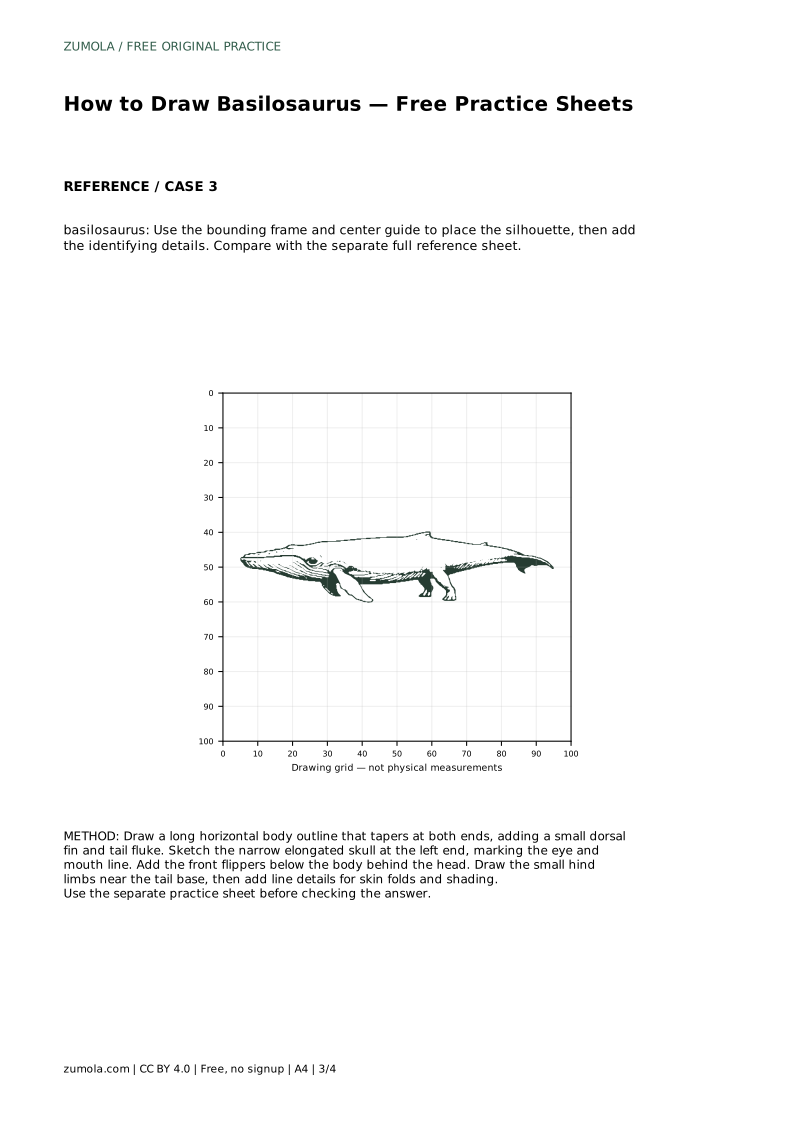
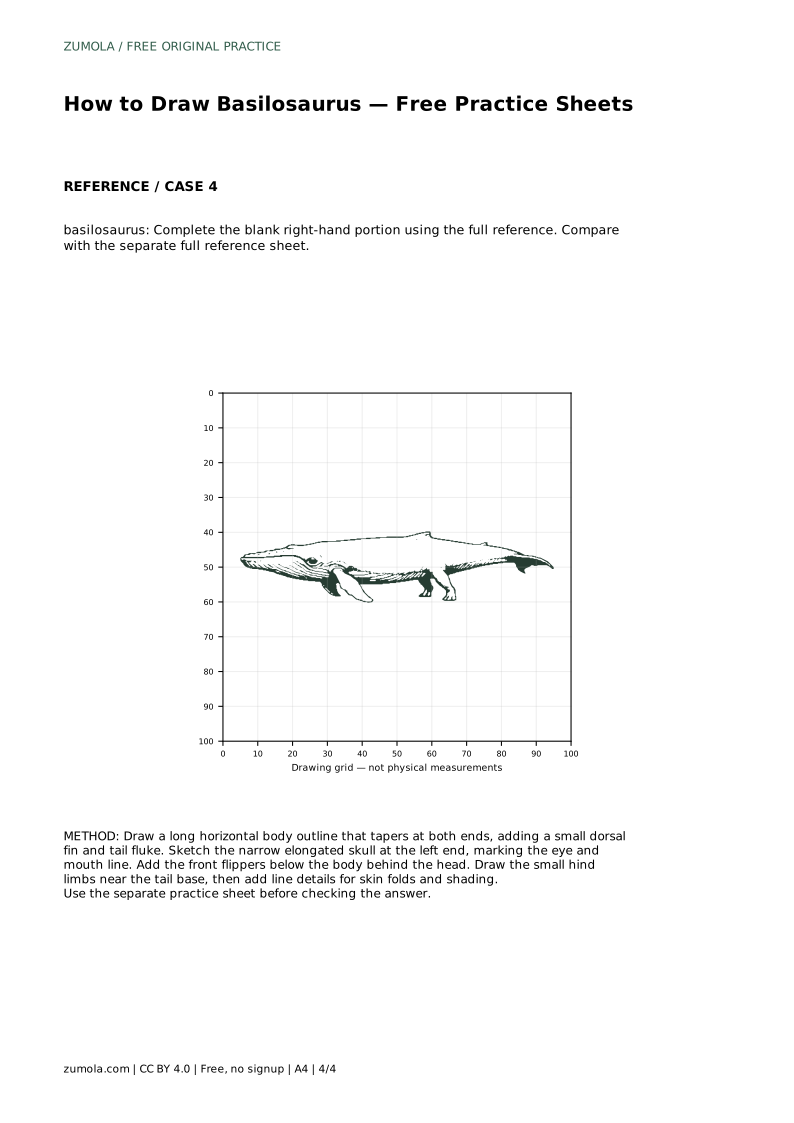
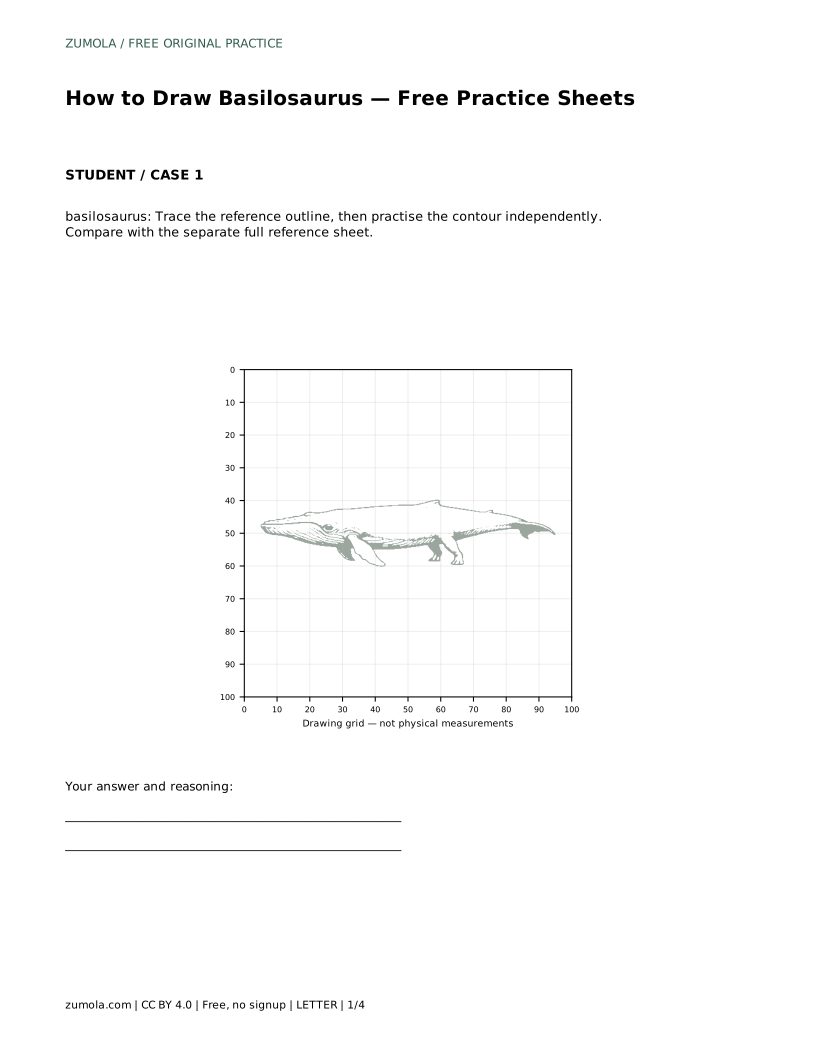
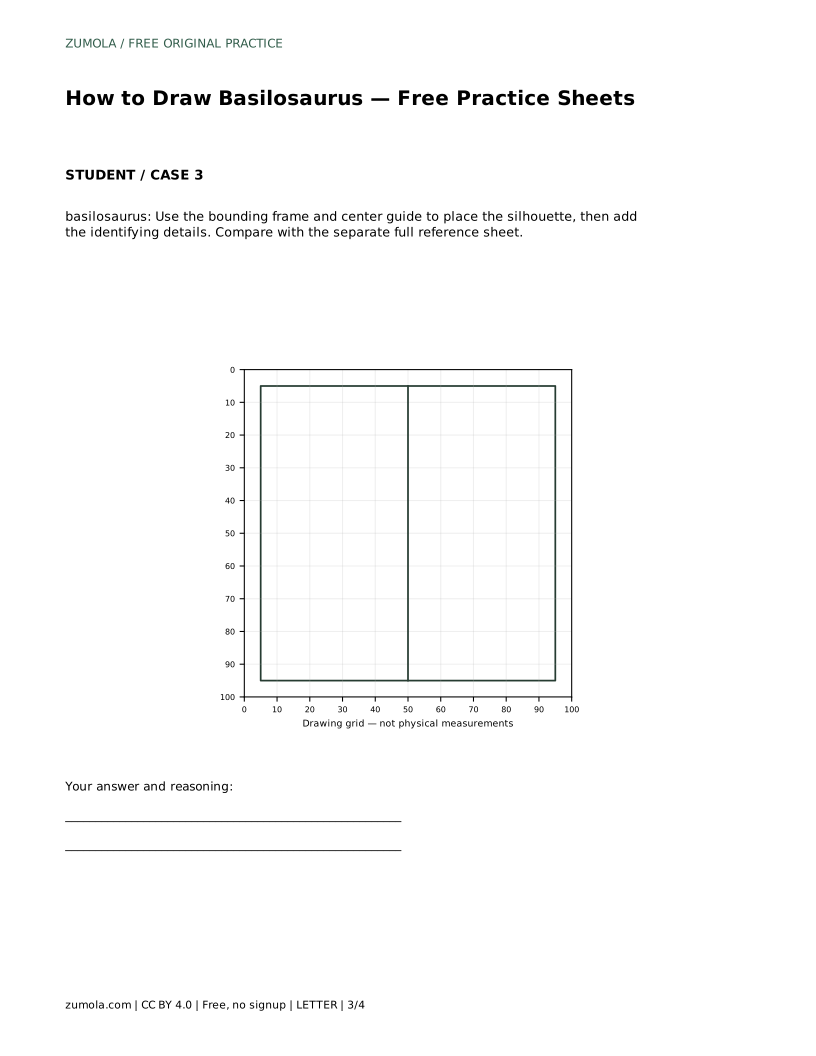
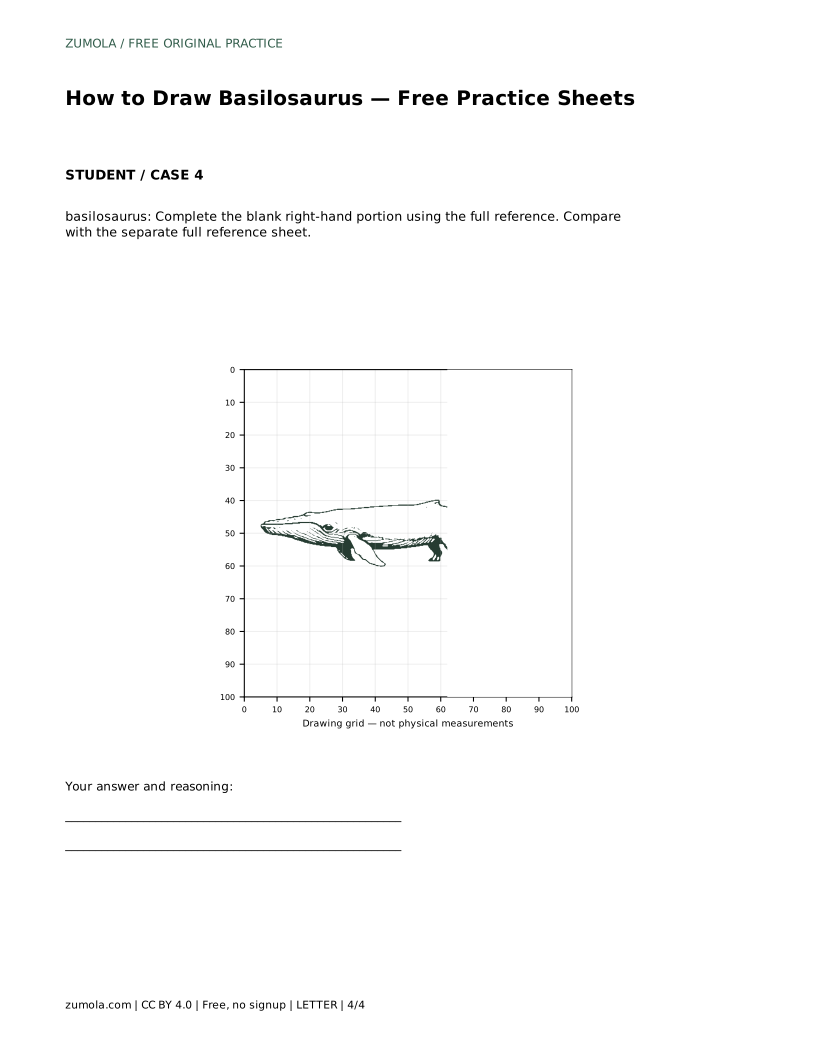
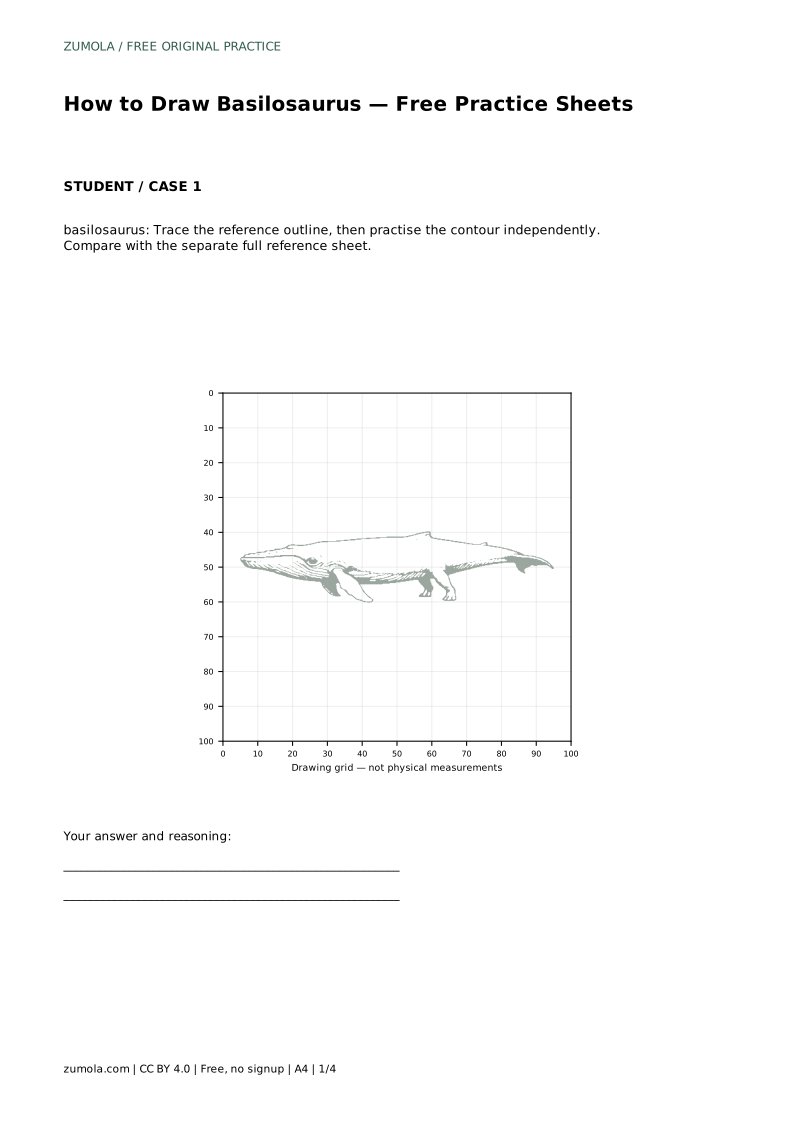
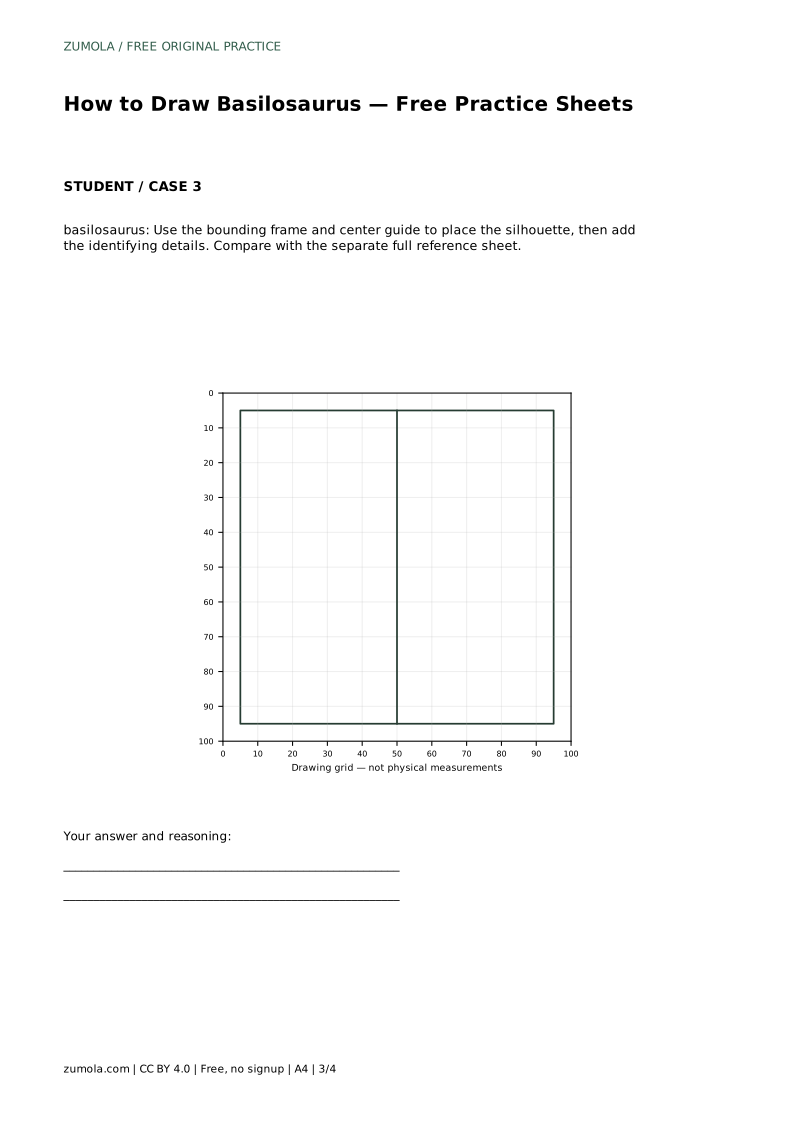
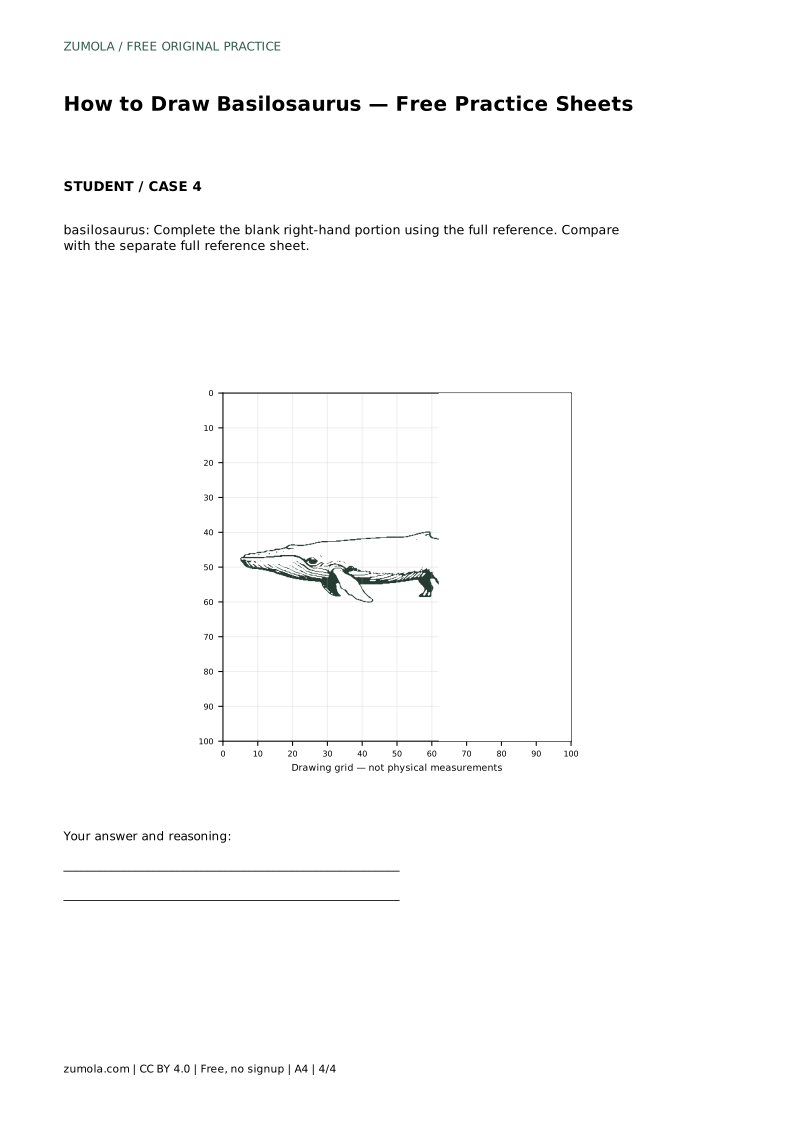
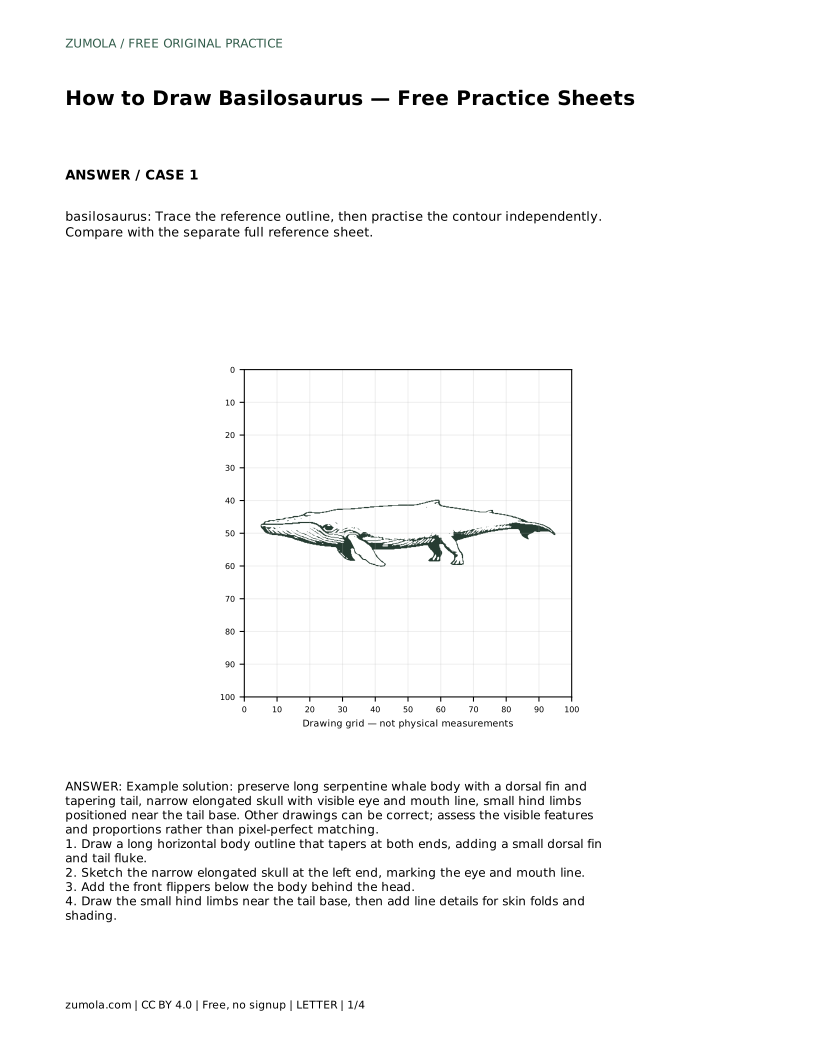
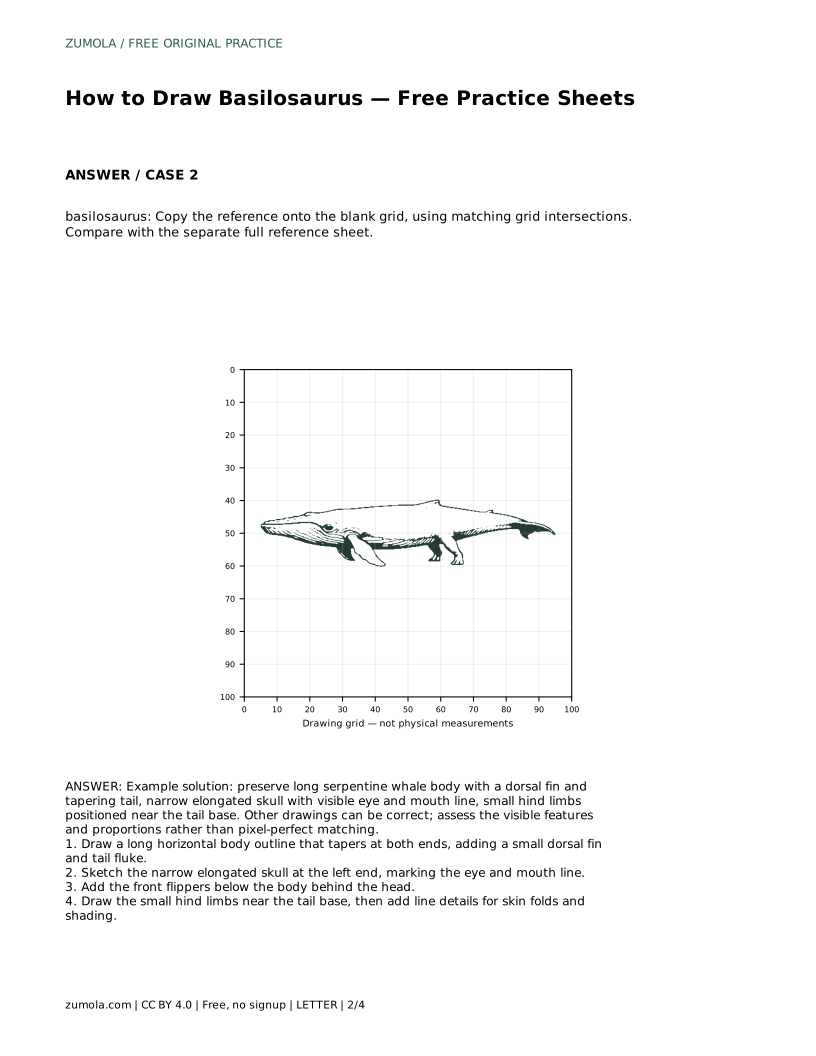
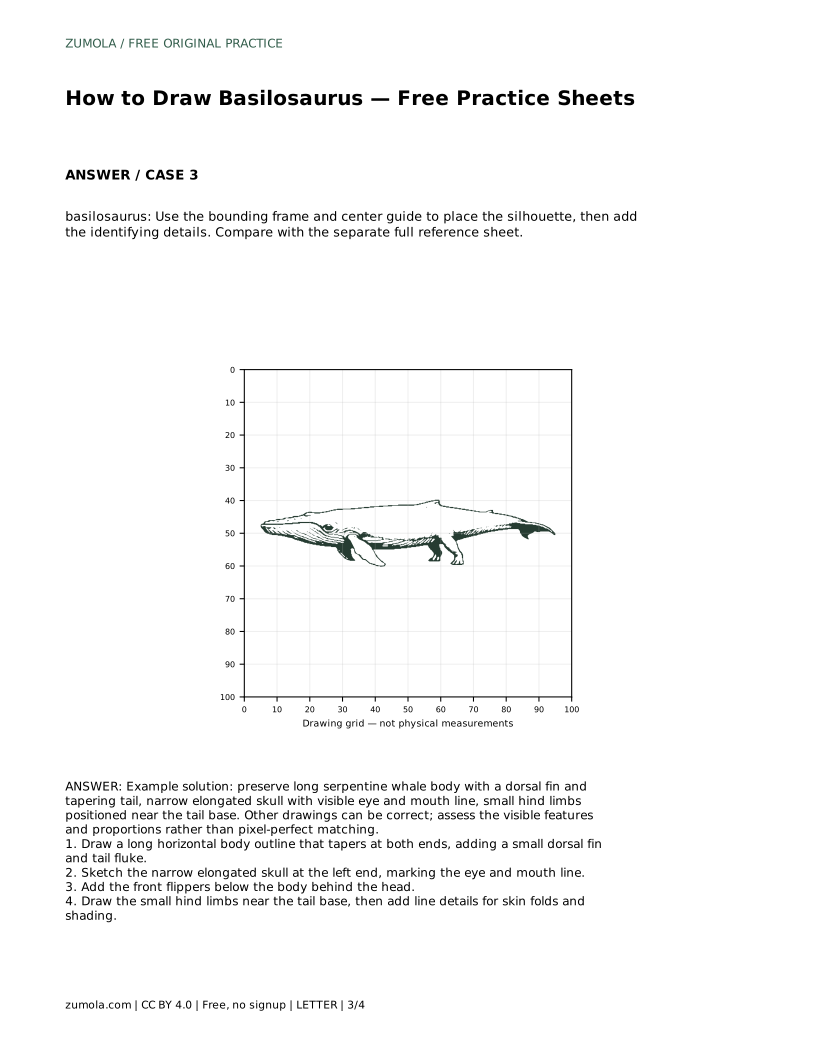
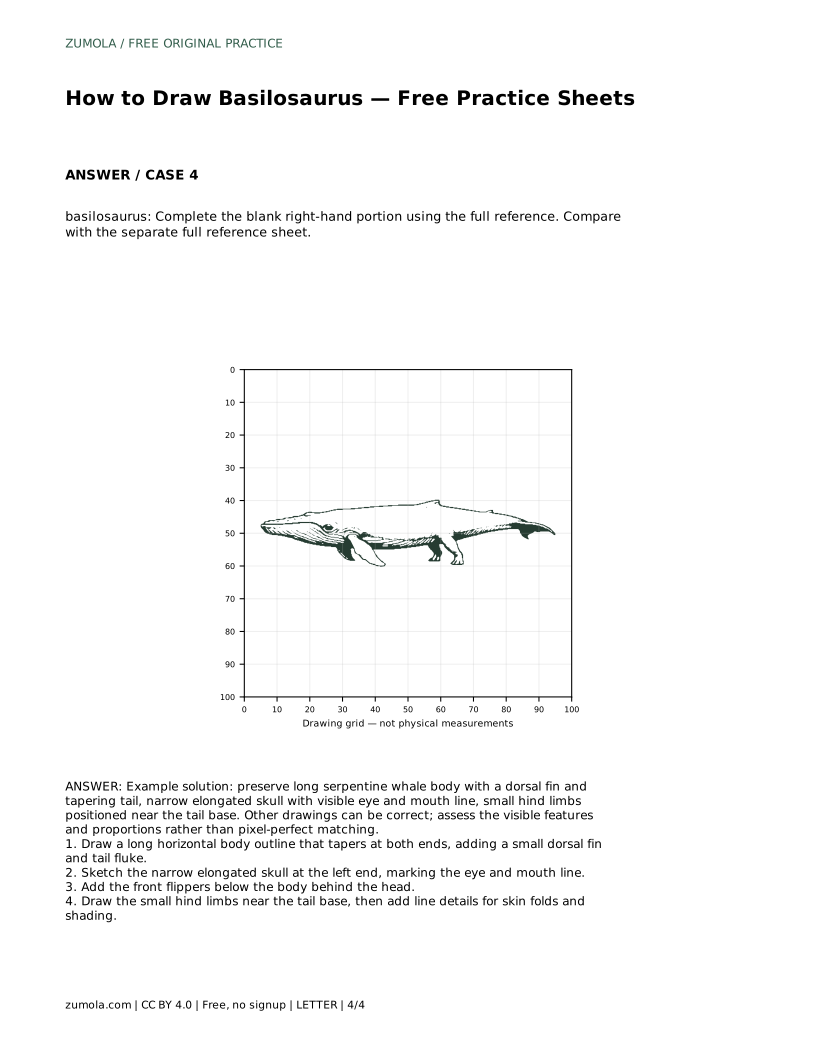
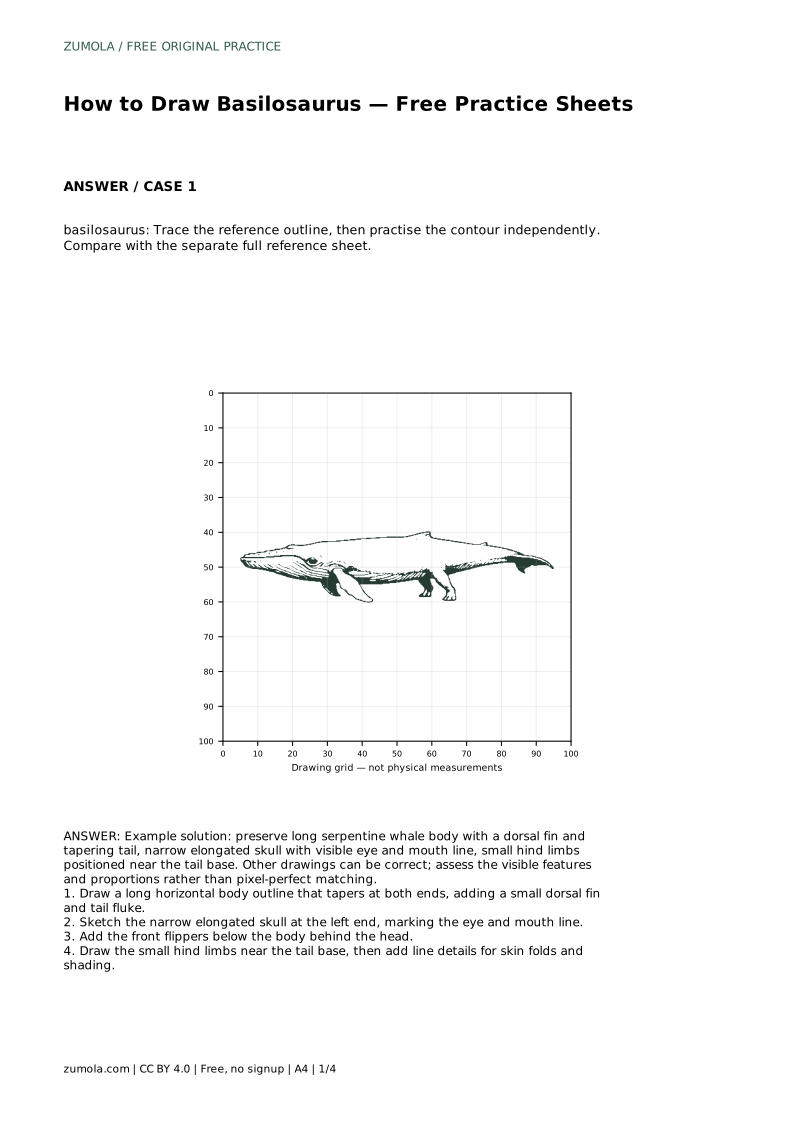
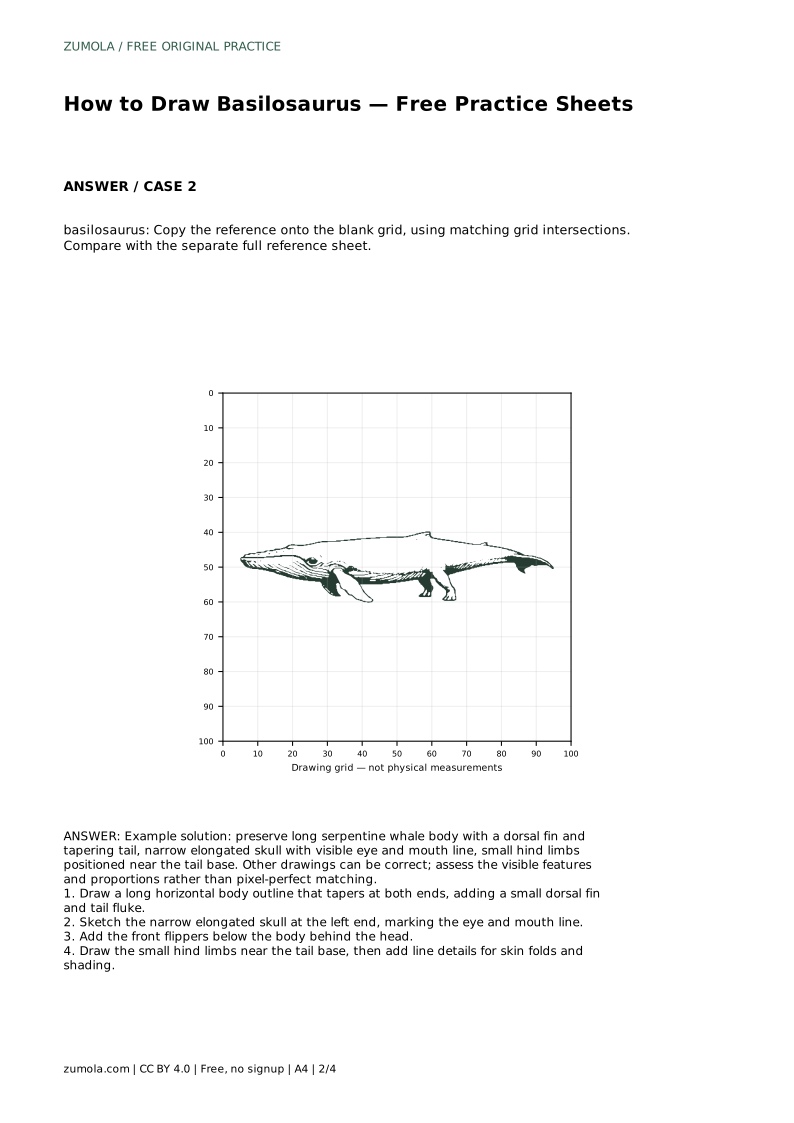
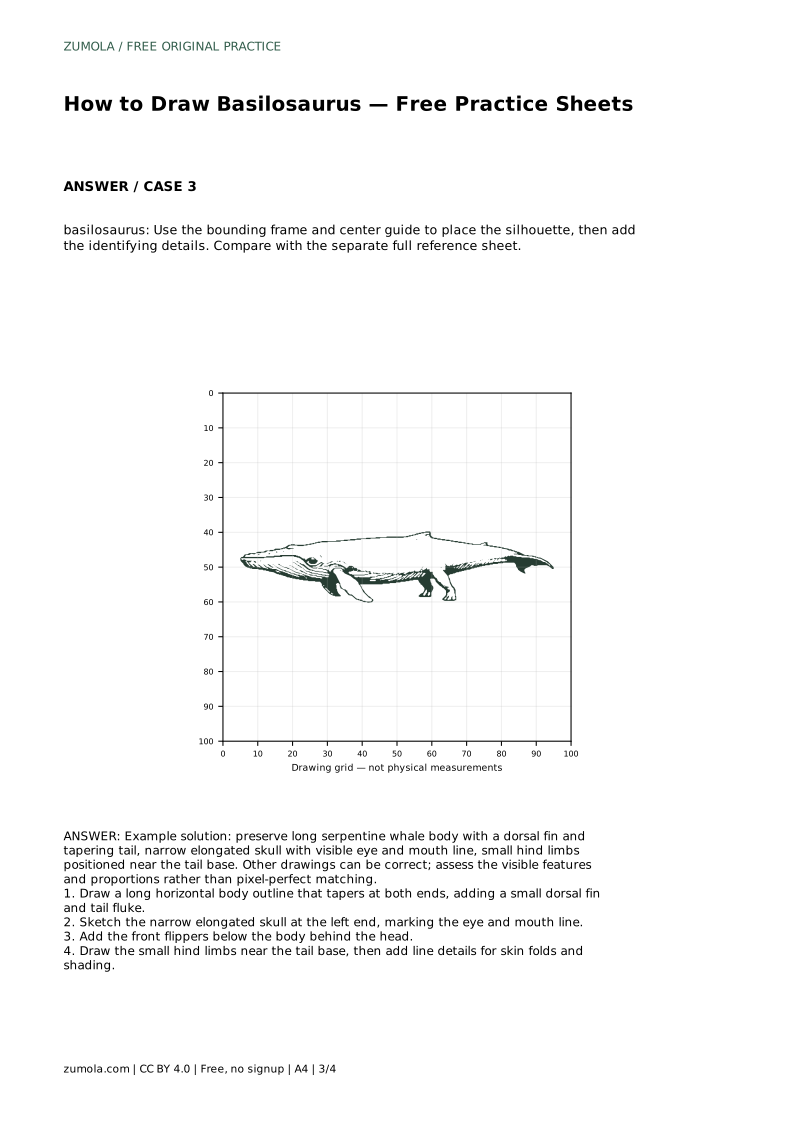
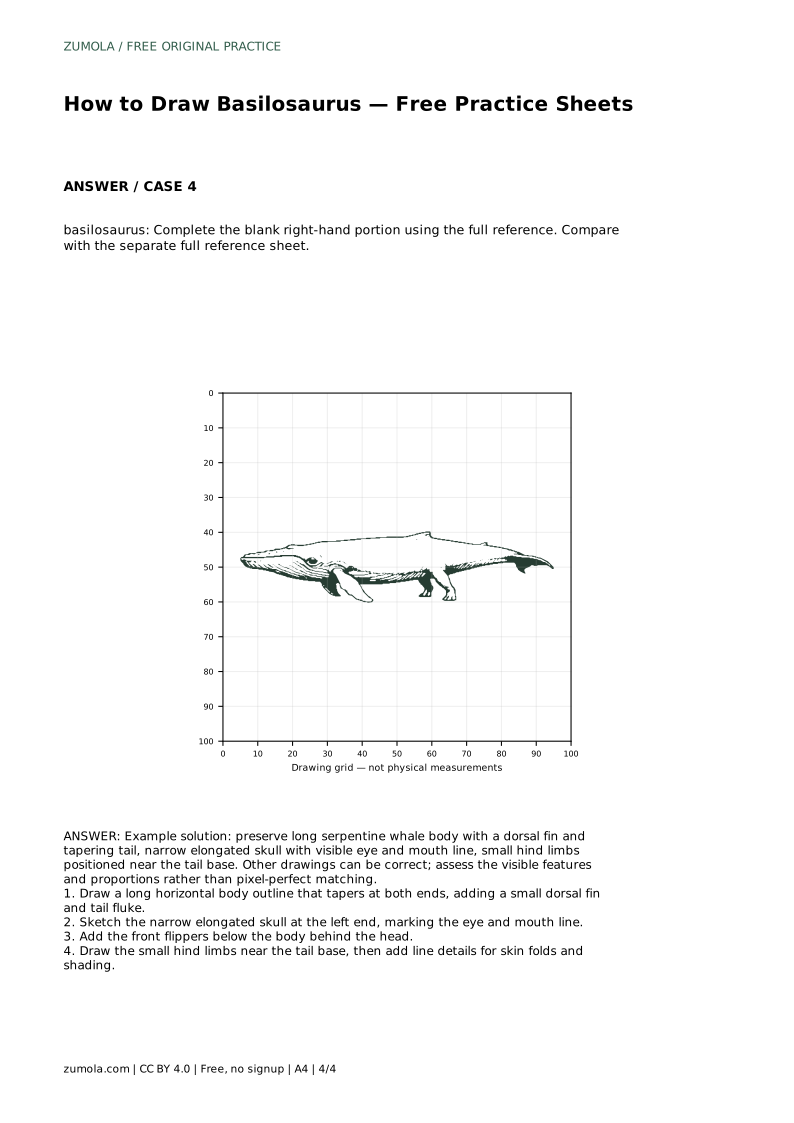
The trace sheet asks you to follow the reference outline first, then practise the contour independently. The grid sheet asks you to copy the reference onto the blank grid using matching grid intersections, which helps you compare distances between features. The bounding-frame sheet uses a frame and centre guide to place the silhouette before you add details. The partial sheet gives you the left portion and asks you to complete the blank right-hand portion from the full reference.
In every format, compare your finished drawing with the separate full reference sheet. Treat the comparison as a check on visible features and proportions, not as a demand for a pixel-perfect match. Different line weights and small shifts in position can still produce a correct drawing.
Because drawing has many valid outcomes, judge your work by whether the key features are present and reasonably placed. Ask whether the body is long and tapering, whether the skull is narrow, whether the dorsal fin and tail fluke are visible, and whether the front flippers and small hind limbs sit in believable positions.
Use simple comparisons rather than exact measurements. For example, if the body spans most of the page width, the skull should occupy only a small fraction of that length. If the hind limbs look as large as the front flippers, reduce them.
basilosaurus: Trace the reference outline, then practise the contour independently. Compare with the separate full reference sheet.
Example solution: preserve long serpentine whale body with a dorsal fin and tapering tail, narrow elongated skull with visible eye and mouth line, small hind limbs positioned near the tail base. Other drawings can be correct; assess the visible features and proportions rather than pixel-perfect matching. Draw a long horizontal body outline that tapers at both ends, adding a small dorsal fin and tail fluke. Sketch the narrow elongated skull at the left end, marking the eye and mouth line. Add the front flippers below the body behind the head. Draw the small hind limbs near the tail base, then add line details for skin folds and shading.
No. Use the reference to check features and proportions. Other drawings can be correct if the long body, narrow skull, dorsal fin, tail, flippers, and small hind limbs are present and sensibly placed.
Start with the trace sheet if you are new to the shape, then move to the grid or bounding-frame sheet to practise placing features without tracing.
Place them near the tail base, well behind the front flippers, and keep them noticeably smaller.
All drawing practice · Free coordinate paper
Original resources · CC BY 4.0 · Free for personal and classroom use with attribution.