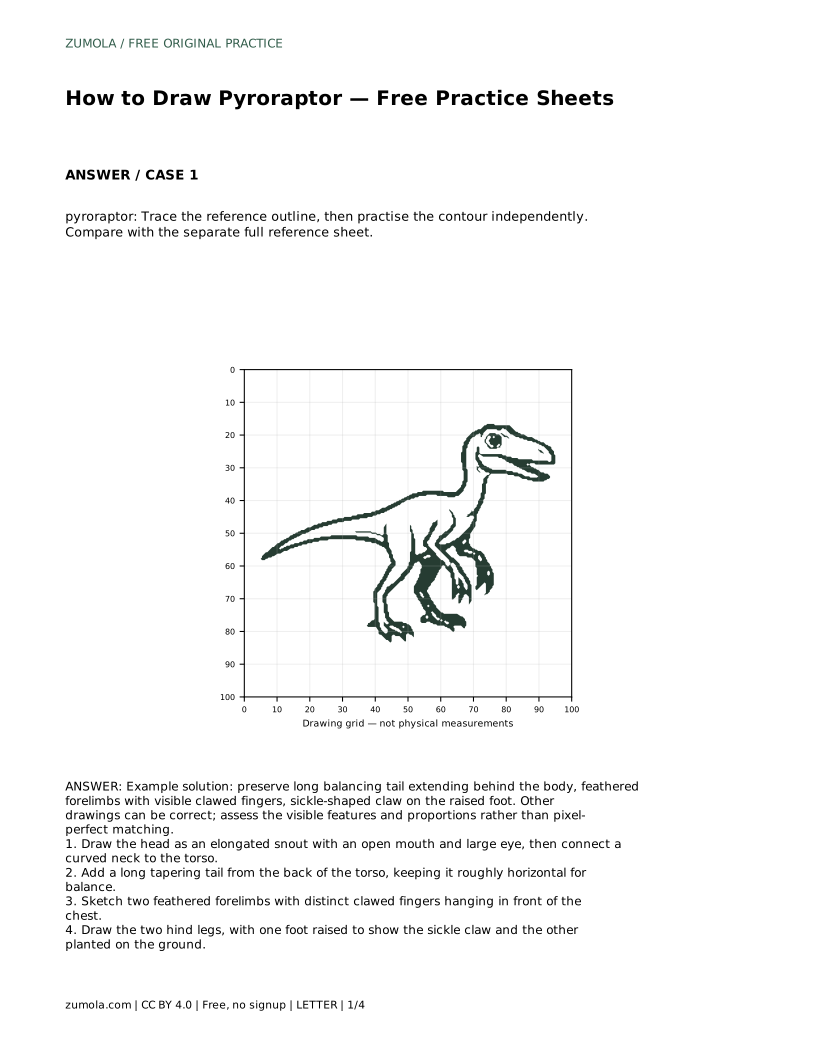
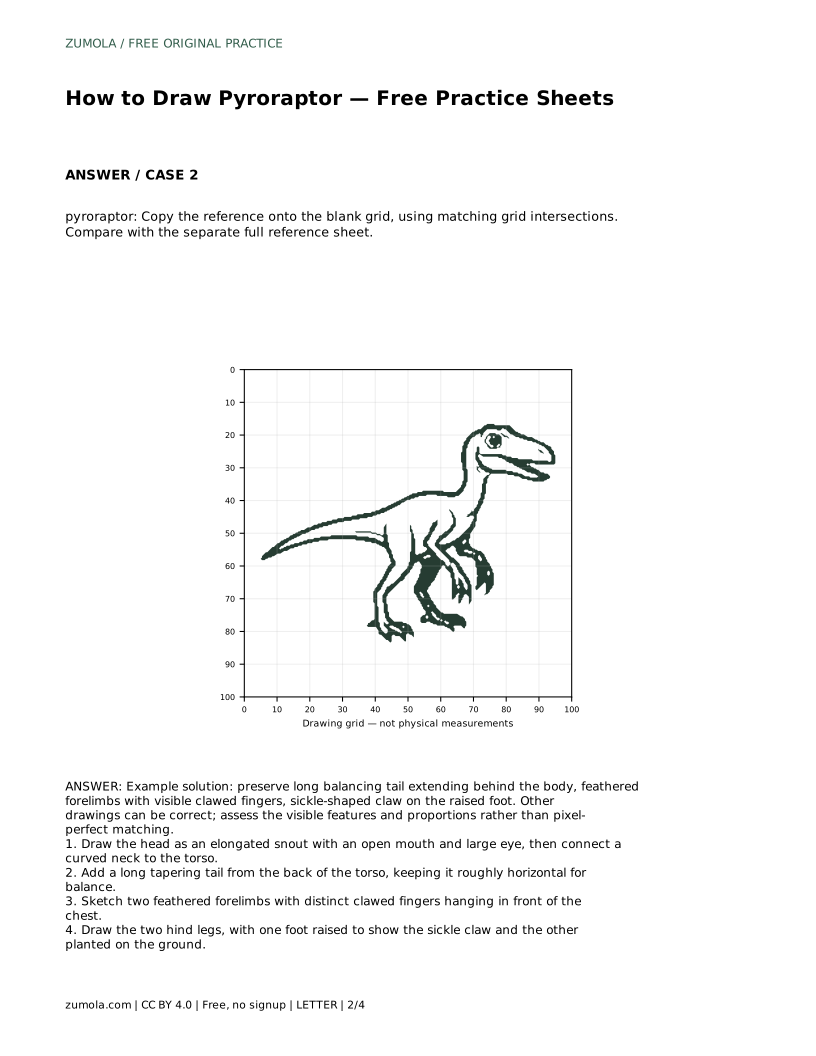
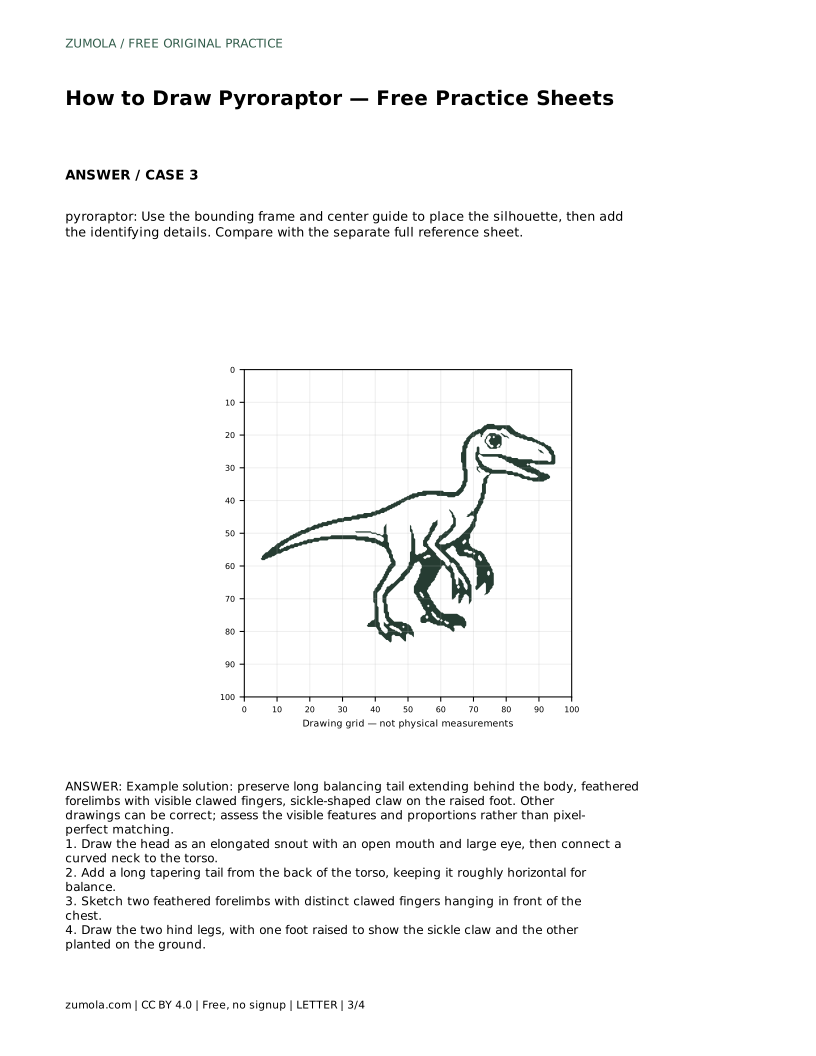
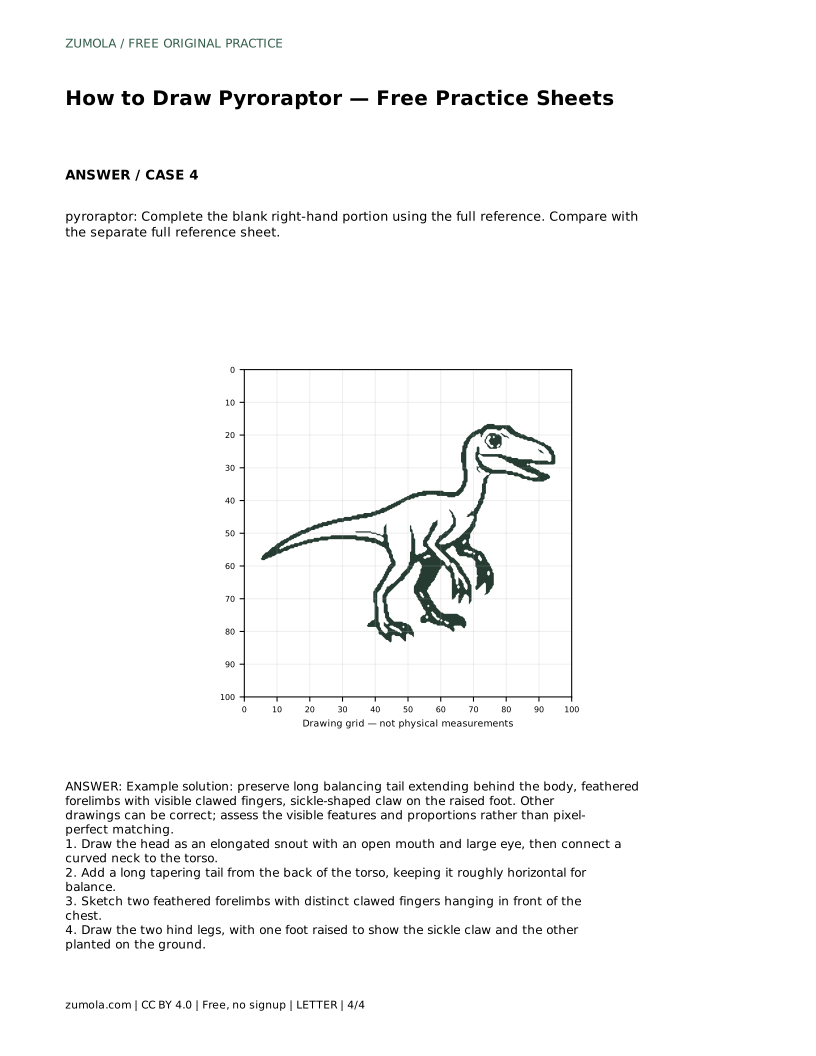
Reference diagrams
LETTER · Download PDF
A4 · Download PDF
Free original resources
Learn to draw Pyroraptor with a clear four-step method: elongated snout, balancing tail, feathered forelimbs, and the raised sickle claw. Free practice sheets included.
Four original cases, with reference diagrams, practice sheets and worked answers. Everything is free; no signup required.
LETTER · Download PDF
A4 · Download PDF
LETTER · Download PDF
A4 · Download PDF
LETTER · Download PDF
A4 · Download PDF
Use A4 or US Letter to match your printer. Use the stated values and conditions to solve each exercise; diagrams are not physical measuring rulers.
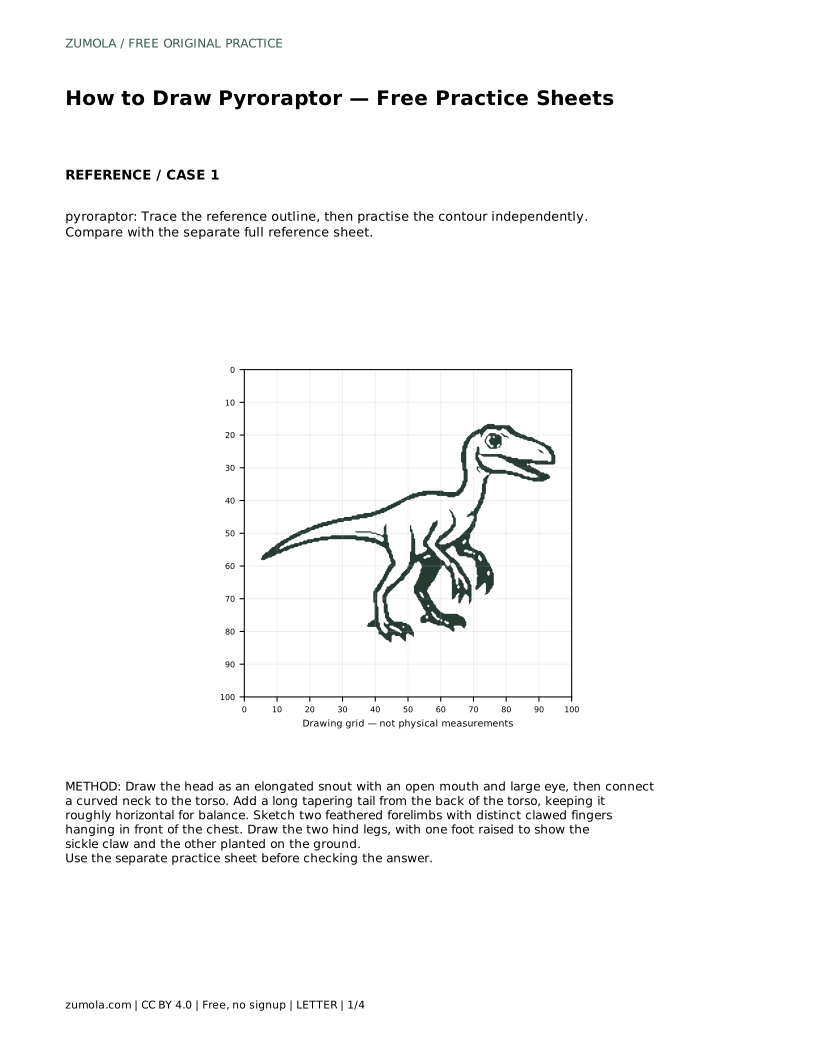
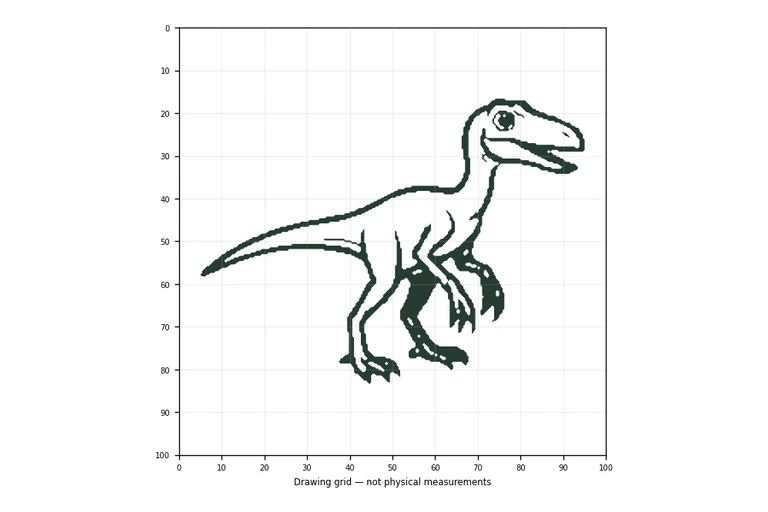
Pyroraptor is a small feathered dinosaur, and drawing one well depends on a few visible features rather than perfect copying. This guide walks you through building the head, neck, torso, tail, forelimbs, and hind legs in a sensible order. You will also learn how to use tracing, grid, bounding-frame, and partial-reference practice sheets to build independence. The goal is a drawing that reads clearly as Pyroraptor, not a pixel-perfect match to any single reference.
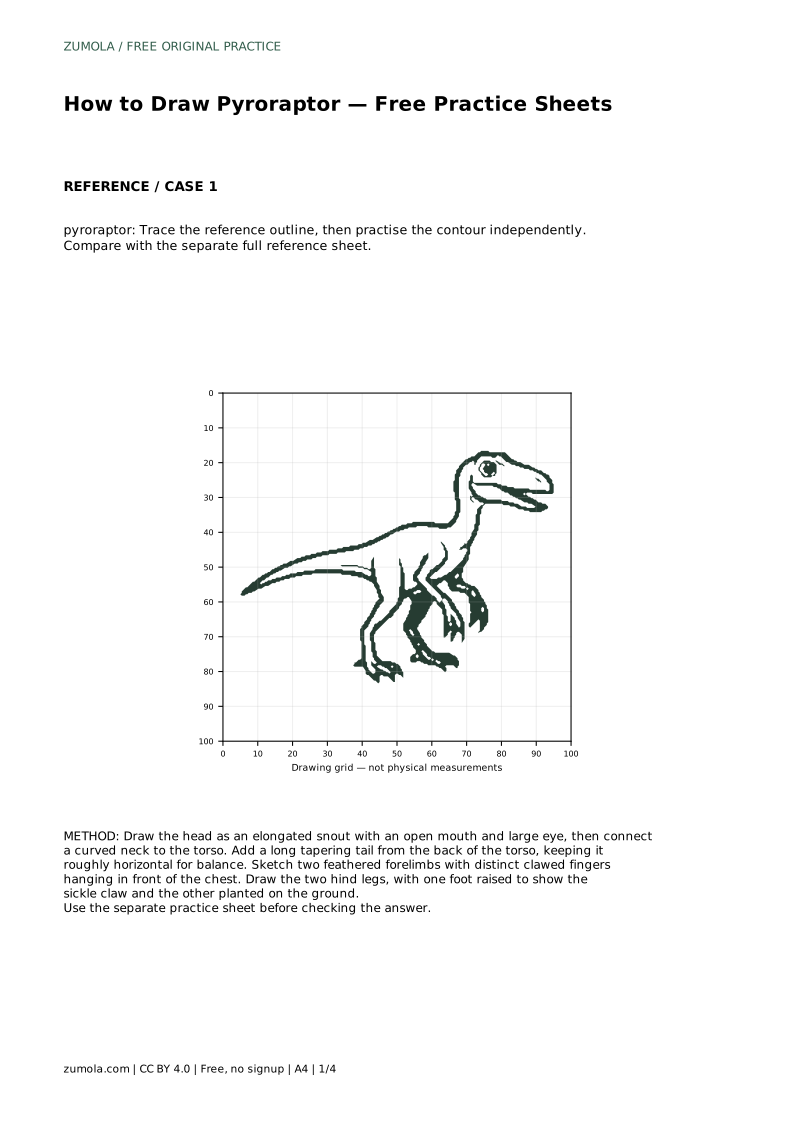
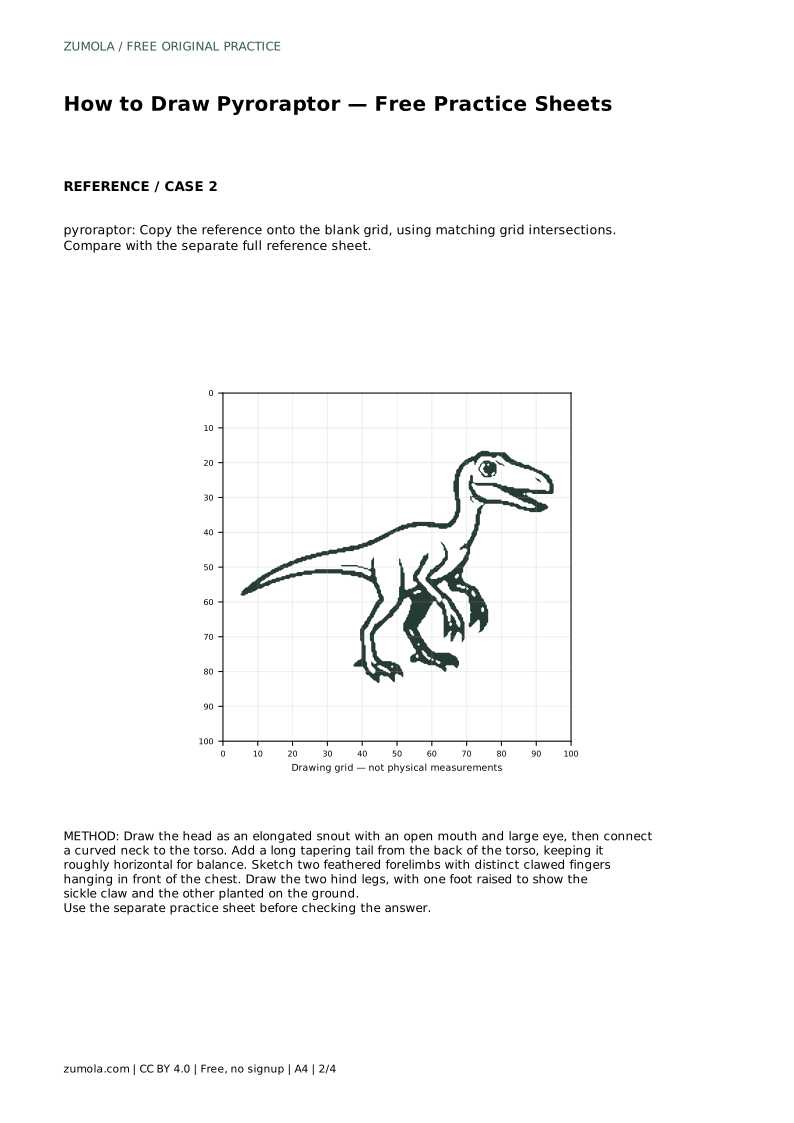
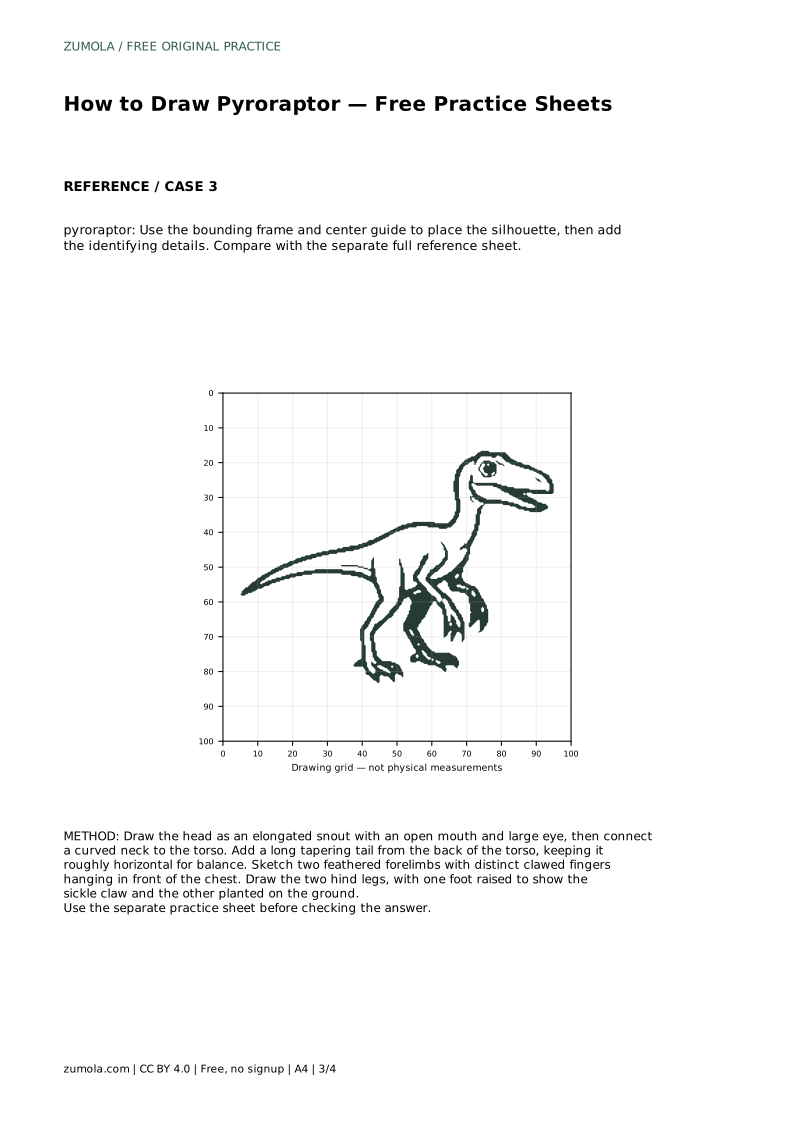
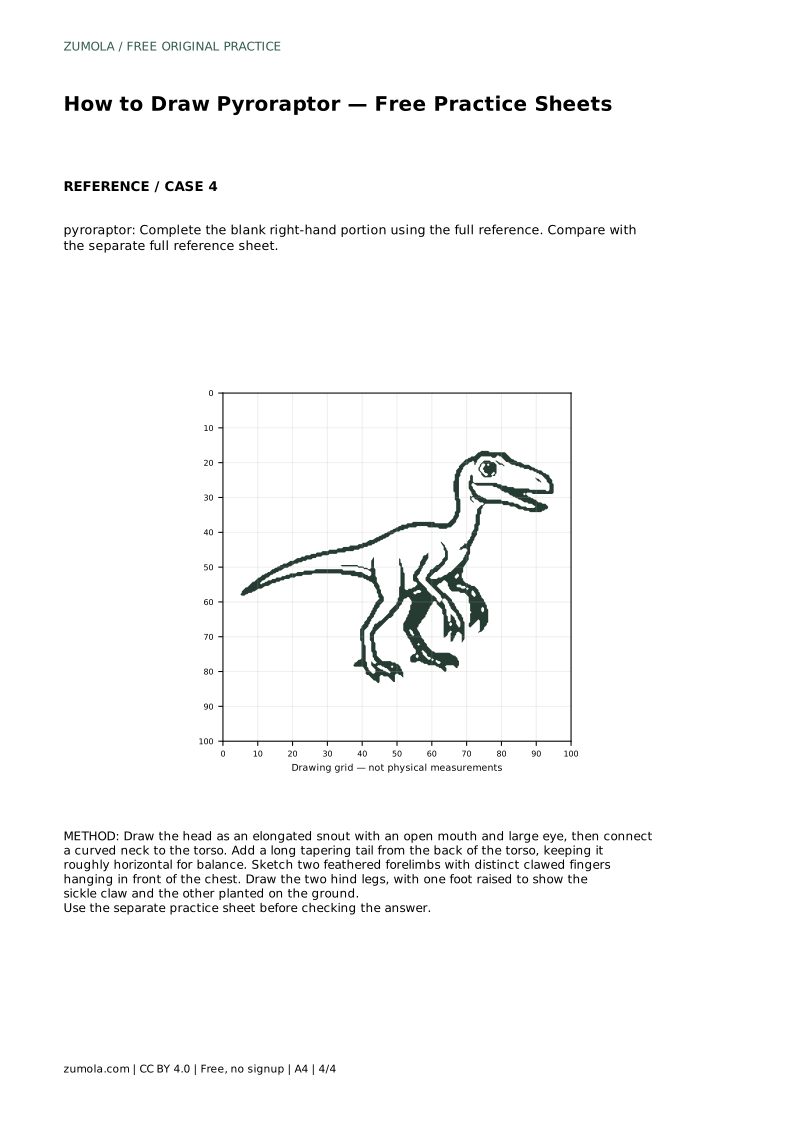
Before adding detail, decide where the main masses sit on your page. Pyroraptor has an elongated snout, a curved neck, a compact torso, a long tapering tail, and two hind legs. The tail should extend behind the body roughly horizontally so the animal looks balanced rather than tipping forward.
Place the head first, then connect the neck to the torso. This order keeps proportions honest: if you draw the tail first, it is easy to make the body too small or the tail too short. Keep your early lines light so you can adjust them.
The features that make a drawing read as Pyroraptor are the feathered forelimbs with visible clawed fingers and the sickle-shaped claw on the raised foot. Draw the fingers as separate shapes rather than a single mitten-like outline, and make the raised foot clearly lifted off the ground line.
Feathers on the forelimbs can be suggested with simple overlapping strokes along the arm. You do not need to render every feather; the silhouette and the clawed fingers carry most of the recognition. Keep the planted foot flat and the raised foot angled so the sickle claw is visible.
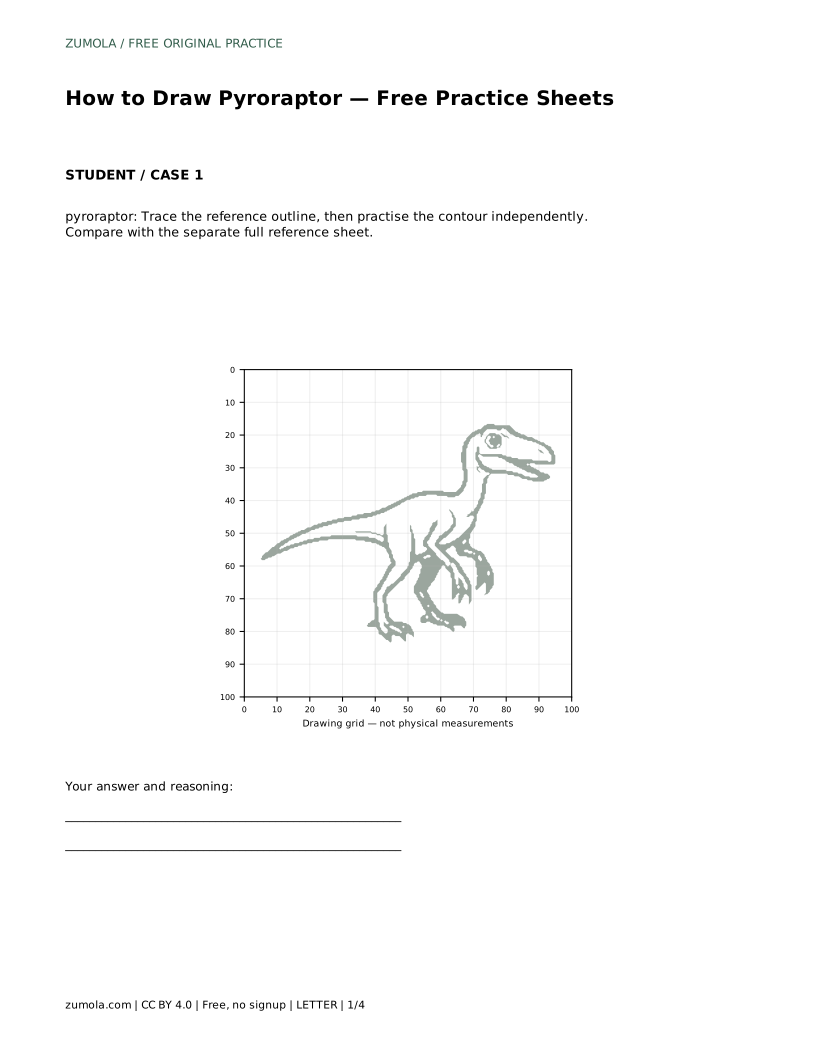
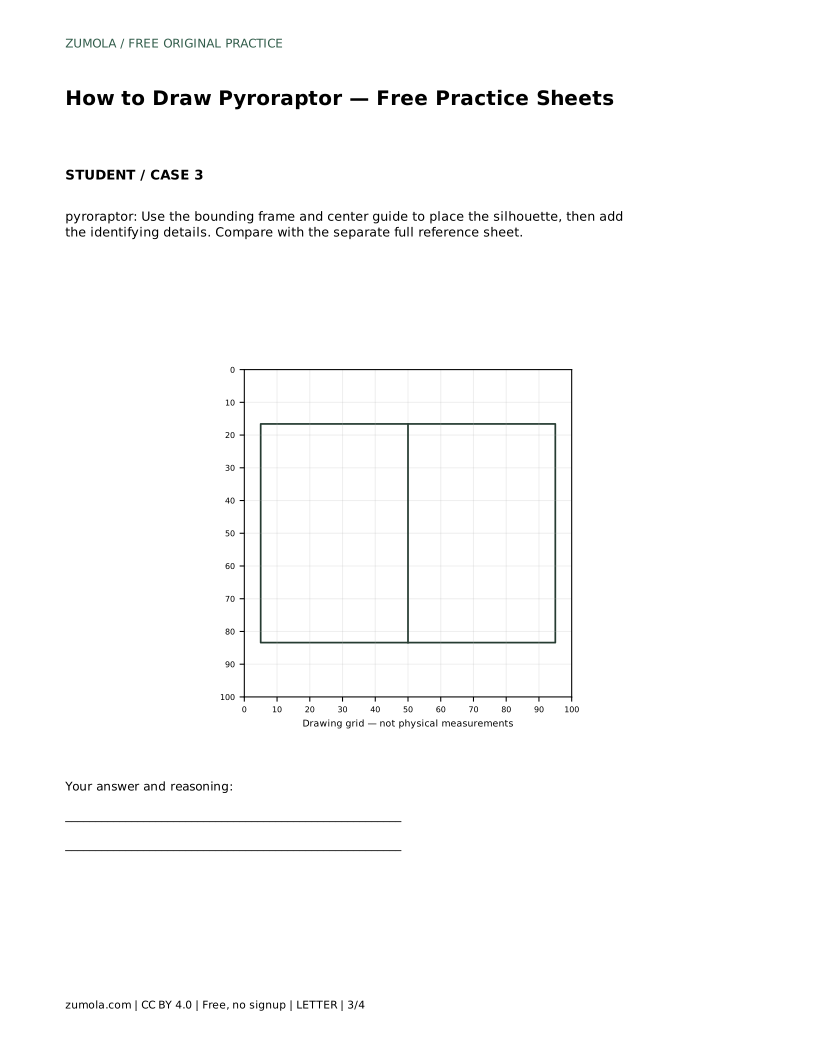
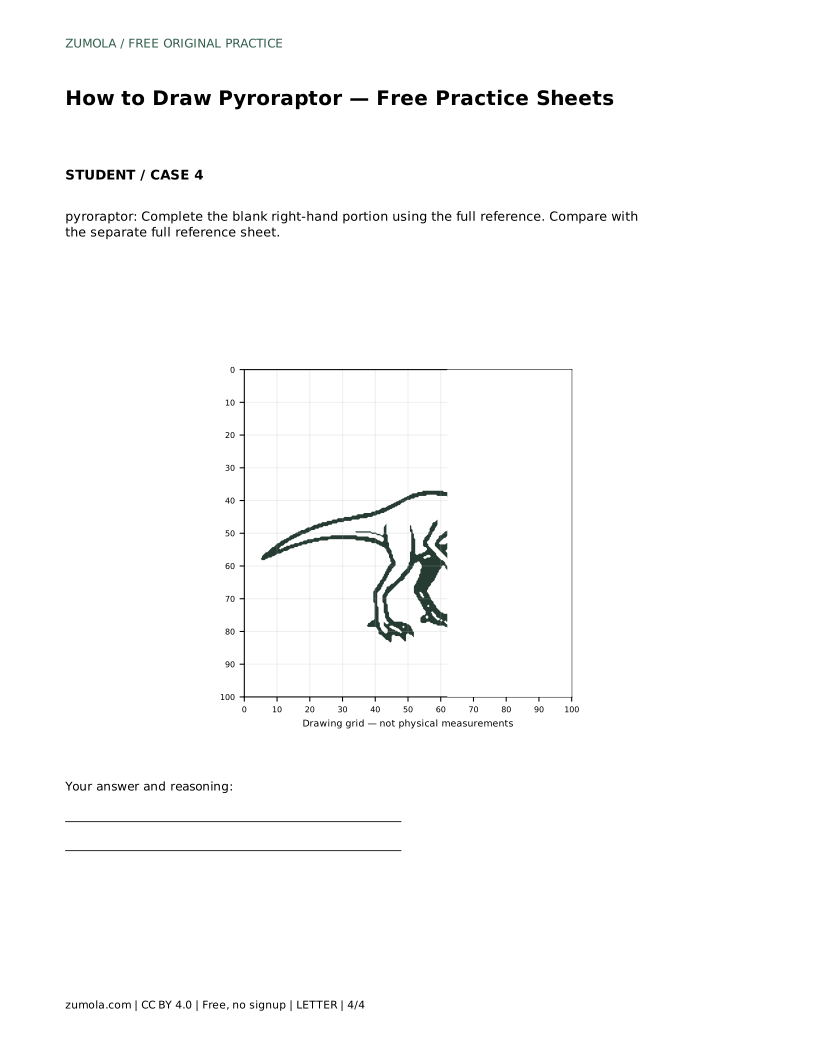
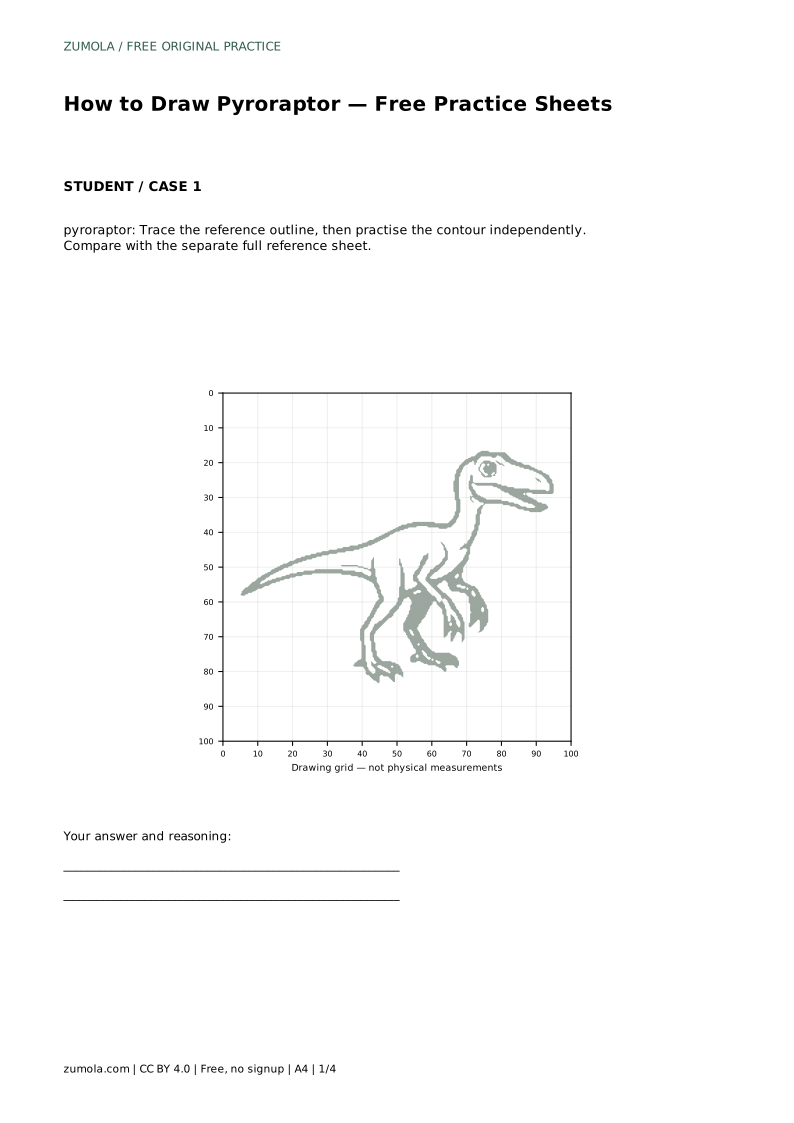
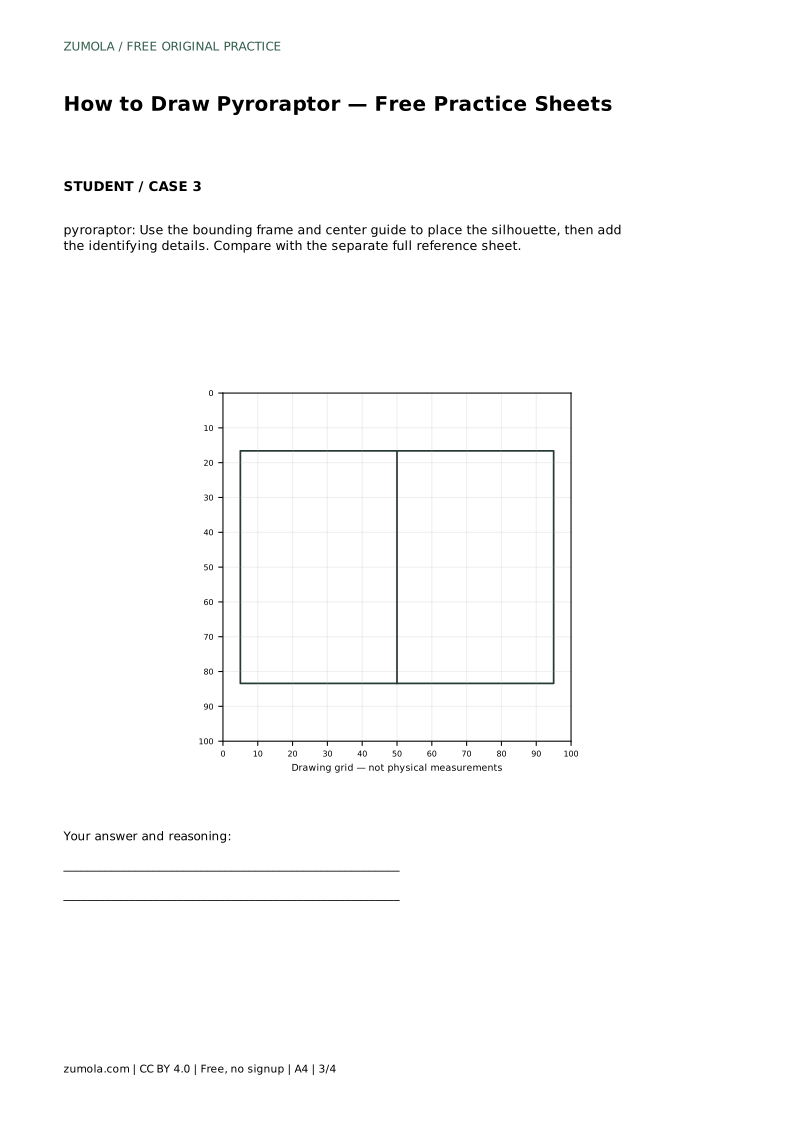
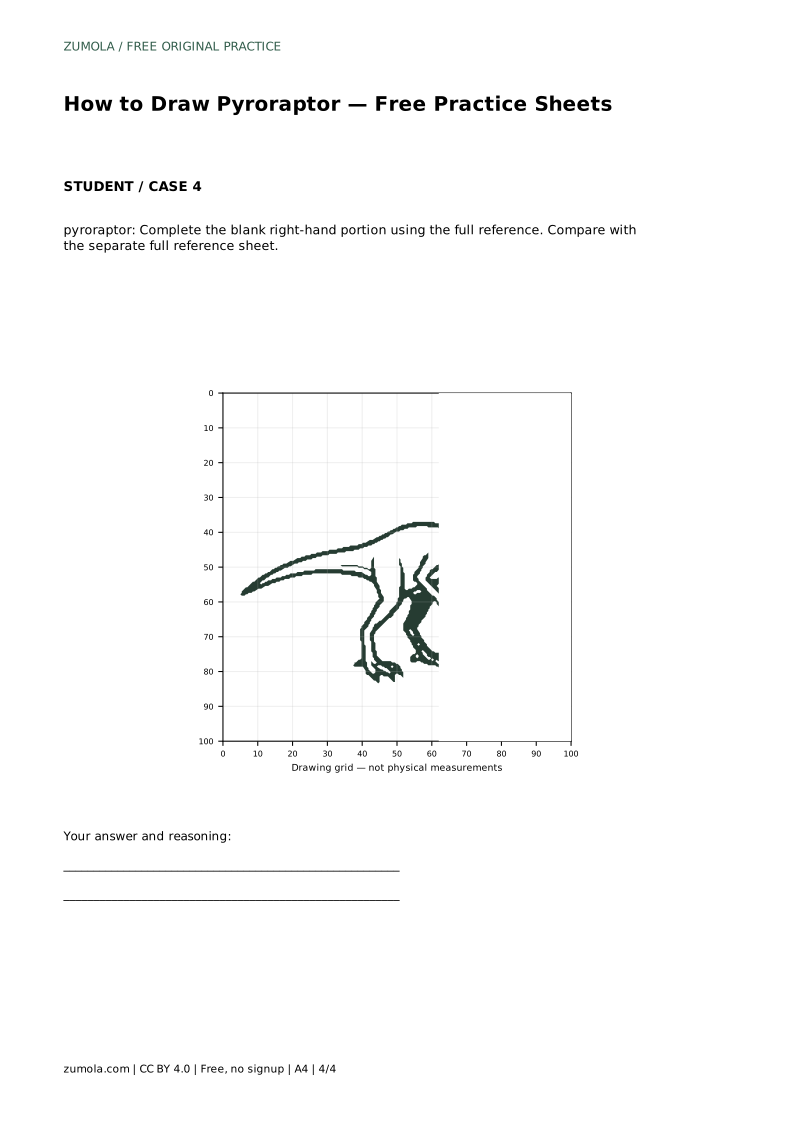
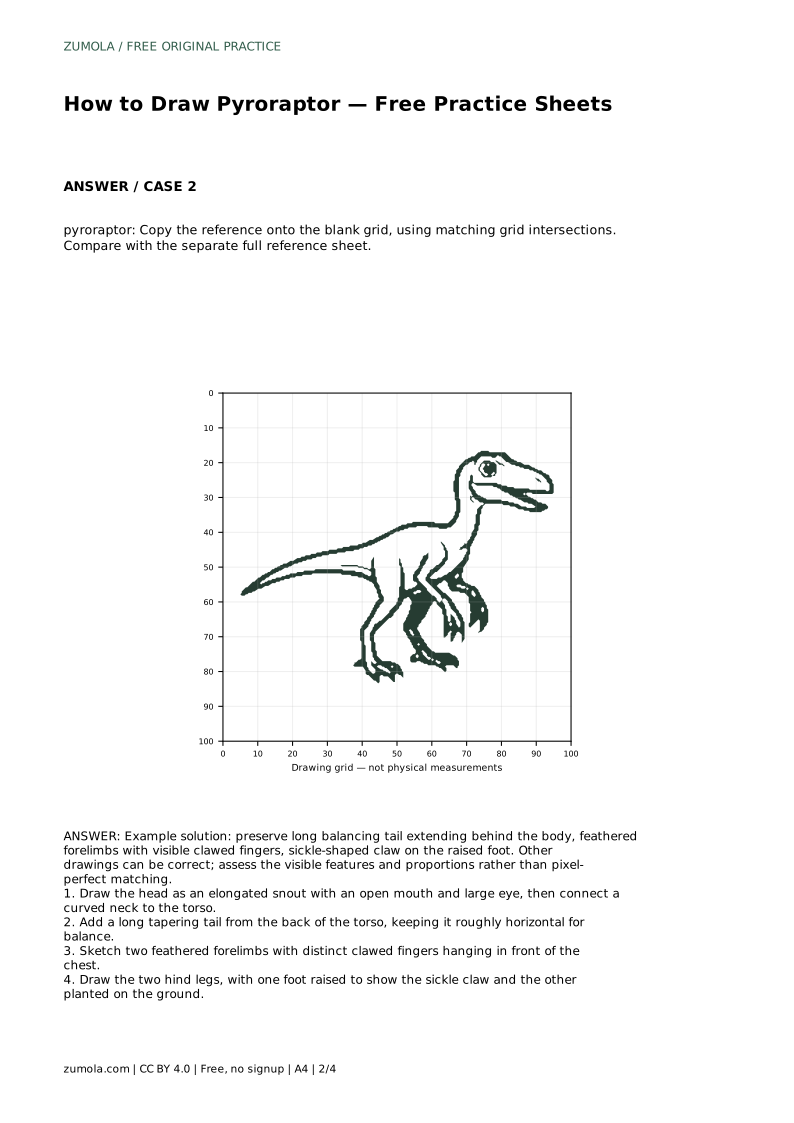
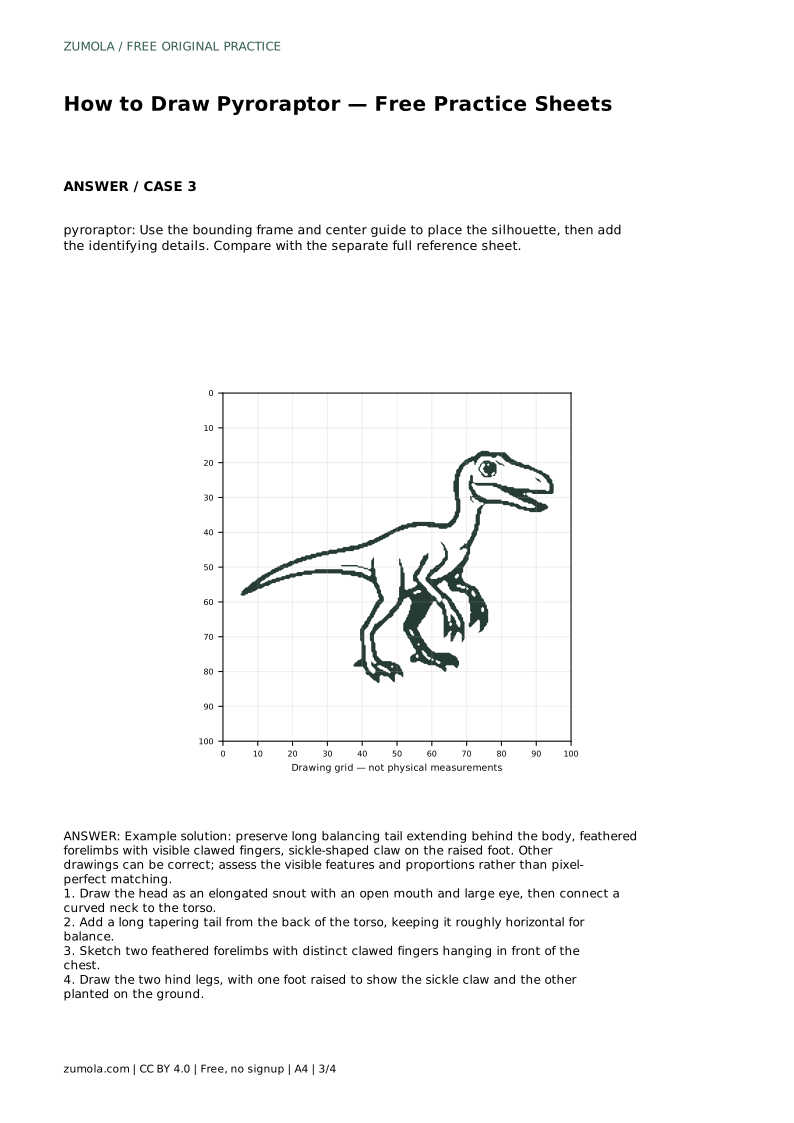
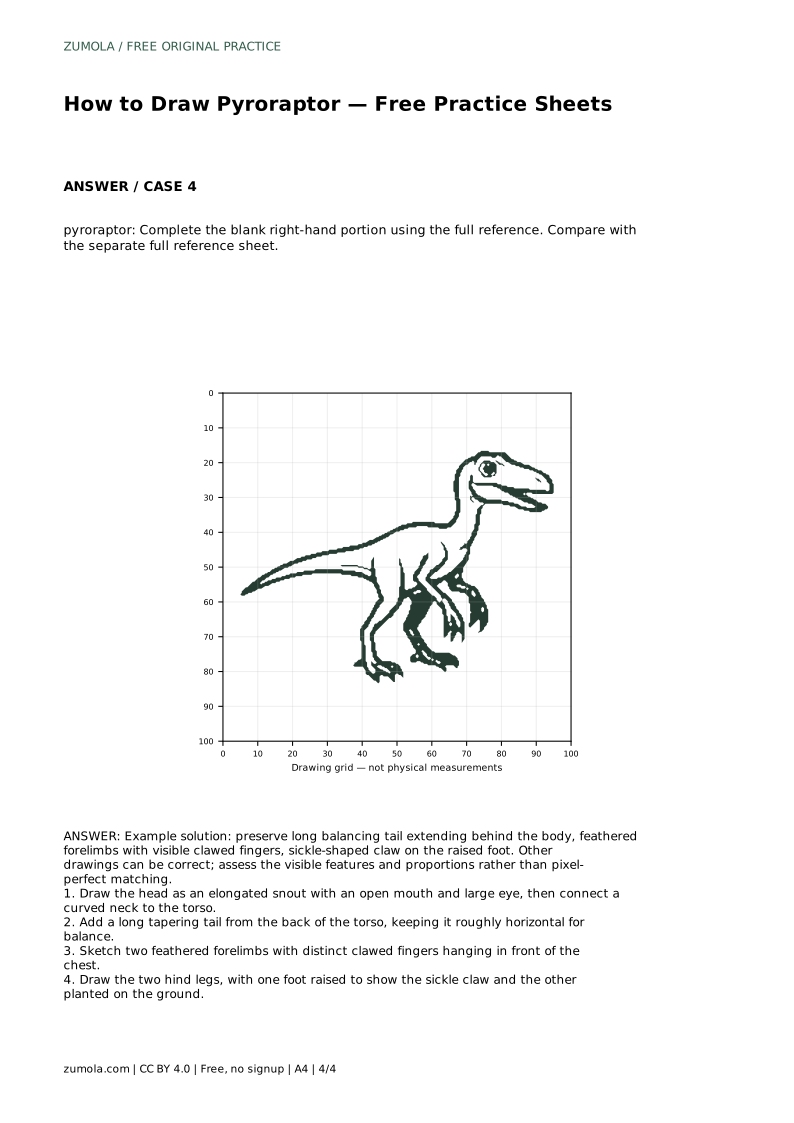
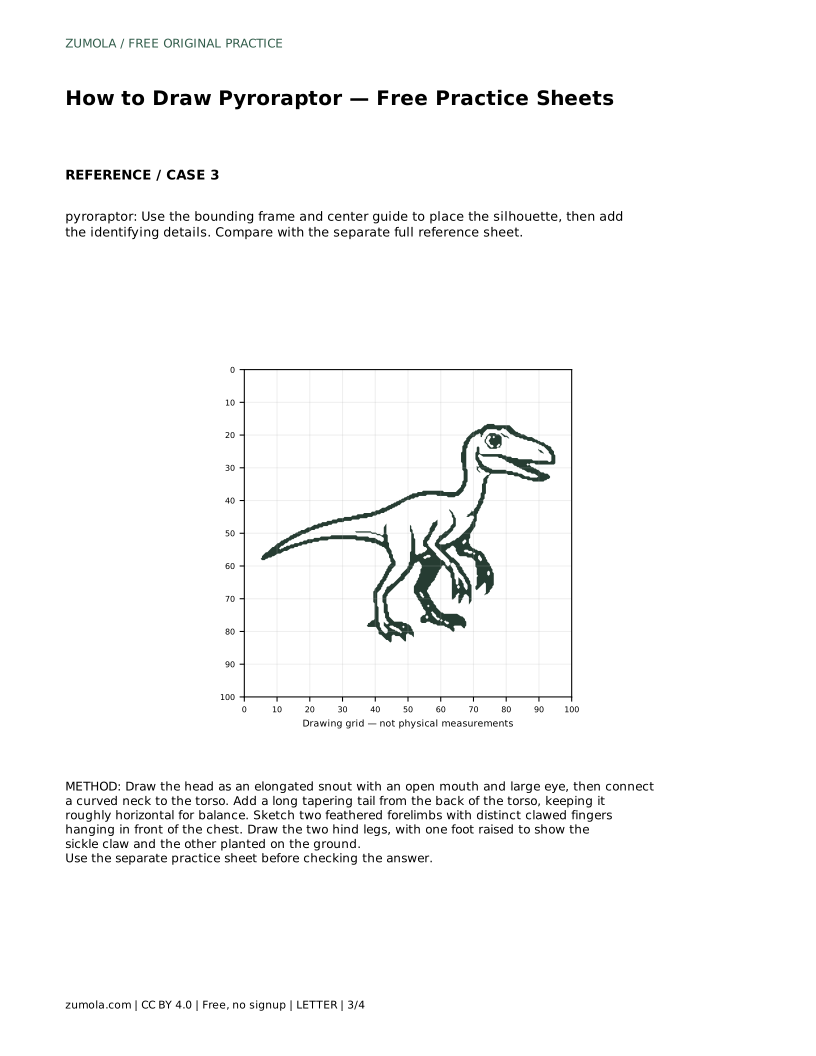
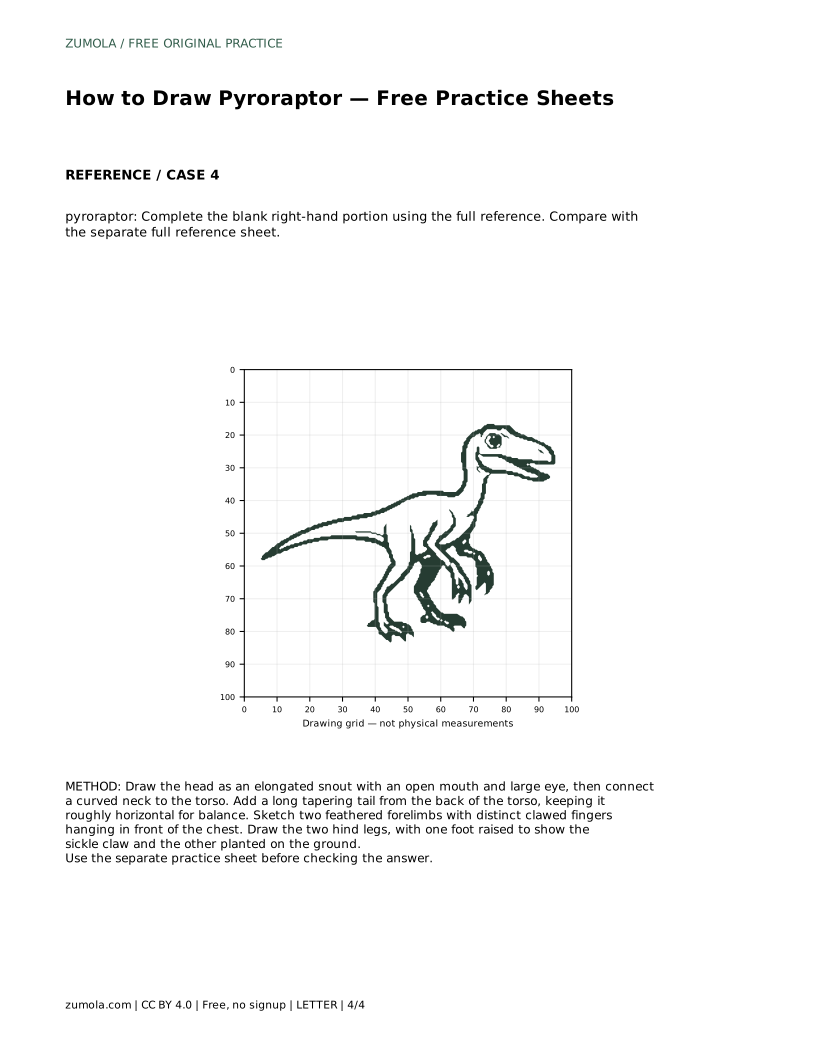
The tracing sheet asks you to follow the reference outline first, then practise the contour independently. The grid sheet asks you to copy the reference onto a blank grid using matching intersections. The bounding-frame sheet gives you a frame and center guide to place the silhouette before adding details. The partial-reference sheet gives you the full reference while you complete a blank right-hand portion.
Each sheet trains a different skill: tracing builds motor memory, grids build proportion judgement, frames build placement, and partial references build recall. Compare your finished drawing with the separate full reference sheet, but judge the visible features and proportions rather than exact line matching.
A finished Pyroraptor drawing can look many different ways and still be correct. Use a feature checklist instead of hunting for an exact answer. Ask whether the snout is elongated, the tail long and balancing, the forelimbs feathered with visible clawed fingers, and one foot raised with a sickle claw.
Proportions matter too: the tail should be long relative to the torso, and the raised foot should not look glued to the ground. If a feature is missing, redraw that section rather than starting over.
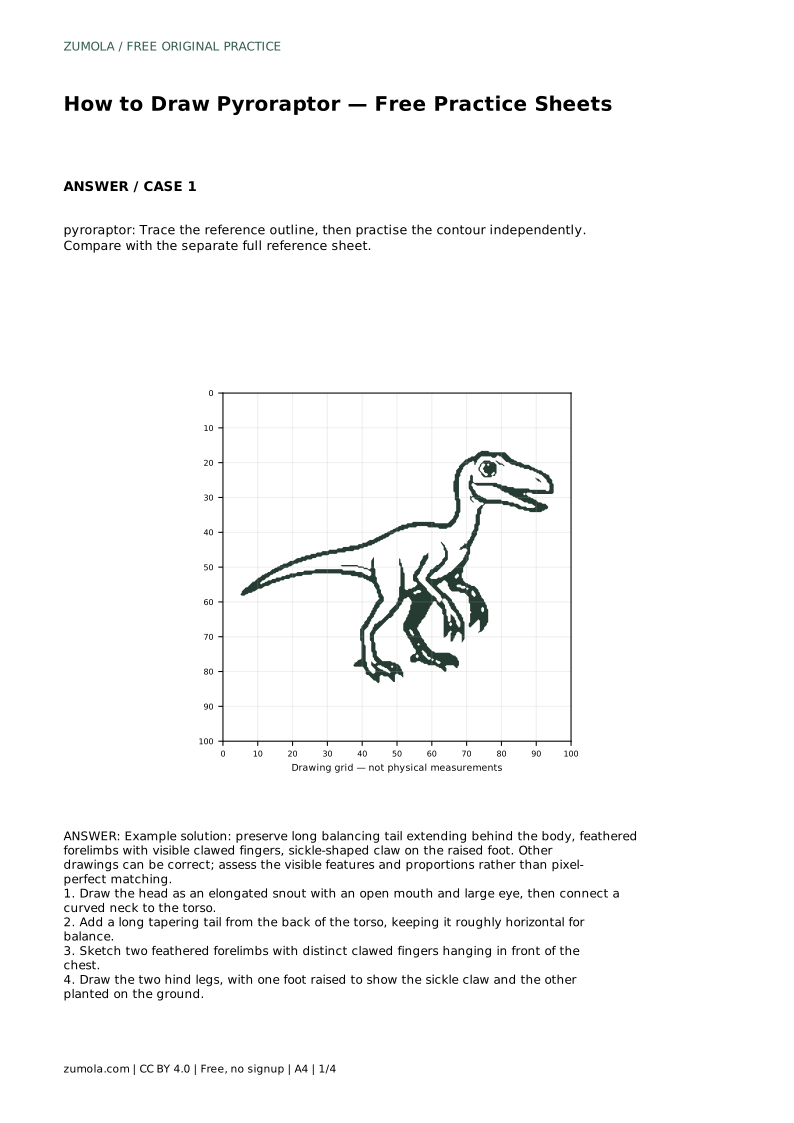
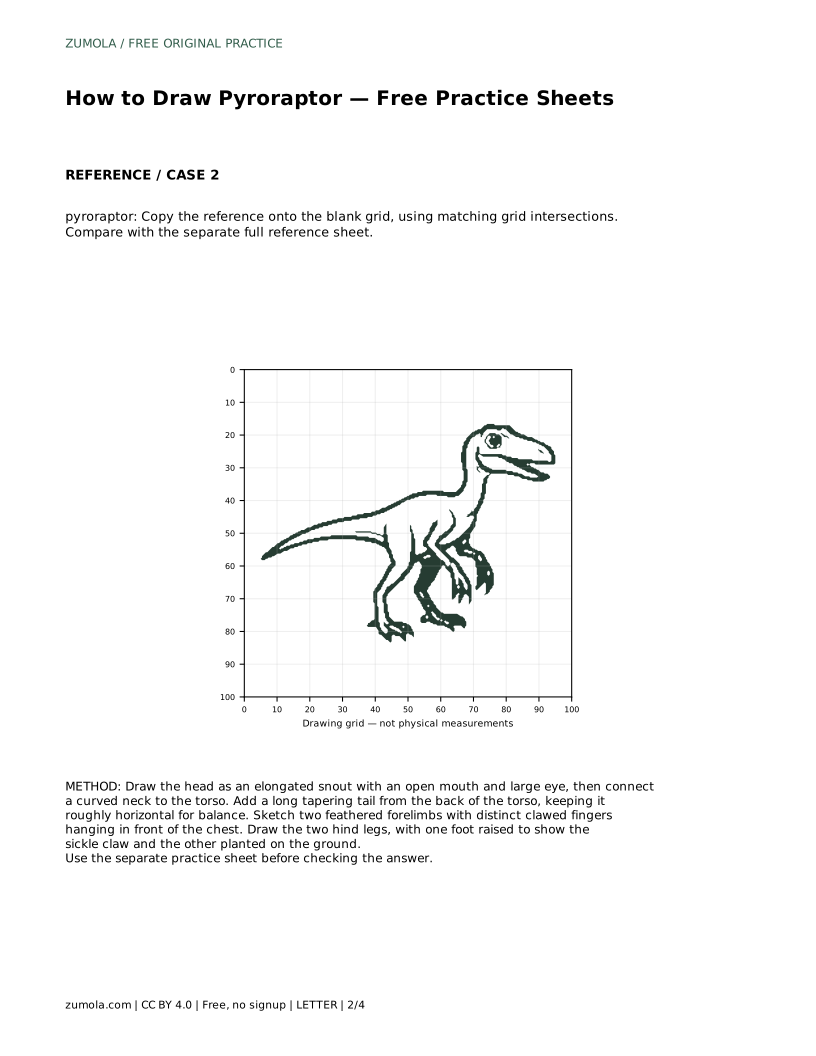
pyroraptor: Trace the reference outline, then practise the contour independently. Compare with the separate full reference sheet.
Example solution: preserve long balancing tail extending behind the body, feathered forelimbs with visible clawed fingers, sickle-shaped claw on the raised foot. Other drawings can be correct; assess the visible features and proportions rather than pixel-perfect matching. Draw the head as an elongated snout with an open mouth and large eye, then connect a curved neck to the torso. Add a long tapering tail from the back of the torso, keeping it roughly horizontal for balance. Sketch two feathered forelimbs with distinct clawed fingers hanging in front of the chest. Draw the two hind legs, with one foot raised to show the sickle claw and the other planted on the ground.
No. Pyroraptor drawings have multiple valid outcomes. Assess the visible features and proportions rather than pixel-perfect matching.
Start with the tracing sheet to learn the contour, then move to the grid or bounding-frame sheet to build independent placement.
Use the feature checklist: elongated snout, long horizontal tail, feathered forelimbs with clawed fingers, and a raised foot with a sickle claw. Fix the missing feature rather than restarting.
All drawing practice · Free coordinate paper
Original resources · CC BY 4.0 · Free for personal and classroom use with attribution.