Reference diagrams
LETTER · Download PDF
A4 · Download PDF
Free original resources
Learn to draw a raven by building a tilted body, thick hooked beak, layered wing, and wedge tail. Practice with tracing, grid, frame, and partial-reference sheets.
Four original cases, with reference diagrams, practice sheets and worked answers. Everything is free; no signup required.
LETTER · Download PDF
A4 · Download PDF
LETTER · Download PDF
A4 · Download PDF
LETTER · Download PDF
A4 · Download PDF
Use A4 or US Letter to match your printer. Use the stated values and conditions to solve each exercise; diagrams are not physical measuring rulers.
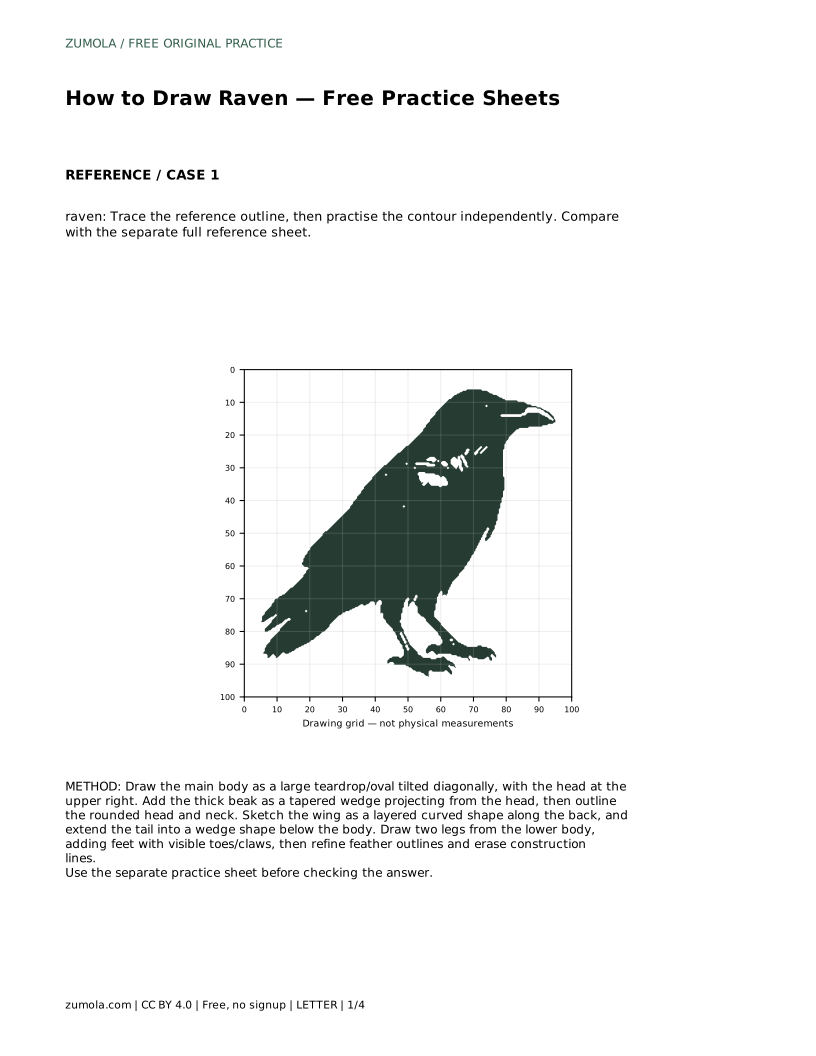
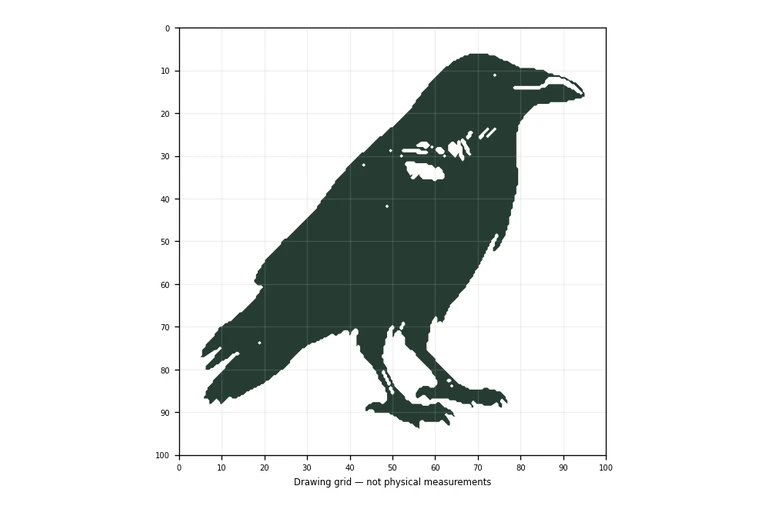
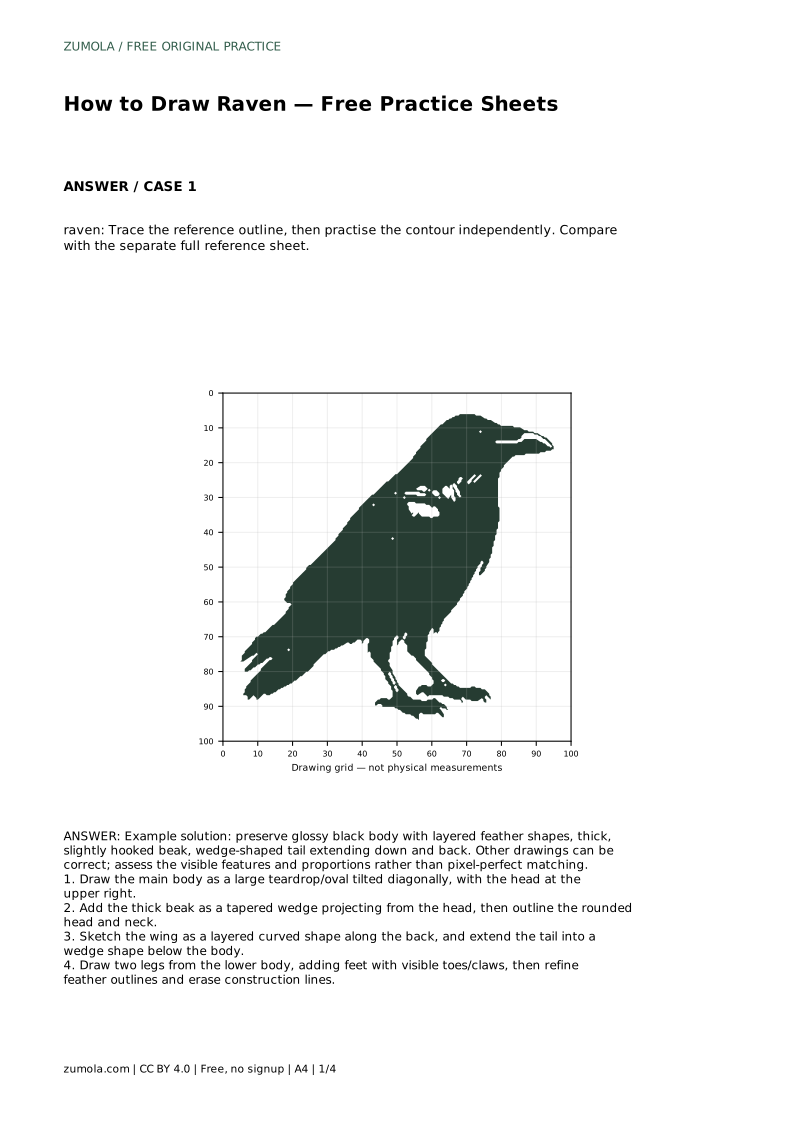
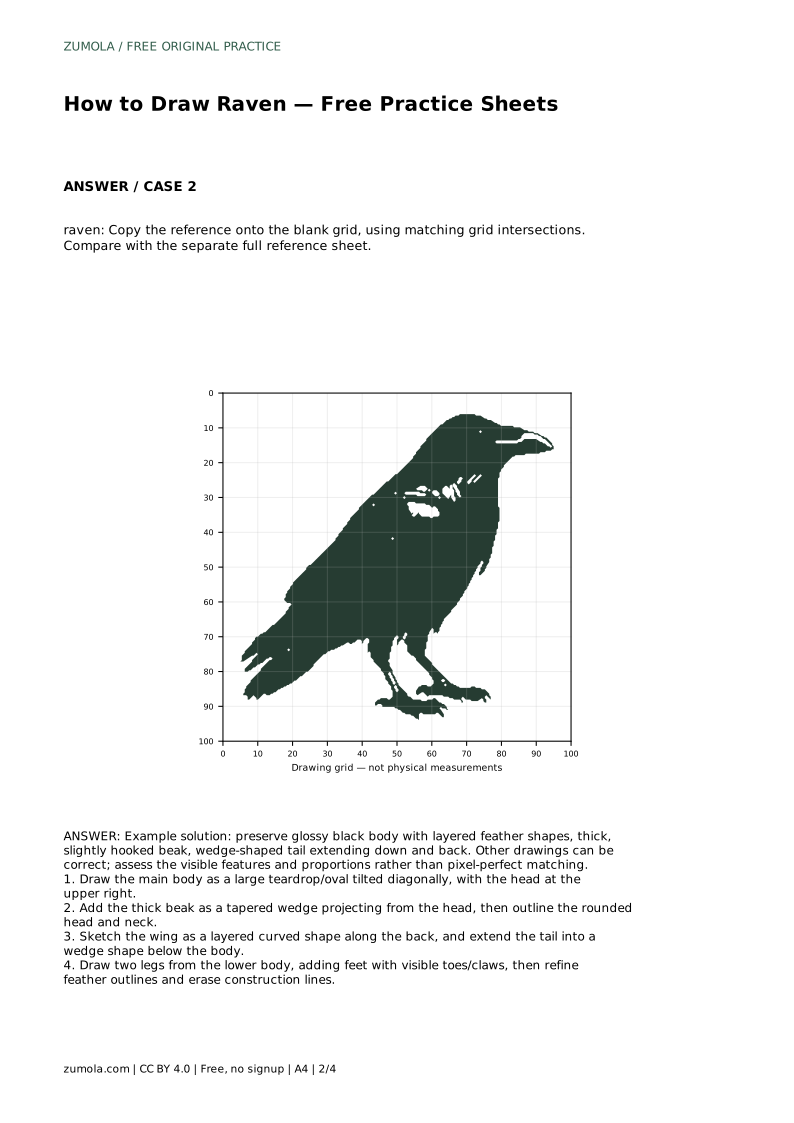
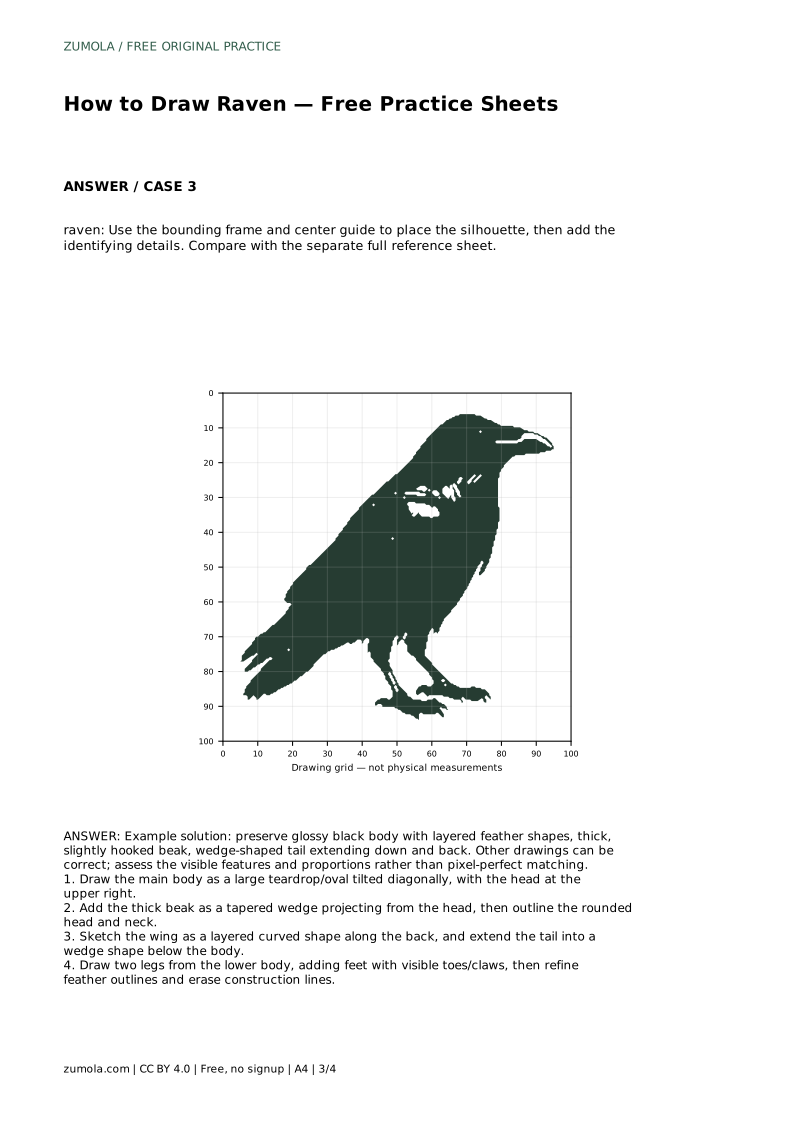
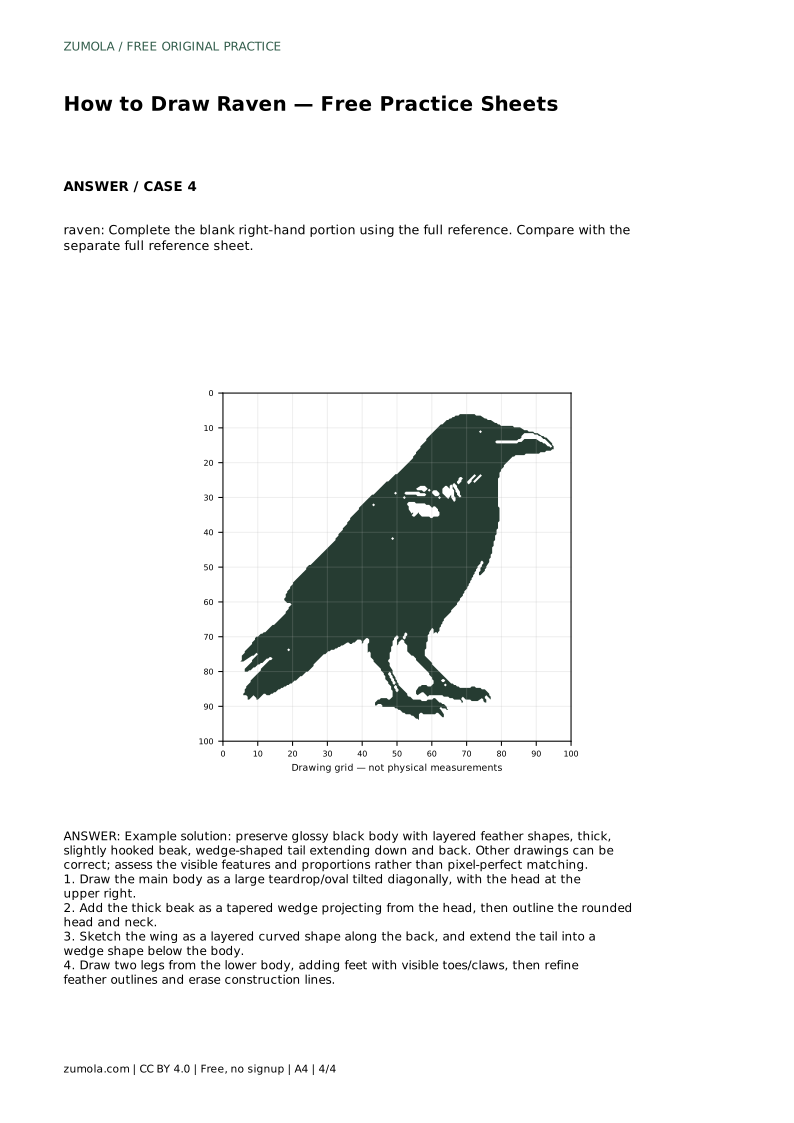
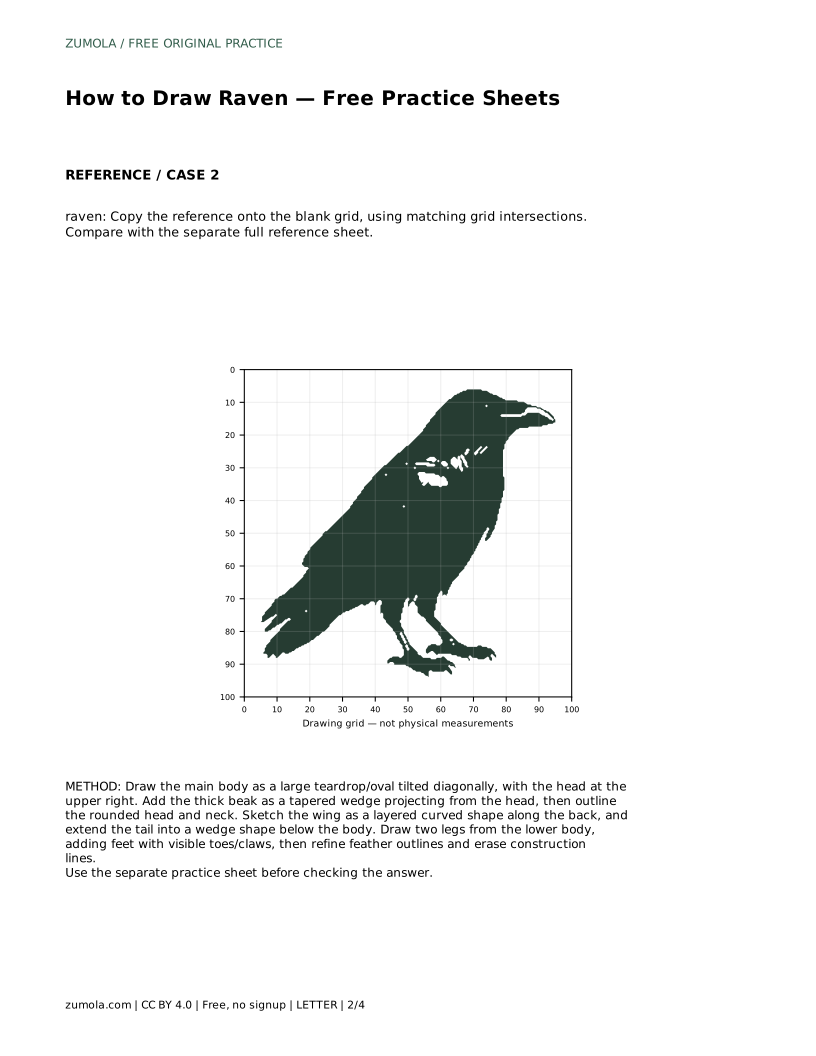
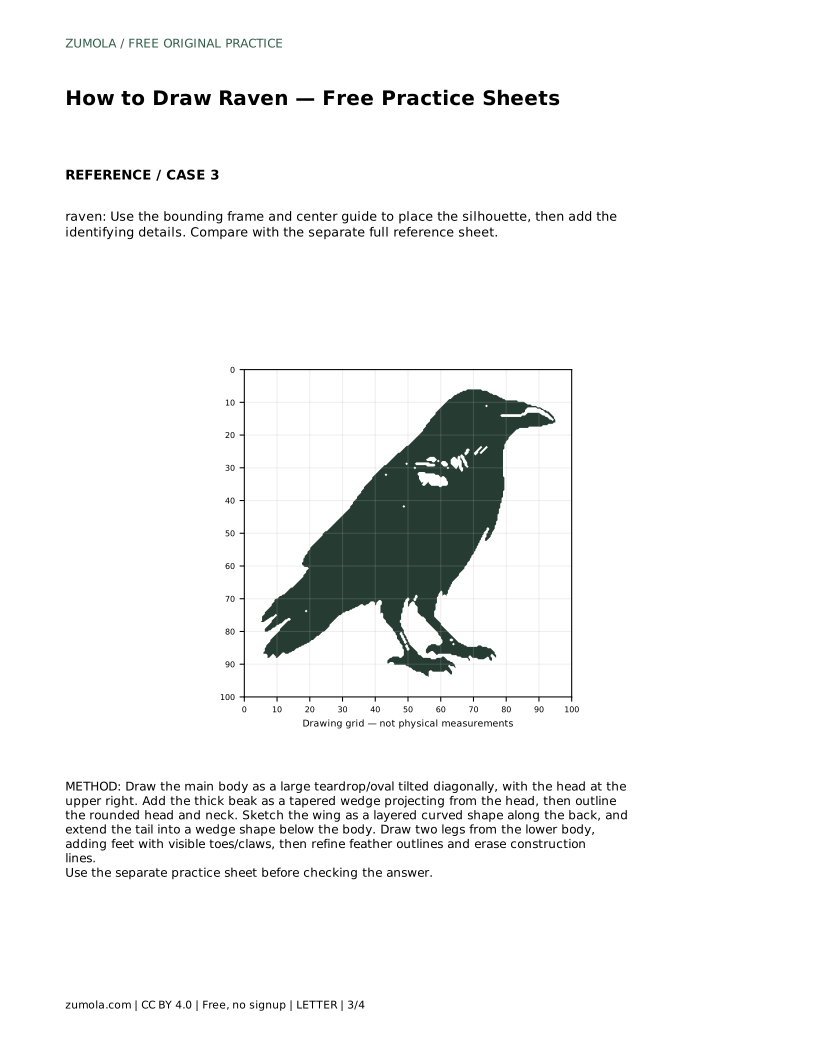
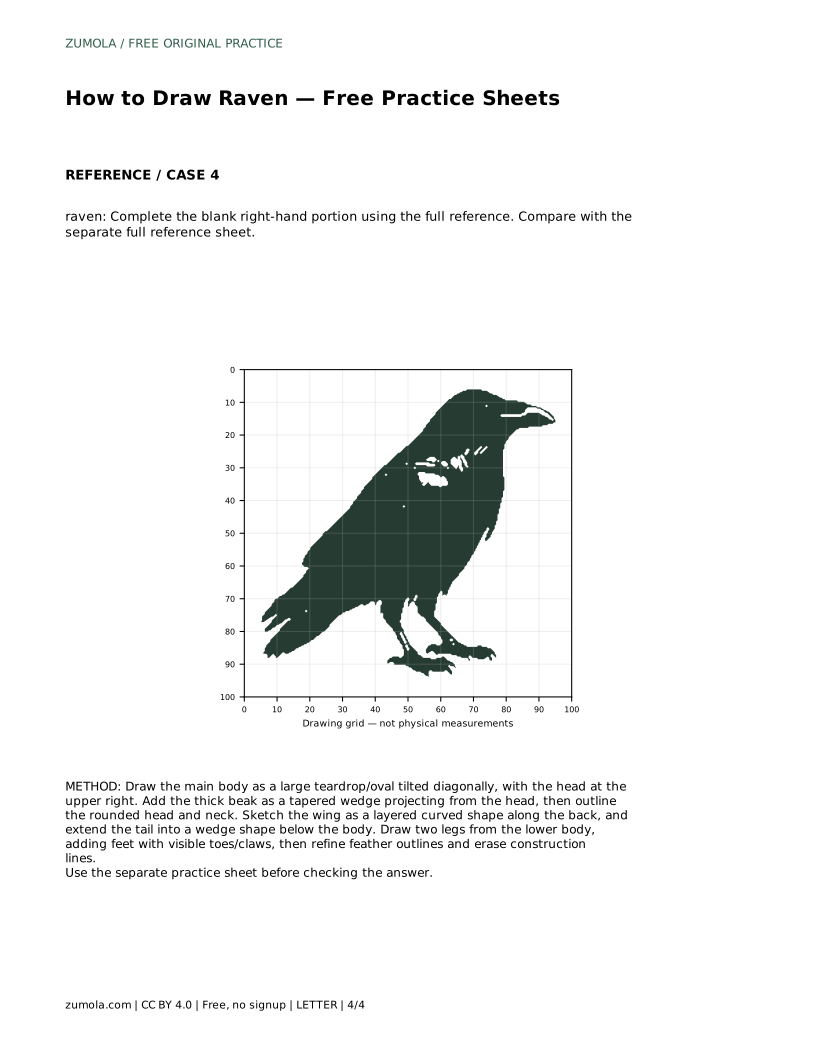
A raven is recognizable by its heavy, slightly hooked beak, glossy black body, layered wing feathers, and long wedge-shaped tail. This page teaches a construction method you can use on any of the free practice sheets: start with a tilted teardrop body, place the head and beak, add the wing and tail, then refine feather outlines and remove construction lines. Because drawings can vary, judge your work by visible features and proportions rather than an exact match.
Begin with the largest shape: a teardrop or oval tilted diagonally, with the head end at the upper right. This single shape sets the bird's overall mass and lean. Keep your lines light so they can be erased later.
Next, attach the beak as a tapered wedge projecting from the head, then outline the rounded head and neck. The beak should look thick and slightly hooked, not thin or pointed like a songbird's. After the head reads clearly, sketch the wing as a layered curved shape along the back and extend the tail into a wedge below the body.
Finally, draw two legs from the lower body and add feet with visible toes or claws. Refine the feather outlines in layers, then erase the construction lines. Work from big shapes to small details so the silhouette stays convincing.
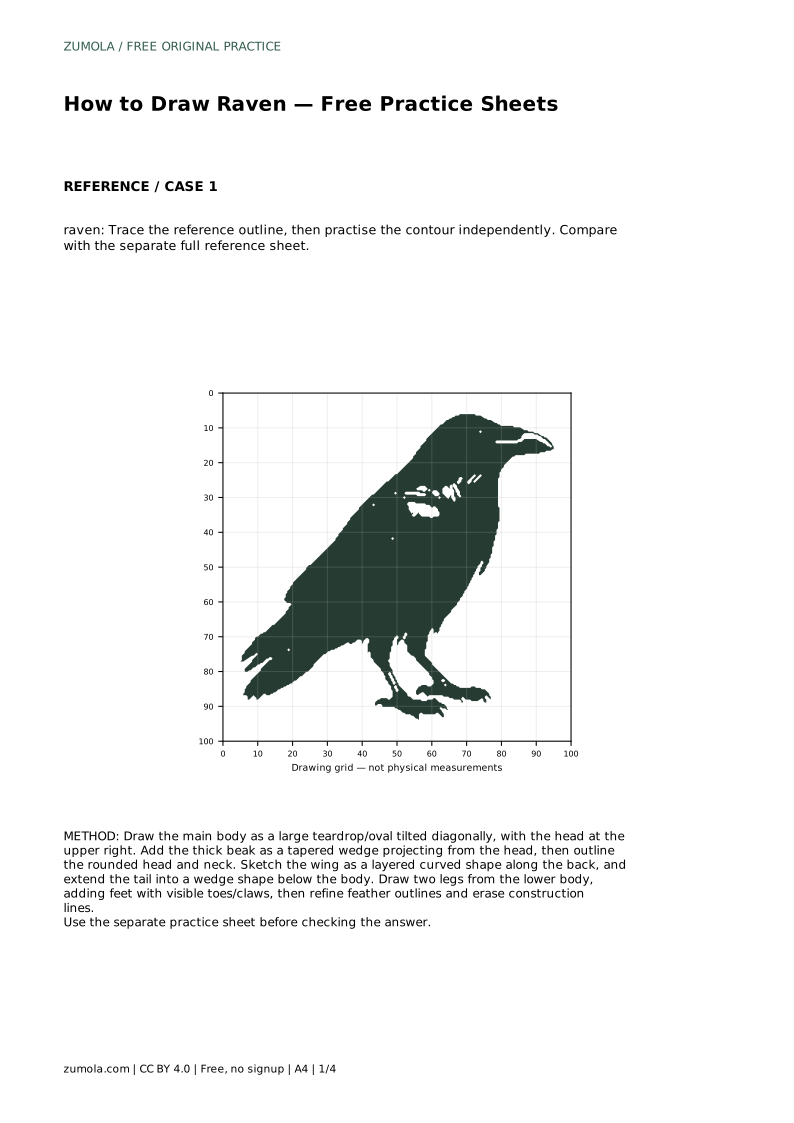
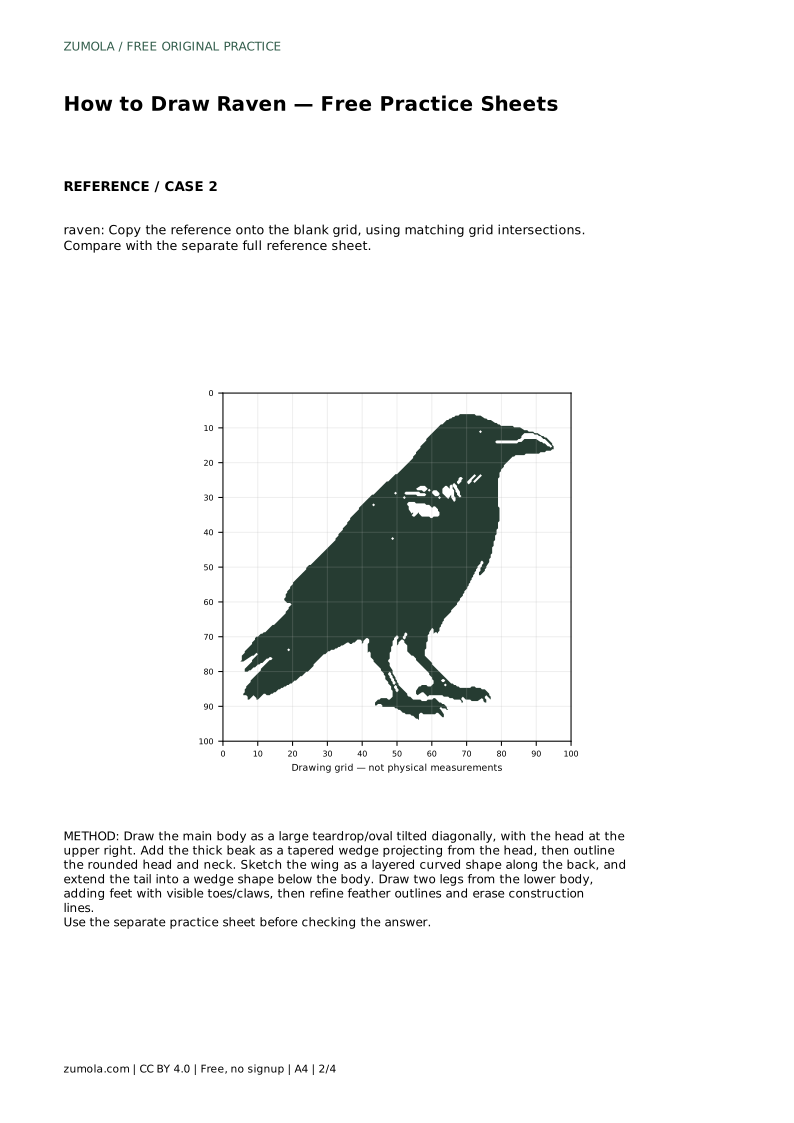
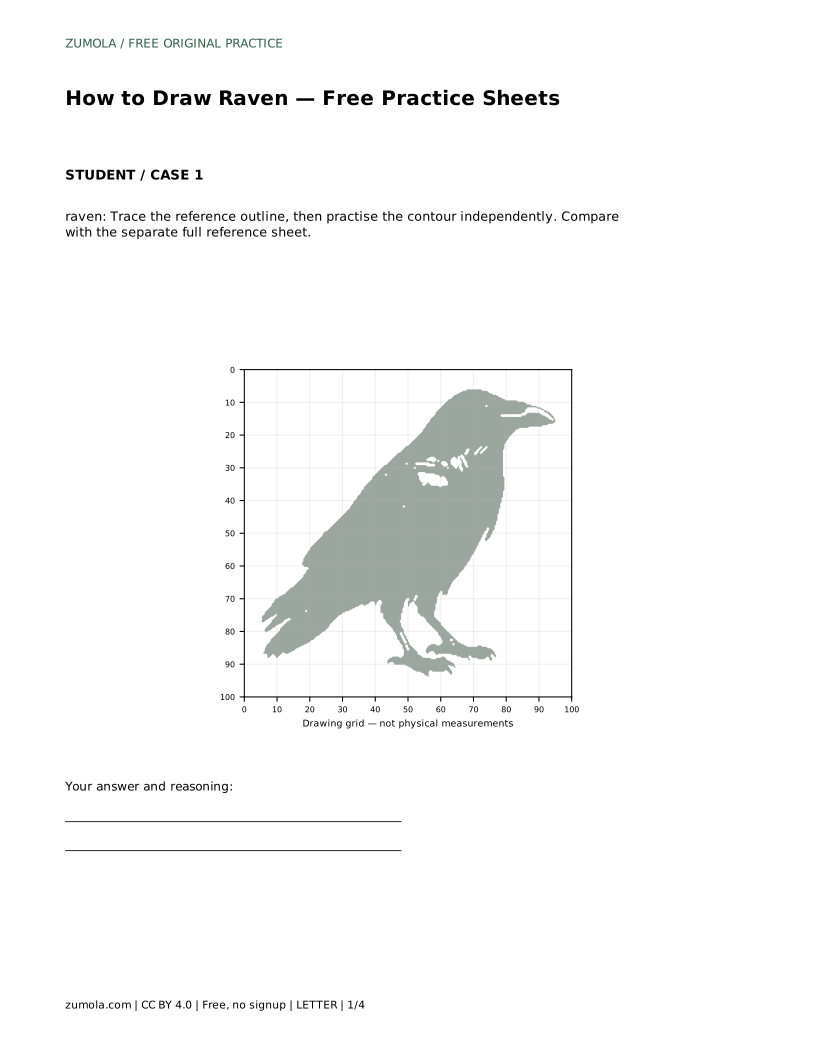
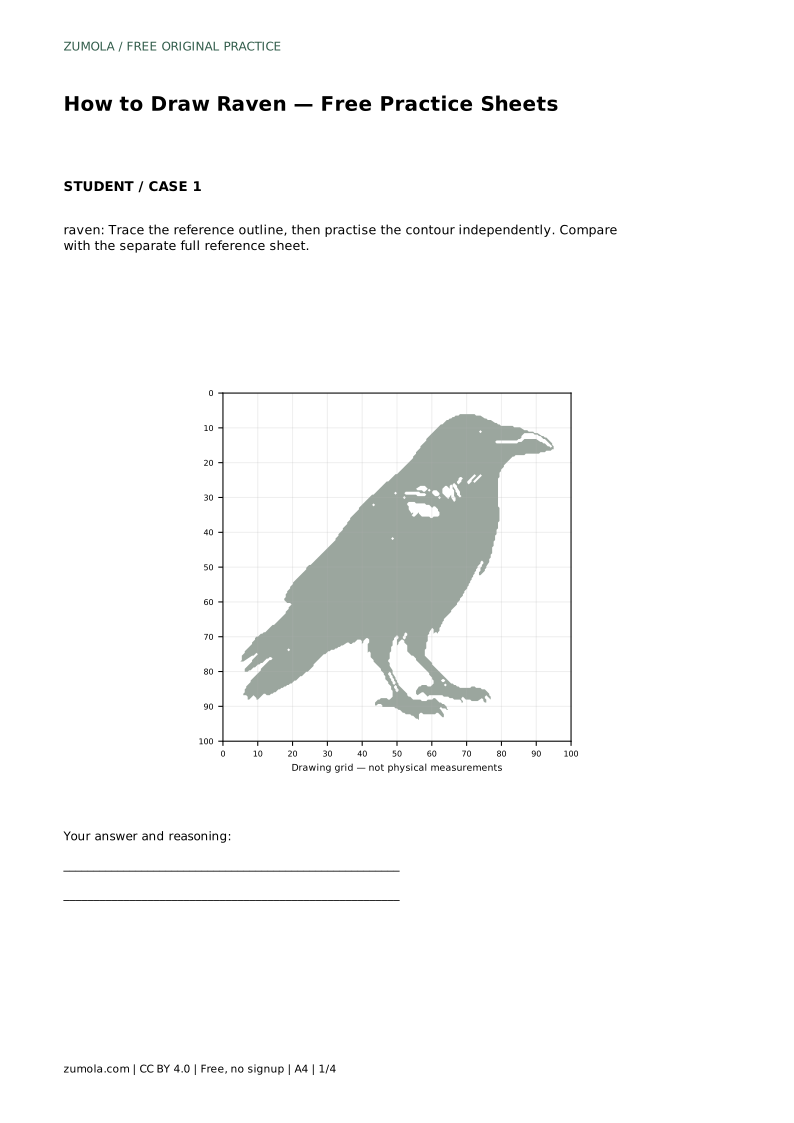
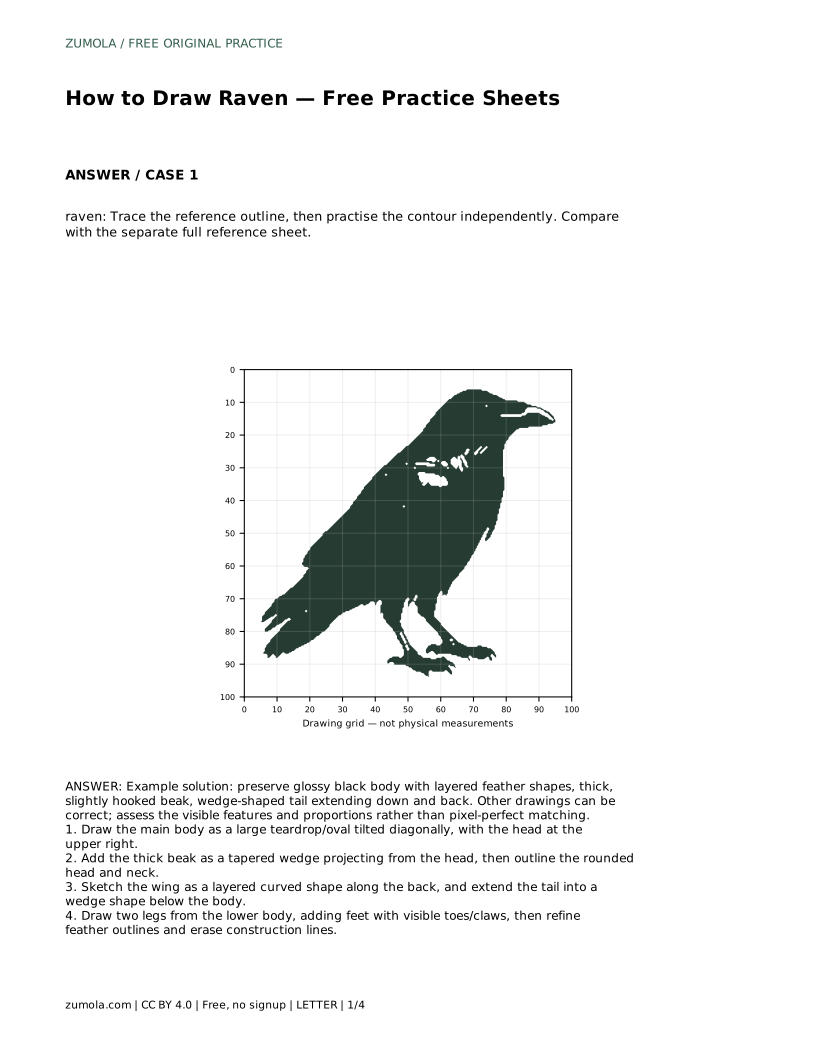
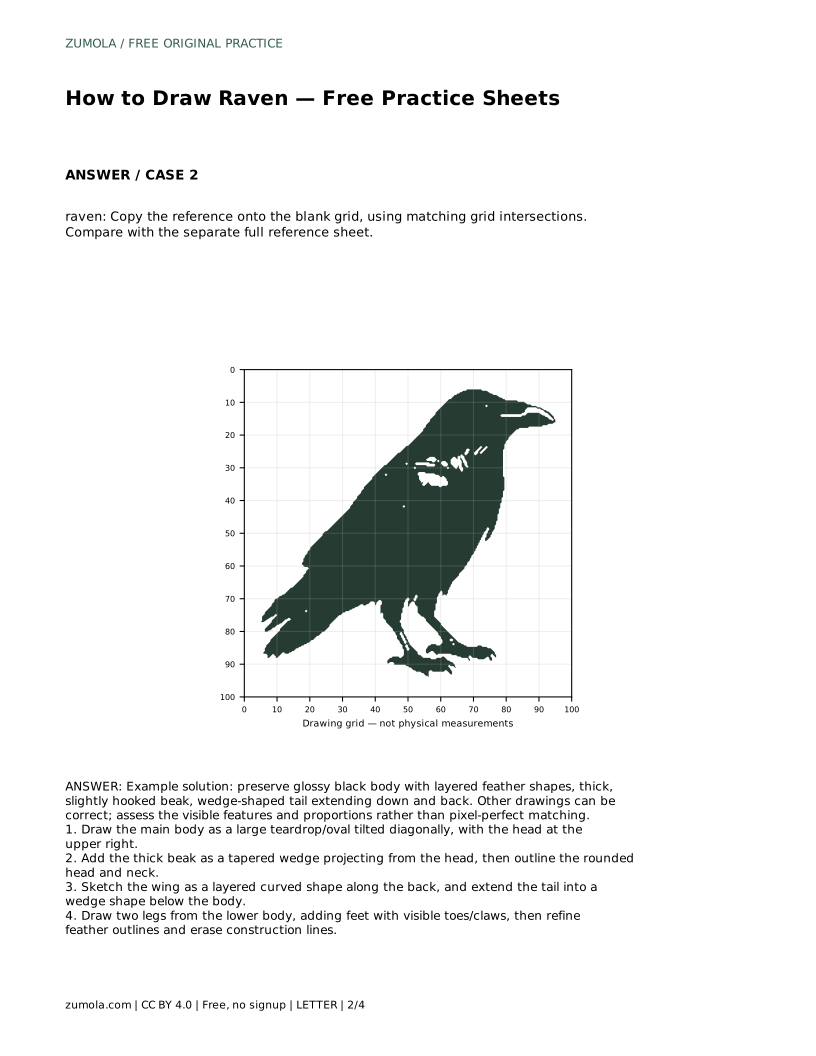
The tracing sheet asks you to follow the reference outline first, then practise the contour independently. Compare your result with the separate full reference sheet. The grid sheet asks you to copy the reference onto the blank grid using matching grid intersections, which helps you check placement and proportion.
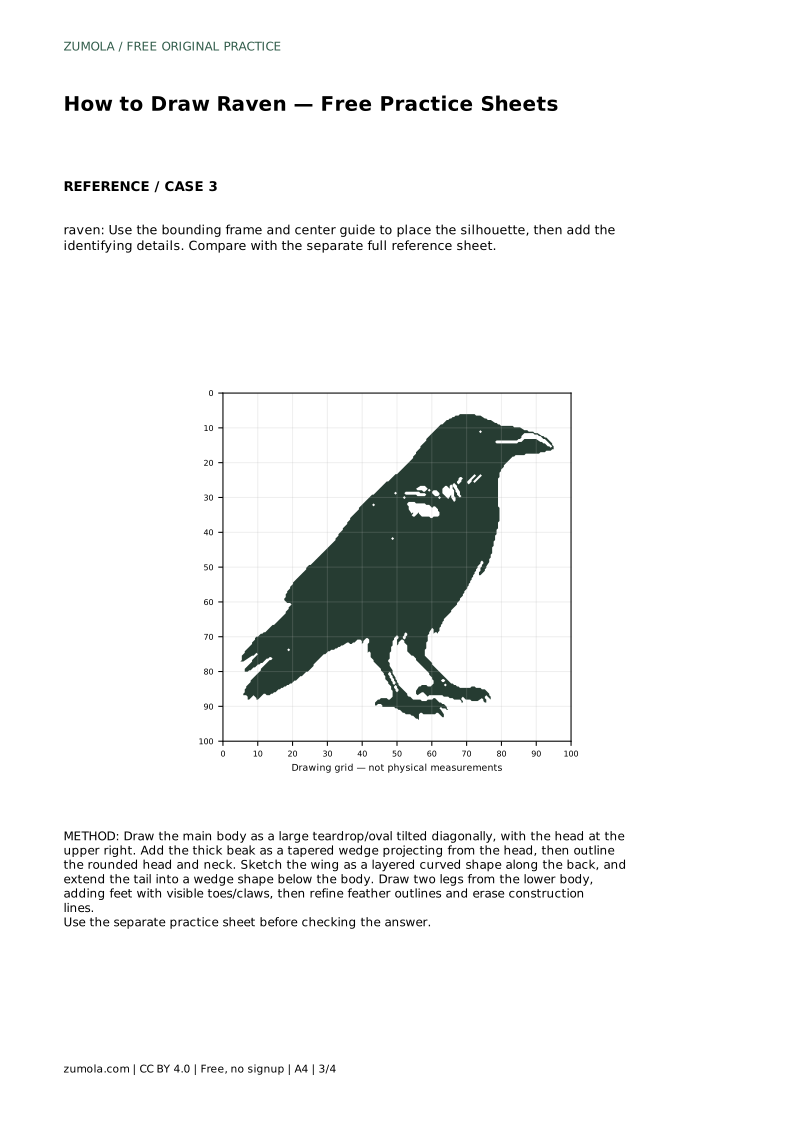
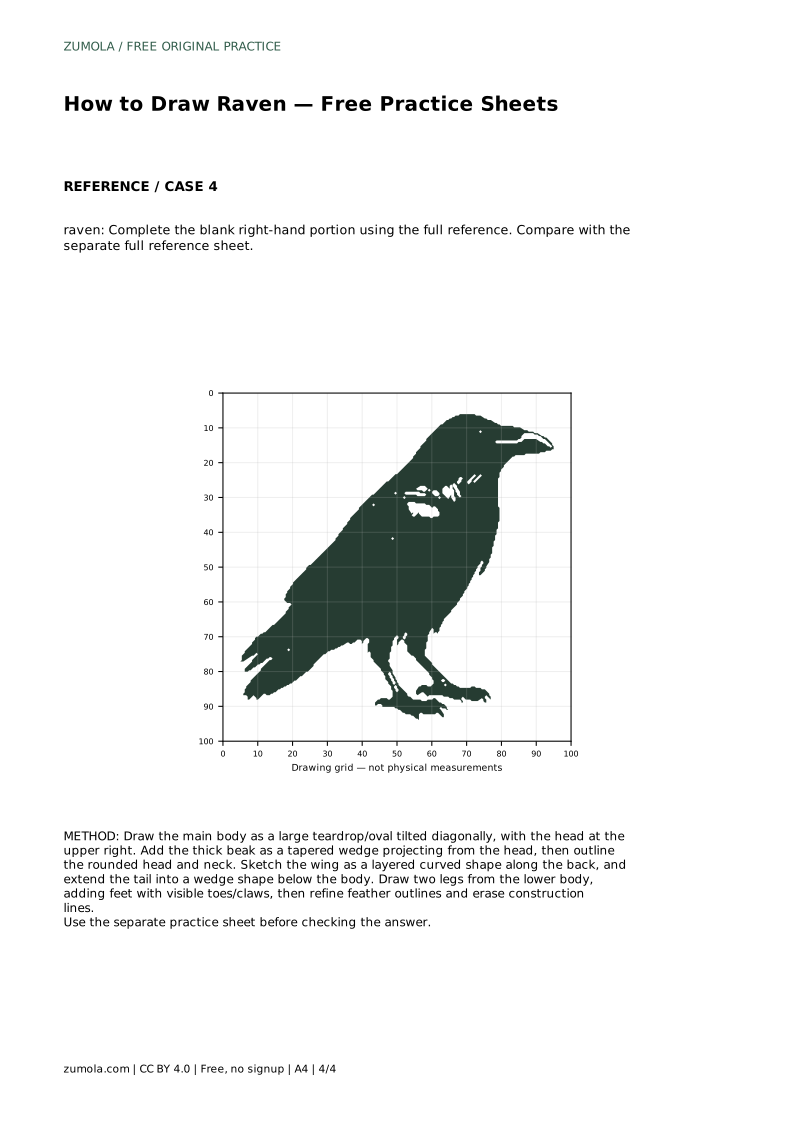
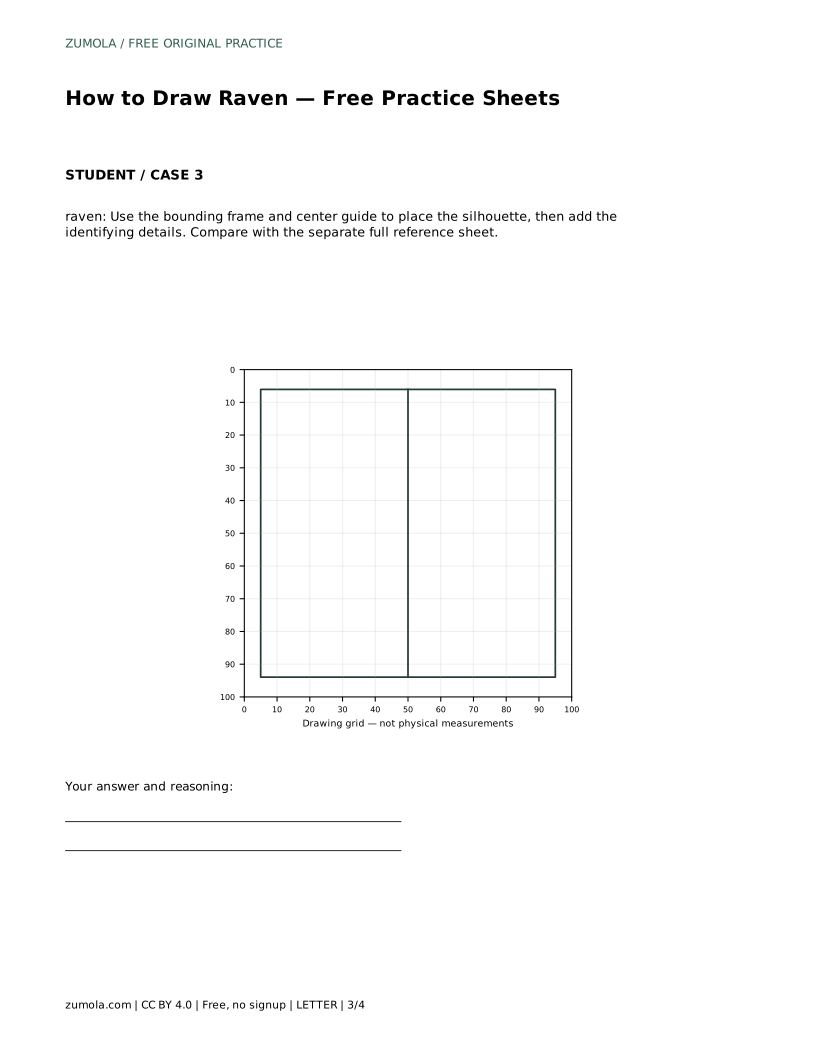
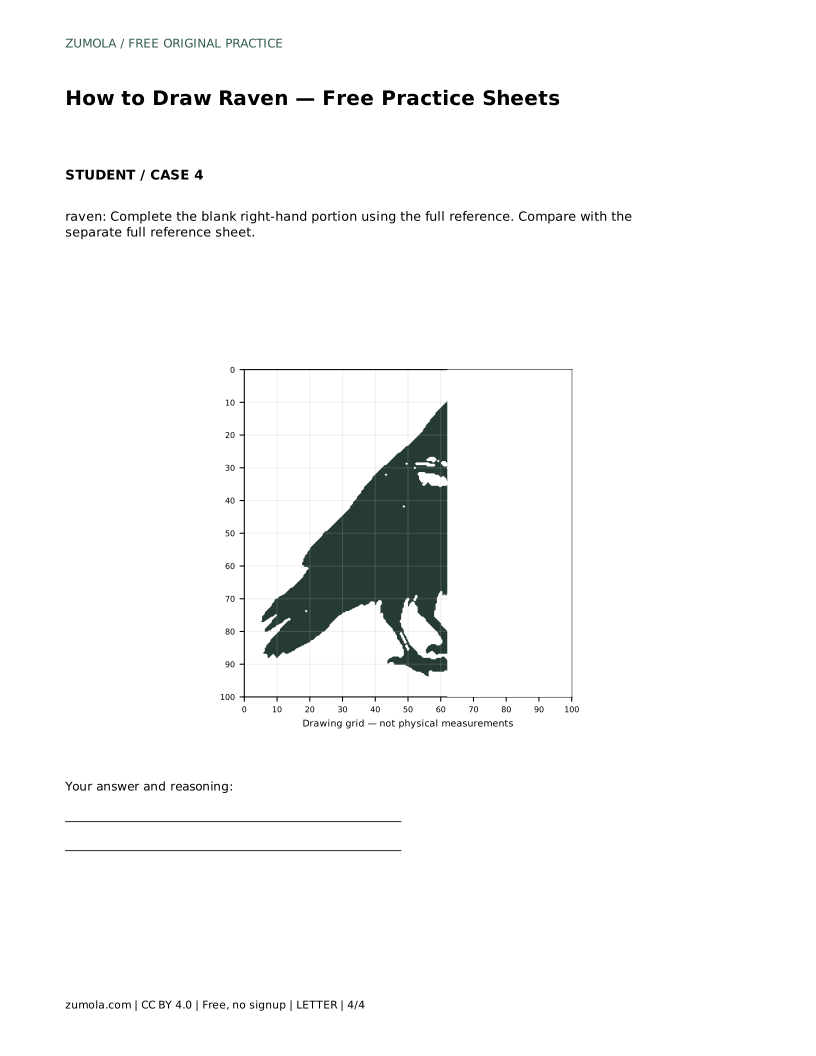
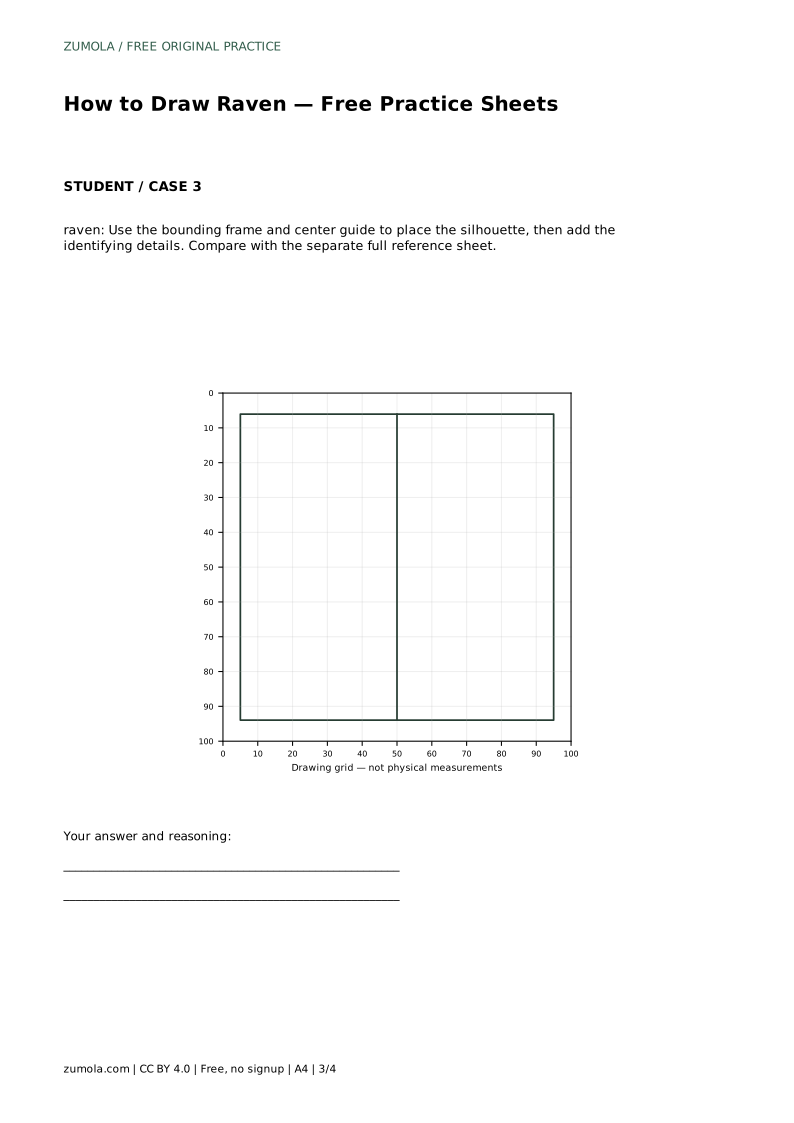
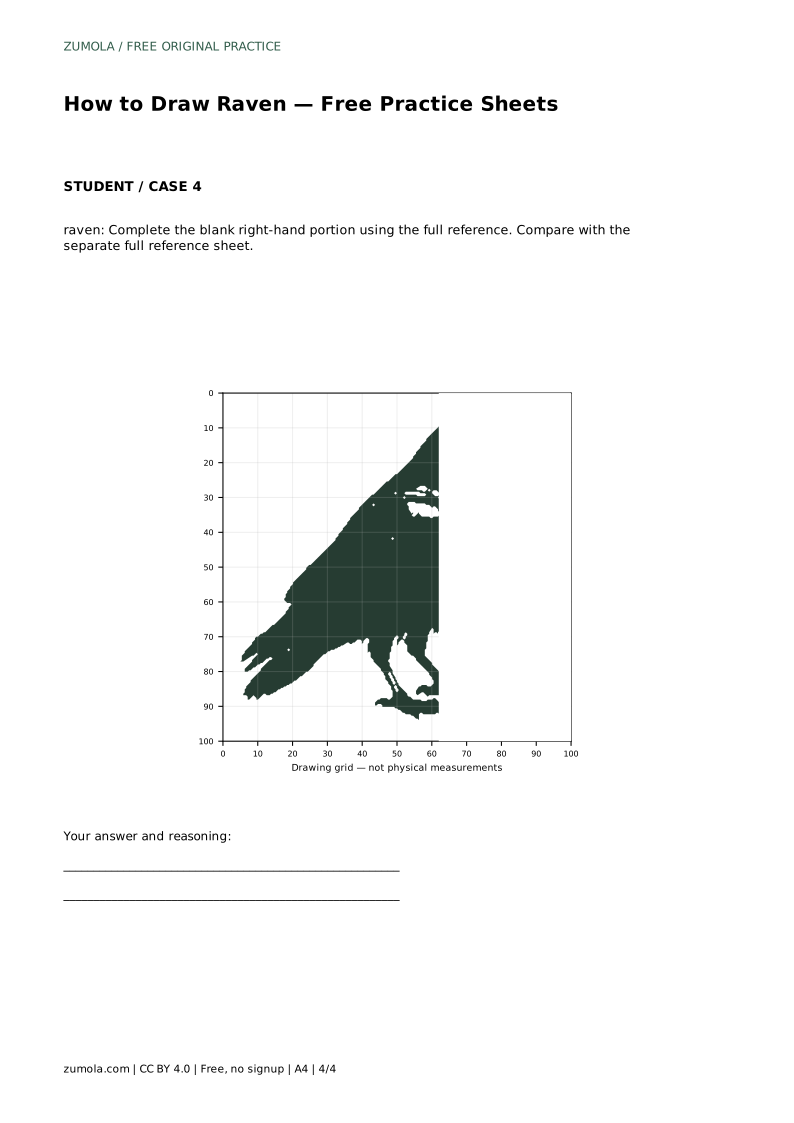
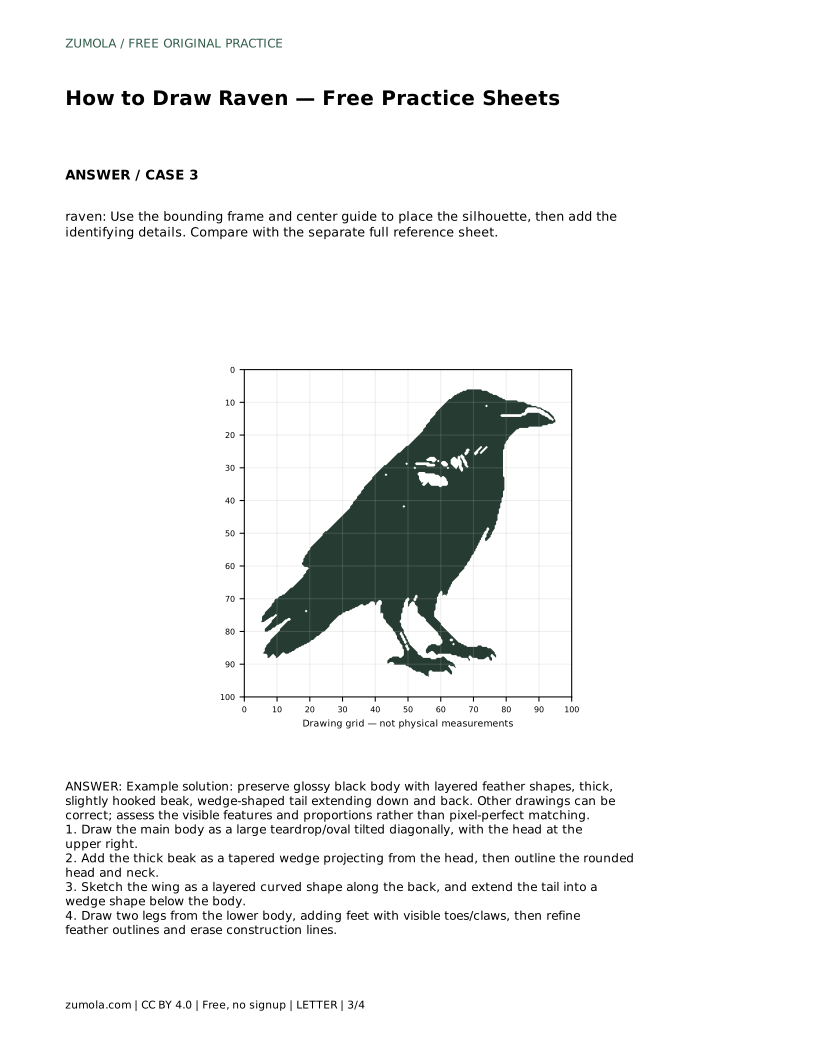
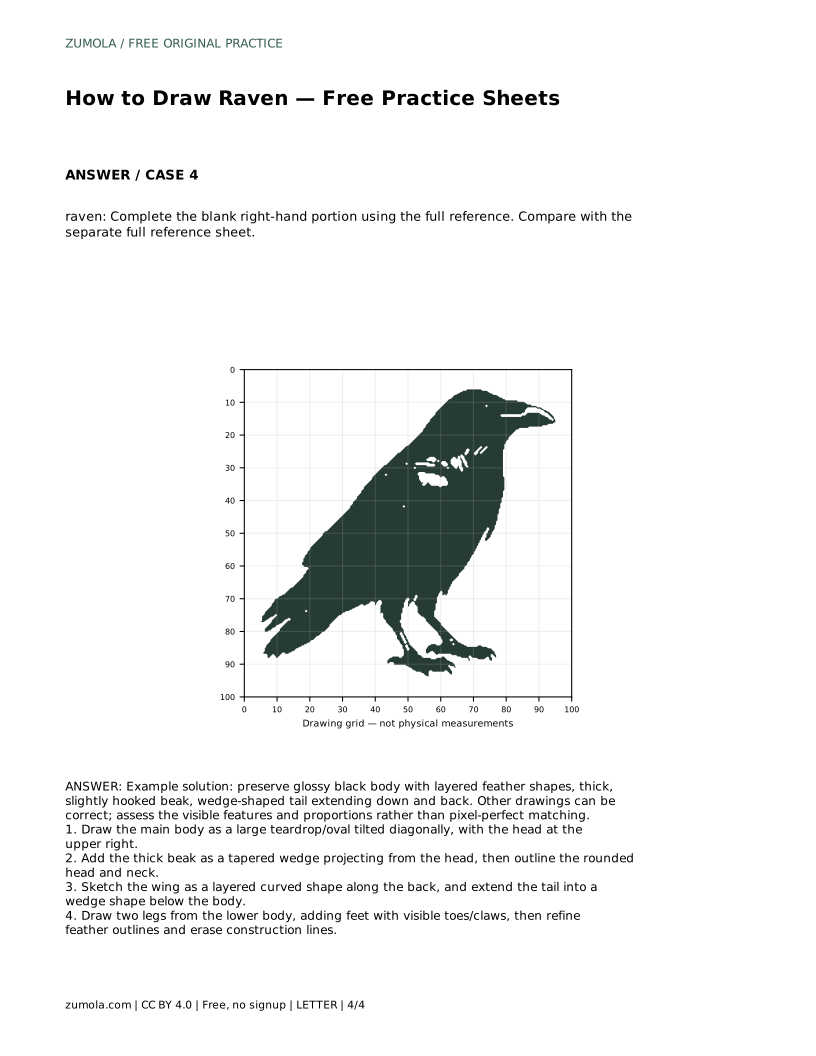
The frame sheet gives you a bounding frame and center guide. Use them to place the silhouette before adding identifying details. The partial-reference sheet shows only part of the drawing; complete the blank right-hand portion using the full reference. Each sheet trains a different skill, so choose the one that matches what you want to practise.
There is no single correct raven drawing. Instead, check whether the key features are present and proportioned sensibly: a glossy black body suggested by layered feather shapes, a thick slightly hooked beak, a rounded head and neck, a layered wing along the back, and a wedge-shaped tail extending down and back.
Use the rubric below to review your work. A drawing can differ from the reference and still be strong if the raven's structure reads clearly.
Most raven drawings go wrong at the beak or tail. A thin, pointed beak makes the bird look like a different species, and a fan-shaped tail loses the raven's wedge silhouette. Fix these before refining feathers, because feather detail cannot rescue a weak outline.
raven: Trace the reference outline, then practise the contour independently. Compare with the separate full reference sheet.
Example solution: preserve glossy black body with layered feather shapes, thick, slightly hooked beak, wedge-shaped tail extending down and back. Other drawings can be correct; assess the visible features and proportions rather than pixel-perfect matching. Draw the main body as a large teardrop/oval tilted diagonally, with the head at the upper right. Add the thick beak as a tapered wedge projecting from the head, then outline the rounded head and neck. Sketch the wing as a layered curved shape along the back, and extend the tail into a wedge shape below the body. Draw two legs from the lower body, adding feet with visible toes/claws, then refine feather outlines and erase construction lines.
No. Other drawings can be correct. Assess the visible features and proportions rather than pixel-perfect matching.
Start with the tracing sheet to learn the contour, then move to the grid or frame sheet to practise placement independently.
Use layered feather shapes and keep the outline clean. The practice sheets focus on structure, so treat shading as a later step.
All drawing practice · Free coordinate paper
Original resources · CC BY 4.0 · Free for personal and classroom use with attribution.