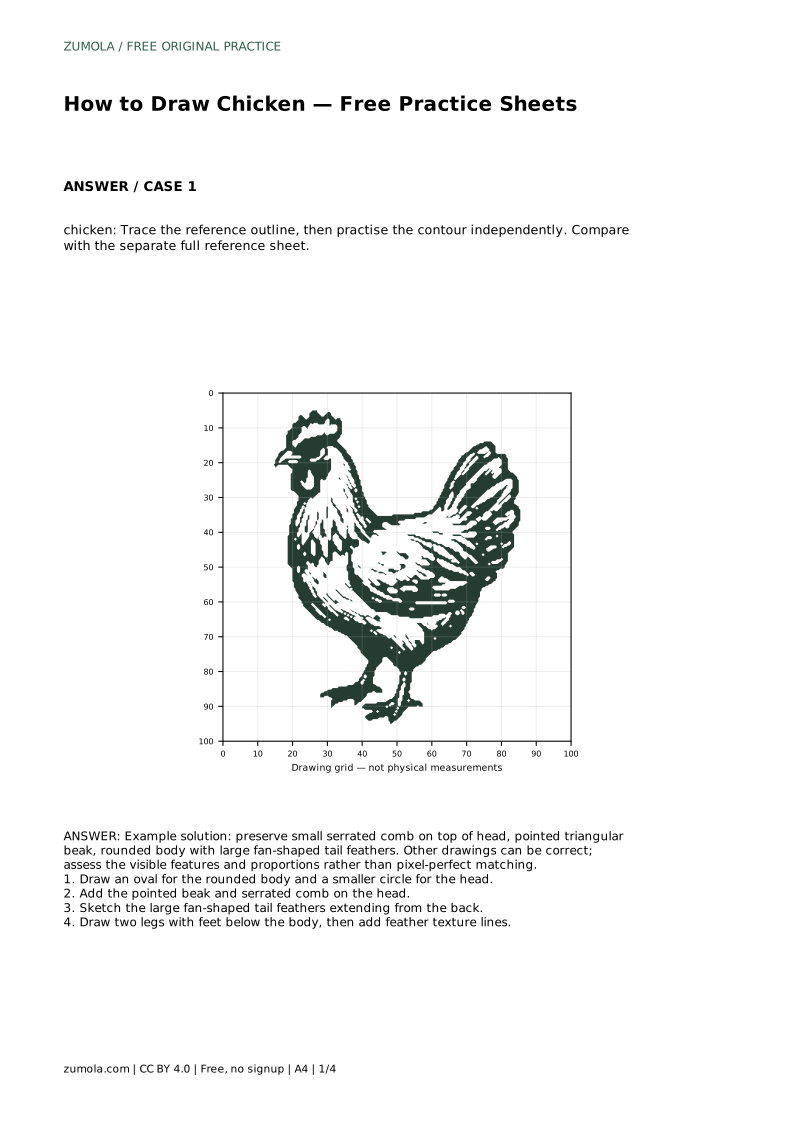
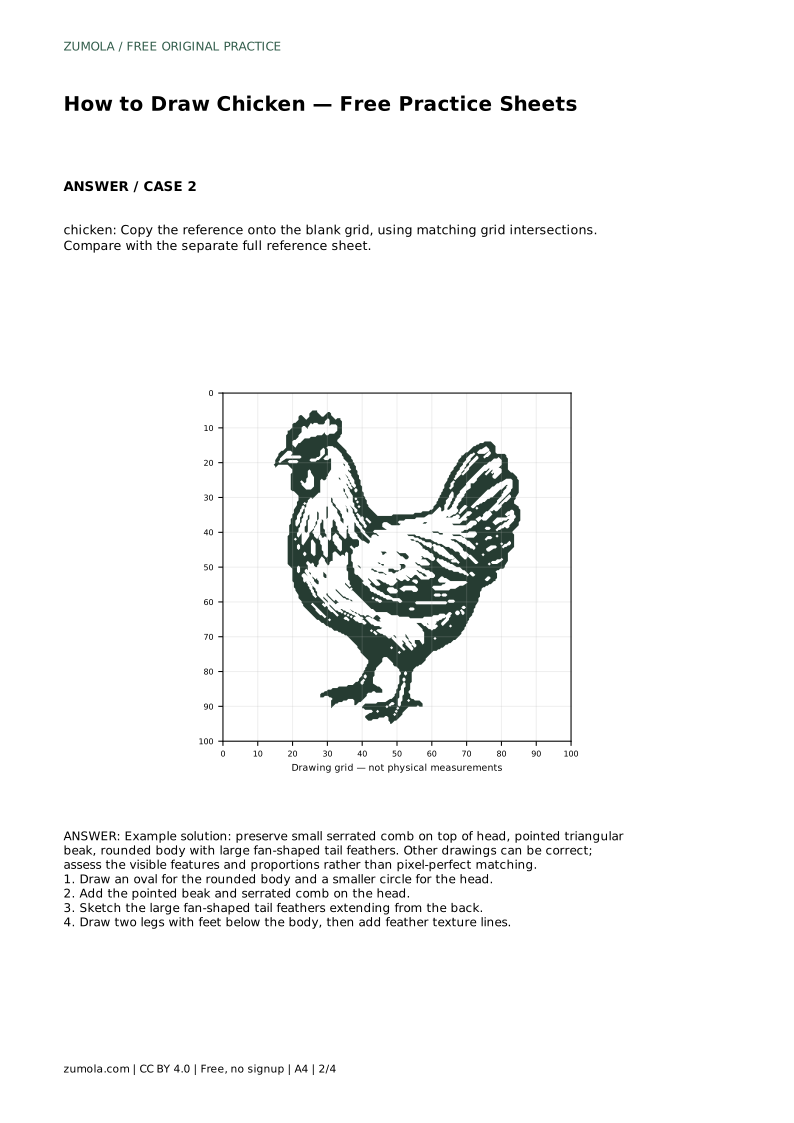
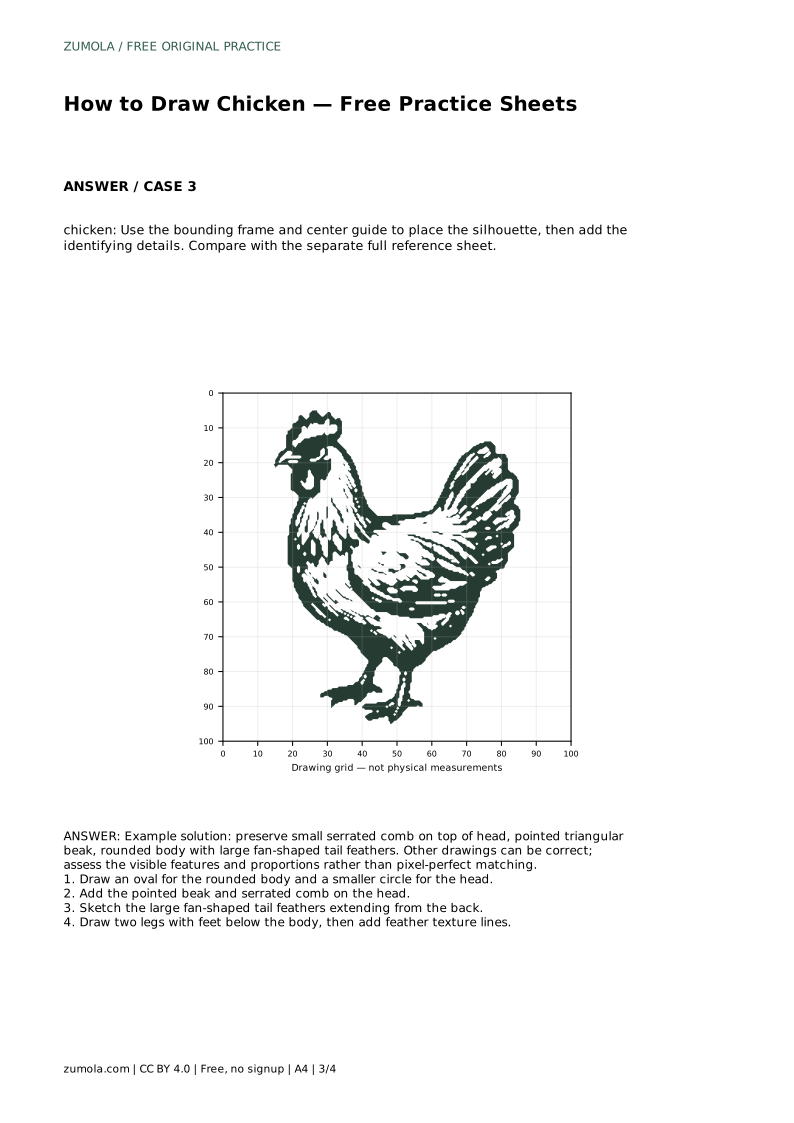
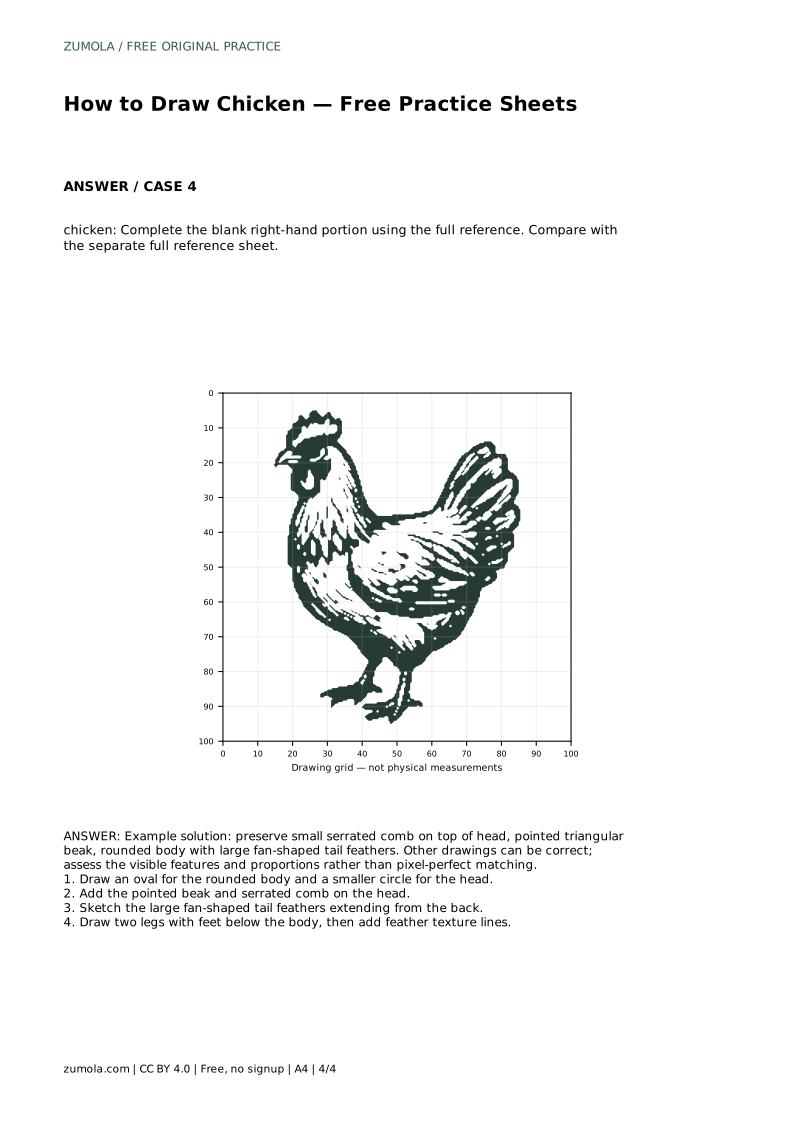
Reference diagrams
LETTER · Download PDF
A4 · Download PDF
Free original resources
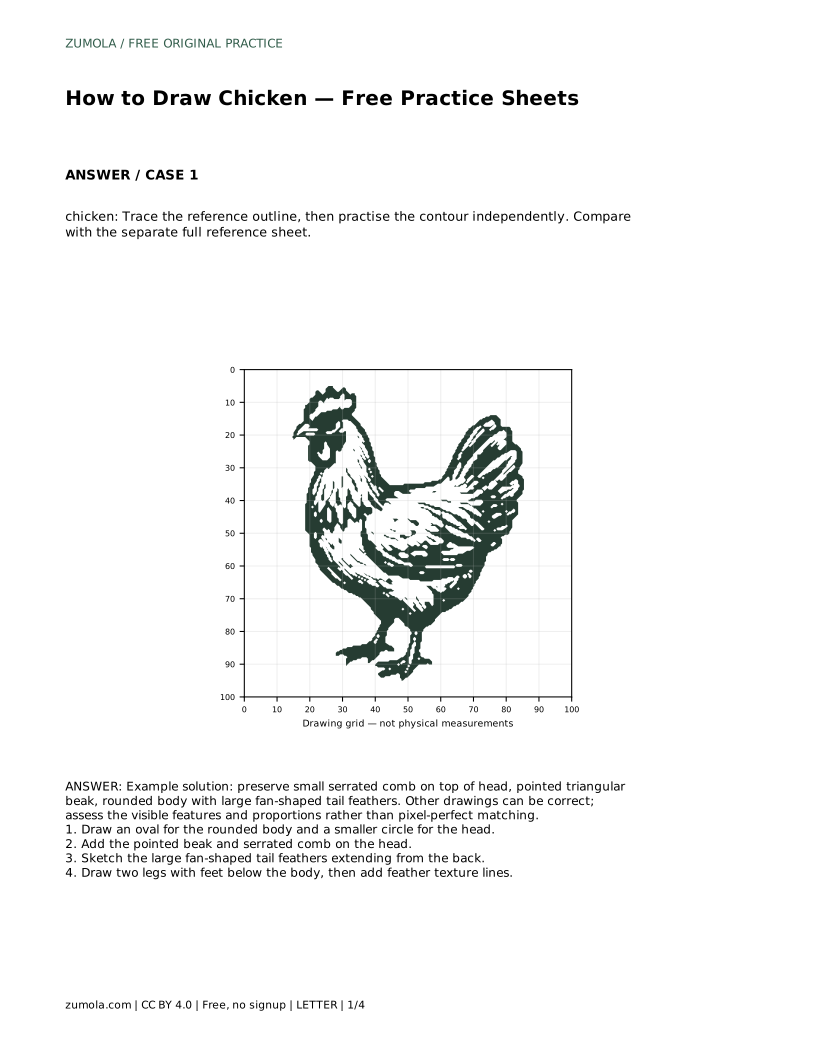
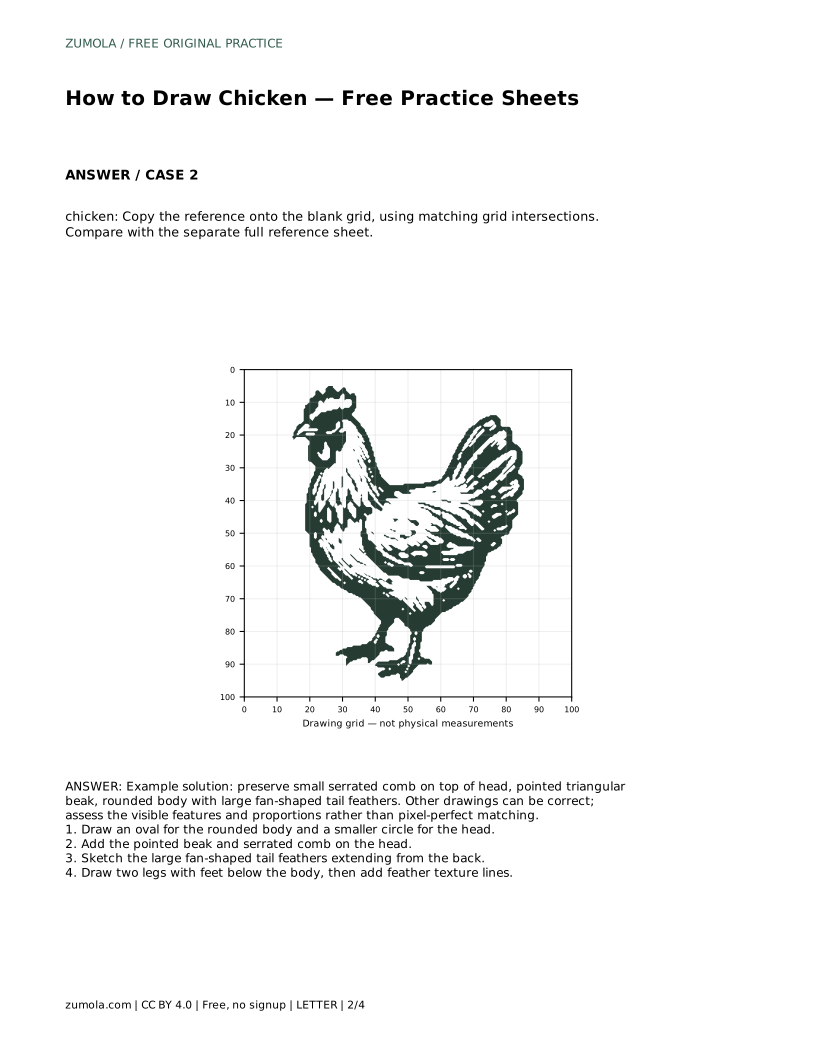
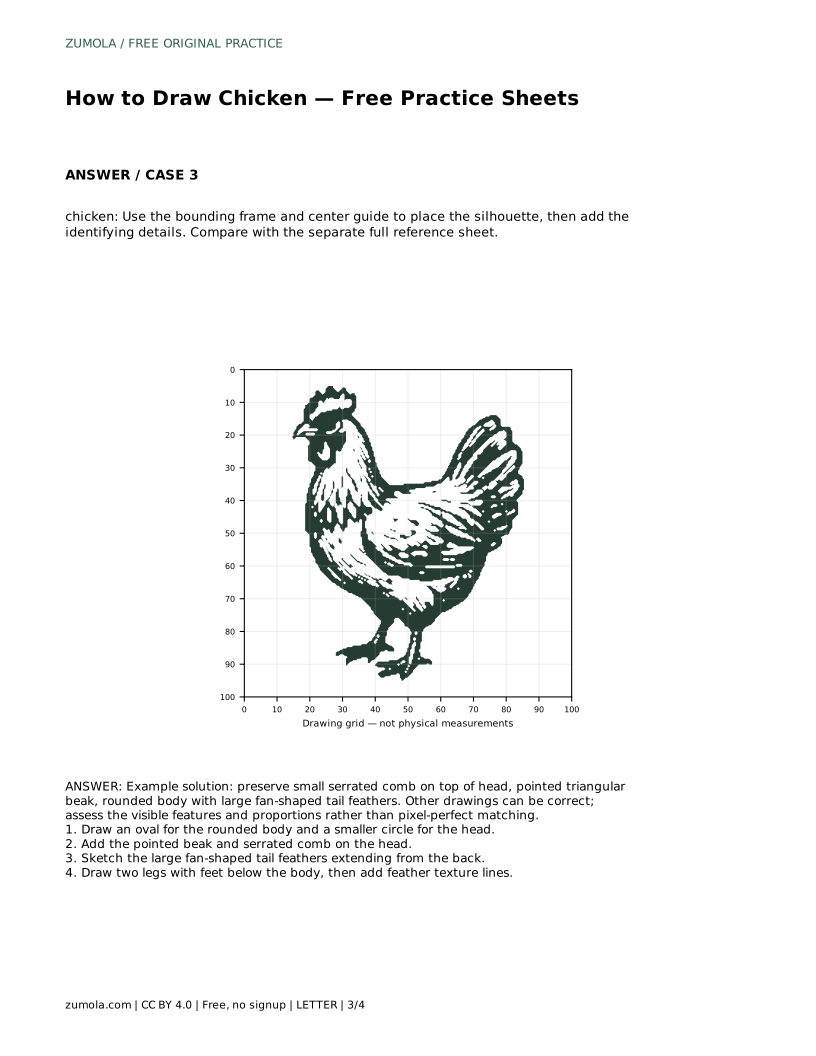
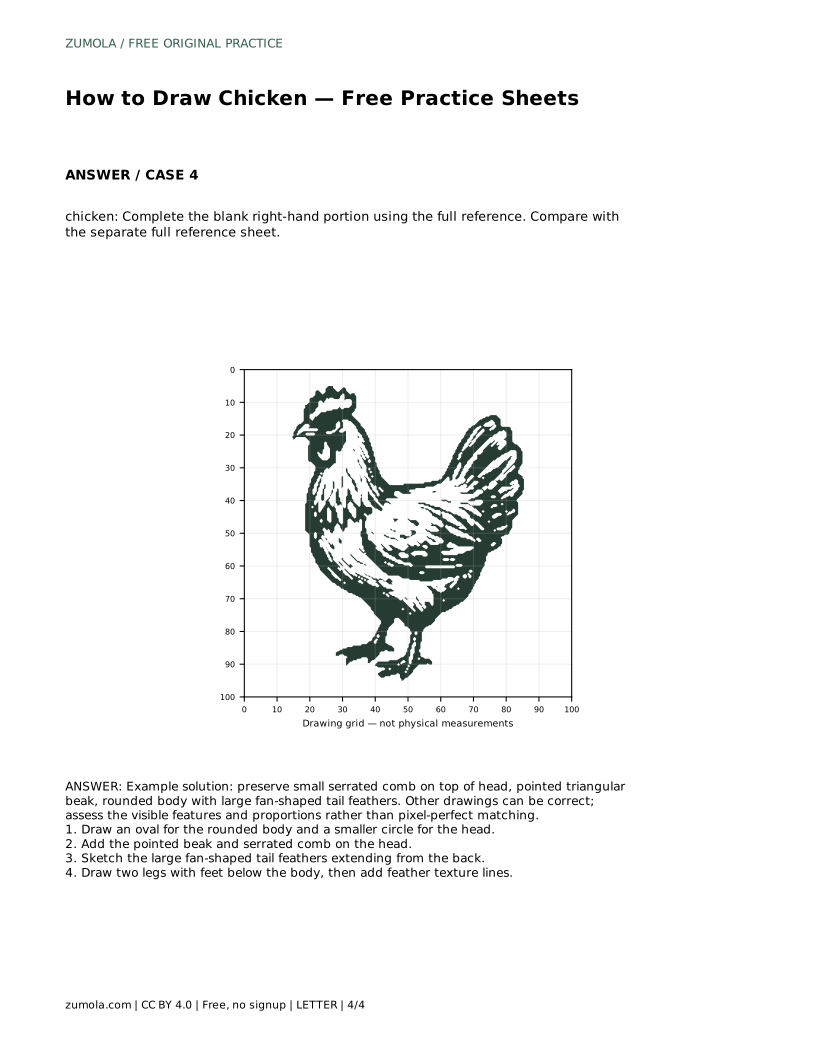
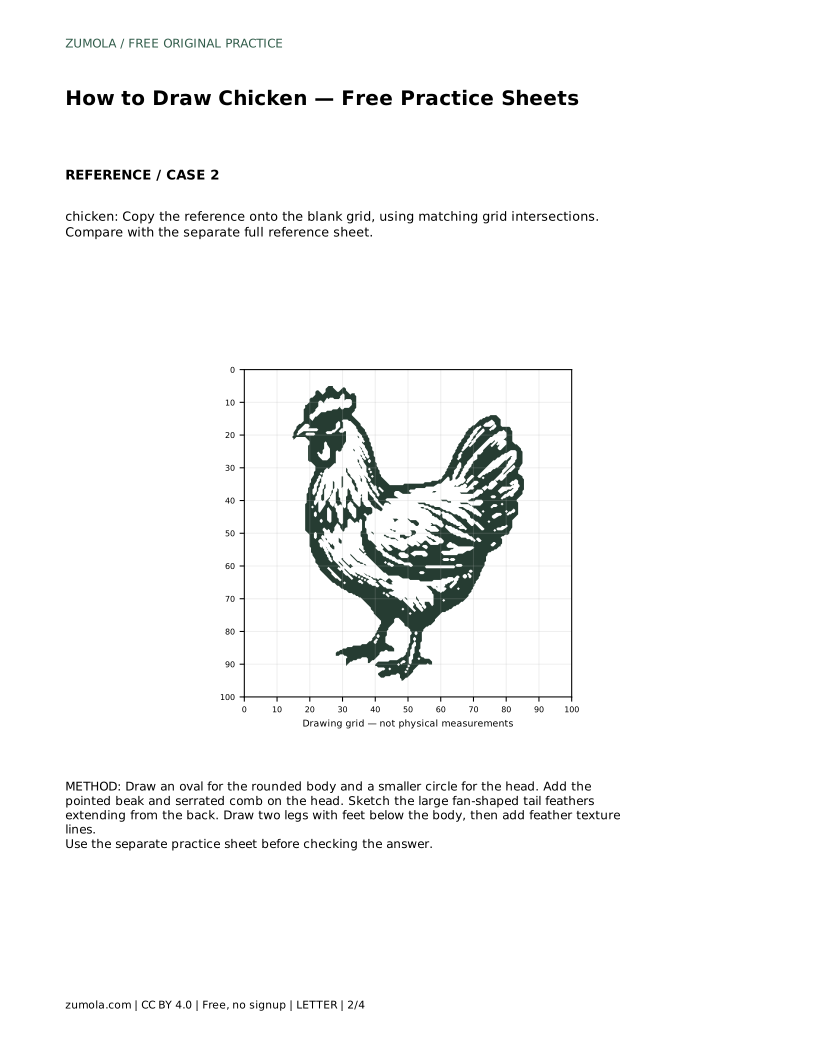
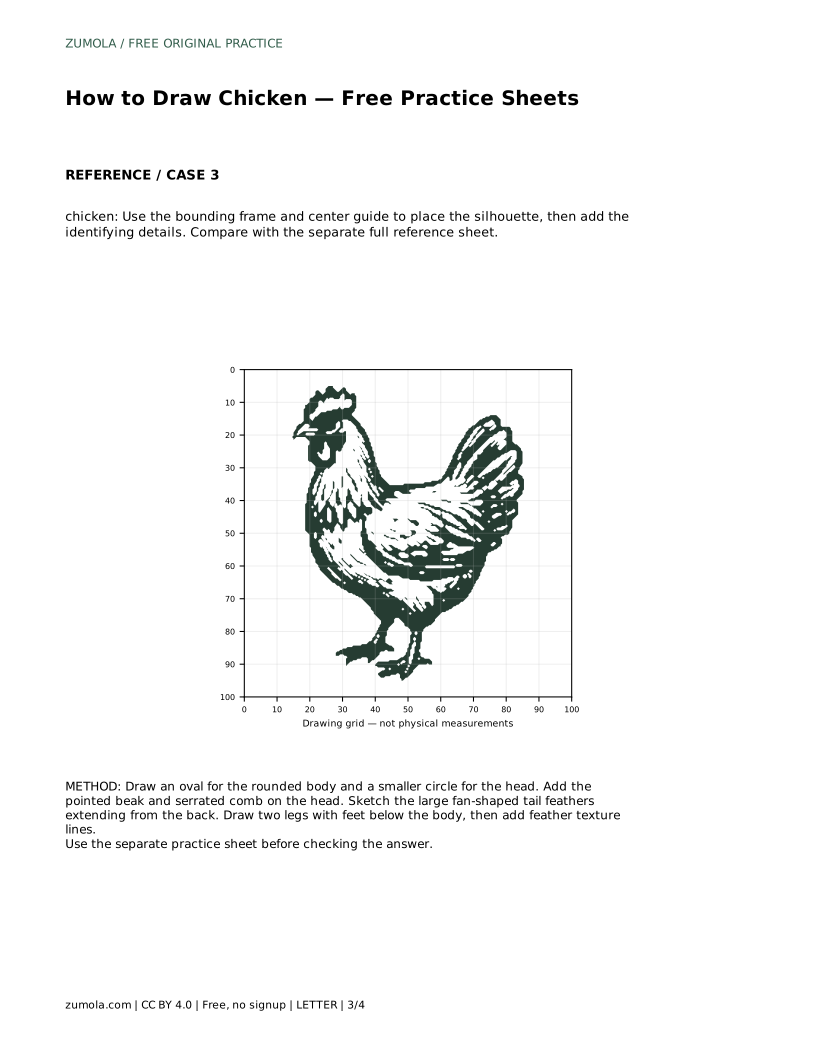
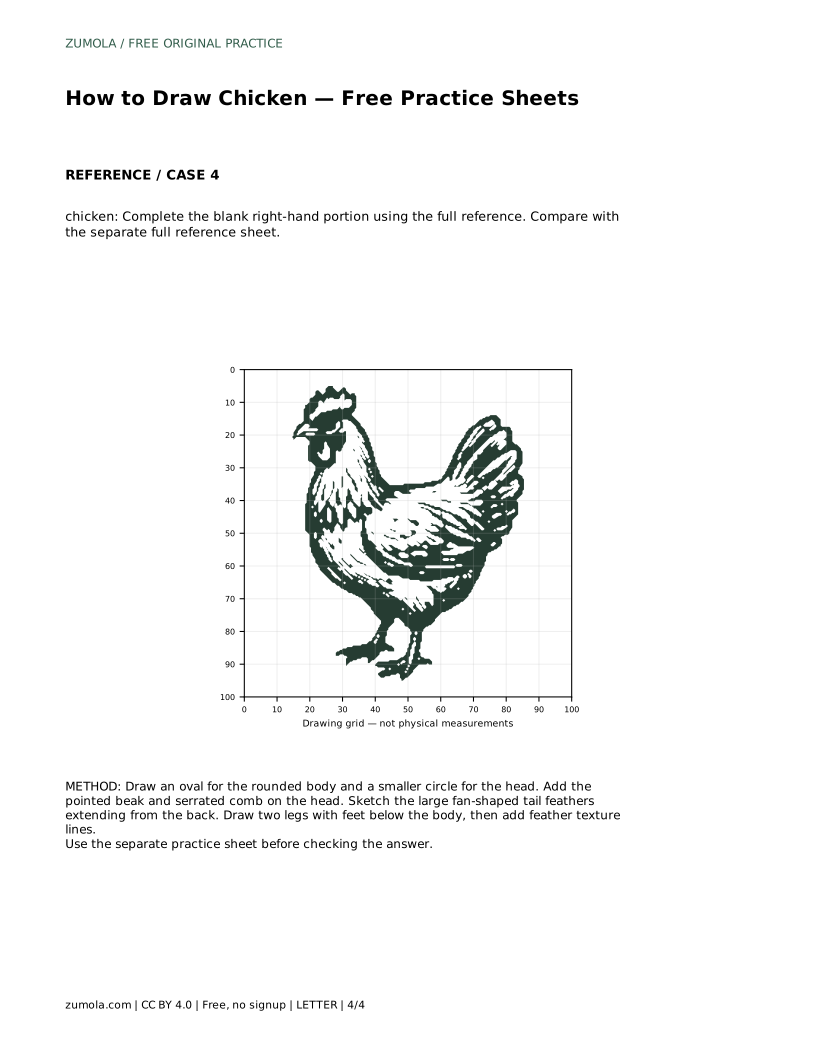
Learn to draw a chicken by building a rounded body, small head, serrated comb, pointed beak, fan-shaped tail, and two feet. Practice with trace, grid, and frame sheets.
Four original cases, with reference diagrams, practice sheets and worked answers. Everything is free; no signup required.
LETTER · Download PDF
A4 · Download PDF
LETTER · Download PDF
A4 · Download PDF
LETTER · Download PDF
A4 · Download PDF
Use A4 or US Letter to match your printer. Use the stated values and conditions to solve each exercise; diagrams are not physical measuring rulers.
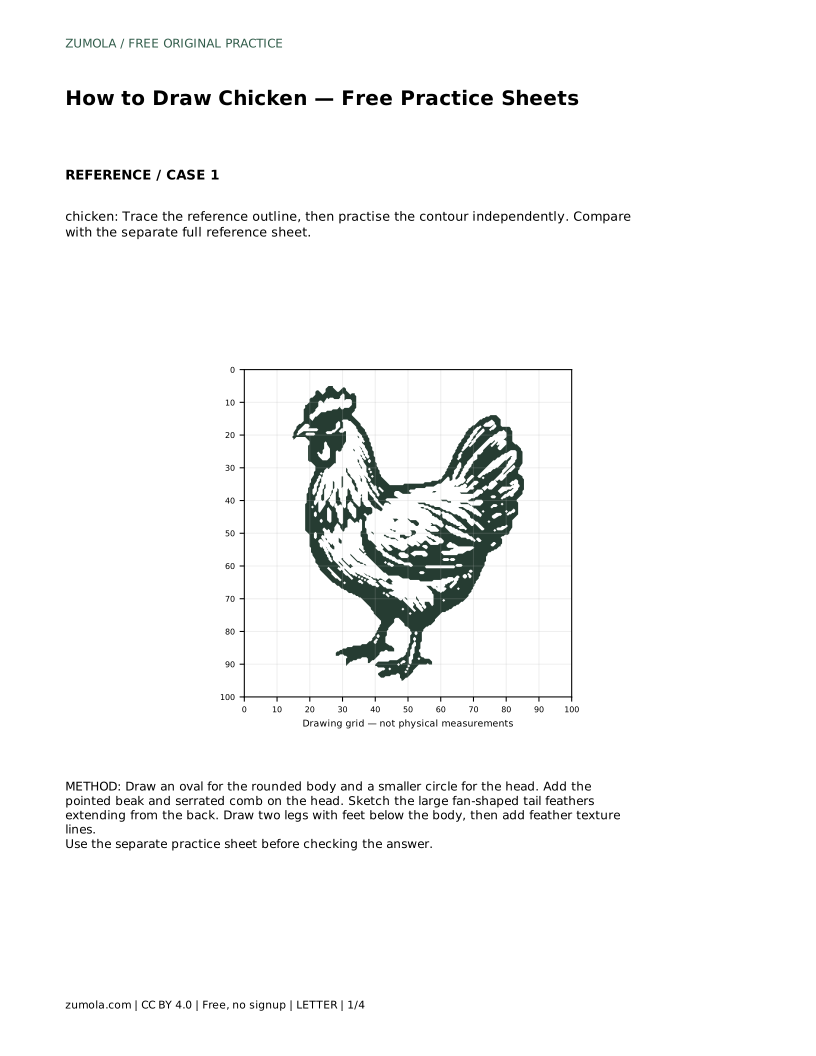
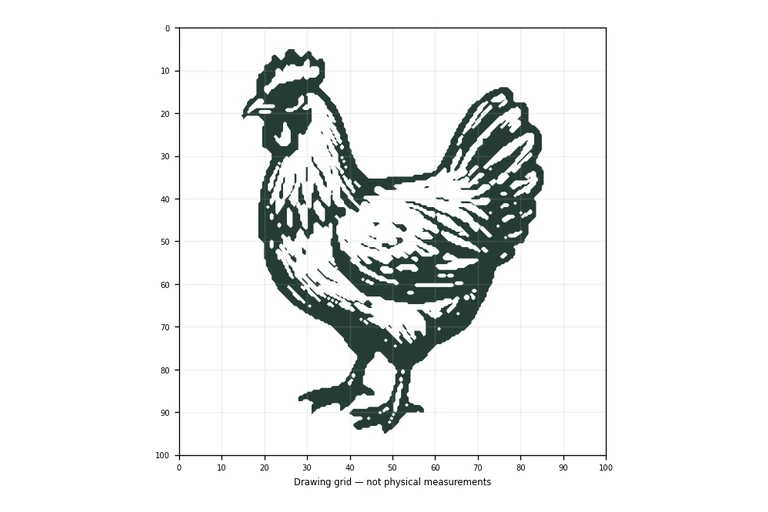
Drawing a chicken is mostly a matter of arranging a few clear shapes in the right relationship. The body is a large rounded oval, the head is a smaller circle above and slightly forward, and the tail spreads behind as a fan. Once those proportions sit correctly, the comb, beak, legs, and feather lines make the bird readable. The practice sheets let you trace a reference outline first, then try the same contour independently and compare your result with the full reference.
Begin with the two largest shapes, because they set the chicken's overall proportion. Draw a wide oval for the body, tilted slightly so the chest sits lower than the back. Add a smaller circle for the head above the front of the body, leaving a short neck gap rather than stacking the circles directly. Keep the head noticeably smaller than the body; a head that is too large makes the drawing look like a different bird.
Check the relationship before adding detail. The head should sit toward the front of the body, and the tail will later extend from the opposite end. If the oval is too narrow, the chicken looks stretched; if it is too round and tall, the body reads as a balloon. Adjust the oval now, while it is still easy to change.
The comb and beak do most of the work in making the head read as a chicken. Place a small serrated comb on top of the head, drawn as a row of low rounded points rather than one tall spike. Add a pointed triangular beak at the front of the head, level with the middle of the head circle. Keep both details small relative to the head so the face stays balanced.
These features are identifying marks, not anatomical diagrams. A comb with three or four gentle bumps and a short, clear triangle for the beak is enough. Avoid making the beak long and curved, which reads more like a different bird, and avoid a comb that spreads wider than the head.
Sketch the tail as a large fan shape extending from the back of the body. Draw a few long curved lines that spread outward from the rear, then close them into feather shapes. The fan should feel wider than the body is tall, giving the chicken its characteristic silhouette. Next, draw two legs below the body, each ending in simple feet with a few toes spread on the ground.
Finish with light feather texture lines inside the body and tail. Keep them sparse and follow the curve of the form rather than covering the whole bird in lines. The goal is a clear, readable chicken, not a dense pattern. Compare your finished contour with the separate full reference sheet and note which features and proportions differ.
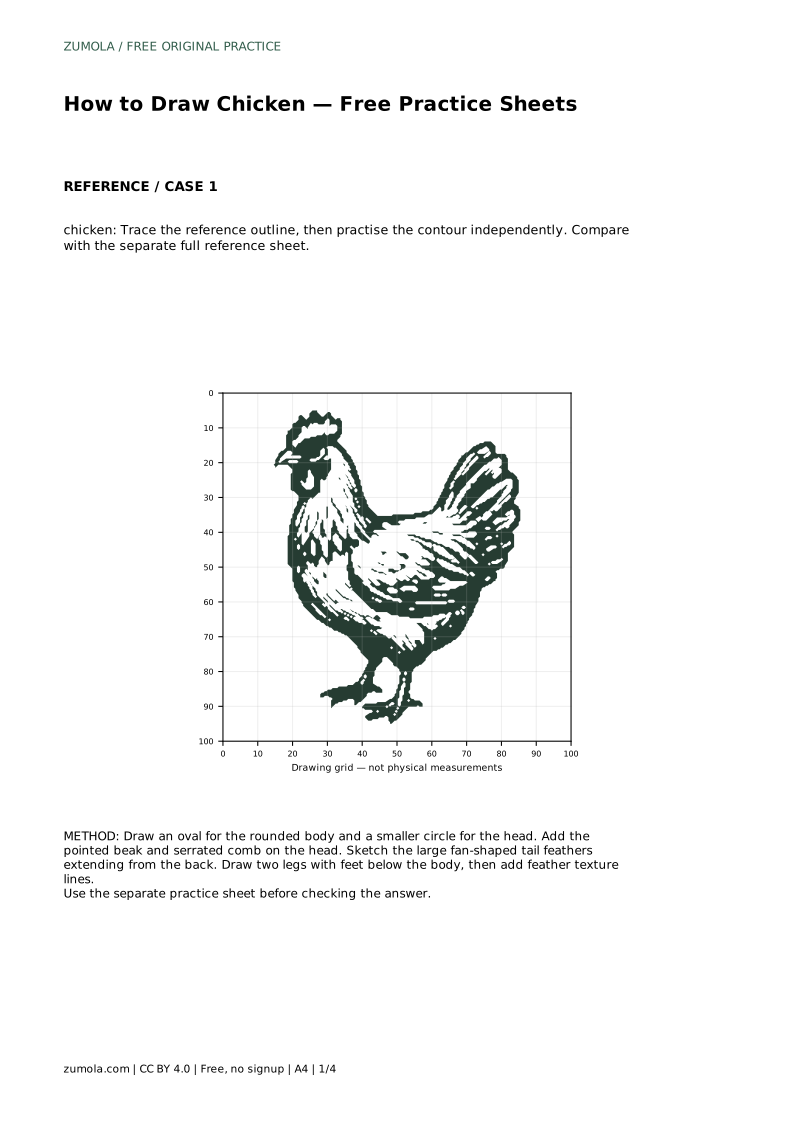
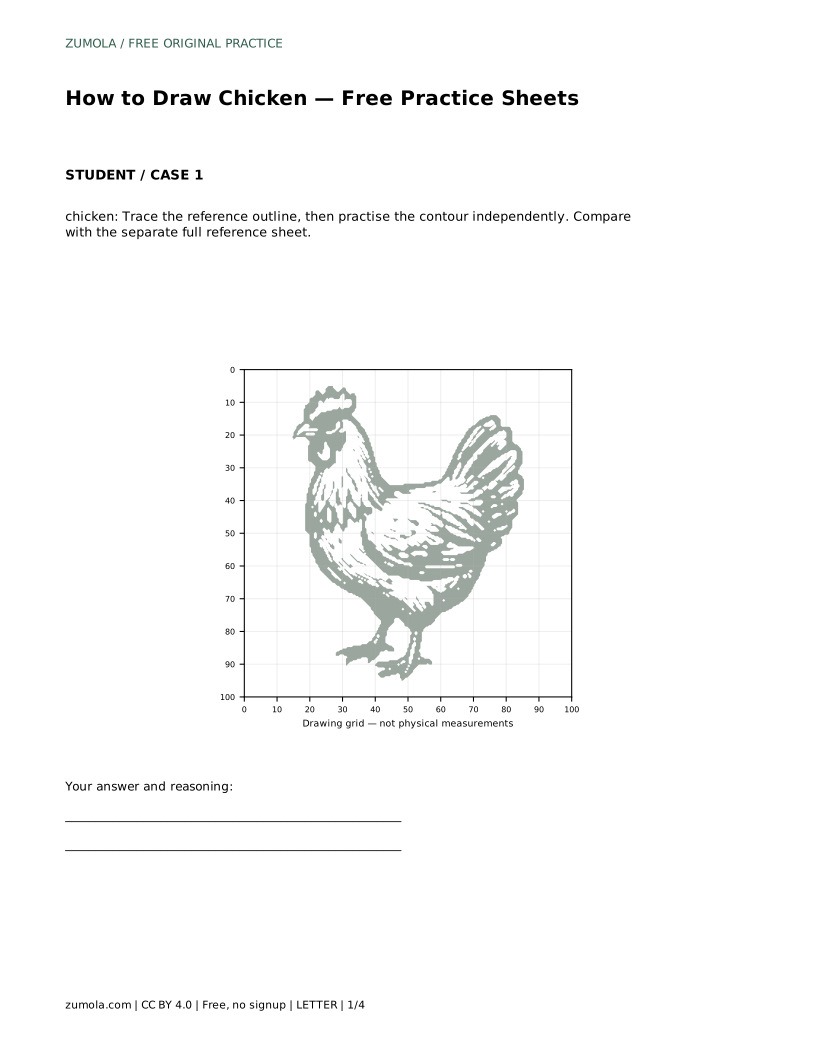
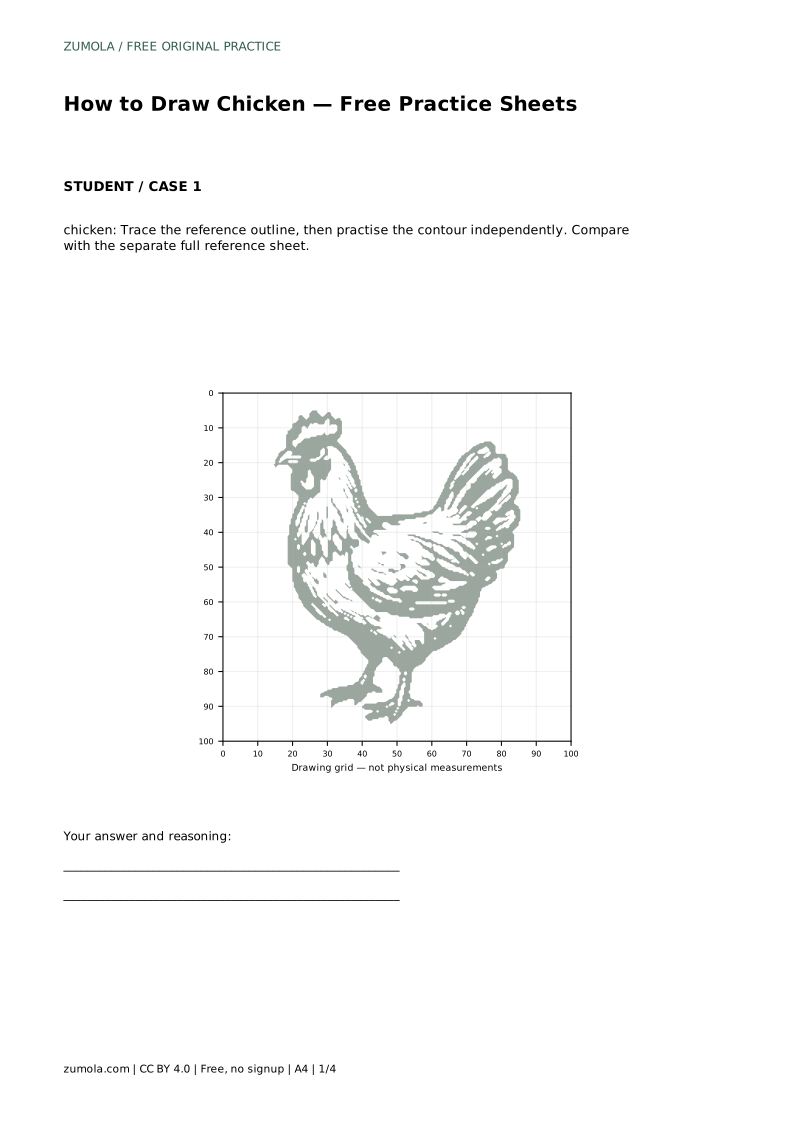
chicken: Trace the reference outline, then practise the contour independently. Compare with the separate full reference sheet.
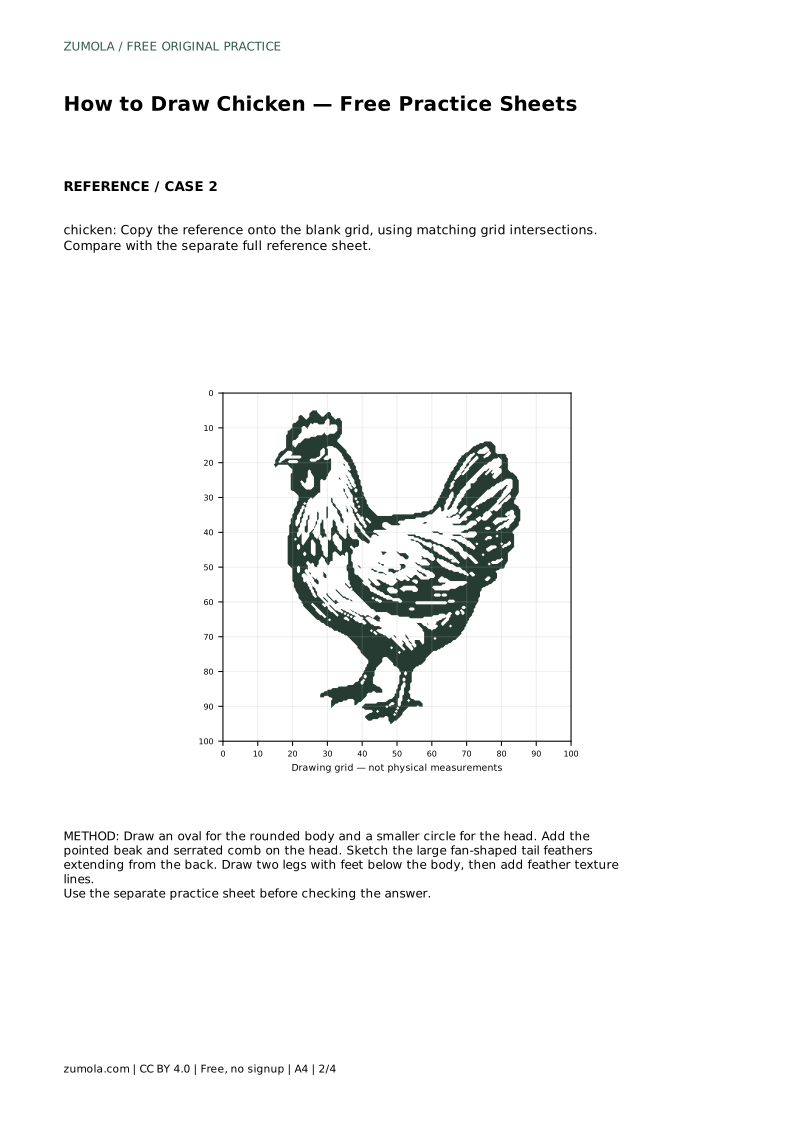
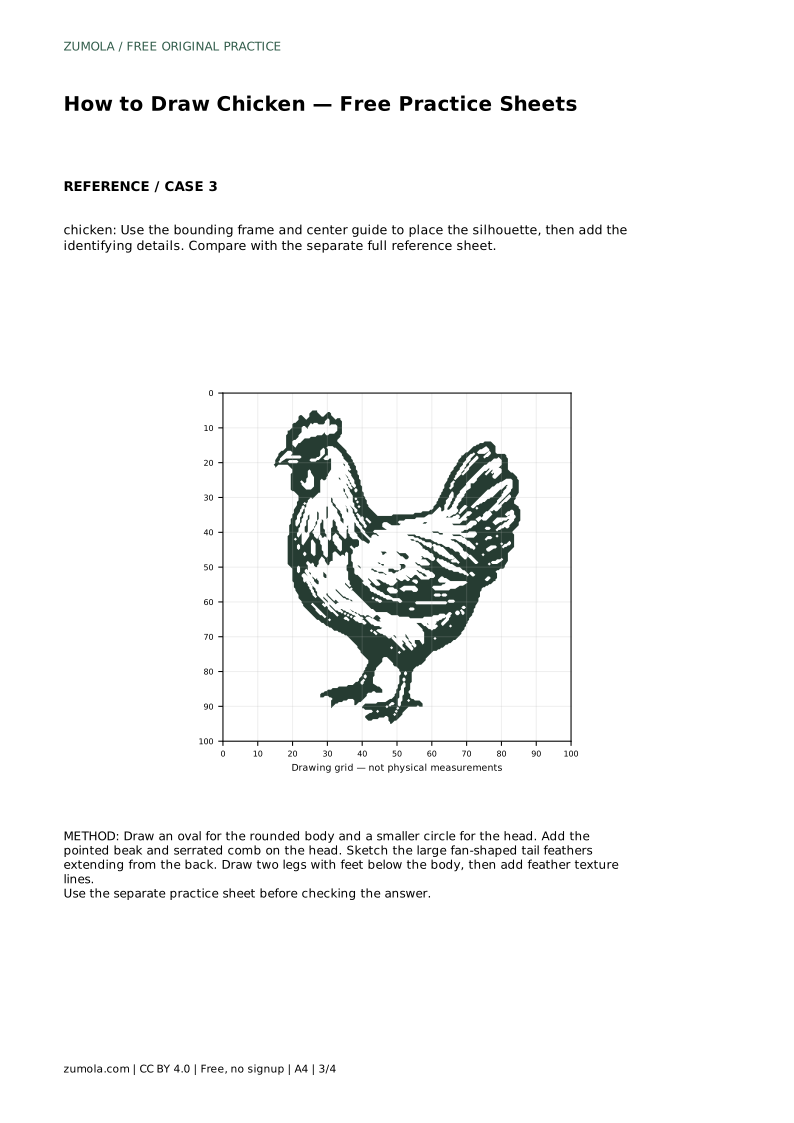
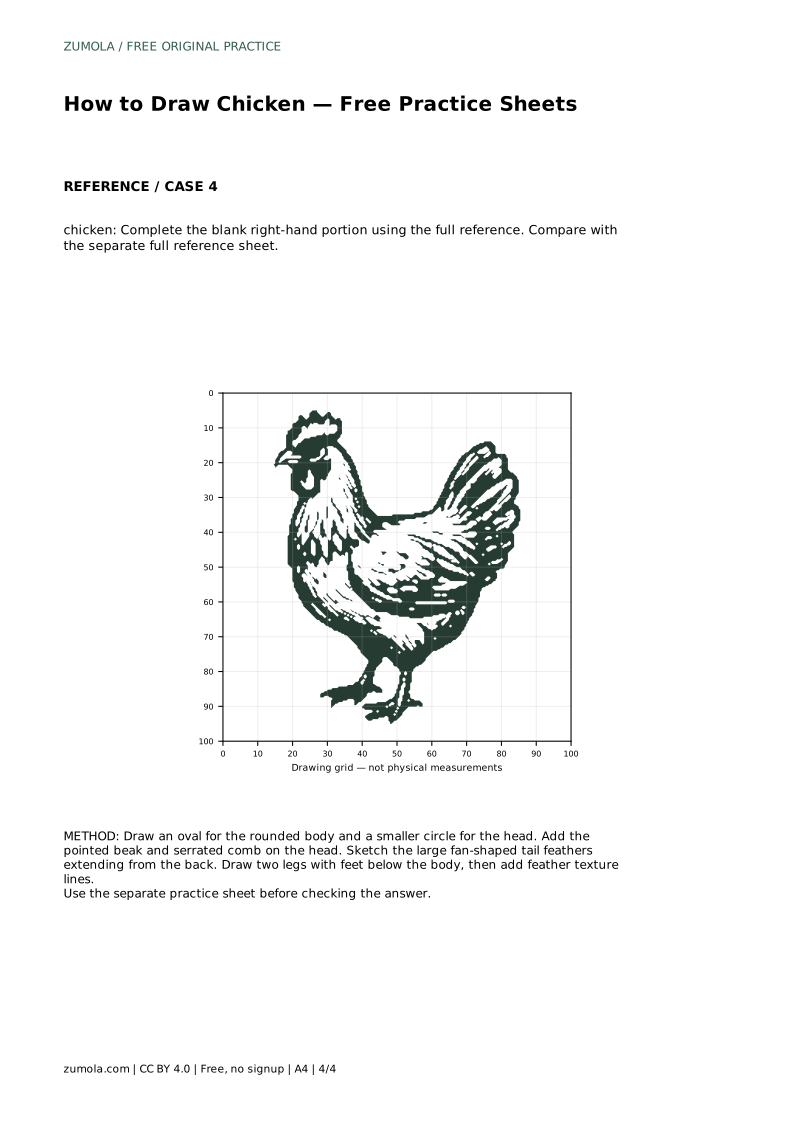
Example solution: preserve small serrated comb on top of head, pointed triangular beak, rounded body with large fan-shaped tail feathers. Other drawings can be correct; assess the visible features and proportions rather than pixel-perfect matching. Draw an oval for the rounded body and a smaller circle for the head. Add the pointed beak and serrated comb on the head. Sketch the large fan-shaped tail feathers extending from the back. Draw two legs with feet below the body, then add feather texture lines.
No. Several drawings can be correct. Assess the visible features and proportions, such as the serrated comb, pointed beak, rounded body, and fan-shaped tail, rather than pixel-perfect matching.
Start with the body oval and head circle, because they set the overall proportion. Add the comb, beak, tail, legs, and feather lines afterward.
Compare your finished contour with the separate full reference sheet and note which features or proportions differ, then adjust those parts.
All drawing practice · Free coordinate paper
Original resources · CC BY 4.0 · Free for personal and classroom use with attribution.