Reference diagrams
LETTER · Download PDF
A4 · Download PDF
Free original resources
Learn to draw a simple birthday cake with a cylindrical tier, wavy frosting, a central candle, and piped swirls. Free practice sheets support tracing, grids, and guided placement.
Four original cases, with reference diagrams, practice sheets and worked answers. Everything is free; no signup required.
LETTER · Download PDF
A4 · Download PDF
LETTER · Download PDF
A4 · Download PDF
LETTER · Download PDF
A4 · Download PDF
Use A4 or US Letter to match your printer. Use the stated values and conditions to solve each exercise; diagrams are not physical measuring rulers.
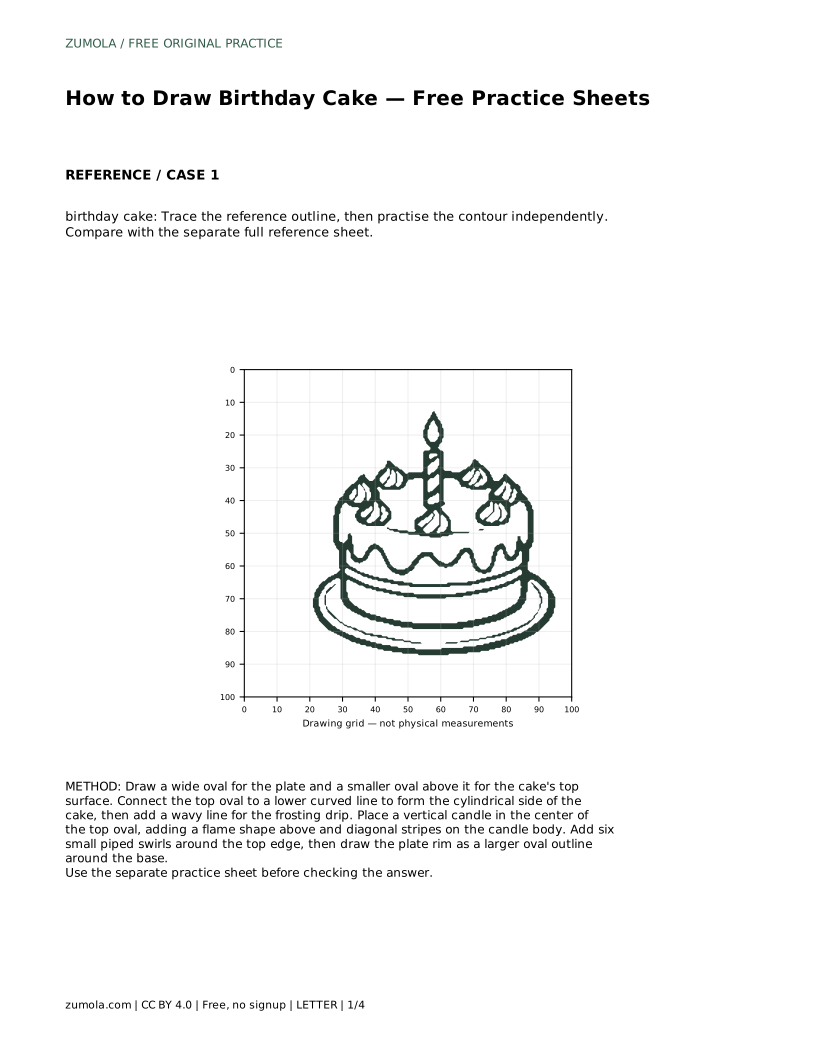
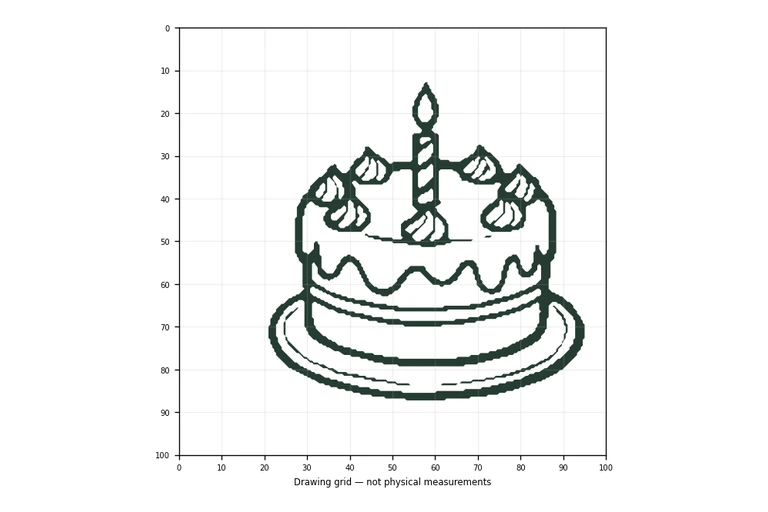
Drawing a birthday cake is a friendly way to practice combining basic shapes into a recognizable object. This guide focuses on one clear design: a single cylindrical tier with a wavy frosting drip, one central lit candle, and six piped swirls around the top. You will build the cake from a plate oval and a top oval, then add the side, frosting, candle, and swirls. The practice sheets let you trace, copy on a grid, or complete a partial drawing, so you can choose the support that fits your current confidence.
Every cake drawing needs a stable base. Begin with a wide oval for the plate. This oval should be wider than the cake itself, because the plate extends beyond the cake on both sides. Above the plate, draw a smaller oval for the top surface of the cake. Keep this top oval centered over the plate oval so the cake looks balanced. The gap between the two ovals will become the visible side of the cake.
Use light pencil strokes at this stage. You are placing the main proportions, not finishing the drawing. If the top oval is too large, the cake will look squat; if it is too small, the cake will look narrow. A comfortable proportion is a top oval roughly two-thirds the width of the plate oval.
Connect the left and right edges of the top oval down to the plate with two gently curved lines. These lines form the cylindrical side of the cake. The side should look like a short cylinder, not a flat rectangle, so keep the curves soft and symmetrical. The bottom of the side meets the plate oval, but you do not need to draw a hard line across the plate; the plate oval already suggests the base.
Next, add the frosting drip around the top edge. Draw a wavy line that follows the front curve of the top oval, dipping down in small rounded points. This line represents frosting running over the edge. Keep the waves shallow and even so the frosting reads as a deliberate decoration rather than a messy outline. The wavy line should sit just below the top oval's front edge, not across the middle of the cake.
The candle is the focal point, so place it in the center of the top oval. Draw a vertical rectangle for the candle body, then add a flame shape above it. The flame can be a simple teardrop or oval with a pointed top. Add diagonal stripes across the candle body to suggest a decorative pattern. Keep the stripes evenly spaced and parallel; they should not cross the flame.
Around the top edge of the cake, add six small piped swirls. These are tiny spiral or comma shapes that sit on the top surface, spaced evenly around the candle. Think of them as small frosting peaks. Place three on the left side and three on the right, or arrange them in a ring. The exact placement can vary, but the swirls should be similar in size and should not overlap the candle. Finally, if your plate oval needs emphasis, you can draw a second, slightly larger oval around it to suggest the plate rim.
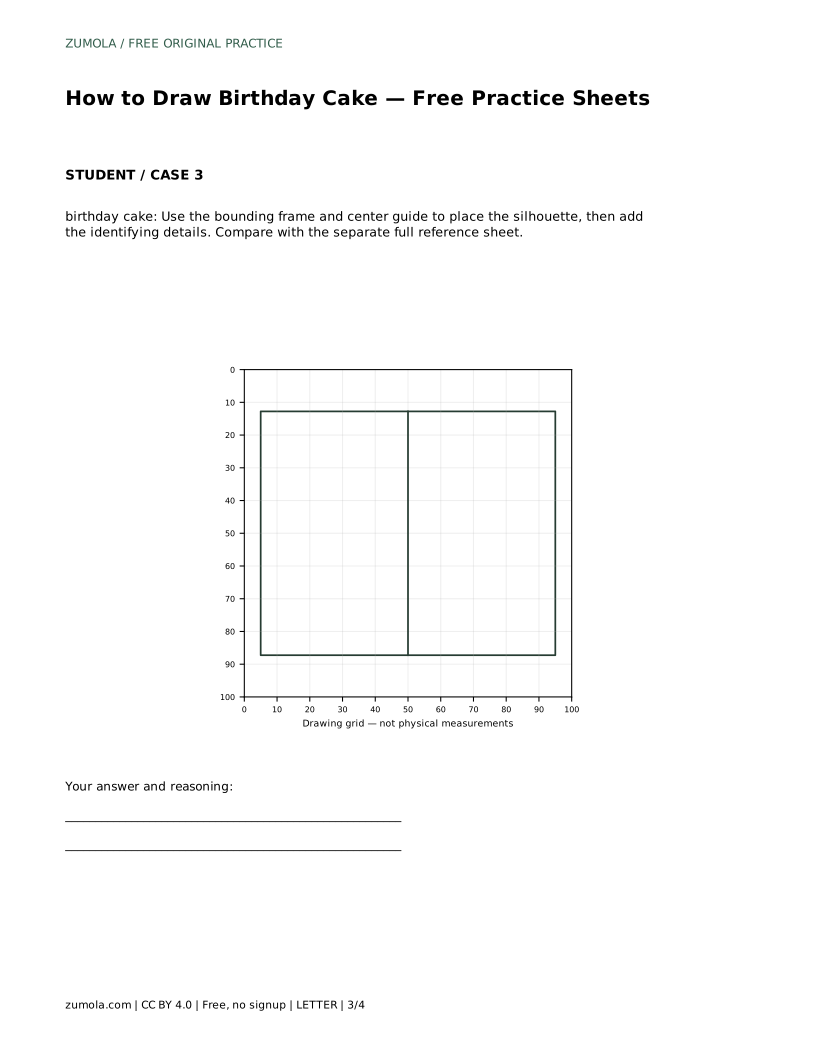
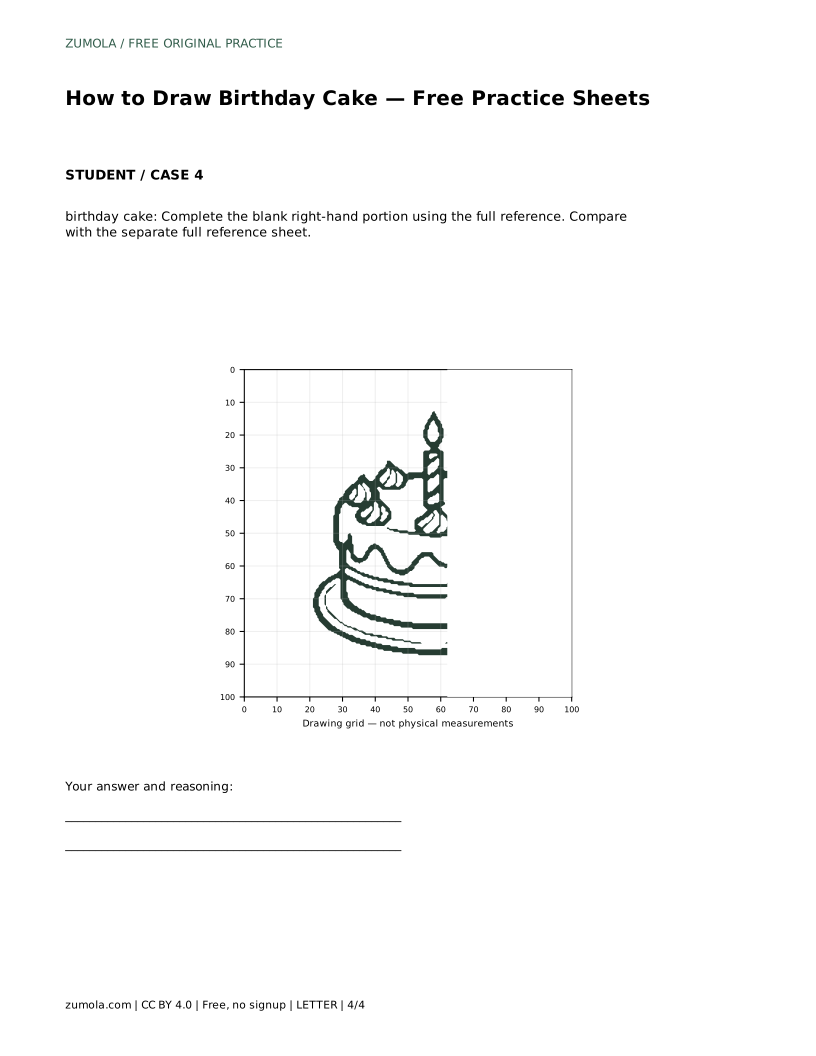
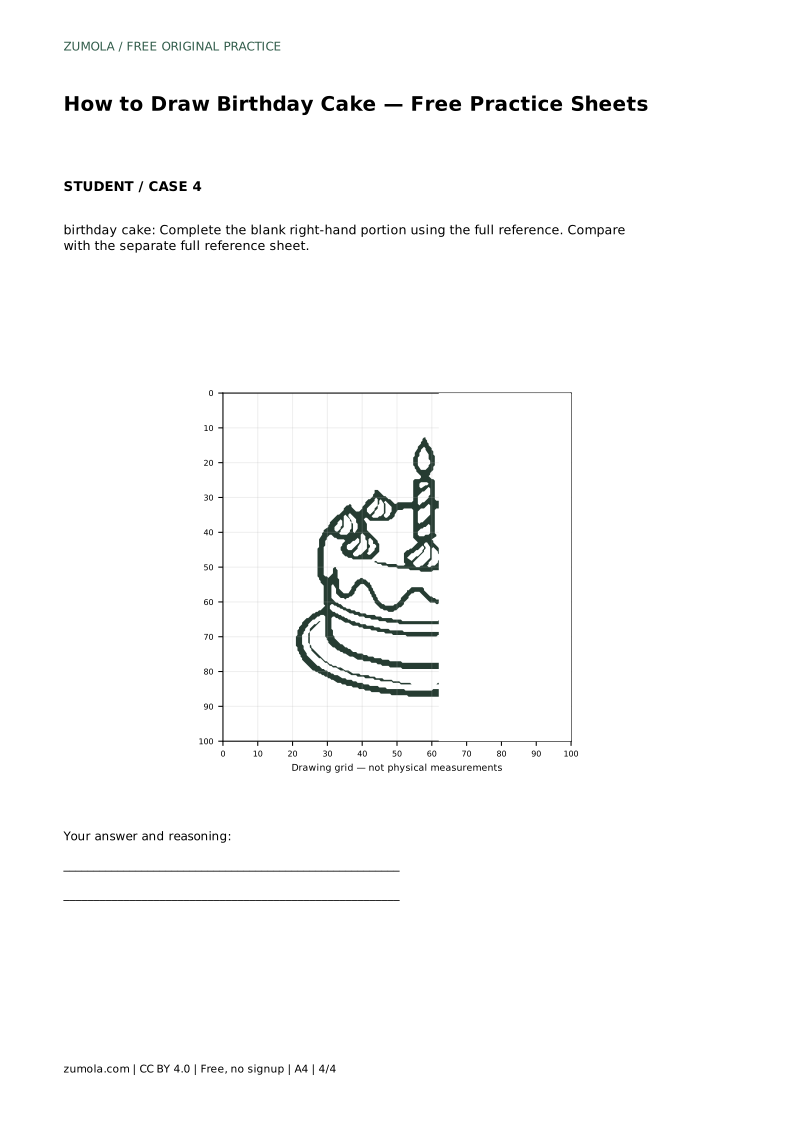
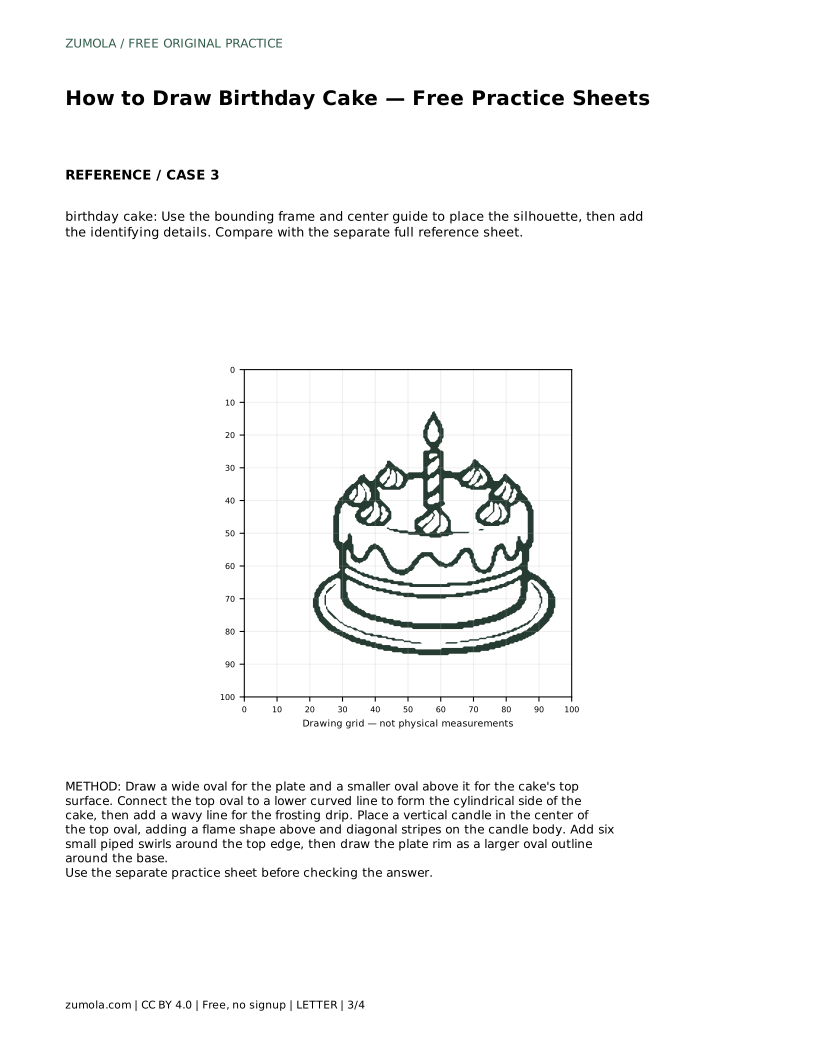
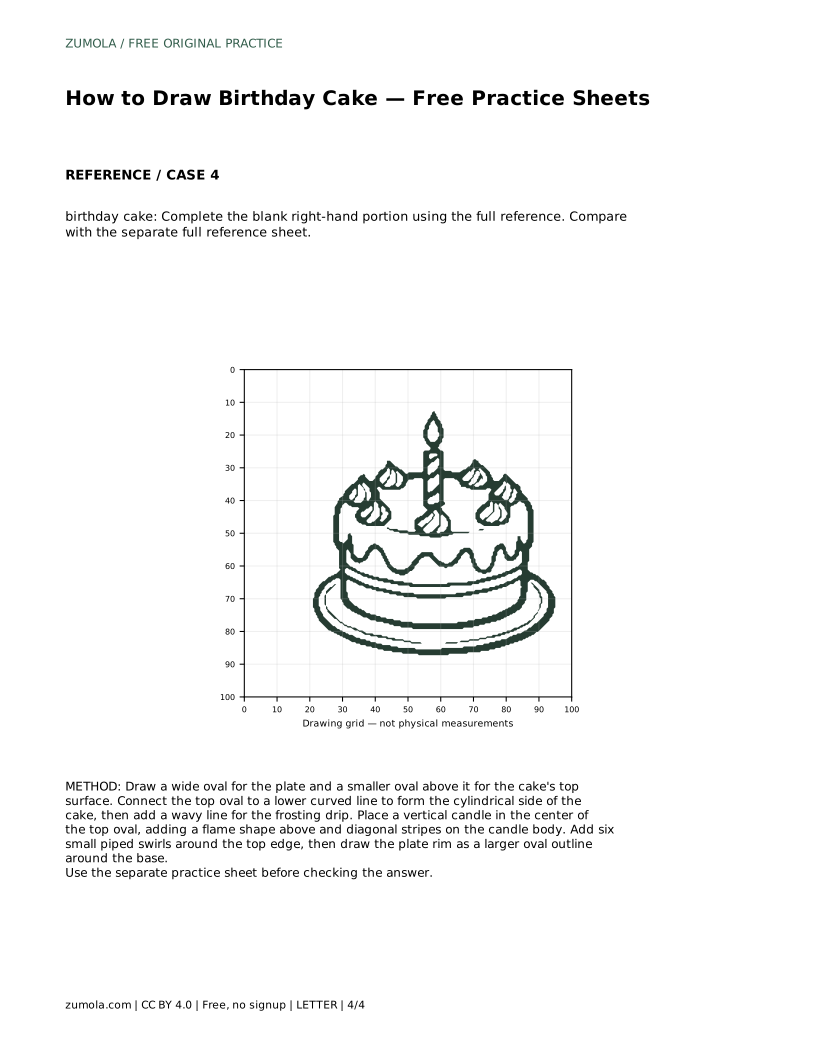
The practice sheets offer different levels of support. Tracing the reference outline helps you feel the shapes and proportions. Copying onto a blank grid encourages you to match intersections and relative positions. Using a bounding frame and center guide helps you place the silhouette before adding details. Completing a blank right-hand portion asks you to finish the drawing from the full reference. Each method targets a different skill, so choose one that matches your goal for the session.
When you compare your drawing to the reference, focus on visible features rather than pixel-perfect matching. Check that the cake has one cylindrical tier, a wavy frosting drip, one central lit candle with a flame and diagonal stripes, and six piped swirls around the top. Other drawings can be correct; assess the presence and proportion of these features.
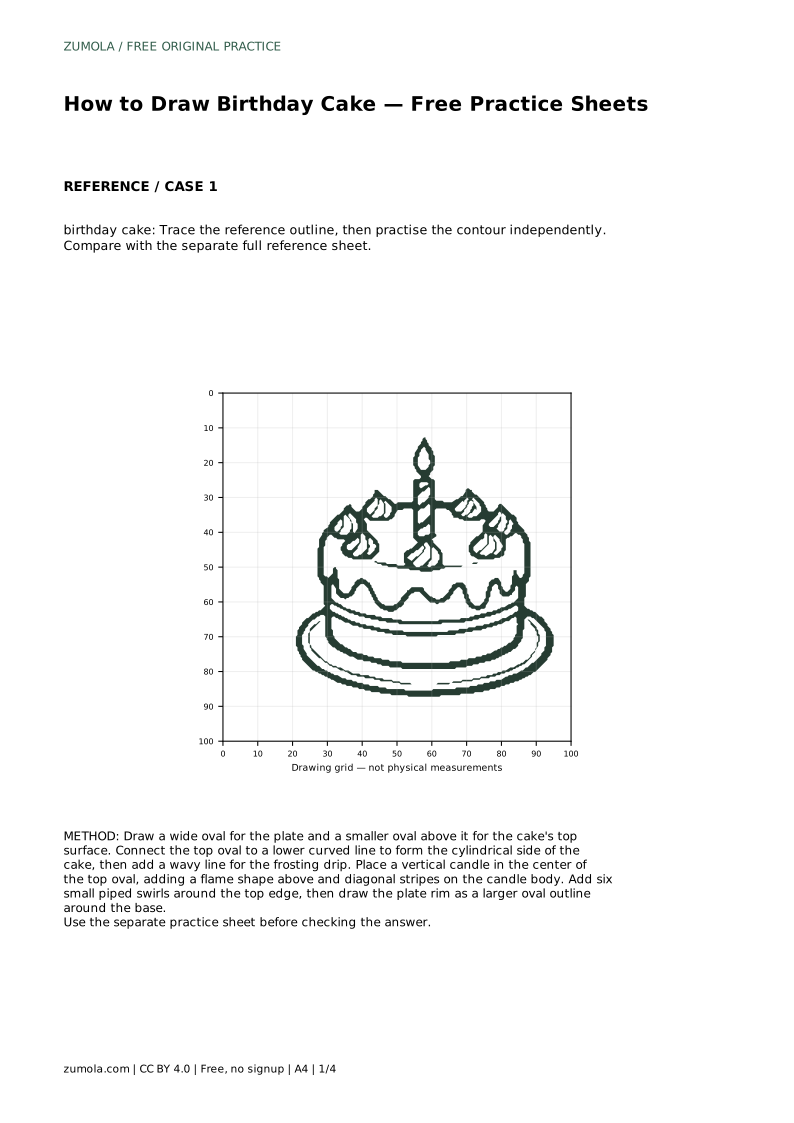
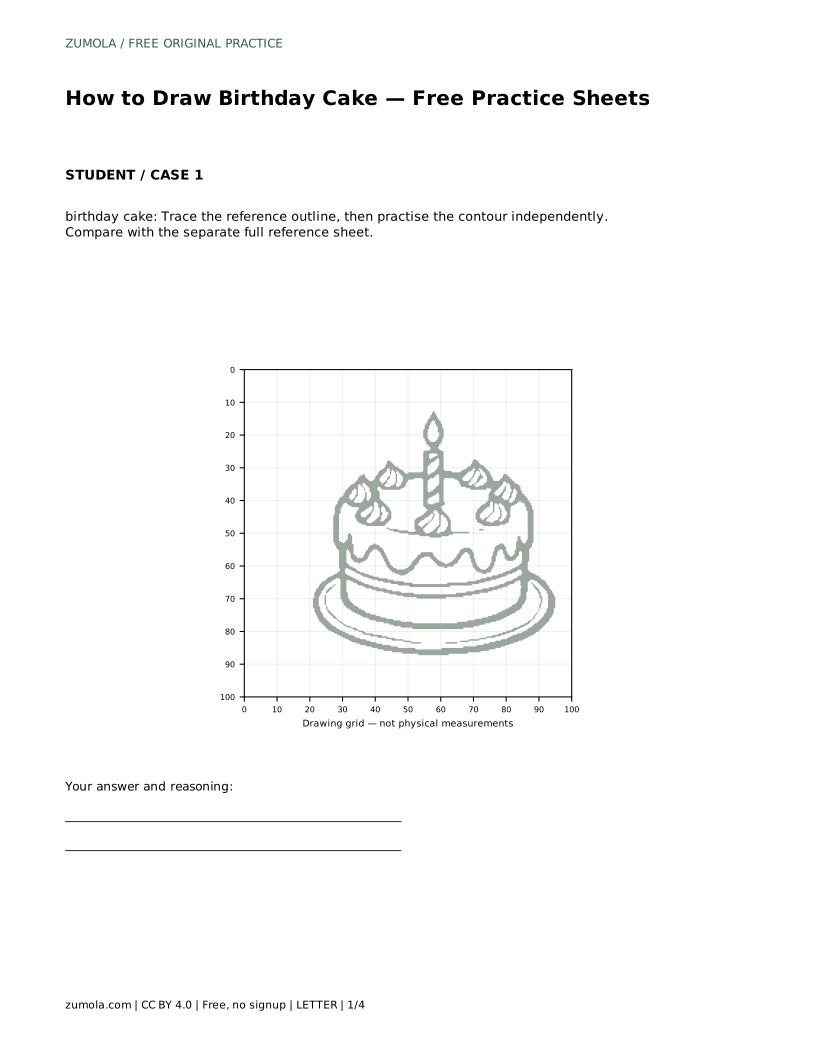
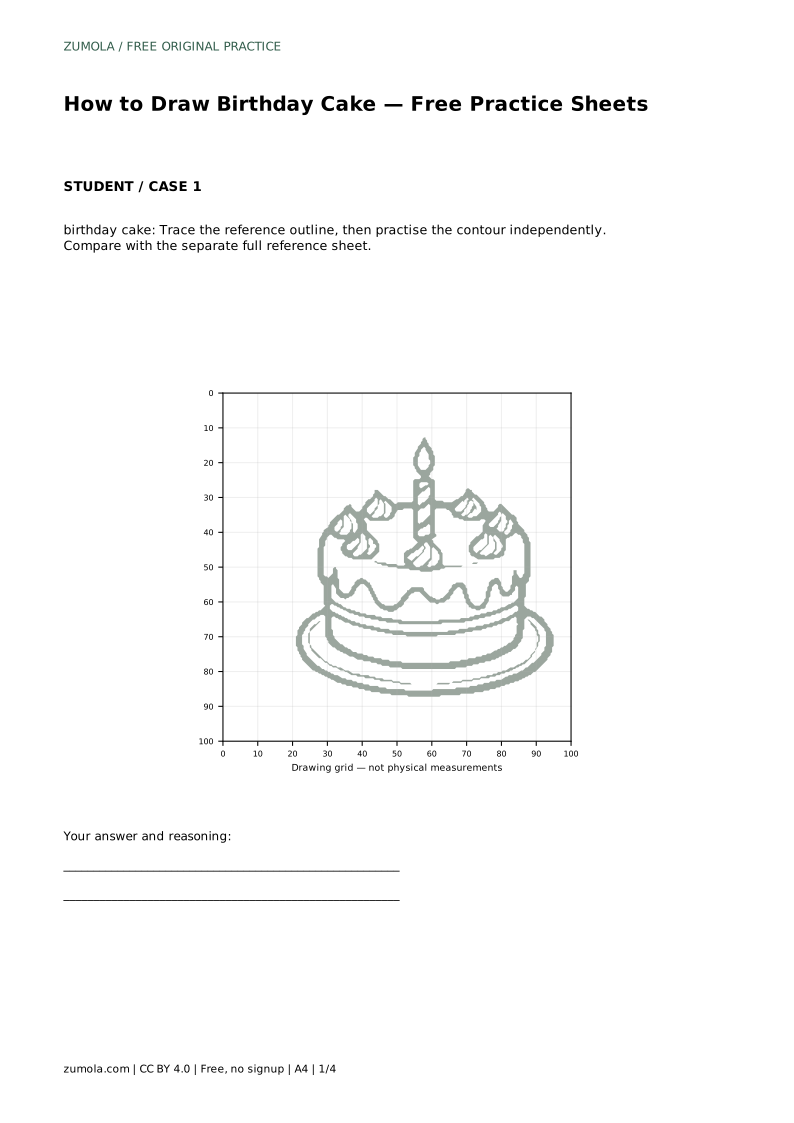
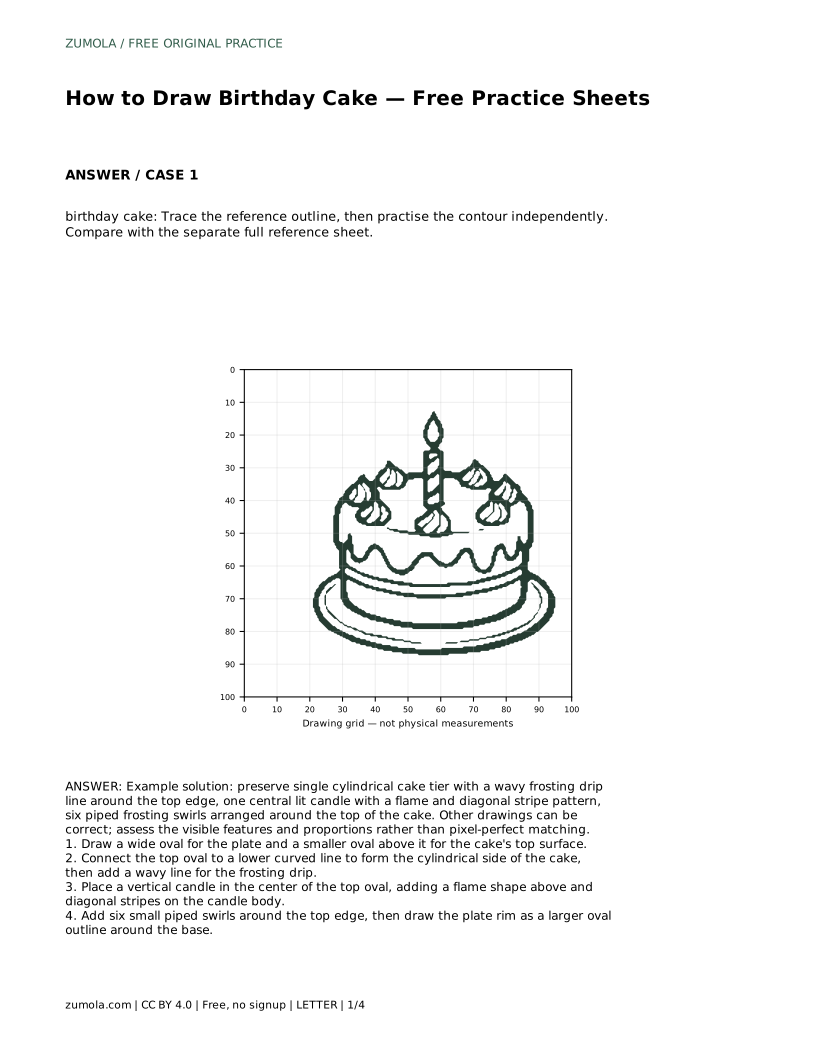
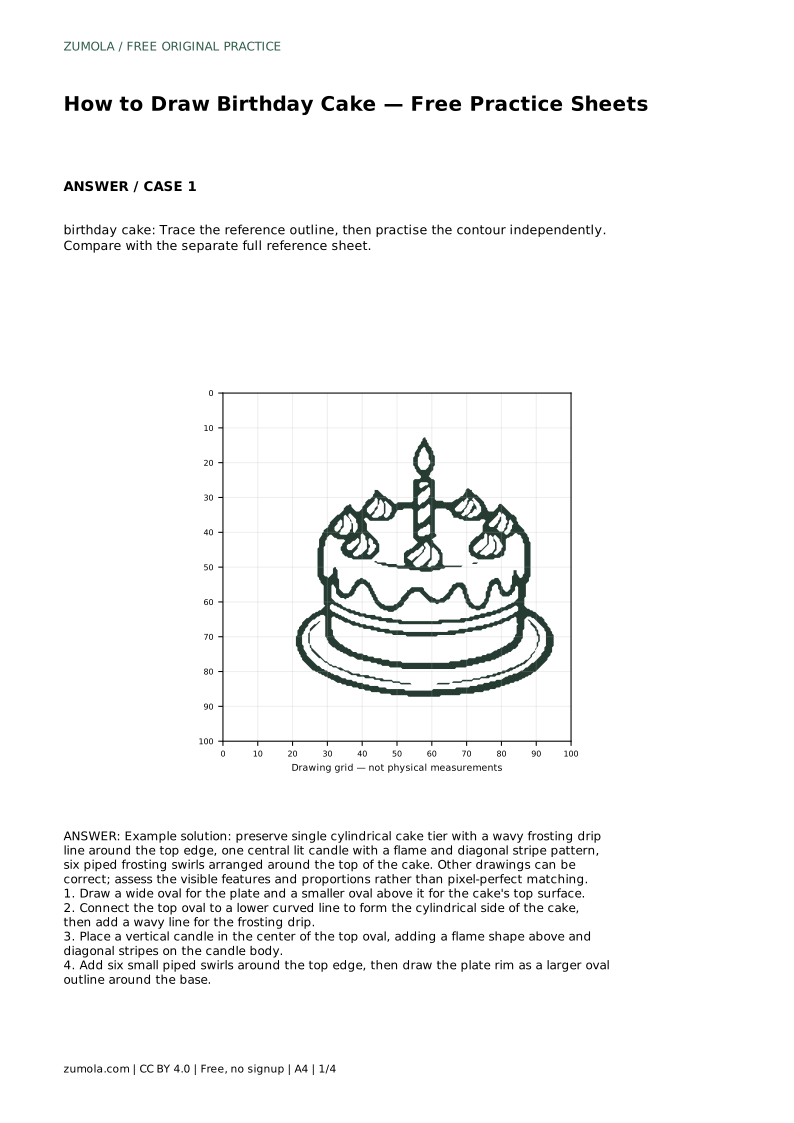
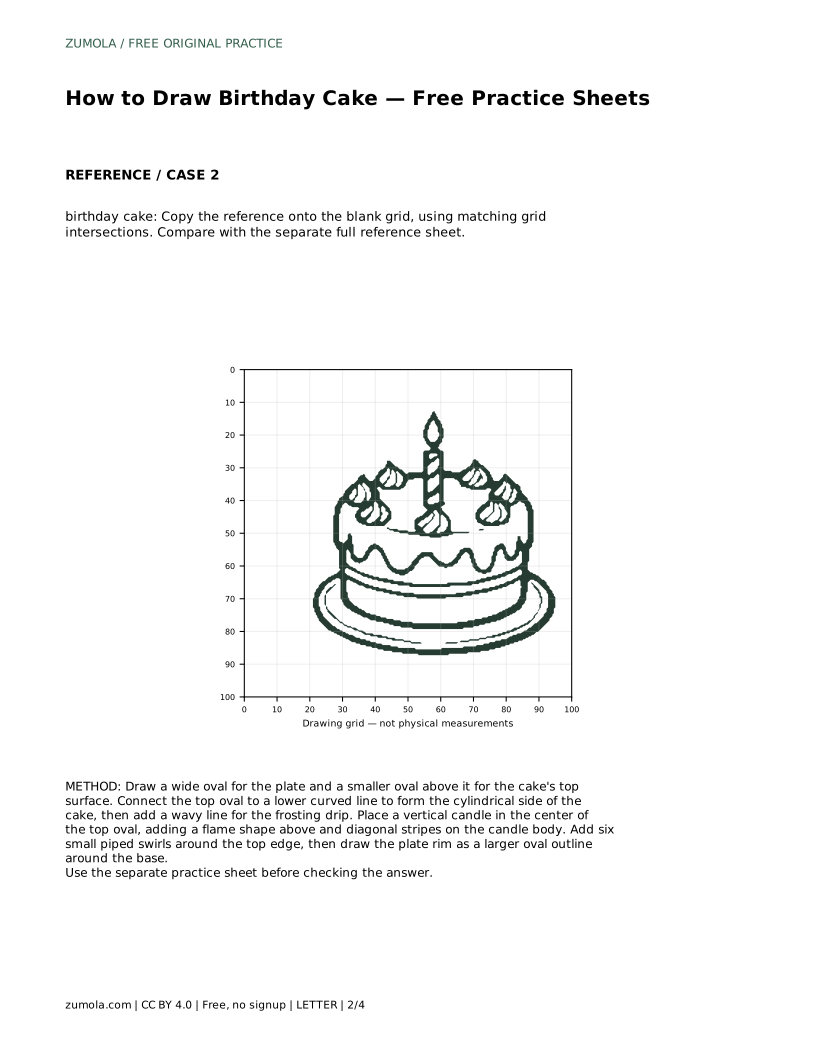
birthday cake: Trace the reference outline, then practise the contour independently. Compare with the separate full reference sheet.
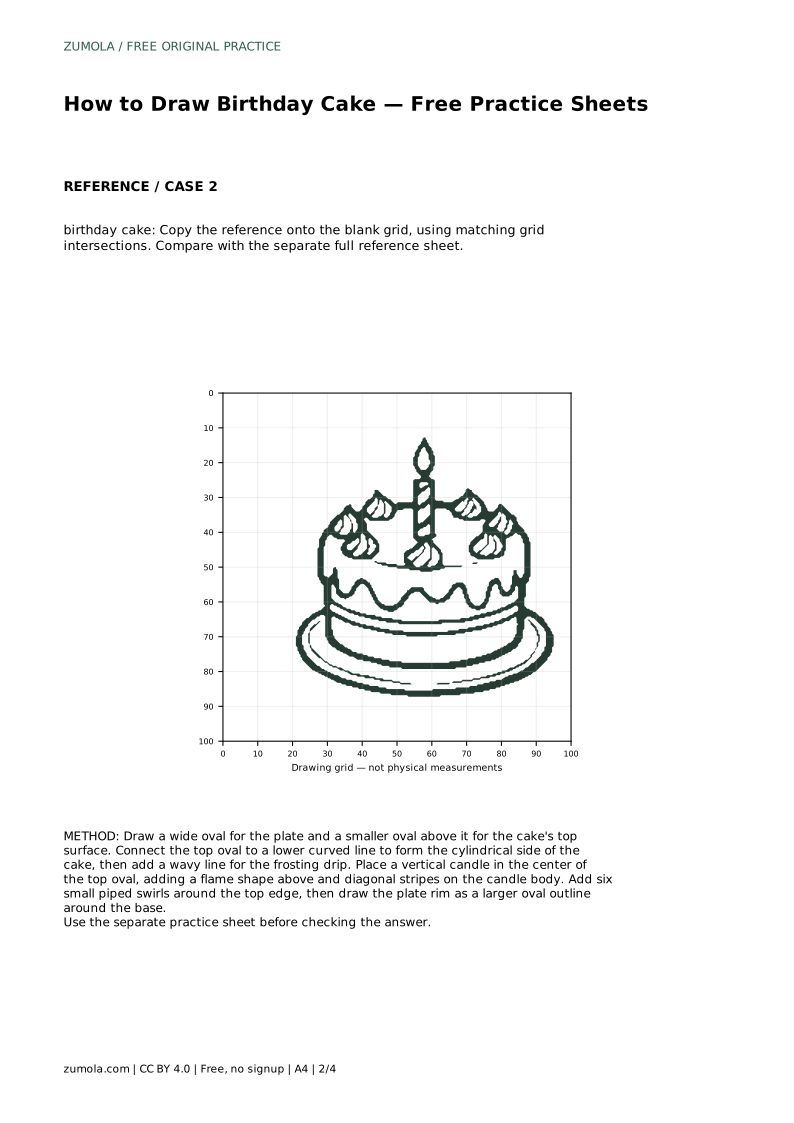
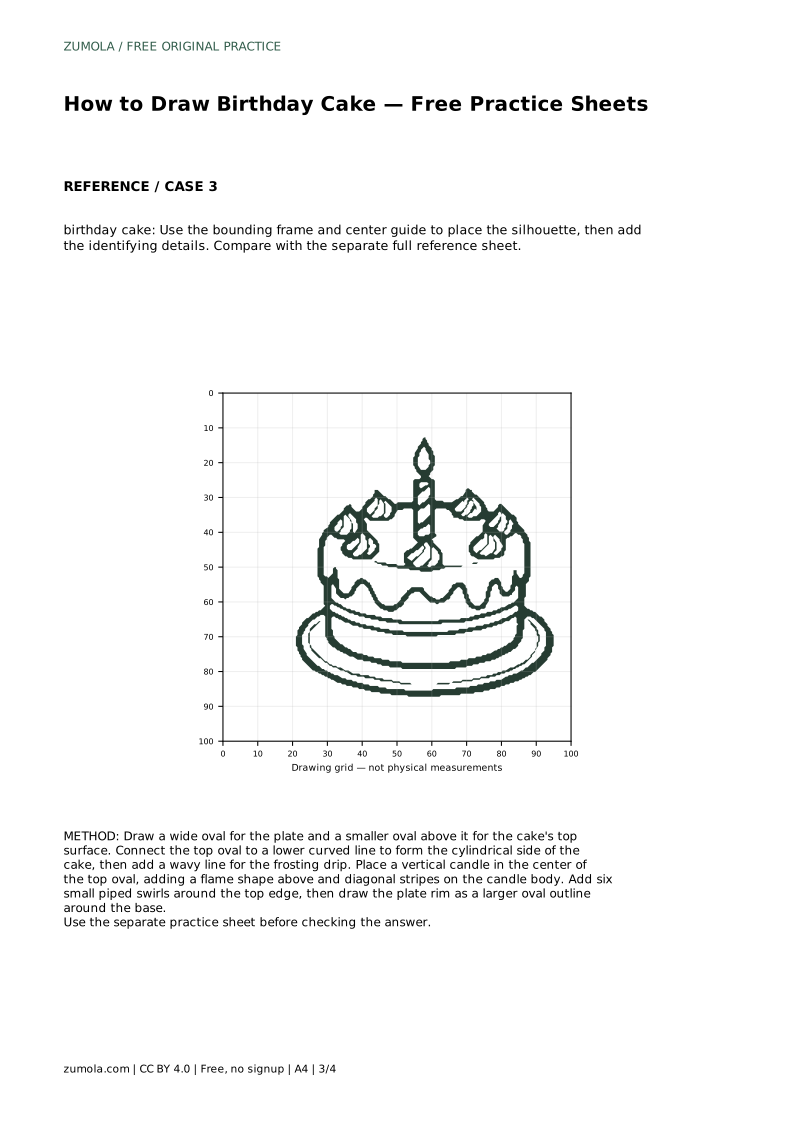
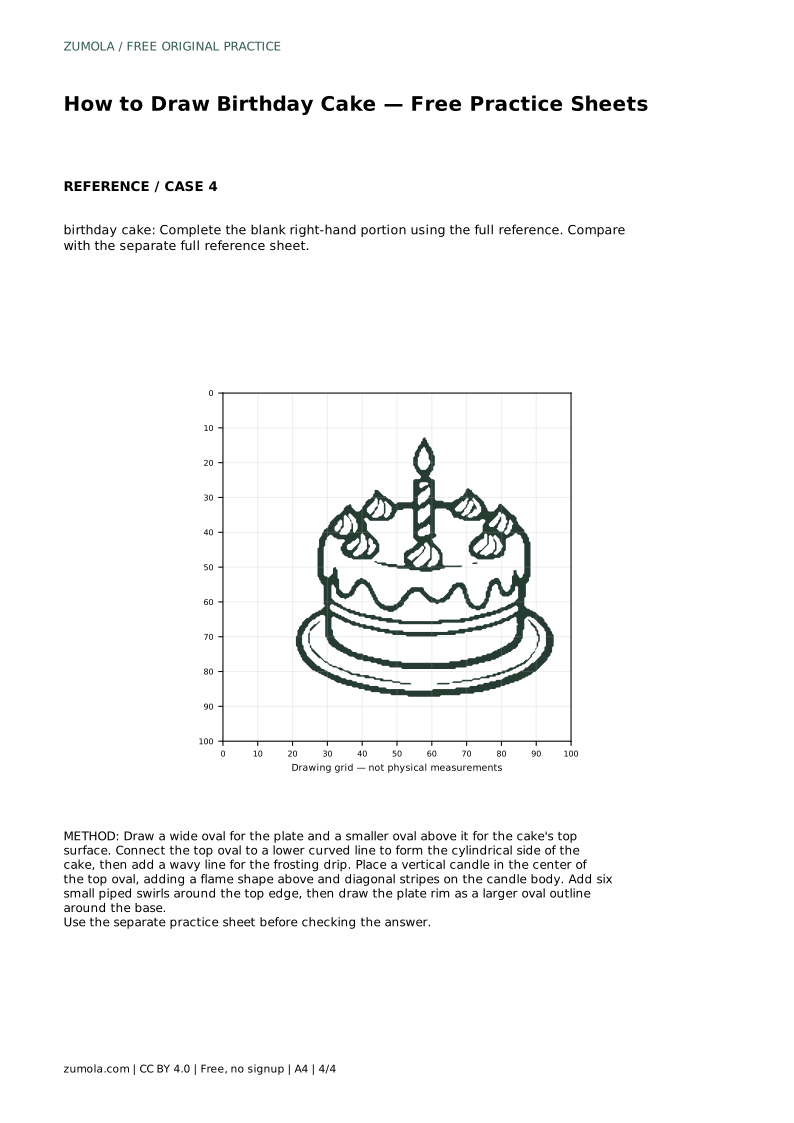
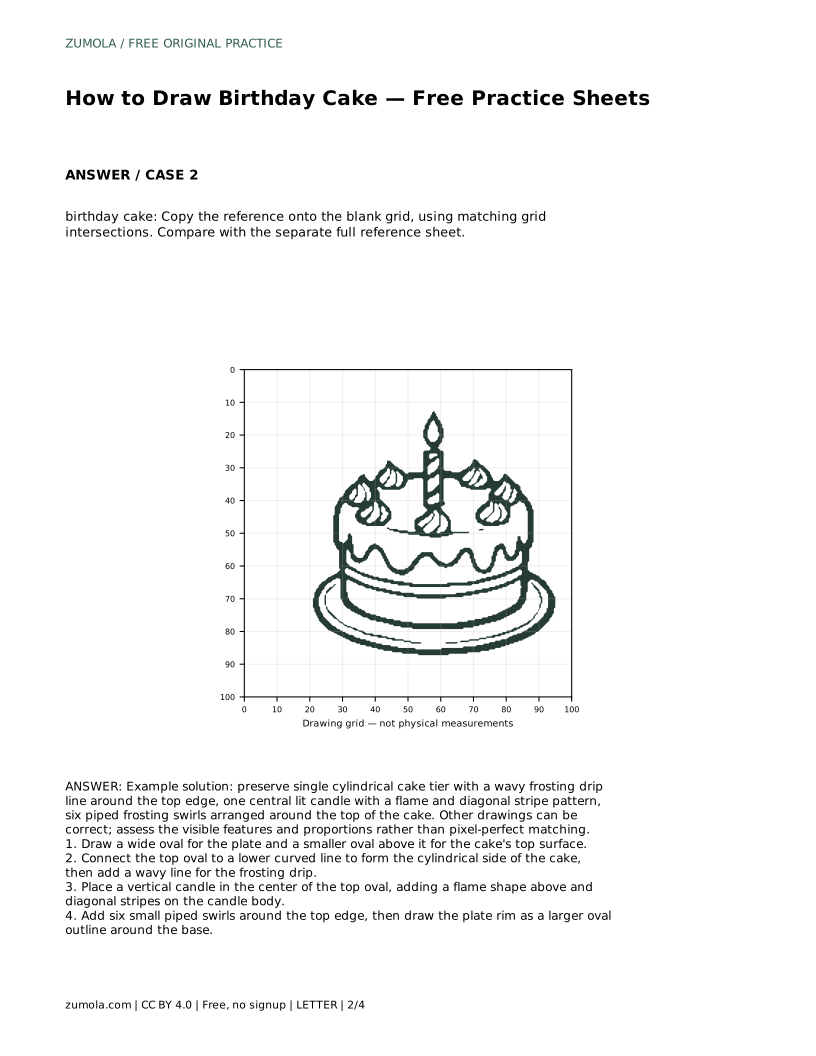
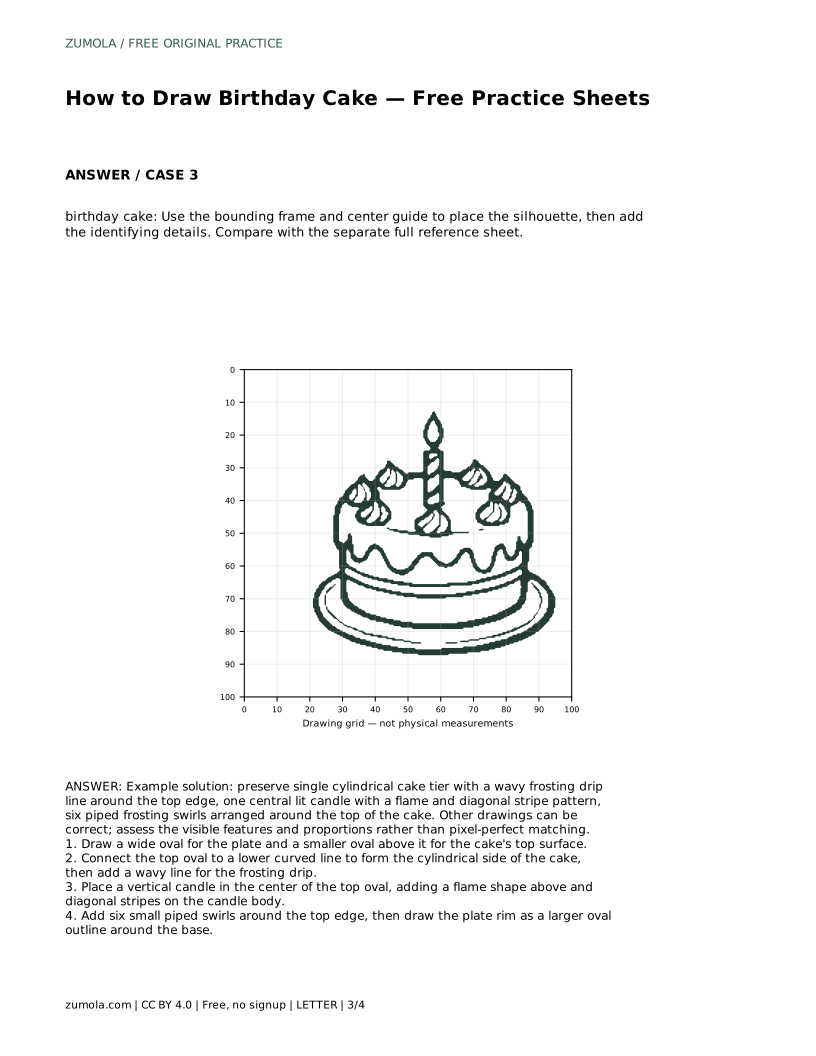
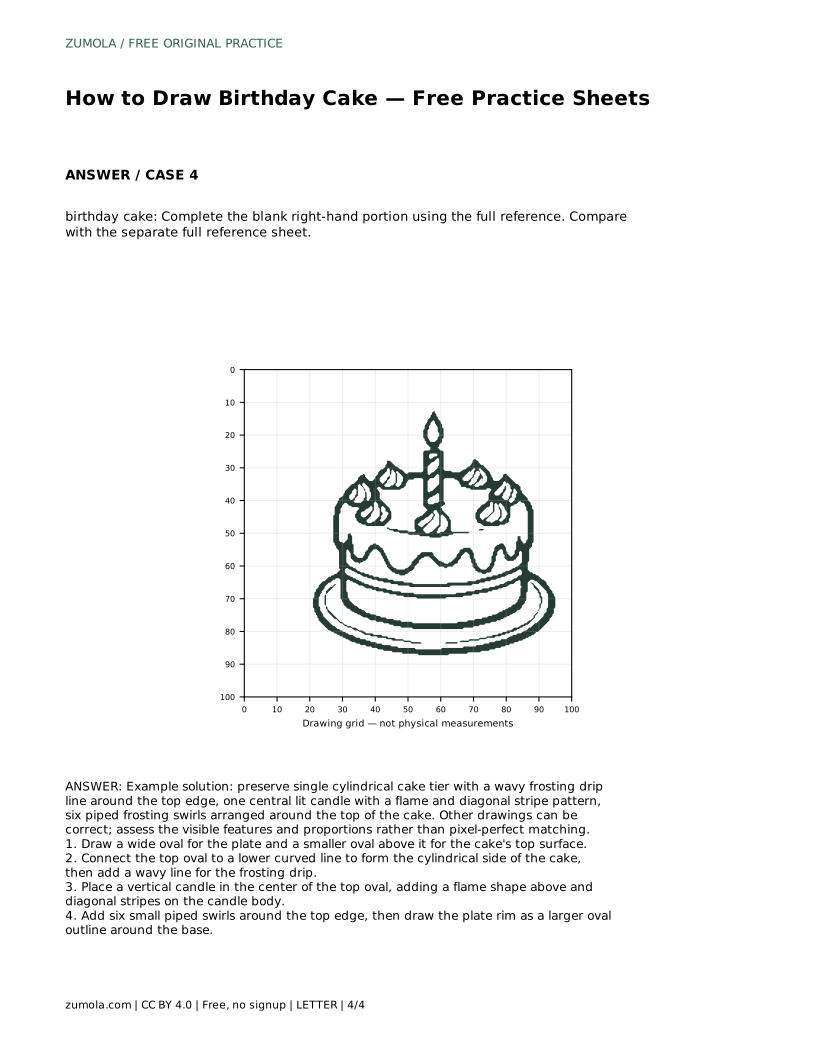
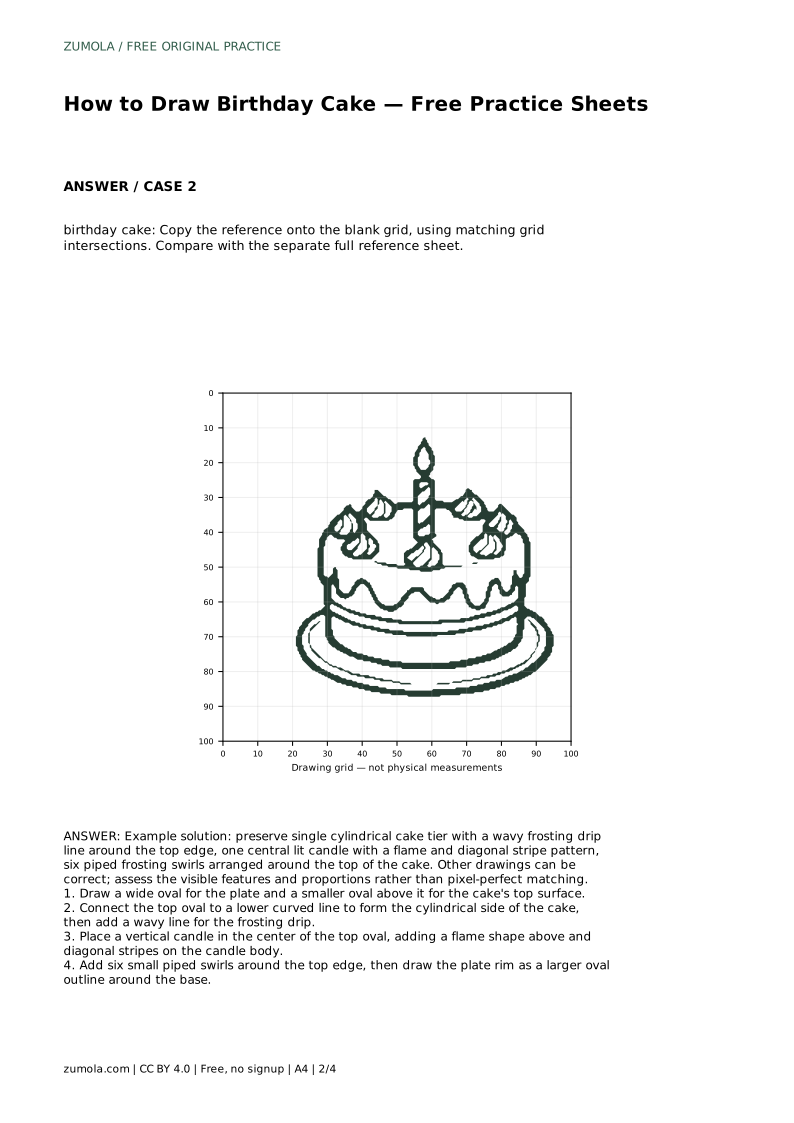
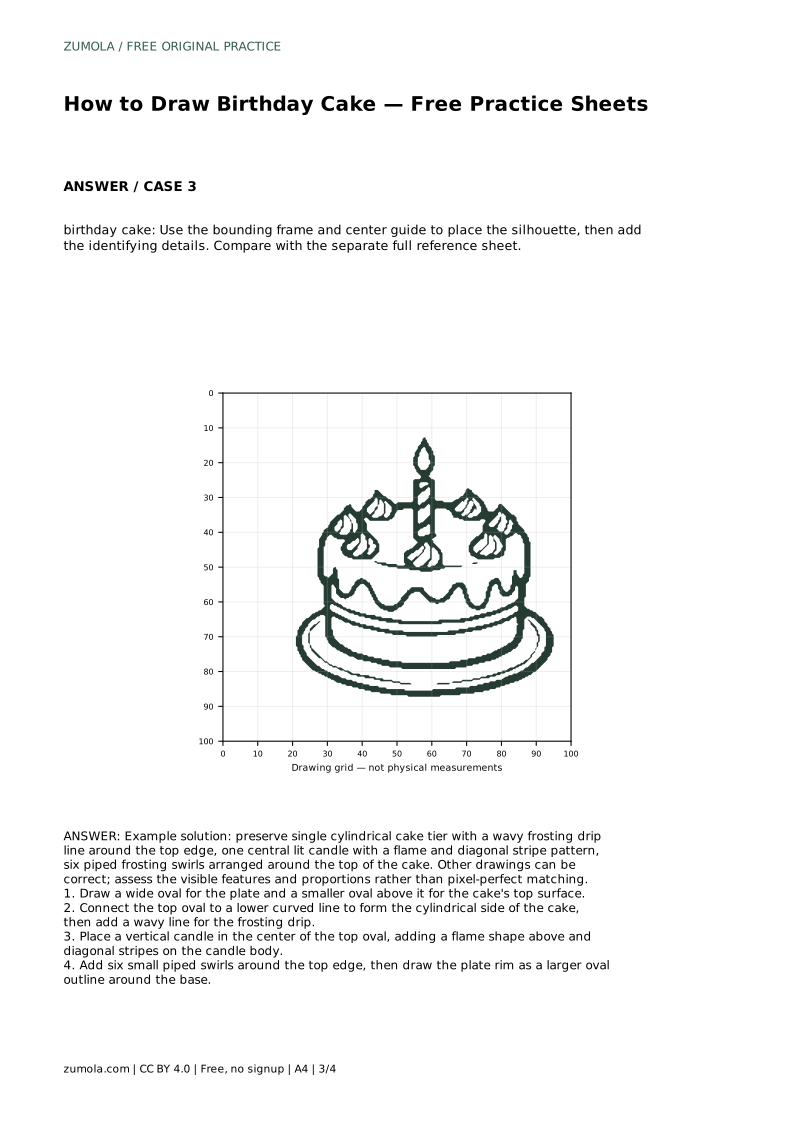
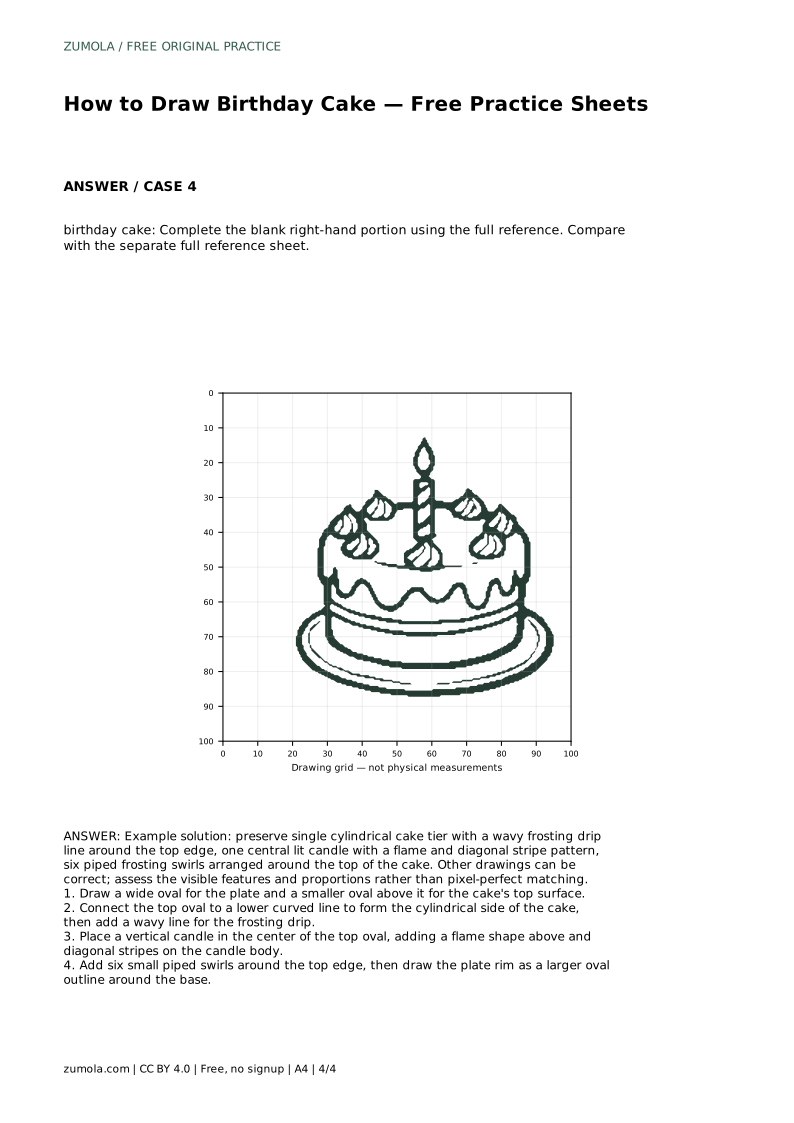
Example solution: preserve single cylindrical cake tier with a wavy frosting drip line around the top edge, one central lit candle with a flame and diagonal stripe pattern, six piped frosting swirls arranged around the top of the cake. Other drawings can be correct; assess the visible features and proportions rather than pixel-perfect matching. Draw a wide oval for the plate and a smaller oval above it for the cake's top surface. Connect the top oval to a lower curved line to form the cylindrical side of the cake, then add a wavy line for the frosting drip. Place a vertical candle in the center of the top oval, adding a flame shape above and diagonal stripes on the candle body. Add six small piped swirls around the top edge, then draw the plate rim as a larger oval outline around the base.
The reference design uses six swirls, but other counts can still produce a valid birthday cake drawing. For practice matching the reference, aim for six evenly spaced swirls around the top.
Yes. The candle is a decorative element, and different stripe patterns or flame shapes can be correct. The key is to keep one central candle with a visible flame and clear body.
Check for the main features: a single cylindrical tier, a wavy frosting drip, a central lit candle with a flame and diagonal stripes, and piped swirls around the top. Proportion and placement can vary, so use the rubric rather than expecting an exact match.
All drawing practice · Free coordinate paper
Original resources · CC BY 4.0 · Free for personal and classroom use with attribution.