Reference diagrams
LETTER · Download PDF
A4 · Download PDF
Free original resources
Learn to draw a ribbed pumpkin with a wide oval body, curved stem, and vertical lobes. Trace, grid, and frame practice sheets support careful shape work.
Four original cases, with reference diagrams, practice sheets and worked answers. Everything is free; no signup required.
LETTER · Download PDF
A4 · Download PDF
LETTER · Download PDF
A4 · Download PDF
LETTER · Download PDF
A4 · Download PDF
Use A4 or US Letter to match your printer. Use the stated values and conditions to solve each exercise; diagrams are not physical measuring rulers.
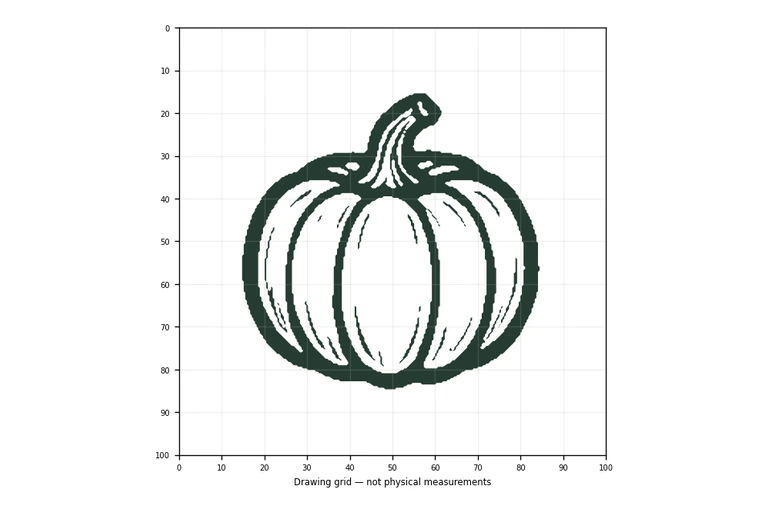
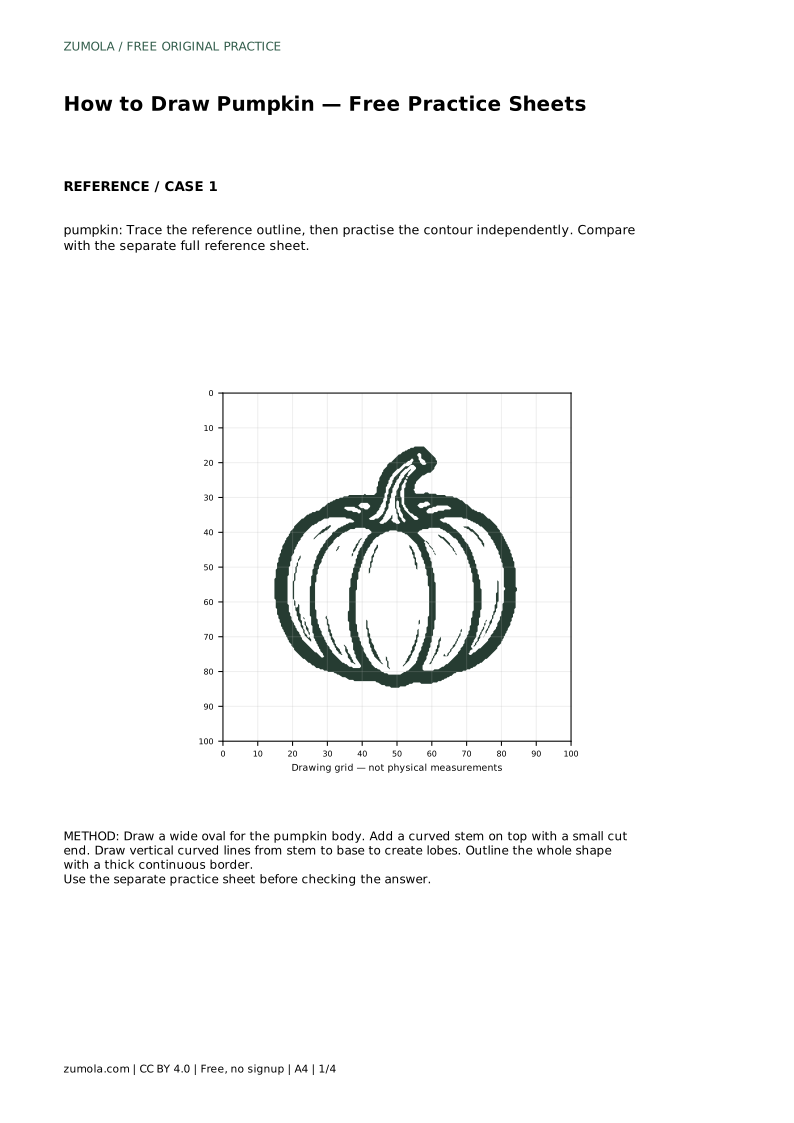
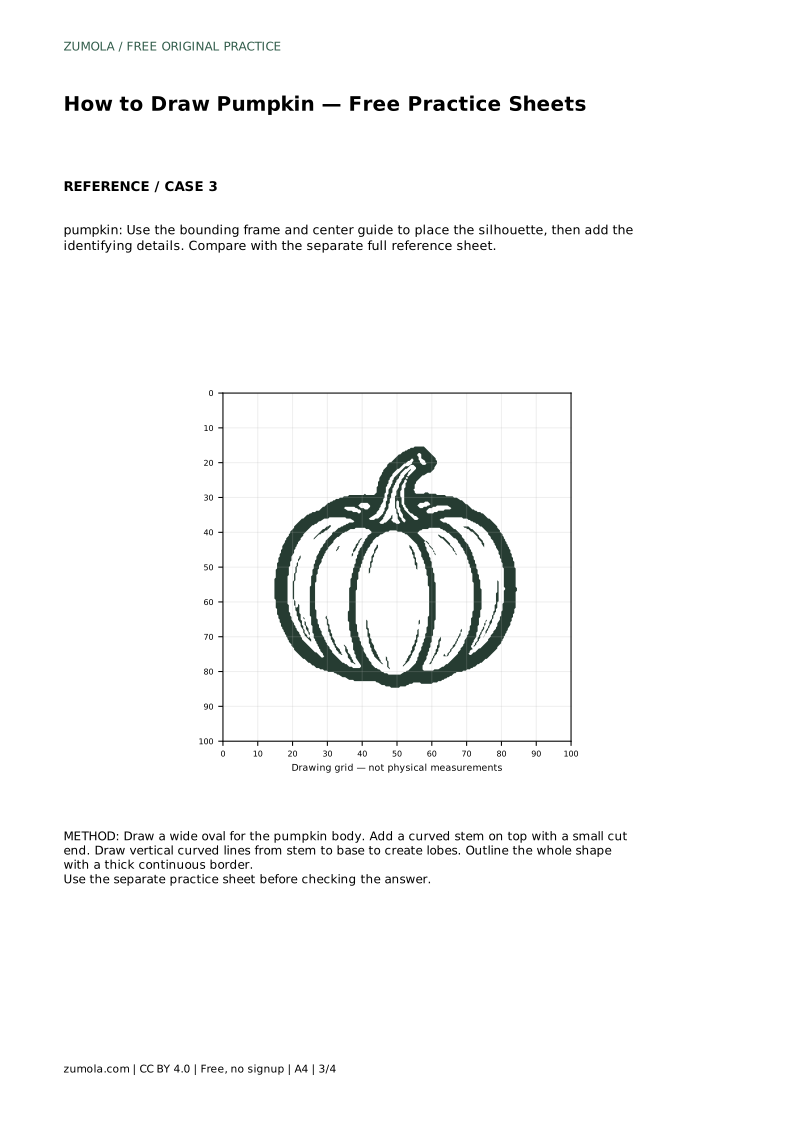
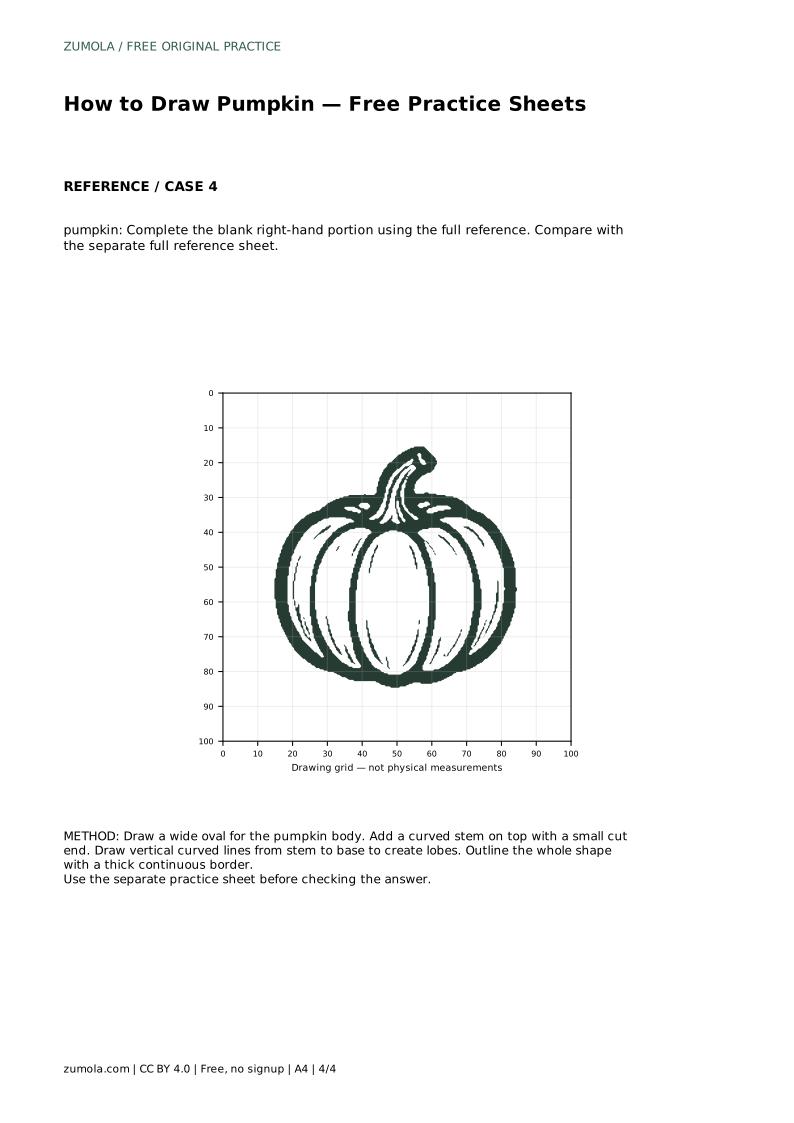
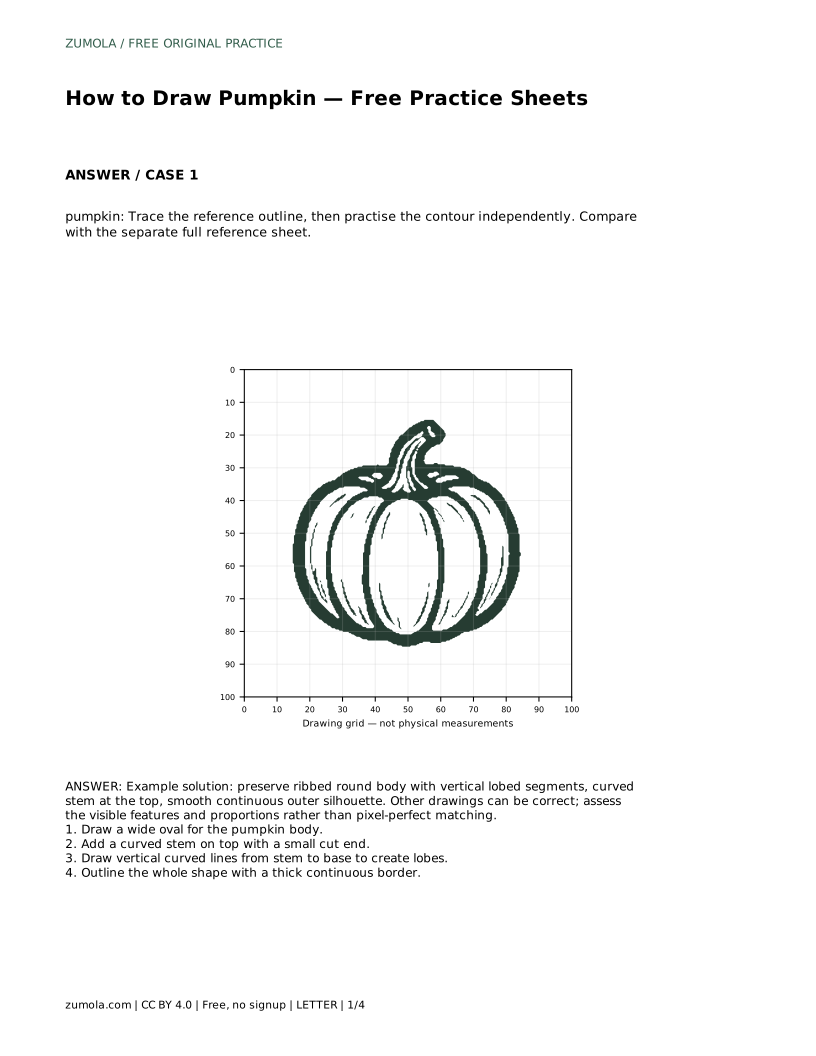
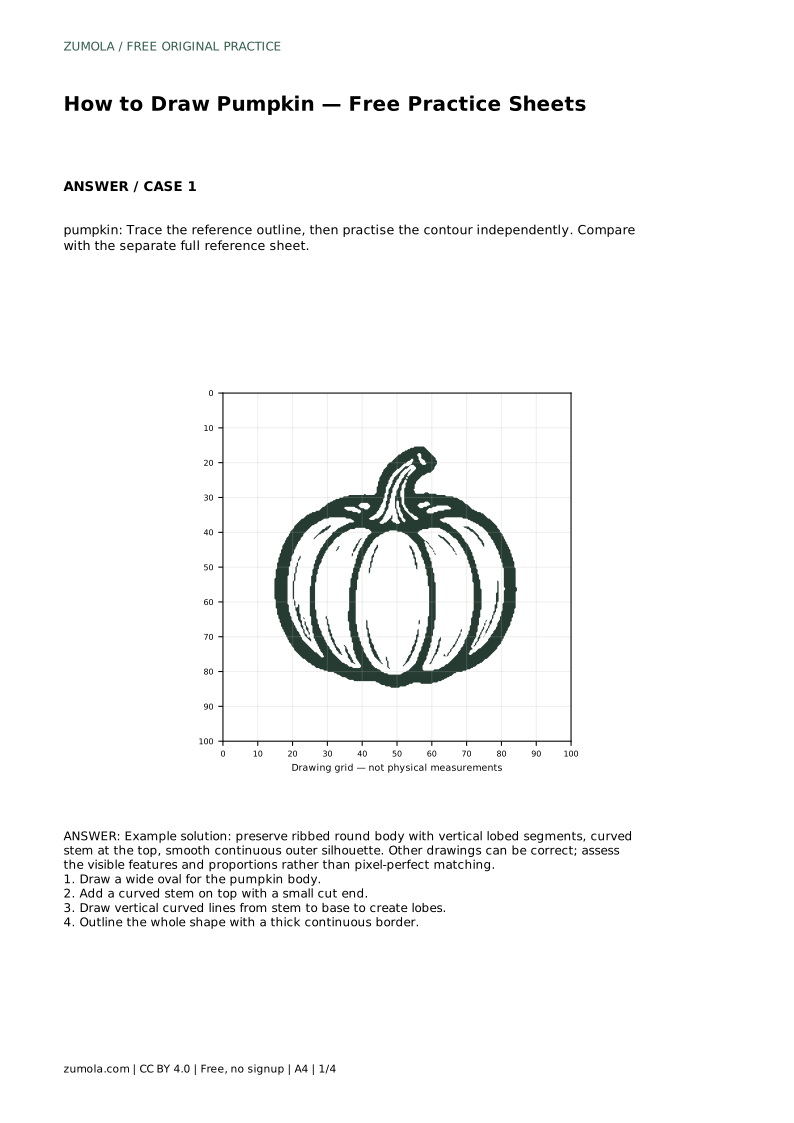
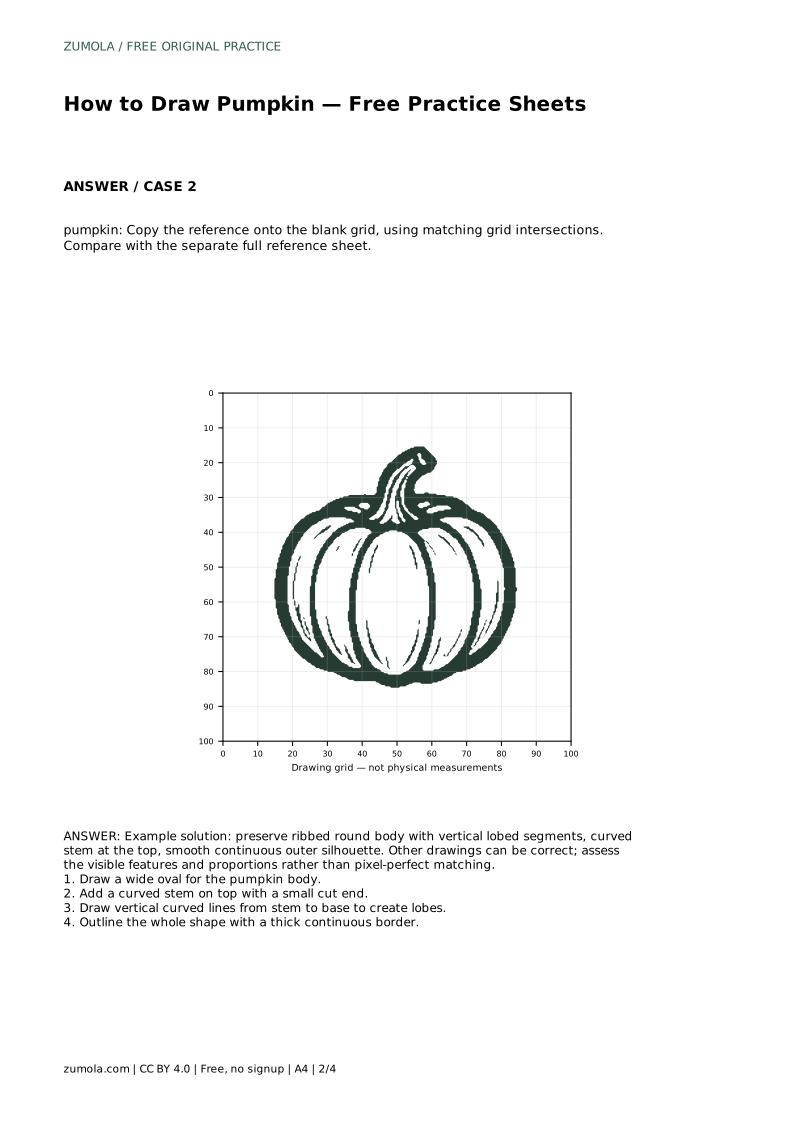
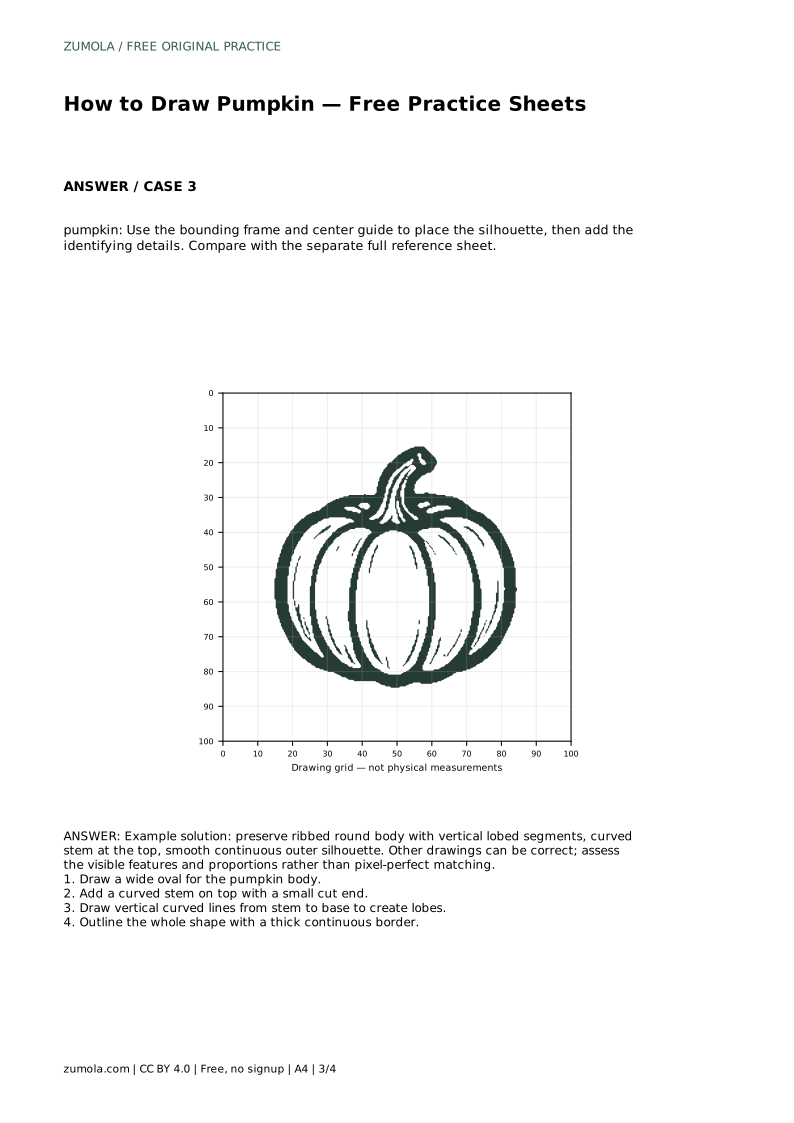
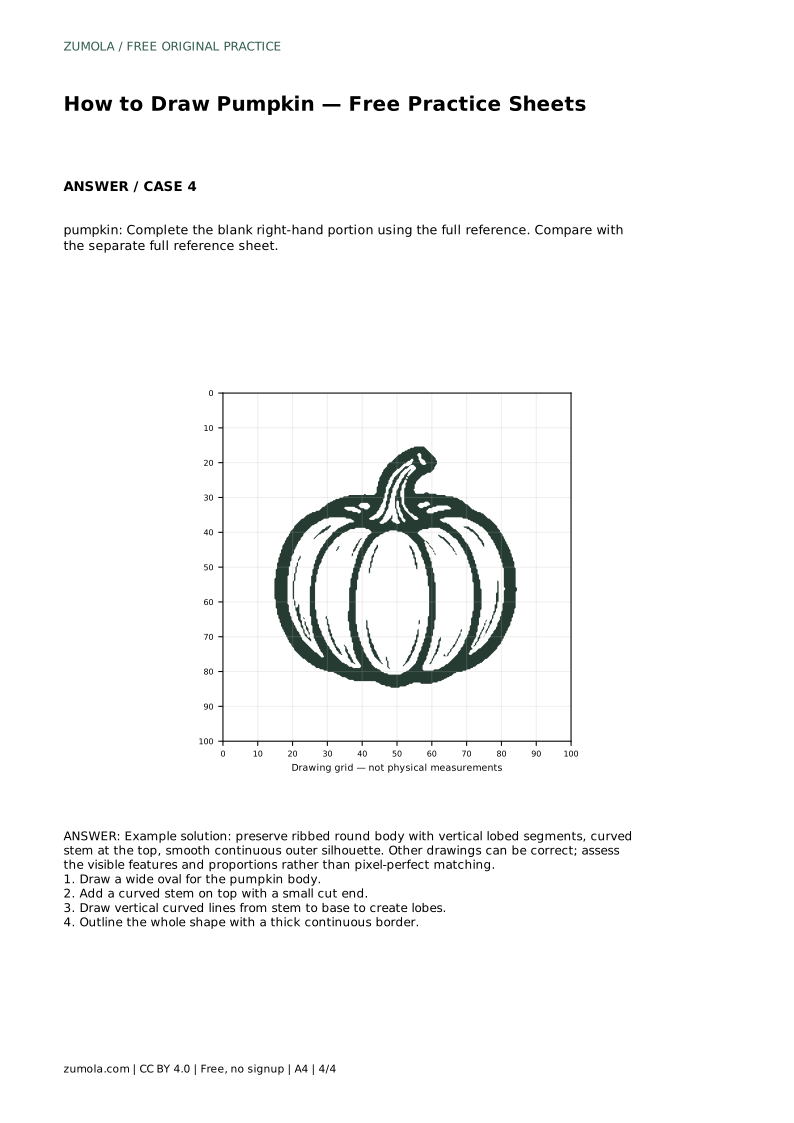
A pumpkin is easy to recognize but surprisingly easy to draw lopsided. The key is to treat it as a wide oval body with a curved stem and a set of vertical lobes that follow the body's curve. This page explains a clear drawing order and how to use the practice sheets: tracing the reference outline, copying onto a blank grid, placing the silhouette with a bounding frame and center guide, and completing a blank portion from the full reference.
Begin with the overall silhouette before adding any interior lines. Draw a wide oval for the pumpkin body, keeping it broader than it is tall. A pumpkin is not a perfect circle; the slight width makes the shape read correctly. Next, add a curved stem on top with a small cut end. The stem should sit near the center of the top edge and lean slightly, which gives the drawing a natural look without changing the basic shape.
Keep your lines light at this stage. The body and stem establish proportion, and light lines are easier to adjust if the oval feels too narrow or the stem sits too far to one side. Check that the stem connects cleanly to the top of the body rather than floating above it.
Pumpkins have vertical lobed segments, so the interior lines should run from the stem area down toward the base. Draw vertical curved lines that echo the outer silhouette rather than straight lines. Each lobe line should bow gently outward, matching the roundness of the body. Space the lines so the segments look balanced; uneven spacing is more noticeable than small differences in curve.
The outer silhouette should stay smooth and continuous. Interior lobe lines describe the segments, but they should not break the outline or turn the body into separate shapes. Think of the lobes as surface divisions on one rounded form.
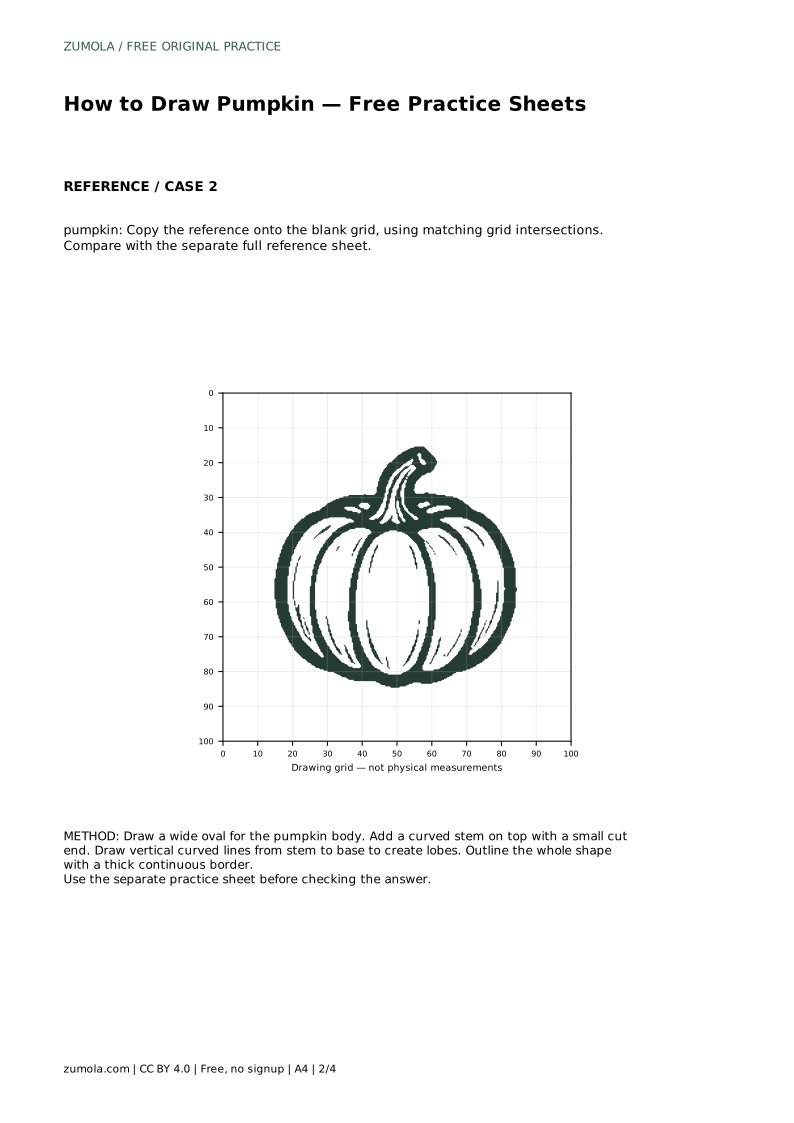
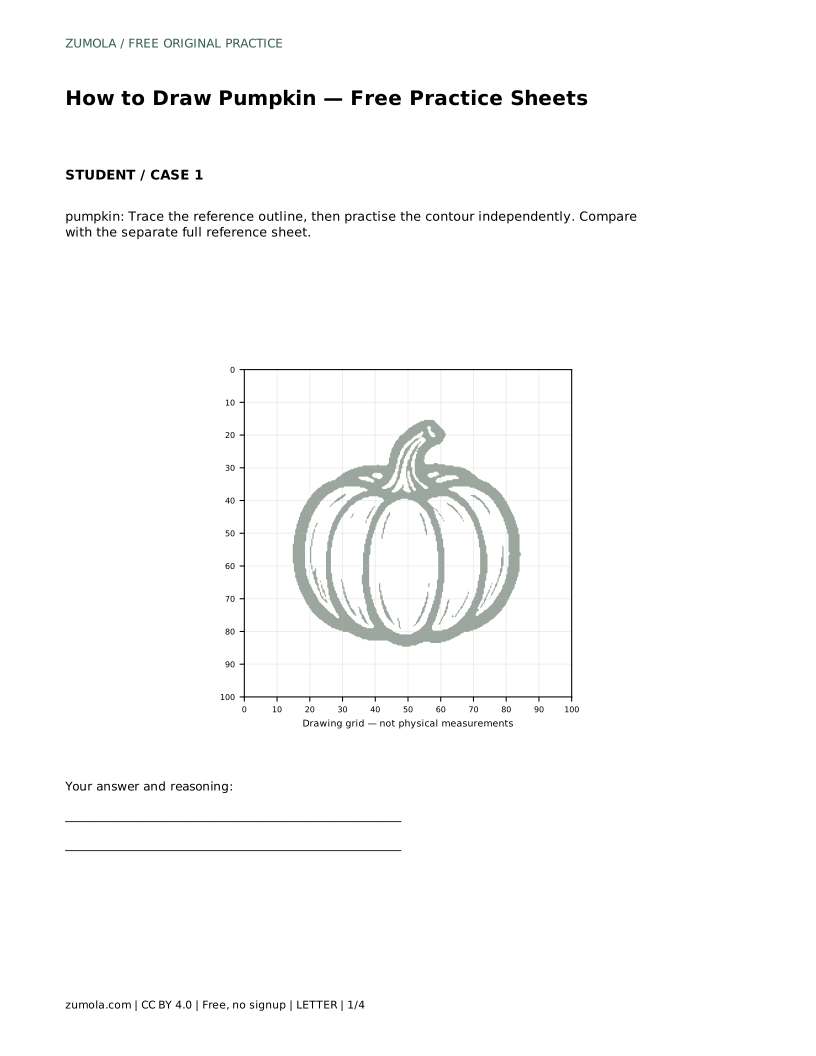
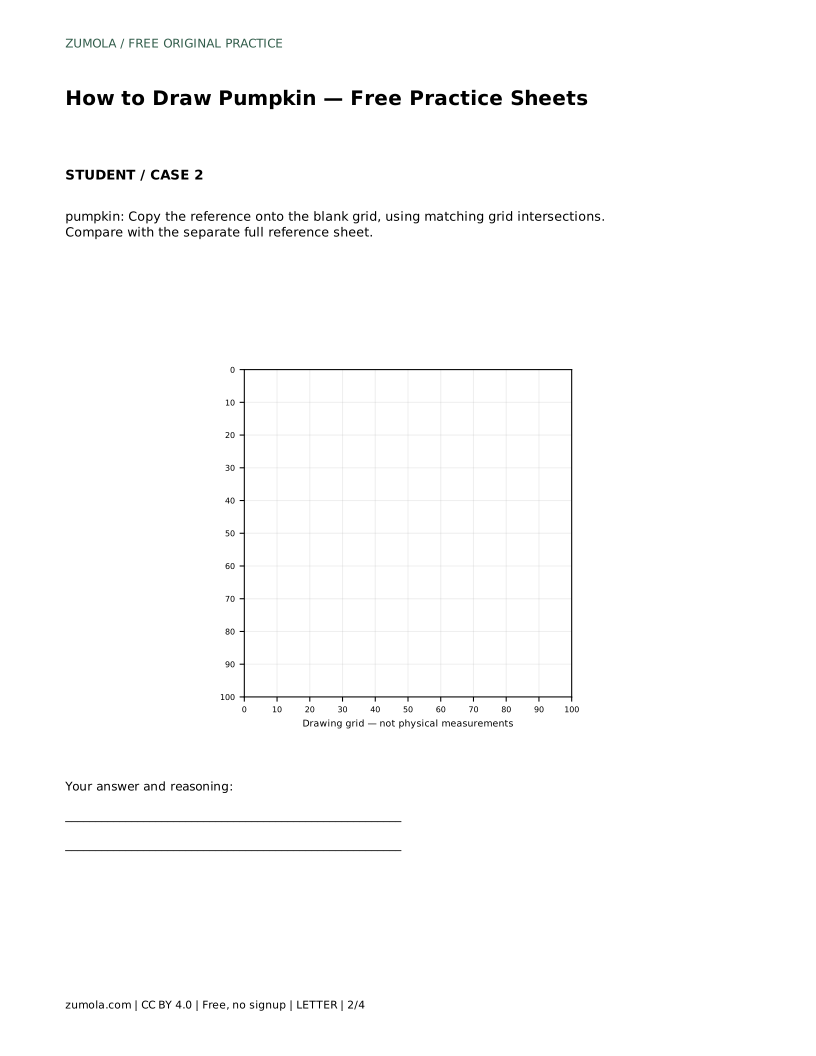
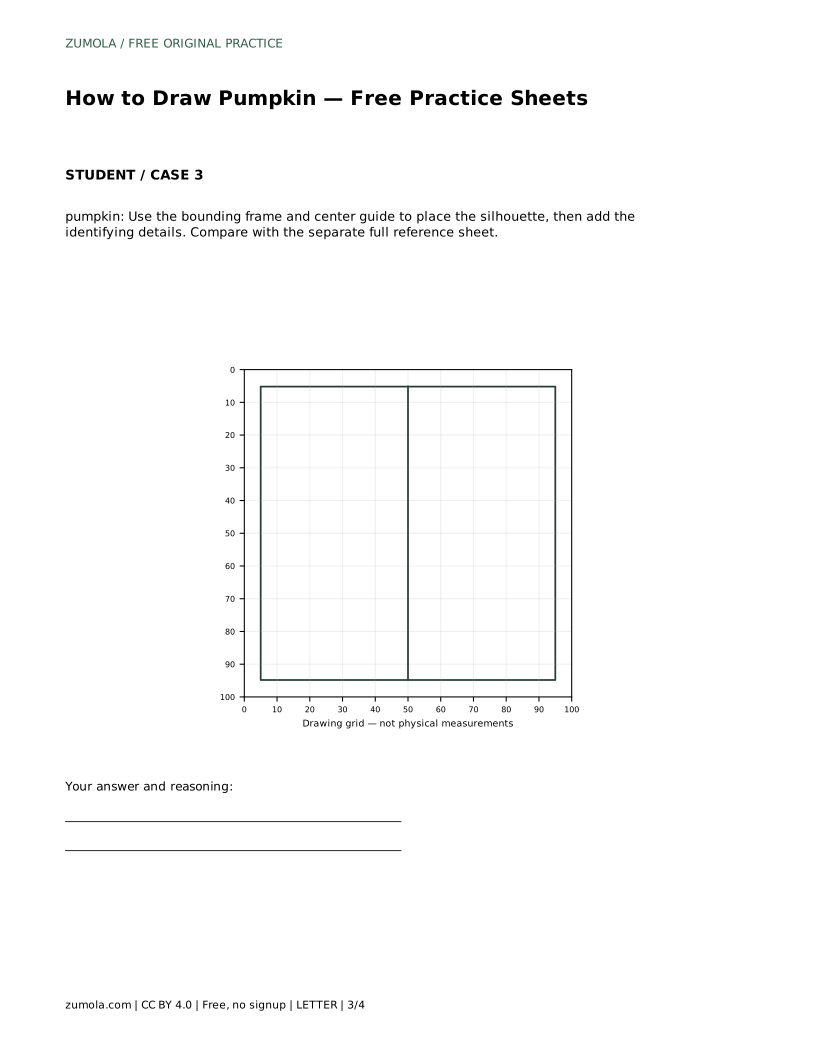
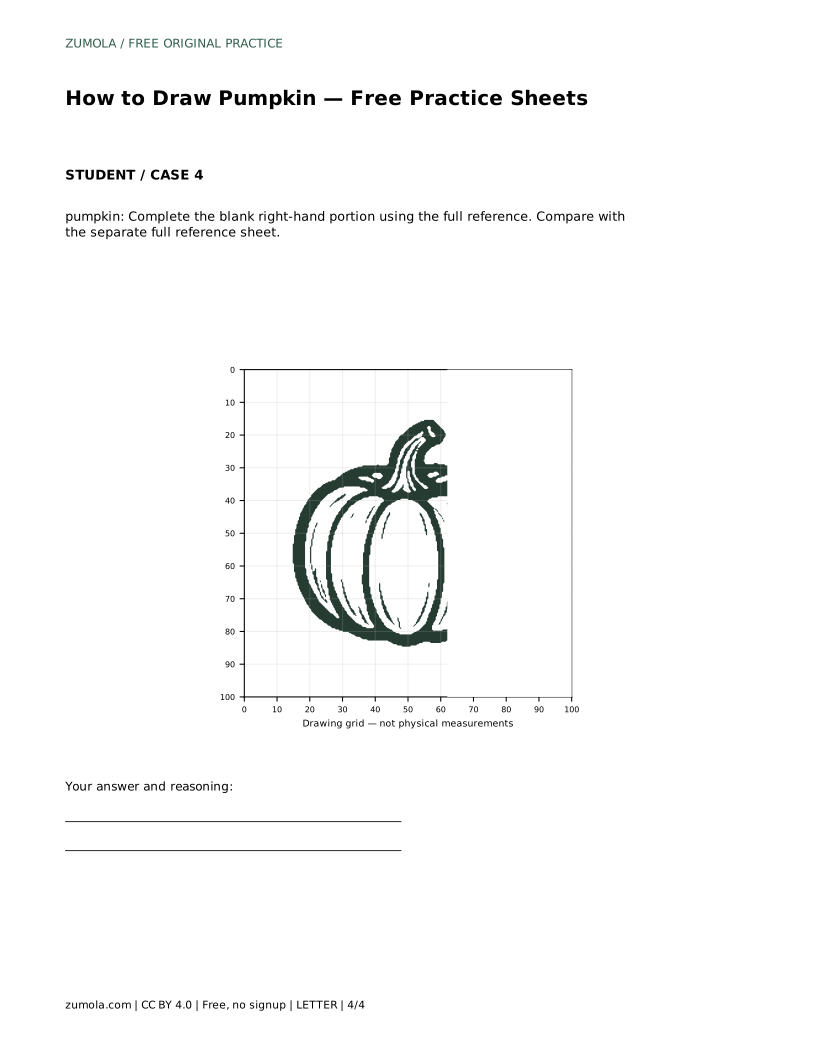
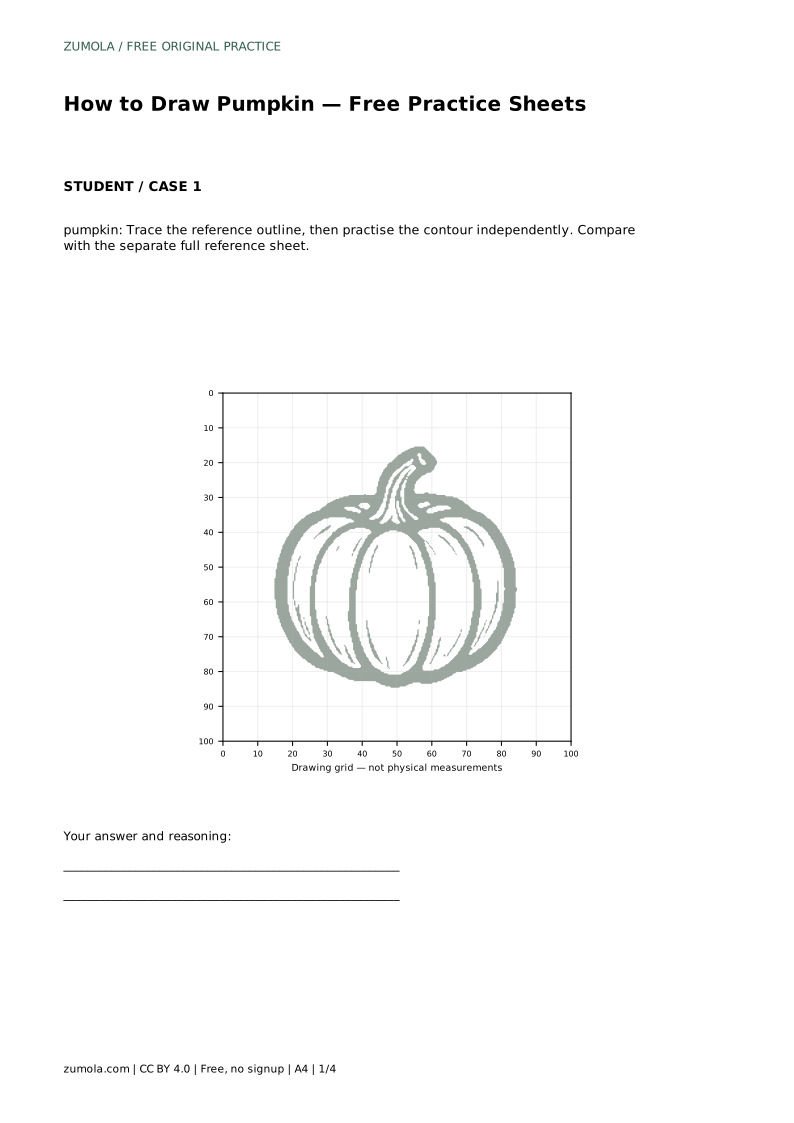
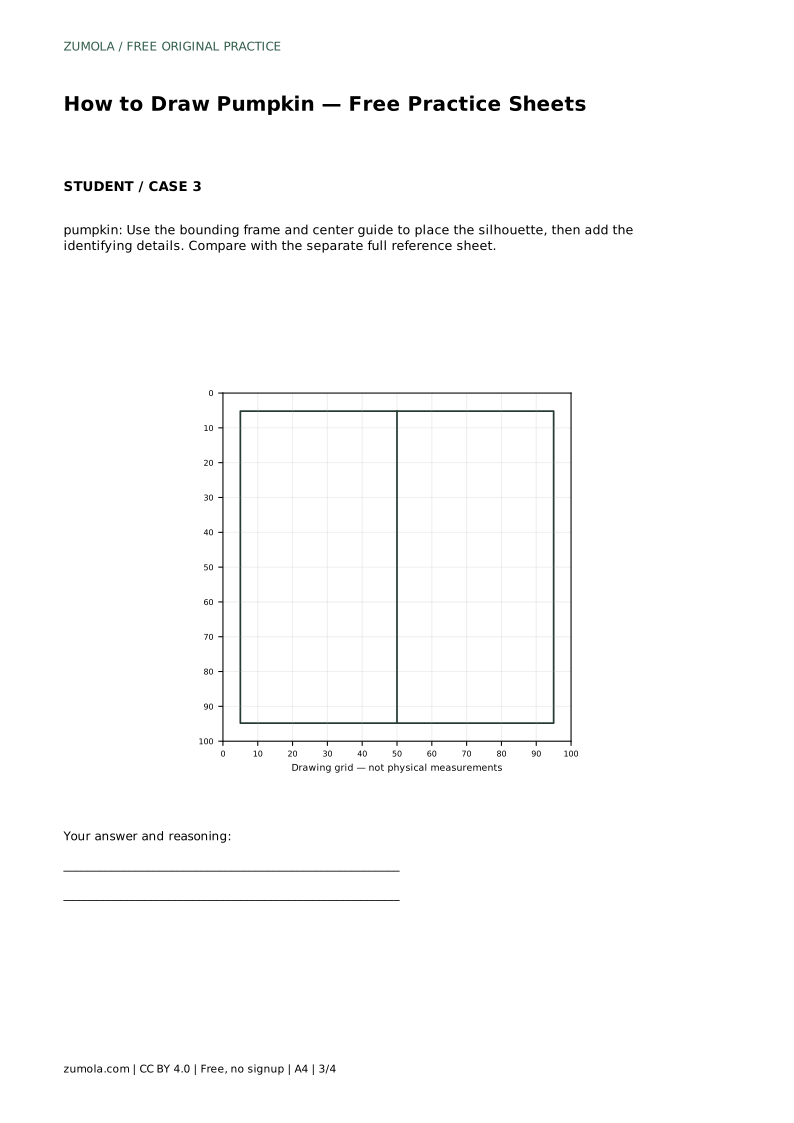
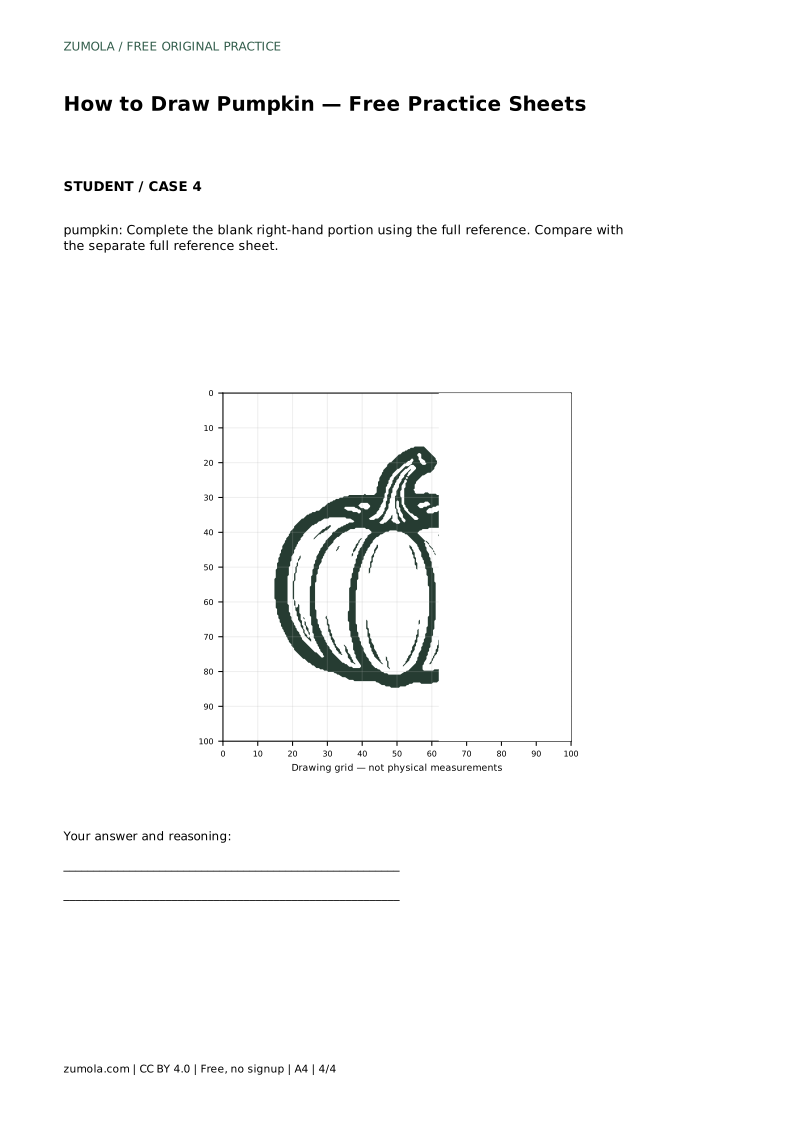
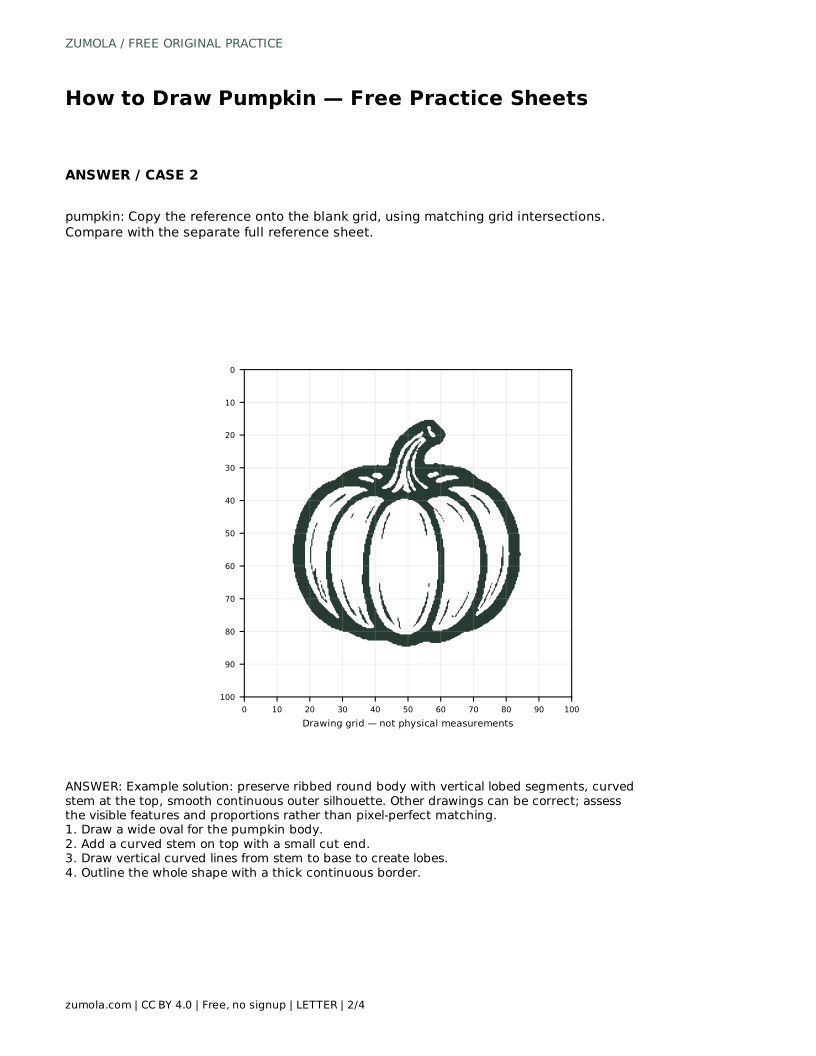
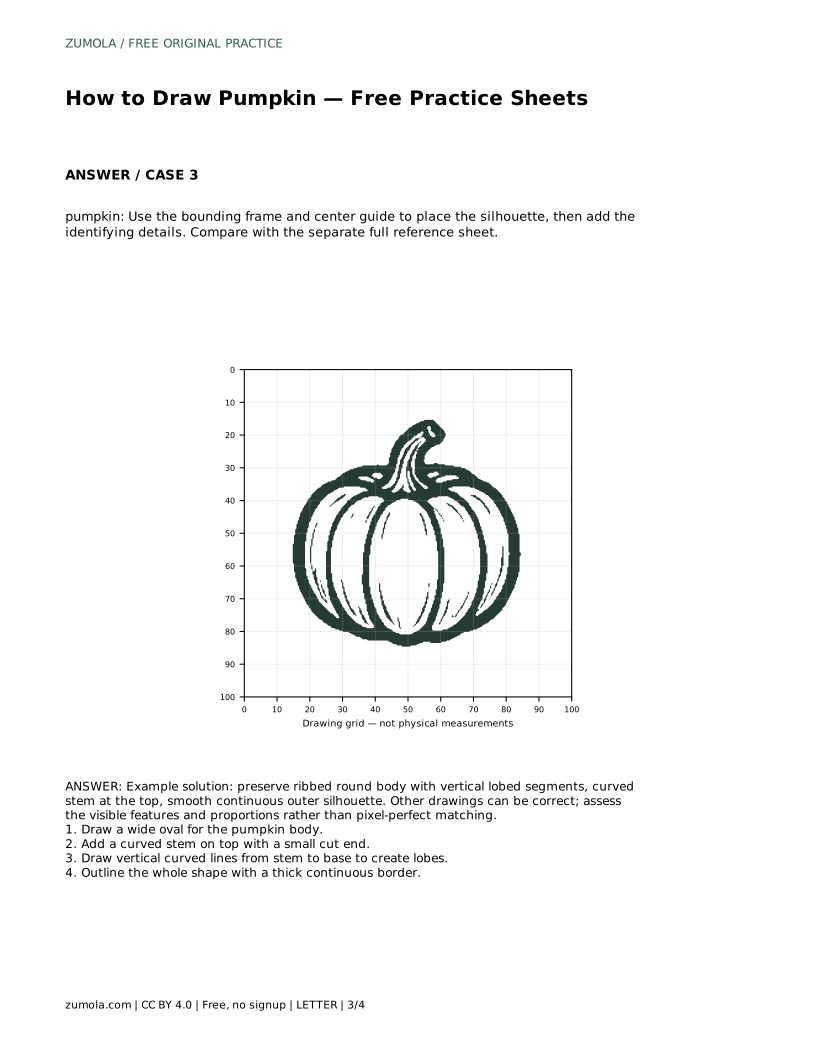
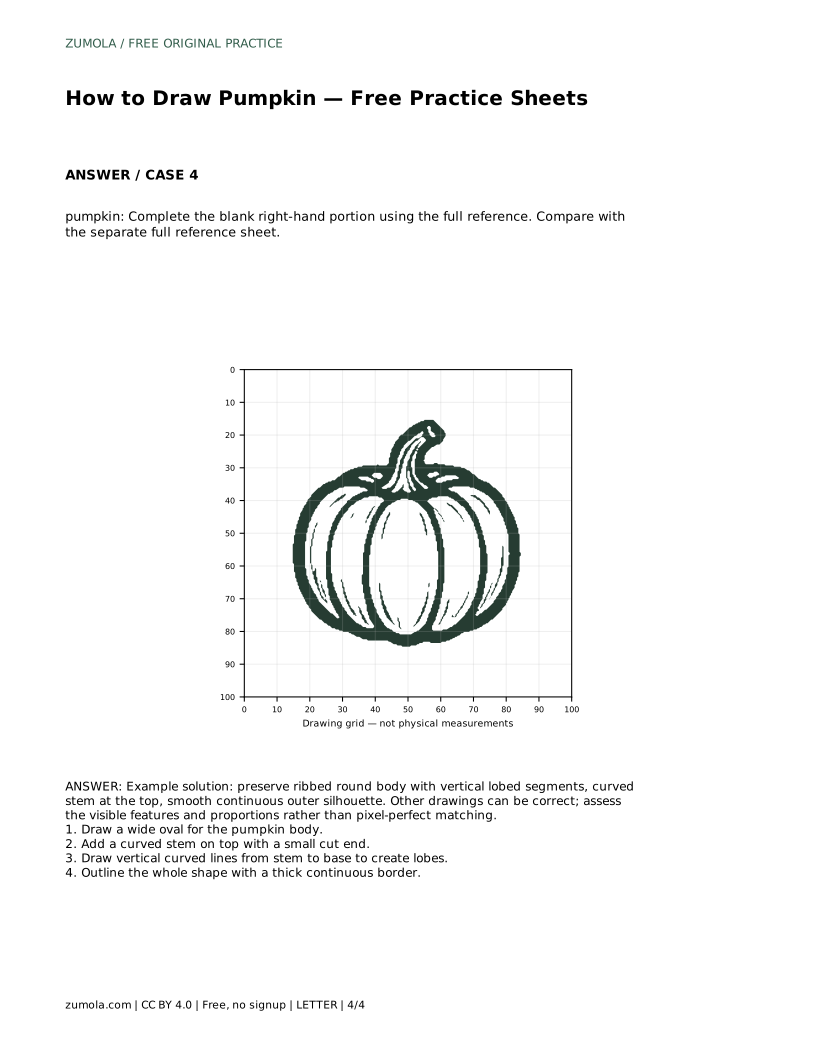
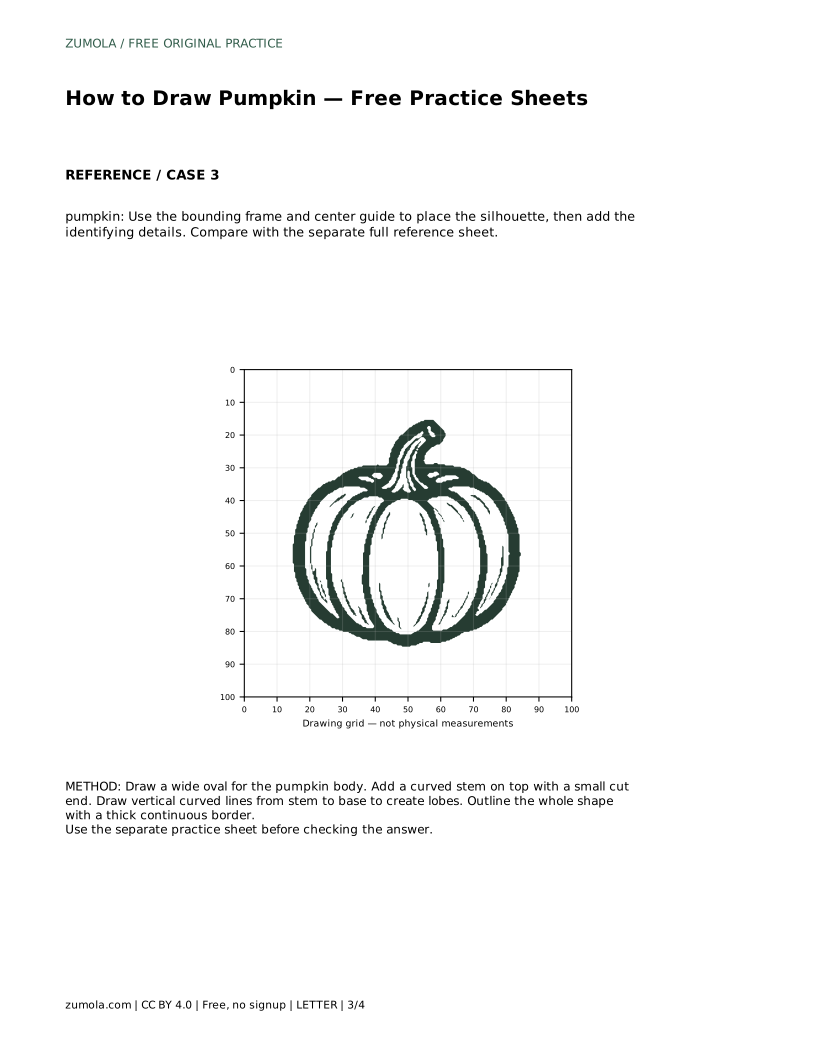
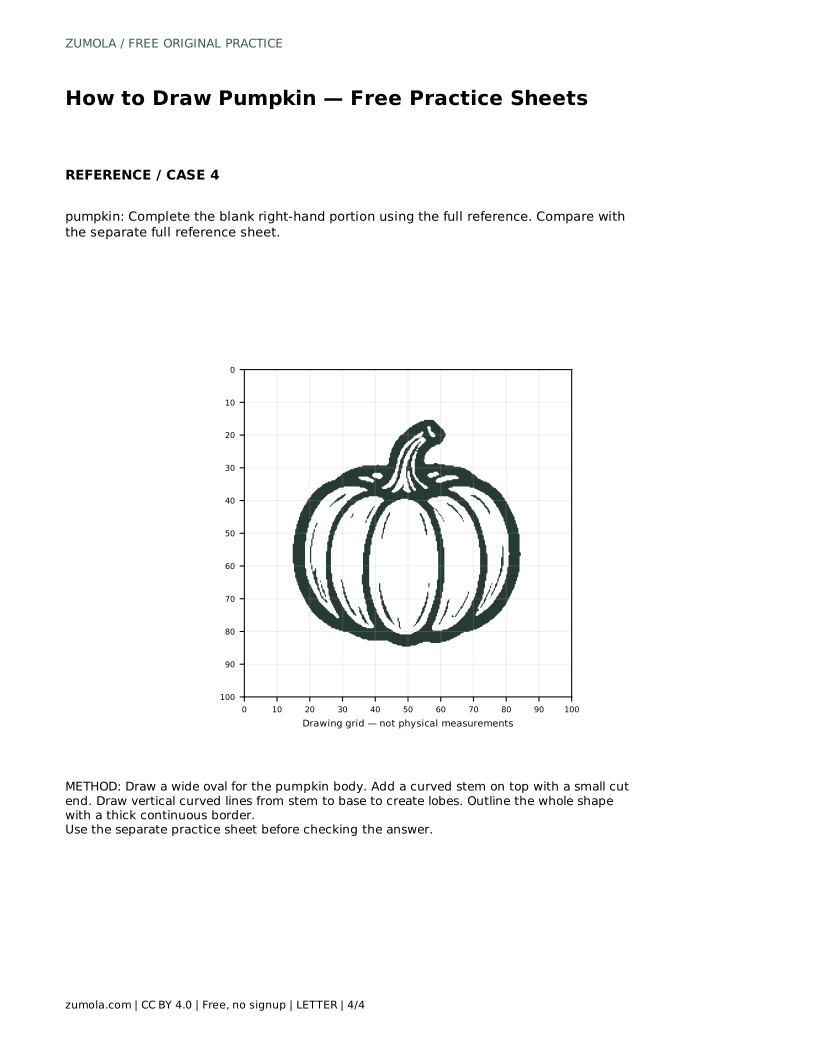
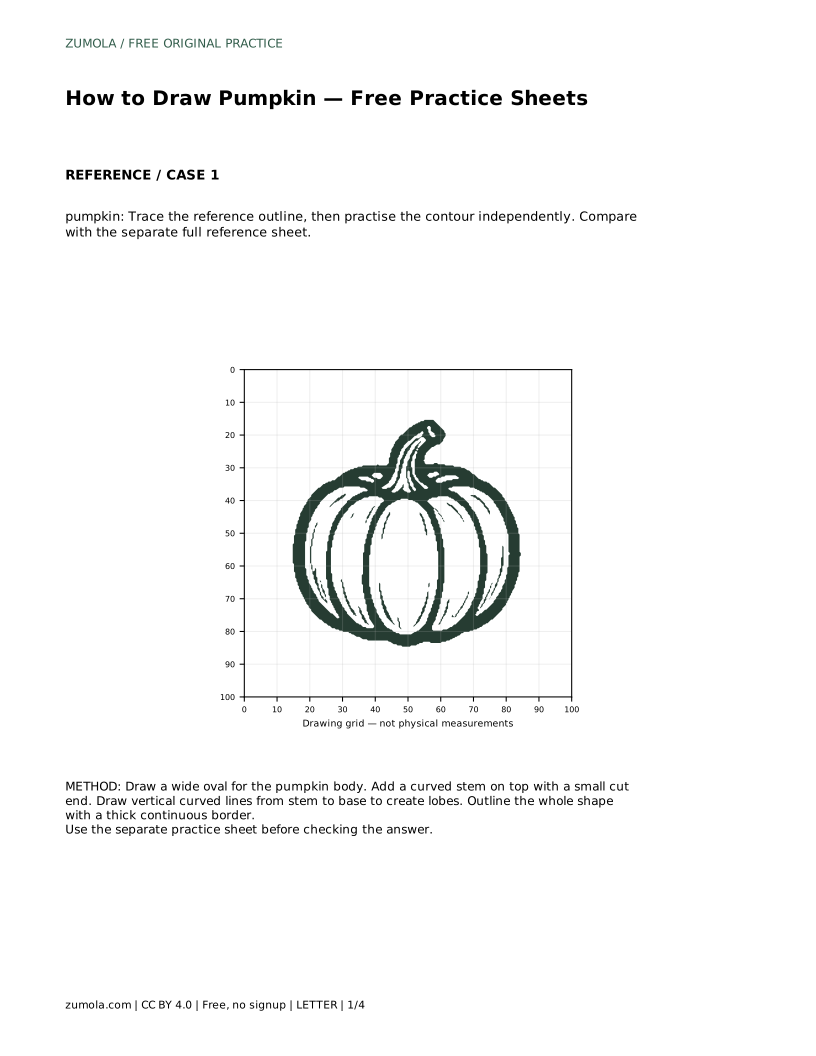
The tracing sheet asks you to follow the reference outline first, then practise the contour independently. Compare your result with the separate full reference sheet rather than expecting a pixel-perfect match. The grid sheet asks you to copy the reference onto the blank grid using matching grid intersections; use the intersections to judge where the body edges, stem, and lobe lines fall. The frame sheet gives a bounding frame and center guide so you can place the silhouette before adding identifying details. The partial sheet asks you to complete the blank right-hand portion using the full reference.
In every format, assess the visible features and proportions: a ribbed round body, vertical lobed segments, a curved stem at the top, and a smooth continuous outer silhouette. Other drawings can be correct, so judge the features rather than exact line placement.
Compare your drawing with the full reference sheet at the end, not while you are mid-line. Look for the wide oval body, the stem's curve and cut end, the number and spacing of lobe lines, and a continuous outer border. If the body looks too tall, widen the oval. If the lobes look flat, increase their gentle outward bow. If the stem looks detached, redraw its base so it meets the top edge.
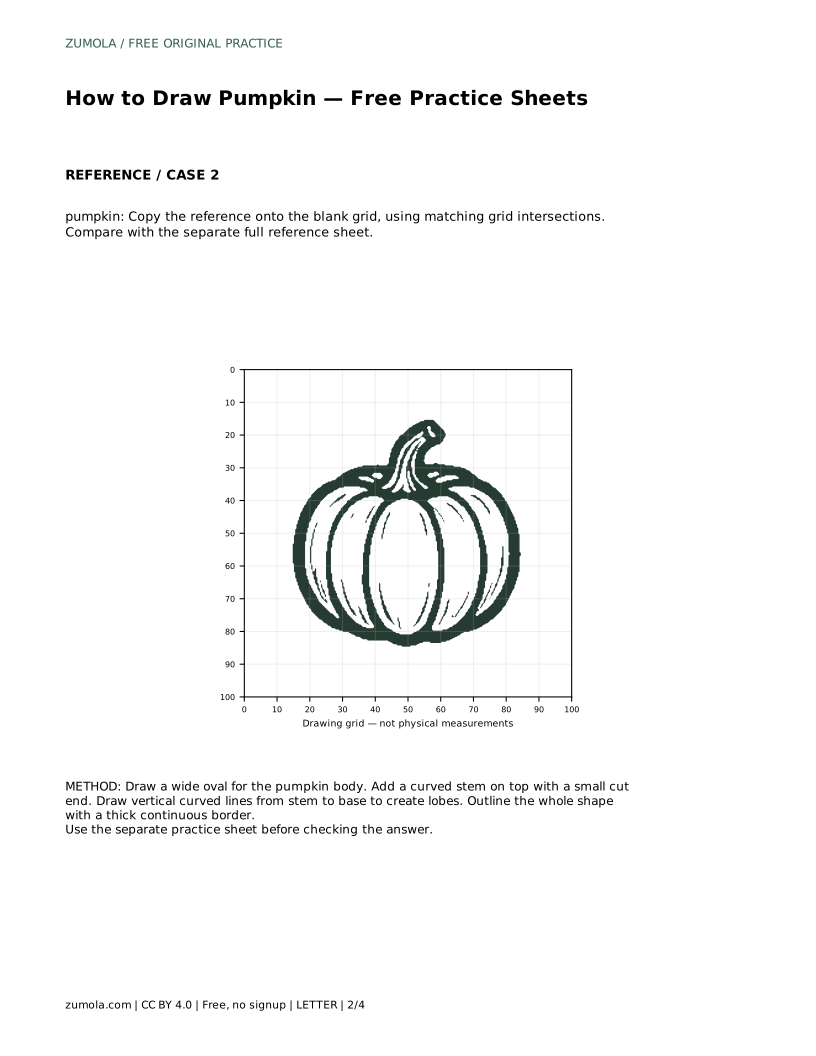
pumpkin: Trace the reference outline, then practise the contour independently. Compare with the separate full reference sheet.
Example solution: preserve ribbed round body with vertical lobed segments, curved stem at the top, smooth continuous outer silhouette. Other drawings can be correct; assess the visible features and proportions rather than pixel-perfect matching. Draw a wide oval for the pumpkin body. Add a curved stem on top with a small cut end. Draw vertical curved lines from stem to base to create lobes. Outline the whole shape with a thick continuous border.
No. Preserve the ribbed round body, vertical lobed segments, curved stem, and smooth continuous silhouette; other drawings can be correct.
Draw the wide oval body, add the curved stem, add vertical lobe lines, then outline the whole shape with a thick continuous border.
Copy the reference onto the blank grid using matching grid intersections to judge where the body edges, stem, and lobe lines fall.
All drawing practice · Free coordinate paper
Original resources · CC BY 4.0 · Free for personal and classroom use with attribution.