Reference diagrams
LETTER · Download PDF
A4 · Download PDF
Free original resources
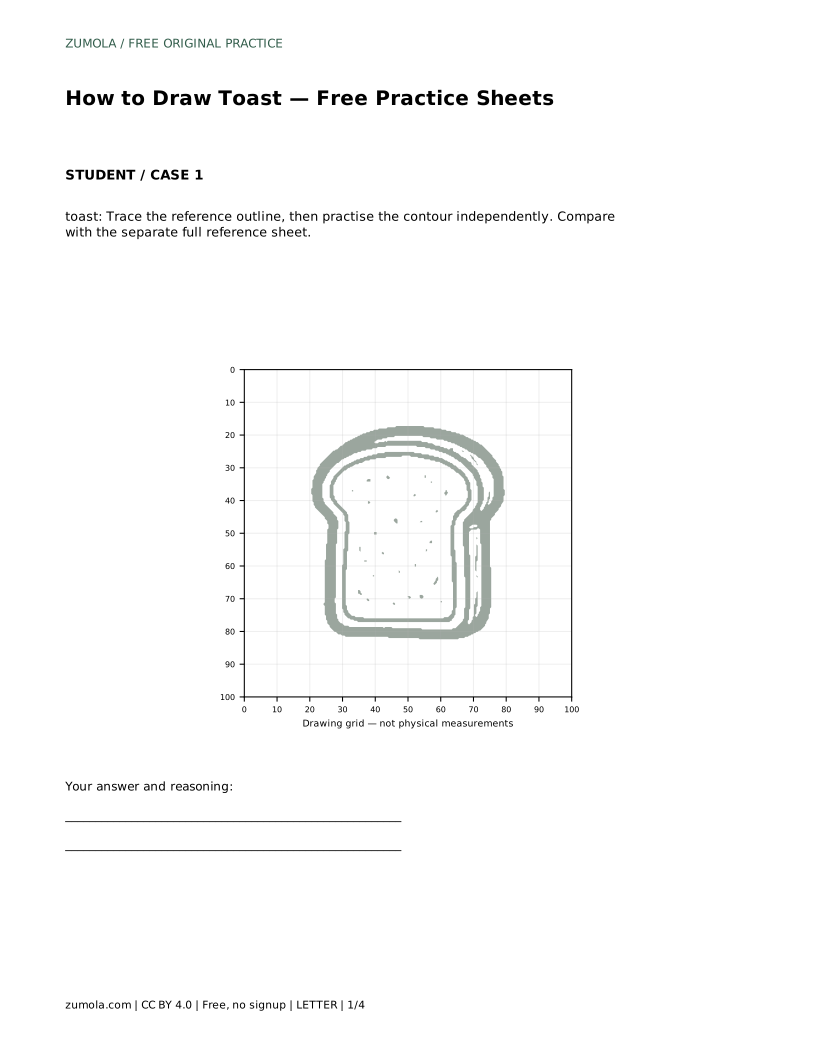
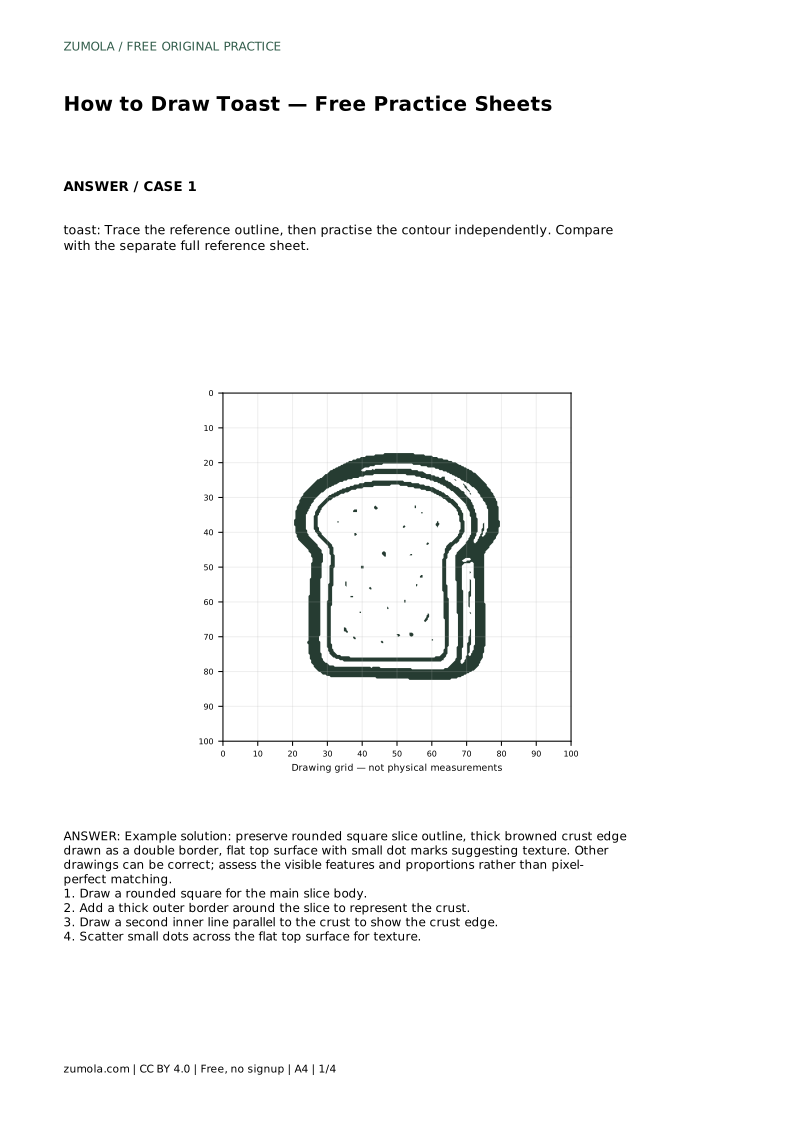
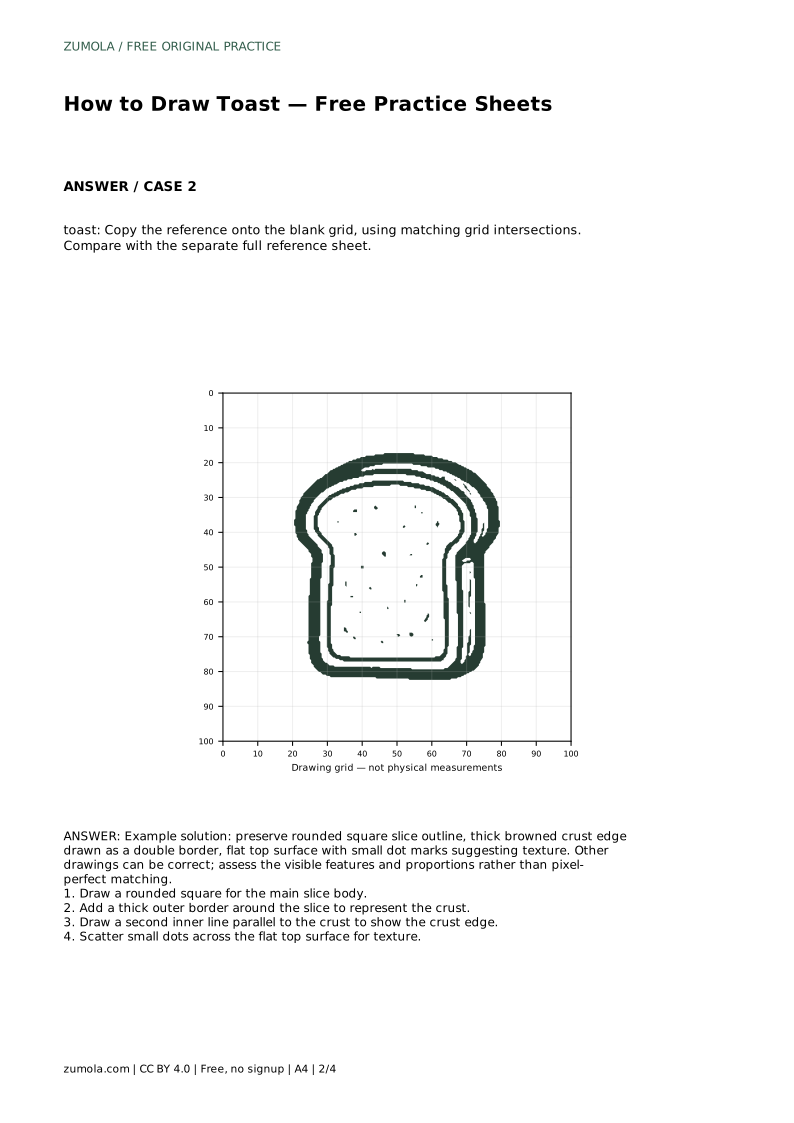
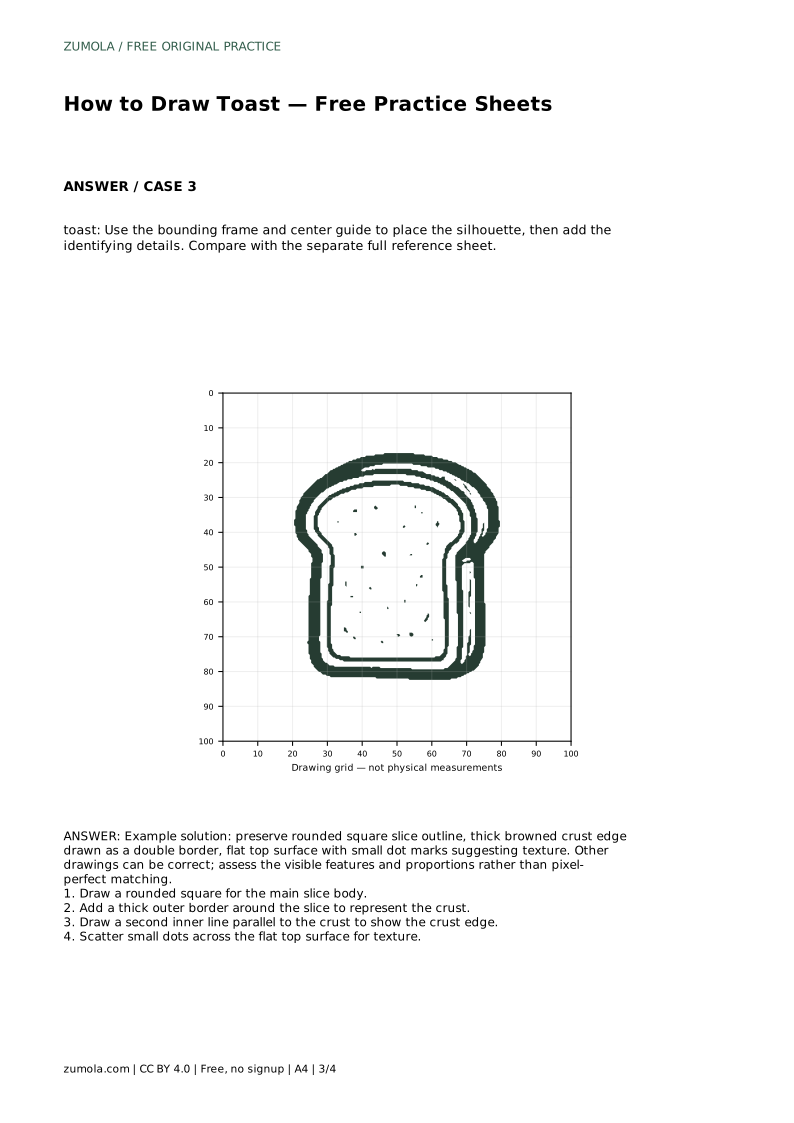
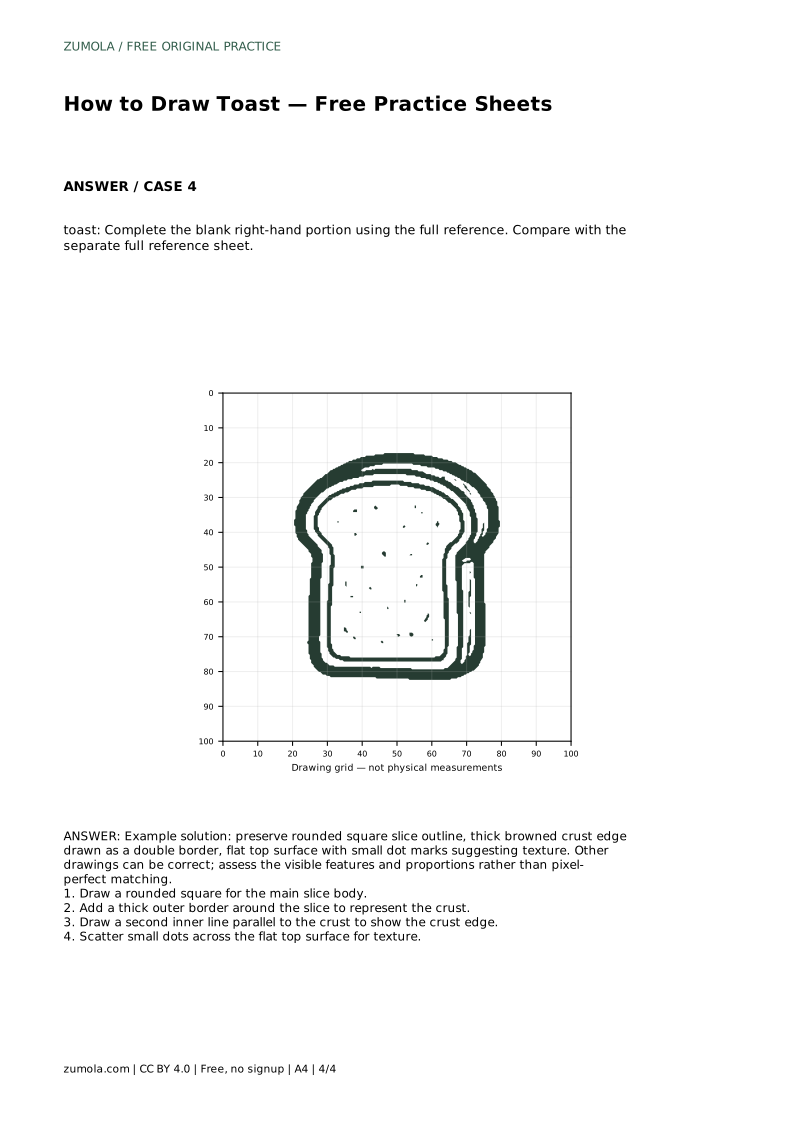
Learn to draw a slice of toast with a rounded square outline, a thick double-border crust, and small dot texture. Includes tracing, grid, and completion practice guidance.
Four original cases, with reference diagrams, practice sheets and worked answers. Everything is free; no signup required.
LETTER · Download PDF
A4 · Download PDF
LETTER · Download PDF
A4 · Download PDF
LETTER · Download PDF
A4 · Download PDF
Use A4 or US Letter to match your printer. Use the stated values and conditions to solve each exercise; diagrams are not physical measuring rulers.
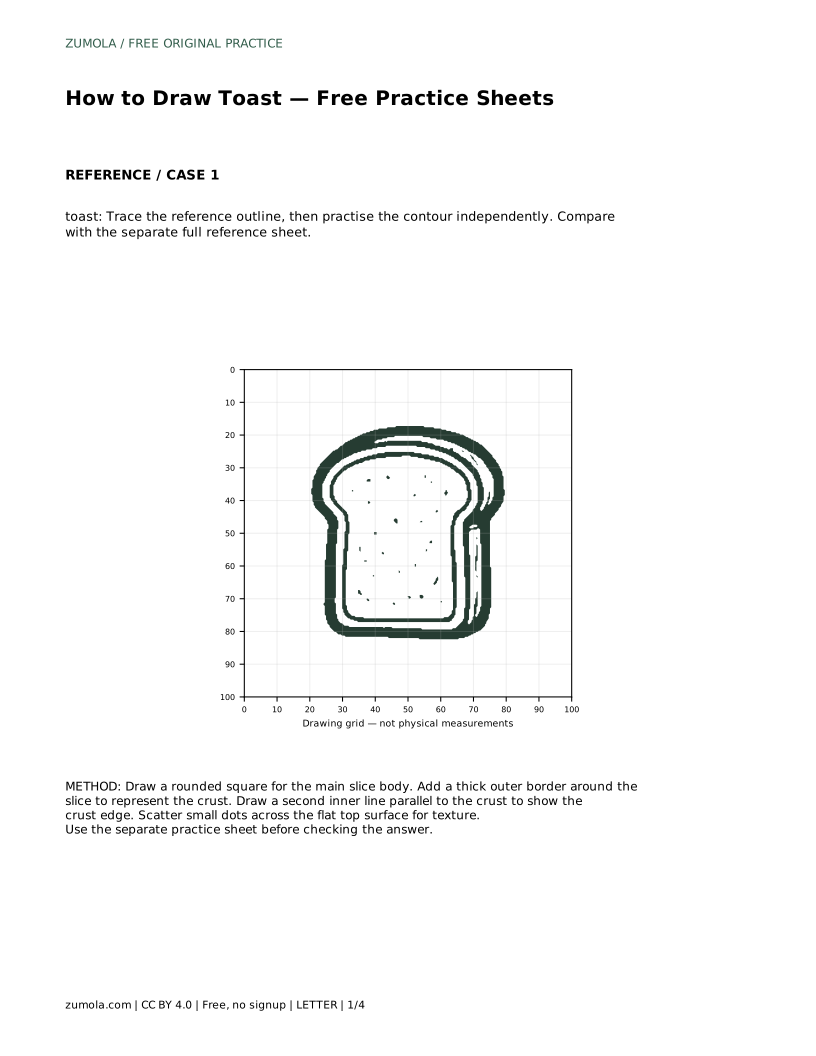
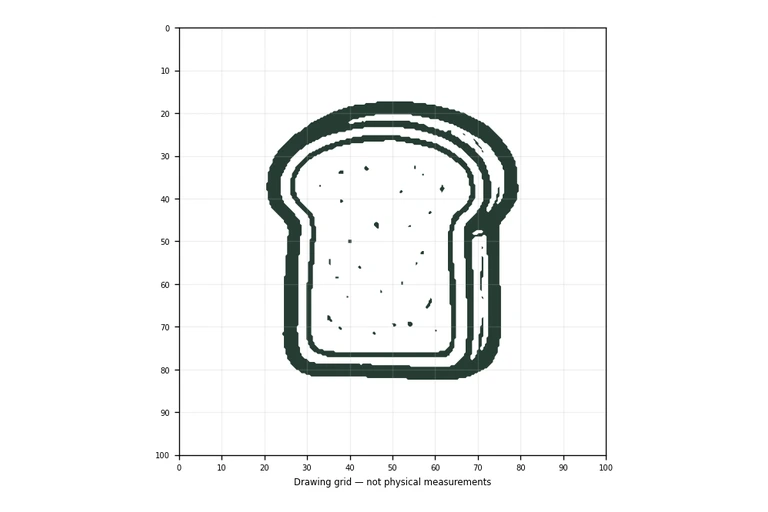
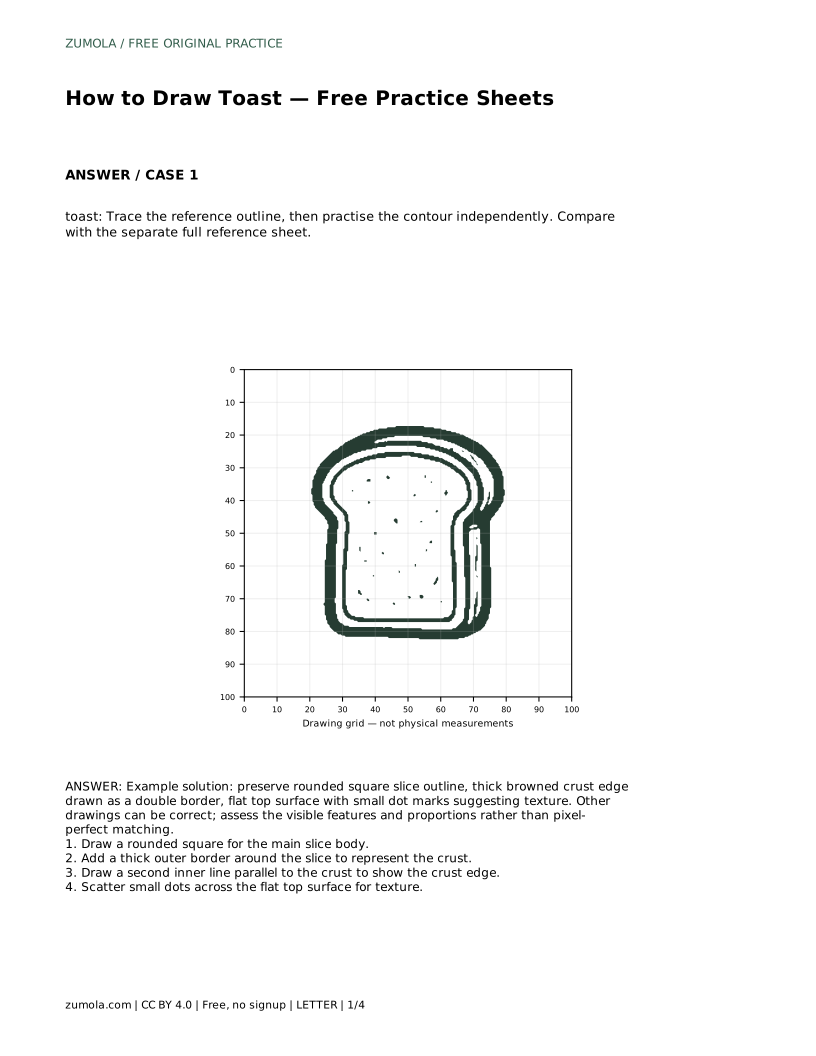
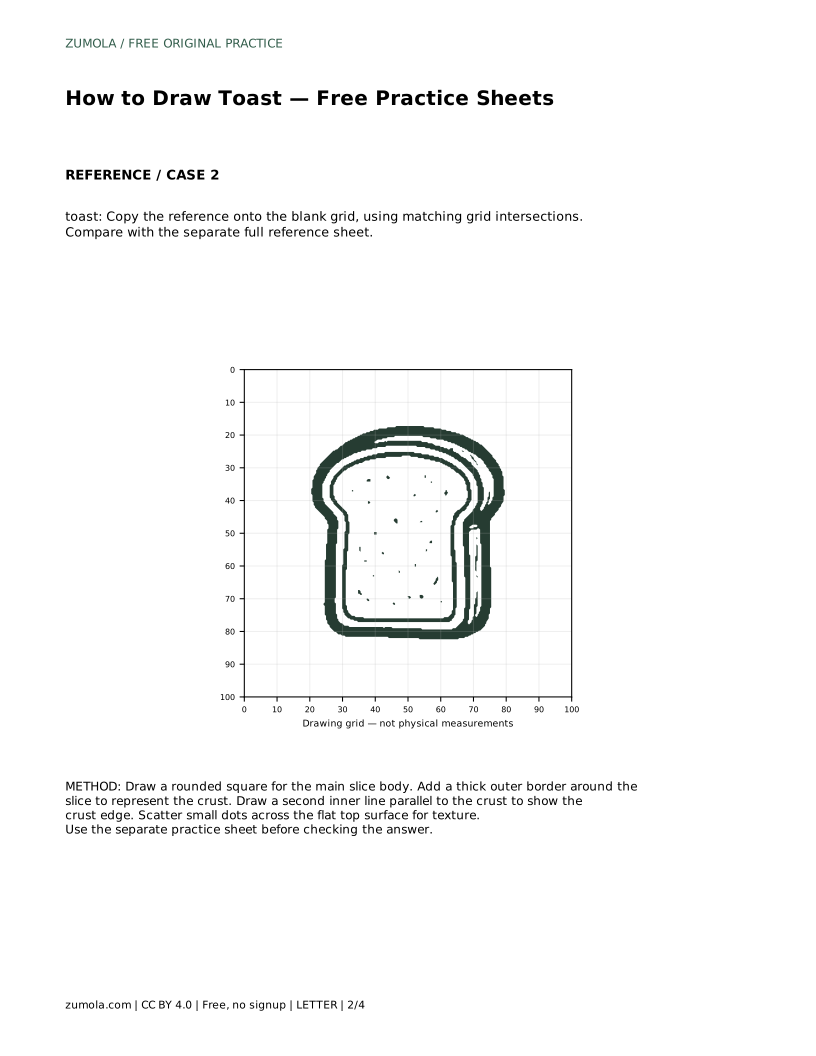
Drawing toast is a useful beginner exercise because the shape is simple but the details matter. A convincing slice needs a rounded square body, a crust that reads as a thick border rather than a single line, and a flat top surface with light texture marks. This page explains the order to draw those features and how to check your work against a reference sheet. Because drawings can vary, judge visible features and proportions rather than exact matching.
Begin by drawing the main slice as a rounded square. Keep the four sides roughly equal in length, then soften each corner with a small curve. Avoid making the shape a perfect circle or a sharp rectangle; toast usually reads best as a squarish form with gently rounded corners.
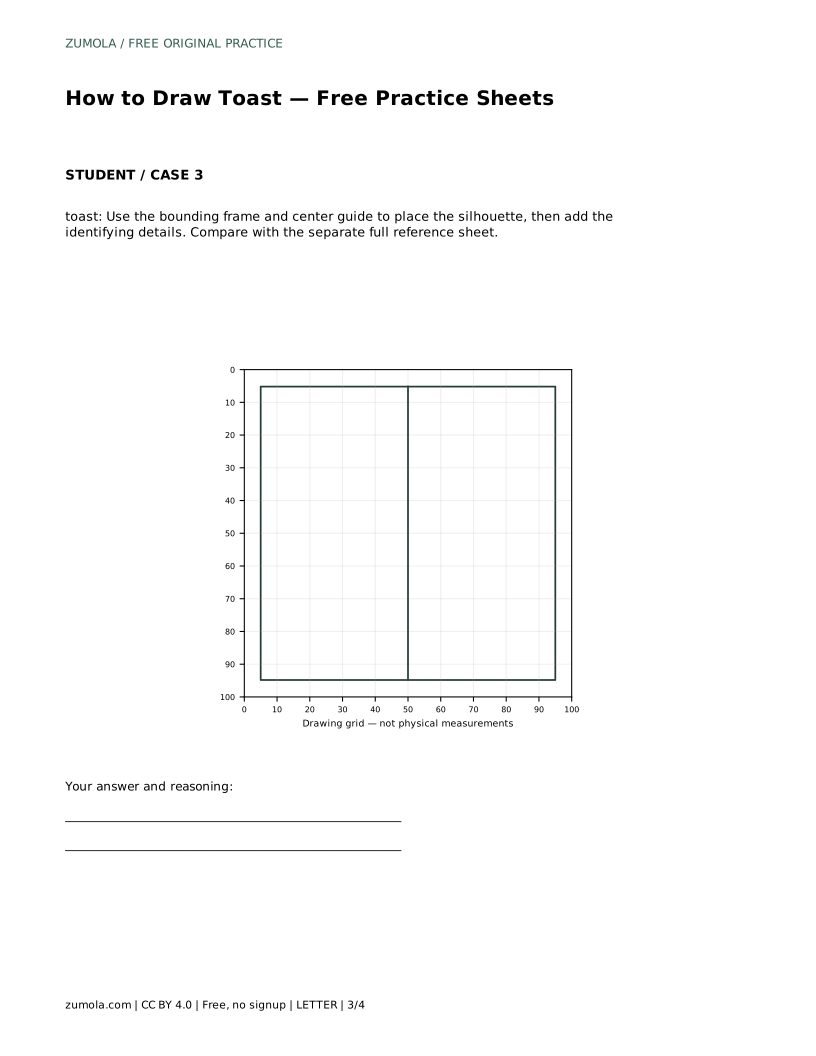
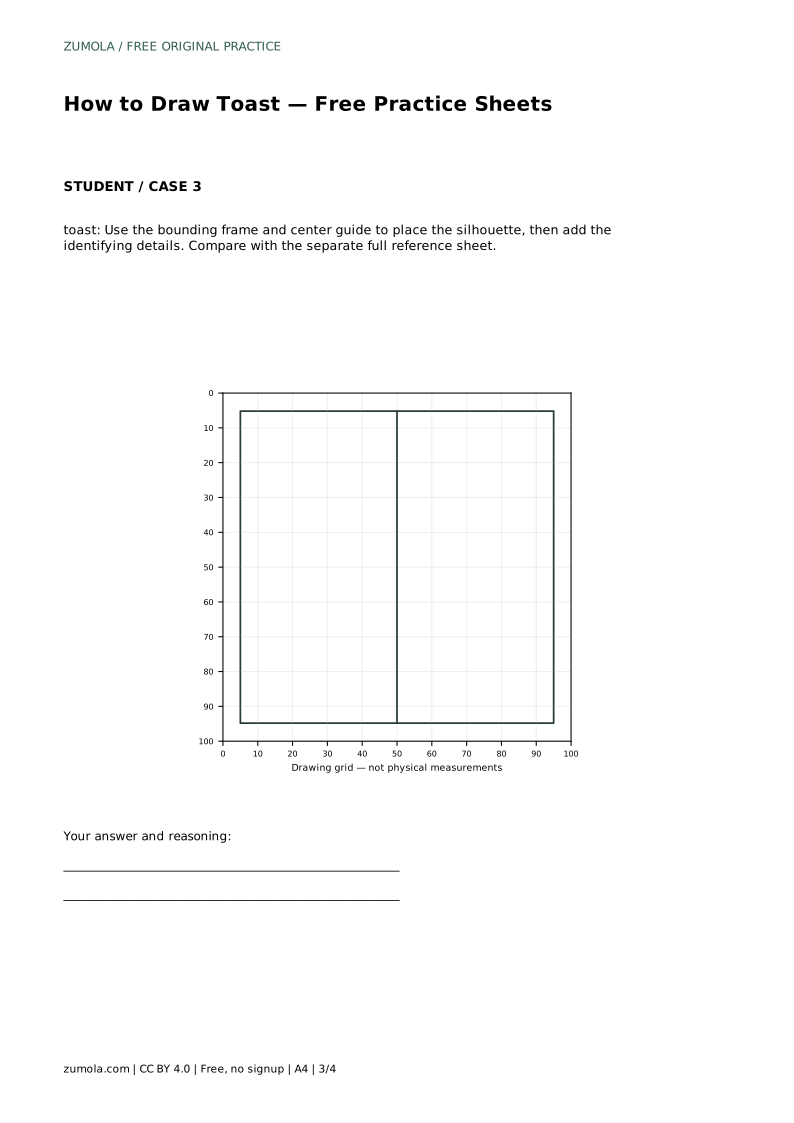
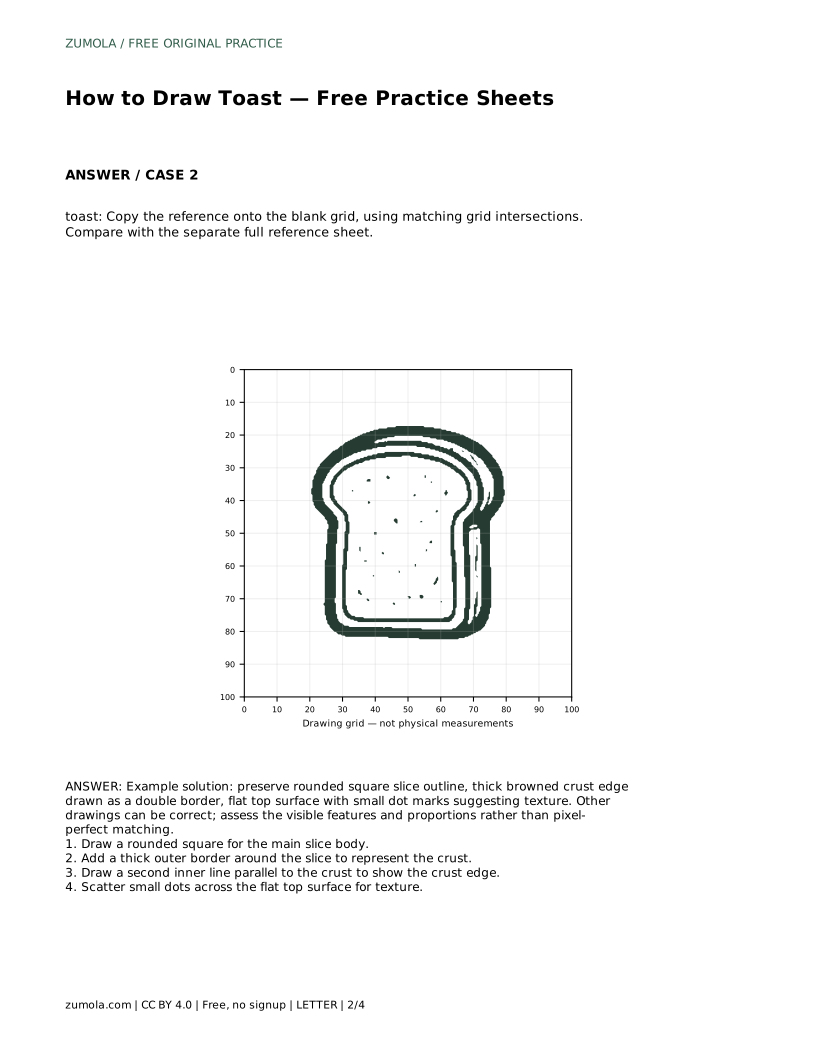
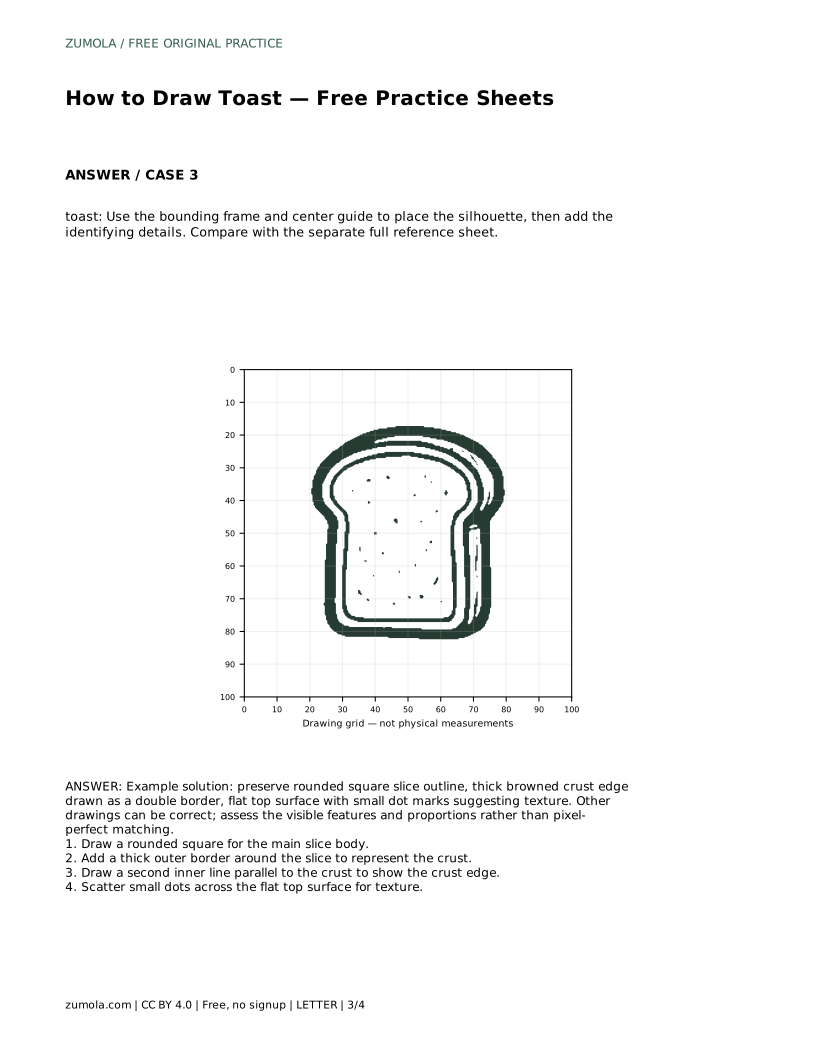
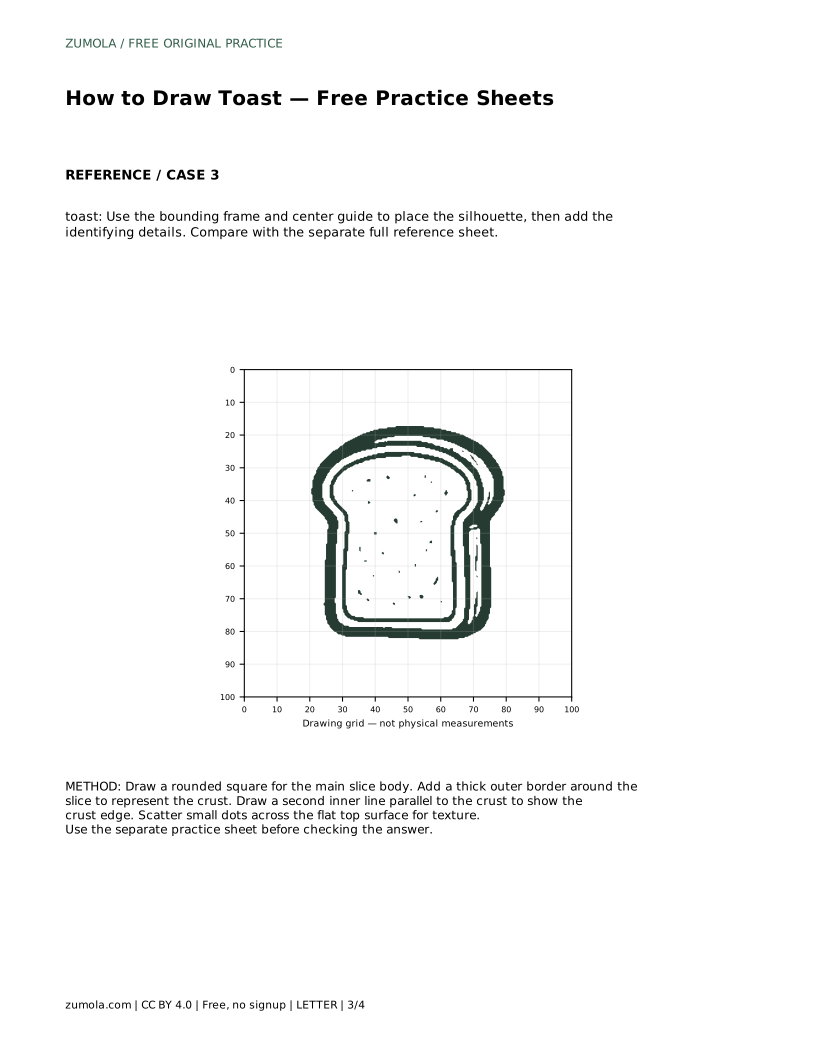
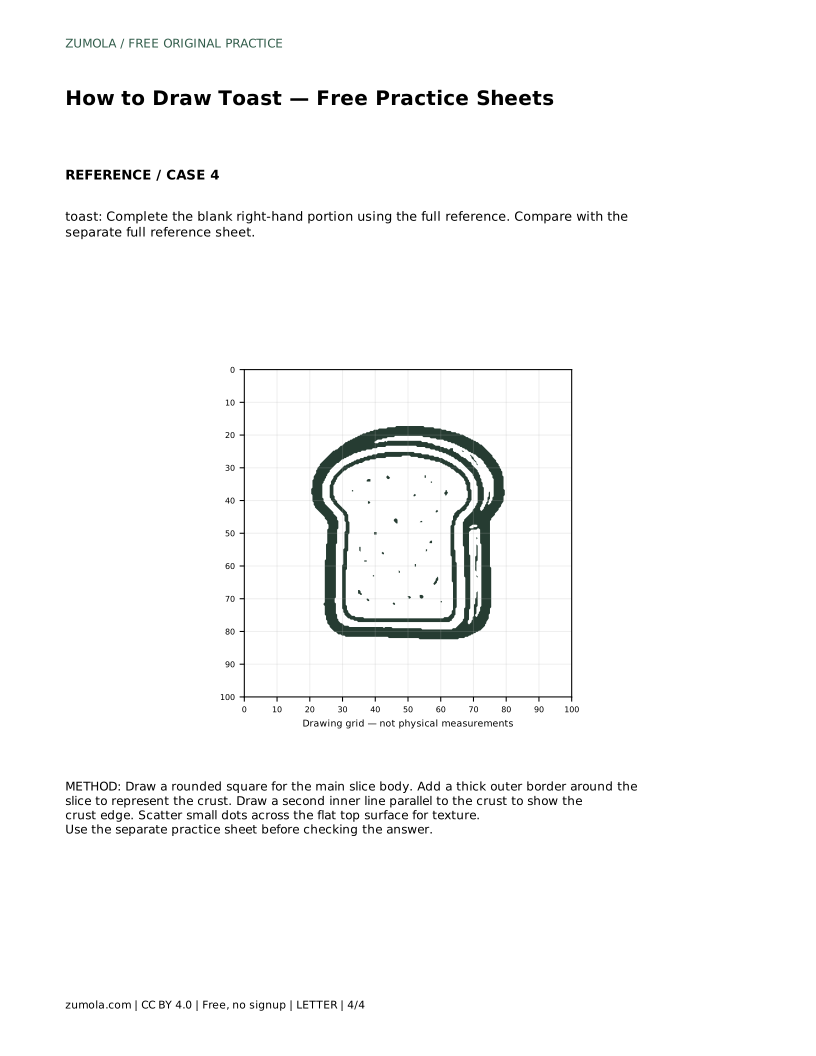
If you are using a grid sheet, place the corners near matching intersections so the overall size stays consistent. On a bounding-frame sheet, center the silhouette inside the frame before adding details. The body should occupy most of the frame without touching the edges.
The crust is the feature that makes the drawing read as toast. Draw a thick outer border around the slice body, then add a second inner line parallel to it. The gap between the two lines represents the crust edge. Keep the gap fairly even around the slice so the border looks intentional.
Do not fill the crust with heavy shading unless you want a darker finish. A clean double border is enough to show the browned edge. If your lines wobble, redraw the inner line more slowly rather than thickening the outer one.
Scatter small dots across the flat top surface to suggest texture. Keep the dots light and unevenly spaced so they look like surface marks rather than a pattern. Avoid placing dots on the crust border, since the texture belongs to the inner face of the slice.
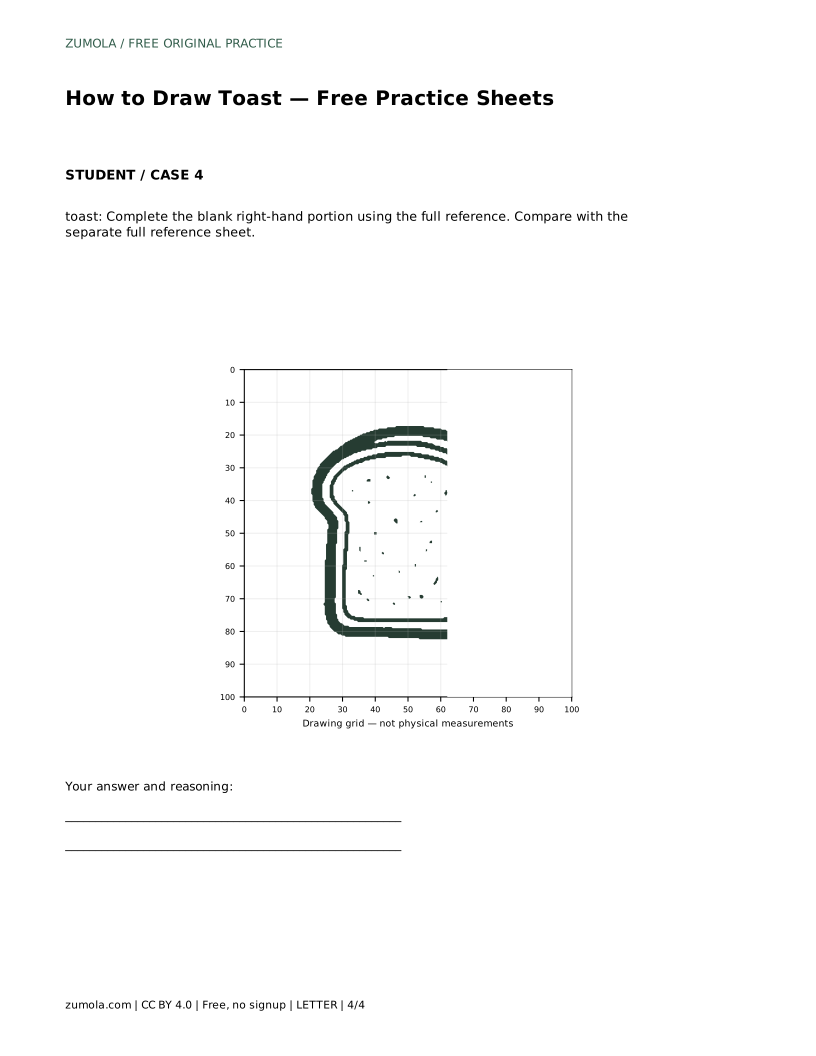
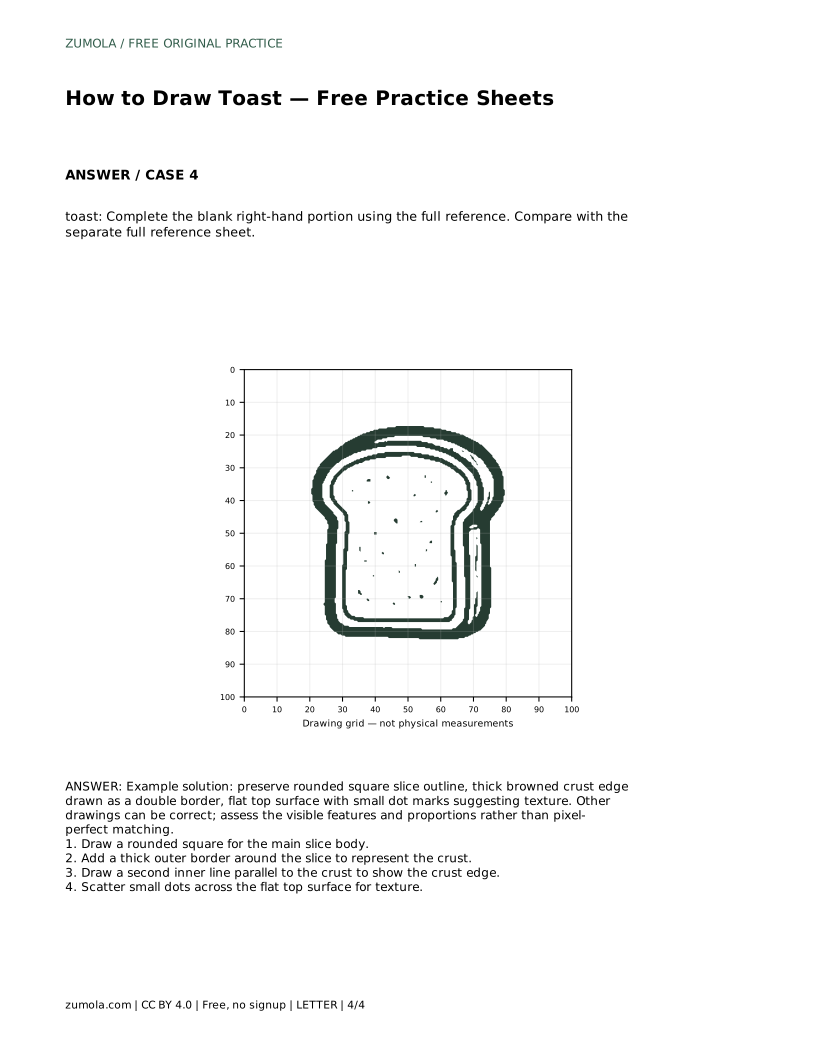
When you finish, compare your drawing with the separate full reference sheet. Check the rounded square outline, the double border, and the dot placement. Other drawings can be correct, so assess the visible features and proportions rather than pixel-perfect matching.
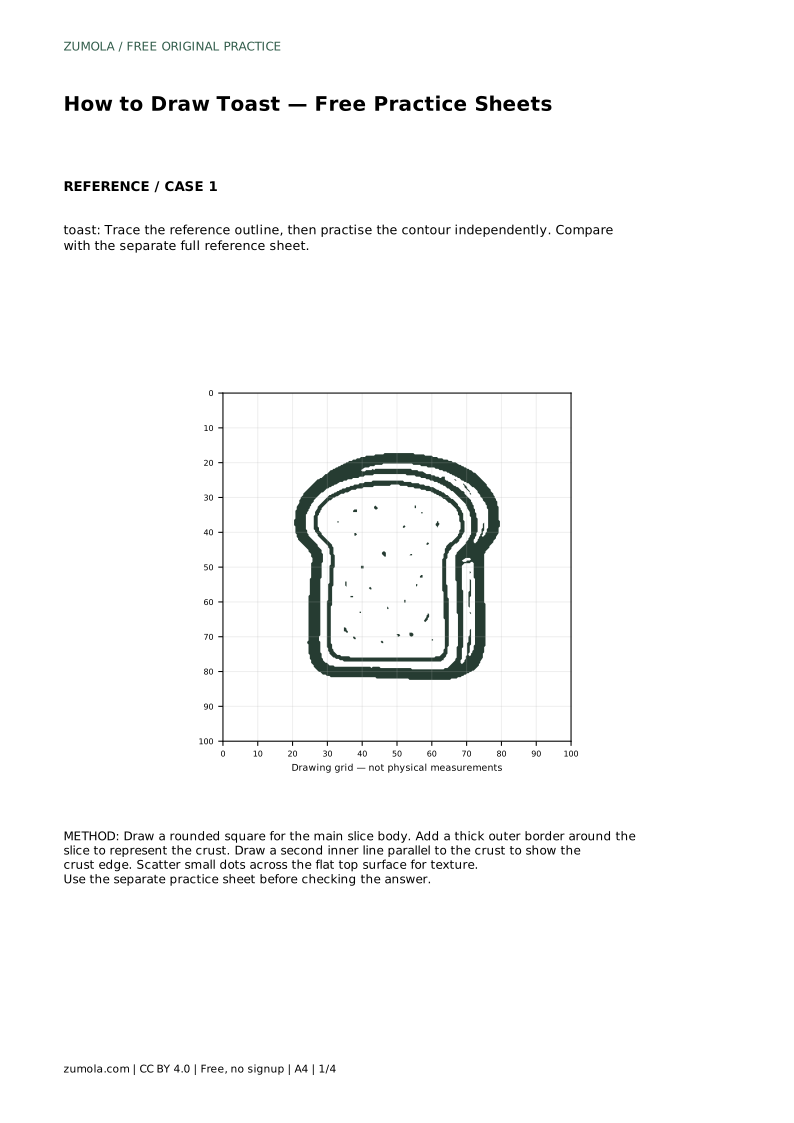
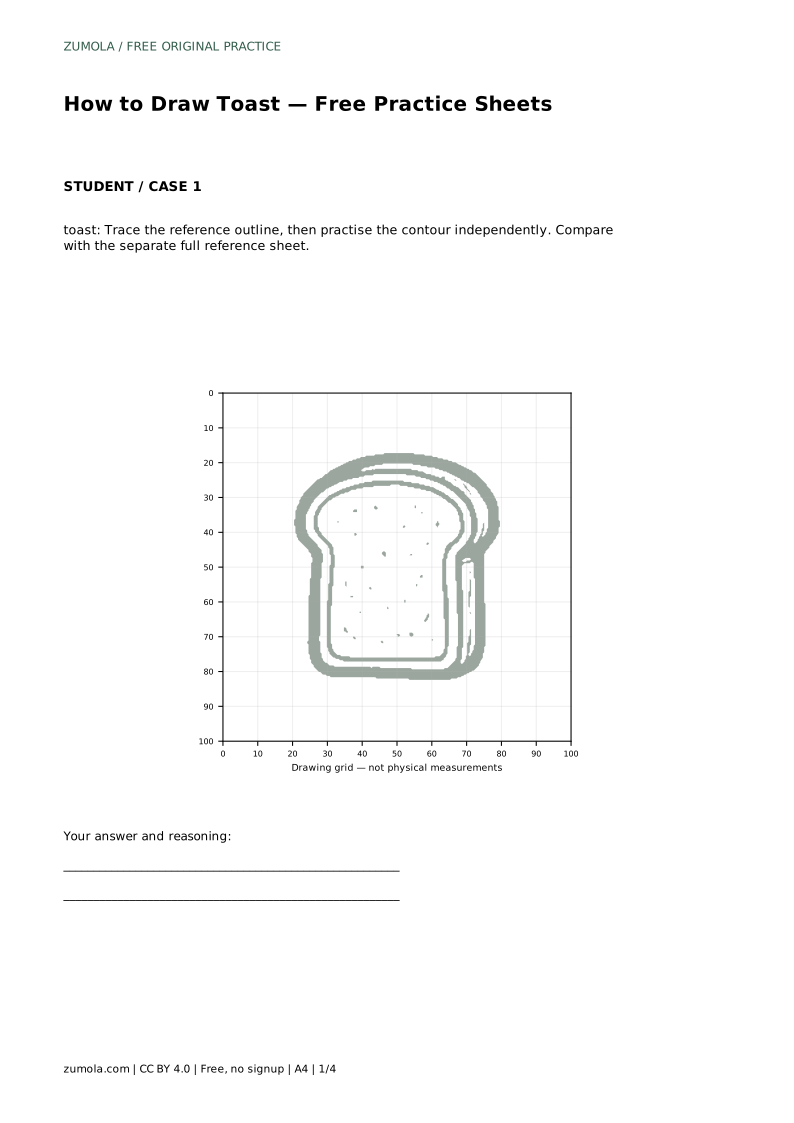
toast: Trace the reference outline, then practise the contour independently. Compare with the separate full reference sheet.
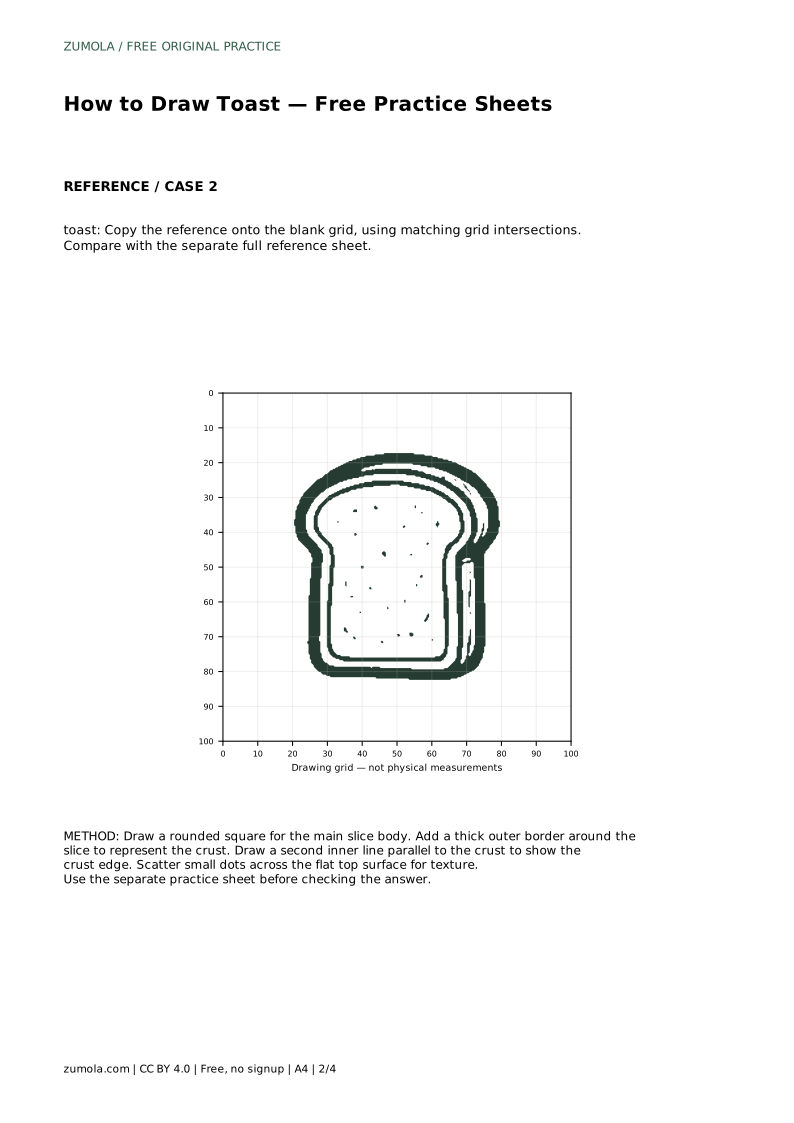
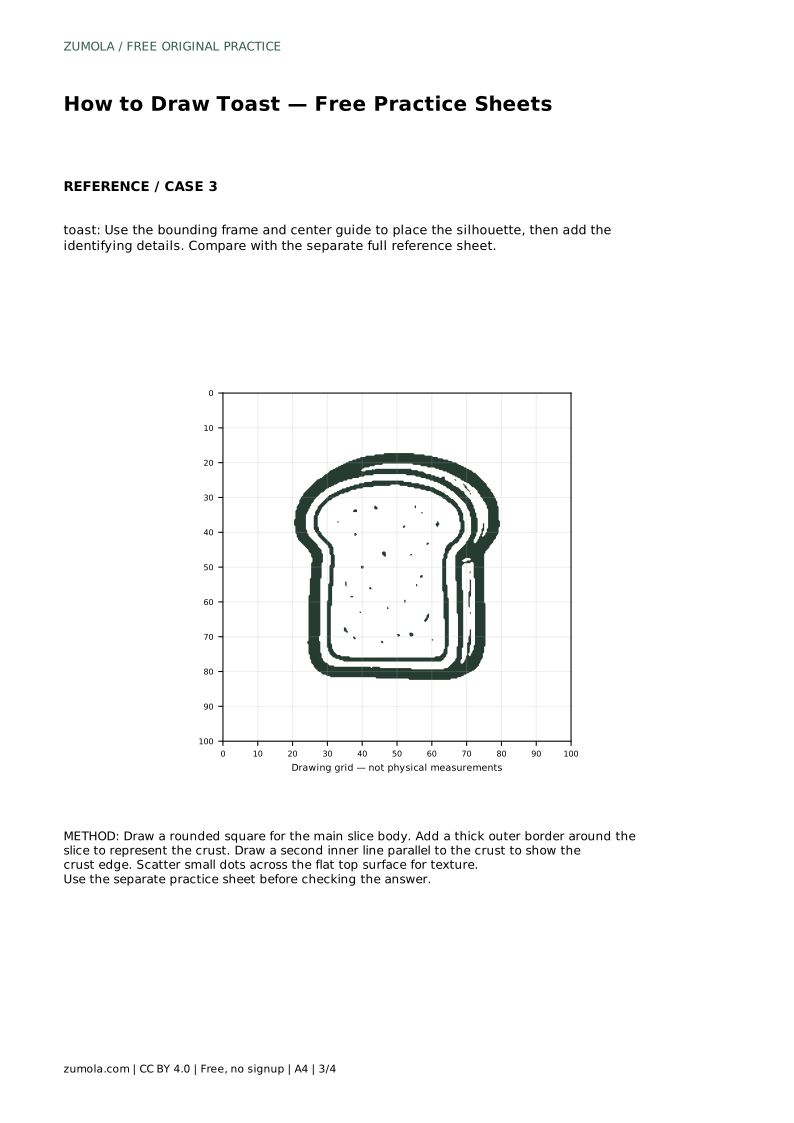
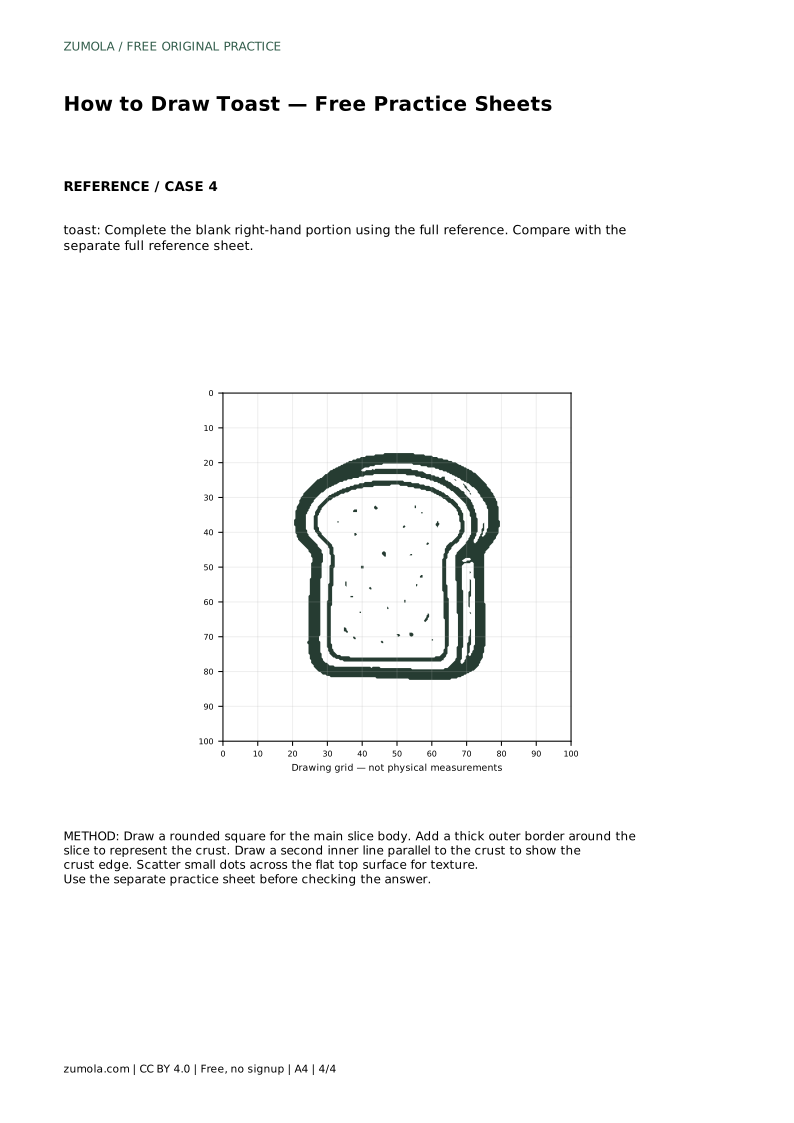
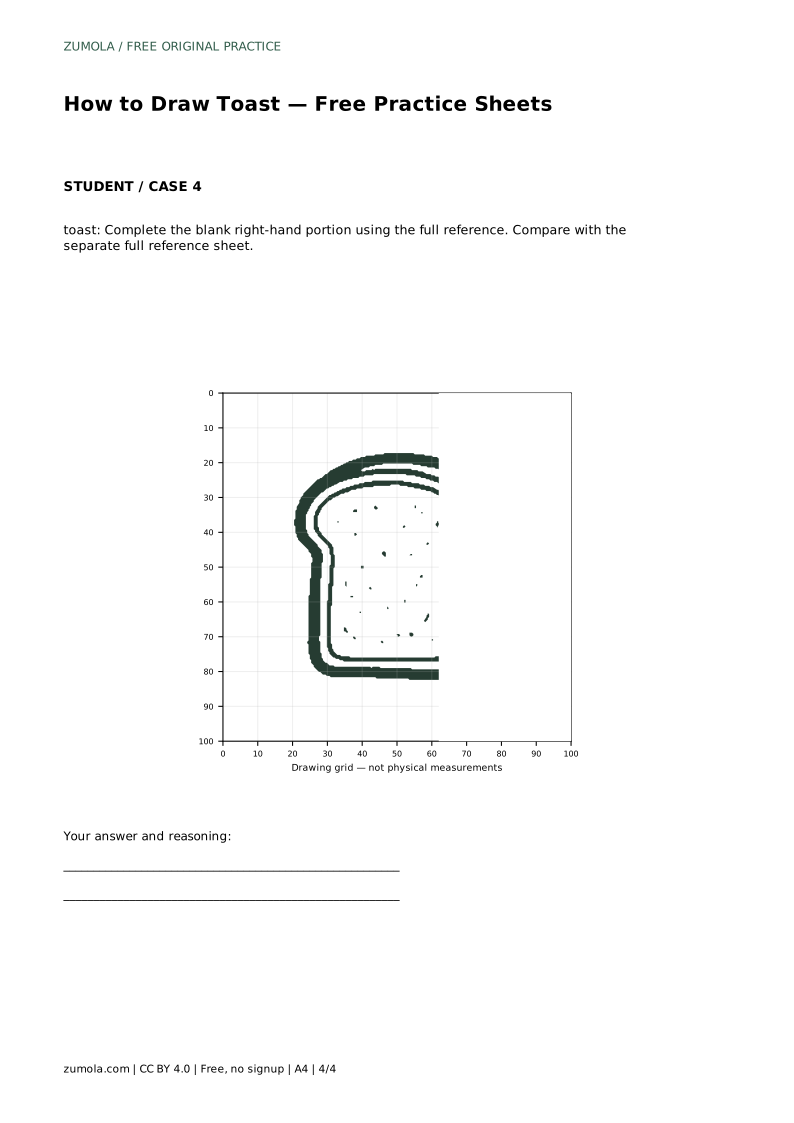
Example solution: preserve rounded square slice outline, thick browned crust edge drawn as a double border, flat top surface with small dot marks suggesting texture. Other drawings can be correct; assess the visible features and proportions rather than pixel-perfect matching. Draw a rounded square for the main slice body. Add a thick outer border around the slice to represent the crust. Draw a second inner line parallel to the crust to show the crust edge. Scatter small dots across the flat top surface for texture.
No. Other drawings can be correct. Check the rounded square outline, the double crust border, and the surface dots rather than exact line placement.
Place small dots across the flat top surface, inside the inner crust line. Keep them light and unevenly spaced.
Draw the rounded square body first, then the thick outer border and inner parallel line, then the surface dots.
All drawing practice · Free coordinate paper
Original resources · CC BY 4.0 · Free for personal and classroom use with attribution.