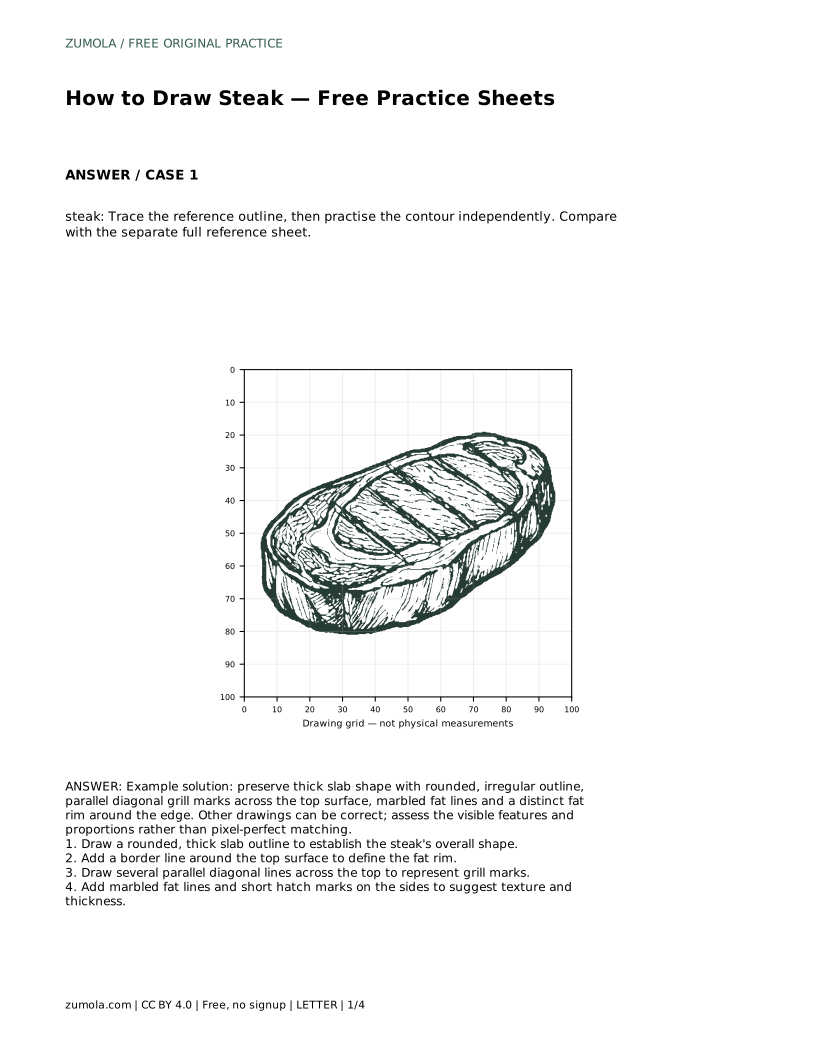
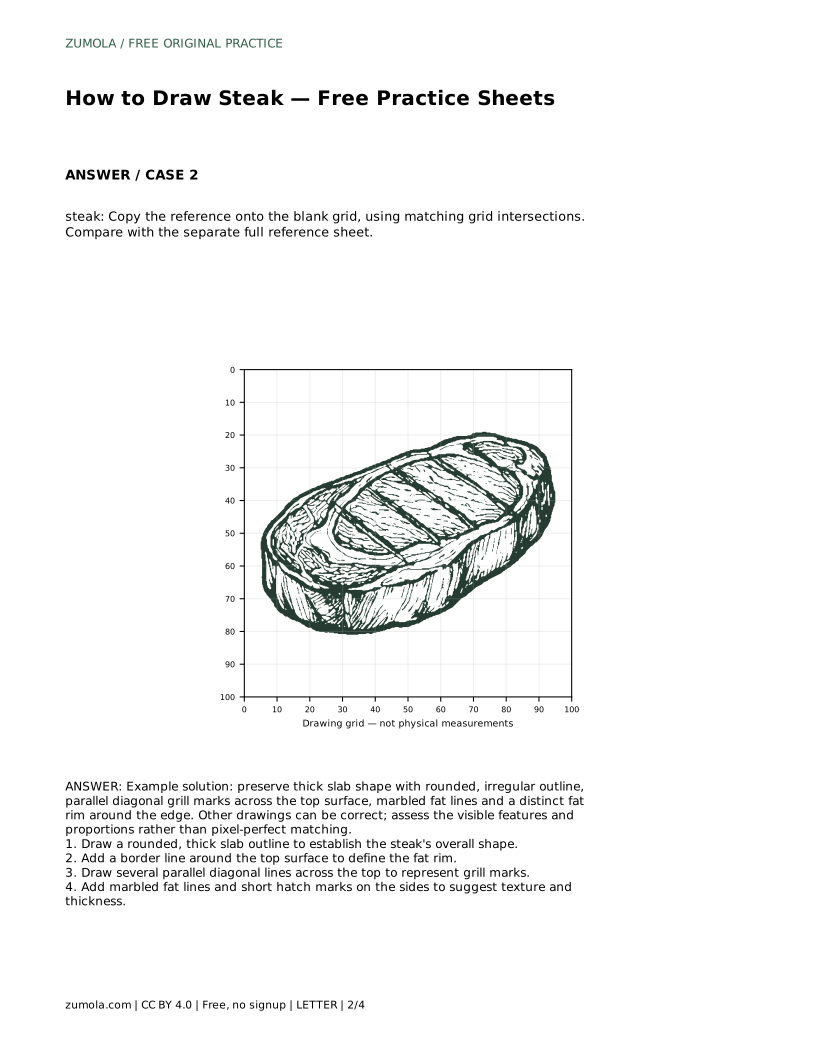
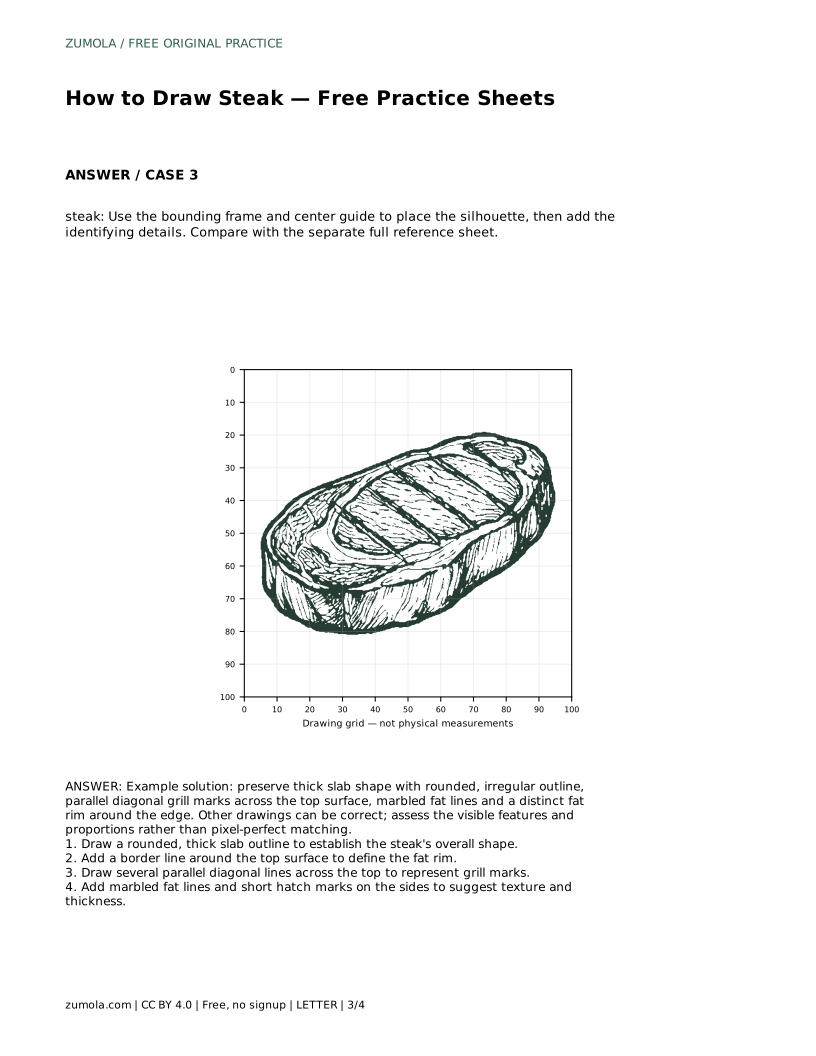
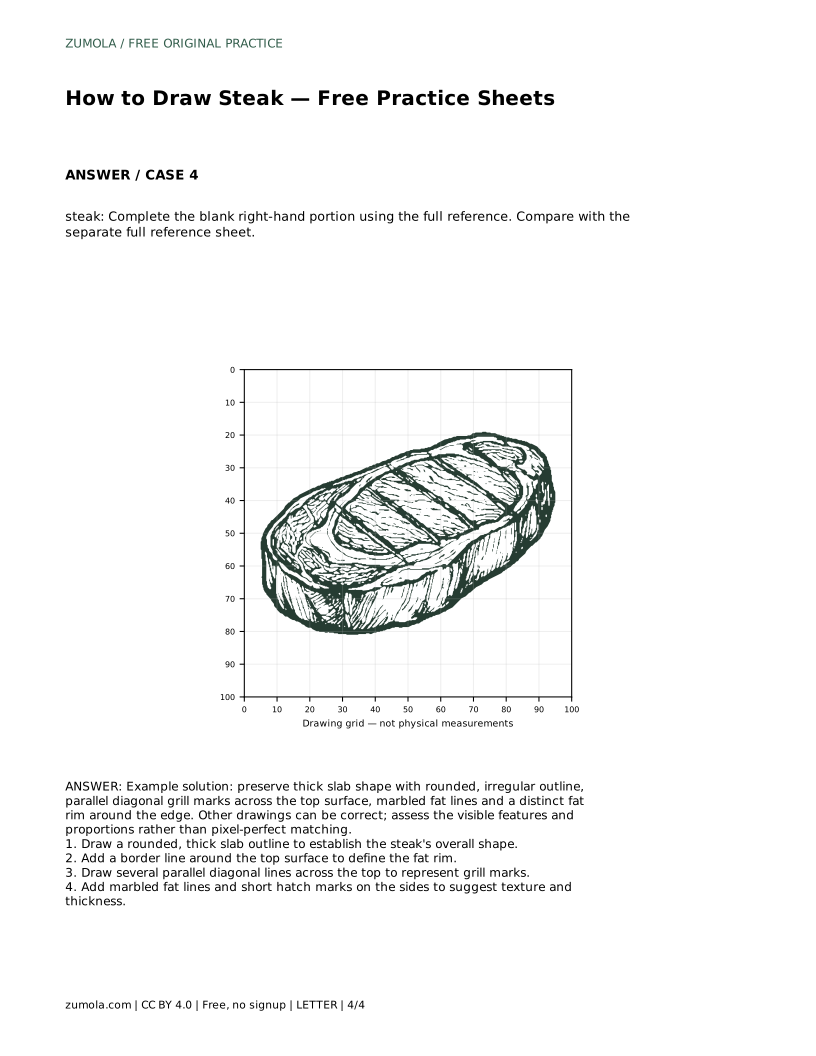
Reference diagrams
LETTER · Download PDF
A4 · Download PDF
Free original resources
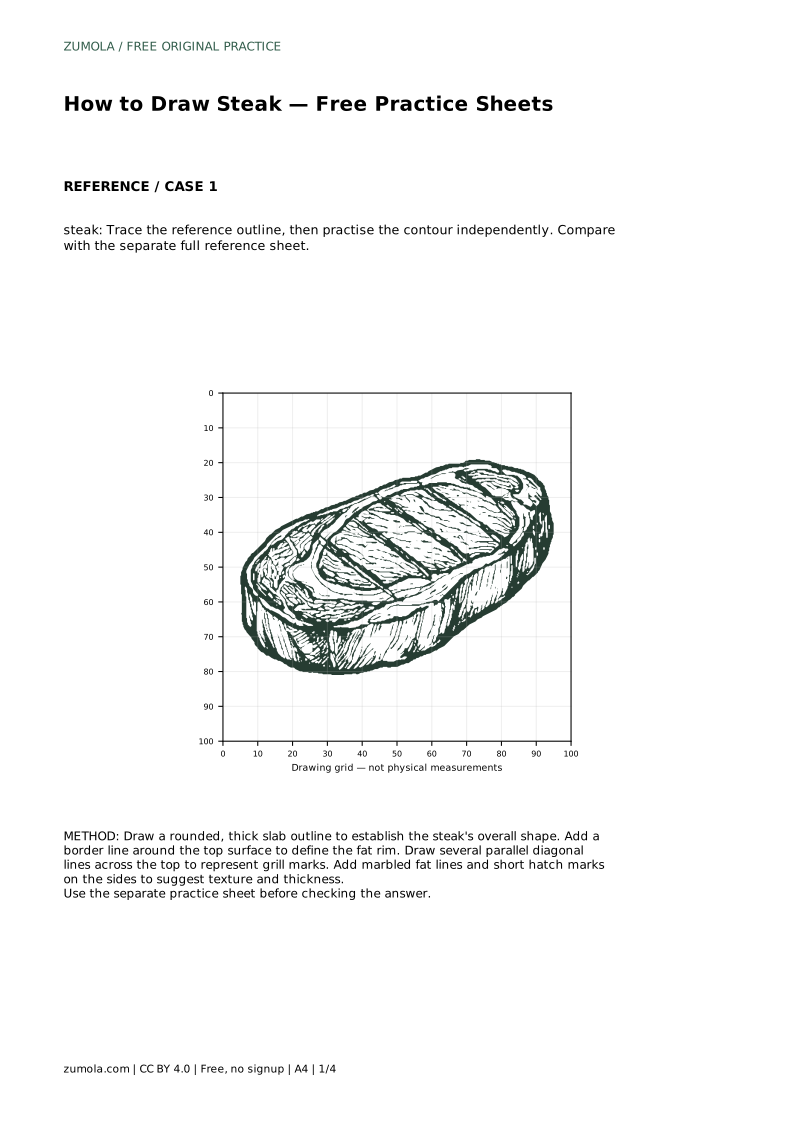
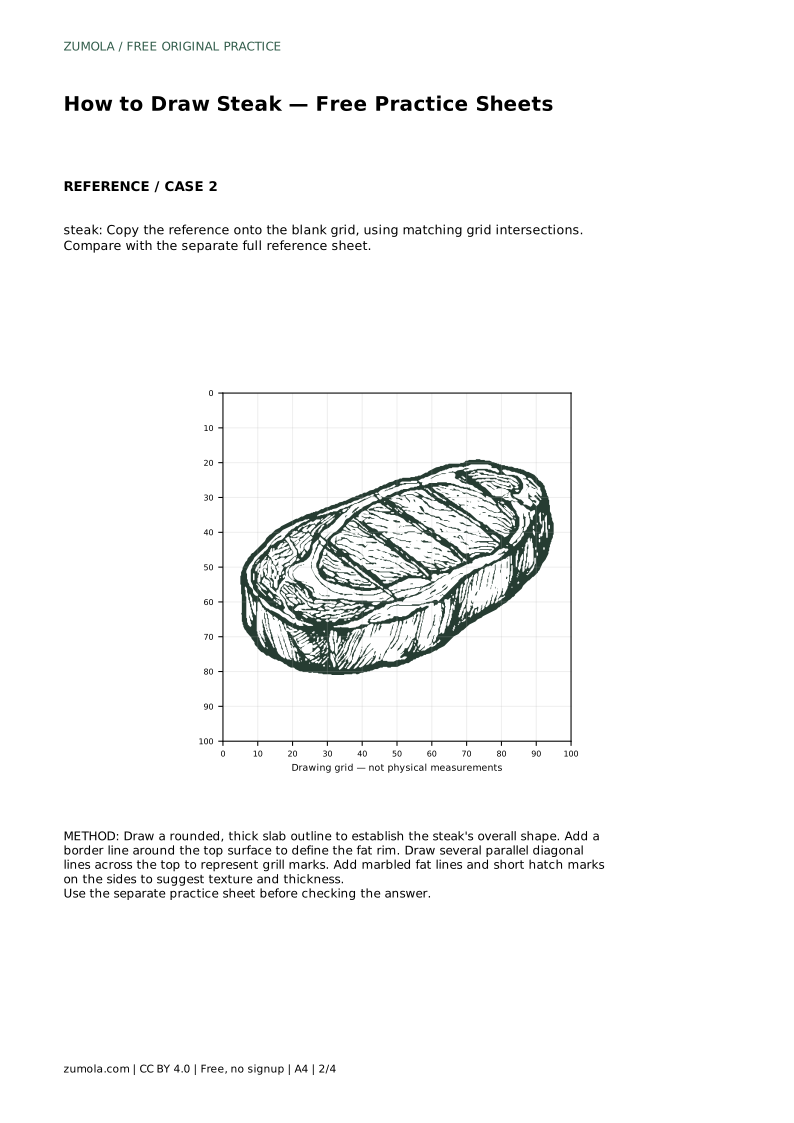
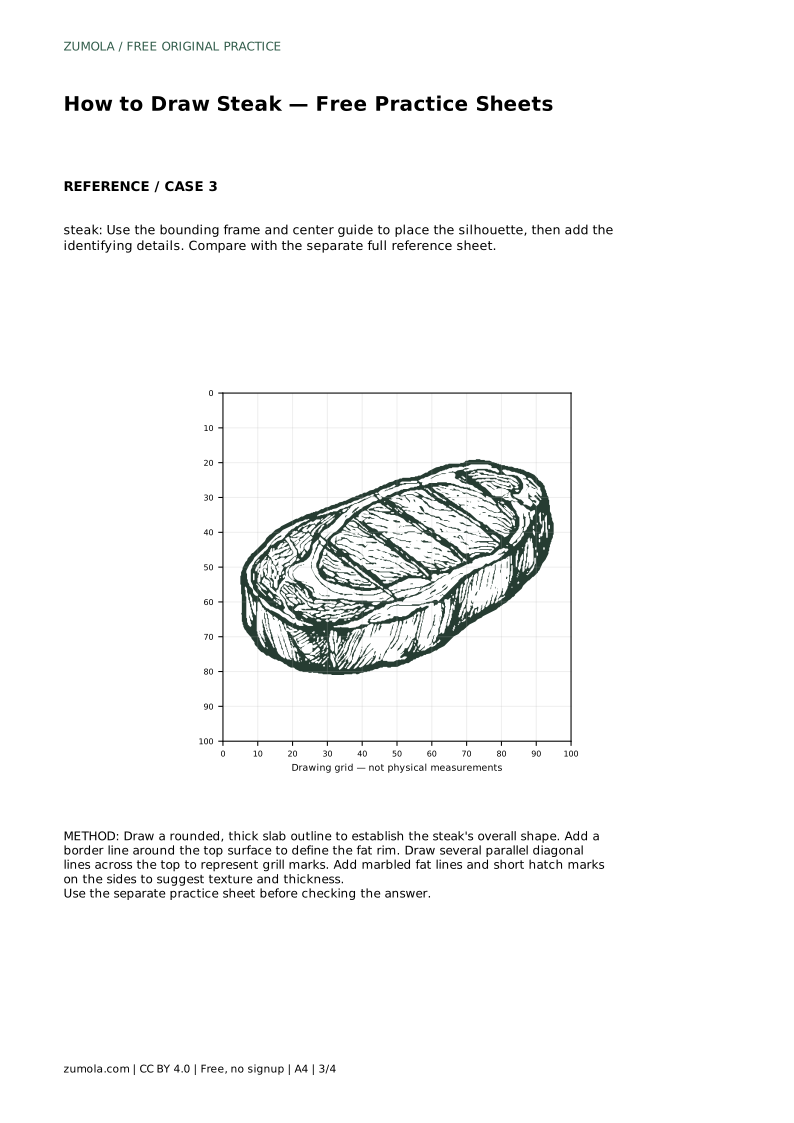
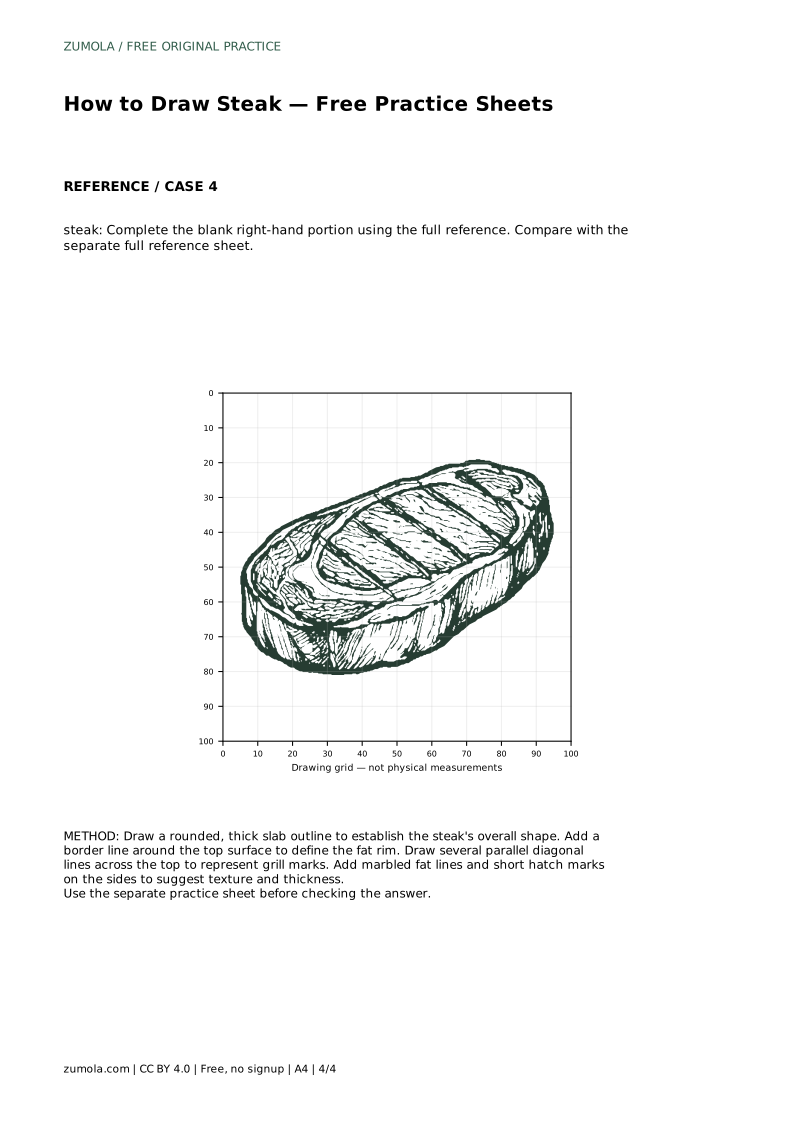
Learn to draw a thick steak slab with a rounded outline, fat rim, parallel grill marks, and marbled fat lines using trace, grid, and frame practice sheets.
Four original cases, with reference diagrams, practice sheets and worked answers. Everything is free; no signup required.
LETTER · Download PDF
A4 · Download PDF
LETTER · Download PDF
A4 · Download PDF
LETTER · Download PDF
A4 · Download PDF
Use A4 or US Letter to match your printer. Use the stated values and conditions to solve each exercise; diagrams are not physical measuring rulers.
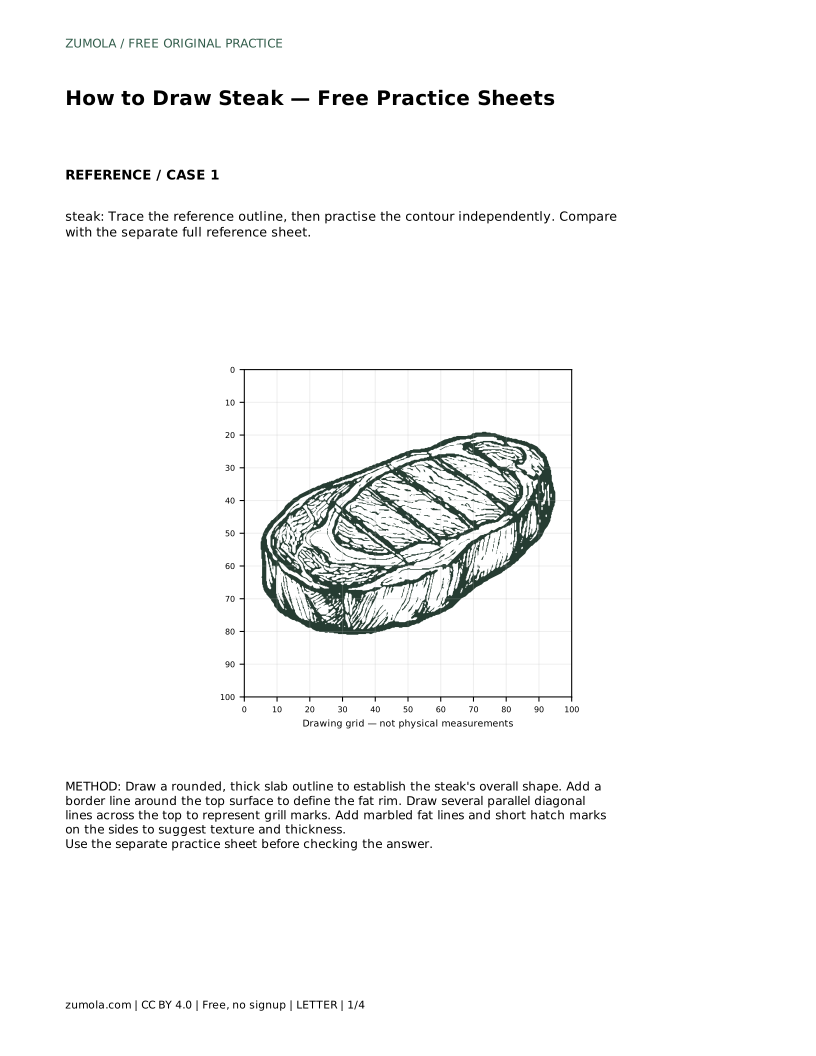
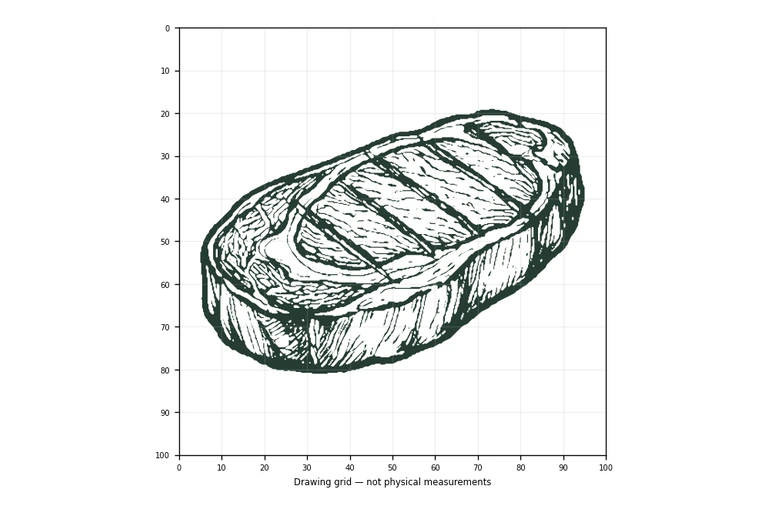
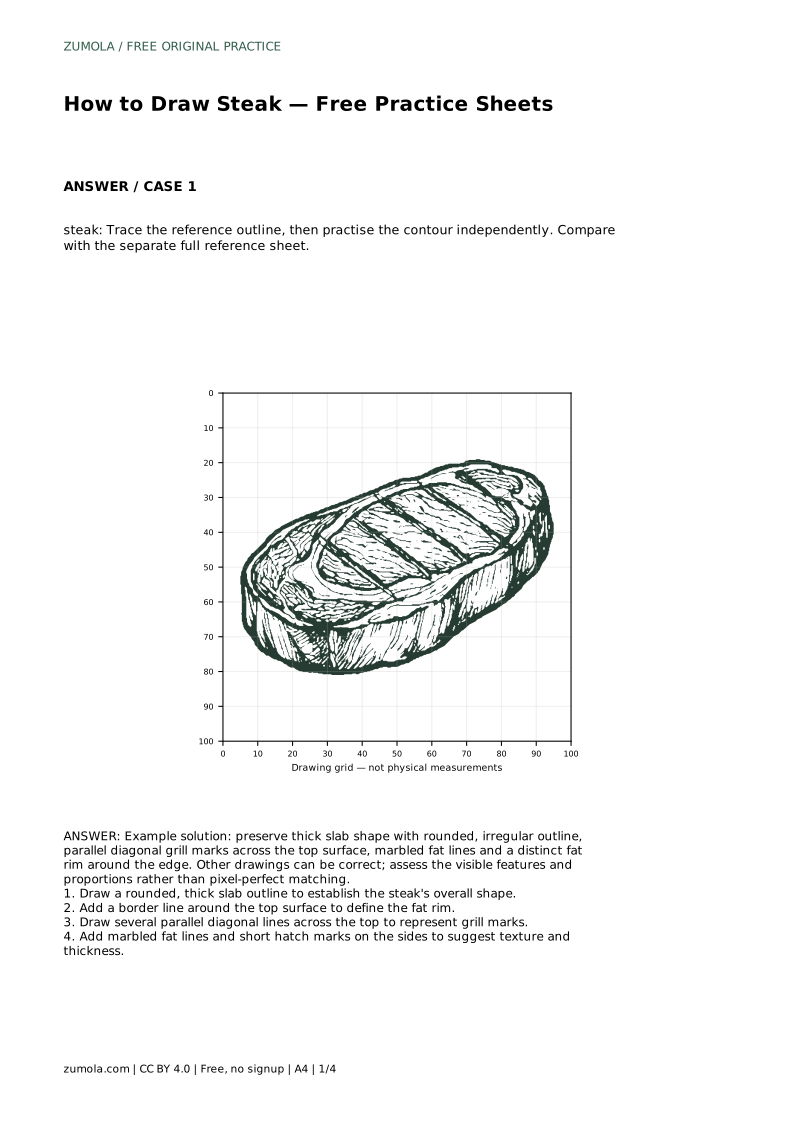
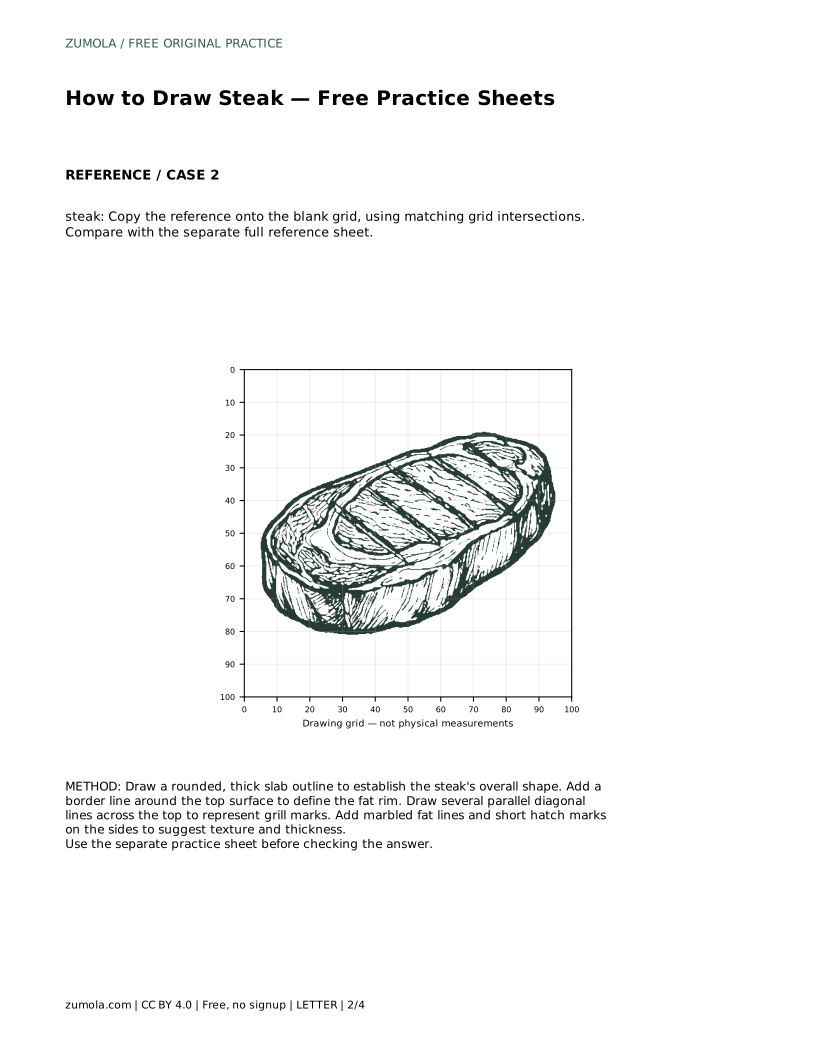
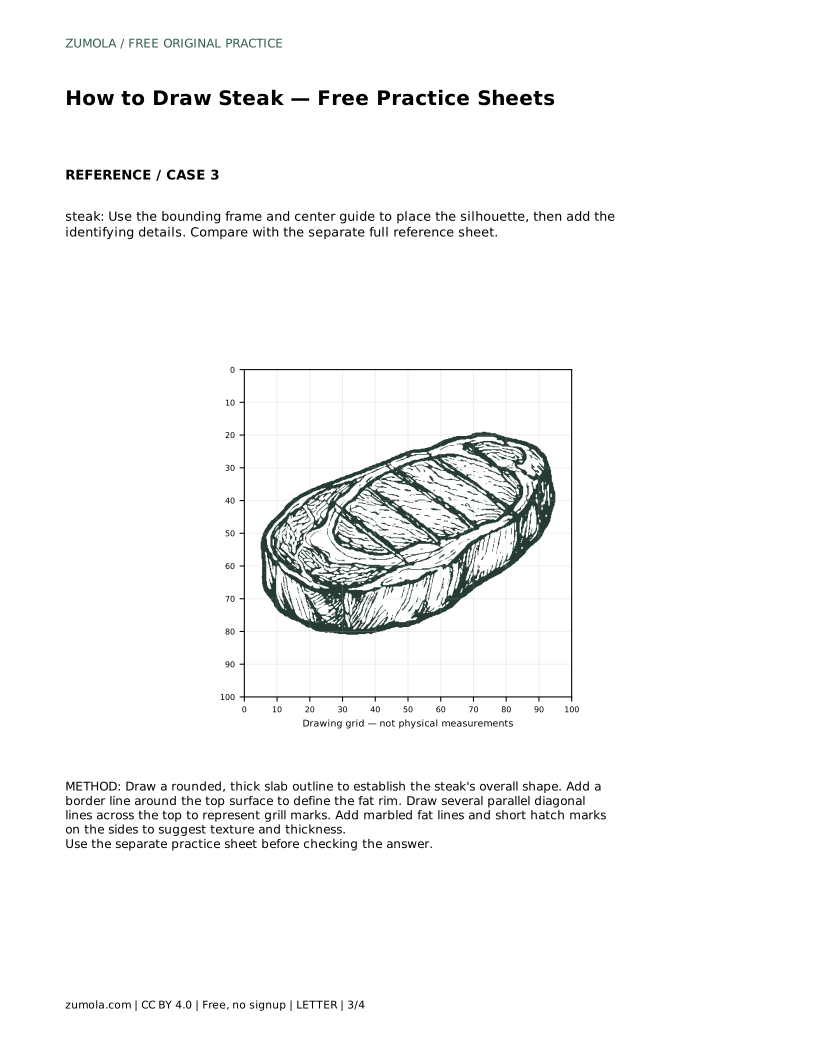
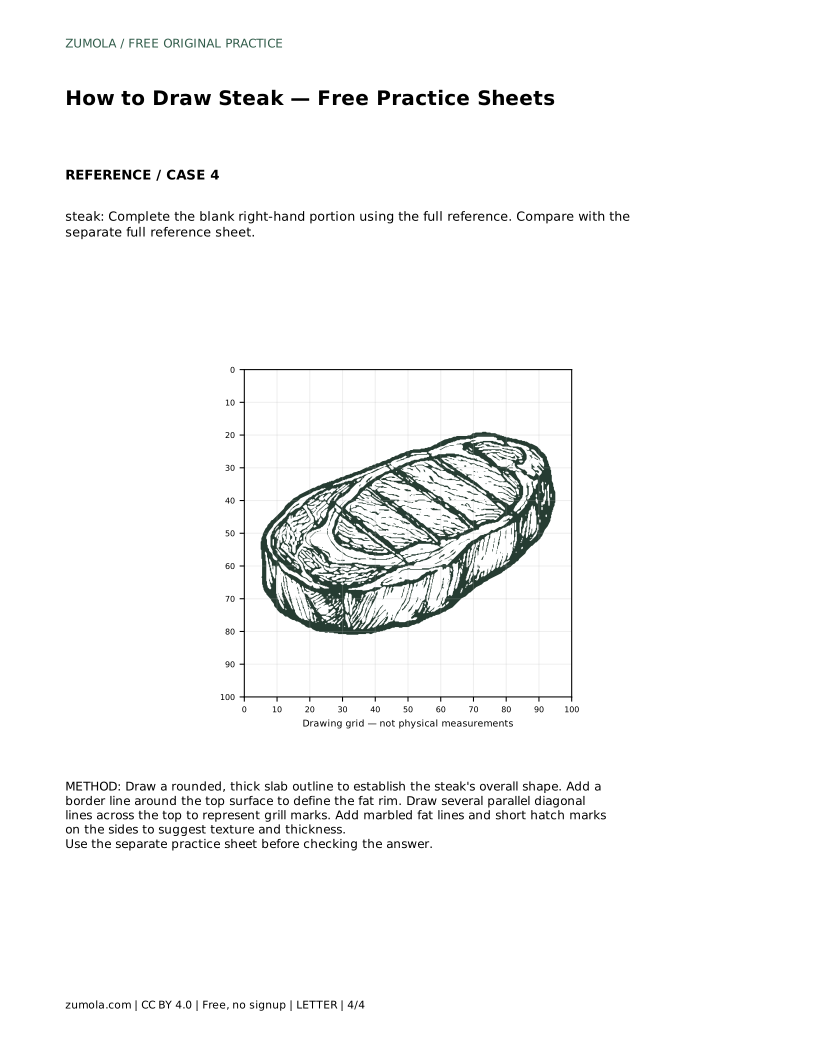
A steak is easy to recognise but surprisingly easy to draw as a flat blob. The key is to treat it as a thick slab first, then build the surface details that tell the eye what it is: a rounded irregular outline, a fat rim around the top, parallel diagonal grill marks, and marbled fat lines. This guide walks through the order of construction so each practice sheet has a clear purpose rather than becoming random copying.
Before adding any grill marks, establish the steak as a solid object with thickness. Draw a rounded, irregular outline that reads as a slab seen at a slight angle. Avoid a perfect circle or rectangle; real steak outlines bulge and dip unevenly. Keep the proportions wide enough that the top surface has room for the fat rim and grill marks.
Once the outer silhouette is stable, add a border line just inside the top edge. This line separates the fat rim from the main surface and gives the slab a sense of depth. If the border sits too close to the outline, the rim disappears; if it sits too far in, the steak looks like a plate with a small centre.
Grill marks are the strongest identifying feature, so place them after the slab and rim are settled. Draw several parallel diagonal lines across the top surface, keeping the spacing fairly even and the angle consistent. Lines should stop at the fat rim rather than running over it. A slight taper at the ends helps them look pressed into the surface rather than painted on.
Marbled fat lines come last. These are thin, wandering lines inside the top surface, not straight stripes. Keep them sparse and irregular so they suggest natural fat distribution. Short hatch marks along the side of the slab reinforce thickness without turning into a full texture pattern.
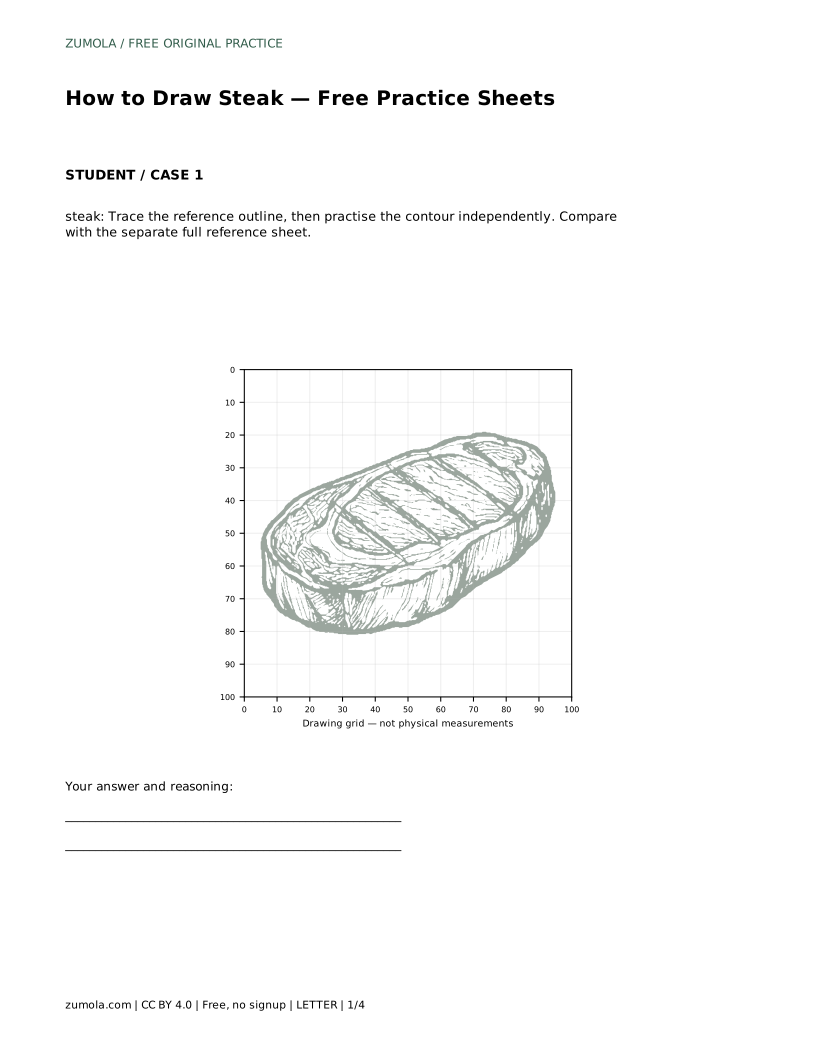
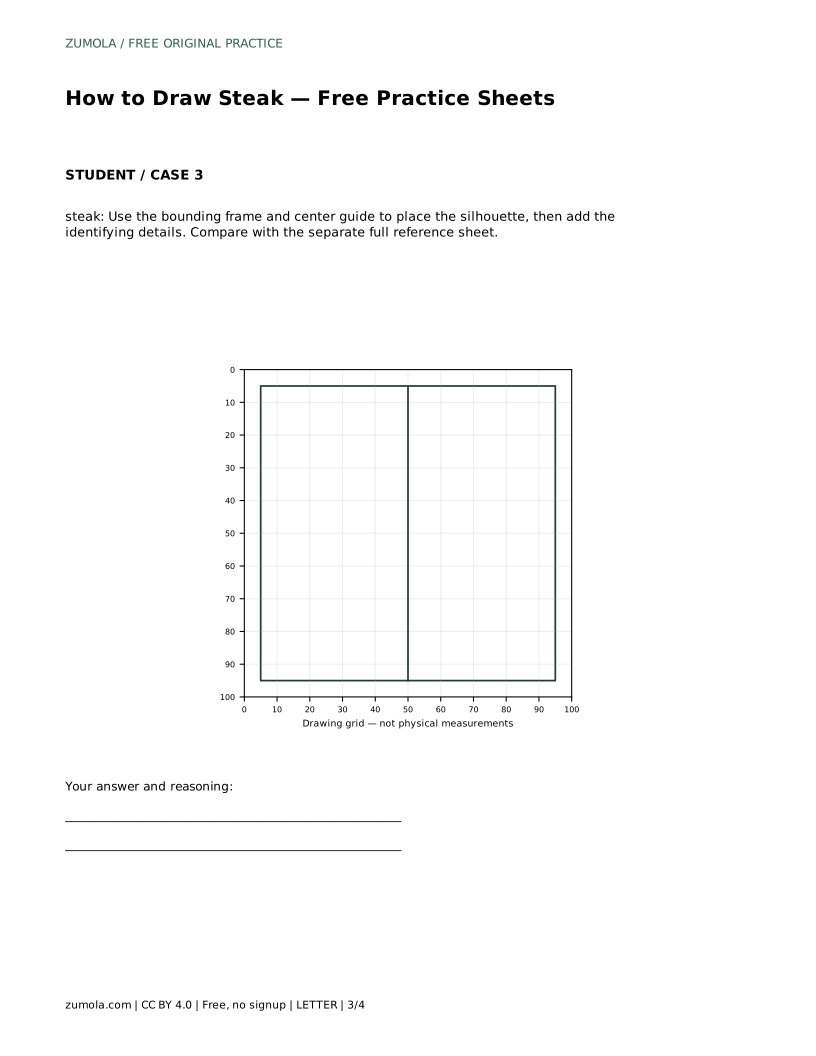
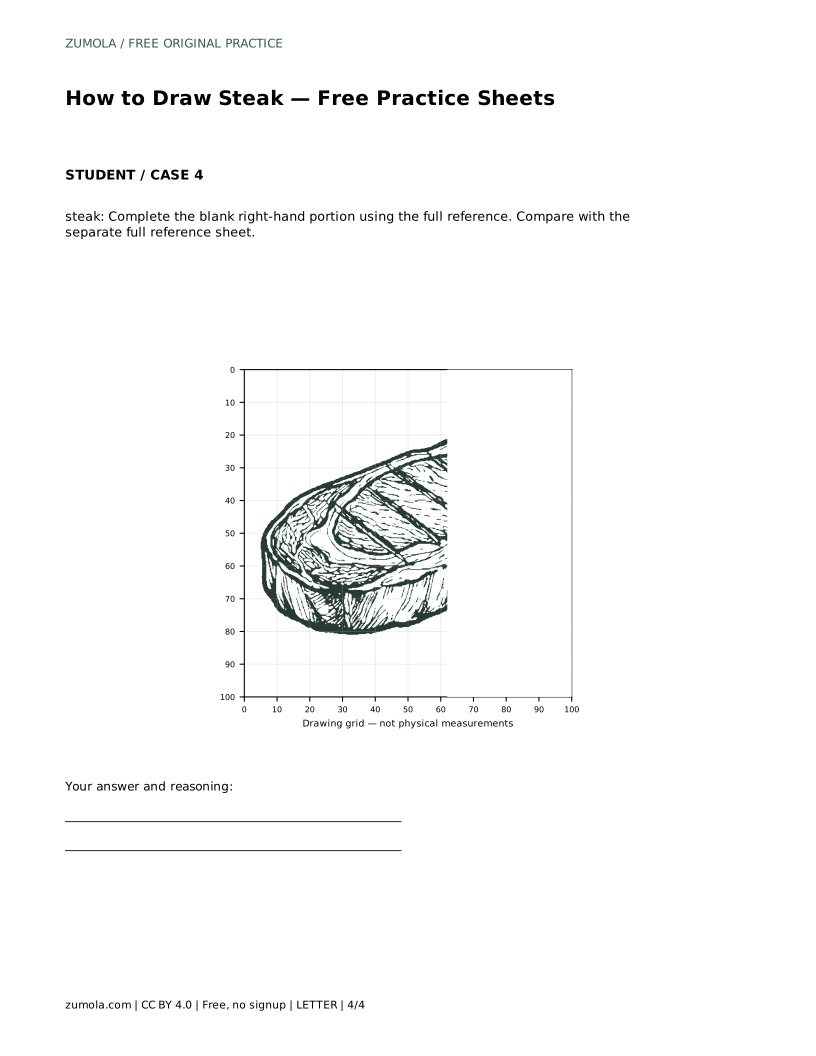
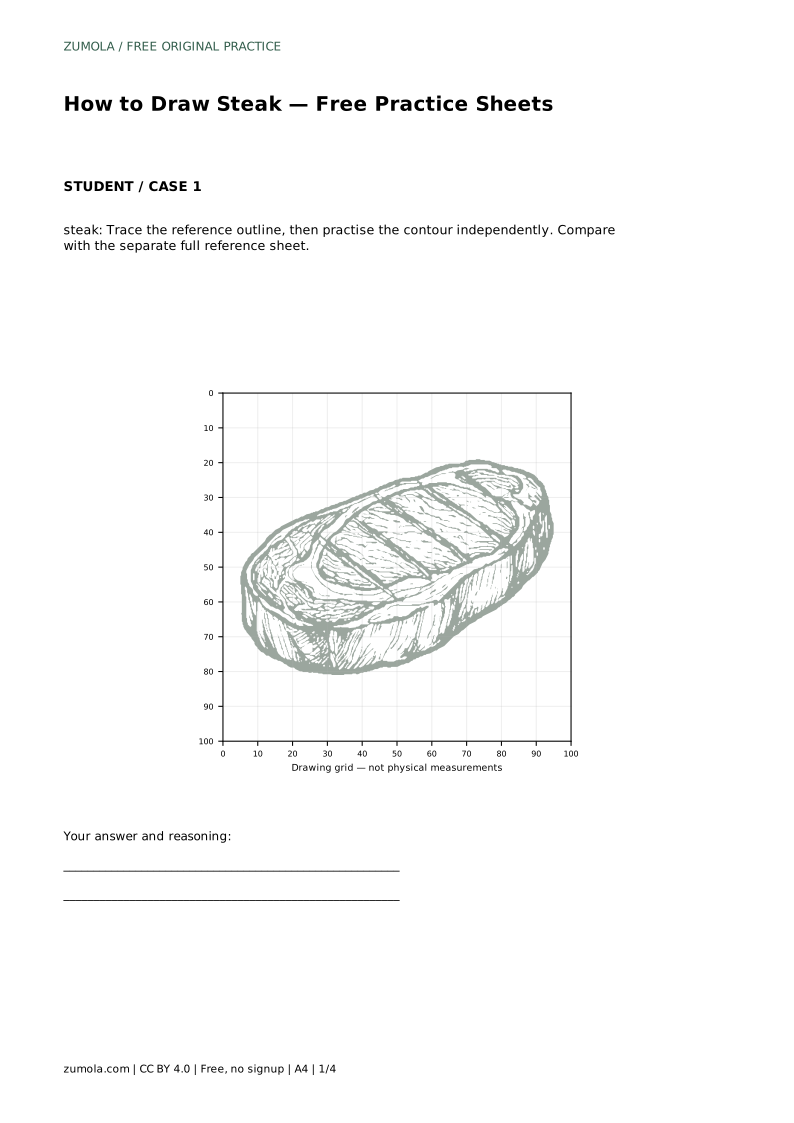
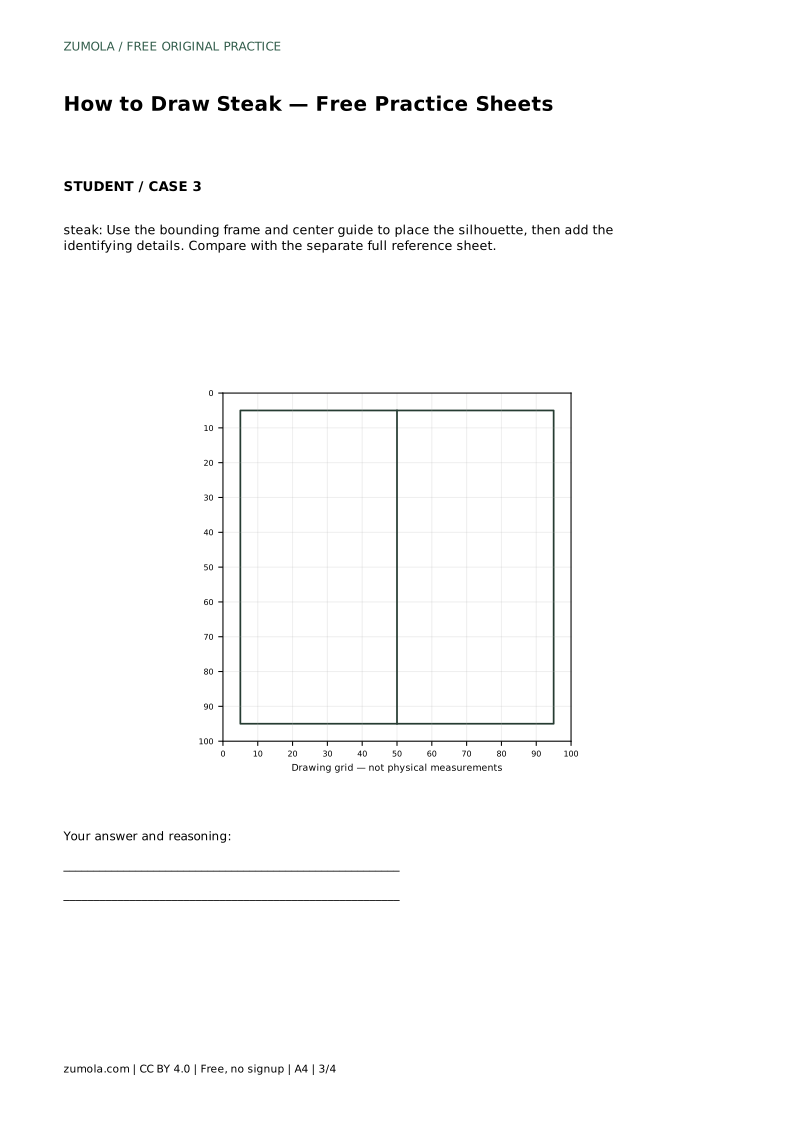
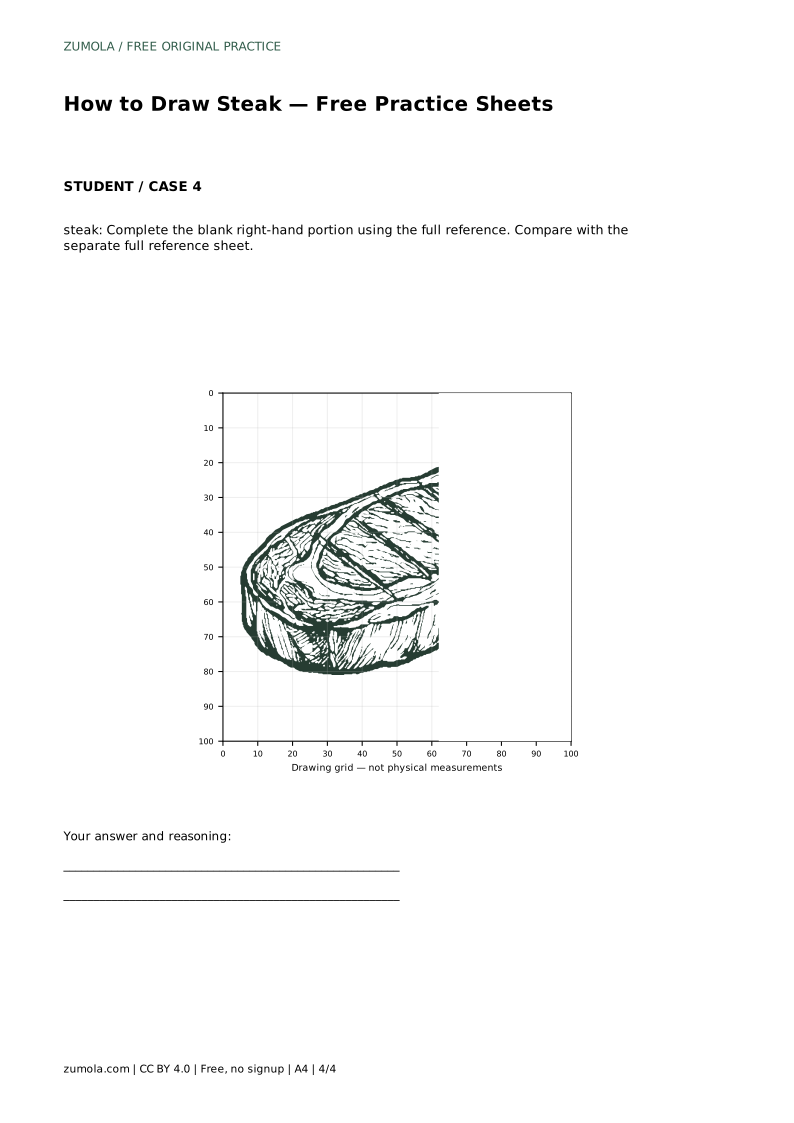
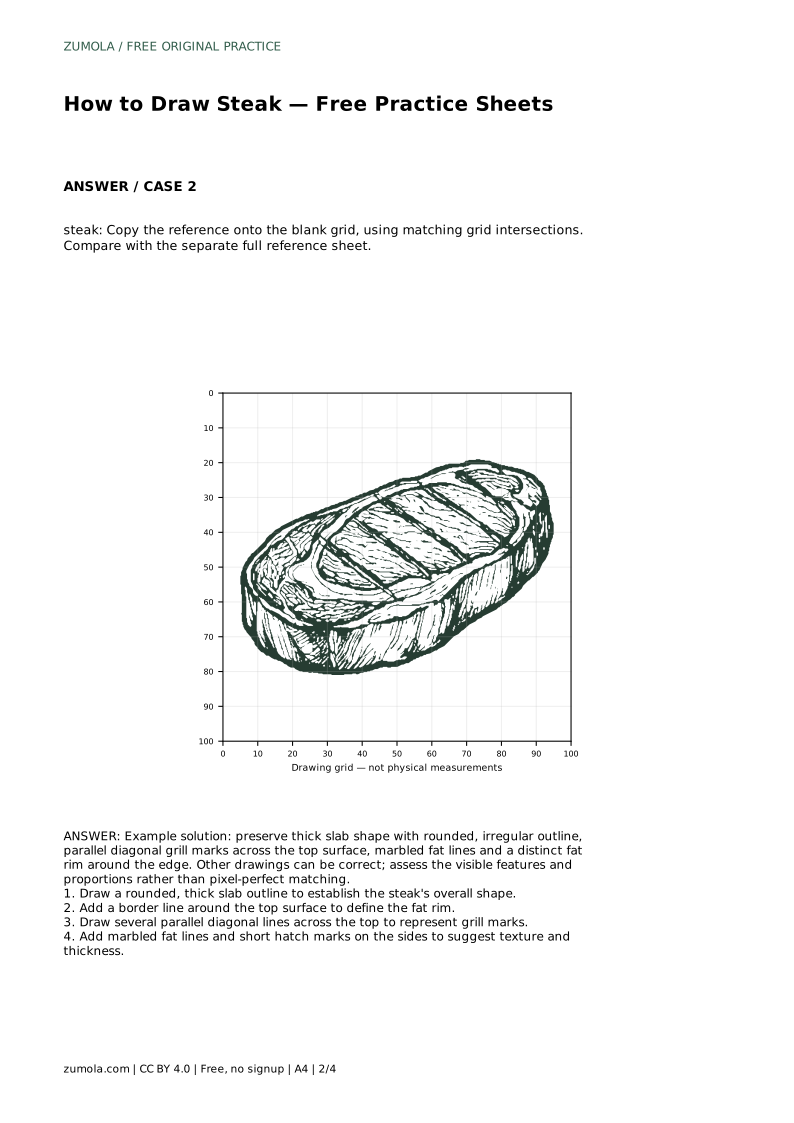
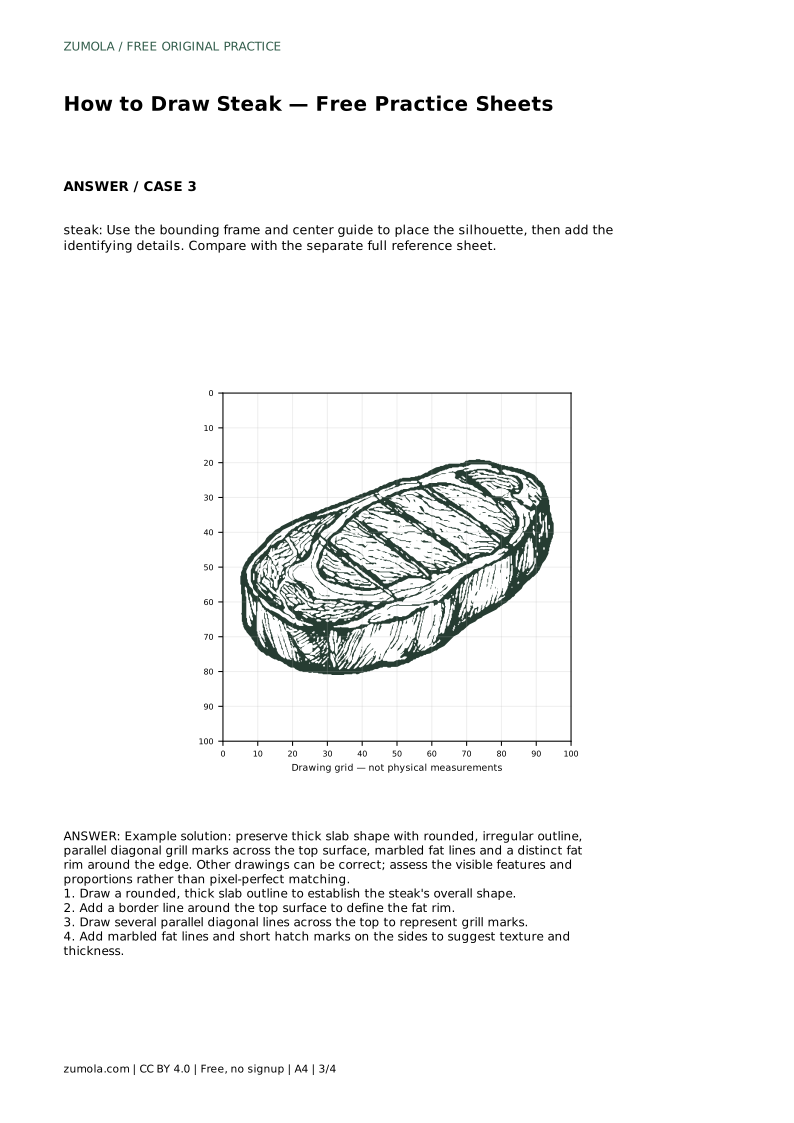
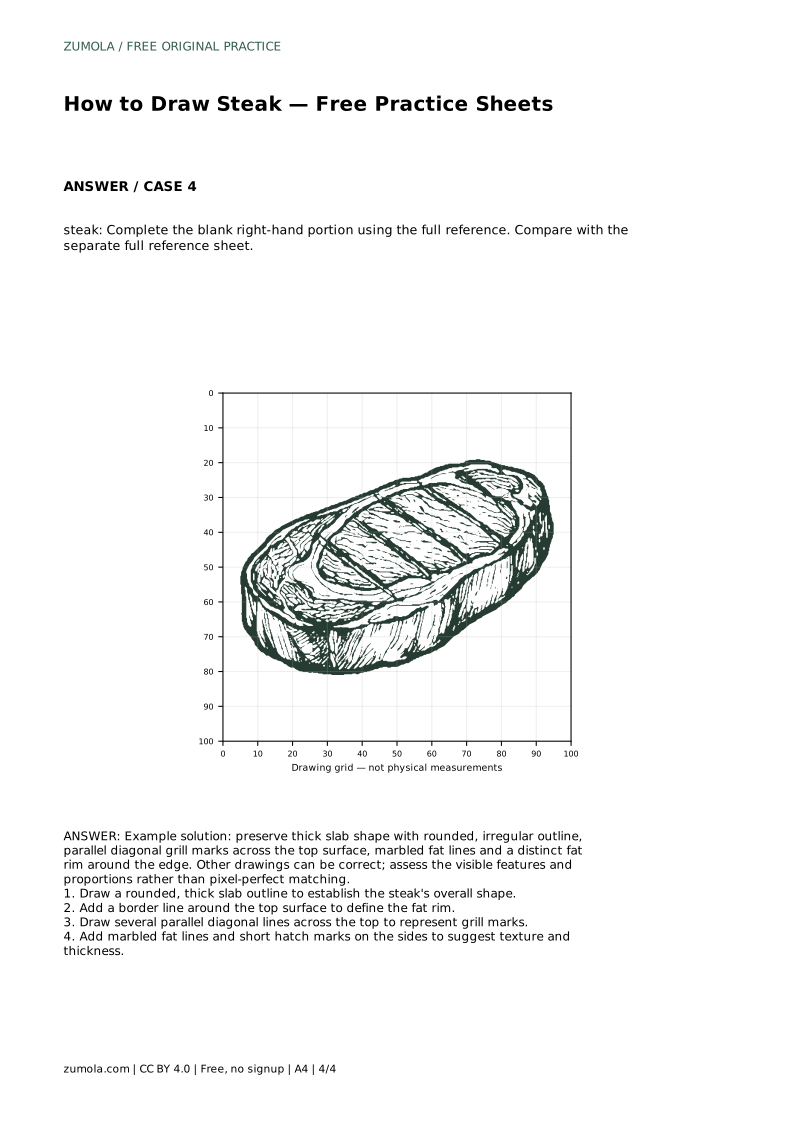
The trace sheet asks you to follow the reference outline, then repeat the contour without it. The grid sheet asks you to copy the reference onto a blank grid using matching intersections, which trains proportion and placement. The frame-and-centre-guide sheet asks you to position the silhouette first, then add details. The partial sheet asks you to complete the blank right-hand portion from the full reference.
Each format tests a different skill, so compare your result with the separate full reference sheet rather than expecting a pixel-perfect match. Multiple drawings can be correct if the visible features and proportions hold together.
Because steak drawings have many valid outcomes, assess features rather than exact replication. A strong drawing keeps the slab thick, the outline irregular but closed, the fat rim visible, the grill marks parallel, and the marbling restrained. A weak drawing usually flattens the slab, loses the rim, or scatters grill marks at inconsistent angles.
steak: Trace the reference outline, then practise the contour independently. Compare with the separate full reference sheet.
Example solution: preserve thick slab shape with rounded, irregular outline, parallel diagonal grill marks across the top surface, marbled fat lines and a distinct fat rim around the edge. Other drawings can be correct; assess the visible features and proportions rather than pixel-perfect matching. Draw a rounded, thick slab outline to establish the steak's overall shape. Add a border line around the top surface to define the fat rim. Draw several parallel diagonal lines across the top to represent grill marks. Add marbled fat lines and short hatch marks on the sides to suggest texture and thickness.
No. They should be parallel, evenly spaced, and diagonal, but the exact count and angle can vary as long as the steak still reads clearly.
The slab probably lacks a side edge or fat rim. Add a border line inside the top outline and short hatch marks along the side.
Yes. The grid sheet trains proportion on its own, but tracing first can help you learn the outline before copying it independently.
All drawing practice · Free coordinate paper
Original resources · CC BY 4.0 · Free for personal and classroom use with attribution.