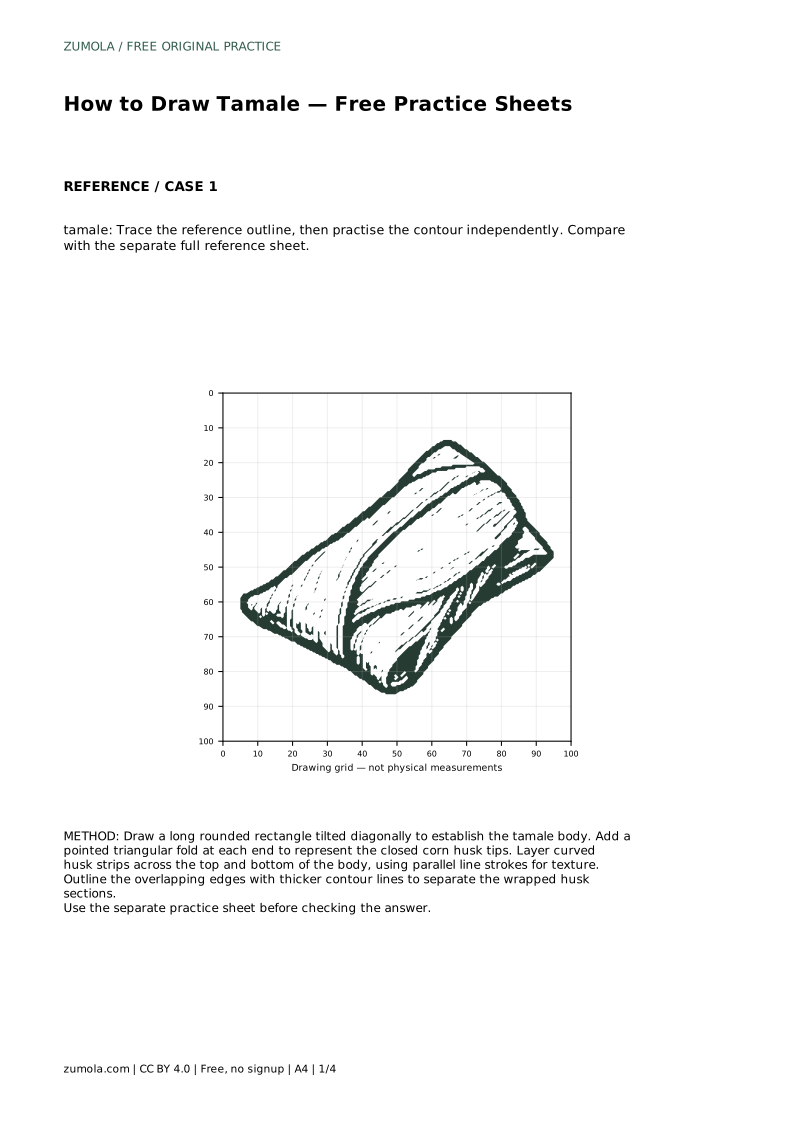
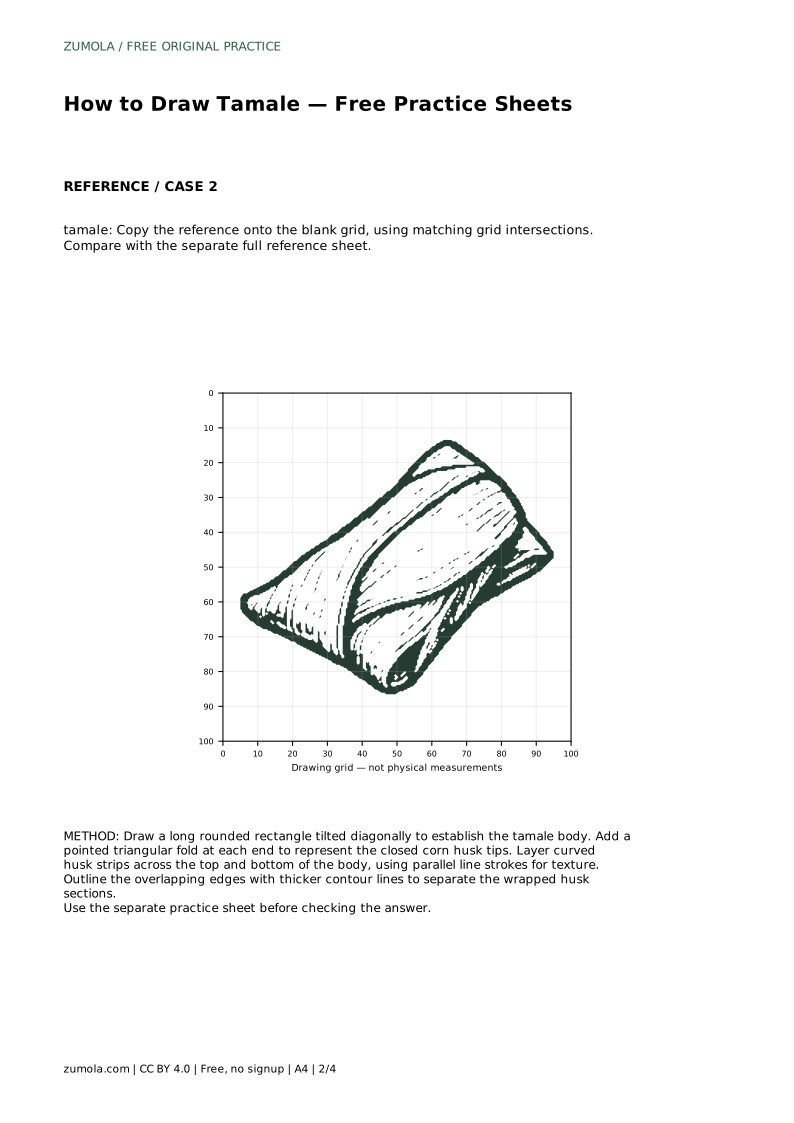
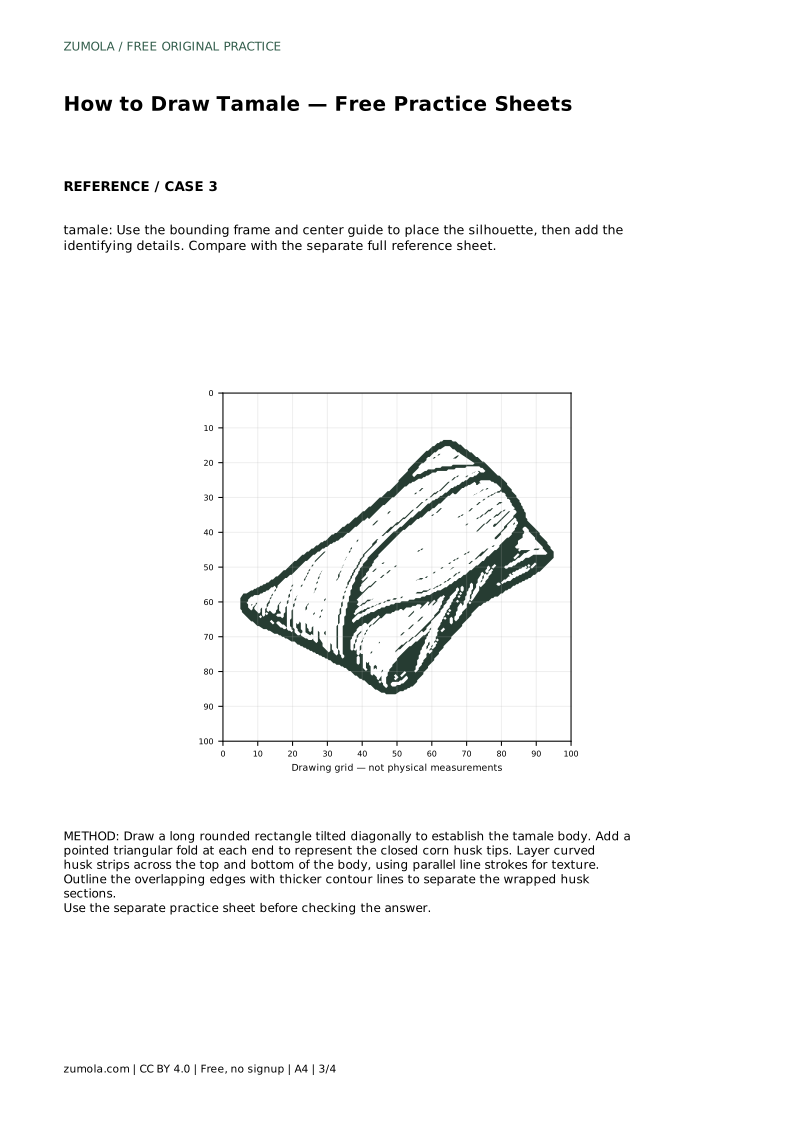
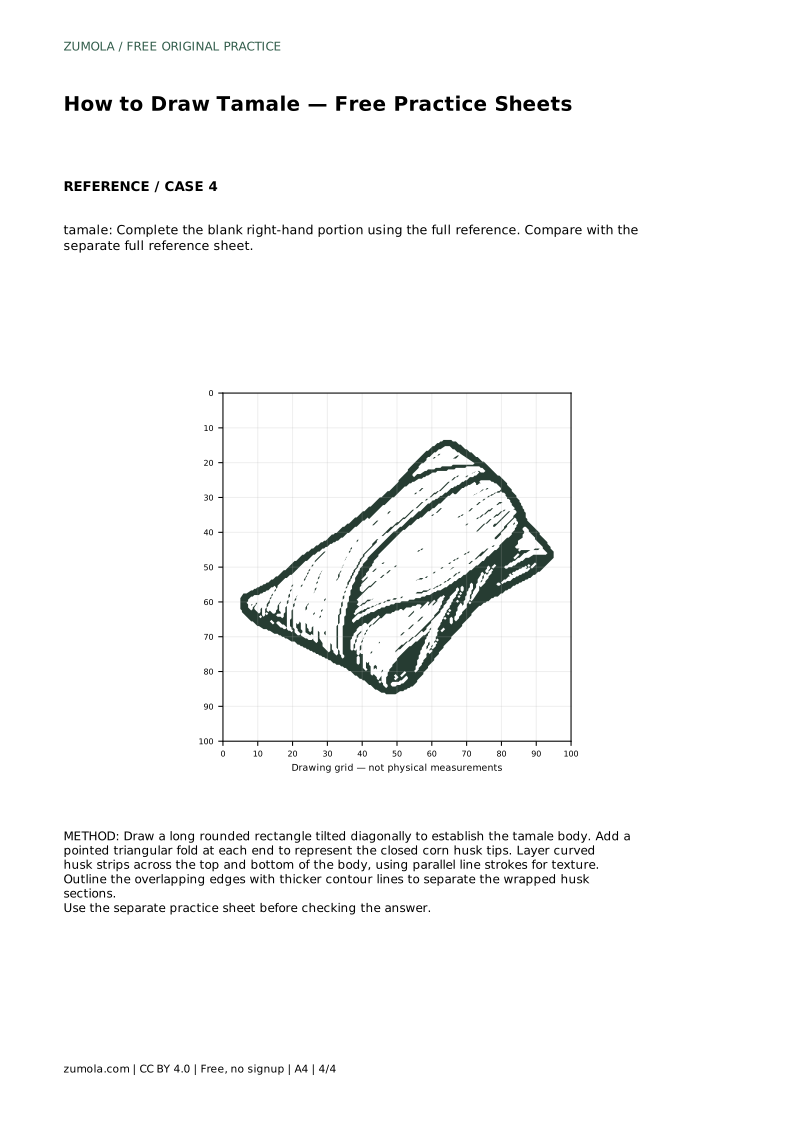
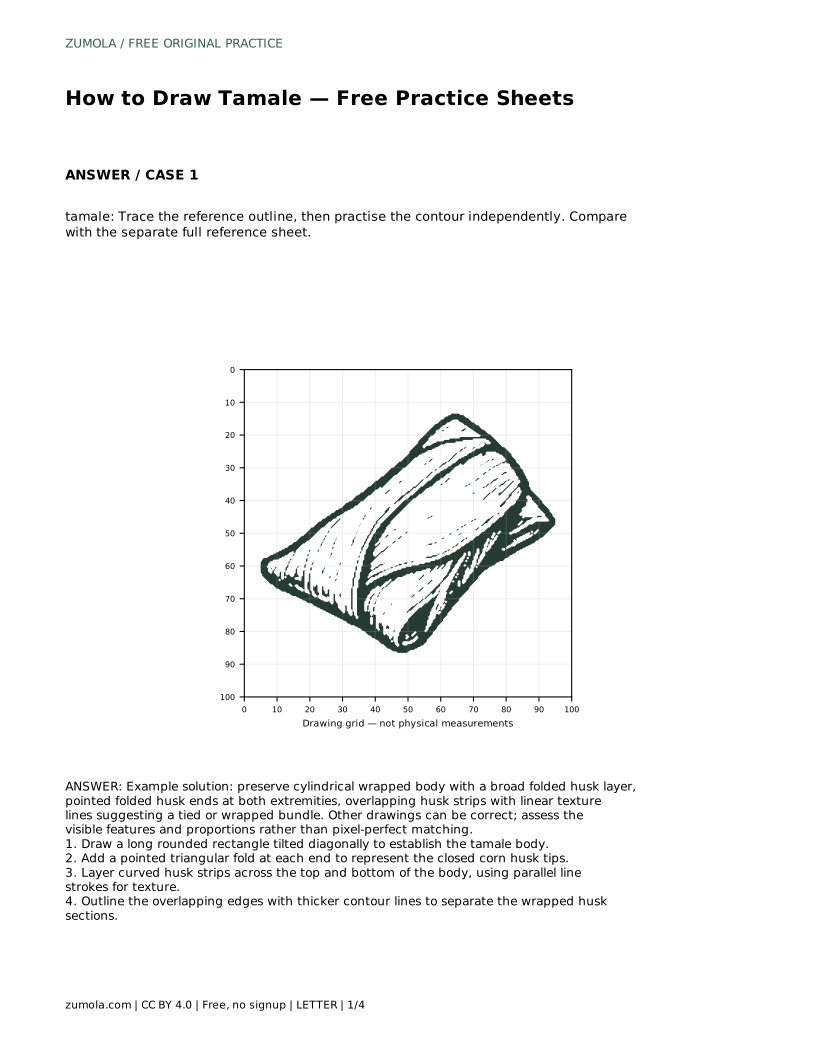
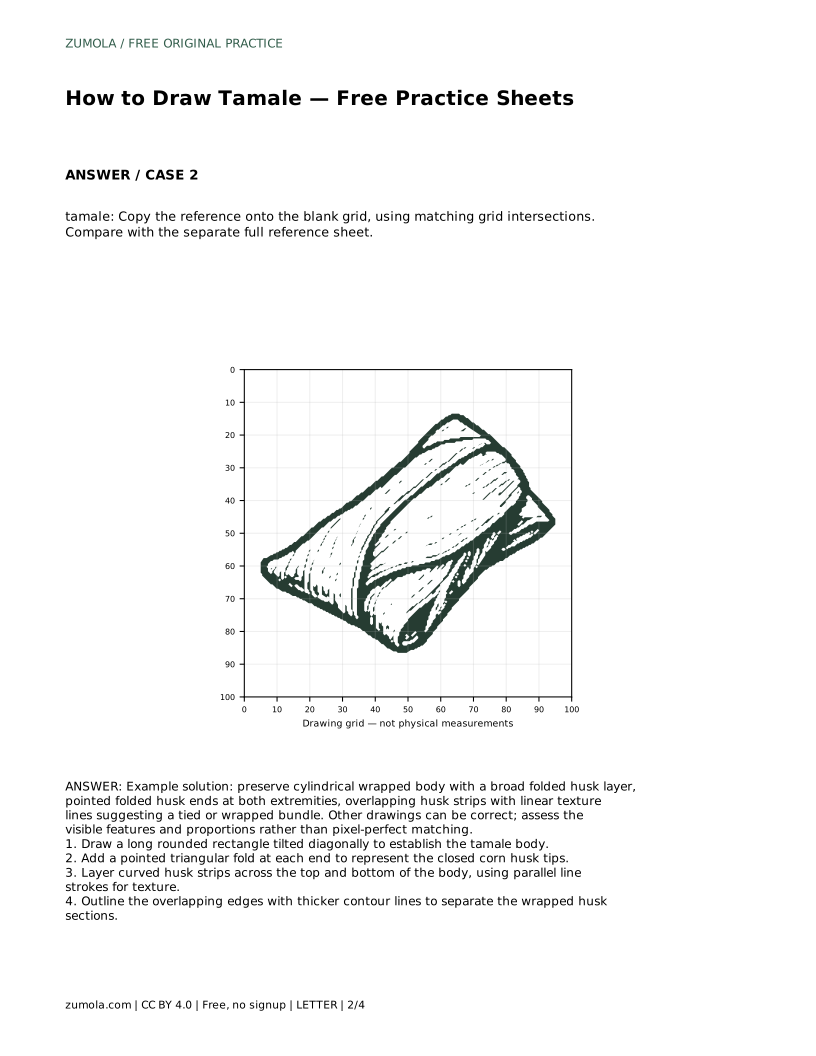
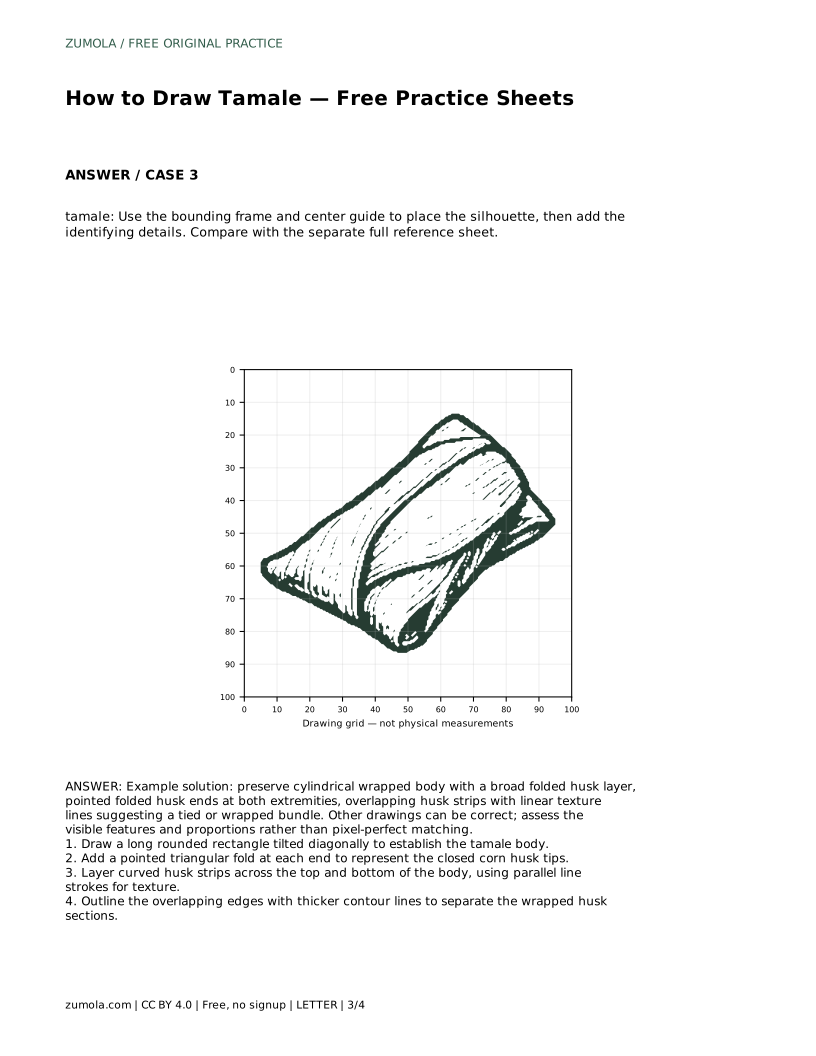
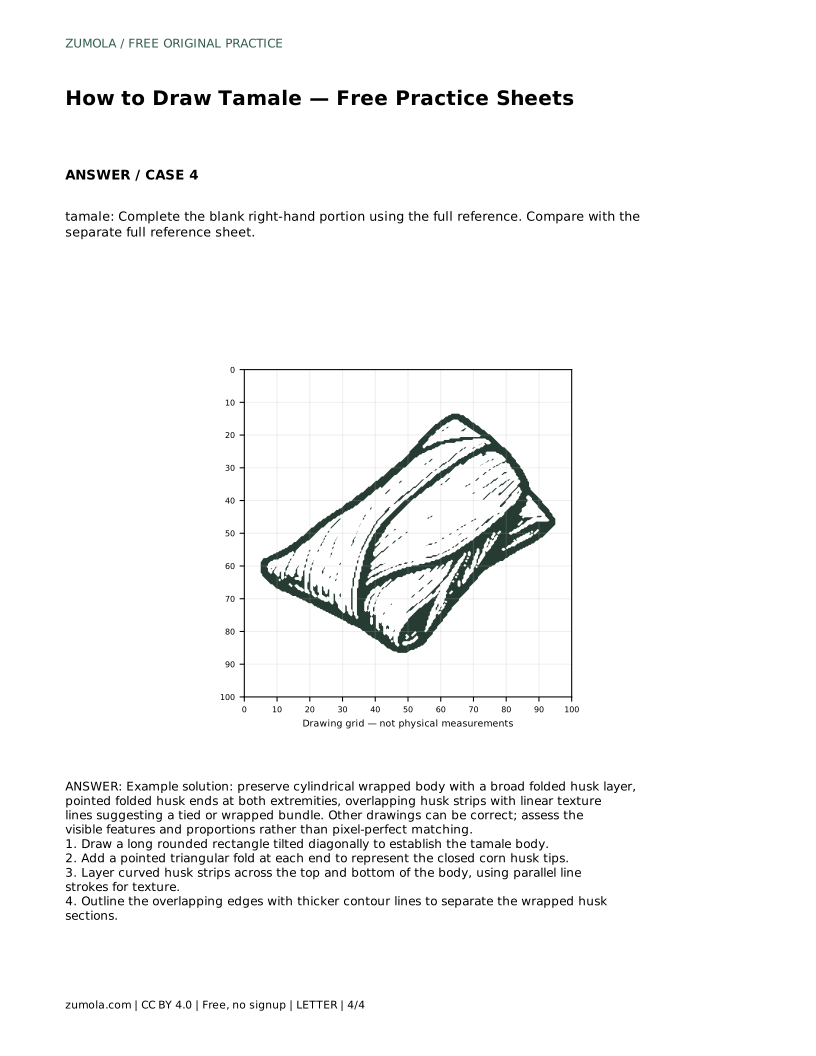
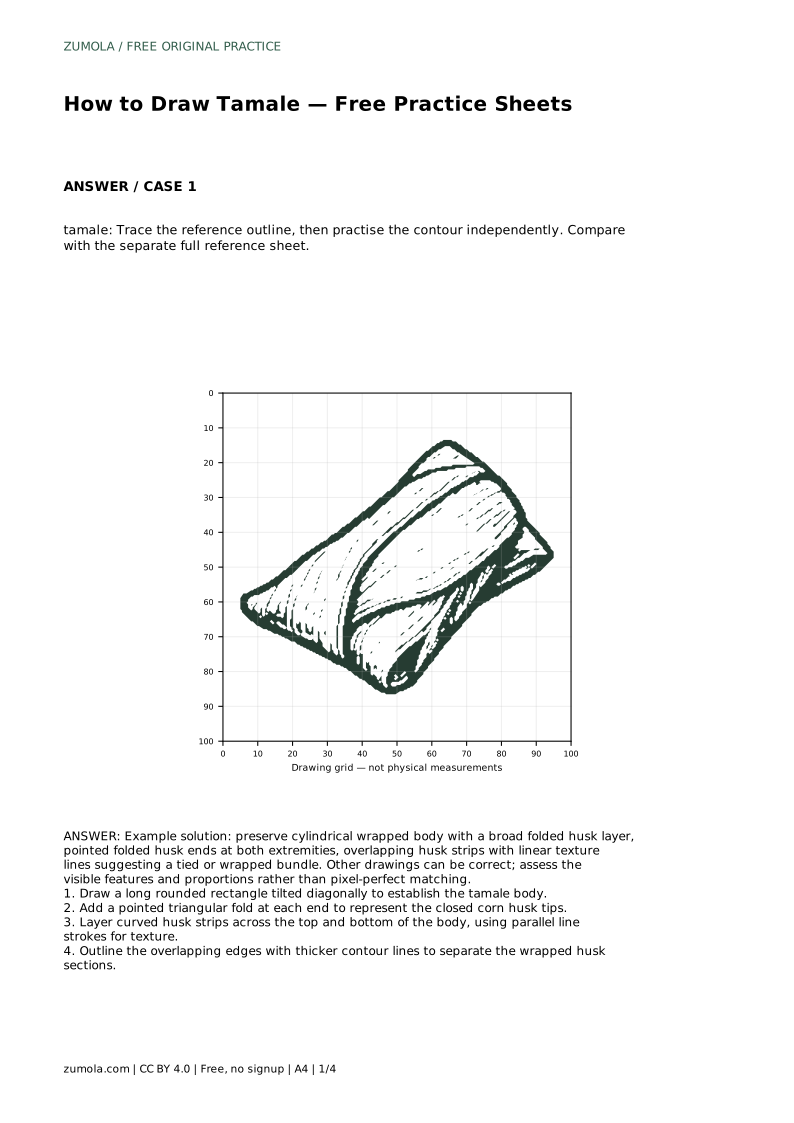
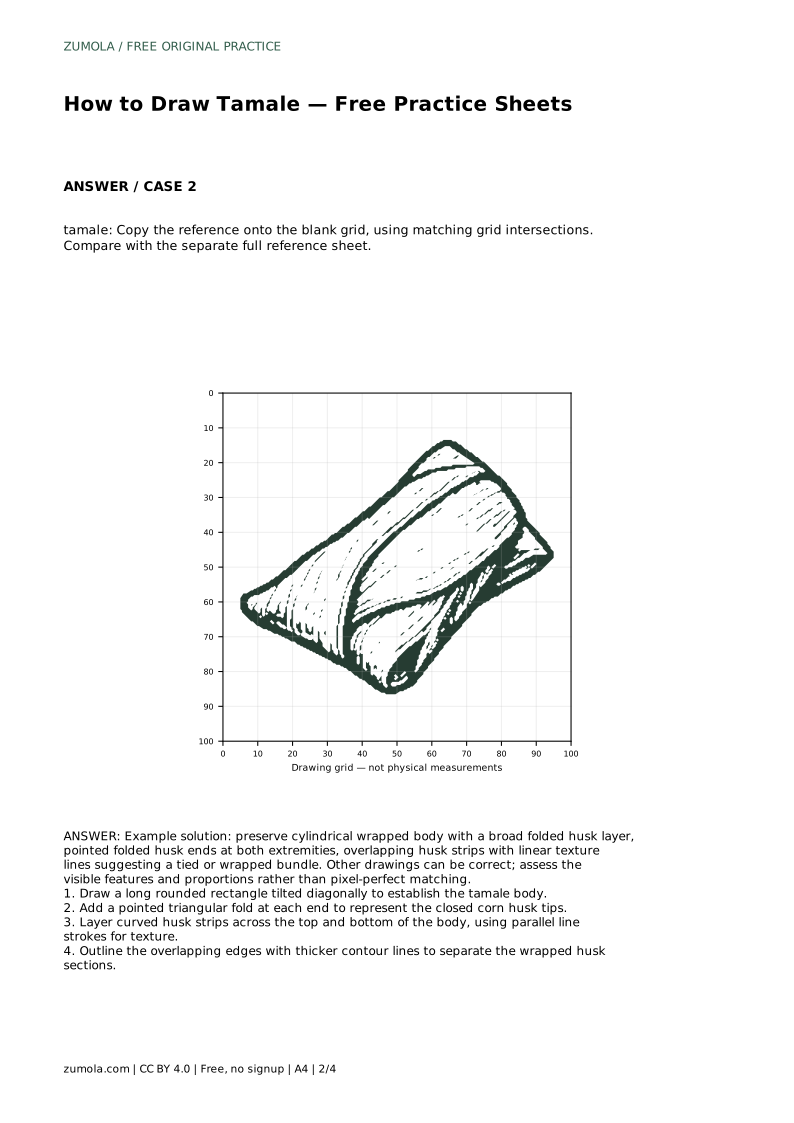
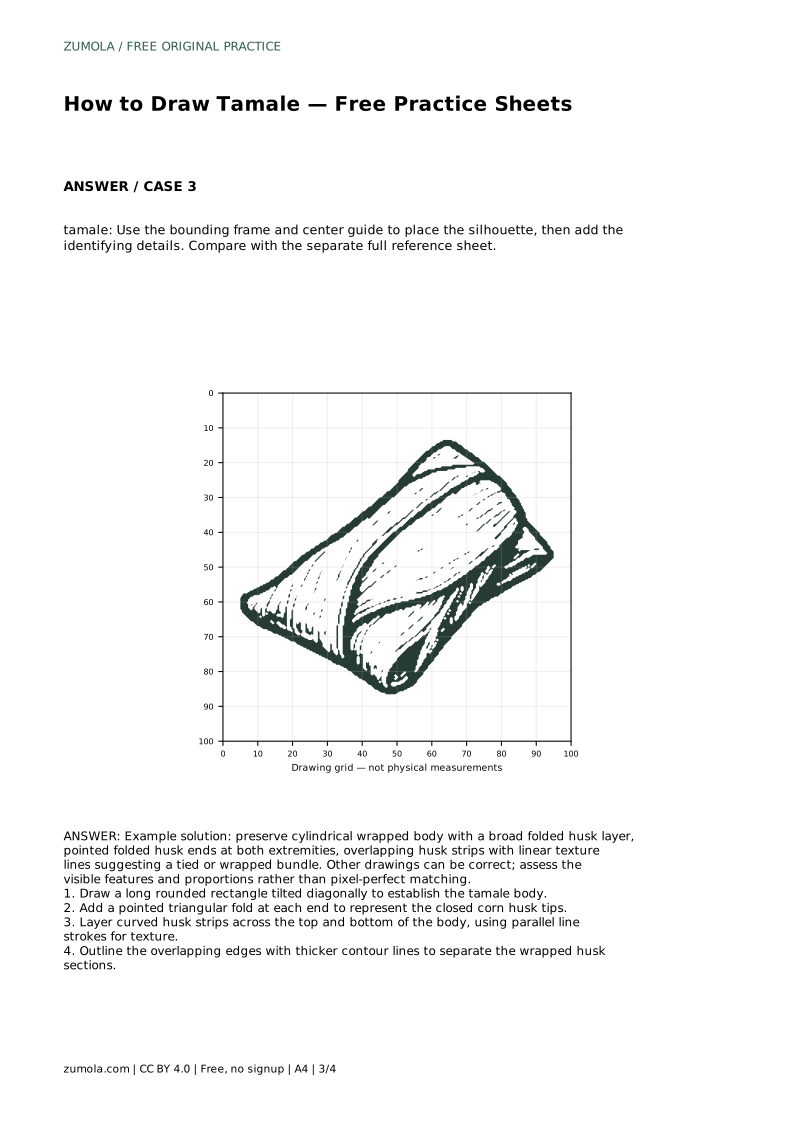
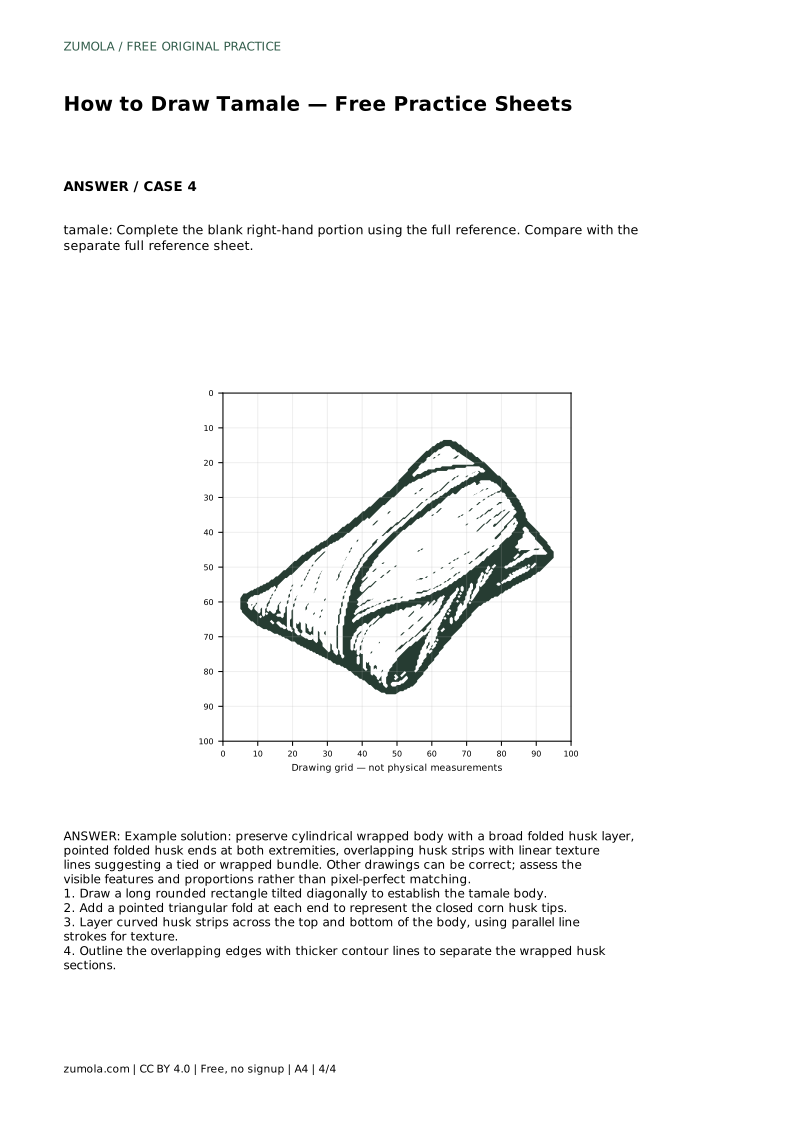
Reference diagrams
LETTER · Download PDF
A4 · Download PDF
Free original resources
Learn to draw a tamale by building a tilted wrapped body, pointed husk ends, overlapping strips, and texture lines. Includes a worked example and rubric.
Four original cases, with reference diagrams, practice sheets and worked answers. Everything is free; no signup required.
LETTER · Download PDF
A4 · Download PDF
LETTER · Download PDF
A4 · Download PDF
LETTER · Download PDF
A4 · Download PDF
Use A4 or US Letter to match your printer. Use the stated values and conditions to solve each exercise; diagrams are not physical measuring rulers.
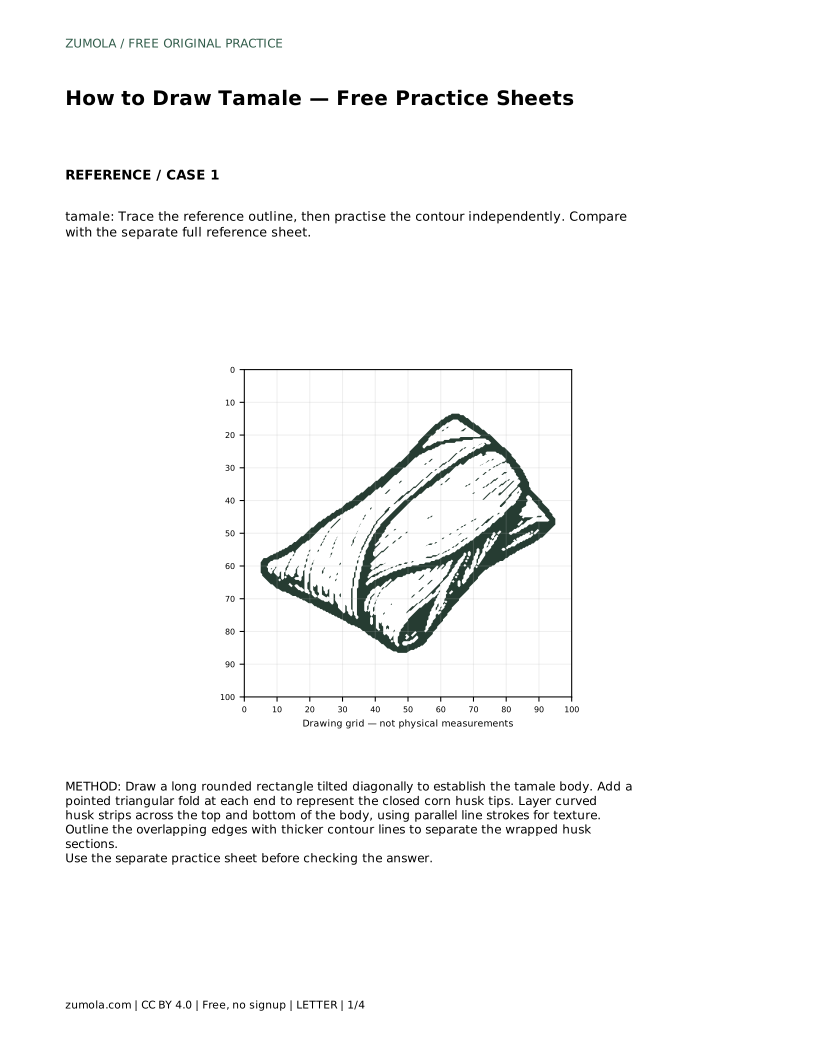
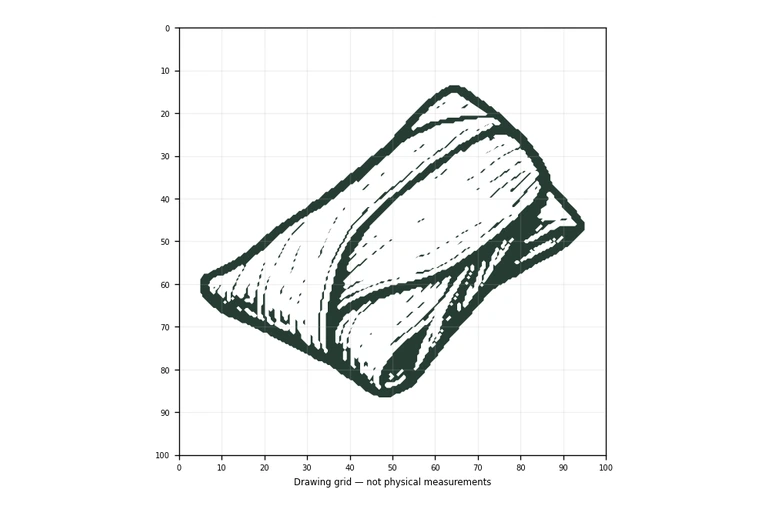
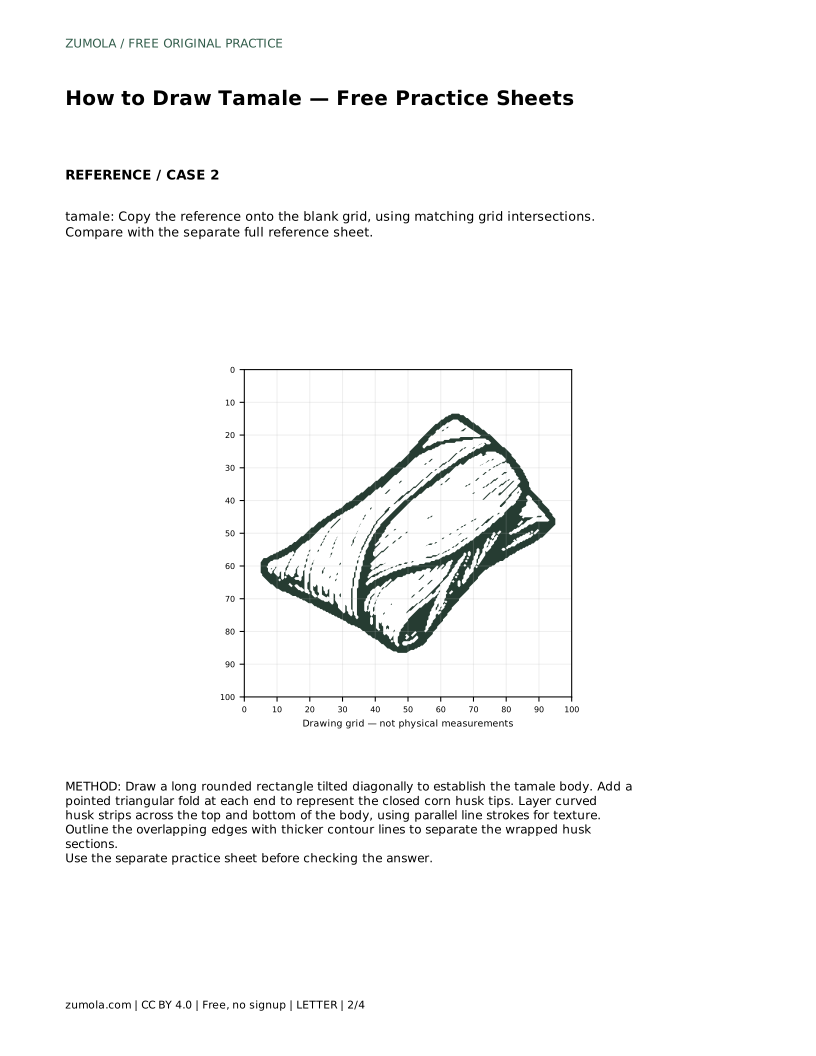
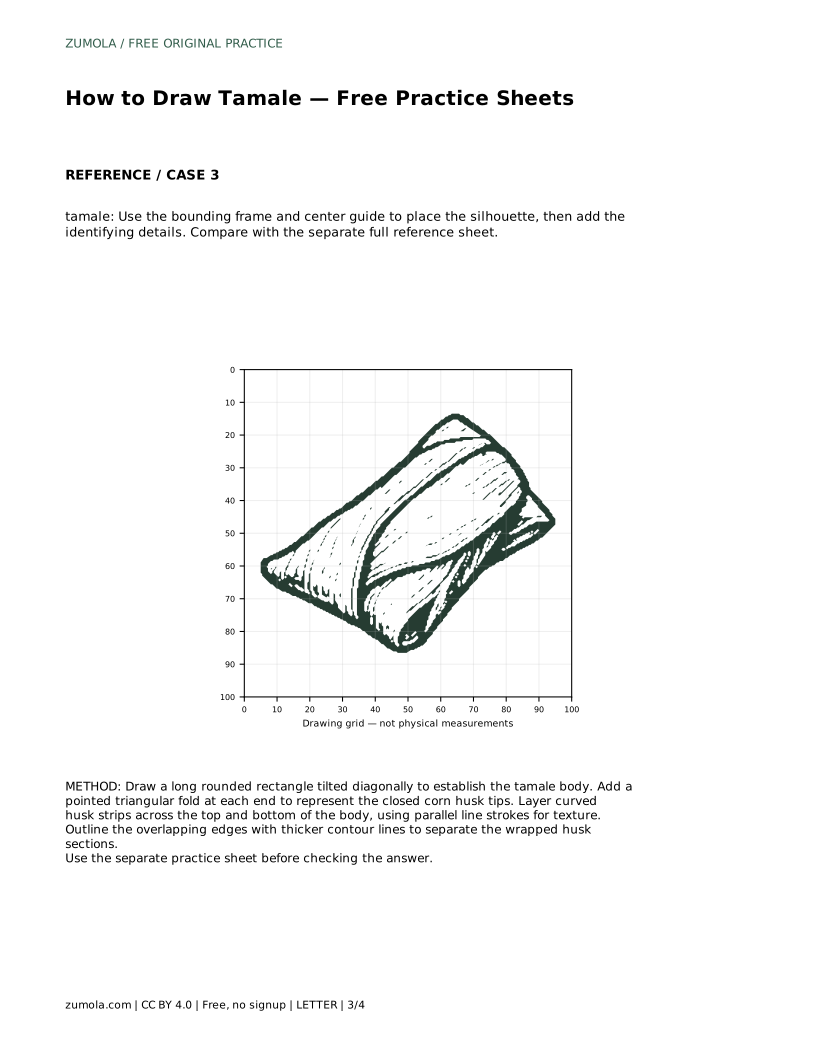
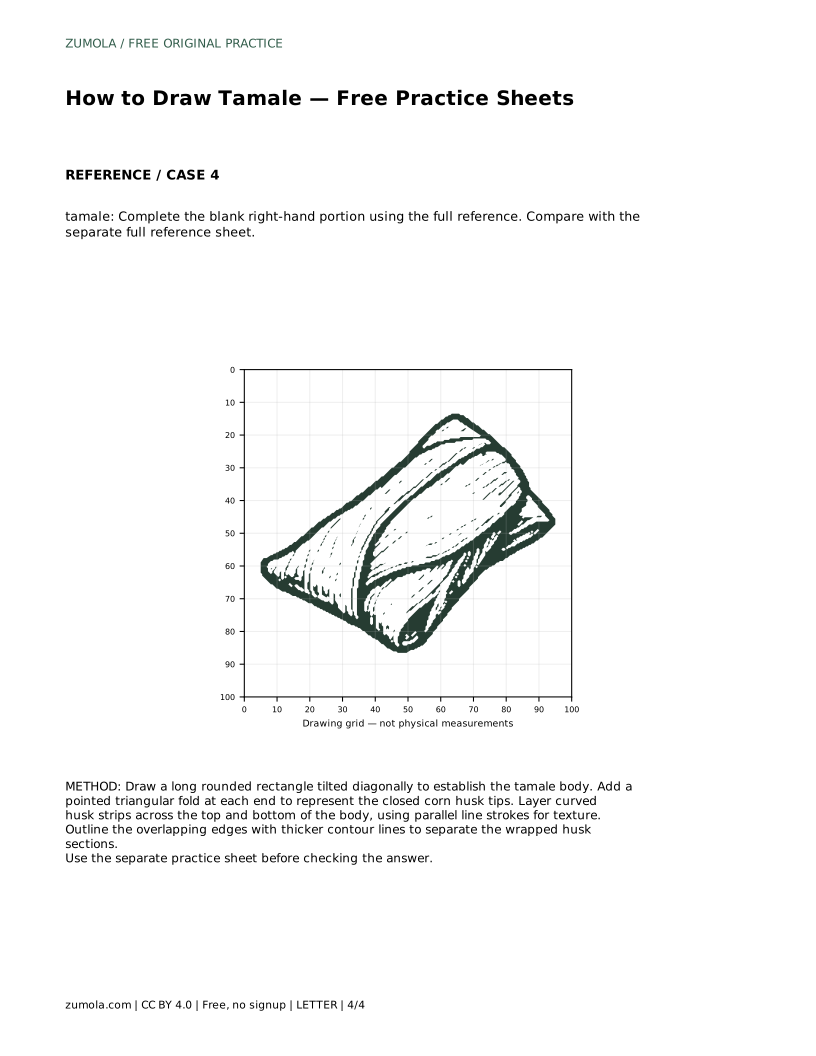
A tamale drawing reads clearly when the wrapped shape comes first and the husk details come second. This page shows how to place a long, tilted body, close both ends with pointed folds, and layer curved husk strips over it. The practice sheets let you trace, copy onto a grid, use a center guide, or complete a partial drawing, so you can work on the same structure in different ways.
Begin with the largest shape: a long rounded rectangle set at a diagonal. The diagonal matters because a tamale is usually drawn as a bundle lying at an angle, not standing straight up. Keep the two long sides roughly parallel and round the corners slightly so the body looks wrapped rather than boxy.
Check the proportion before adding detail. The body should be noticeably longer than it is wide, and both ends should have room for the folded husk tips. If one end is crowded against the edge of your paper, redraw the body smaller or shift it inward.
Add a pointed triangular fold at each end of the body. These points represent the closed corn husk tips, so they should continue the direction of the body rather than stick out at sharp right angles. One end can be slightly more compressed than the other, which helps the bundle look handled rather than symmetrical.
Keep the points simple. A clean triangle attached to the rounded end is enough; extra zigzags can make the husk look torn instead of folded.
Layer curved husk strips across the top and bottom of the body. Each strip should follow the curve of the wrapped surface, and neighboring strips should overlap rather than sit side by side like separate ribbons. Use parallel line strokes inside the strips for texture, keeping the strokes short and evenly spaced.
Finish by outlining the overlapping edges with thicker contour lines. The thicker lines separate one husk section from the next and give the drawing depth without shading. Thin texture lines stay inside the strips; thick contour lines mark where one layer crosses another.
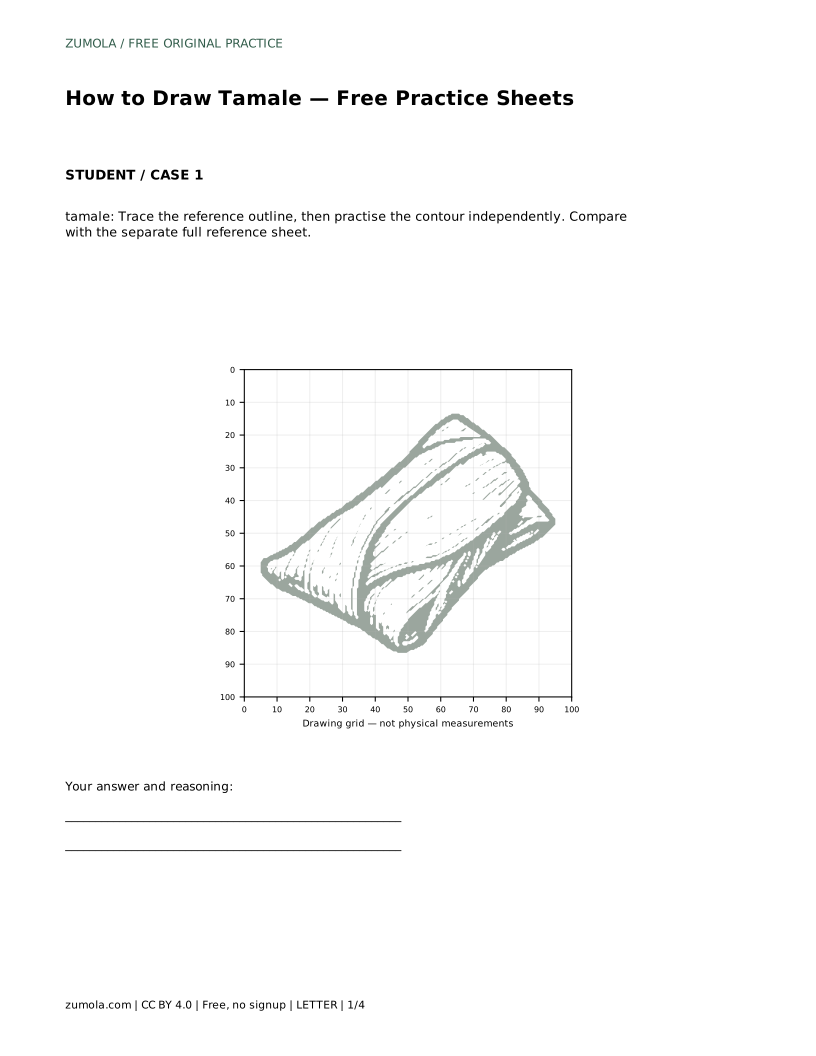
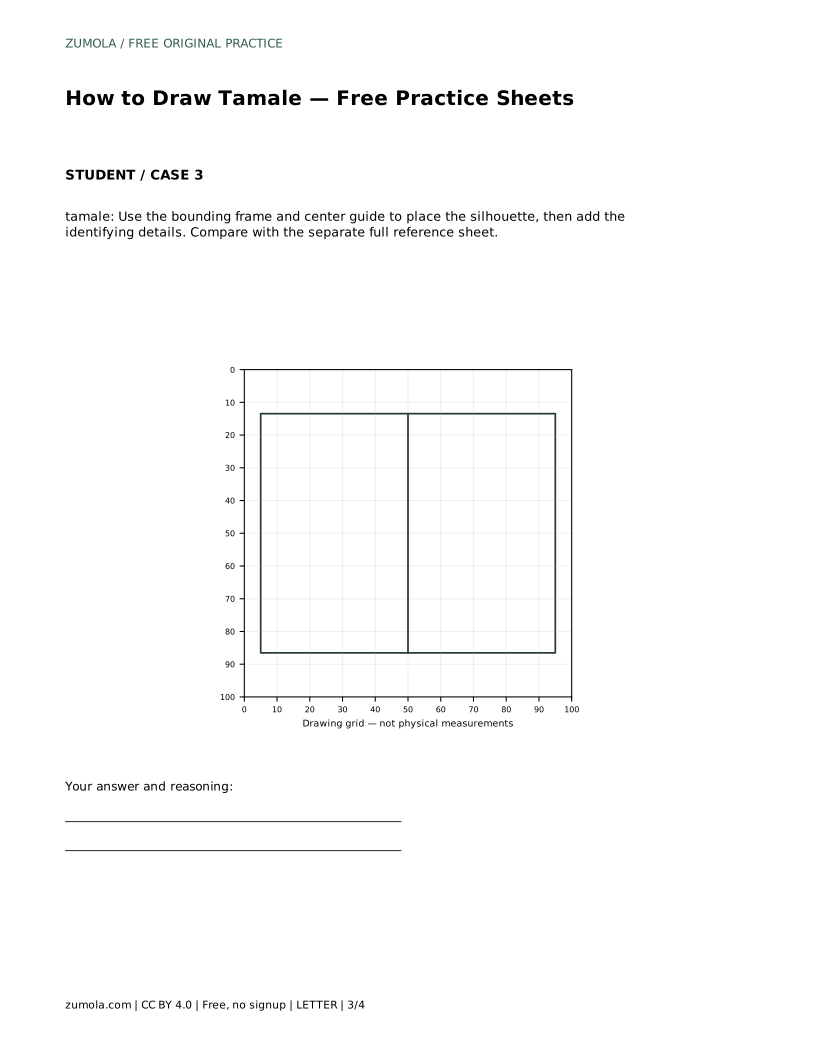
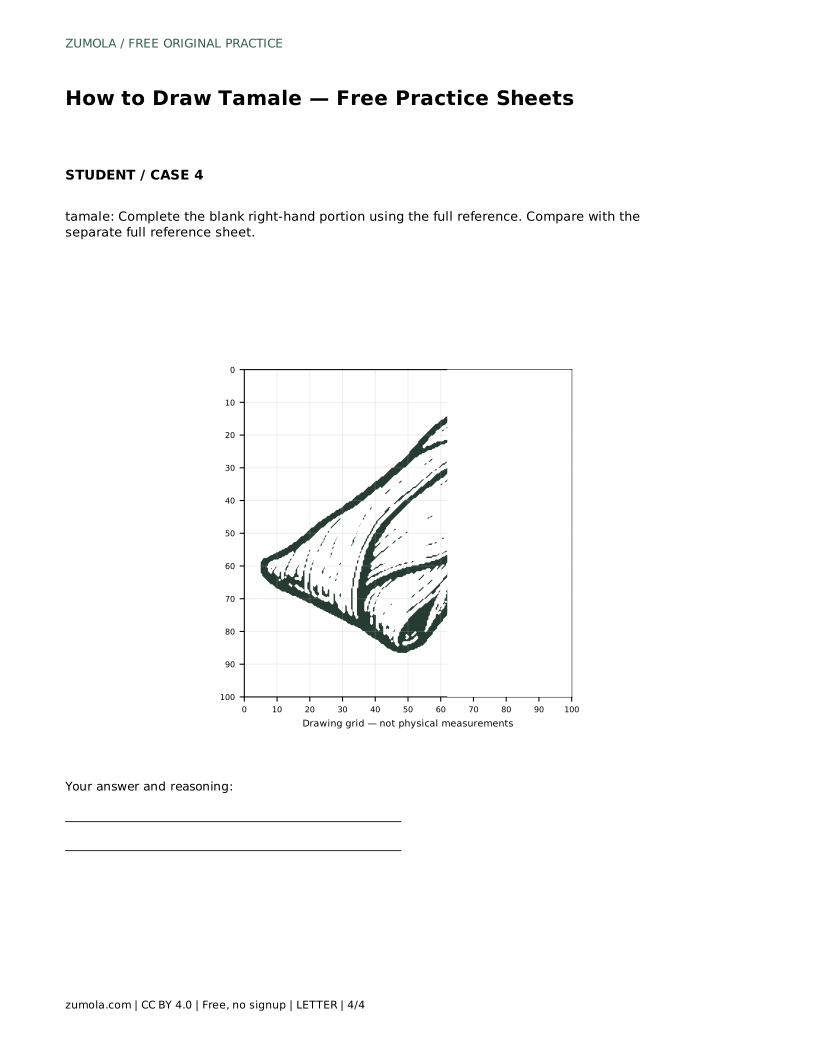
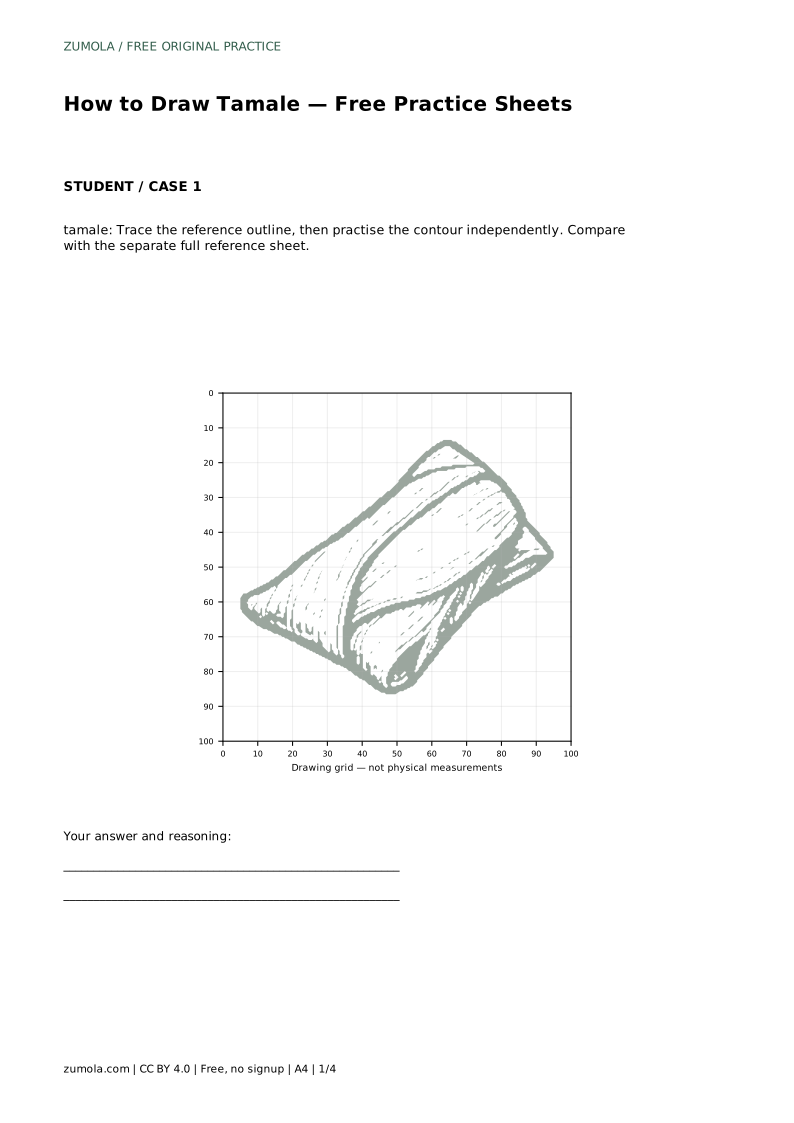
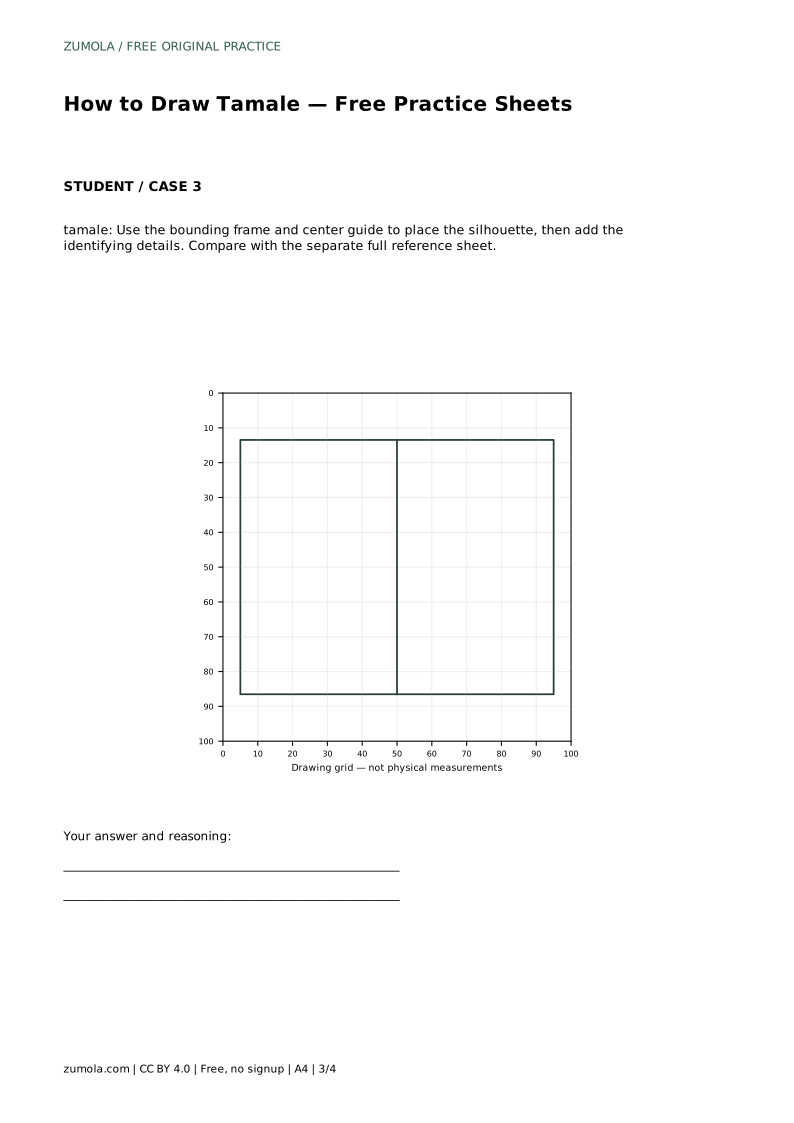
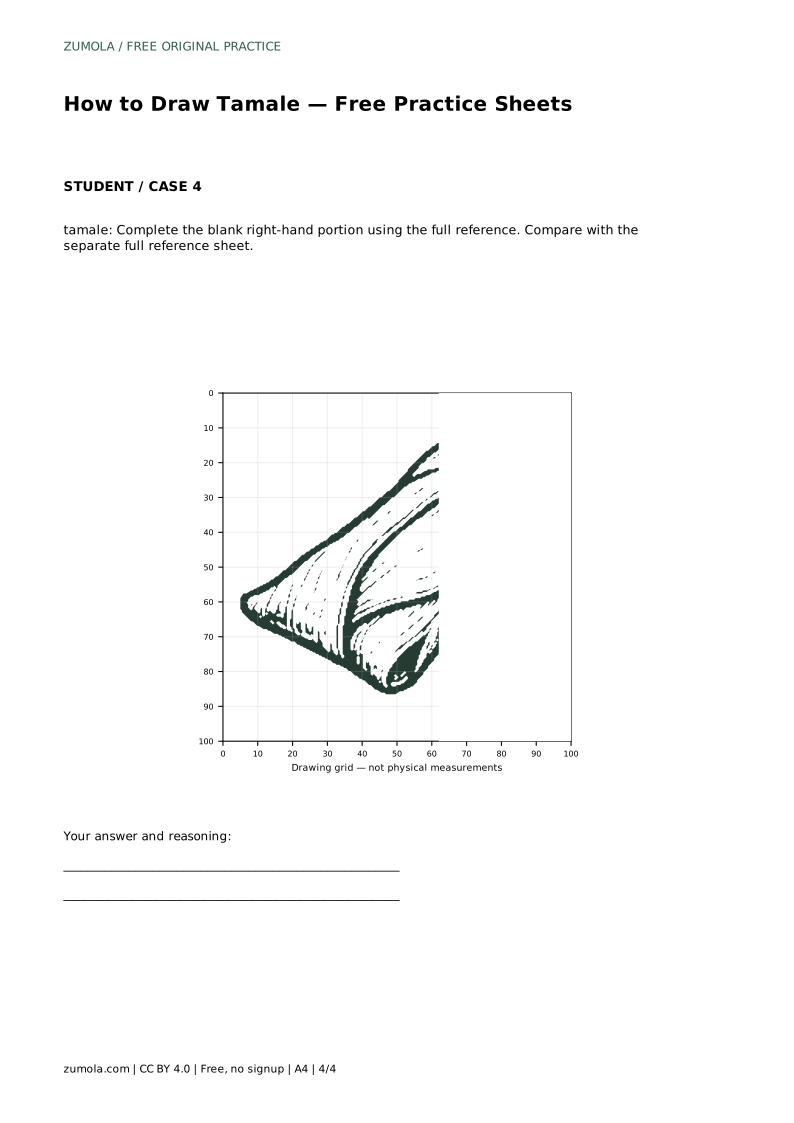
The trace version asks you to follow the reference outline first, then repeat the contour on your own. The grid version asks you to copy the reference onto a blank grid using matching intersections, which trains placement rather than memory. The center-guide version helps you position the silhouette before adding details, and the partial version asks you to complete the blank right-hand portion from the full reference.
In every format, compare your finished drawing with the separate full reference sheet. Look for the wrapped body, both pointed ends, overlapping strips, and texture lines. Small differences in angle or strip count are fine; the goal is a recognizable bundle with clear layers.
Prompt: tamale: Trace the reference outline, then practise the contour independently. Compare with the separate full reference sheet.
Answer: Example solution: preserve cylindrical wrapped body with a broad folded husk layer, pointed folded husk ends at both extremities, overlapping husk strips with linear texture lines suggesting a tied or wrapped bundle. Other drawings can be correct; assess the visible features and proportions rather than pixel-perfect matching.
tamale: Trace the reference outline, then practise the contour independently. Compare with the separate full reference sheet.
Example solution: preserve cylindrical wrapped body with a broad folded husk layer, pointed folded husk ends at both extremities, overlapping husk strips with linear texture lines suggesting a tied or wrapped bundle. Other drawings can be correct; assess the visible features and proportions rather than pixel-perfect matching. Draw a long rounded rectangle tilted diagonally to establish the tamale body. Add a pointed triangular fold at each end to represent the closed corn husk tips. Layer curved husk strips across the top and bottom of the body, using parallel line strokes for texture. Outline the overlapping edges with thicker contour lines to separate the wrapped husk sections.
No. Other drawings can be correct. Assess the visible features and proportions, such as the wrapped body, pointed ends, overlapping strips, and texture lines, rather than pixel-perfect matching.
Body first, then the two pointed ends, then the curved husk strips, and finally the thicker contour lines where layers overlap.
Yes. Each format works on its own. The grid version trains placement using matching intersections, while the trace version trains contour control.
All drawing practice · Free coordinate paper
Original resources · CC BY 4.0 · Free for personal and classroom use with attribution.