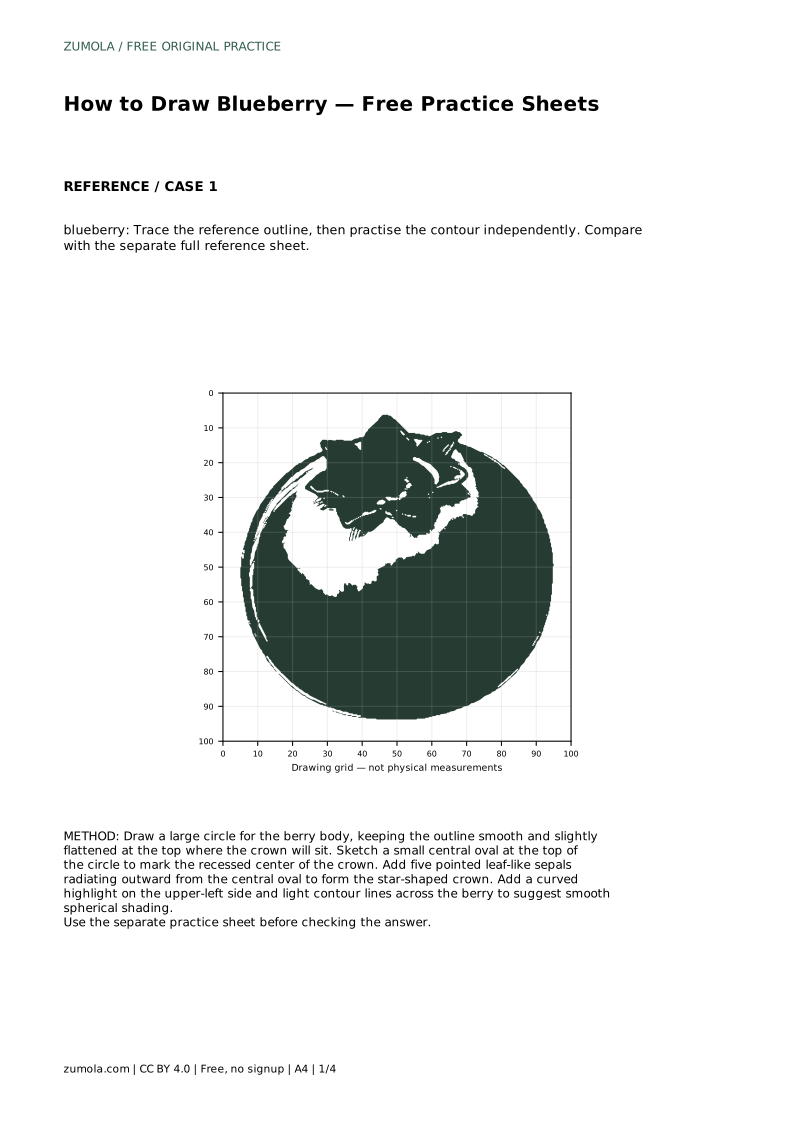
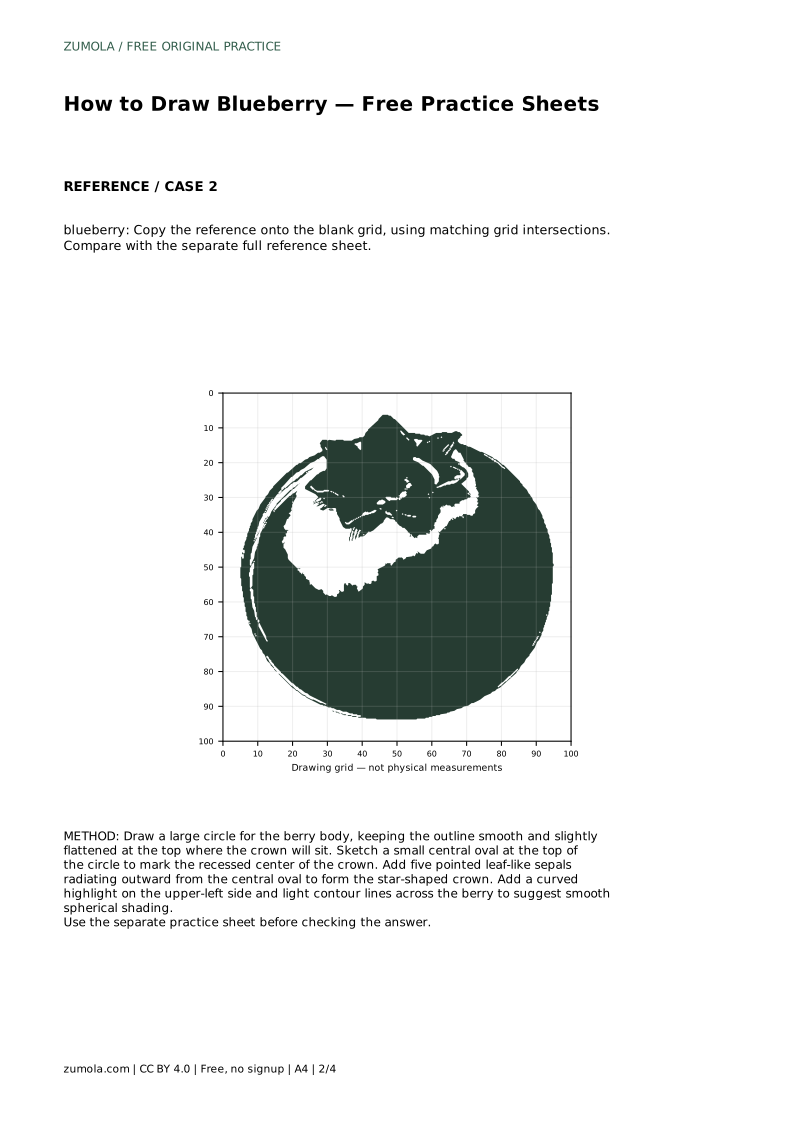
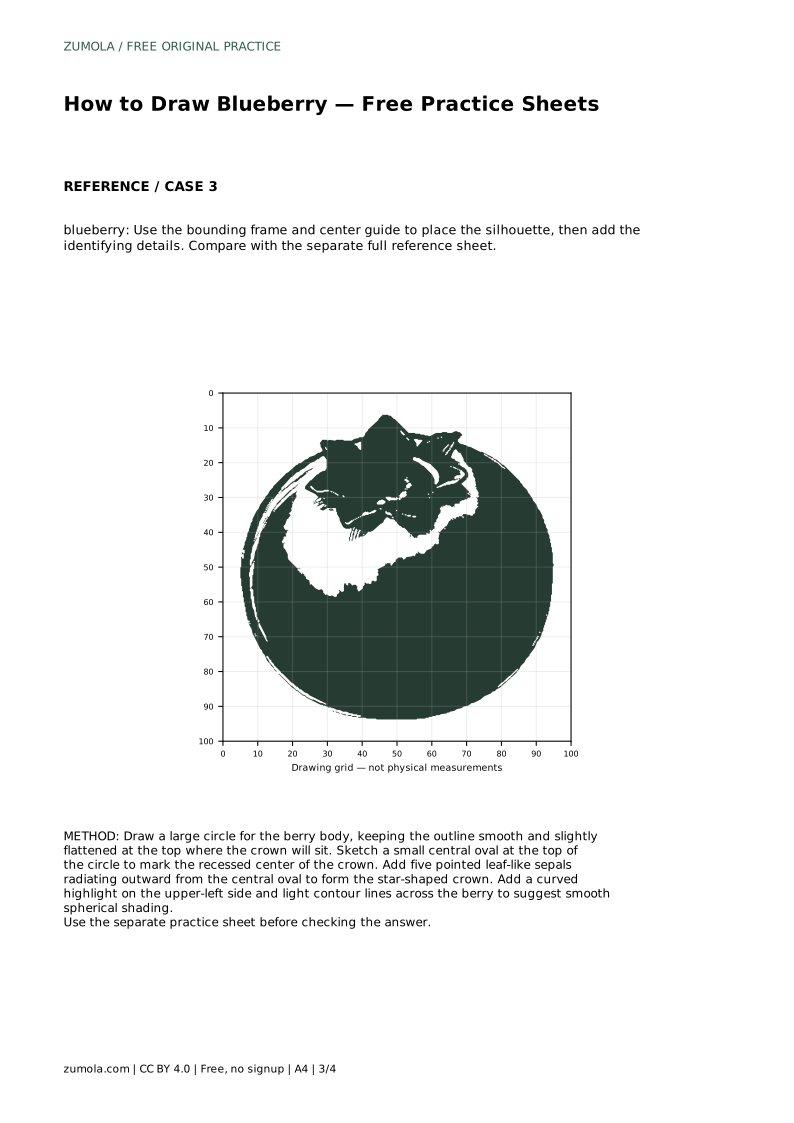
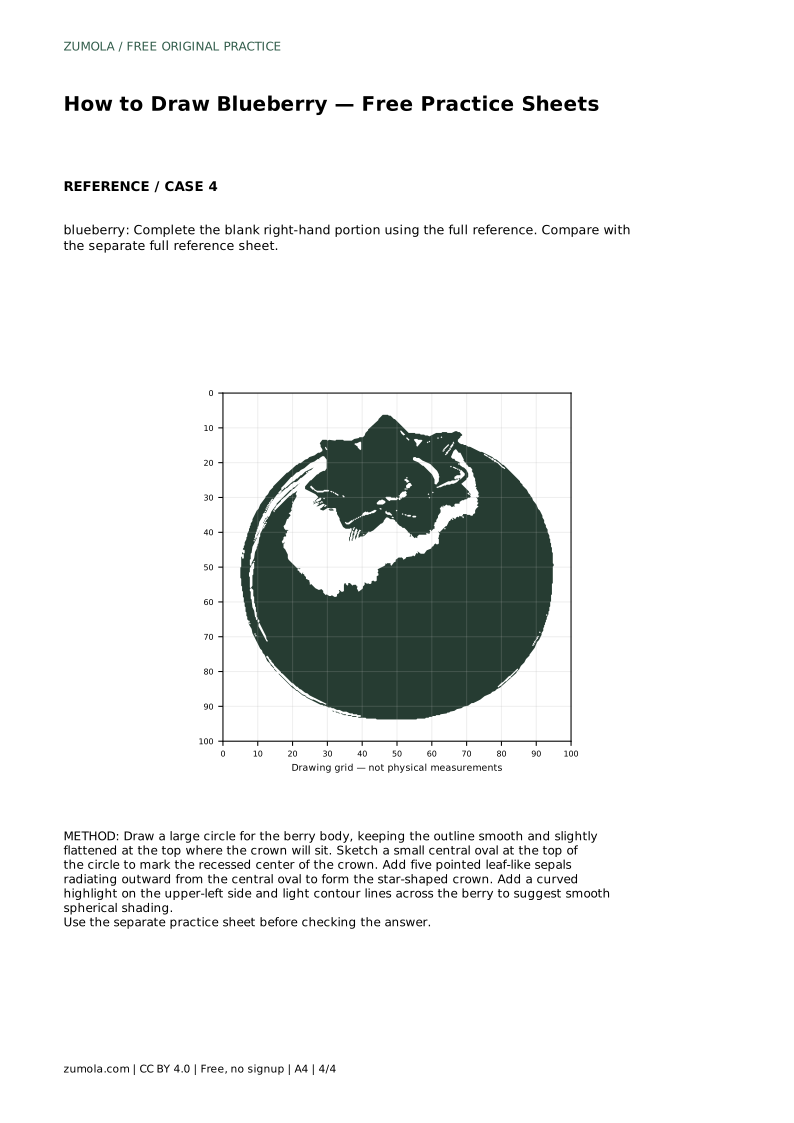
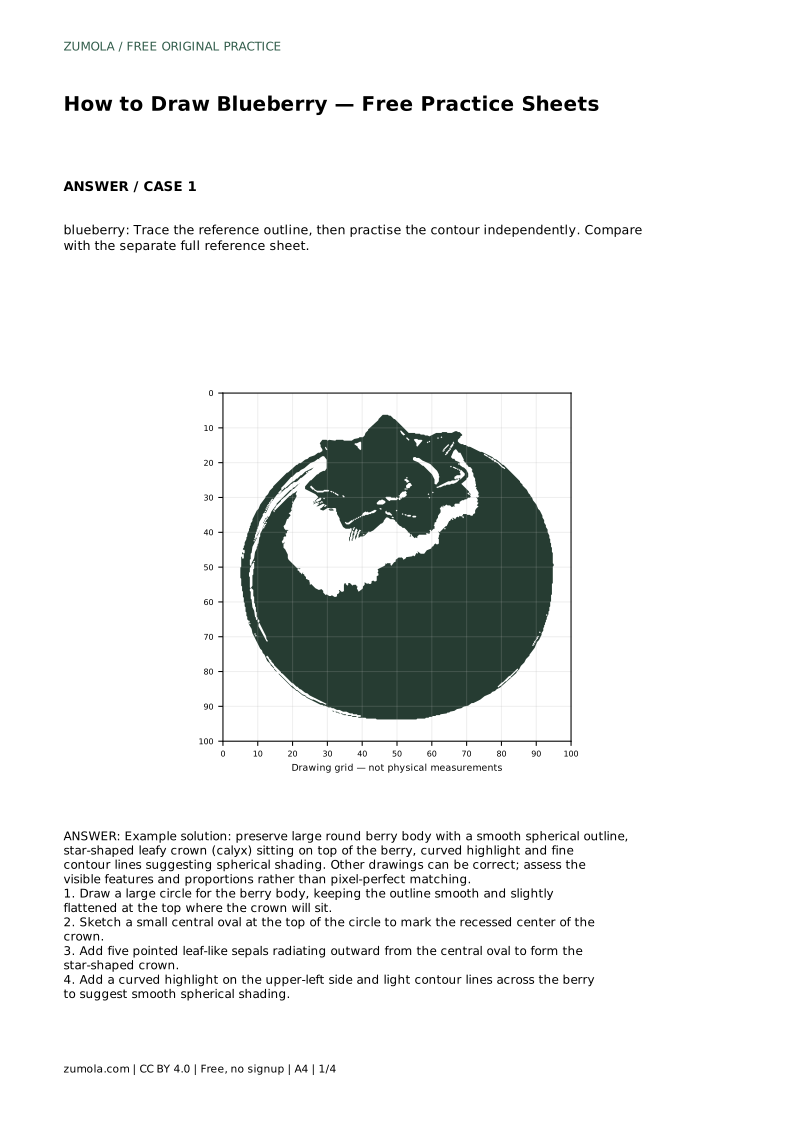
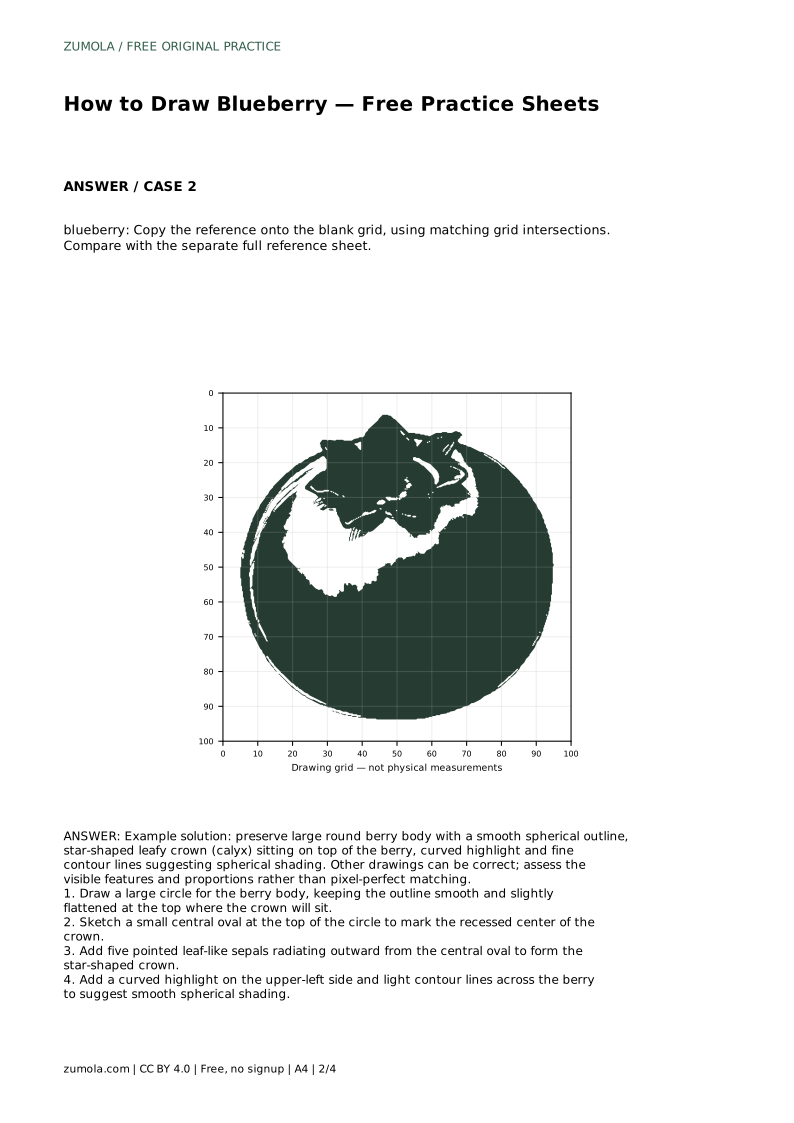
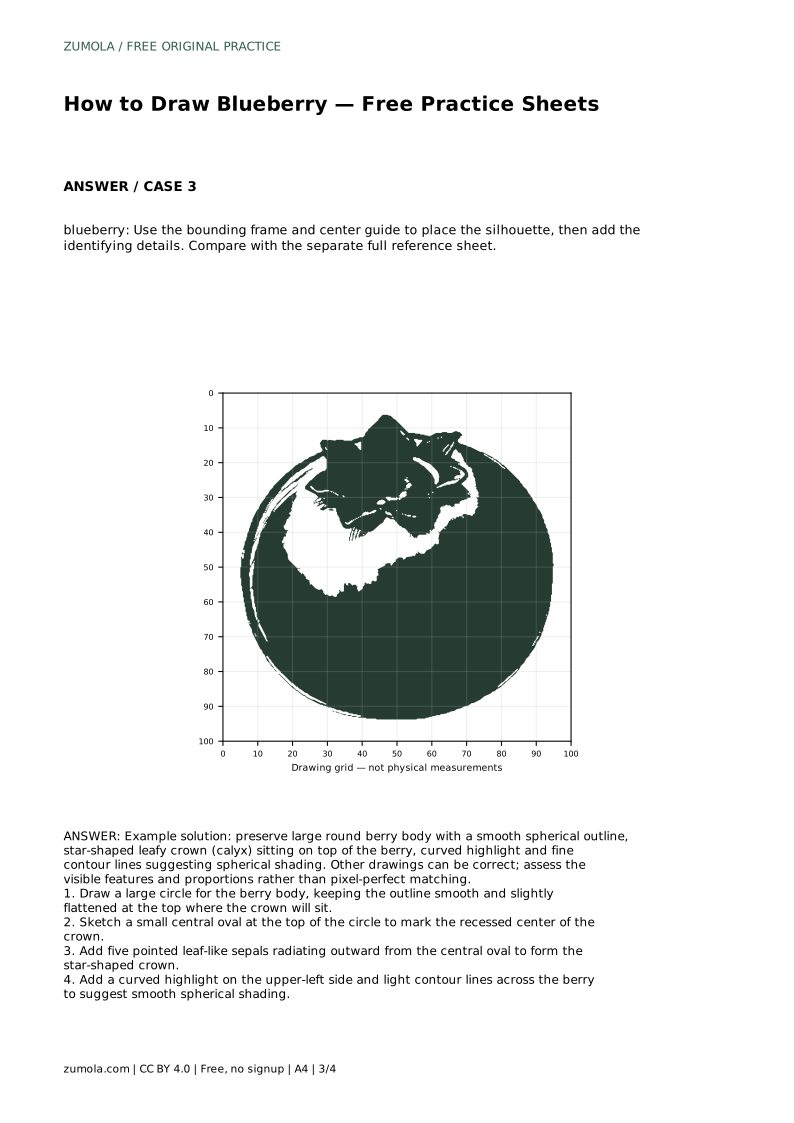
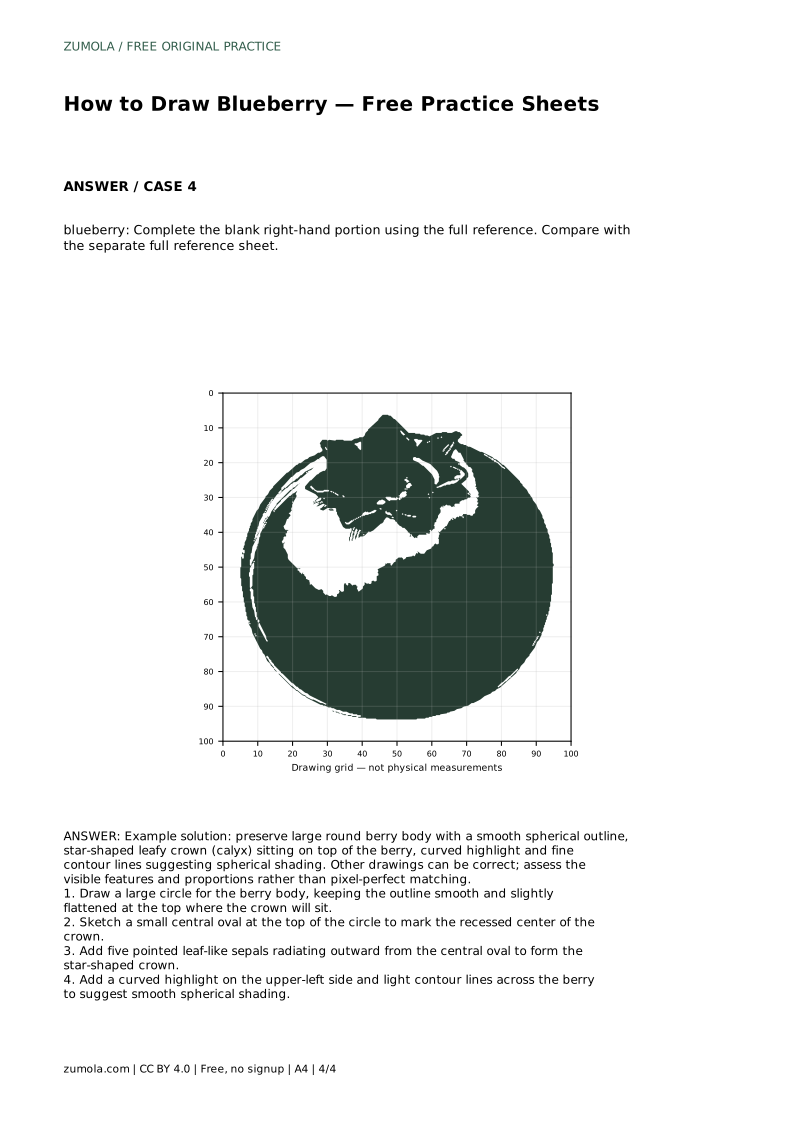
Reference diagrams
LETTER · Download PDF
A4 · Download PDF
Free original resources
Learn to draw a blueberry with a round berry body, star-shaped crown, highlight, and contour shading. Free printable practice sheets support tracing, grids, and guided frames.
Four original cases, with reference diagrams, practice sheets and worked answers. Everything is free; no signup required.
LETTER · Download PDF
A4 · Download PDF
LETTER · Download PDF
A4 · Download PDF
LETTER · Download PDF
A4 · Download PDF
Use A4 or US Letter to match your printer. Use the stated values and conditions to solve each exercise; diagrams are not physical measuring rulers.
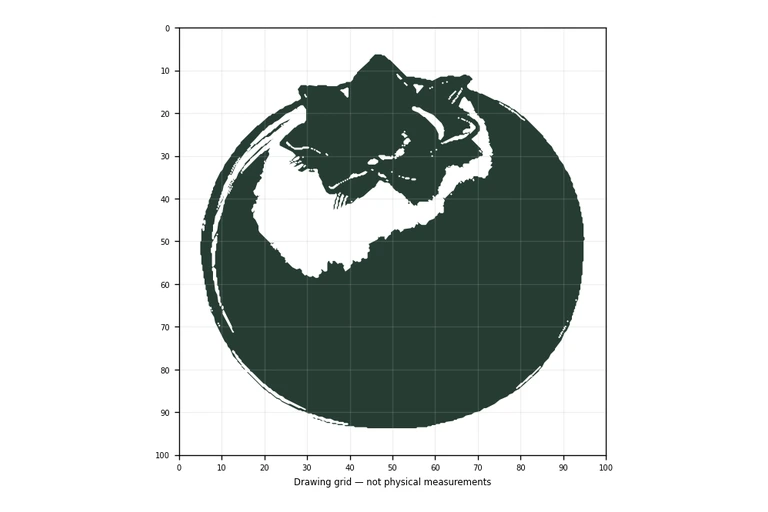
A blueberry is a small subject with a clear structure: a rounded berry body, a star-shaped crown at the top, and soft shading that makes the surface look smooth and slightly waxy. This page explains how to build those features in order, then use the free practice sheets to trace, copy, or complete a drawing. The goal is a recognizable berry with believable proportions, not a pixel-perfect copy.
Begin with the largest shape: a circle for the berry body. Keep the outline smooth and round, but flatten it slightly at the top where the crown will sit. A blueberry is not a perfect sphere in most drawings; the slight flattening gives the crown a natural place to rest and prevents the top from looking pinched.
Check the size before adding detail. The body should dominate the drawing, because the crown is small relative to the berry. If the circle is too narrow or too oval, the finished drawing will read as a different fruit. Lightly sketch the circle first, then adjust the curve before committing to a darker line.
The crown, or calyx, is the feature that makes a blueberry recognizable. Sketch a small central oval at the top of the circle to mark the recessed center. From that oval, add five pointed leaf-like sepals radiating outward. The sepals should sit on top of the berry body, not float above it.
Keep the crown small and centered. Uneven sepals are normal in a drawing, but they should radiate from one central point. If the crown drifts to one side, the berry will look tilted. Compare the crown size with the body: a crown that is too large overwhelms the round shape.
A blueberry looks smooth and slightly dusty, so shading should be gentle. Add a curved highlight on the upper-left side to suggest light falling across a rounded surface. Then add light contour lines across the berry to suggest spherical shading. These lines should follow the curve of the body rather than run straight across it.
Keep the shading soft. Heavy dark patches can make the berry look bruised or flat. The highlight and contour lines work together: the highlight shows where light hits, and the curved lines show how the surface turns away from the light. Leave the lower-right area slightly darker if you want more depth, but keep the transition gradual.
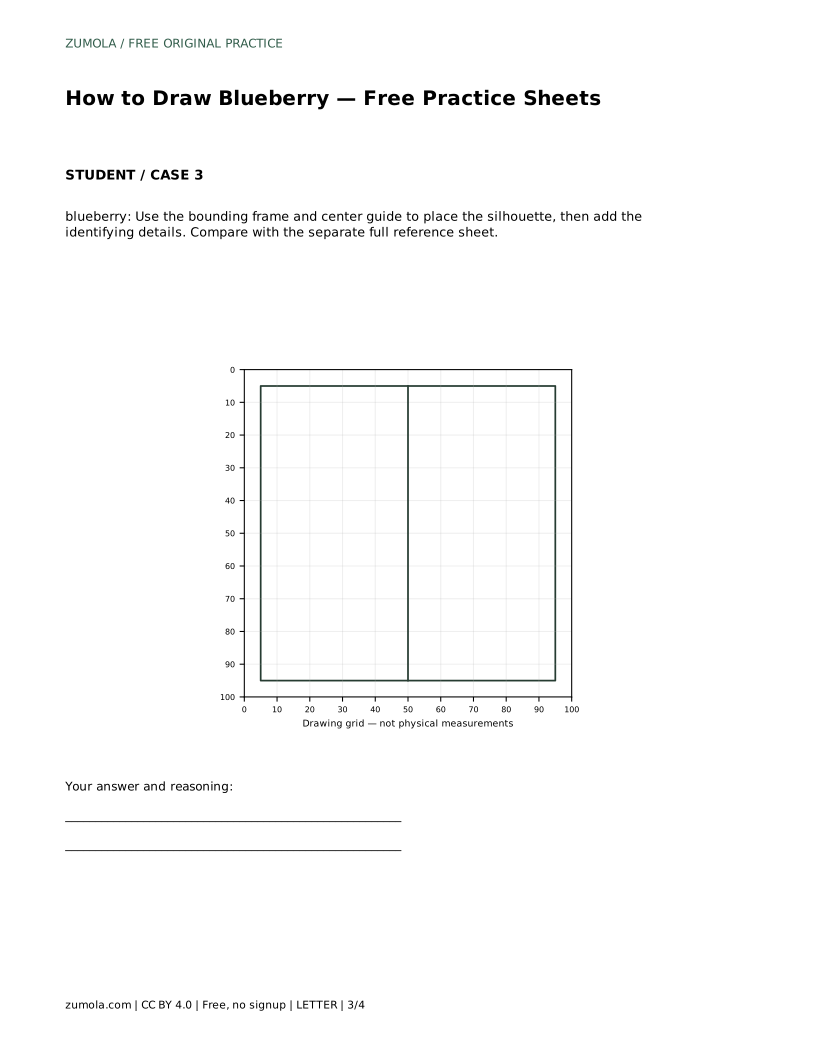
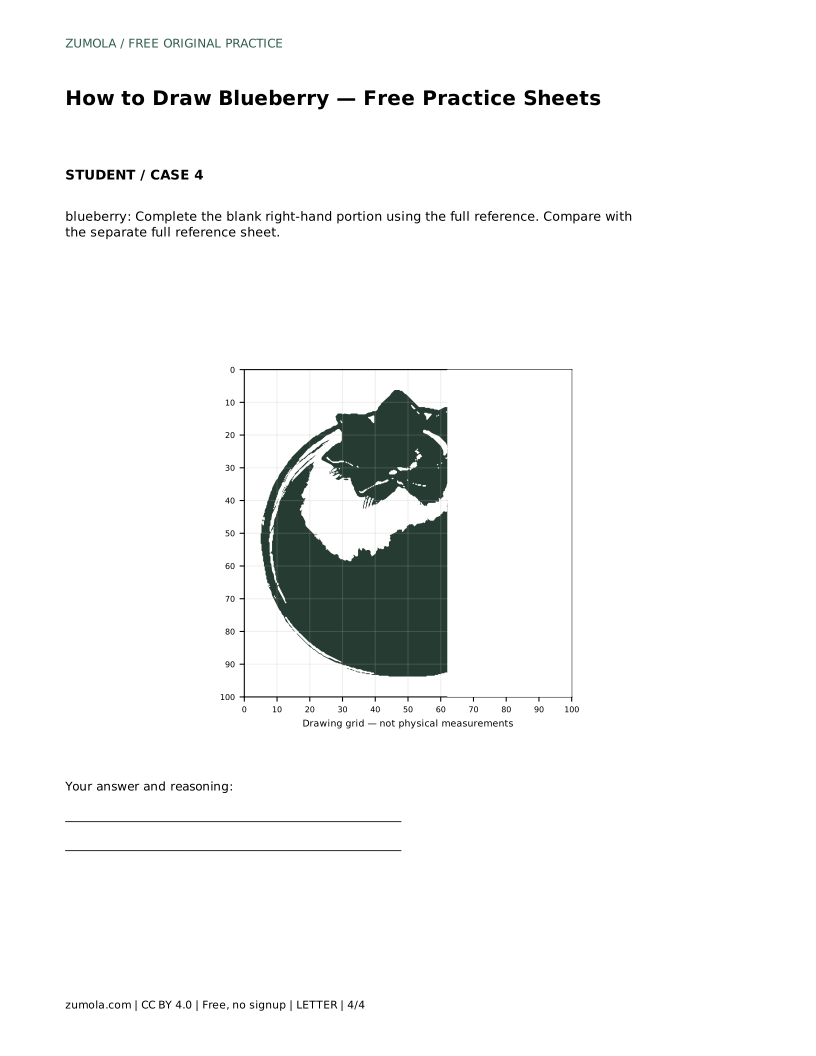
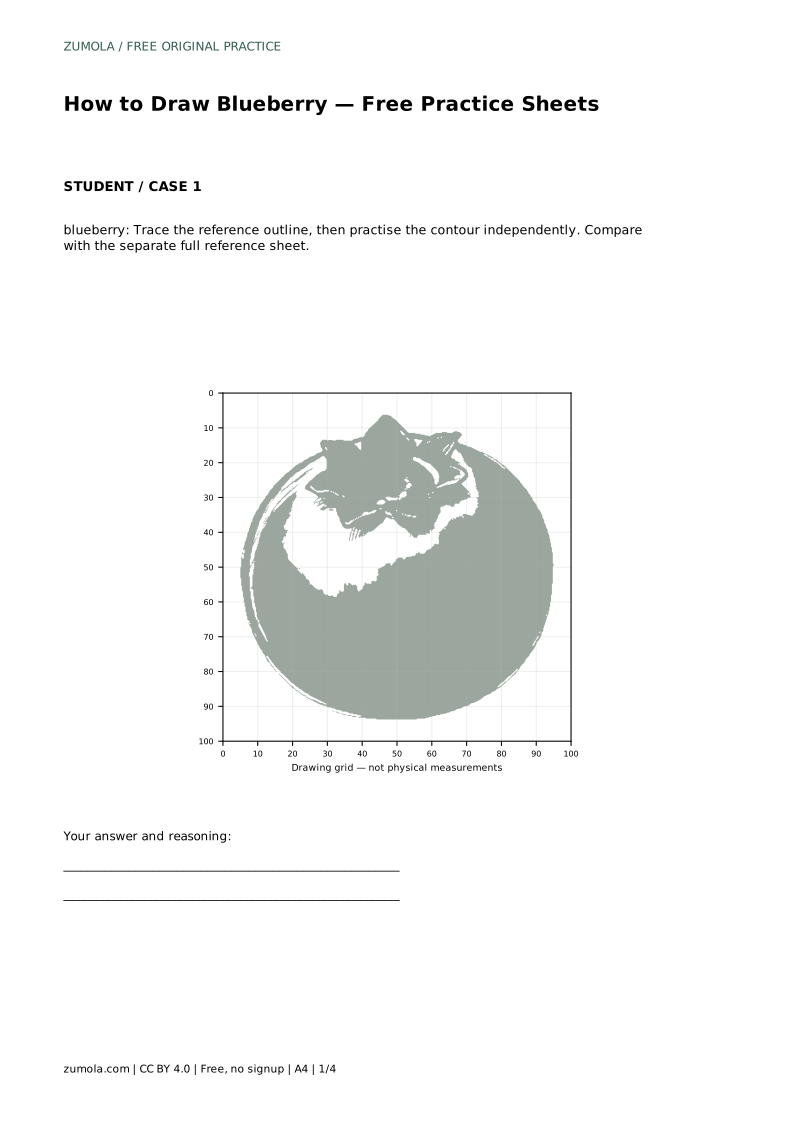
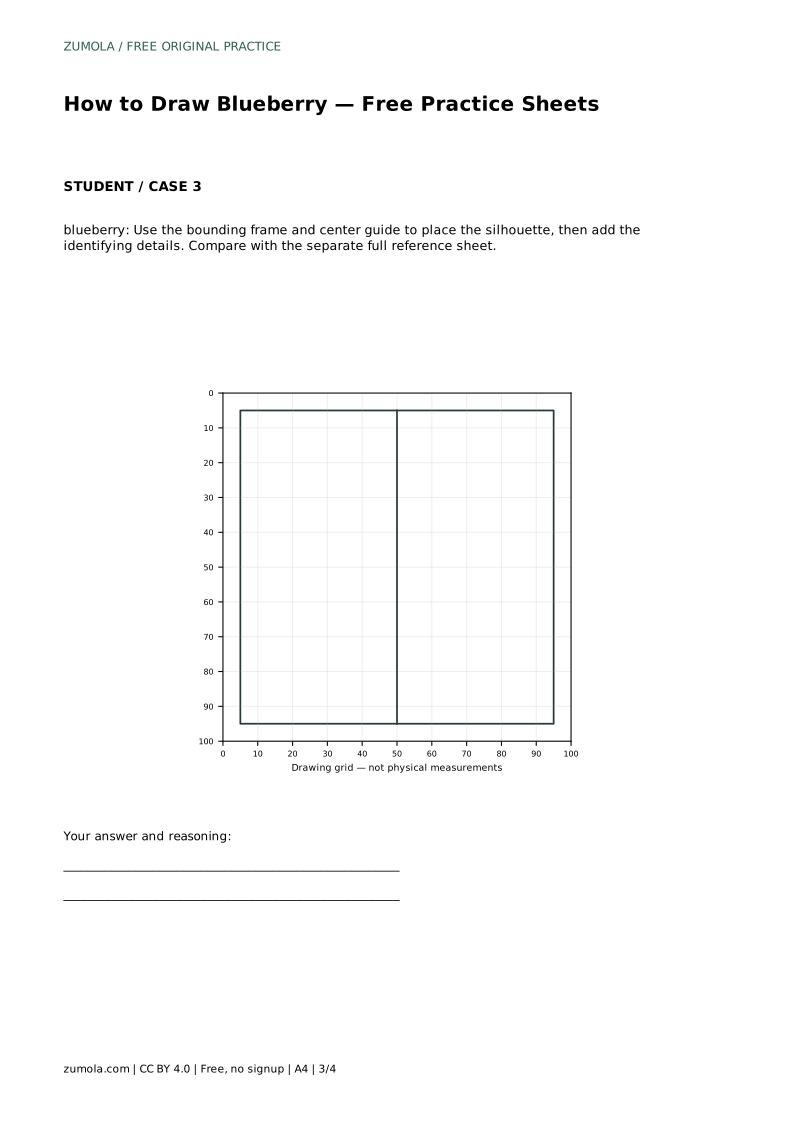
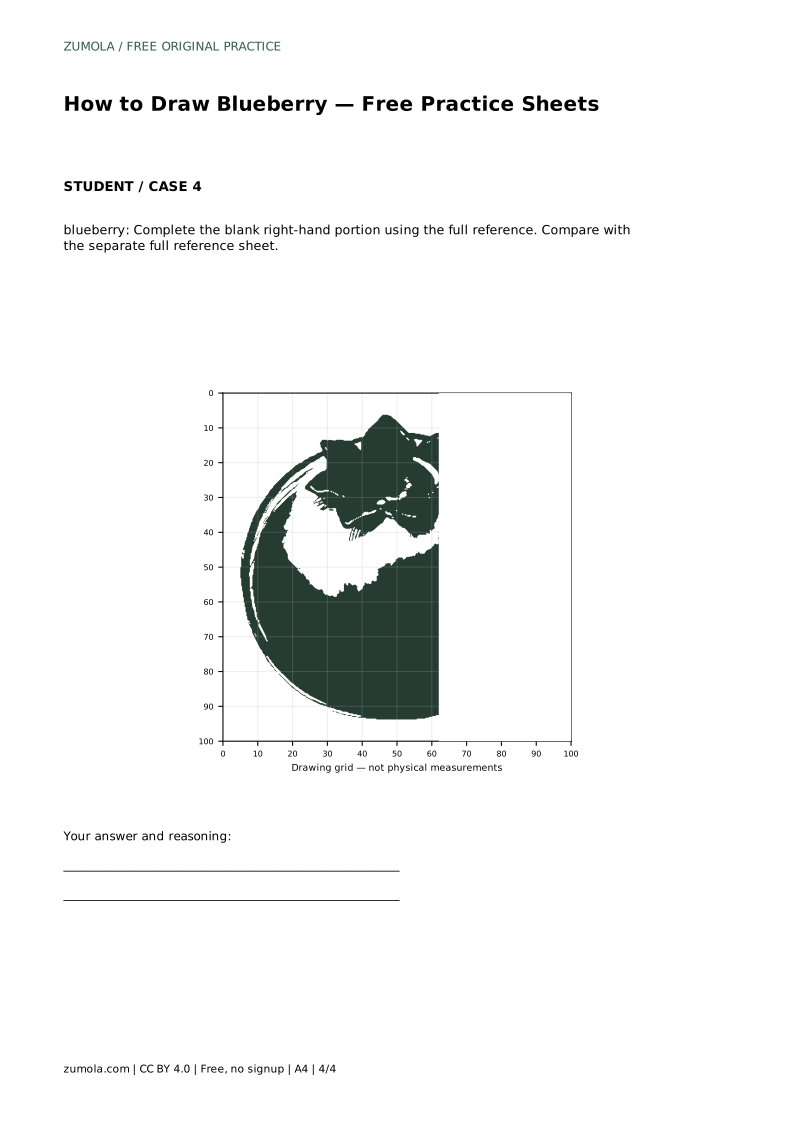
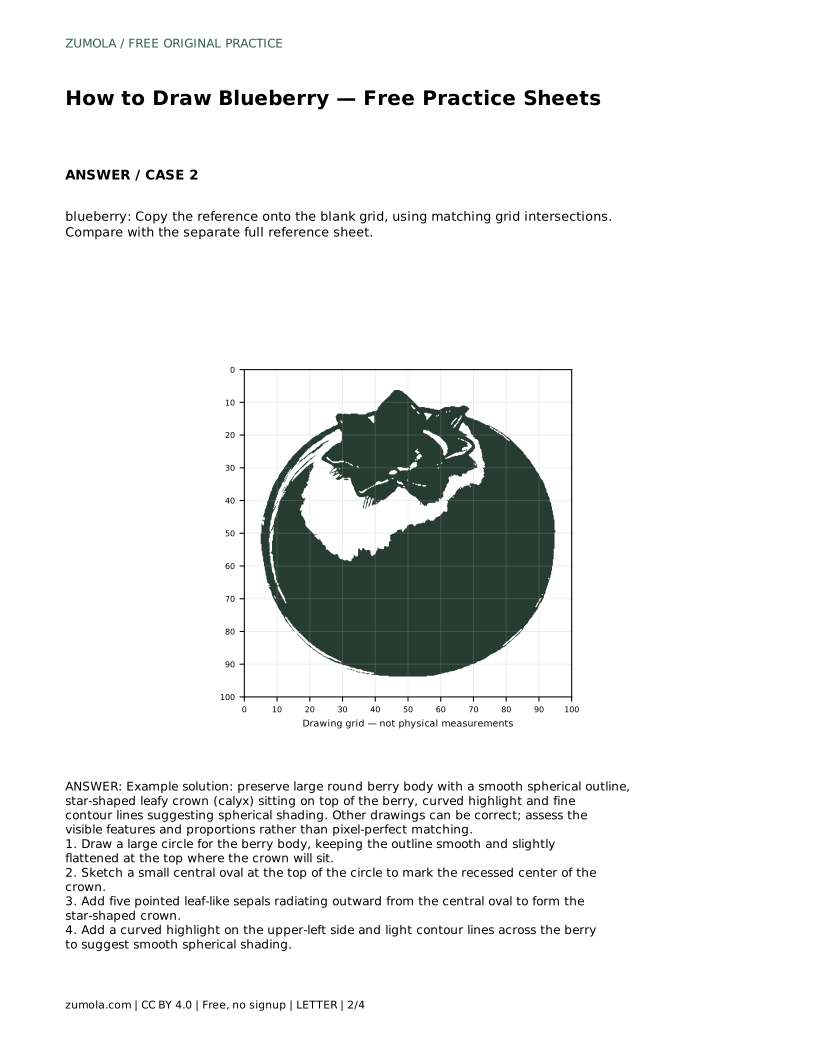
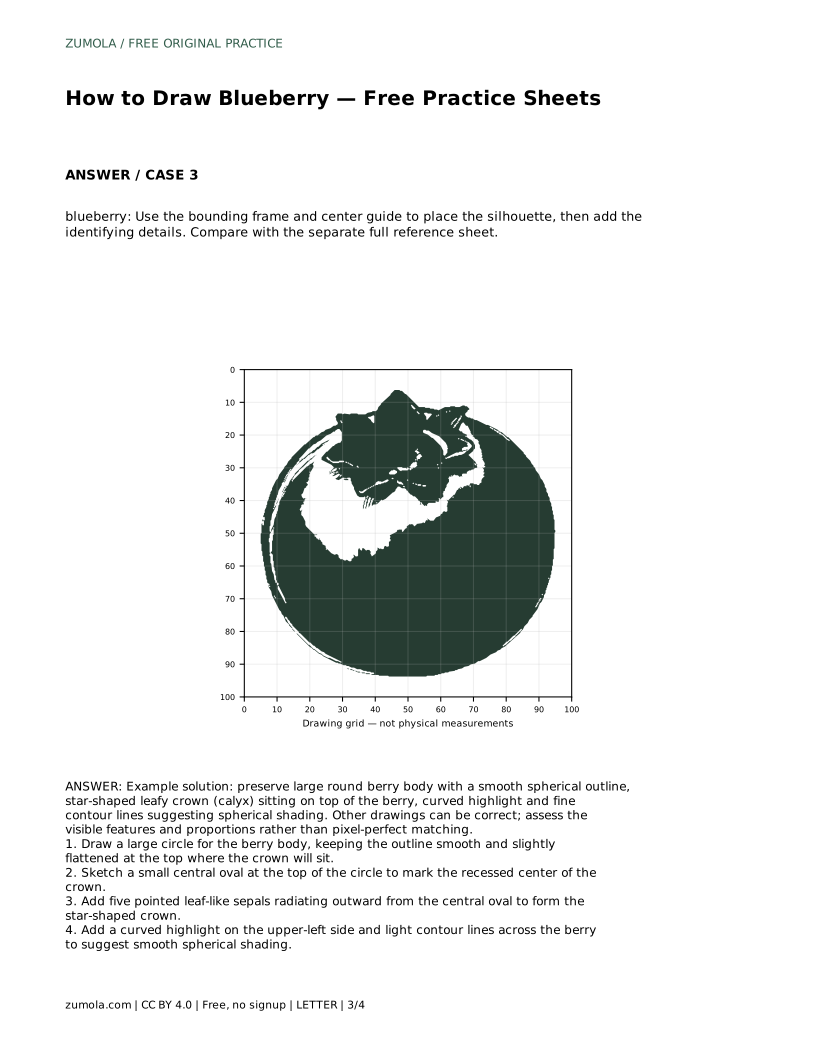
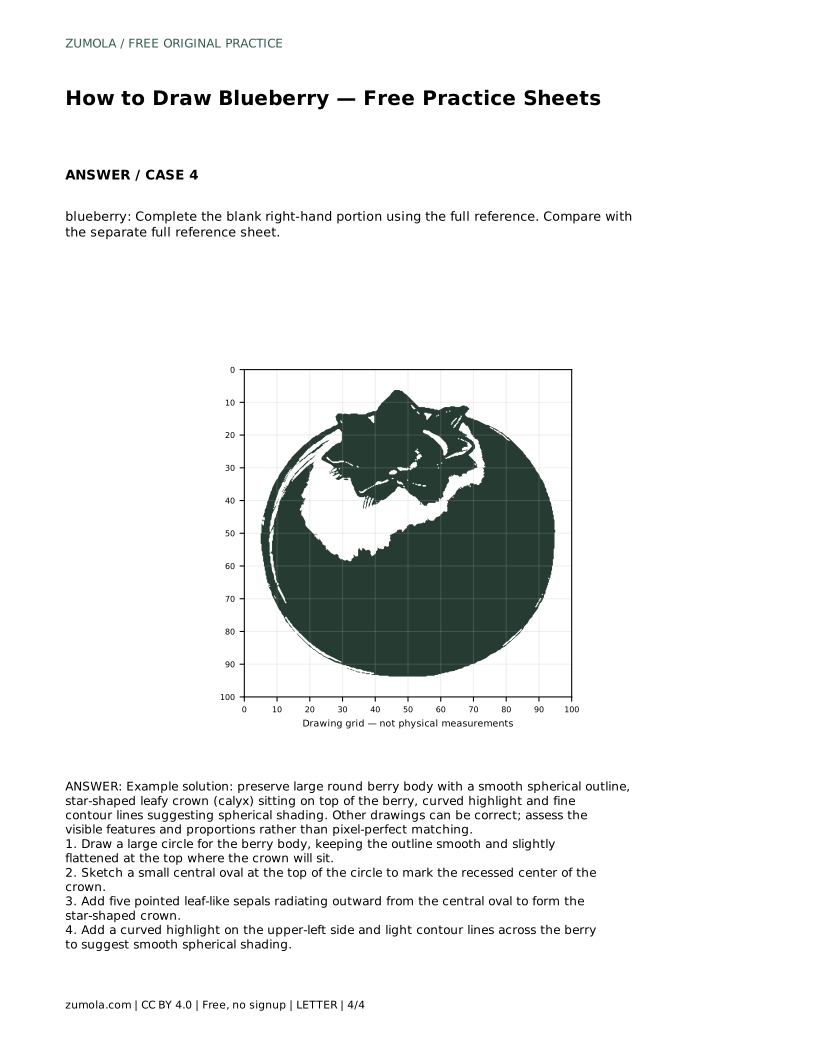
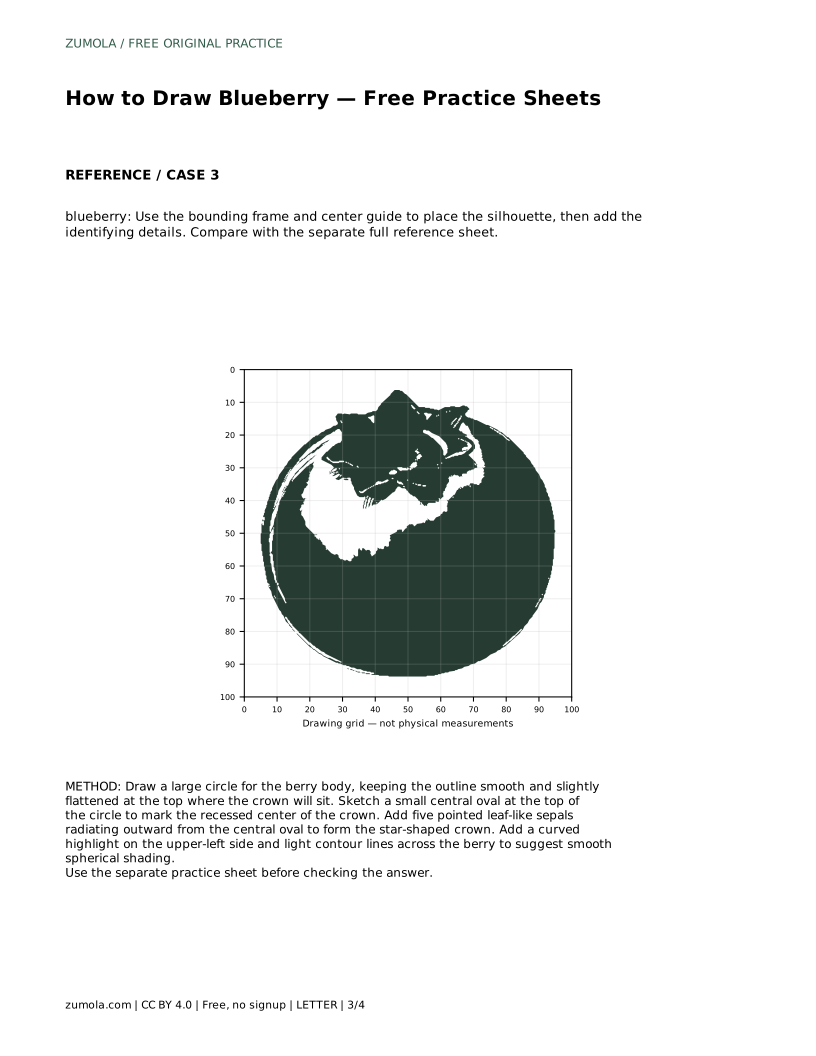
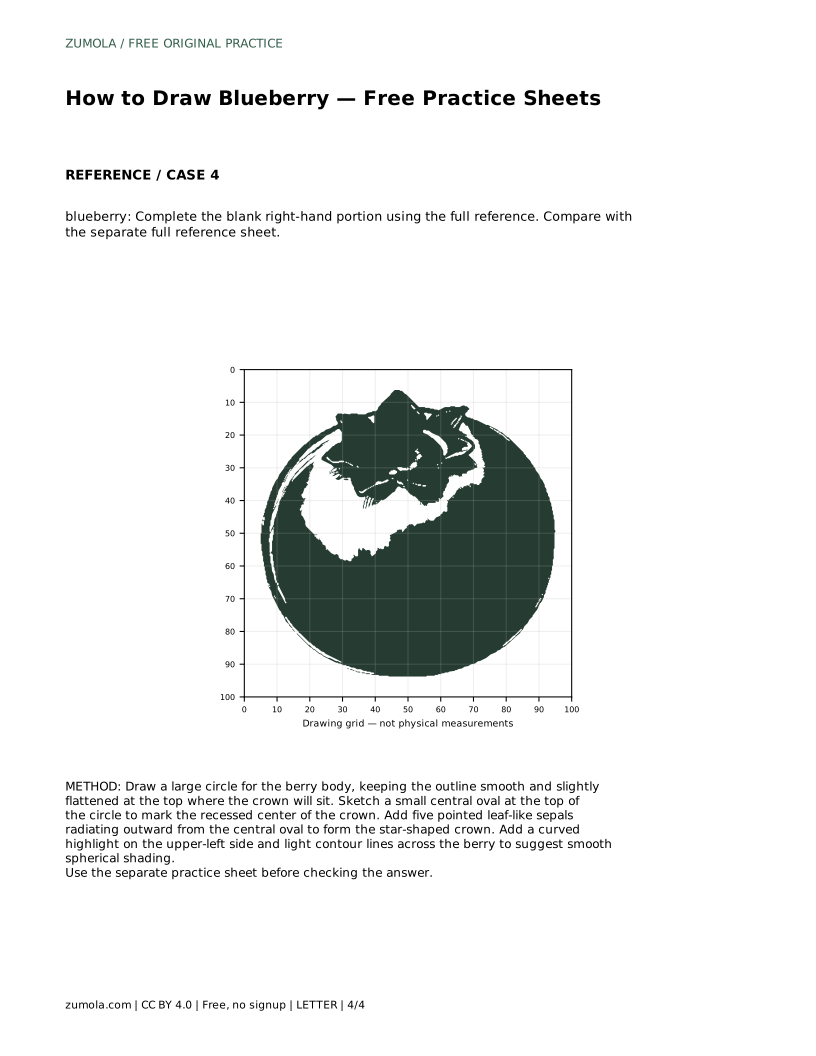
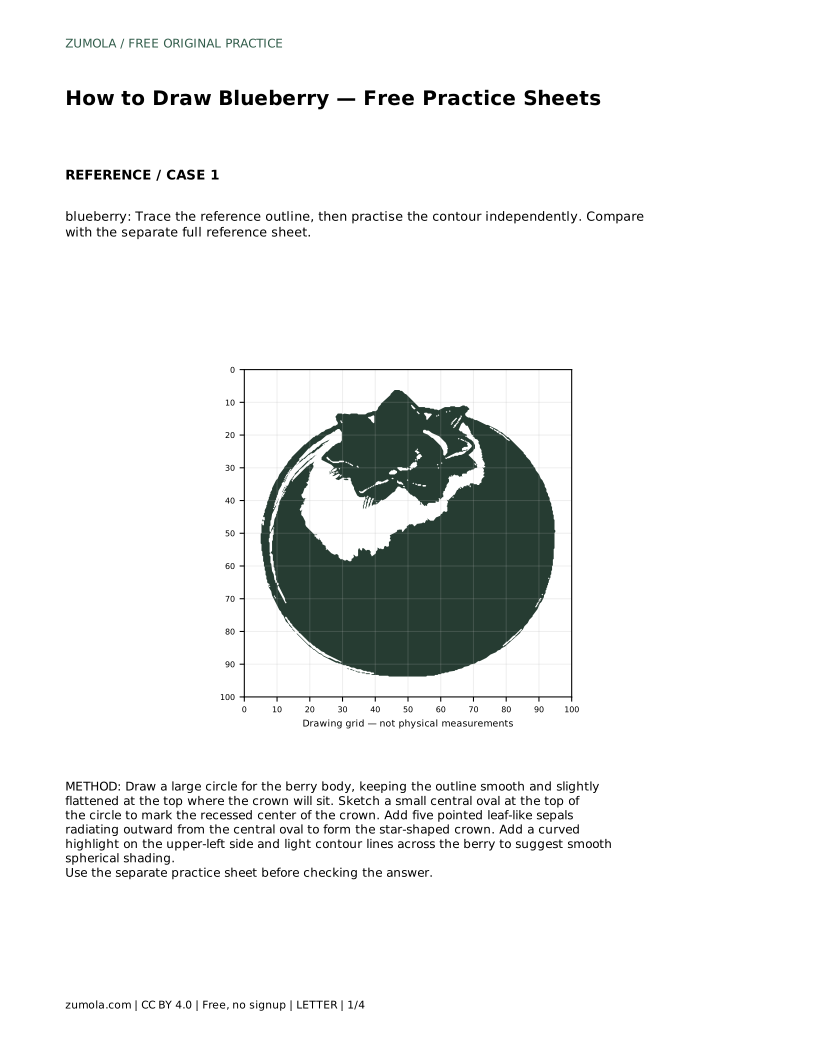
The practice sheets offer different ways to build the same skill. One sheet asks you to trace the reference outline, then practise the contour independently. Another uses a blank grid so you can copy the reference by matching grid intersections. A third uses a bounding frame and center guide to place the silhouette before adding details. A fourth asks you to complete a blank right-hand portion using the full reference.
Each sheet has a separate full reference sheet for comparison. After drawing, compare your berry with the reference and check the large round body, the centered star-shaped crown, the curved highlight, and the contour lines. Other drawings can be correct, so assess the visible features and proportions rather than expecting an exact match.
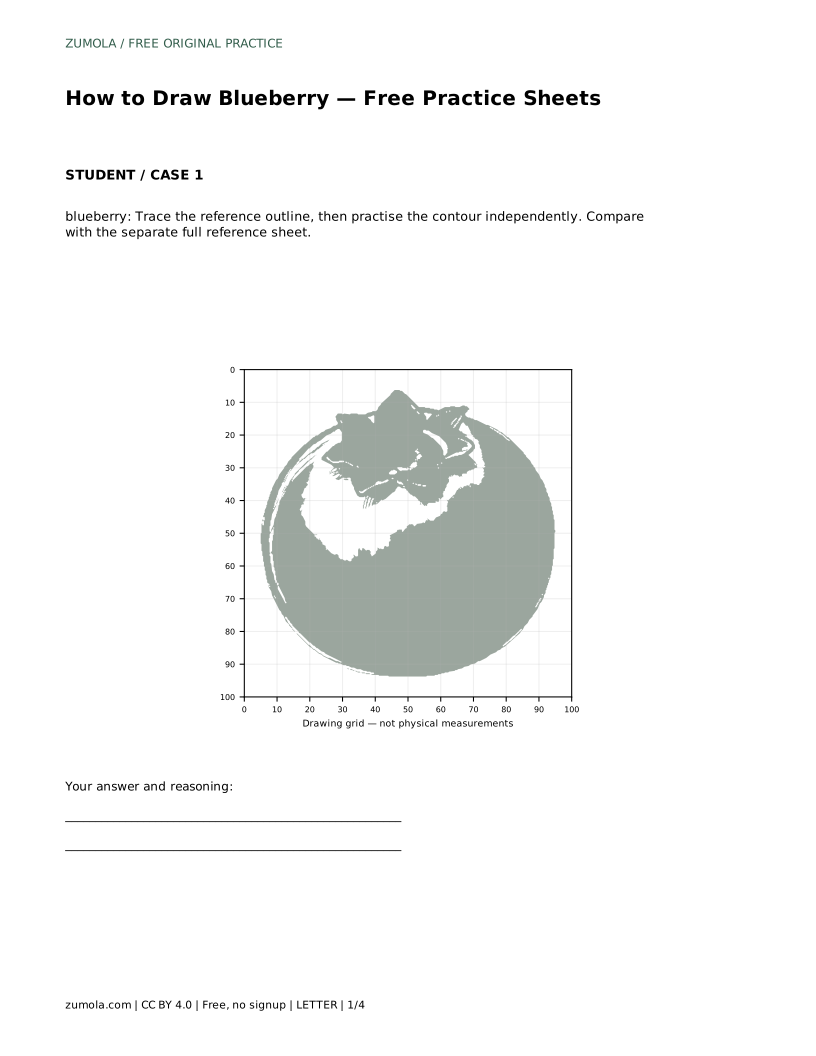
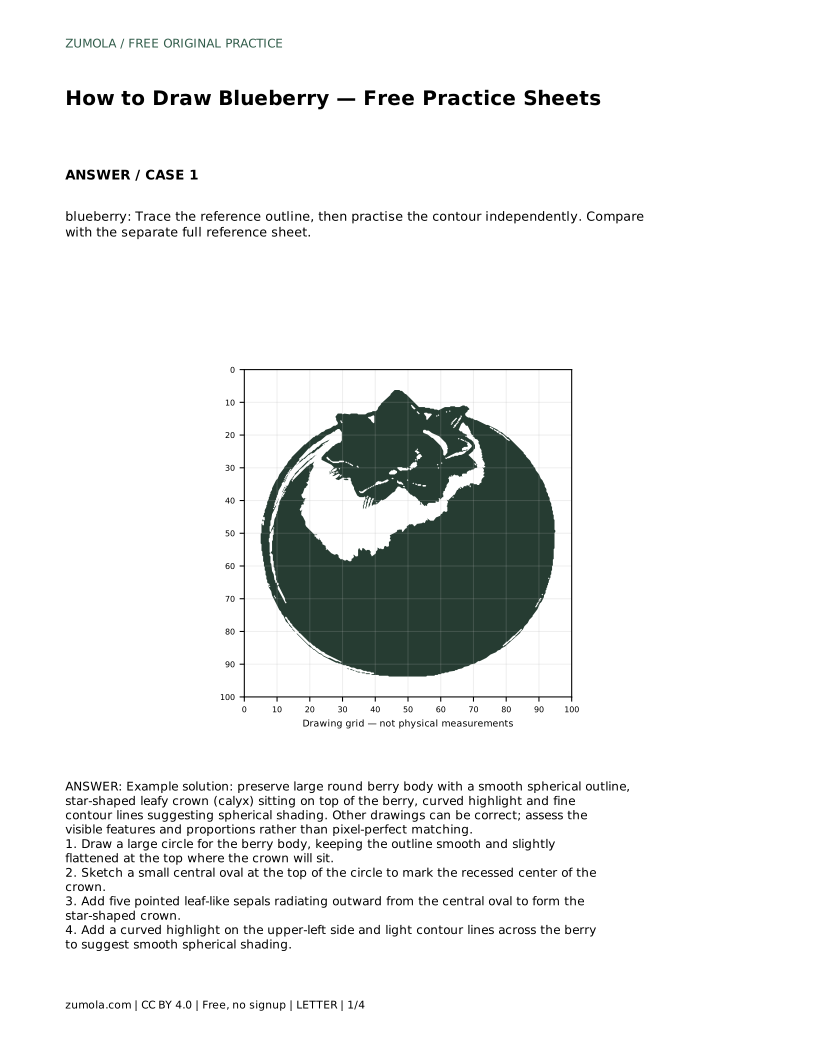
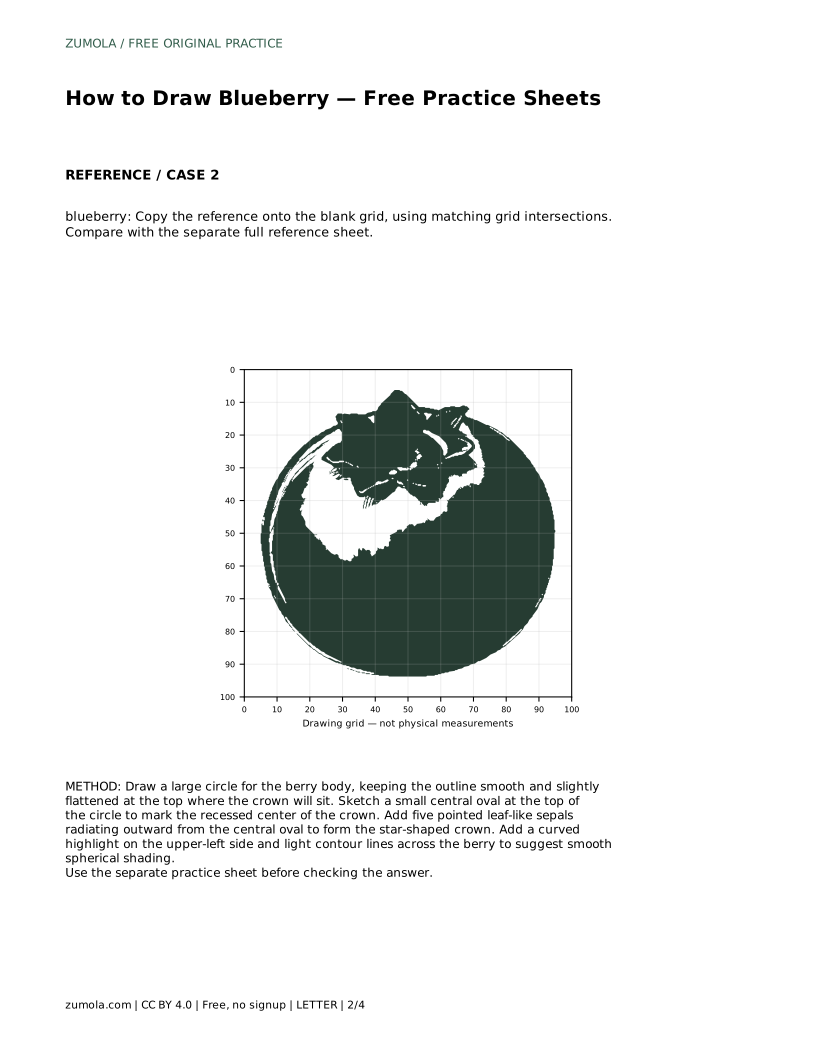
Prompt: Trace the reference outline, then practise the contour independently. Compare with the separate full reference sheet.
Example solution: preserve large round berry body with a smooth spherical outline, star-shaped leafy crown (calyx) sitting on top of the berry, curved highlight and fine contour lines suggesting spherical shading. Other drawings can be correct; assess the visible features and proportions rather than pixel-perfect matching.
blueberry: Trace the reference outline, then practise the contour independently. Compare with the separate full reference sheet.
Example solution: preserve large round berry body with a smooth spherical outline, star-shaped leafy crown (calyx) sitting on top of the berry, curved highlight and fine contour lines suggesting spherical shading. Other drawings can be correct; assess the visible features and proportions rather than pixel-perfect matching. Draw a large circle for the berry body, keeping the outline smooth and slightly flattened at the top where the crown will sit. Sketch a small central oval at the top of the circle to mark the recessed center of the crown. Add five pointed leaf-like sepals radiating outward from the central oval to form the star-shaped crown. Add a curved highlight on the upper-left side and light contour lines across the berry to suggest smooth spherical shading.
Five pointed sepals are a clear, recognizable choice for a blueberry drawing. Keep them radiating from one central oval so the crown reads as a star shape.
No. A smooth round outline with a slight flattening at the top works better because it gives the crown a natural place to sit.
Check the main features: a large round body, a centered star-shaped crown, a curved highlight, and soft contour lines. Proportions and visible features matter more than an exact match.
All drawing practice · Free coordinate paper
Original resources · CC BY 4.0 · Free for personal and classroom use with attribution.