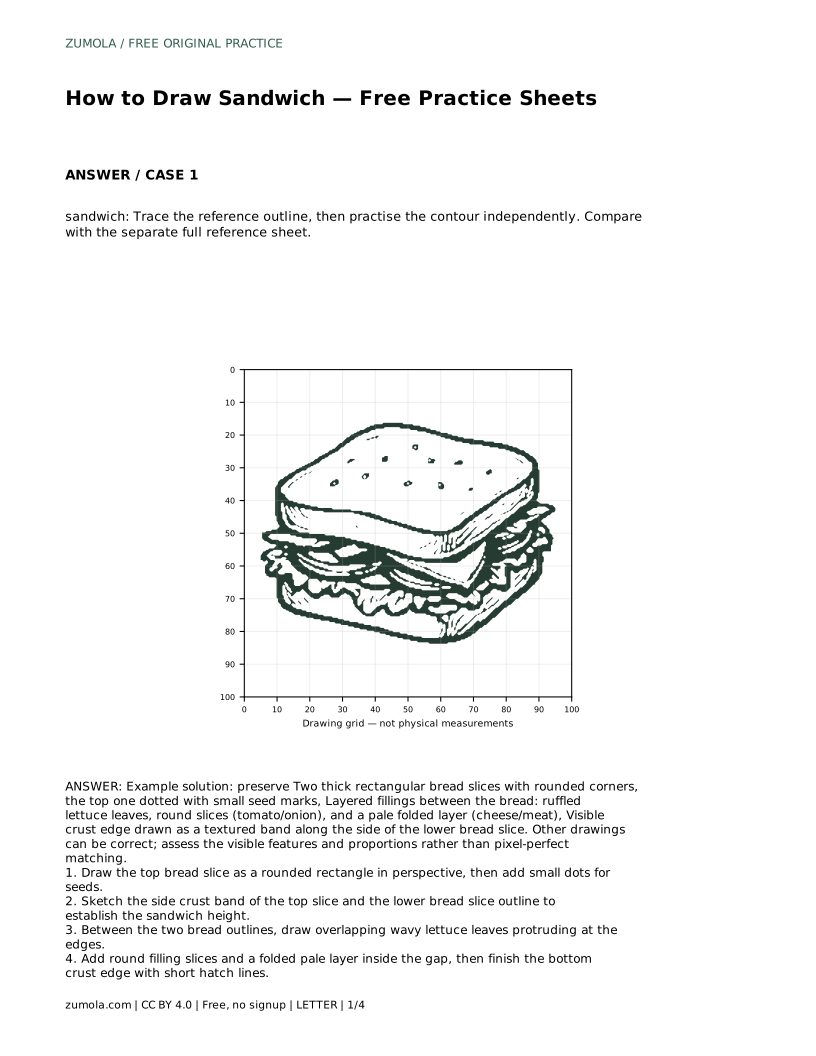
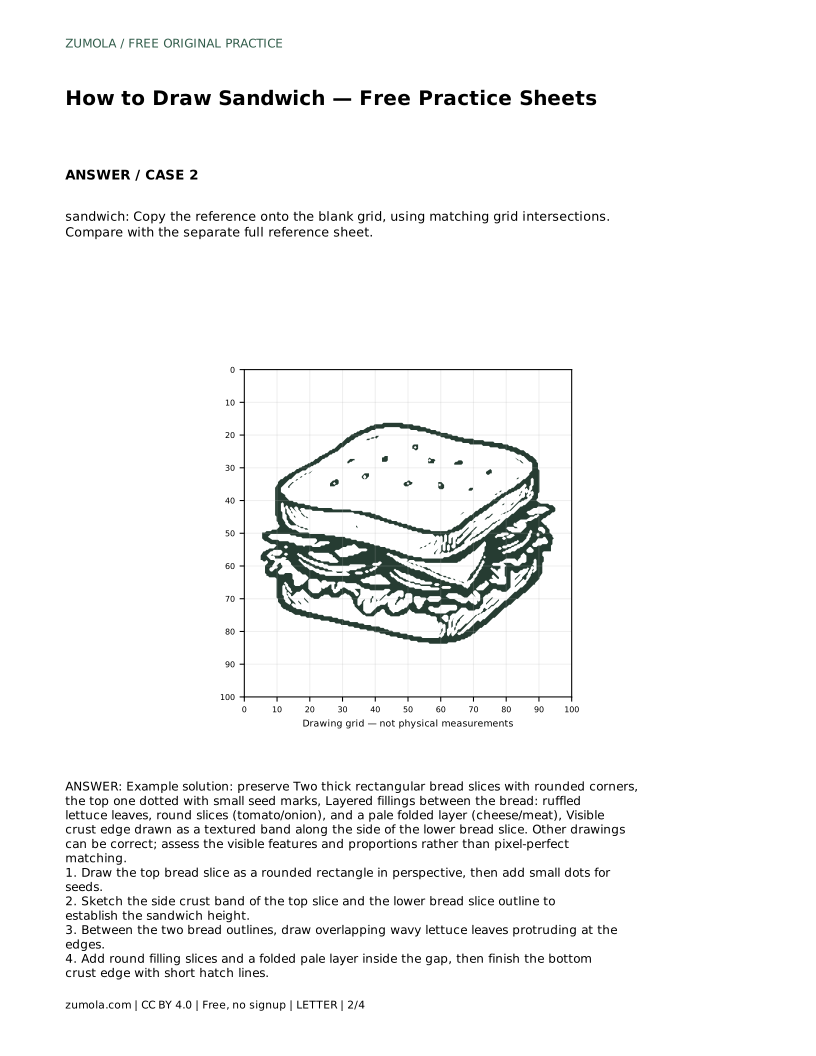
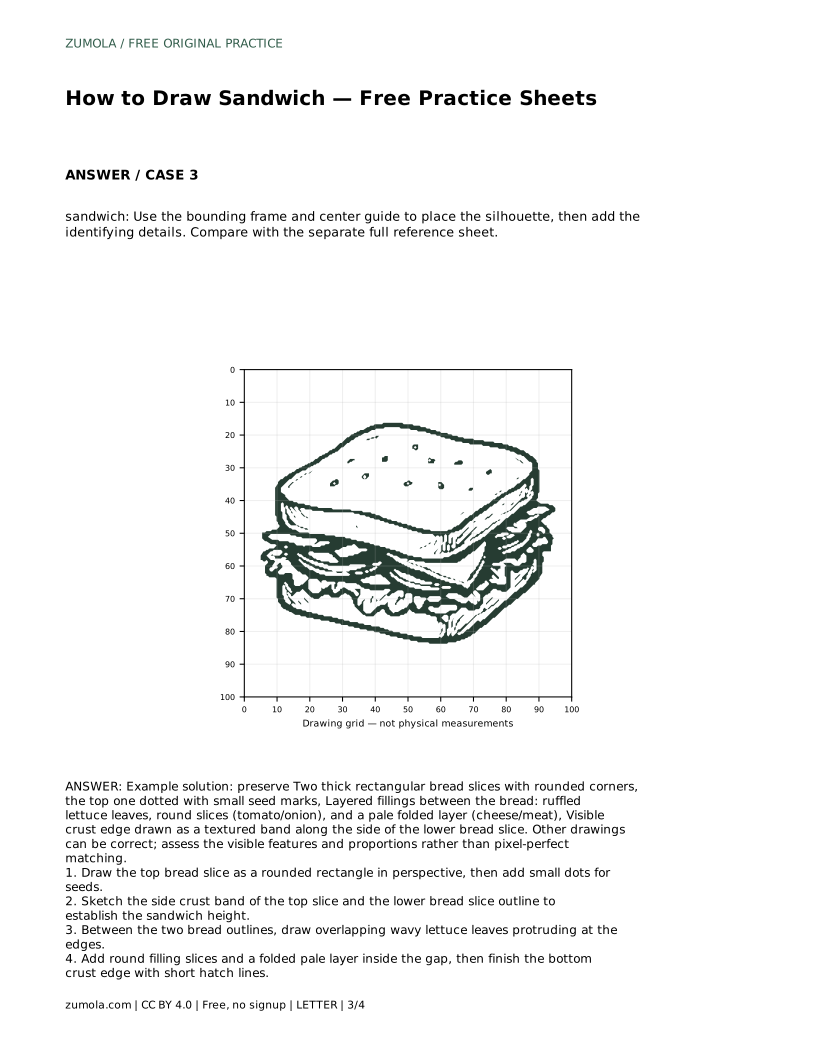
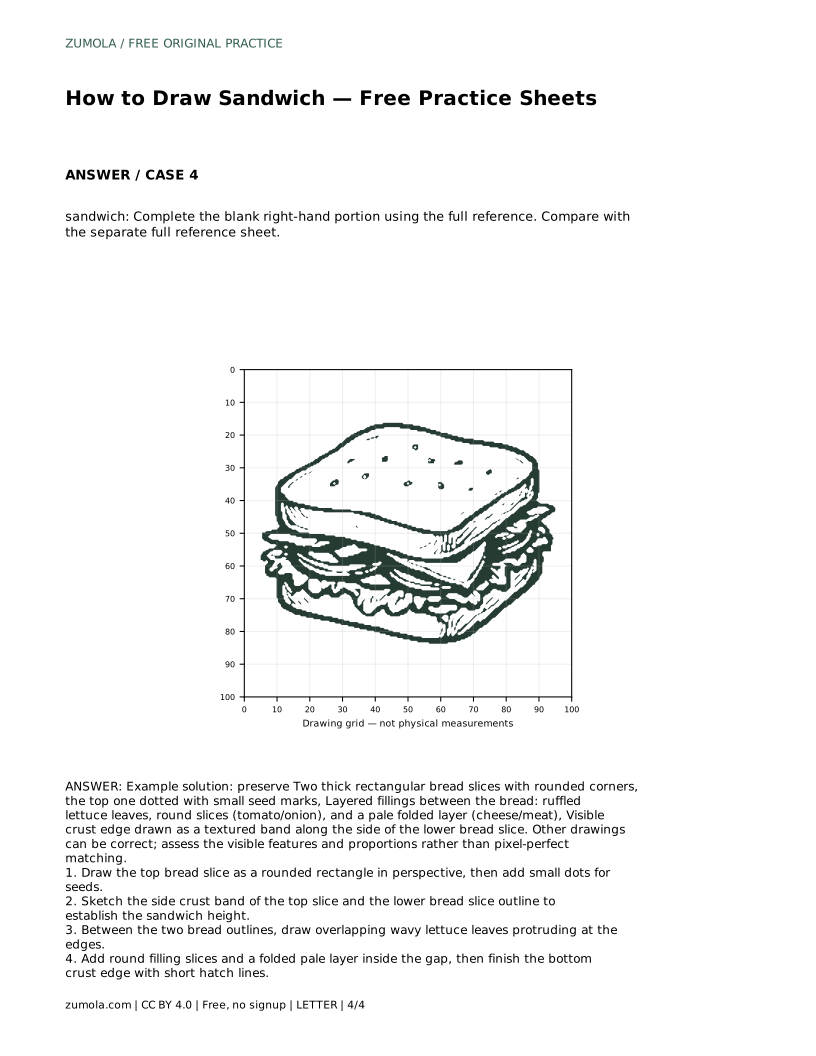
Reference diagrams
LETTER · Download PDF
A4 · Download PDF
Free original resources
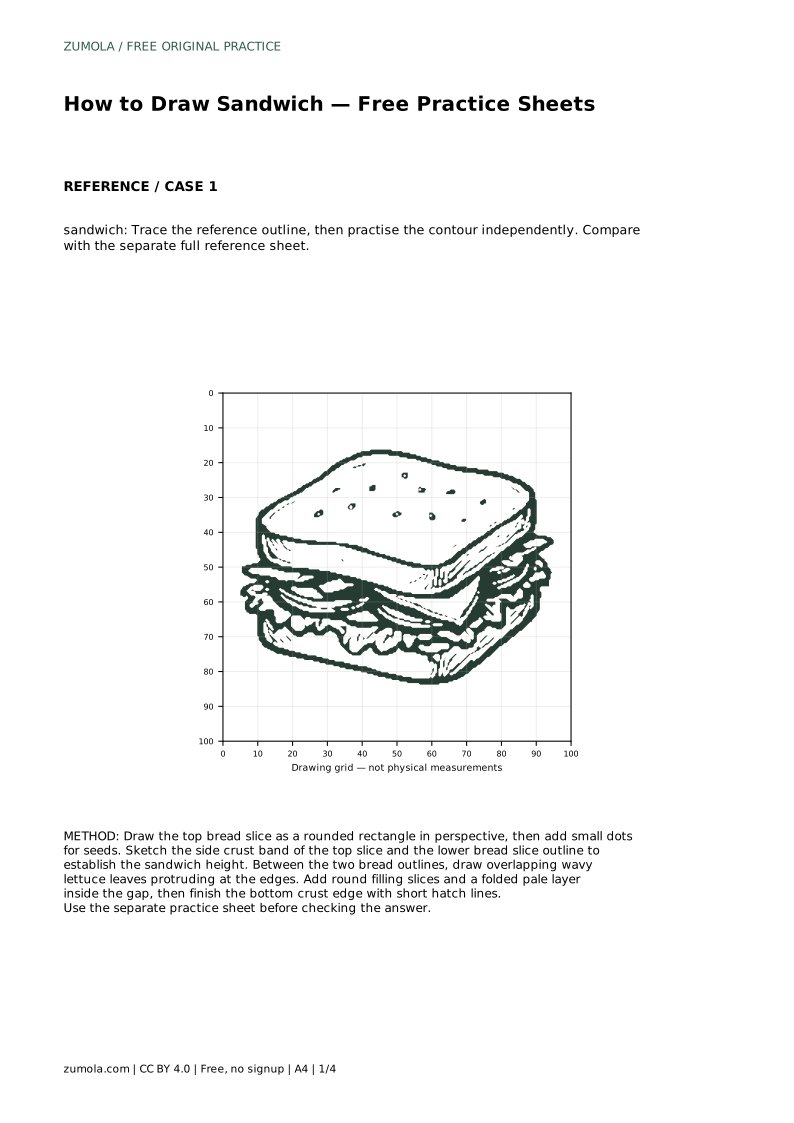
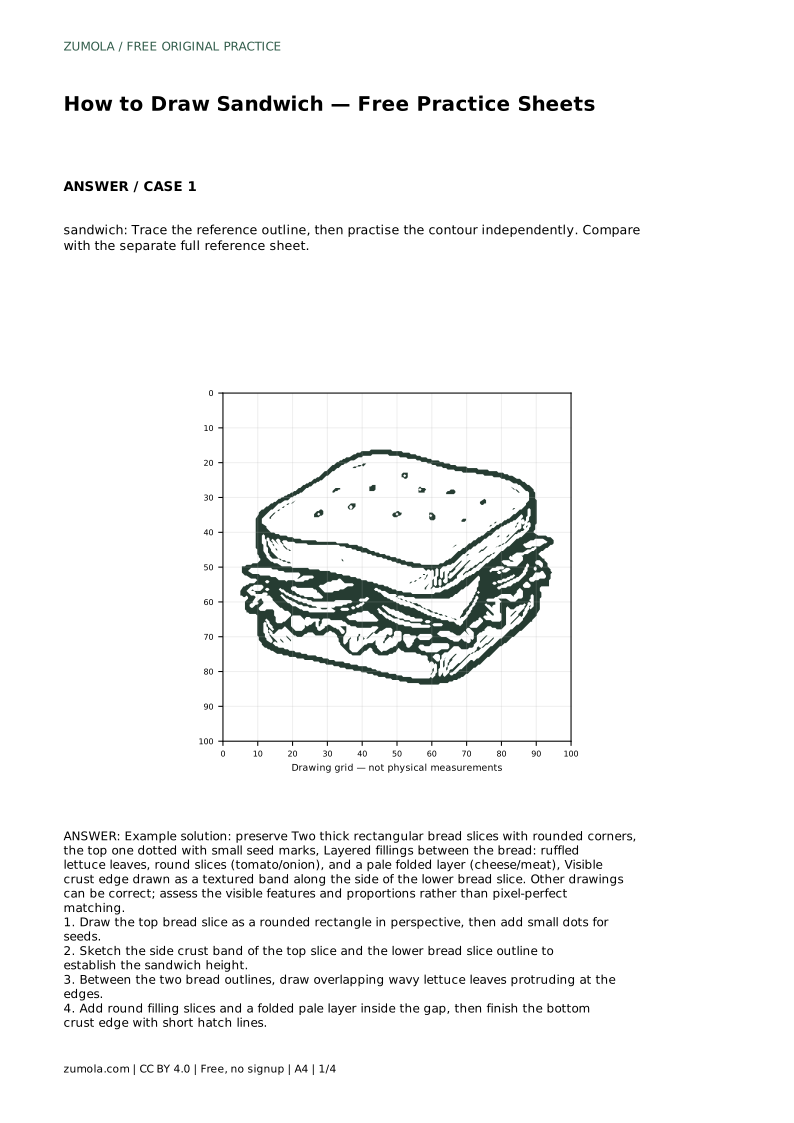
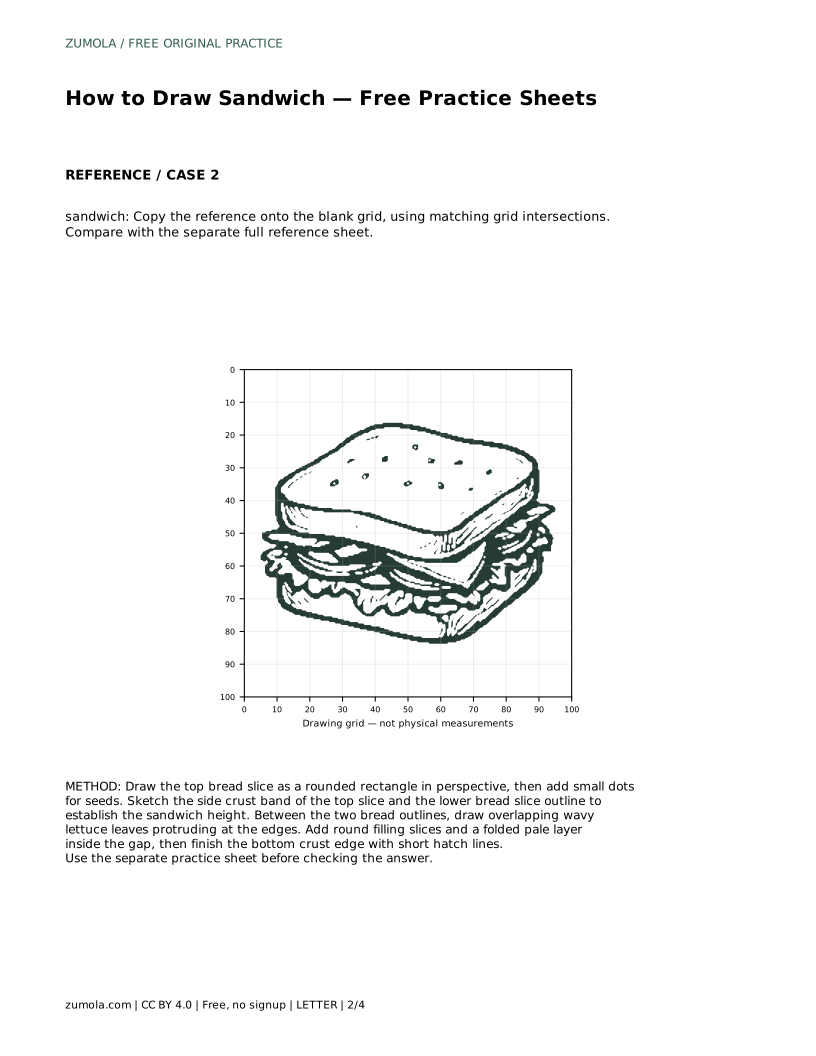
Learn an easy sandwich drawing with layered bread, lettuce, round fillings and a crust band. Trace the outline, then draw the contour independently and compare.
Four original cases, with reference diagrams, practice sheets and worked answers. Everything is free; no signup required.
LETTER · Download PDF
A4 · Download PDF
LETTER · Download PDF
A4 · Download PDF
LETTER · Download PDF
A4 · Download PDF
Use A4 or US Letter to match your printer. Use the stated values and conditions to solve each exercise; diagrams are not physical measuring rulers.
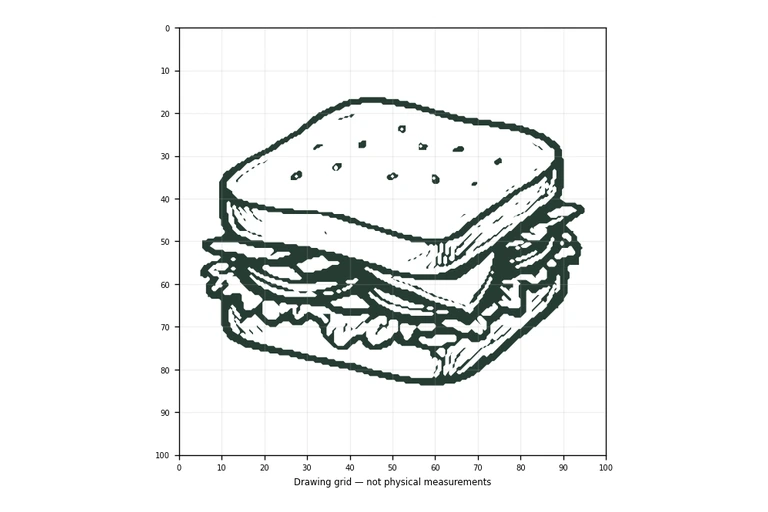
Drawing a sandwich is mostly a lesson in stacking shapes in the right order. Two thick bread slices set the height, the fillings sit between them, and small details such as seeds and crust texture make the subject readable. This page explains a simple contour method you can practise on the printable sheets: trace the reference outline first, then repeat the drawing without tracing. Because drawings can differ and still be correct, judge the visible features and proportions rather than an exact match.
Start with the top bread slice. Draw it as a rounded rectangle seen slightly from the side, so the front edge is a little wider than the back edge. Keep the corners soft rather than sharp. Add small dots across the top surface for seeds; space them unevenly so the surface does not look like a pattern.
Next, establish the sandwich height. Sketch a short crust band along the side of the top slice, then draw the lower bread slice outline below it. Leave a clear gap between the two bread outlines; that gap is where the fillings will sit. If the gap is too narrow, the layers will crowd together and the sandwich will look flat.
Work downward through the fillings. Draw overlapping wavy lettuce leaves first, letting some protrude past the bread edges. Then add round slices for tomato or onion and a pale folded layer for cheese or meat. Finish with the bottom crust edge, using short hatch lines to suggest texture.
The order matters: bread, gap, fillings, crust. Drawing fillings before the bread outlines makes it hard to judge how much space they should occupy.
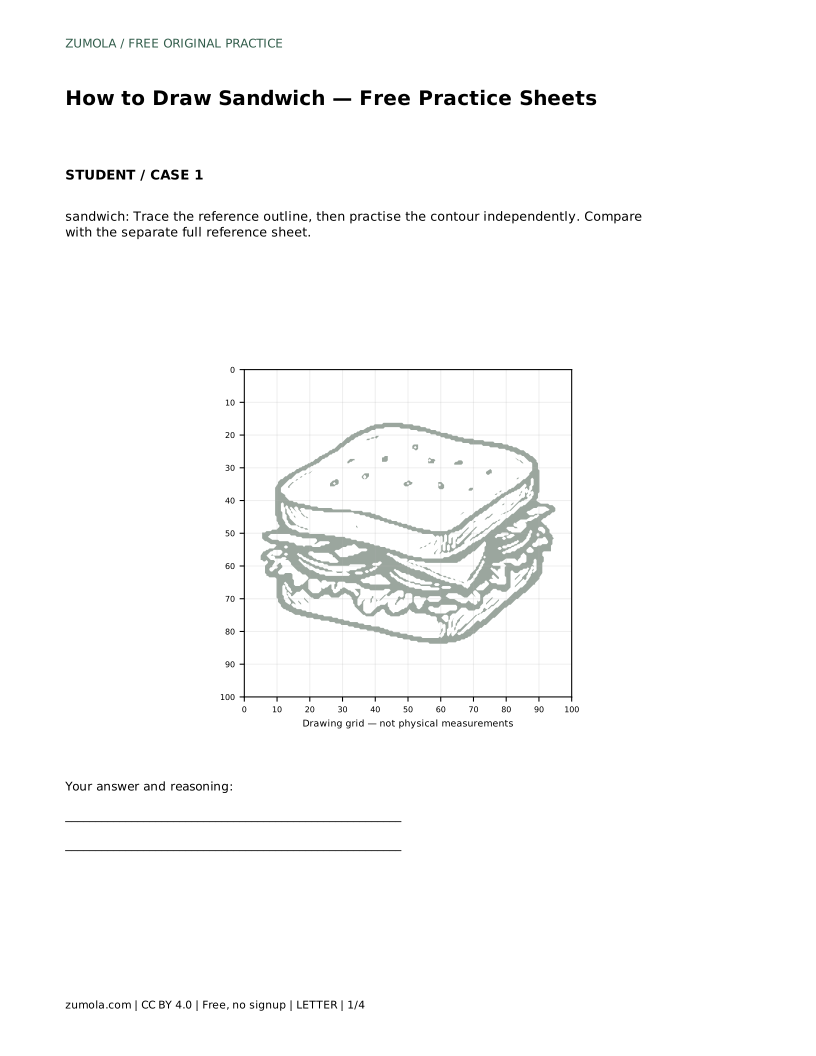
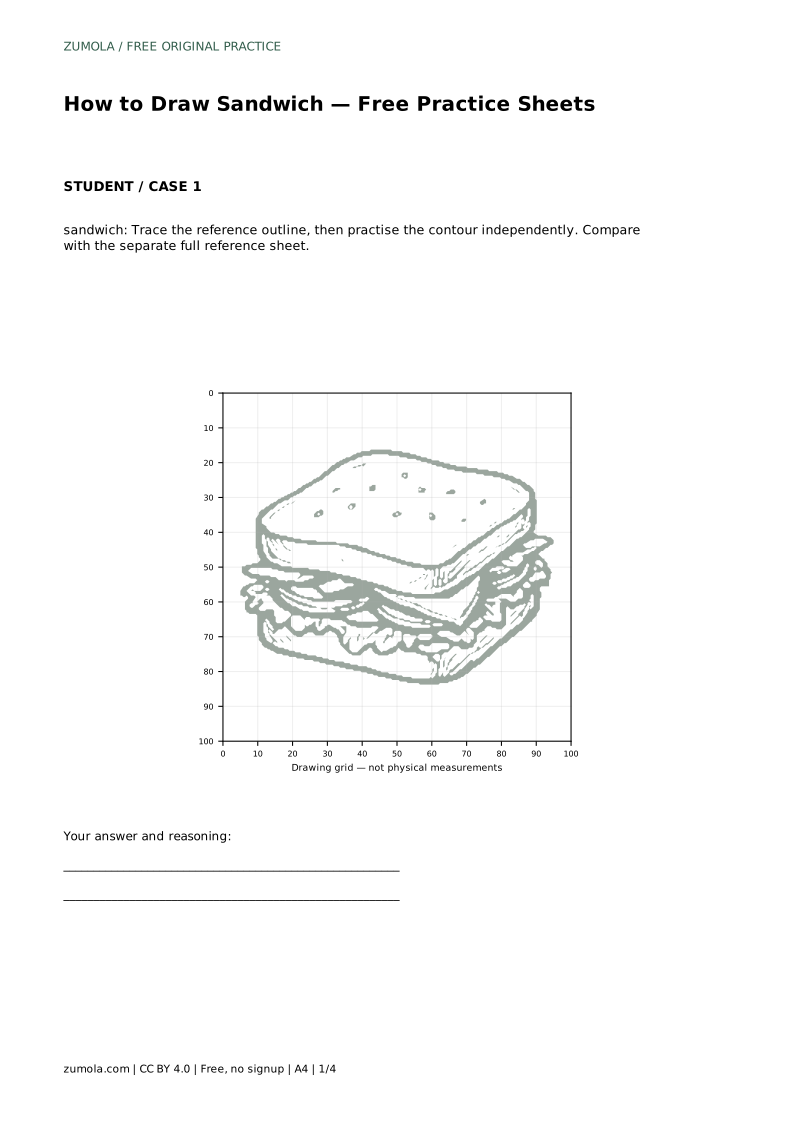
The tracing sheet is a starting point, not the goal. Place your pencil on the reference outline and follow the contour slowly, paying attention to where the bread edges curve and where the lettuce leaves break the silhouette. Tracing teaches your hand the shape, but it does not test whether you can reproduce it.
After one traced pass, move to a blank area and draw the same sandwich from memory or by glancing at the reference. Compare your independent drawing with the separate full reference sheet. Check the height of the gap between the bread slices, the number of visible filling layers, and whether the crust band appears on the lower slice.
If a proportion looks off, redraw that part rather than erasing repeatedly. A second attempt usually corrects the spacing more effectively than small adjustments to a finished contour.
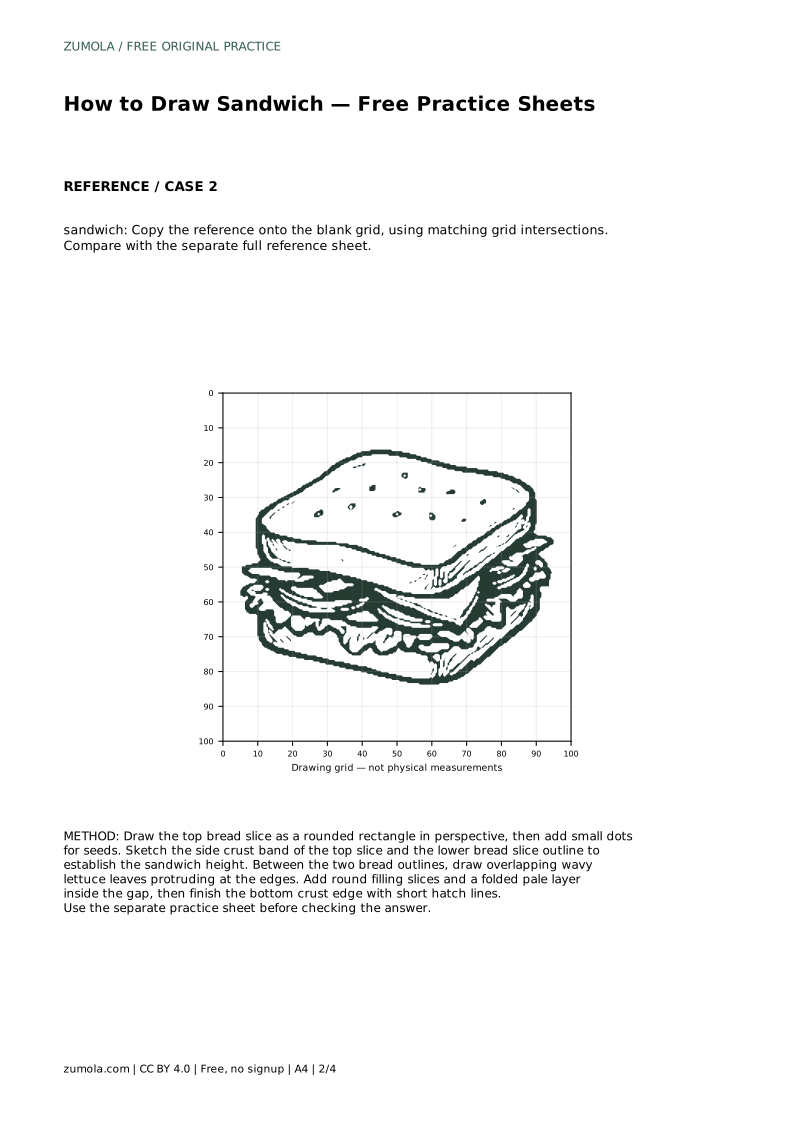
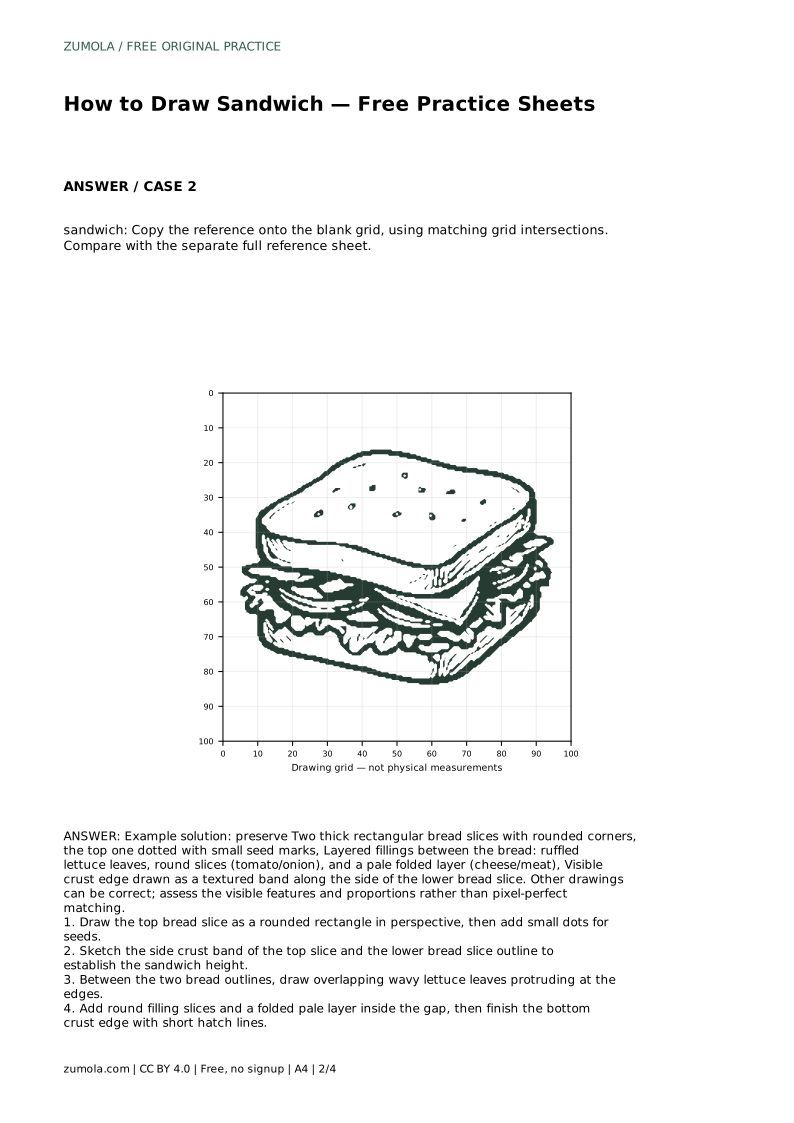
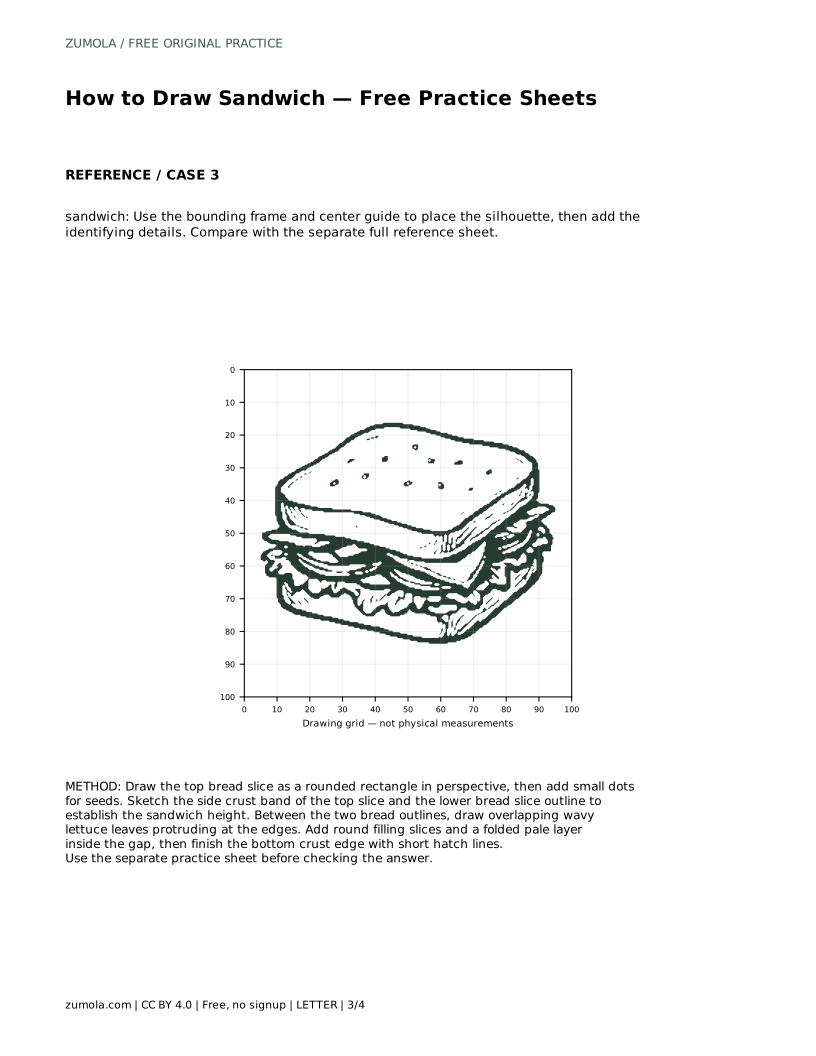
On the grid version, copy the reference onto the blank grid by matching grid intersections. Use the intersections as landmarks: note where the top bread corner sits, where the lettuce leaves cross a grid line, and where the bottom crust ends. This method trains you to judge position rather than guess it.
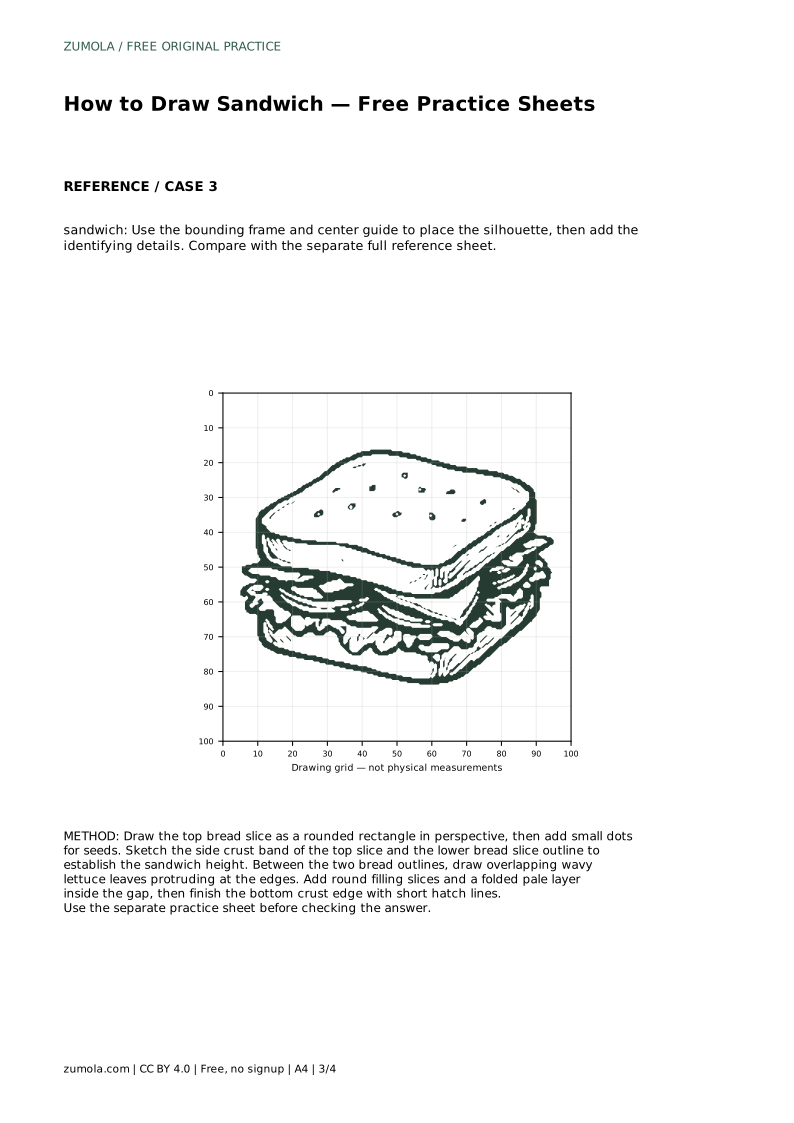
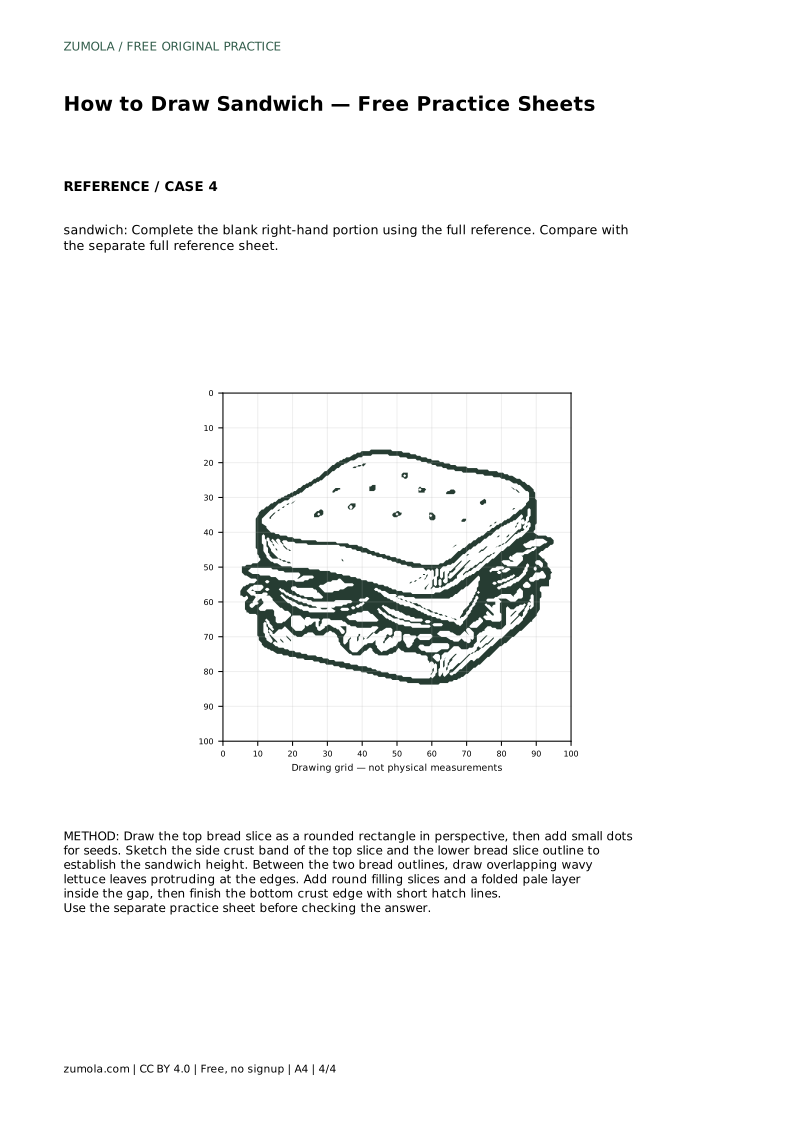
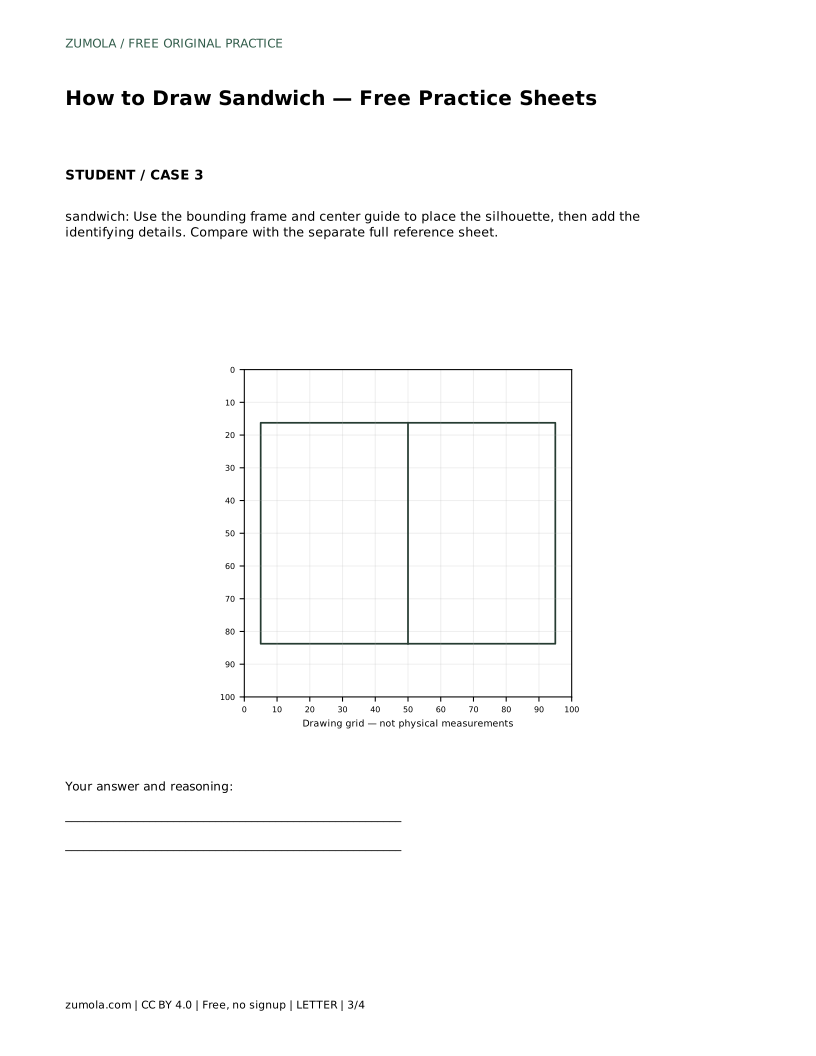
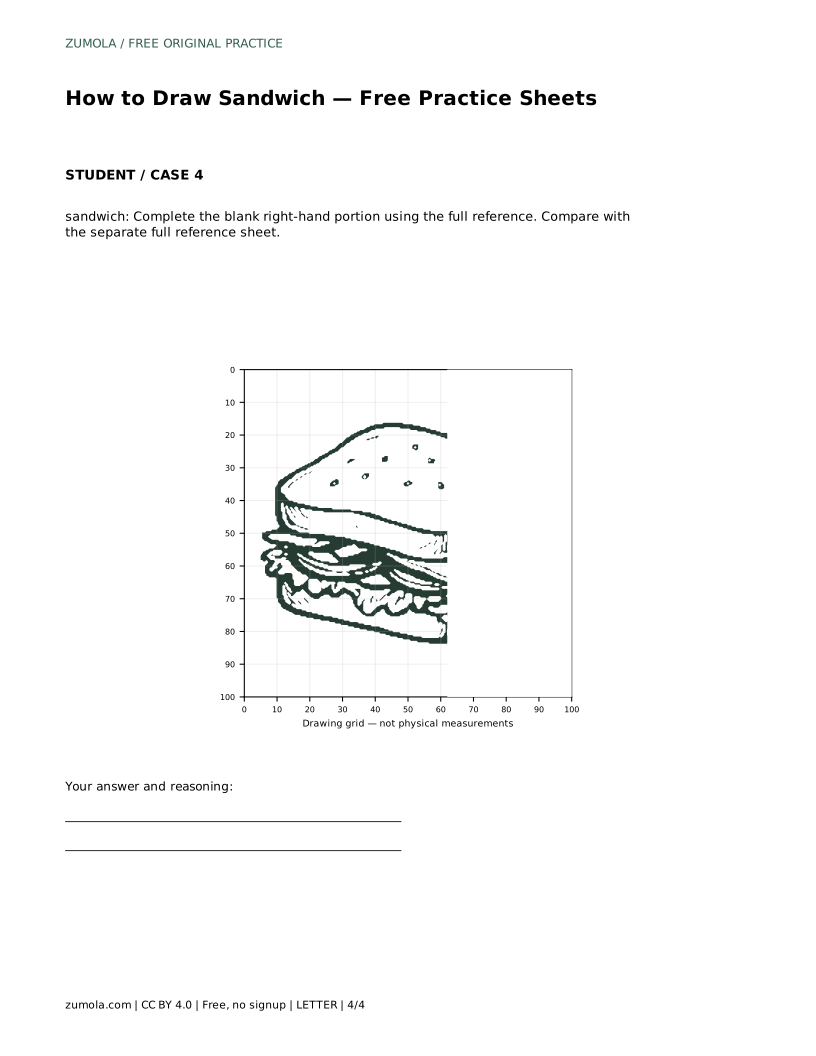
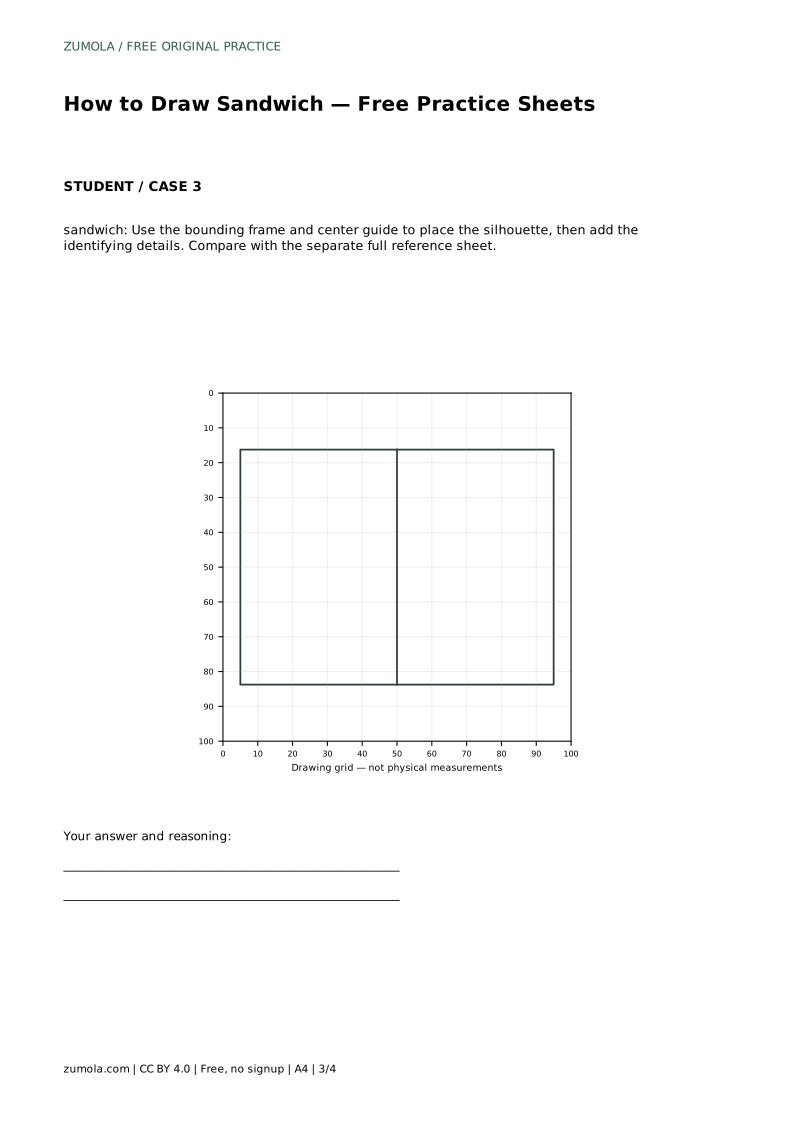
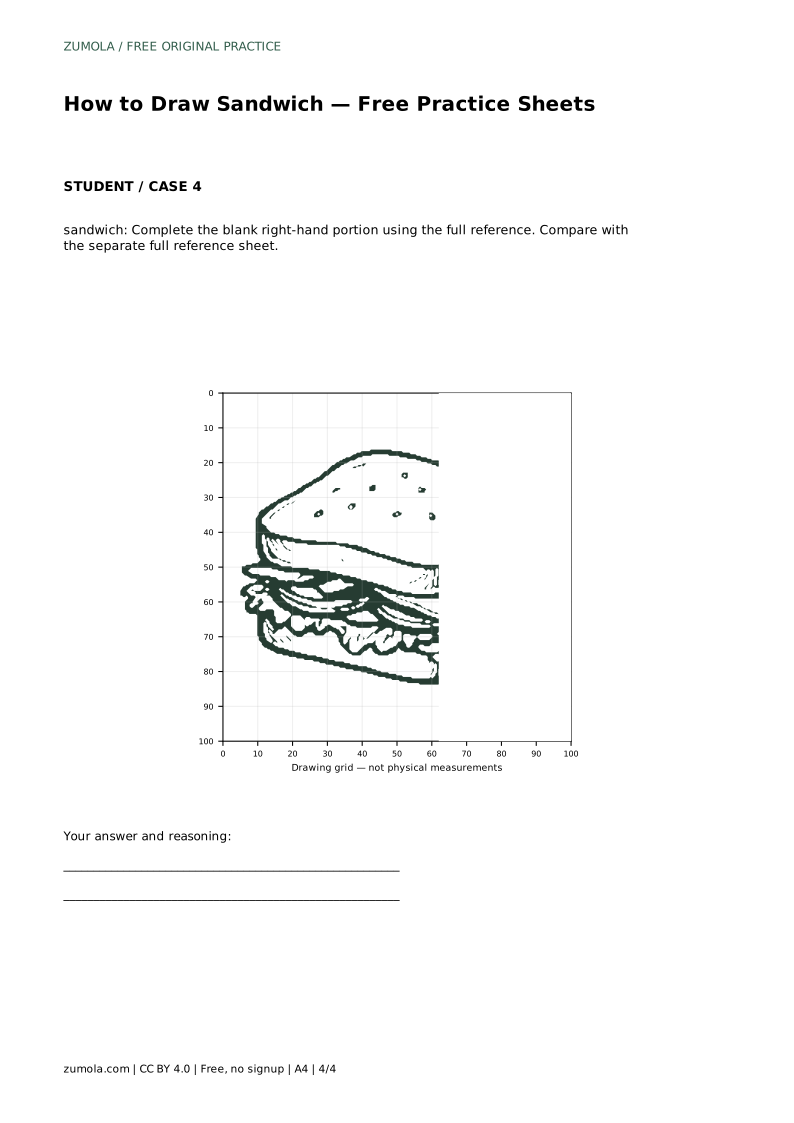
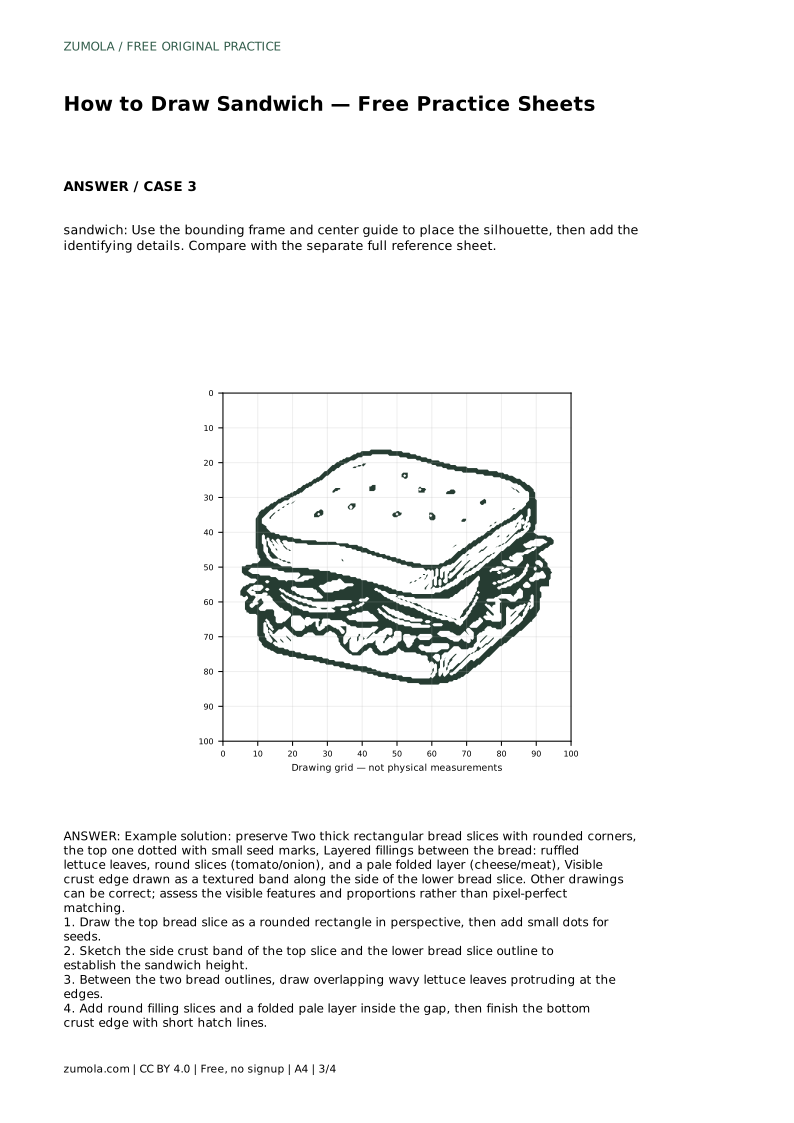
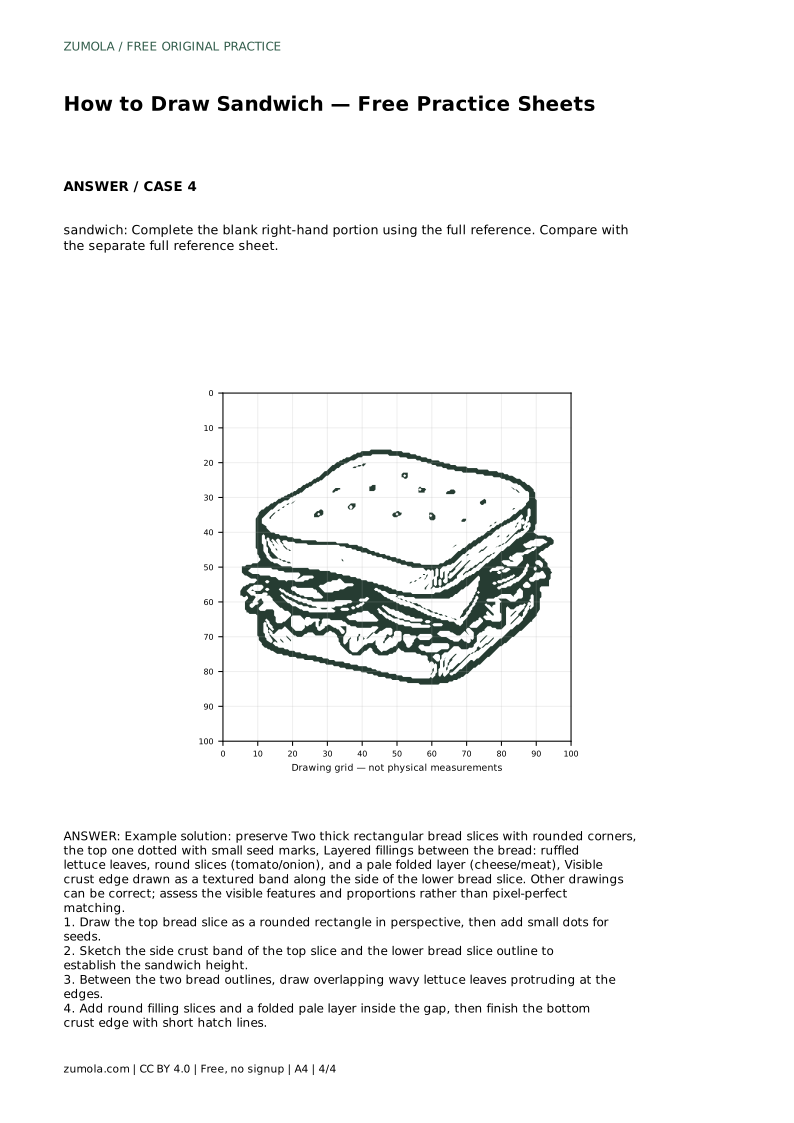
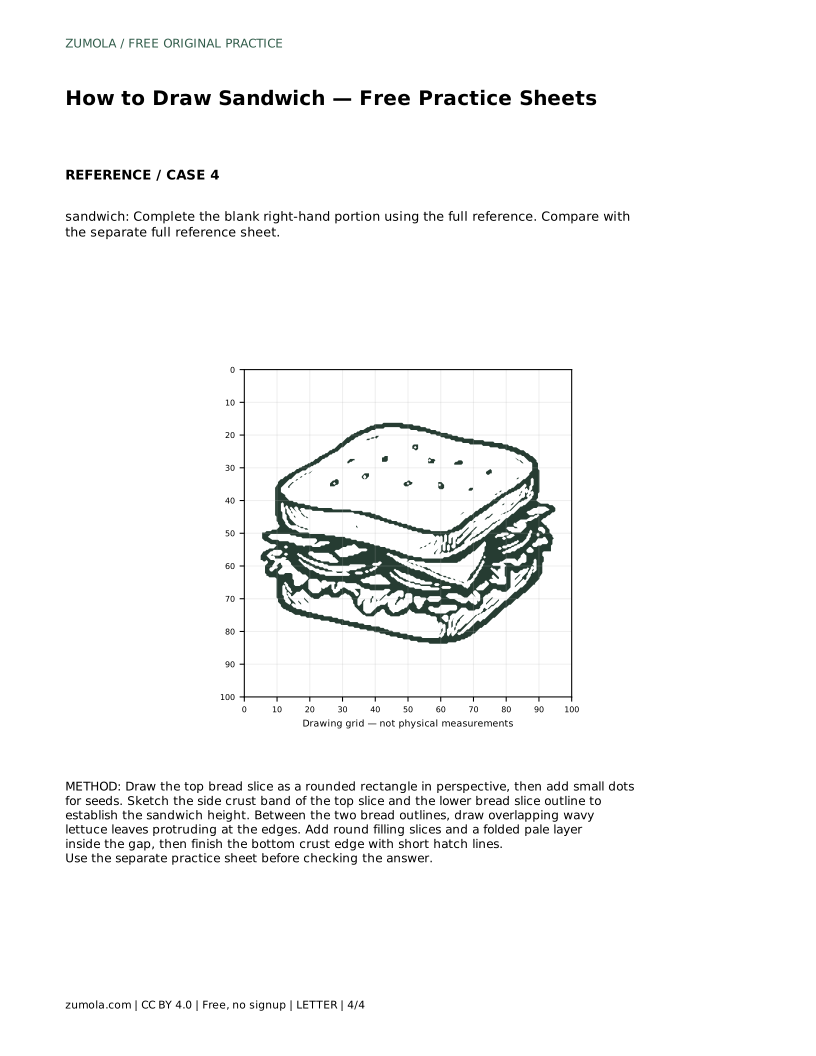
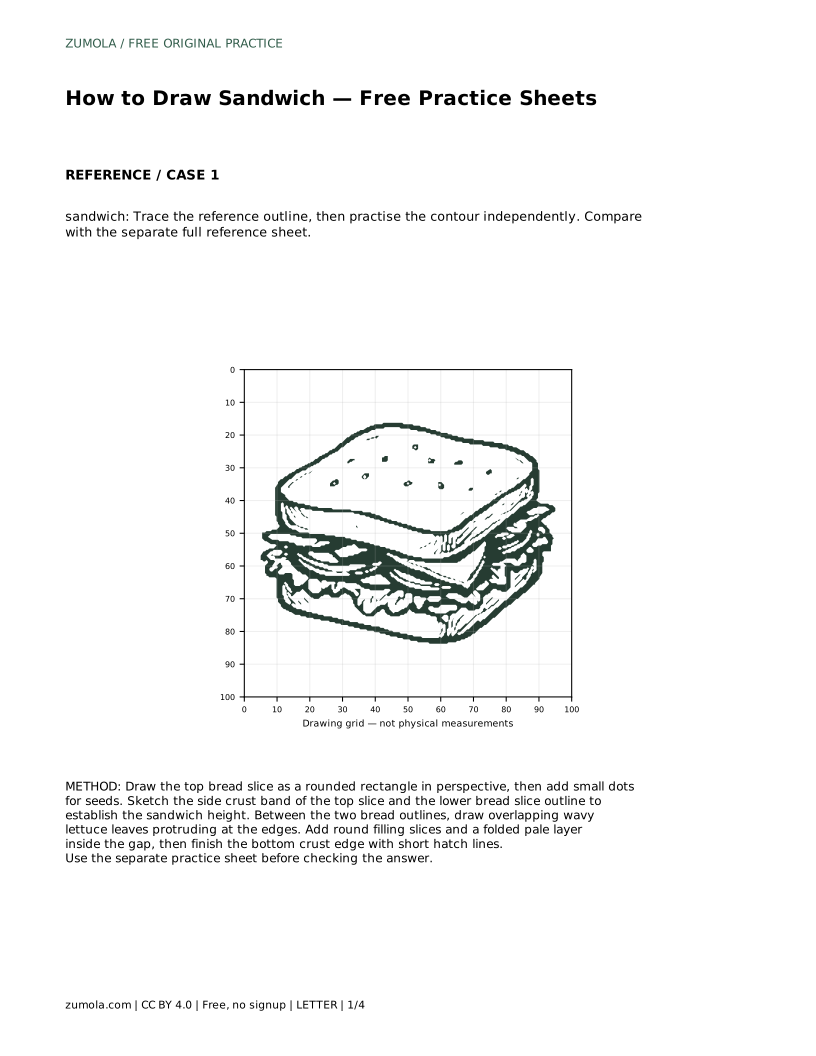
The bounding-frame and center-guide sheet asks you to place the silhouette inside the frame before adding details. Use the center guide to keep the sandwich balanced left to right. The partial-reference sheet gives you the full reference beside a blank right-hand portion; complete the missing side by matching the visible features and proportions.
In every version, the identifying features stay the same: two thick bread slices with rounded corners, seeds on the top slice, layered fillings between the bread, and a textured crust band along the lower slice.
A sandwich drawing can be correct in many ways. Instead of hunting for an exact match, check whether the key features are present and whether the proportions hold together. The bread should look thick, the fillings should sit between the slices rather than floating, and the crust band should be visible on the lower slice.
Use the rubric below as a checklist. If one criterion fails, fix that feature on a fresh drawing rather than patching the old one.
sandwich: Trace the reference outline, then practise the contour independently. Compare with the separate full reference sheet.
Example solution: preserve Two thick rectangular bread slices with rounded corners, the top one dotted with small seed marks, Layered fillings between the bread: ruffled lettuce leaves, round slices (tomato/onion), and a pale folded layer (cheese/meat), Visible crust edge drawn as a textured band along the side of the lower bread slice. Other drawings can be correct; assess the visible features and proportions rather than pixel-perfect matching. Draw the top bread slice as a rounded rectangle in perspective, then add small dots for seeds. Sketch the side crust band of the top slice and the lower bread slice outline to establish the sandwich height. Between the two bread outlines, draw overlapping wavy lettuce leaves protruding at the edges. Add round filling slices and a folded pale layer inside the gap, then finish the bottom crust edge with short hatch lines.
No. Several drawings can be correct. Check the visible features and proportions, such as bread thickness, layered fillings and the crust band, rather than pixel-perfect matching.
Draw the top bread slice first, then the lower bread outline to set the height, then the fillings in the gap, and finally the bottom crust texture.
Copy the reference onto the blank grid by matching grid intersections, using them as landmarks for the bread corners, lettuce edges and crust ends.
All drawing practice · Free coordinate paper
Original resources · CC BY 4.0 · Free for personal and classroom use with attribution.