Reference diagrams
LETTER · Download PDF
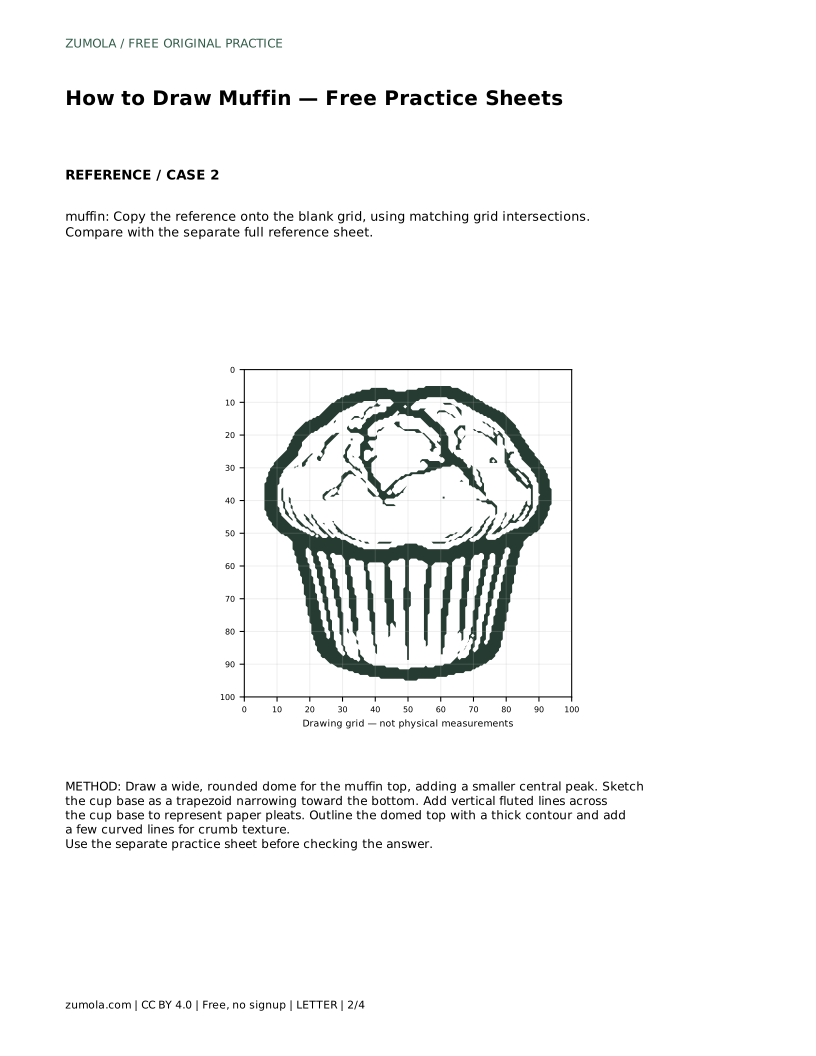
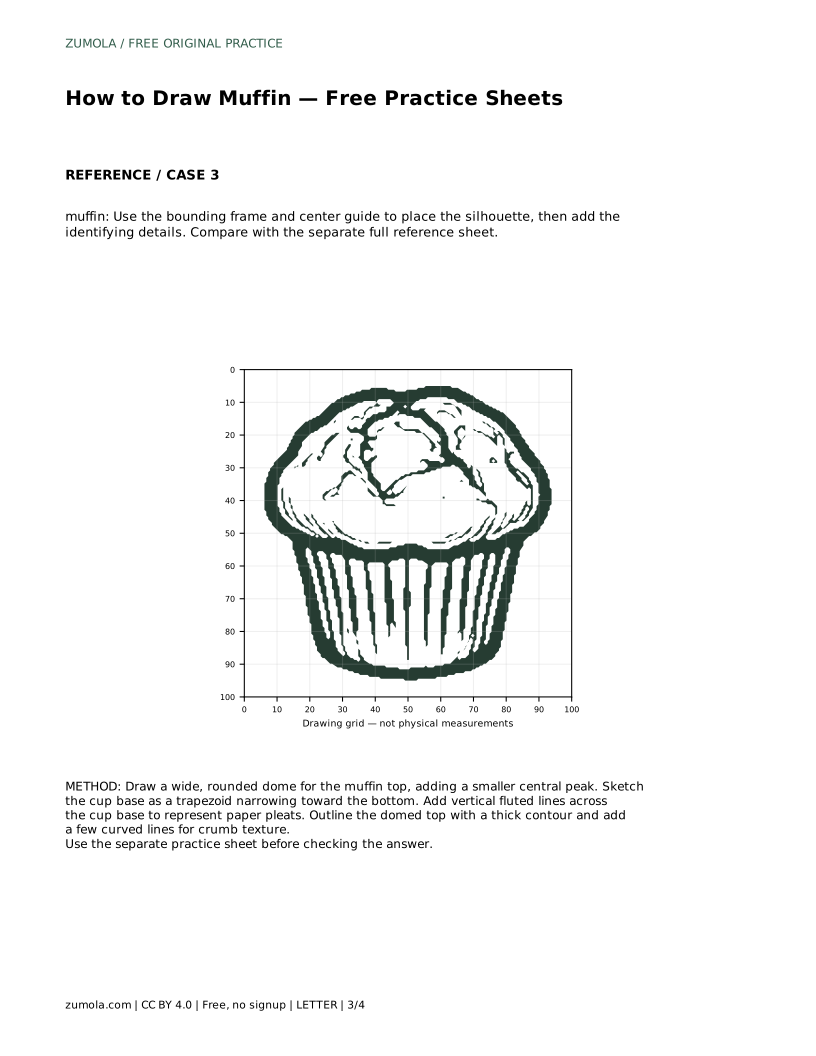
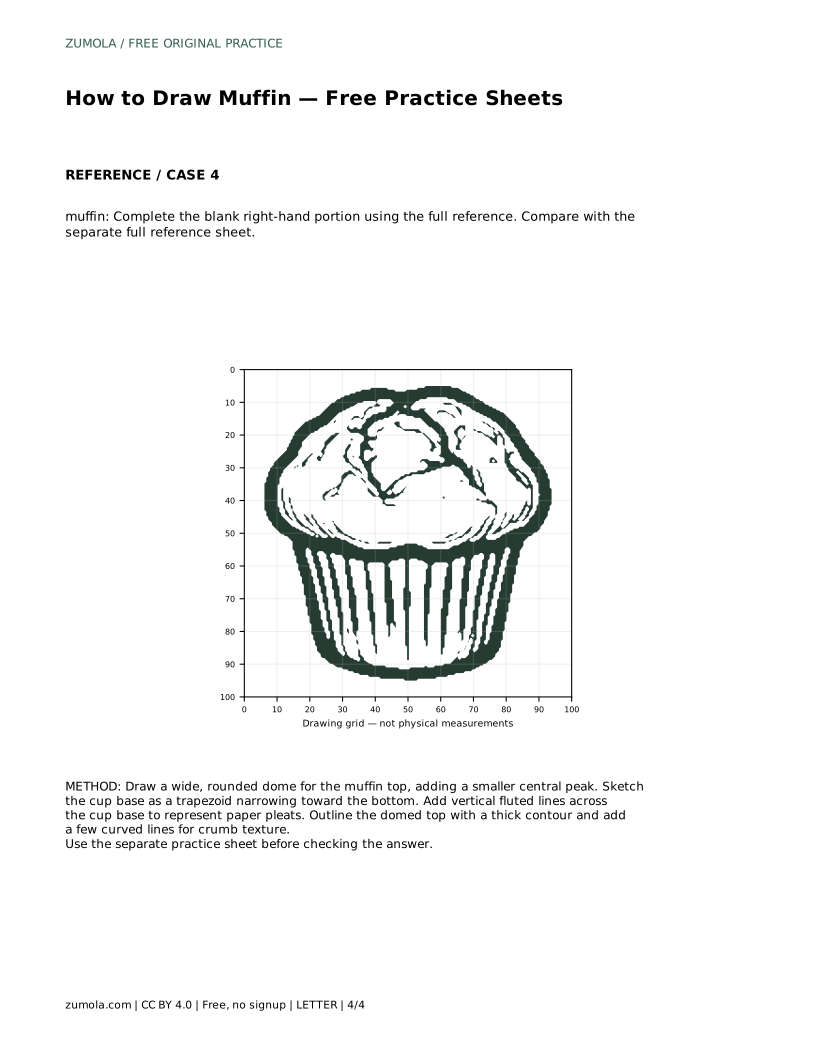
A4 · Download PDF
Free original resources
Learn to draw a muffin by building a domed top, a narrowing paper cup, and vertical pleats. Free printable practice sheets support tracing, grids, and guided placement.
Four original cases, with reference diagrams, practice sheets and worked answers. Everything is free; no signup required.
LETTER · Download PDF
A4 · Download PDF
LETTER · Download PDF
A4 · Download PDF
LETTER · Download PDF
A4 · Download PDF
Use A4 or US Letter to match your printer. Use the stated values and conditions to solve each exercise; diagrams are not physical measuring rulers.
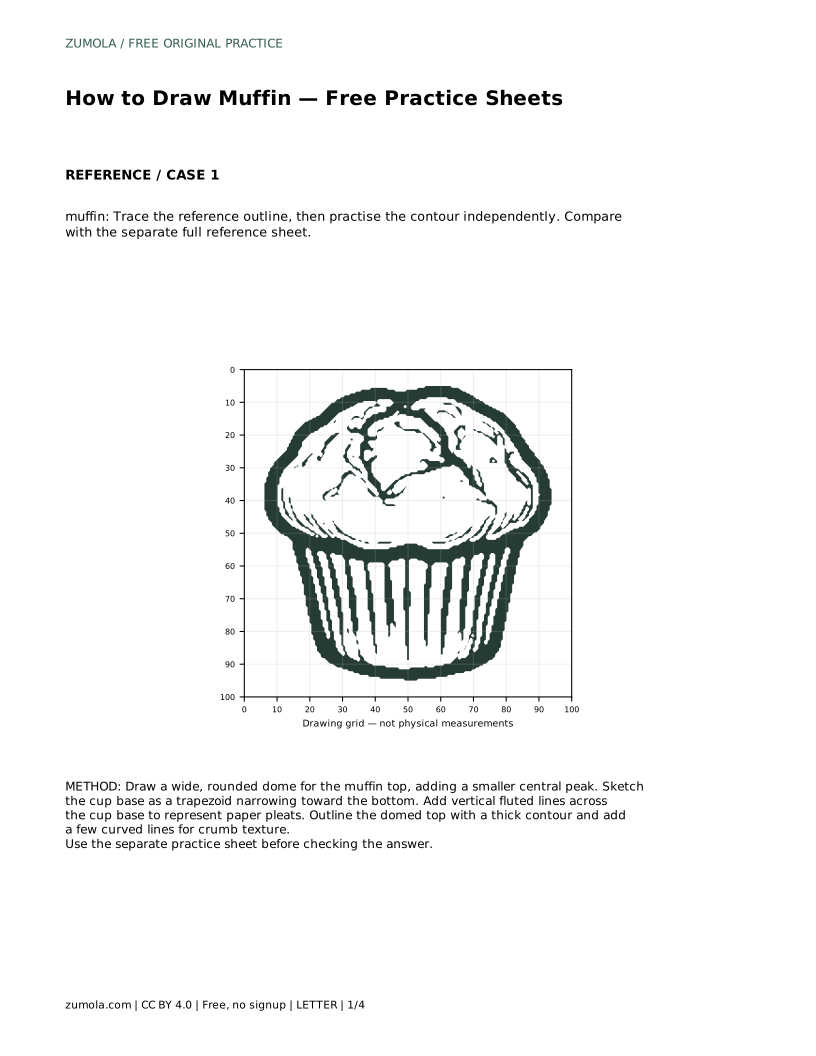
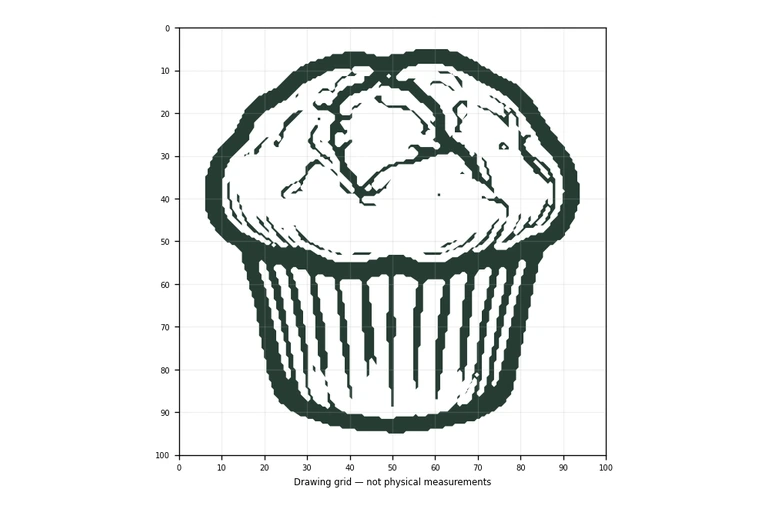
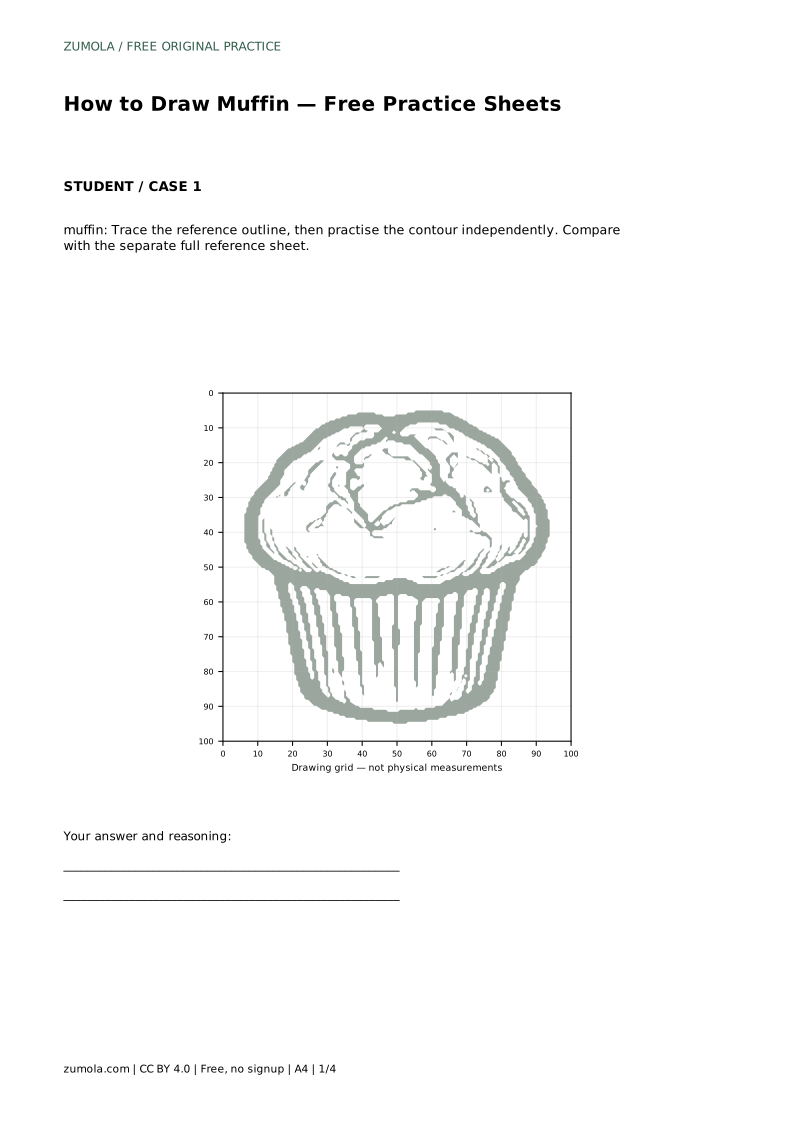
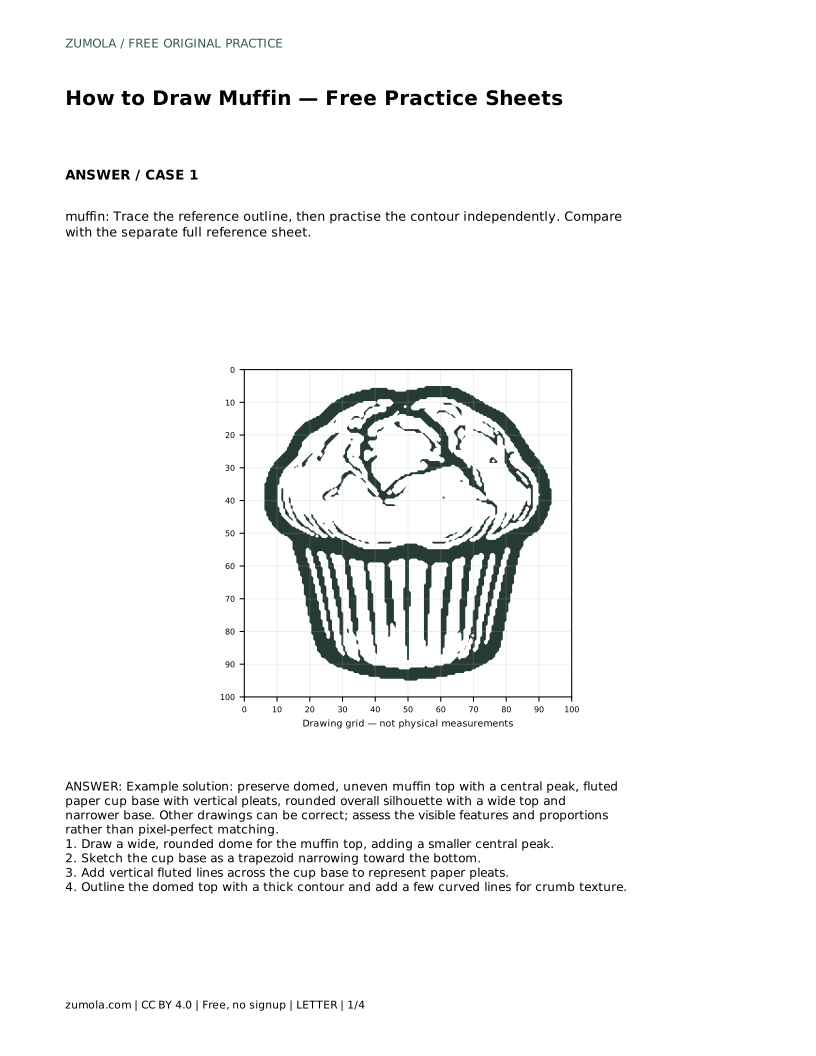
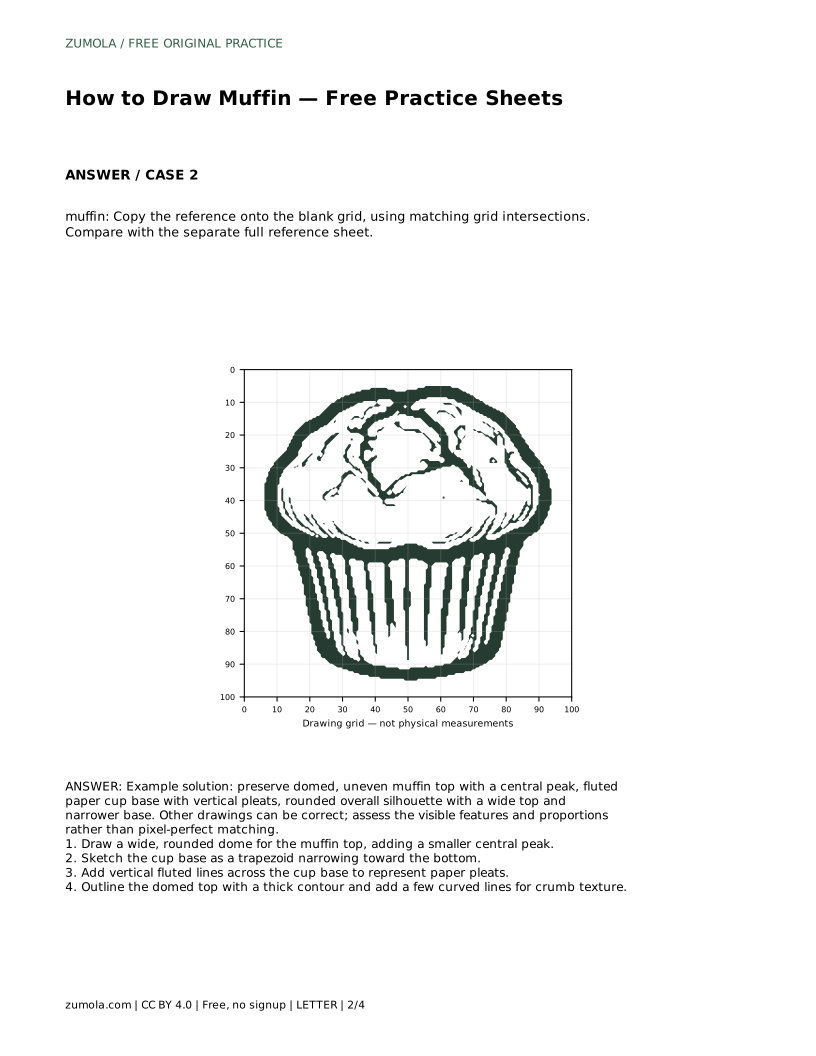
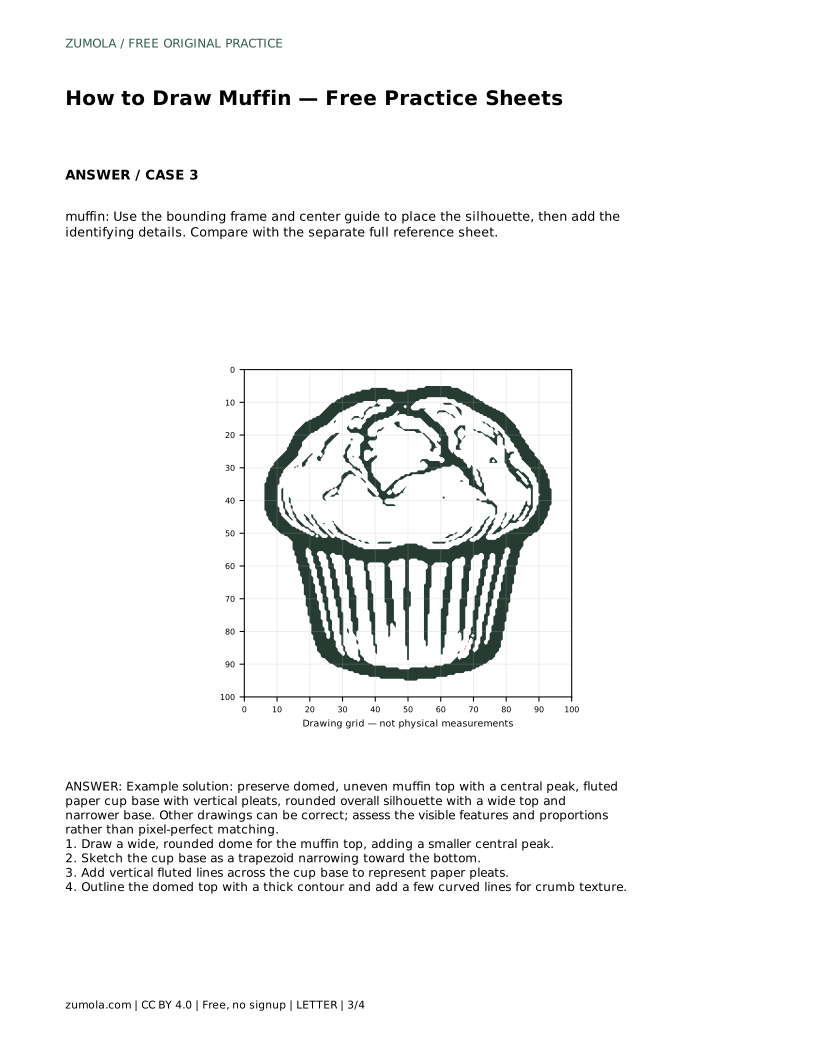
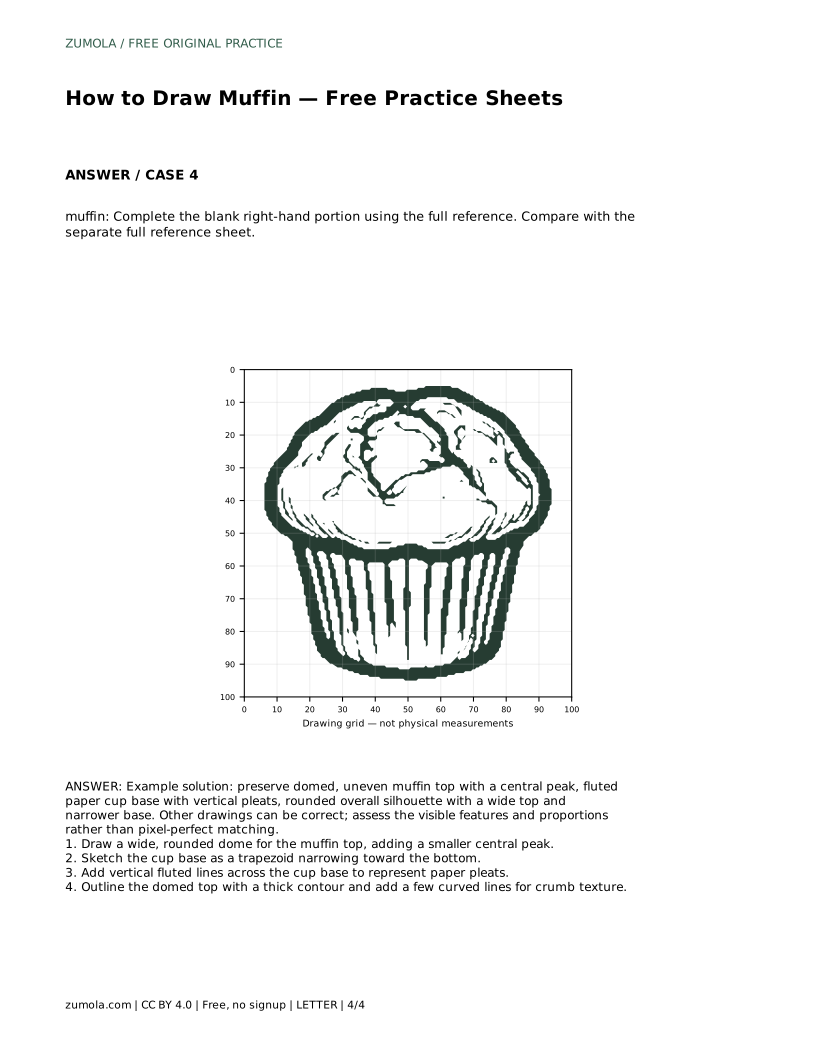
A drawing of a muffin depends on two connected shapes: a wide, uneven baked top and a paper cup that narrows toward the bottom. This page explains how to build those shapes in order, then add the details that make the muffin readable. The free printable practice sheets let you trace a reference outline, copy onto a grid, use a bounding frame and center guide, or complete a partially drawn figure. Each format trains the same core skill: placing the silhouette accurately before adding texture.
Treat the muffin as a dome sitting on a cup. The dome is wider than the cup and should not be a perfect semicircle; a baked top rises unevenly, with one area higher than the rest. The cup is a trapezoid that narrows toward the bottom, so its top edge is wider than its base. Sketch both shapes lightly before committing to any outline. Check that the dome overhangs the cup slightly on both sides, because the baked top usually spreads beyond the paper liner.
Keep the overall silhouette rounded and stable. A muffin should look like it can sit flat, so the base of the cup stays horizontal and the sides taper inward at a similar angle. If one side of the cup slopes much more steeply than the other, the drawing will look tilted rather than baked.
The fluted paper cup is the muffin's most recognizable detail. Draw vertical pleats across the cup, running from the top edge down toward the base. The lines should follow the taper of the cup rather than staying perfectly parallel; as the cup narrows, the pleats converge slightly. Space them evenly enough to read as folds, but allow small variations so the paper looks creased rather than printed.
On the domed top, use a thicker contour to separate the muffin from the background. Add a few curved lines across the surface to suggest crumb texture and the uneven rise of the bake. Keep these marks sparse. Too many lines turn the dome into a scribble and hide the silhouette you worked to place.
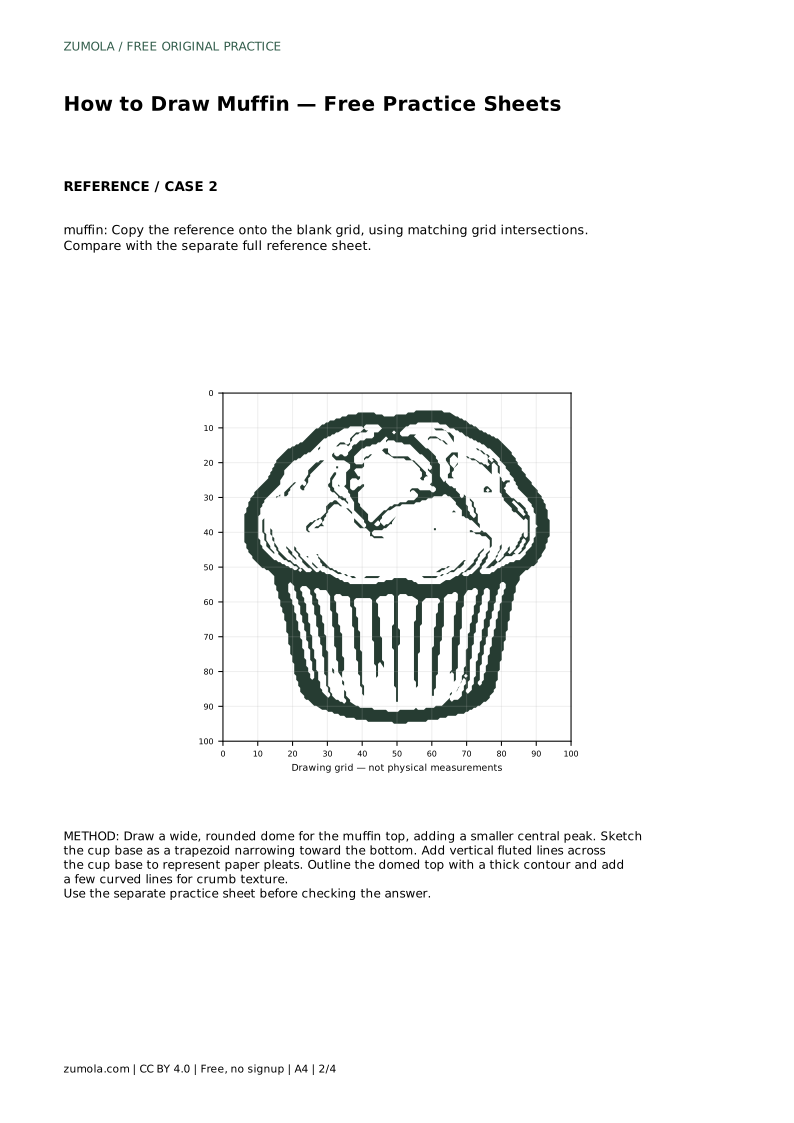
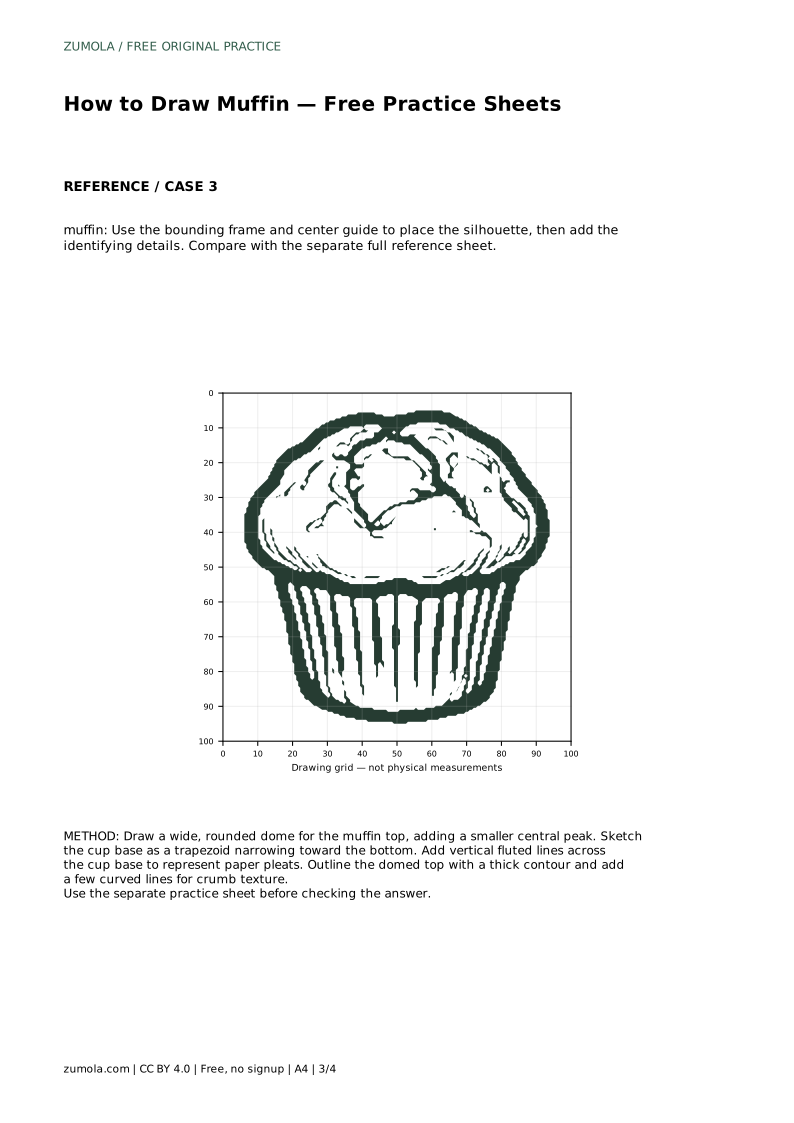
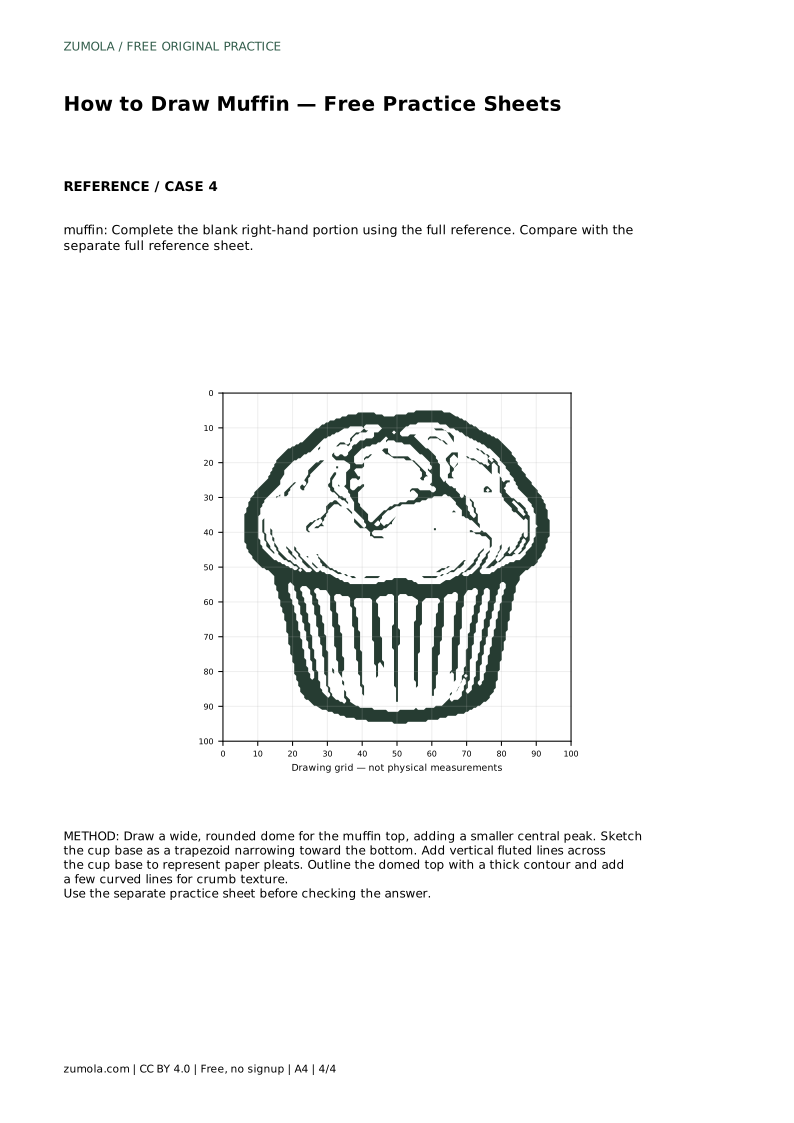
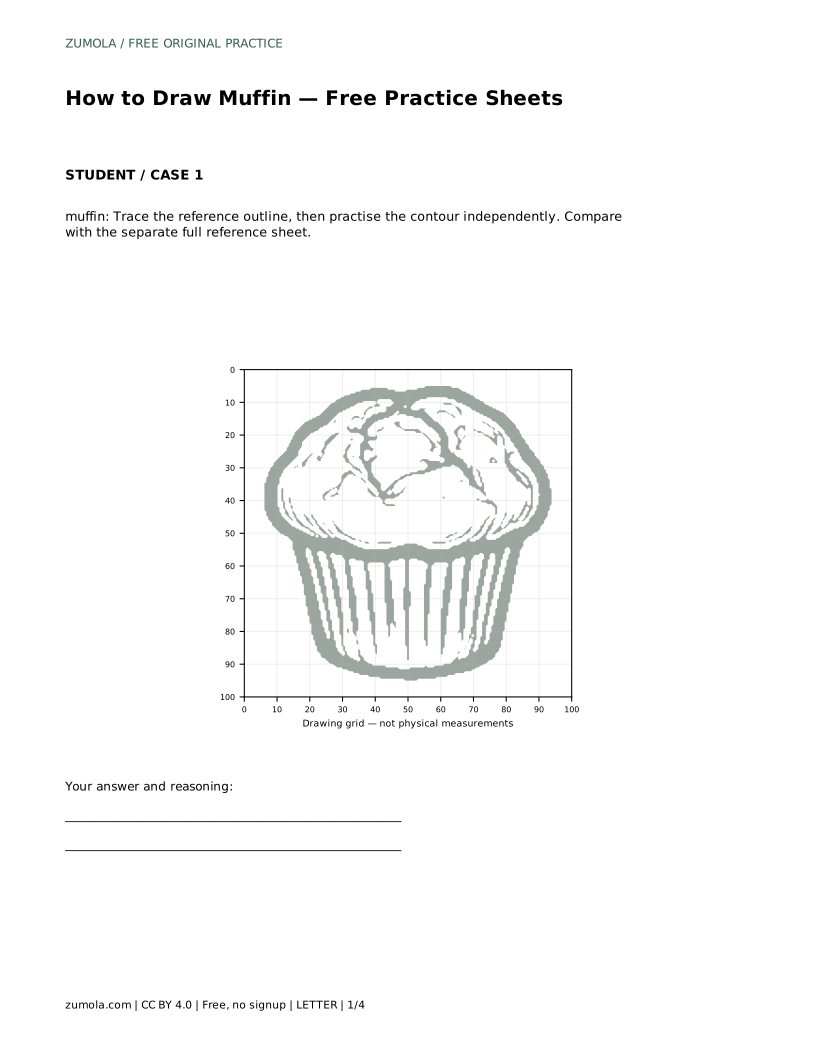
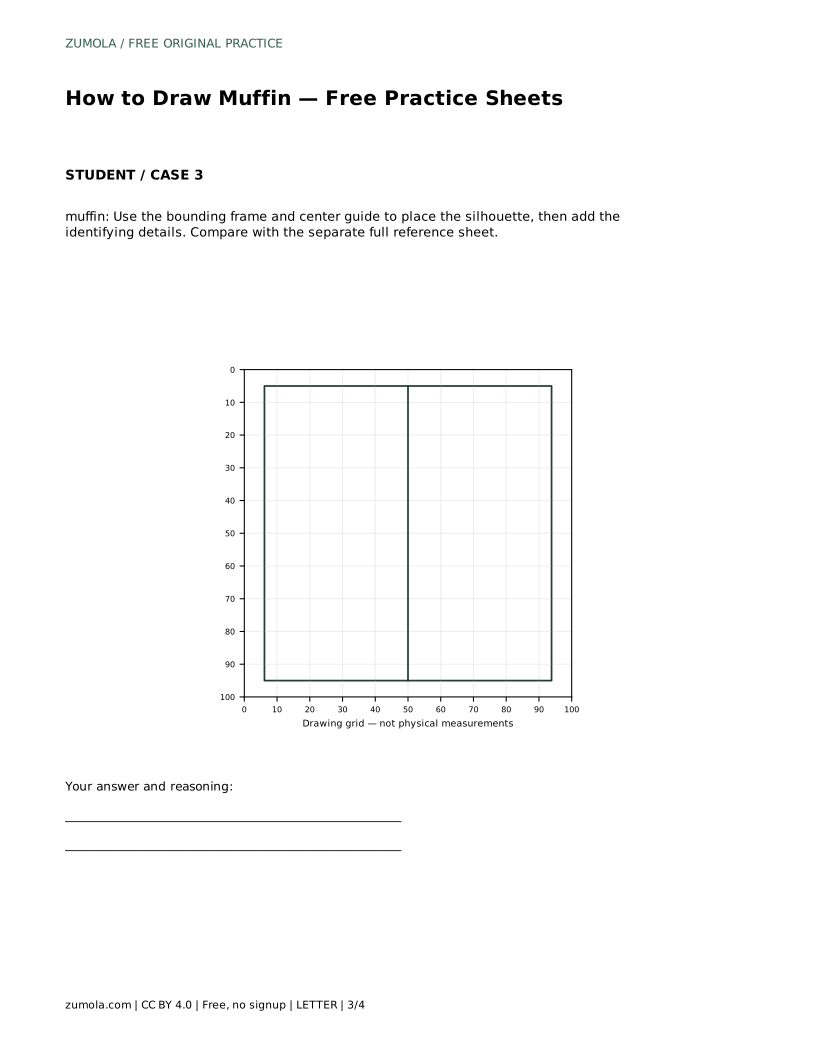
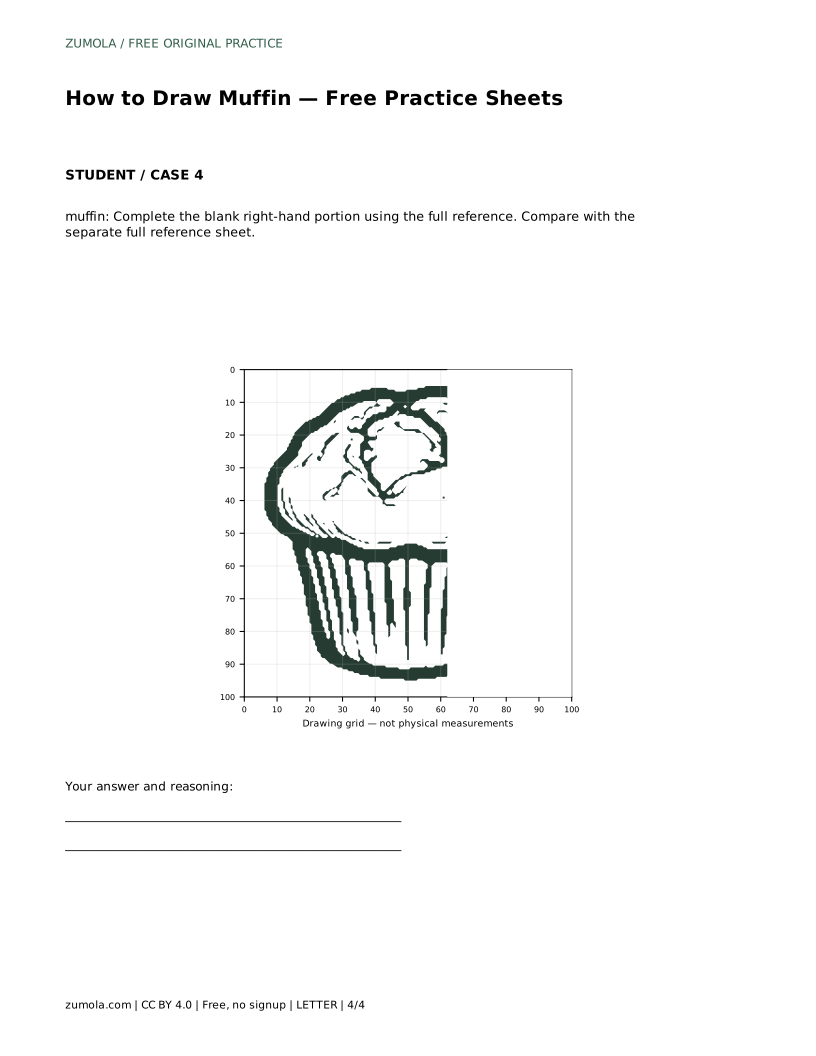
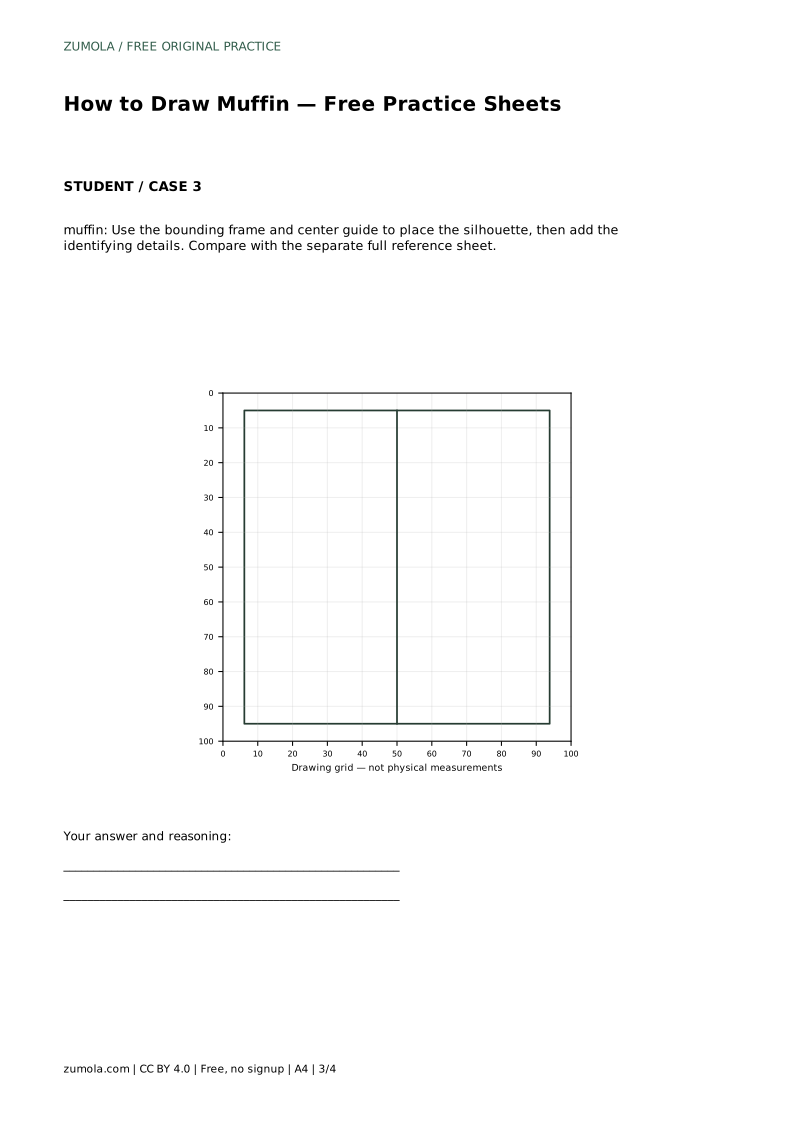
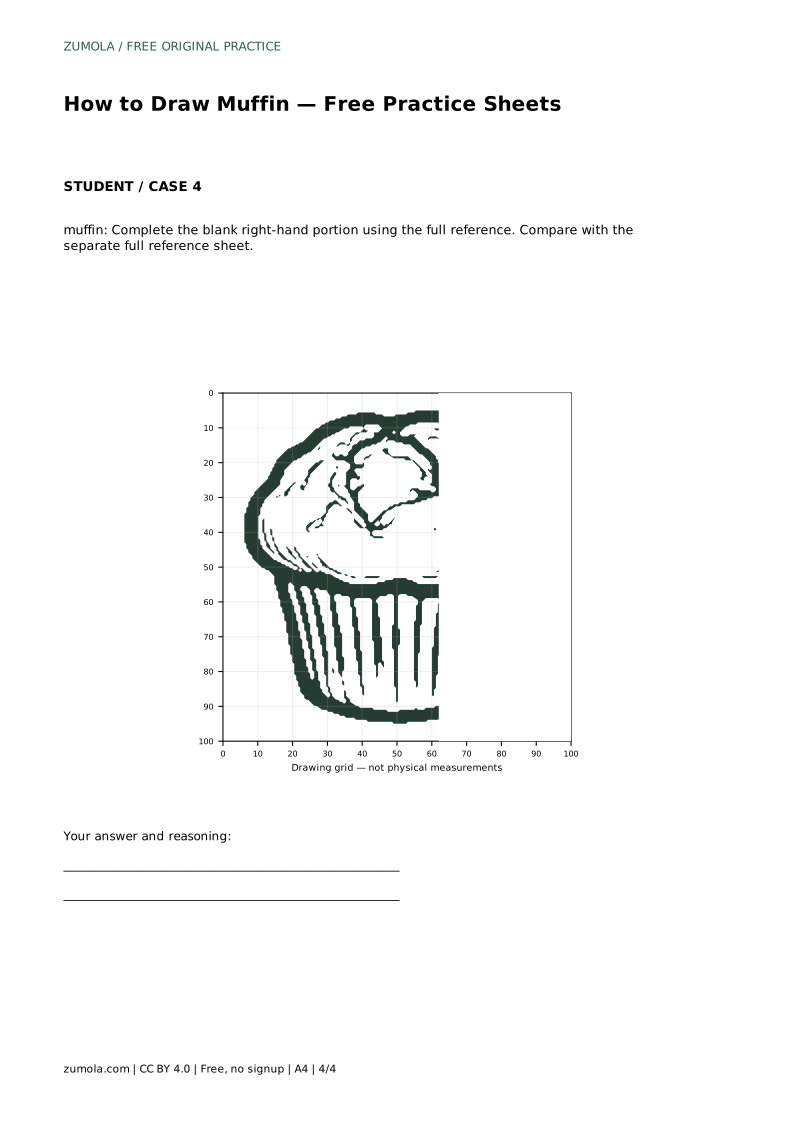
The tracing sheet asks you to follow the reference outline first, then repeat the contour on your own. The grid sheet asks you to copy the reference onto a blank grid, matching where the outline crosses grid intersections. The bounding frame and center guide sheet asks you to place the silhouette inside the frame before adding identifying details. The partial-completion sheet gives you the left portion of the muffin and asks you to finish the right side using the full reference.
In every format, compare your drawing with the separate full reference sheet rather than judging from memory. Look for the dome's height relative to the cup, the width of the overhang, and whether the pleats follow the cup's taper. Small proportion errors are easier to correct before the outline is darkened.
A drawing of a muffin can be correct in many ways. Assess the visible features and proportions rather than pixel-perfect matching. A convincing muffin keeps a domed, uneven top with a central peak, a fluted paper cup with vertical pleats, and a rounded silhouette that is wide at the top and narrower at the base. Line weight and texture are choices, not requirements.
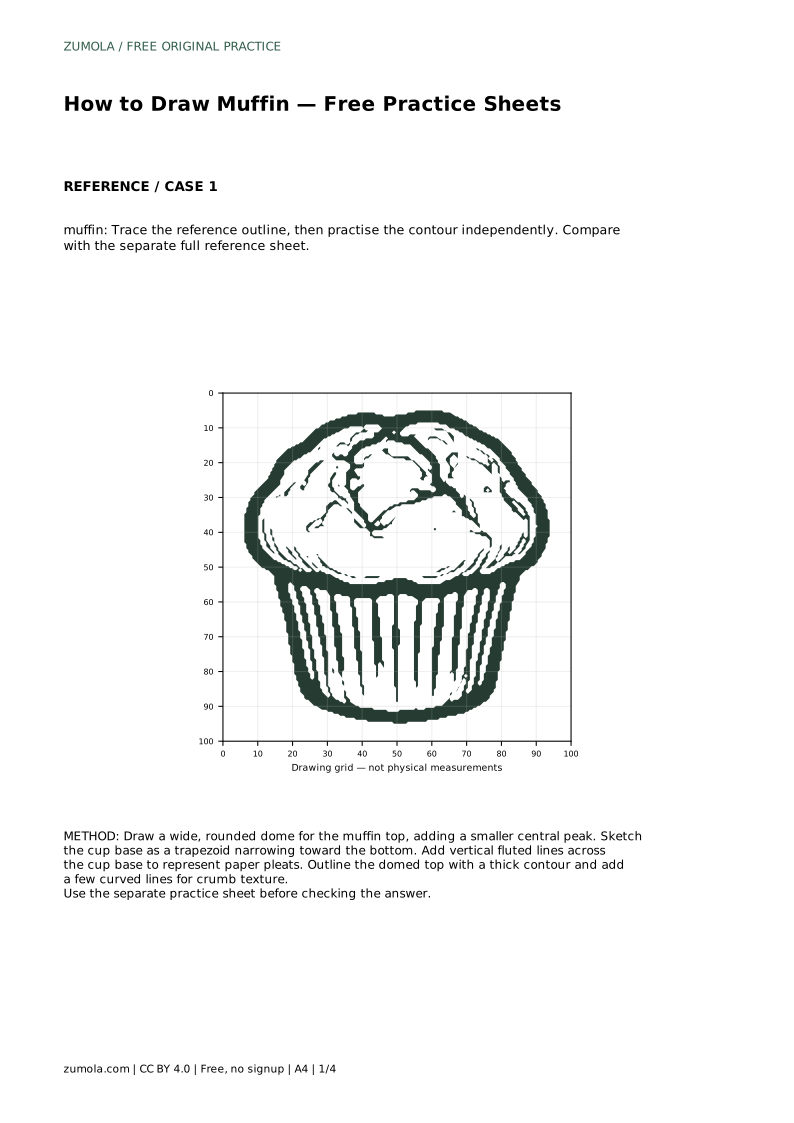
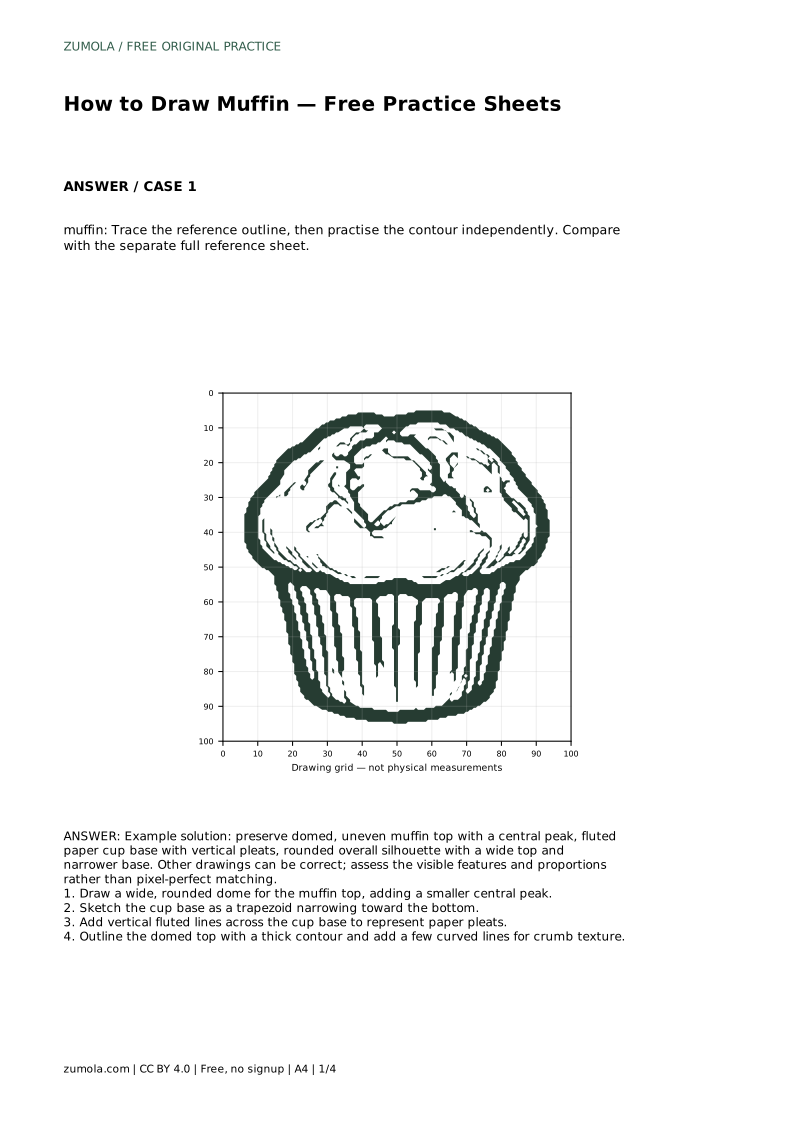
muffin: Trace the reference outline, then practise the contour independently. Compare with the separate full reference sheet.
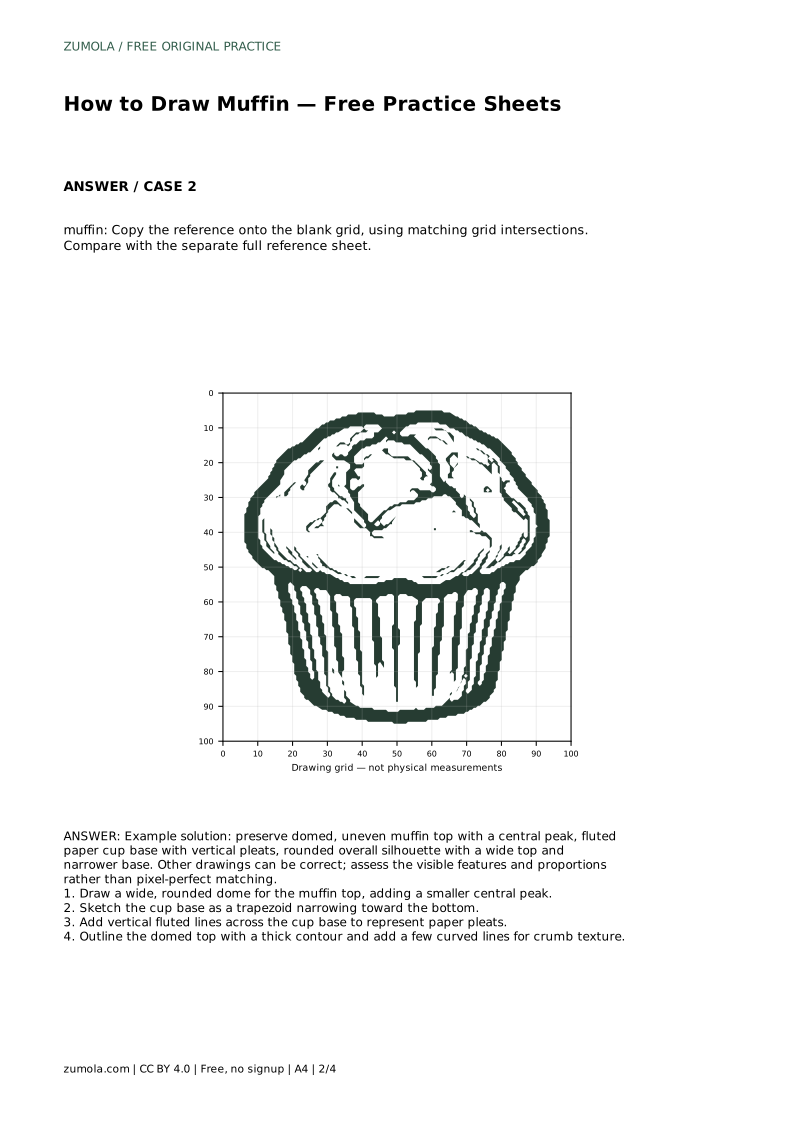
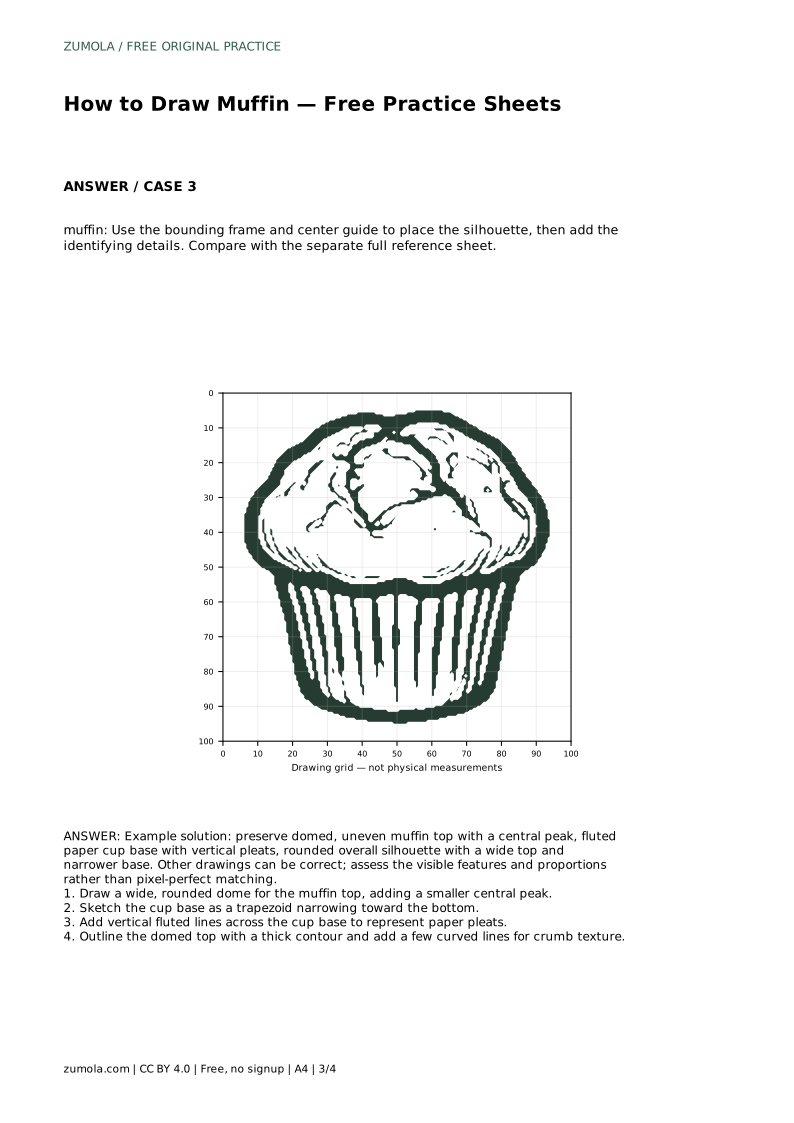
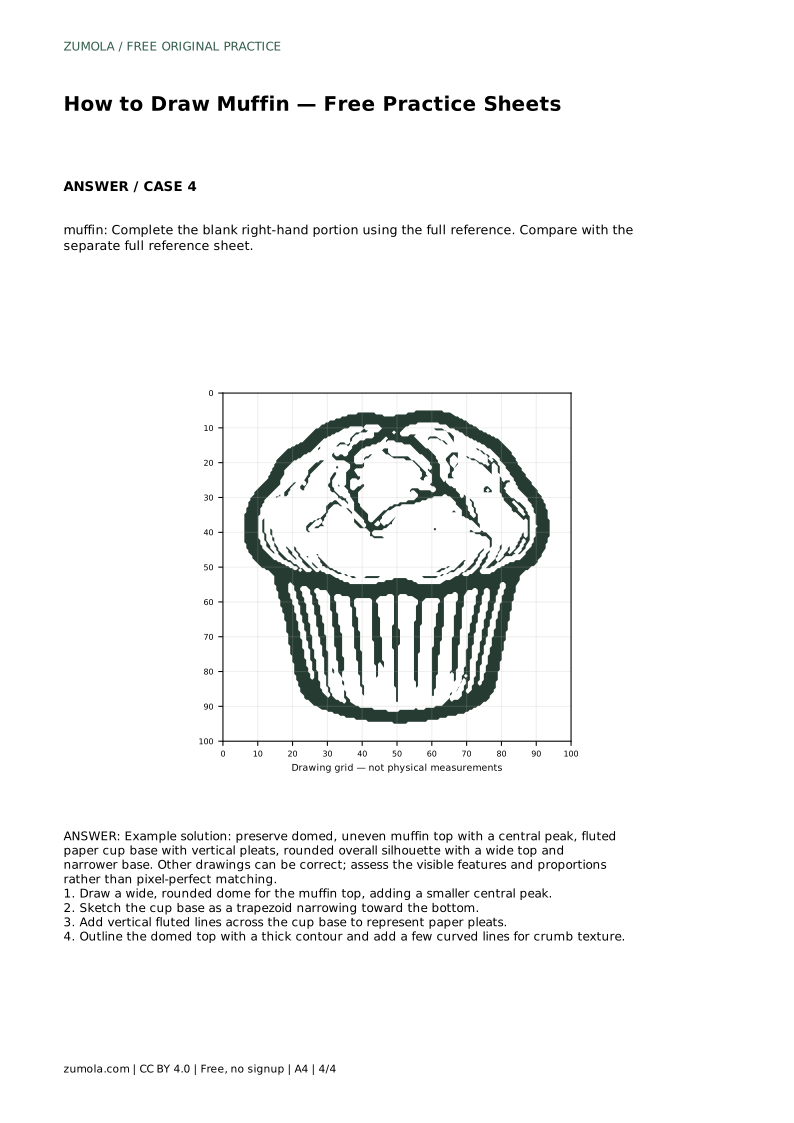
Example solution: preserve domed, uneven muffin top with a central peak, fluted paper cup base with vertical pleats, rounded overall silhouette with a wide top and narrower base. Other drawings can be correct; assess the visible features and proportions rather than pixel-perfect matching. Draw a wide, rounded dome for the muffin top, adding a smaller central peak. Sketch the cup base as a trapezoid narrowing toward the bottom. Add vertical fluted lines across the cup base to represent paper pleats. Outline the domed top with a thick contour and add a few curved lines for crumb texture.
No. Preserve the identifying features and proportions: an uneven domed top with a central peak, a fluted cup narrowing toward the bottom, and a rounded silhouette. Other drawings can be correct.
Start with the tracing sheet if you are learning the contour. Move to the grid or bounding frame sheet when you want to practise placement without following the outline directly.
There is no fixed count. Use enough vertical lines to read as folds, spaced with slight variation and following the cup's taper toward the base.
All drawing practice · Free coordinate paper
Original resources · CC BY 4.0 · Free for personal and classroom use with attribution.