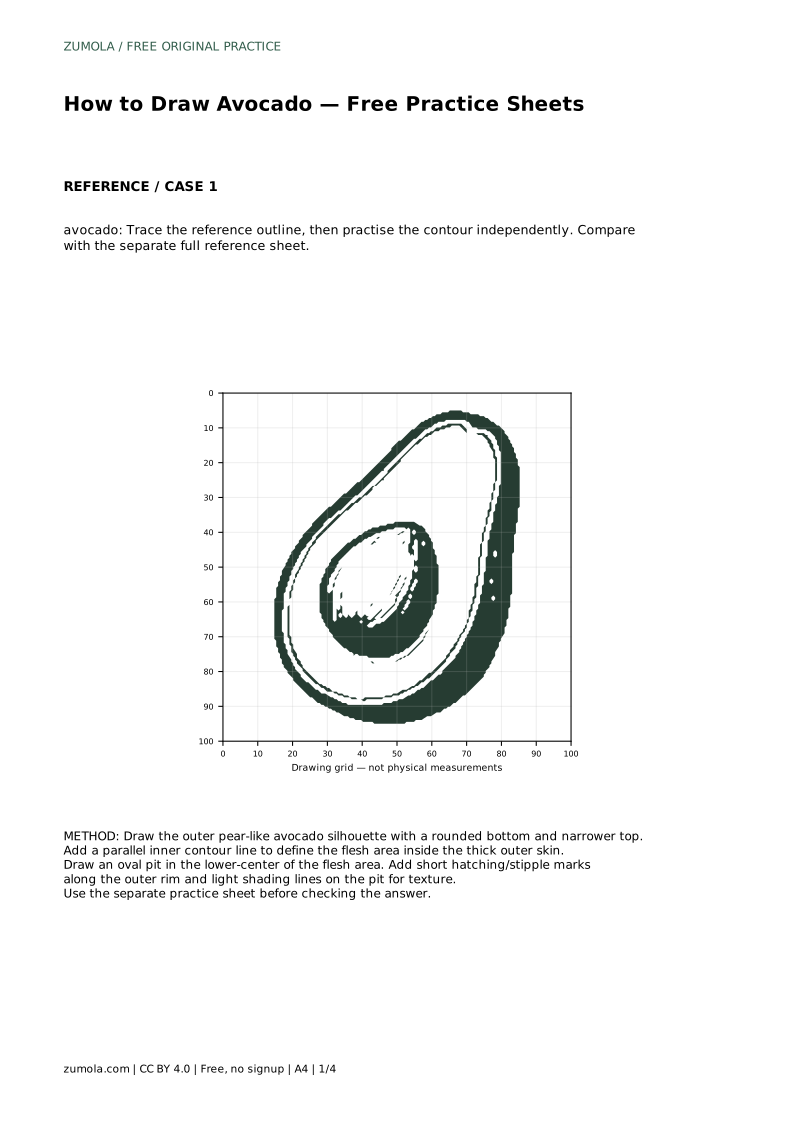
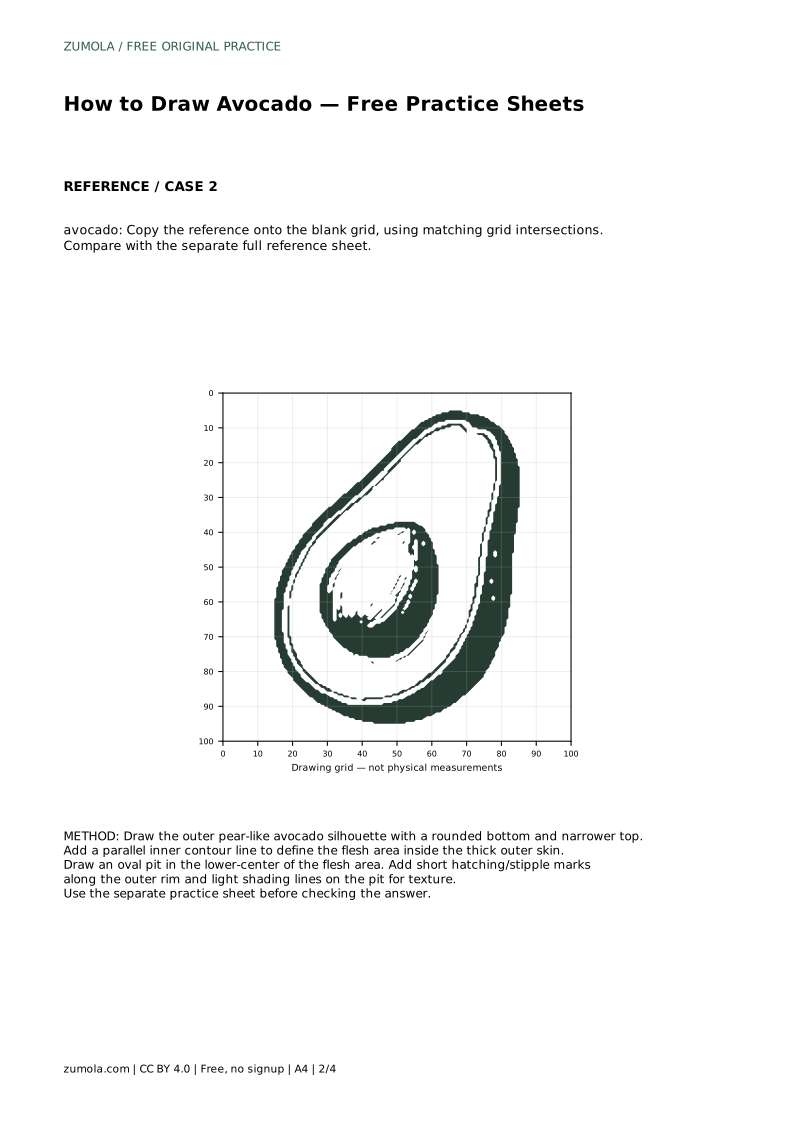
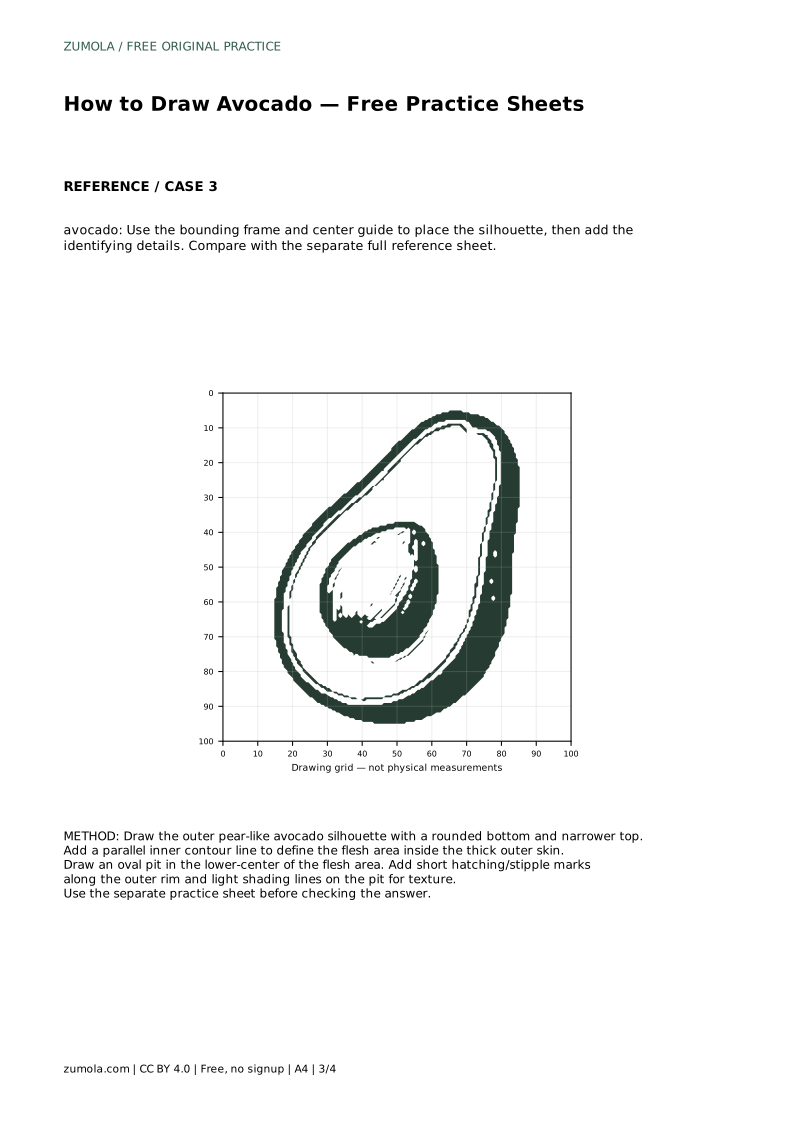
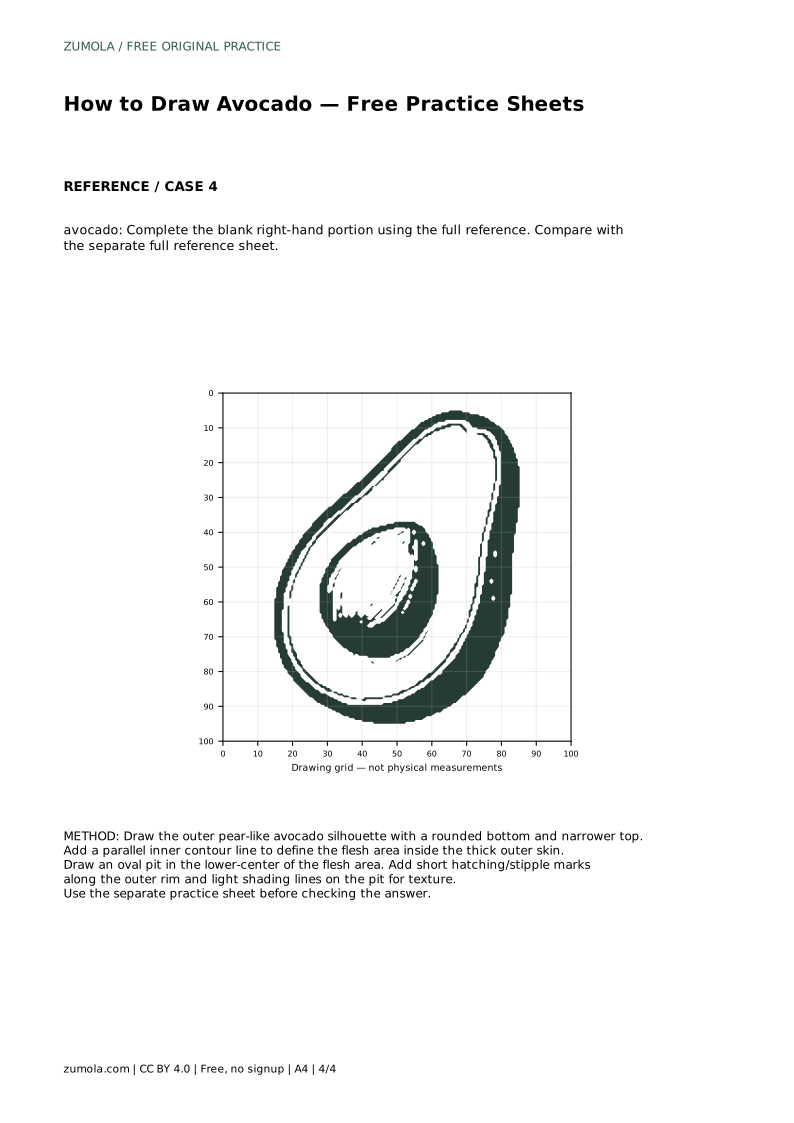
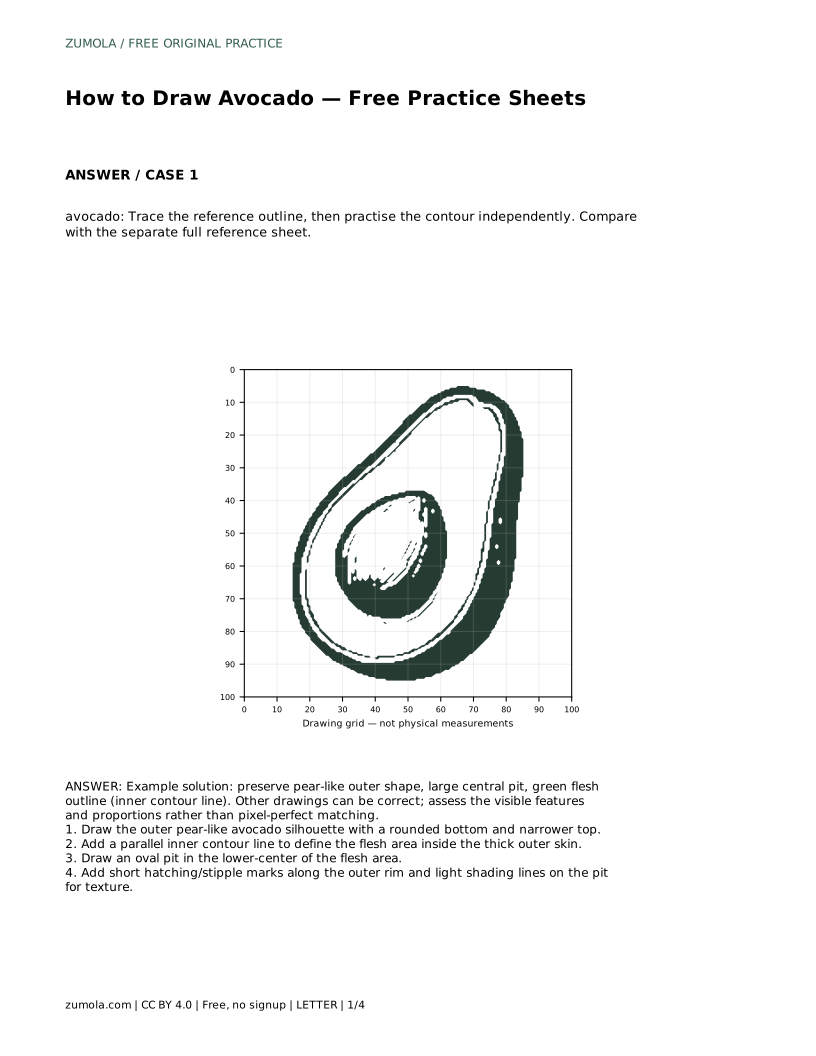
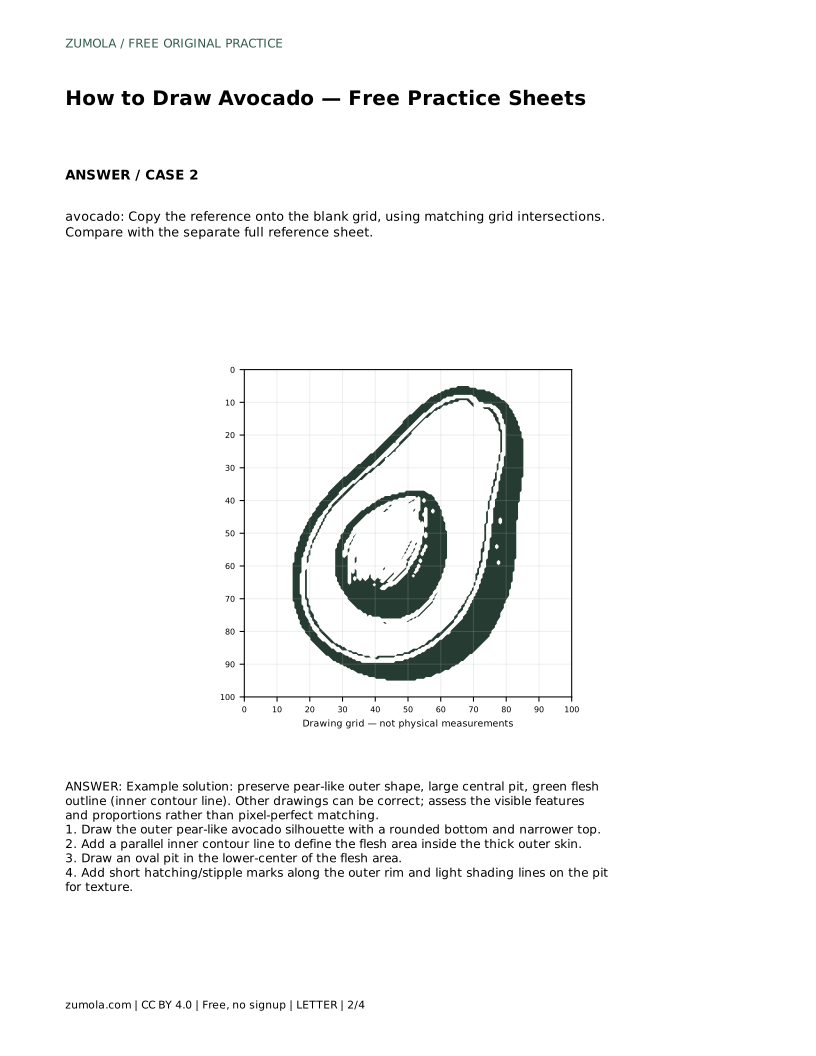
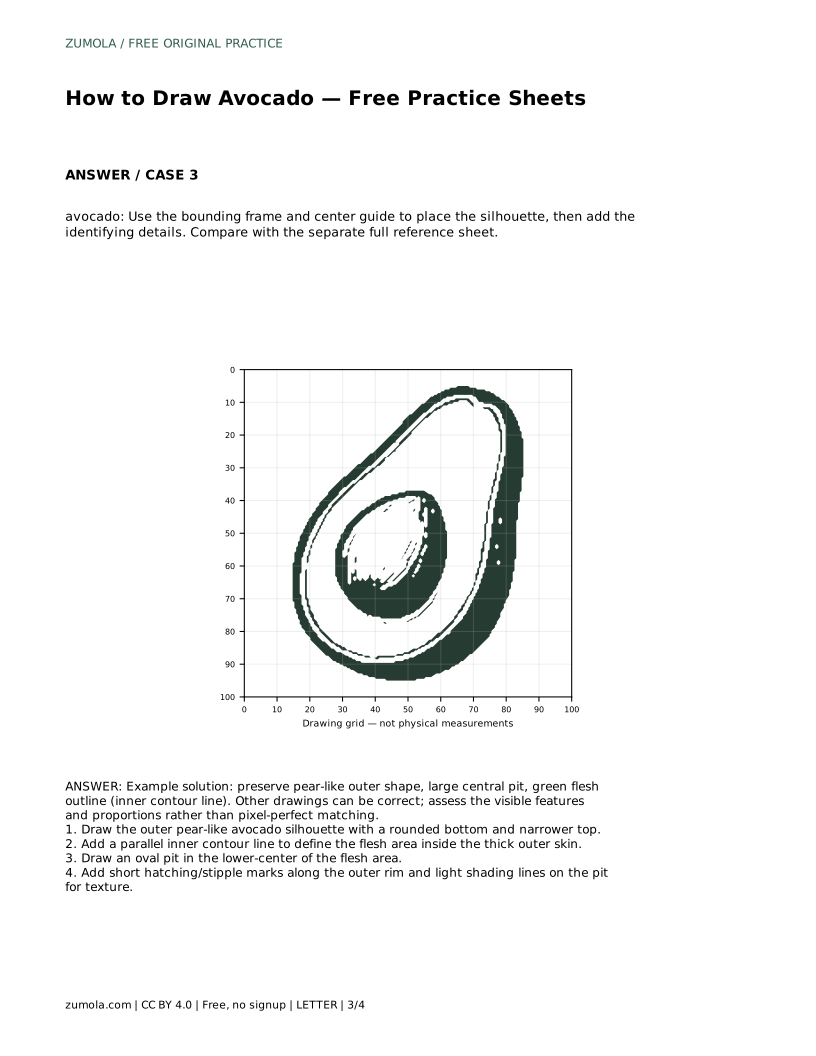
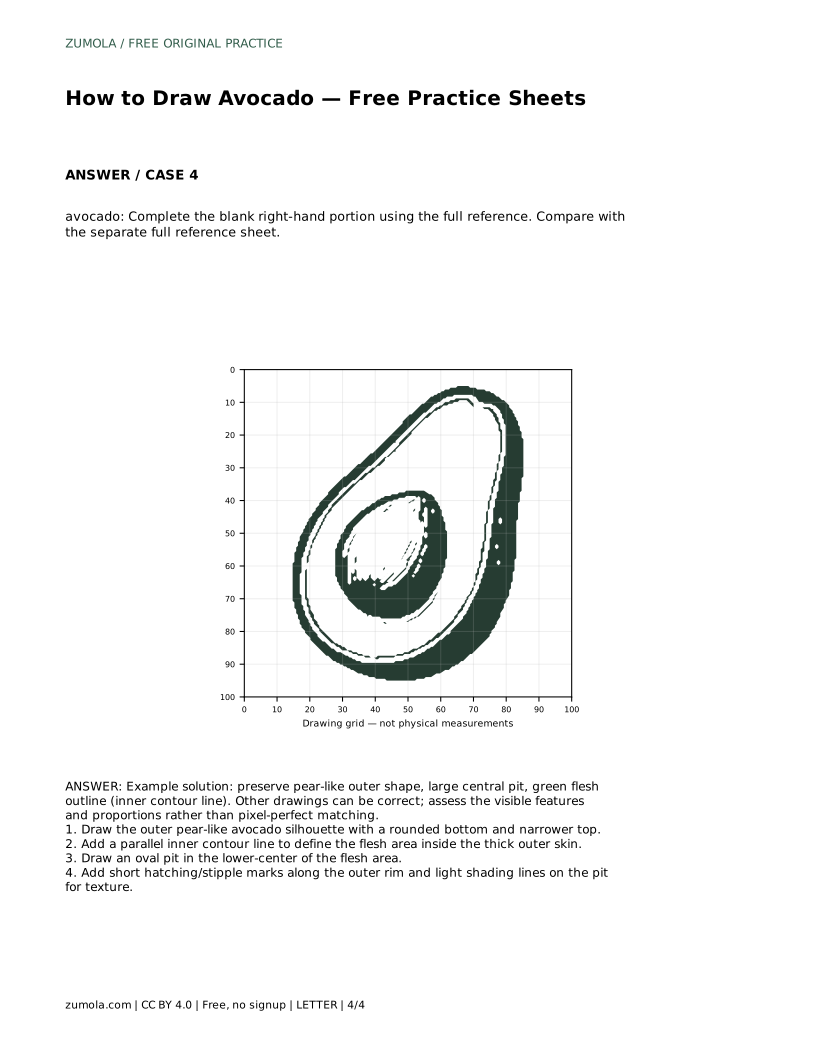
Reference diagrams
LETTER · Download PDF
A4 · Download PDF
Free original resources
Learn to draw an avocado by building the pear-like silhouette, inner flesh contour, central oval pit, and surface texture. Free printable practice sheets included.
Four original cases, with reference diagrams, practice sheets and worked answers. Everything is free; no signup required.
LETTER · Download PDF
A4 · Download PDF
LETTER · Download PDF
A4 · Download PDF
LETTER · Download PDF
A4 · Download PDF
Use A4 or US Letter to match your printer. Use the stated values and conditions to solve each exercise; diagrams are not physical measuring rulers.
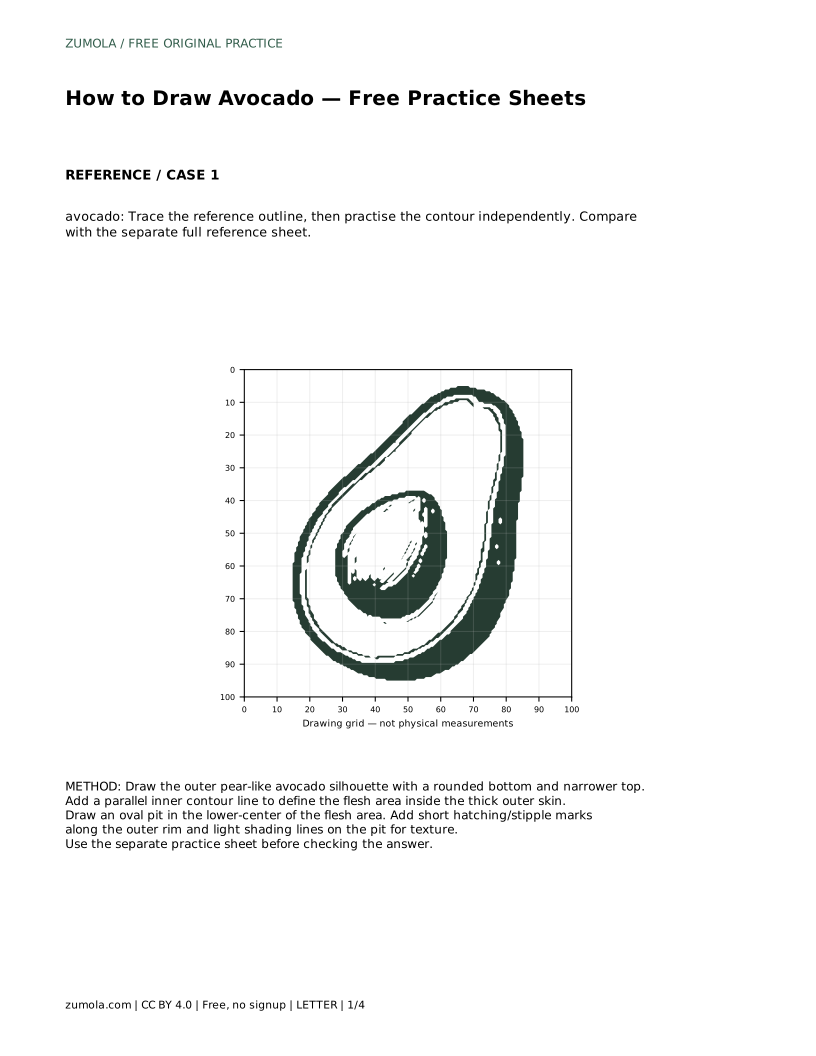
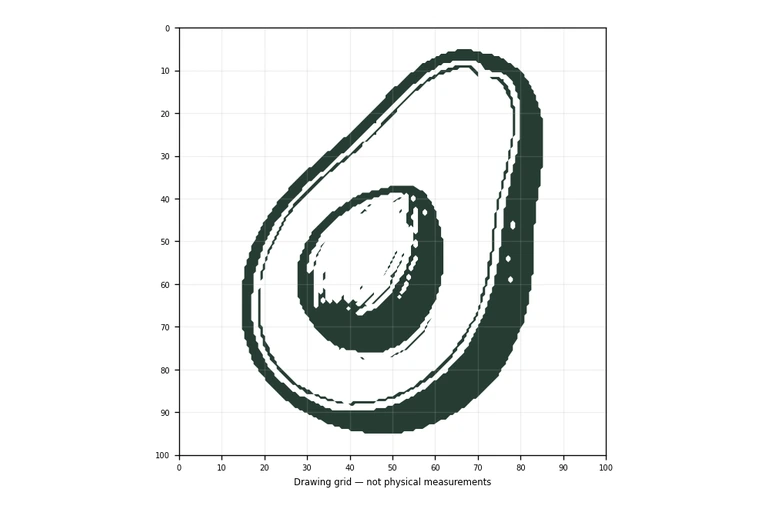
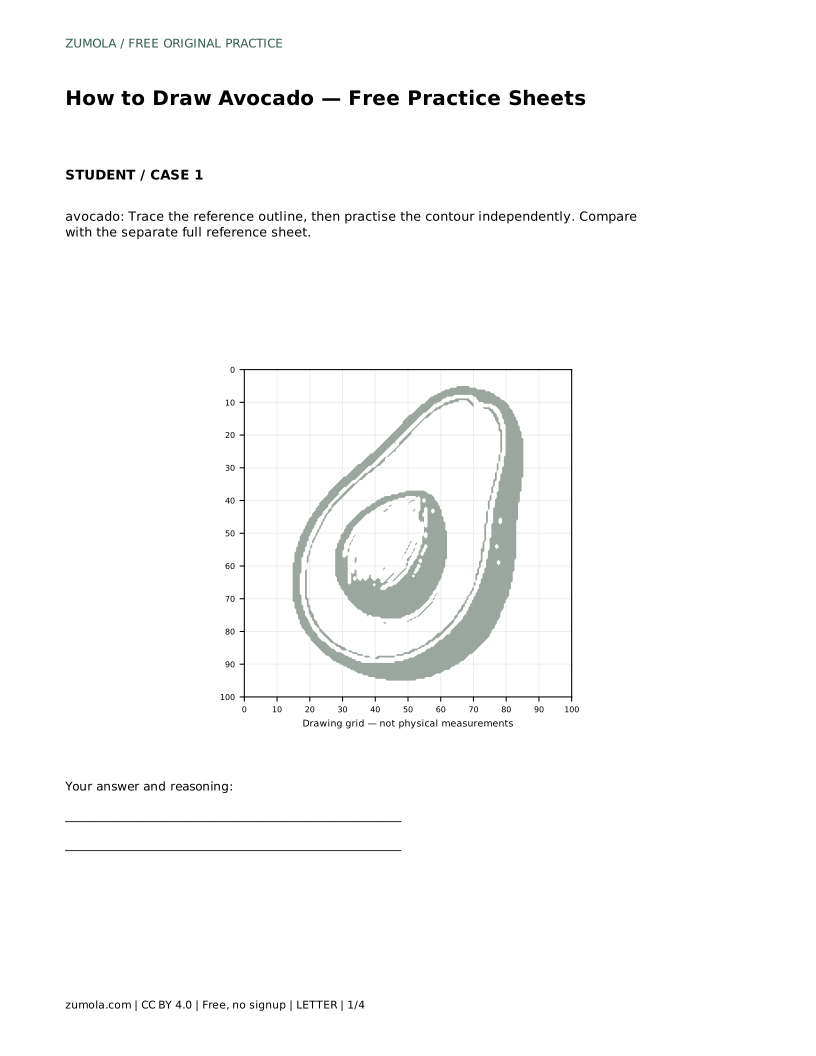
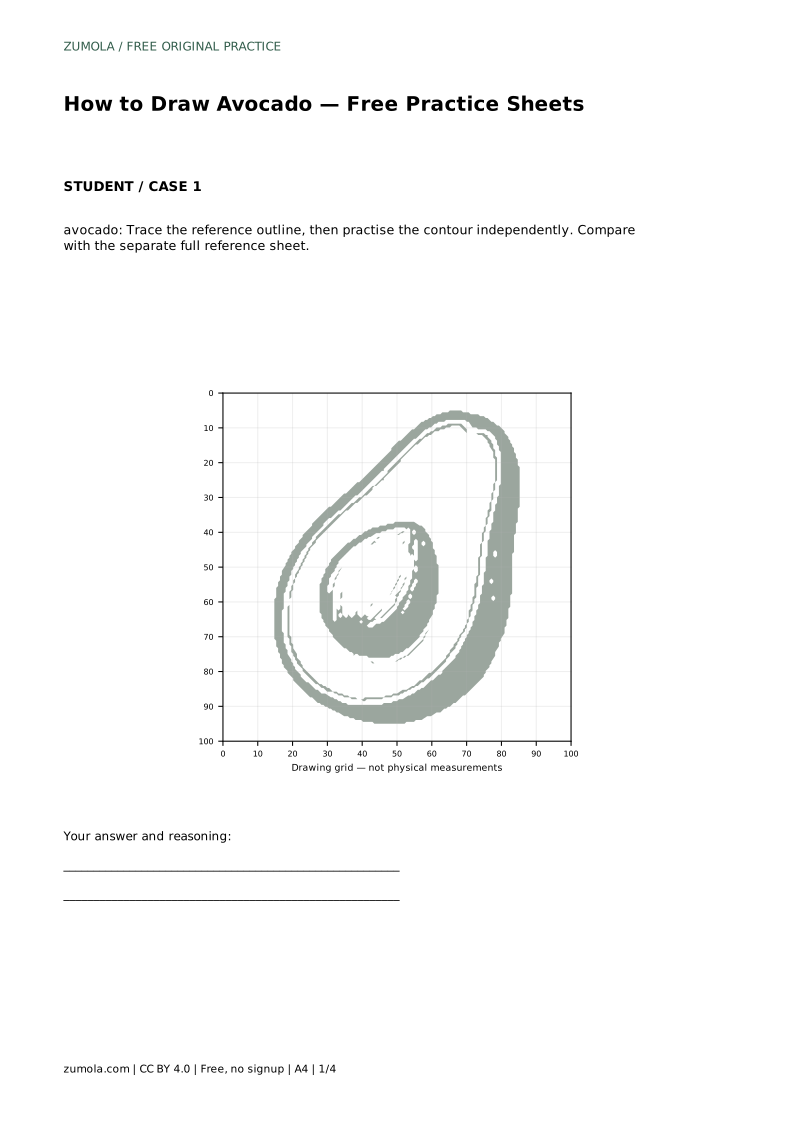
An avocado drawing depends on a few clear features: a pear-like outer silhouette with a rounded bottom and narrower top, a parallel inner contour that marks the thick skin, a large oval pit set in the lower-center of the flesh, and light texture marks. This page explains how to build those features in order, then how to check your work against a separate full reference sheet. The practice sheets offer tracing, grid, guide-frame, and partial-completion formats, each asking you to preserve the same visible structure.
Begin with the whole shape before any interior detail. An avocado outline is wider and rounder at the bottom and tapers toward a narrower top, which gives it the familiar pear-like form. Draw this silhouette lightly so you can adjust it. Check that the bottom curve is broad and smooth and that the top narrows gradually rather than ending in a sharp point.
Keep the silhouette as one continuous contour. If the outline wobbles, redraw it rather than patching small segments, because a single clean contour makes the later inner line easier to space evenly.
Inside the outer silhouette, draw a second line that runs roughly parallel to it. This inner contour represents the boundary between the thick outer skin and the flesh, so the gap between the two lines should stay fairly even all the way around. A common error is letting the inner line drift close to the outer edge on one side and far from it on the other.
Next, place an oval pit in the lower-center of the flesh area. The pit is large relative to the fruit, so resist shrinking it. Its oval should sit within the inner contour with visible flesh around it. Position matters: a pit pushed to the top or crowded against the skin changes the recognizable structure of a cut avocado.
Texture should support the form, not hide it. Short hatching or stipple marks along the outer rim suggest the bumpy skin, while light shading lines across the pit suggest its rounded surface. Keep these marks small and directional so they follow the curves rather than crossing them randomly.
Shading can be simple: slightly darker marks near the outer rim and gentle lines curving across the pit. Avoid heavy uniform filling, which flattens the drawing and obscures the contours you worked to place.
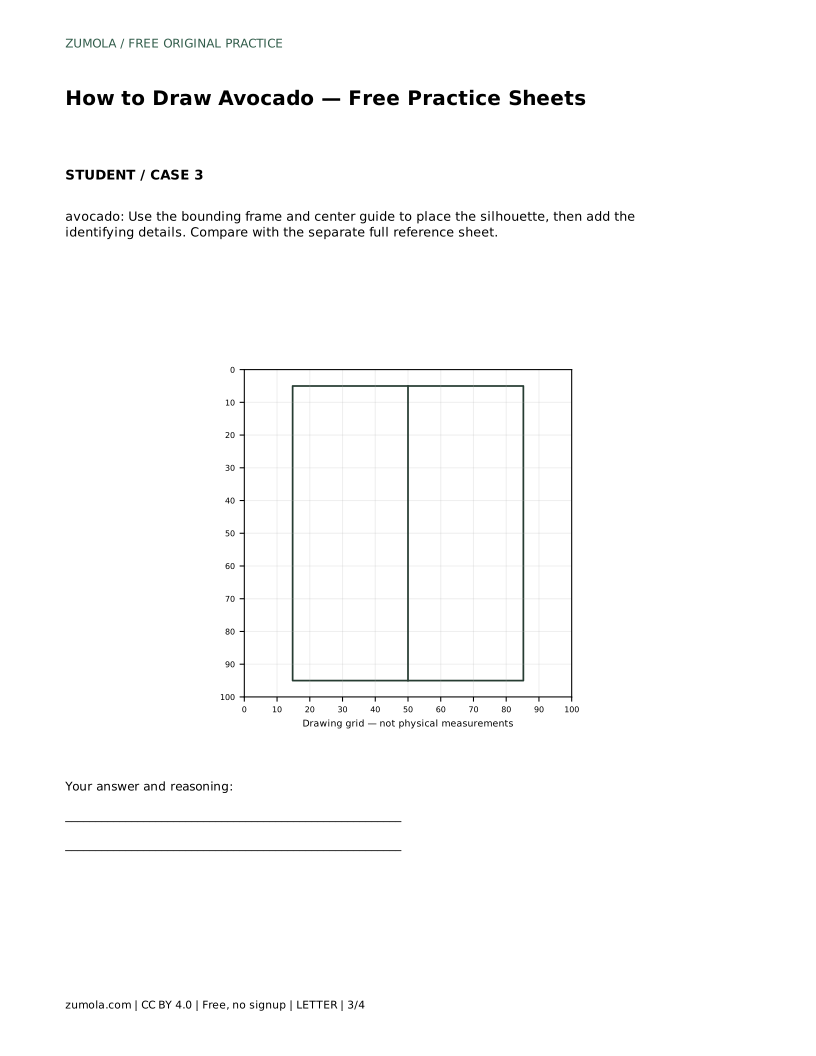
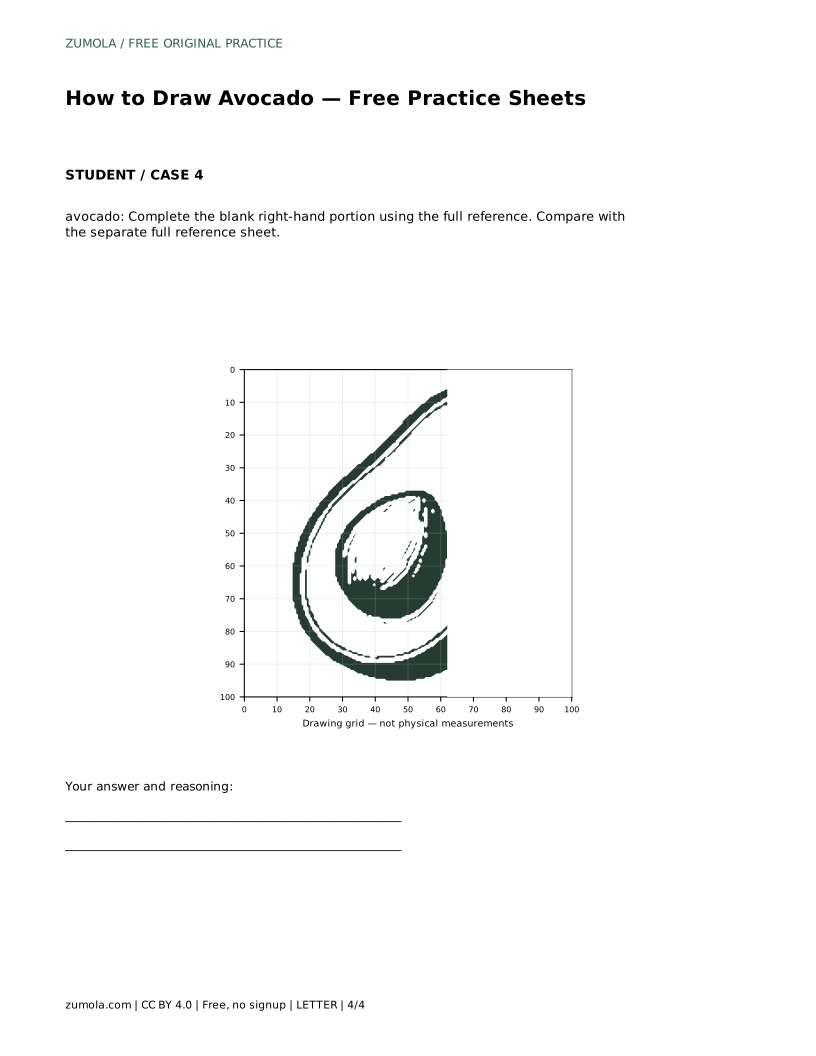
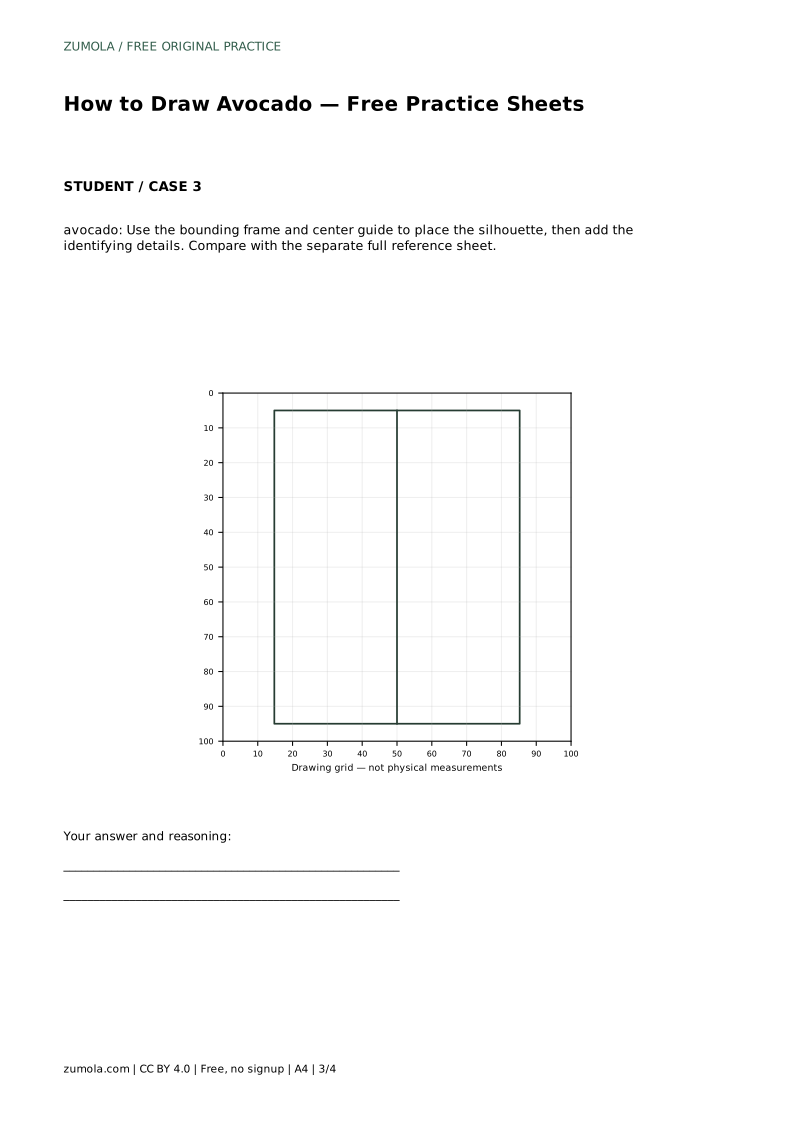
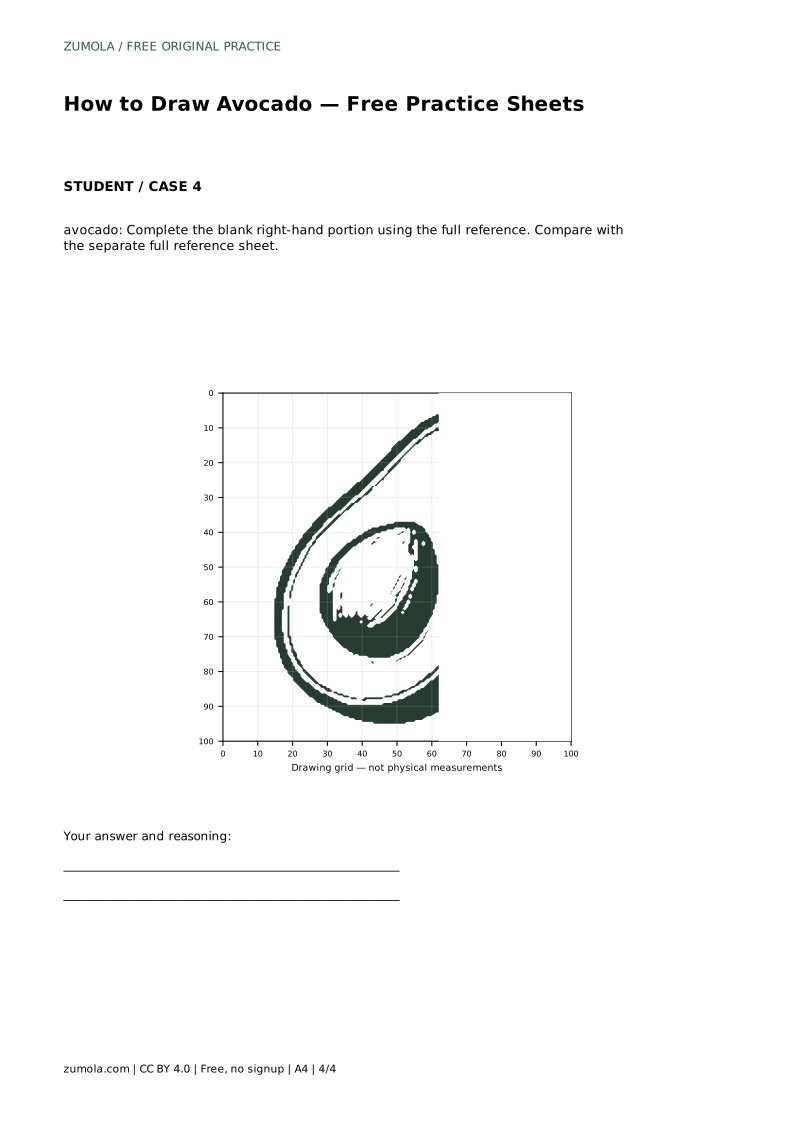
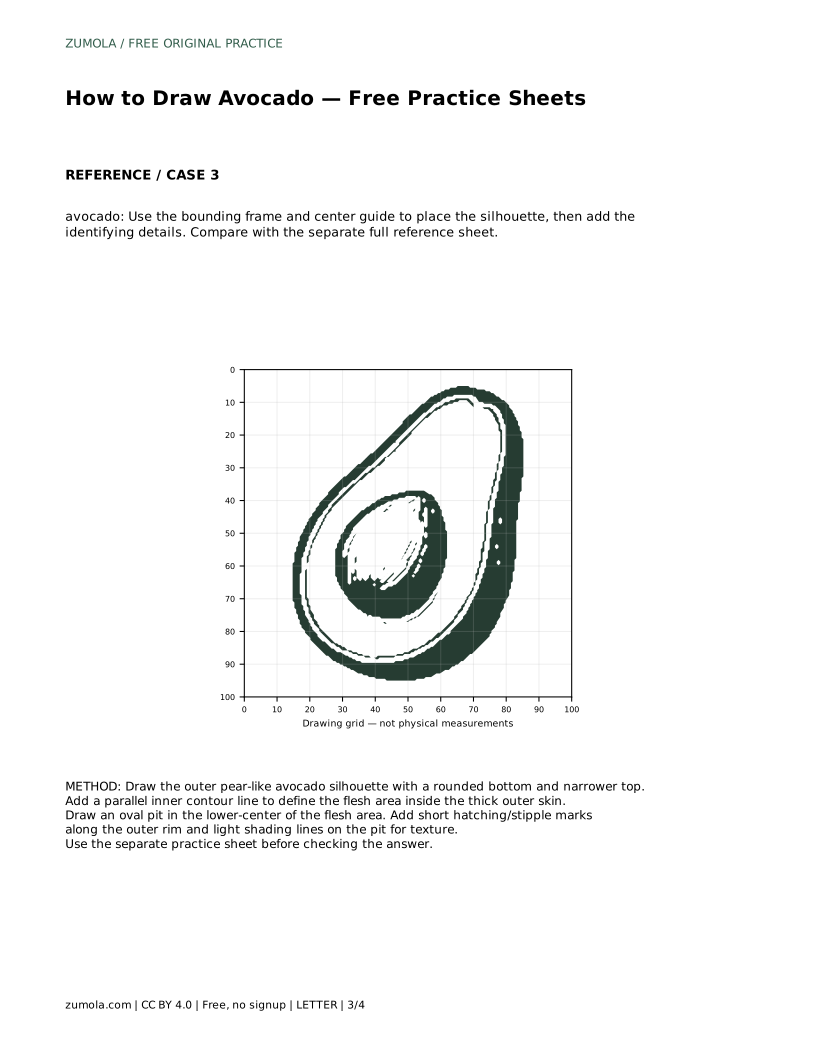
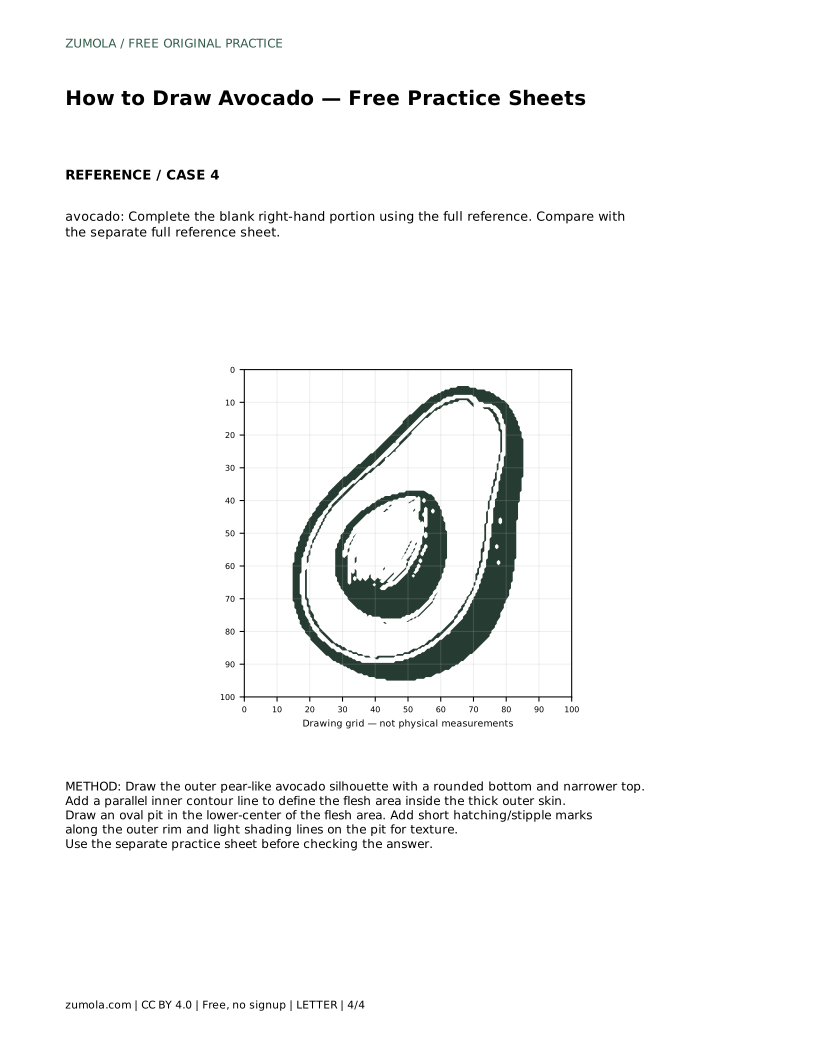
The sheets present the same subject in different ways. Tracing asks you to follow the reference outline, then practise the contour independently. Grid copying asks you to match grid intersections so proportions transfer accurately. The bounding frame and center guide help you place the silhouette before adding details. Partial completion asks you to finish a blank portion using the full reference.
In every format, compare your finished drawing with the separate full reference sheet. Judge visible features and proportions rather than pixel-perfect matching, since more than one drawing can be correct.
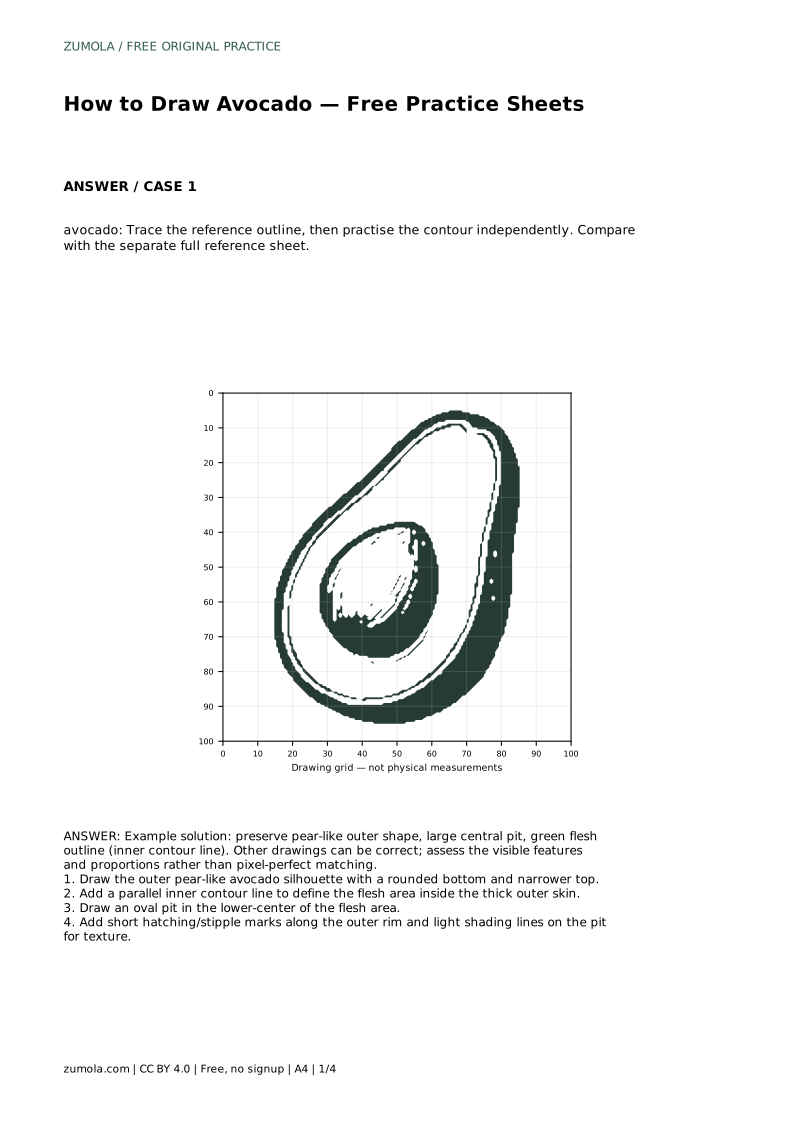
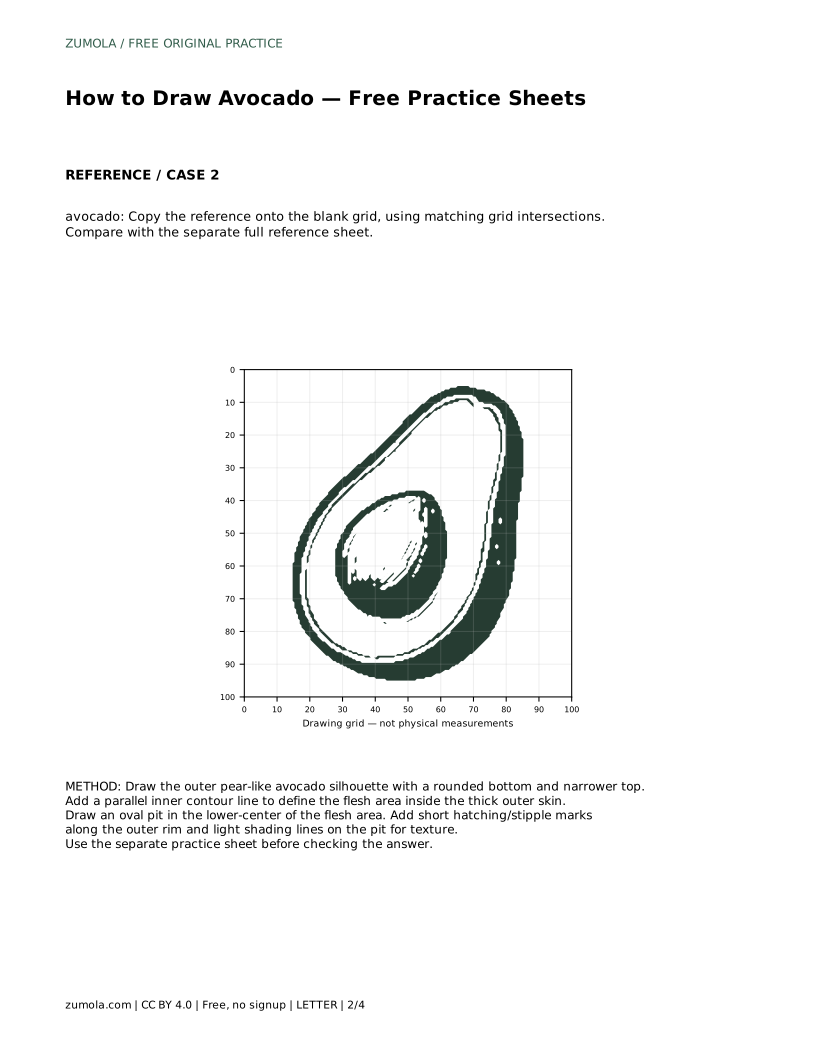
avocado: Trace the reference outline, then practise the contour independently. Compare with the separate full reference sheet.
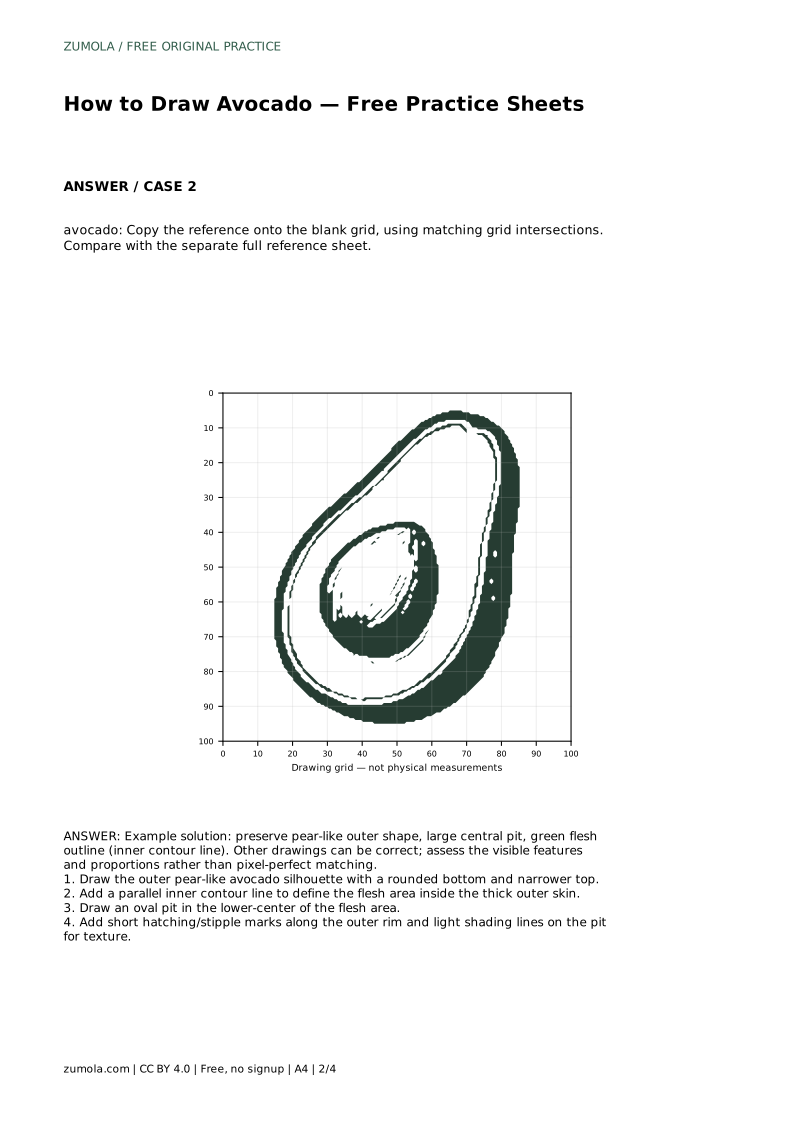
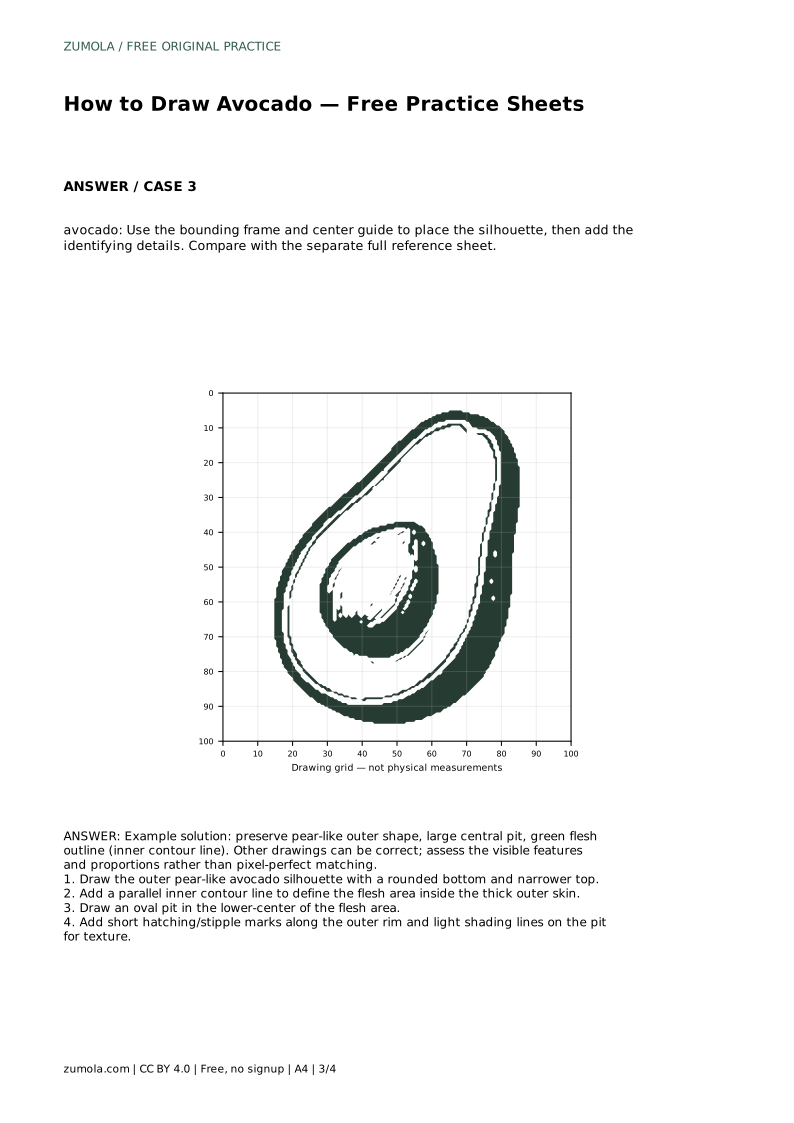
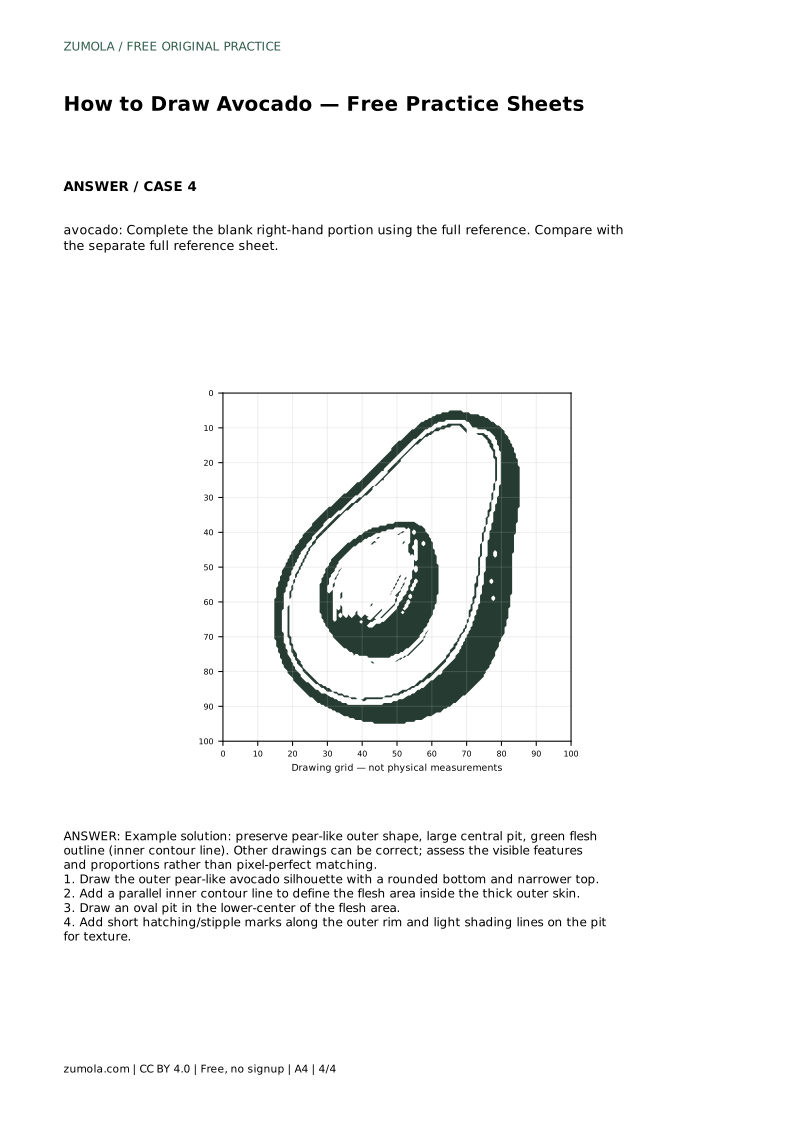
Example solution: preserve pear-like outer shape, large central pit, green flesh outline (inner contour line). Other drawings can be correct; assess the visible features and proportions rather than pixel-perfect matching. Draw the outer pear-like avocado silhouette with a rounded bottom and narrower top. Add a parallel inner contour line to define the flesh area inside the thick outer skin. Draw an oval pit in the lower-center of the flesh area. Add short hatching/stipple marks along the outer rim and light shading lines on the pit for texture.
No. Preserve the pear-like outer shape, the inner flesh contour, and the large lower-center pit; other drawings can be correct when those features and proportions are visible.
Place the oval pit in the lower-center of the flesh area, large enough to leave only a moderate band of flesh around it.
Outer silhouette first, then the parallel inner contour, then the pit, and finally texture and light shading.
All drawing practice · Free coordinate paper
Original resources · CC BY 4.0 · Free for personal and classroom use with attribution.