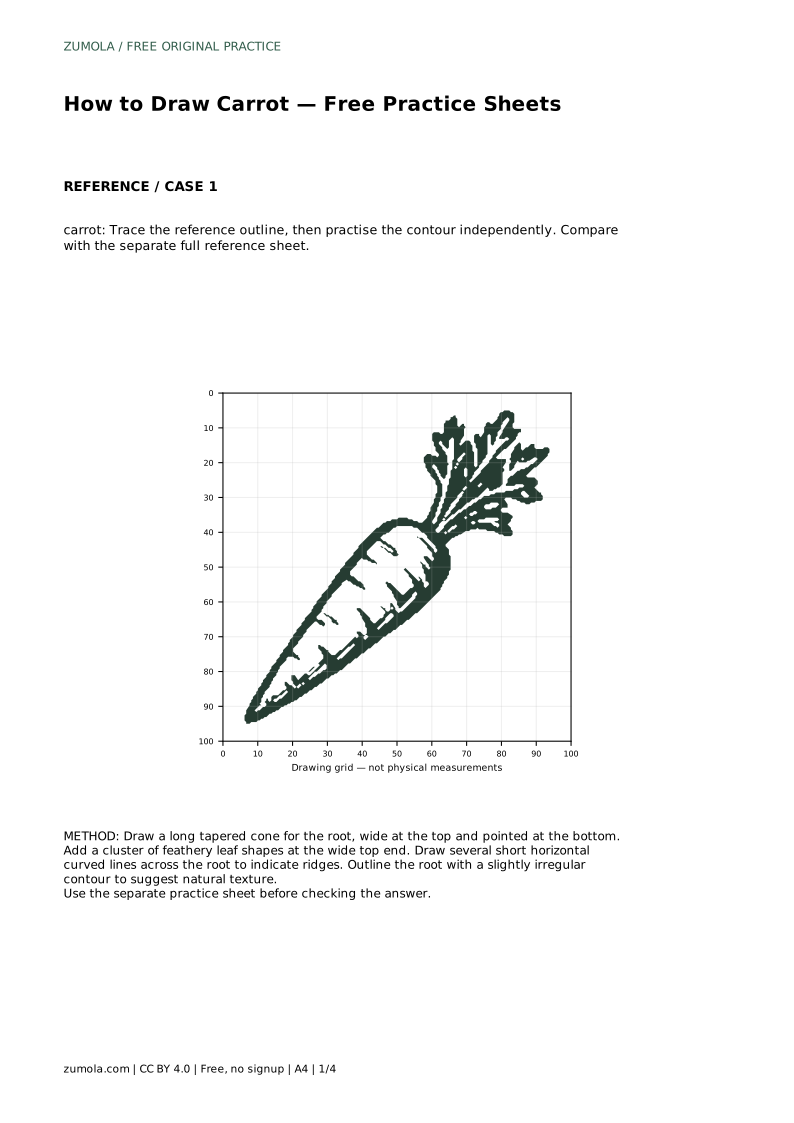
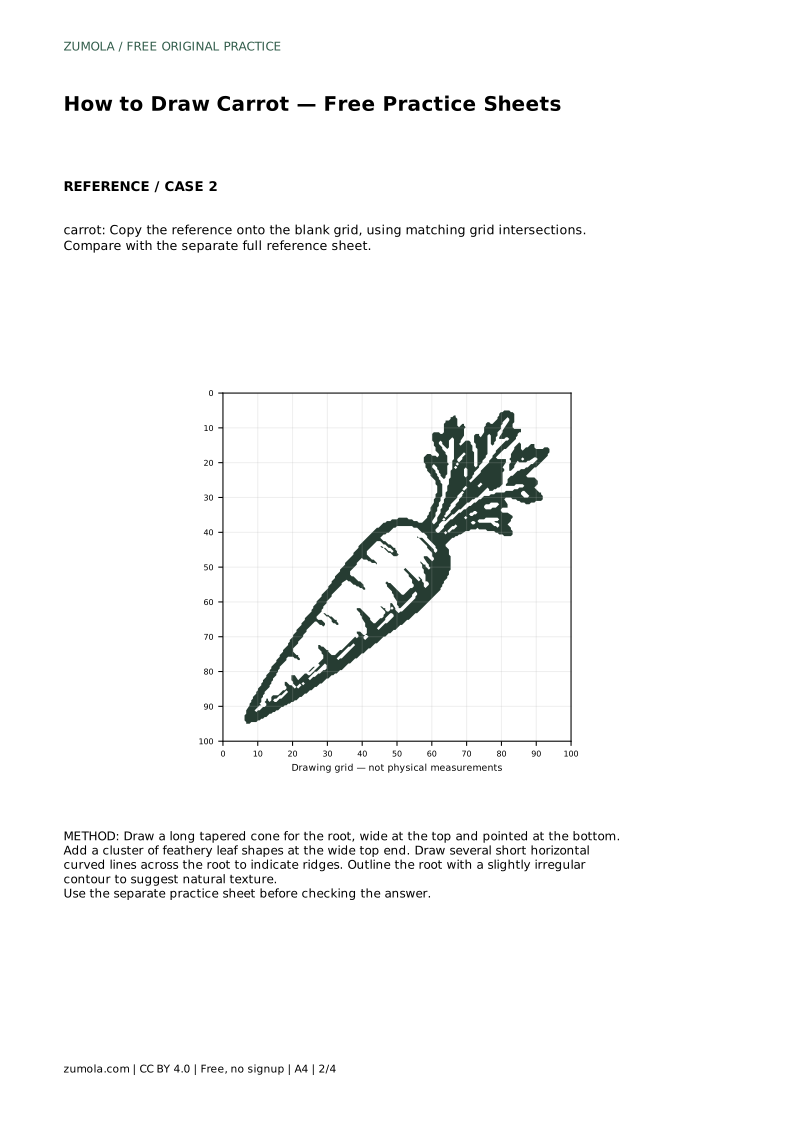
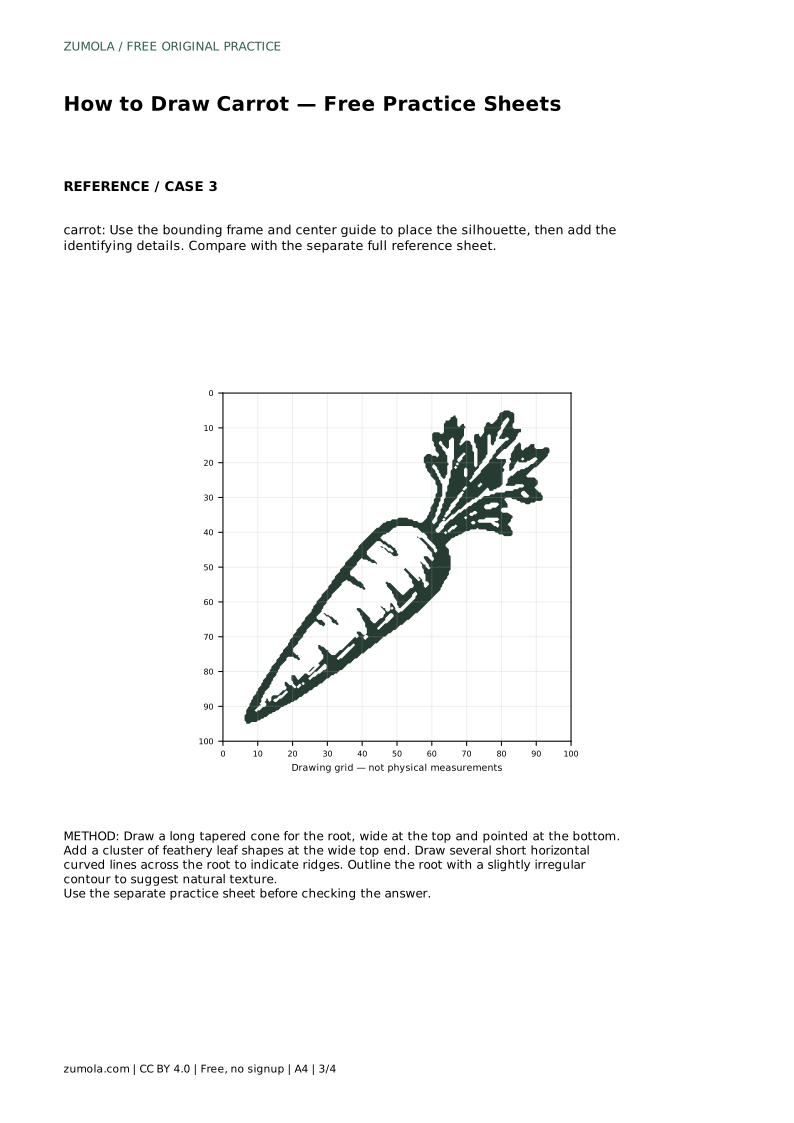
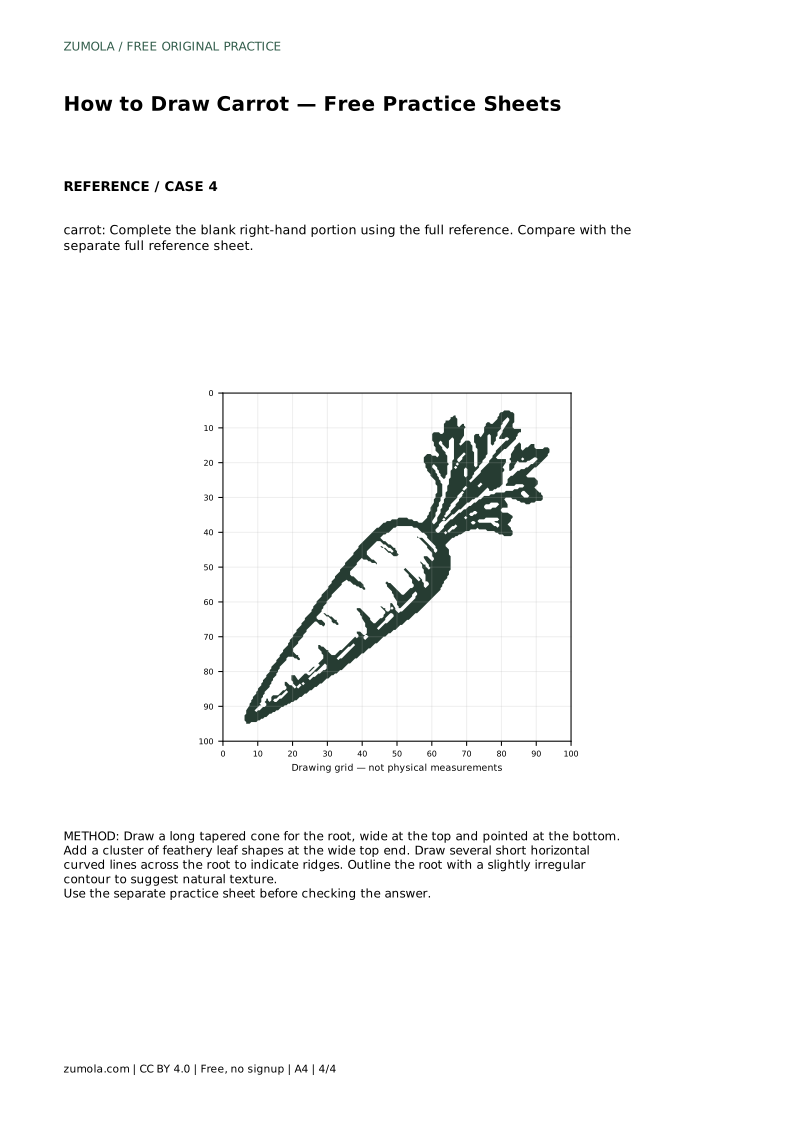
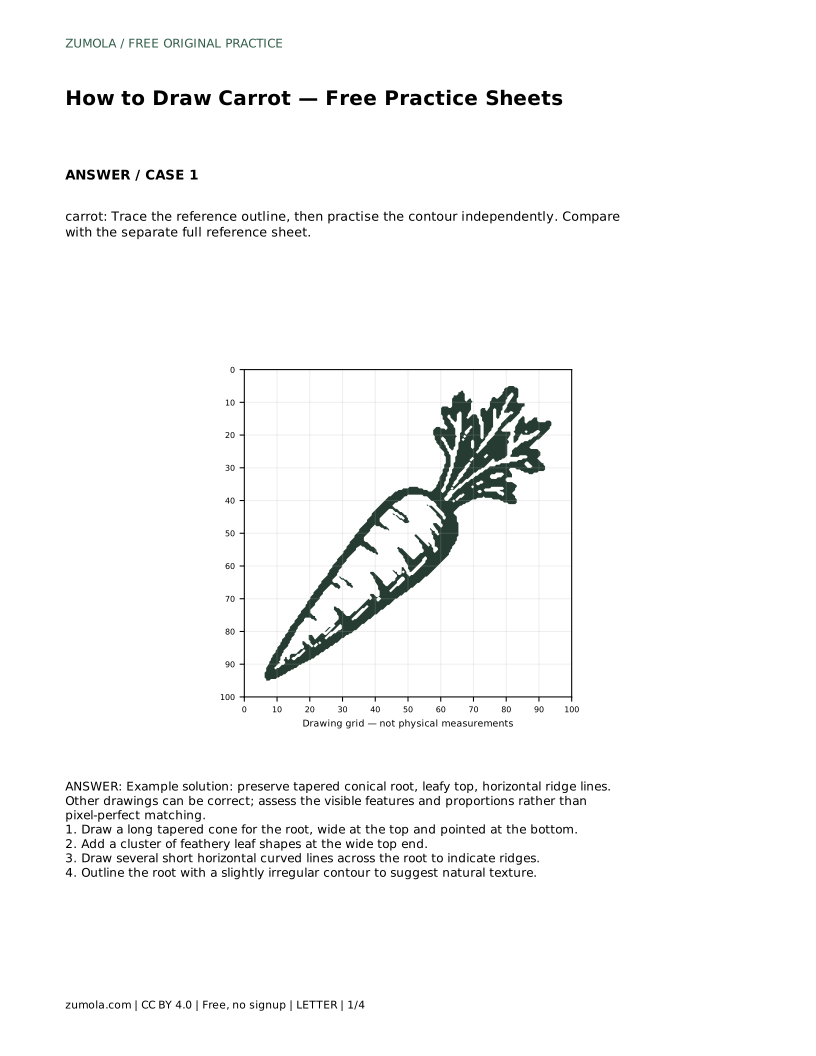
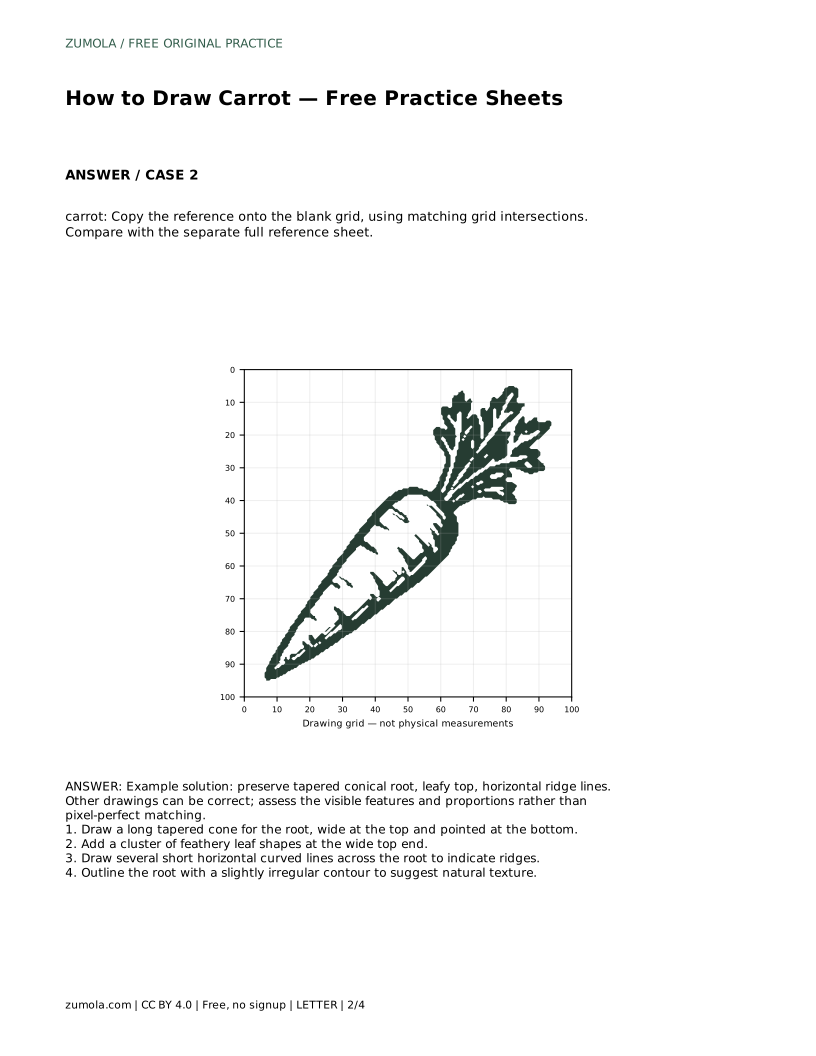
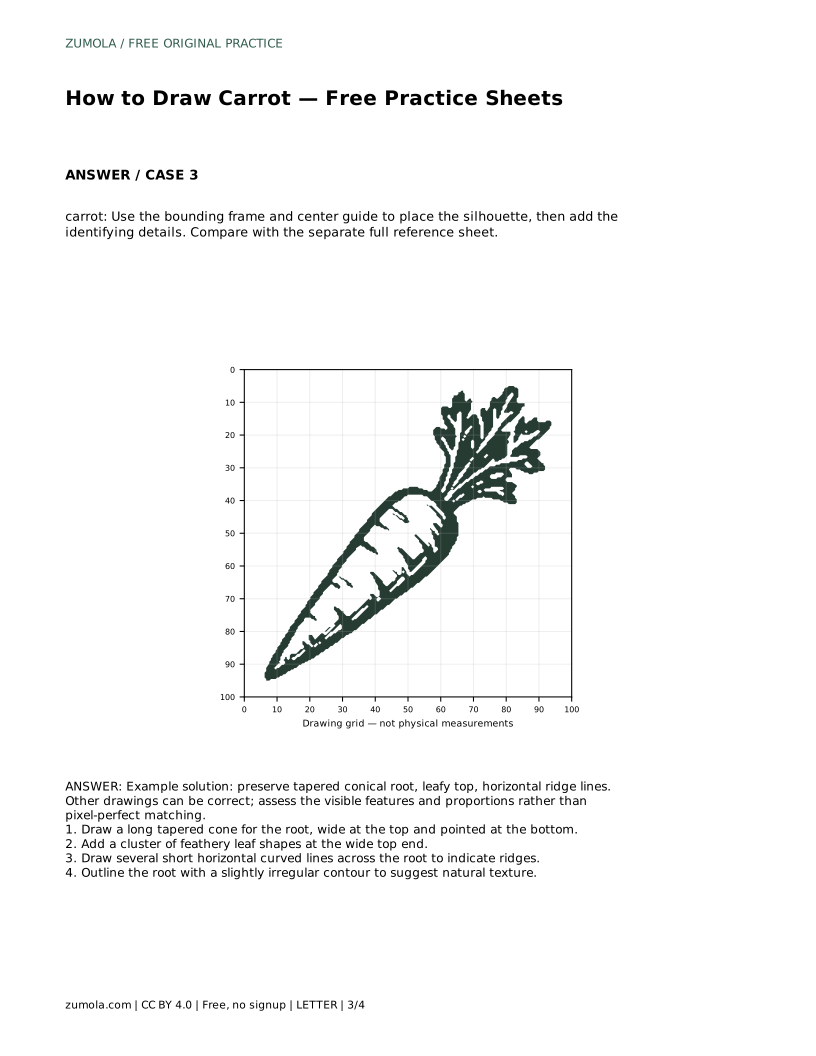
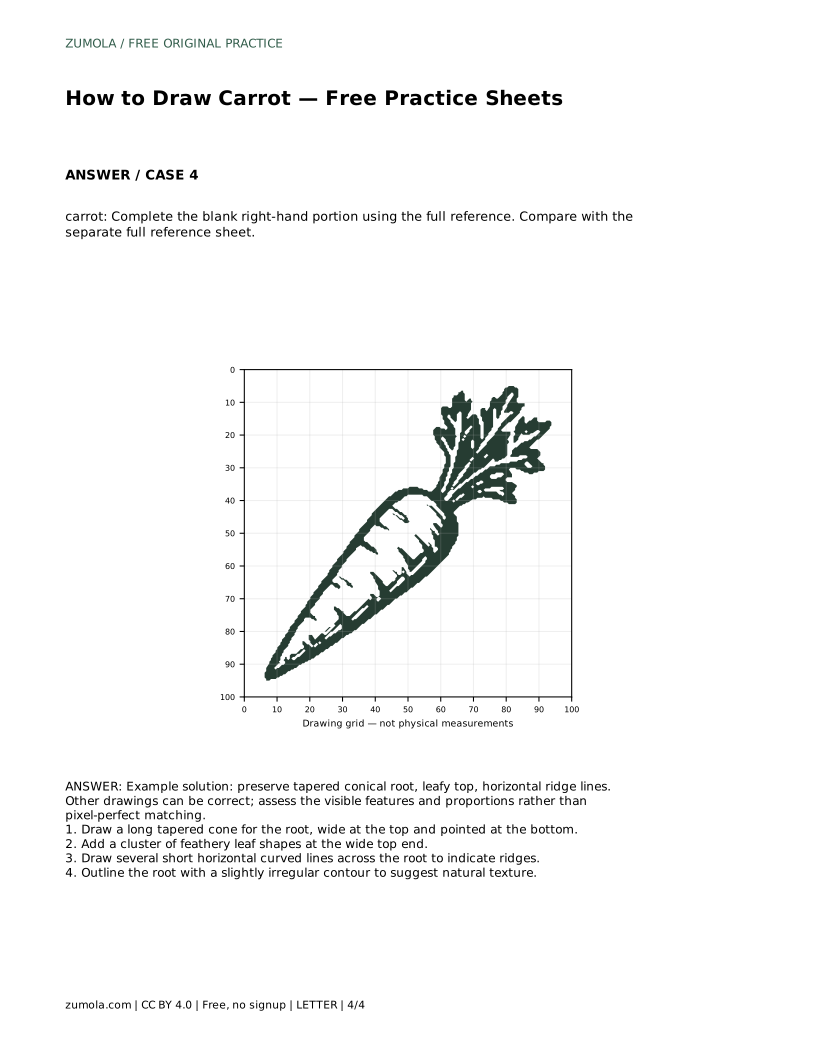
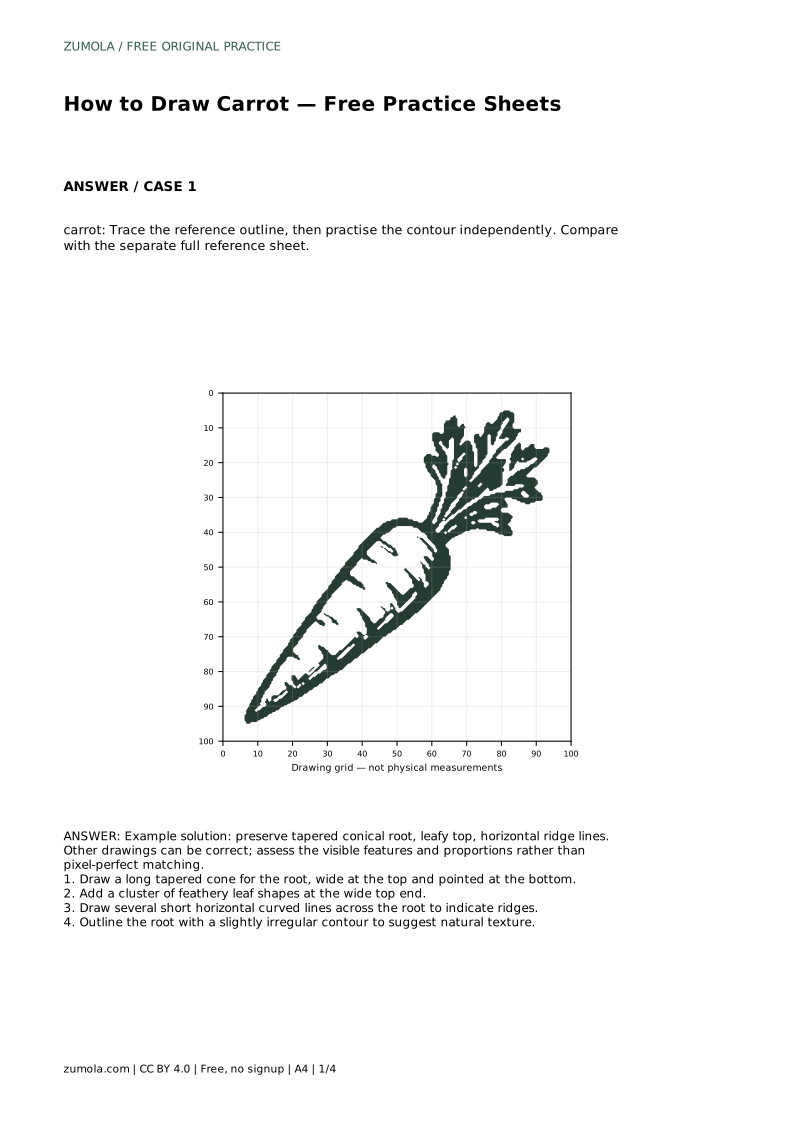
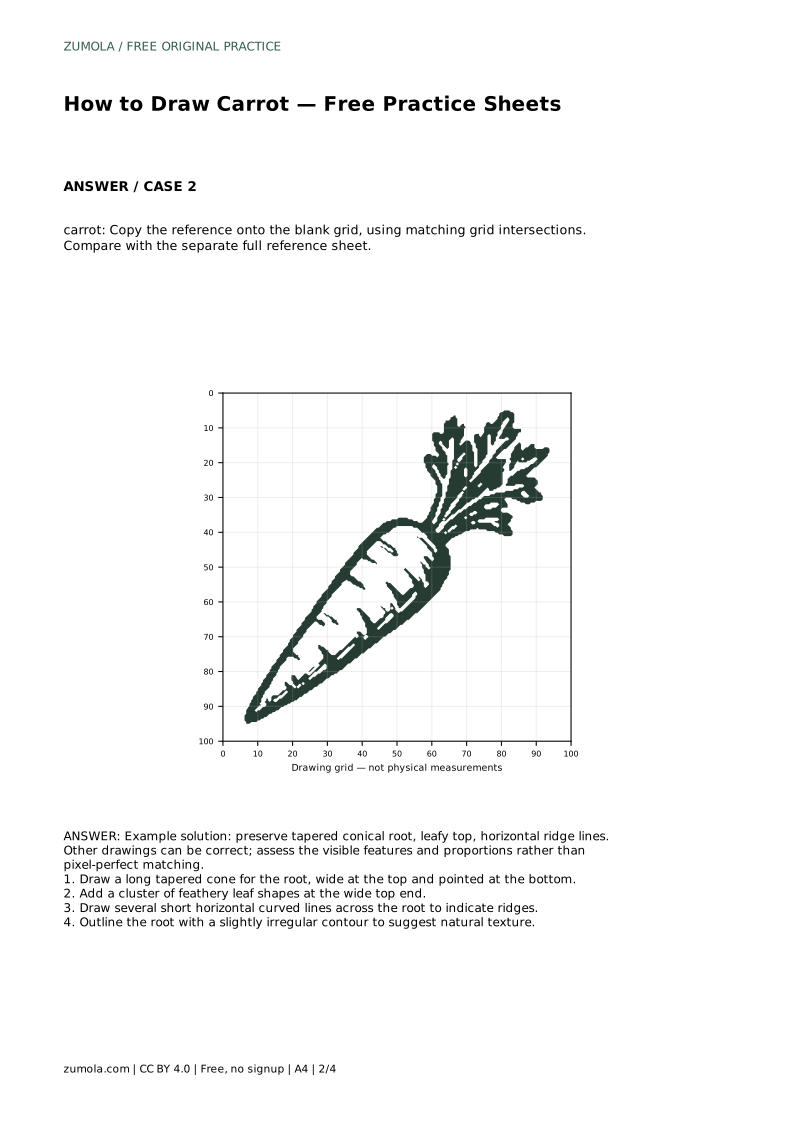
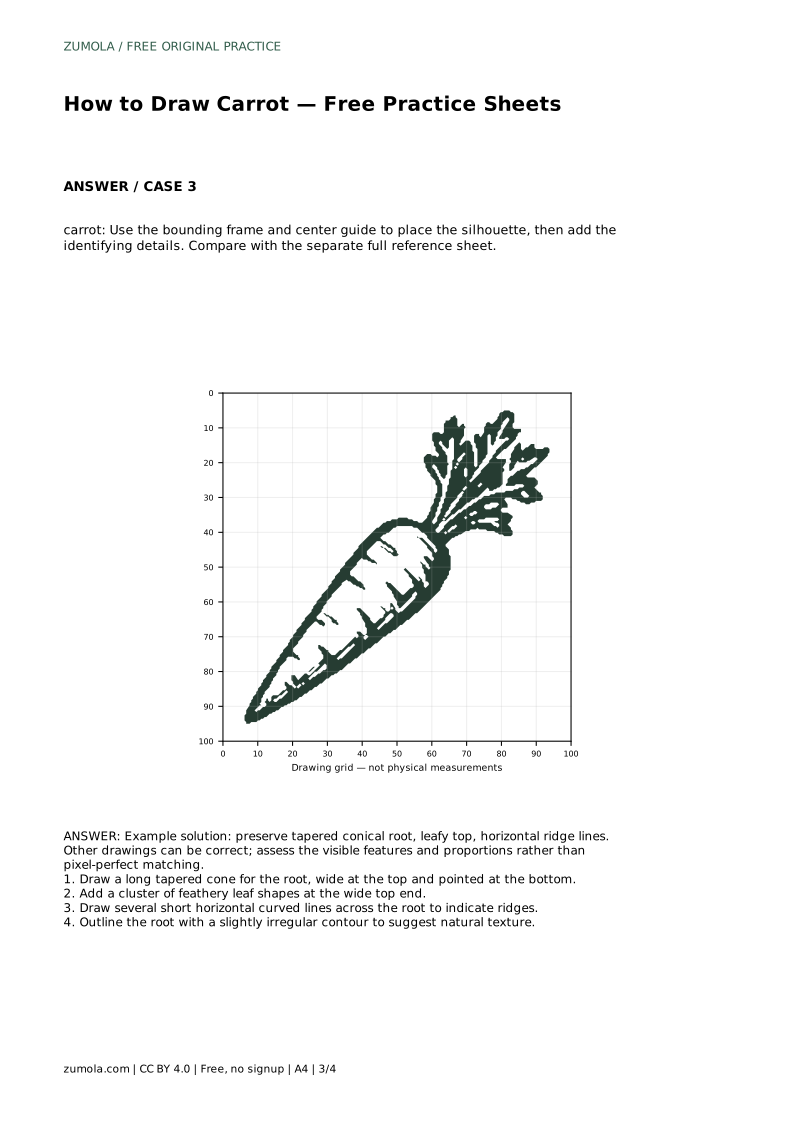
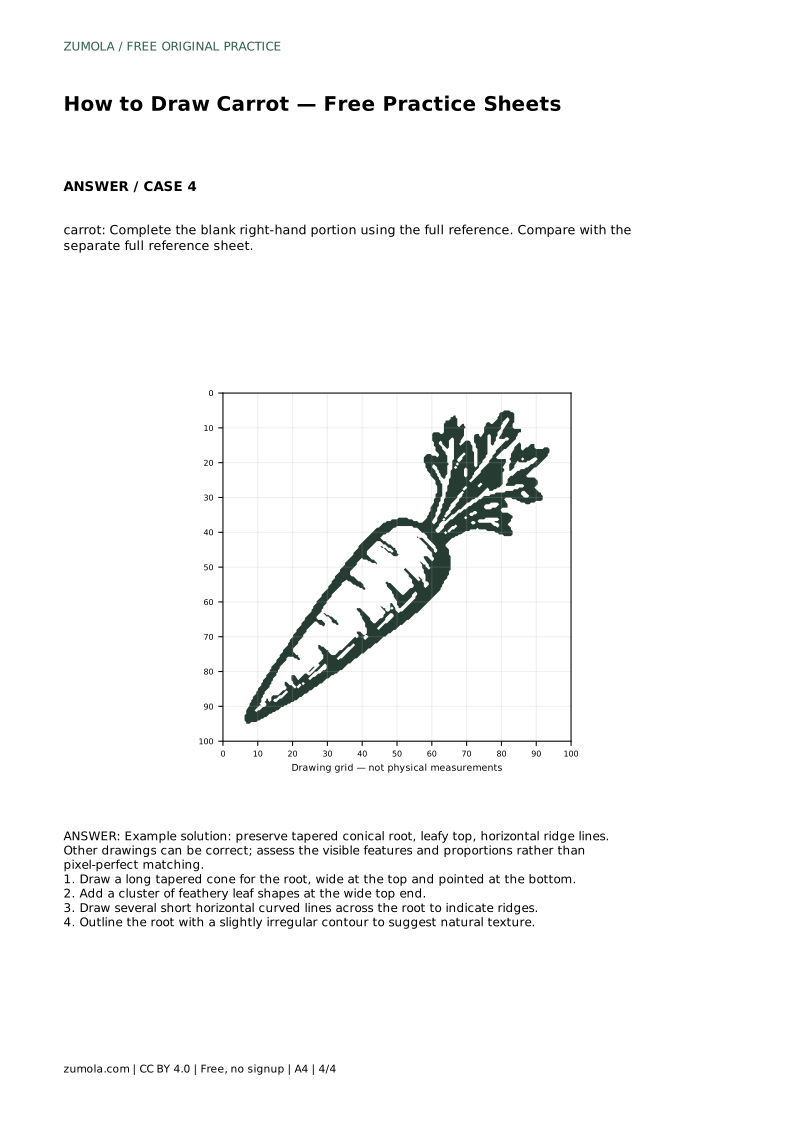
Reference diagrams
LETTER · Download PDF
A4 · Download PDF
Free original resources
Learn to draw a realistic carrot by building a tapered root, feathery leaves, and natural ridge lines, then practise with tracing, grid, and frame sheets.
Four original cases, with reference diagrams, practice sheets and worked answers. Everything is free; no signup required.
LETTER · Download PDF
A4 · Download PDF
LETTER · Download PDF
A4 · Download PDF
LETTER · Download PDF
A4 · Download PDF
Use A4 or US Letter to match your printer. Use the stated values and conditions to solve each exercise; diagrams are not physical measuring rulers.
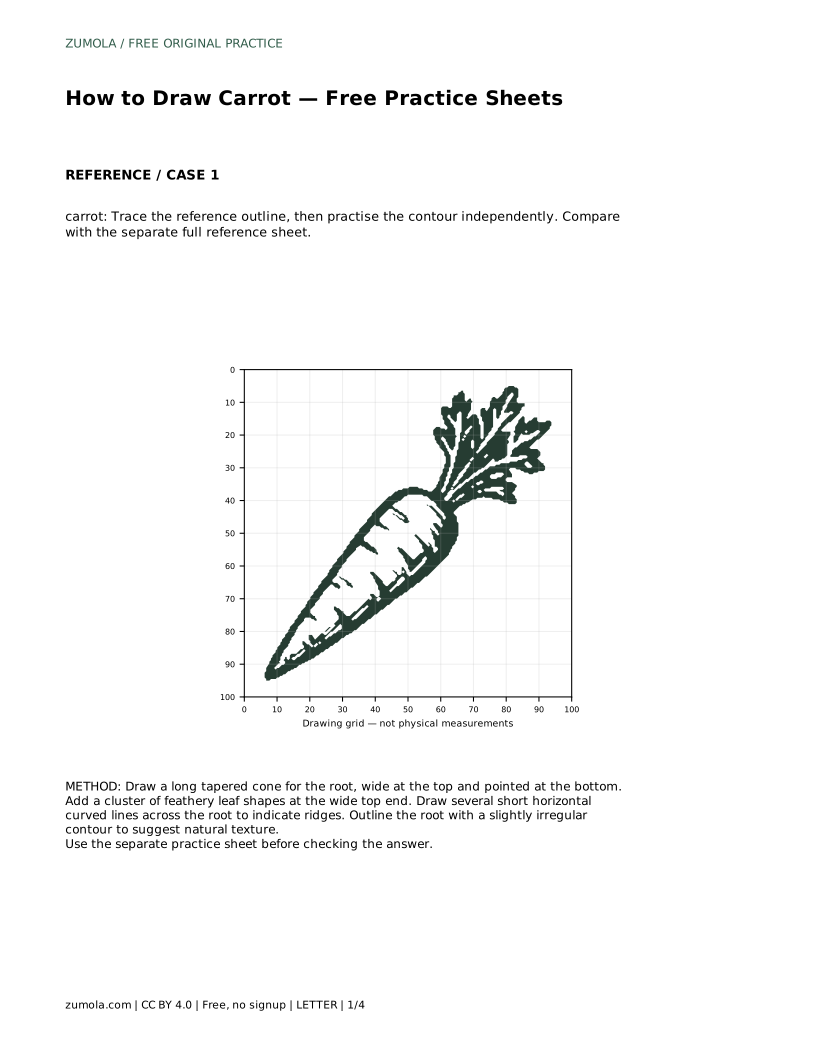
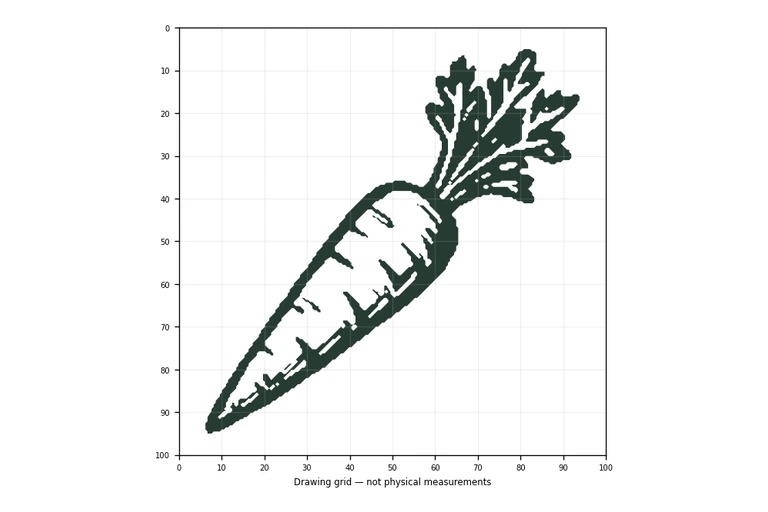
A convincing carrot drawing depends on a few clear features: a long root that is wide at the top and narrows to a point, a cluster of feathery leaves at the wide end, and short curved ridge lines across the root. This page explains how to construct those features in order, then how to use the practice sheets to compare your drawing with a separate full reference.
Begin with the largest shape: the root. Draw a long tapered cone, placing the widest part at the top and bringing the sides gradually together to a single point at the bottom. Keep the taper smooth rather than stepping inward in sudden jumps. A carrot root is roughly conical, but real roots bend slightly, so a gentle curve along the length is acceptable.
Once the cone reads clearly, refine the outline. Instead of a mechanically perfect edge, let the contour vary slightly to suggest natural texture. Small irregularities should stay subtle; the overall tapered form must remain obvious. Check that the point is genuinely narrow and that the top is broad enough to support the leaf cluster.
At the wide top end, add a cluster of feathery leaf shapes. Draw several stems spreading outward and upward, then break each stem into small, narrow leaflets. The cluster should sit on the broad end of the root, not float beside it. Keep the leaves lighter and more open than the solid root so the two parts remain visually distinct.
Next, draw several short horizontal curved lines across the root to indicate ridges. Space them along the length rather than crowding them at one end. Each line should curve gently across the root's width and stop before crossing the outline. These marks describe surface structure; they are not decoration, so keep them consistent in direction and scale.
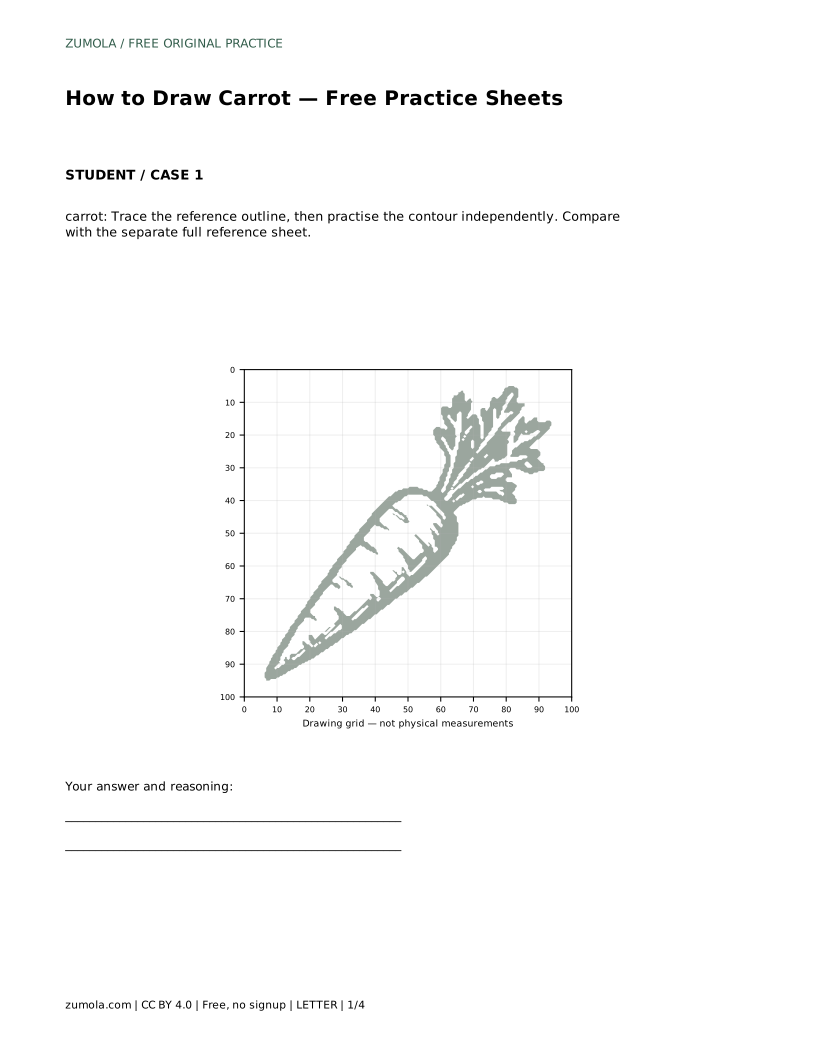
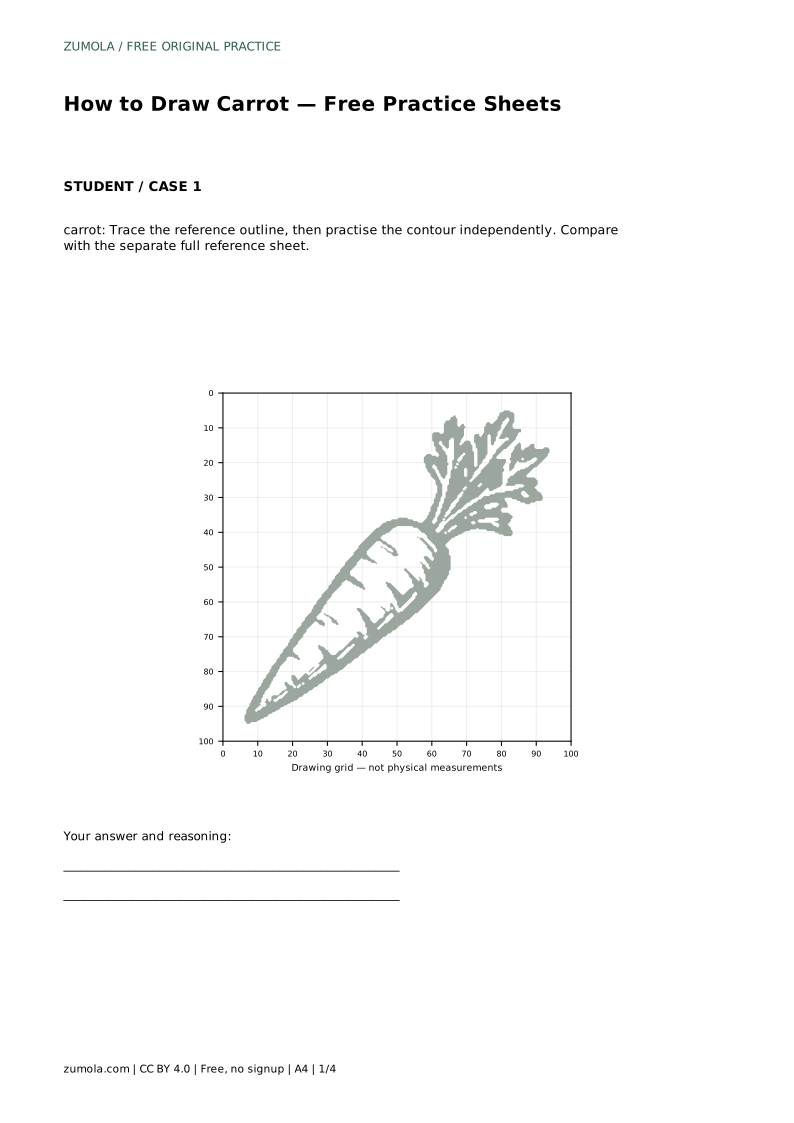
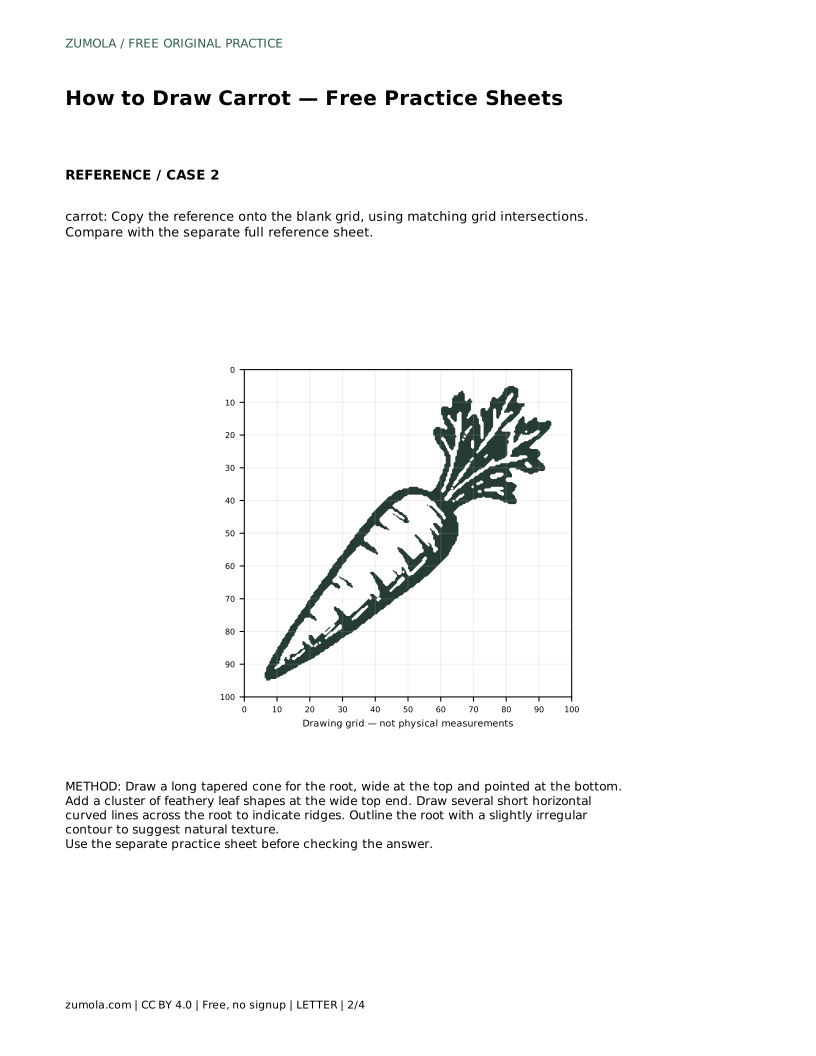
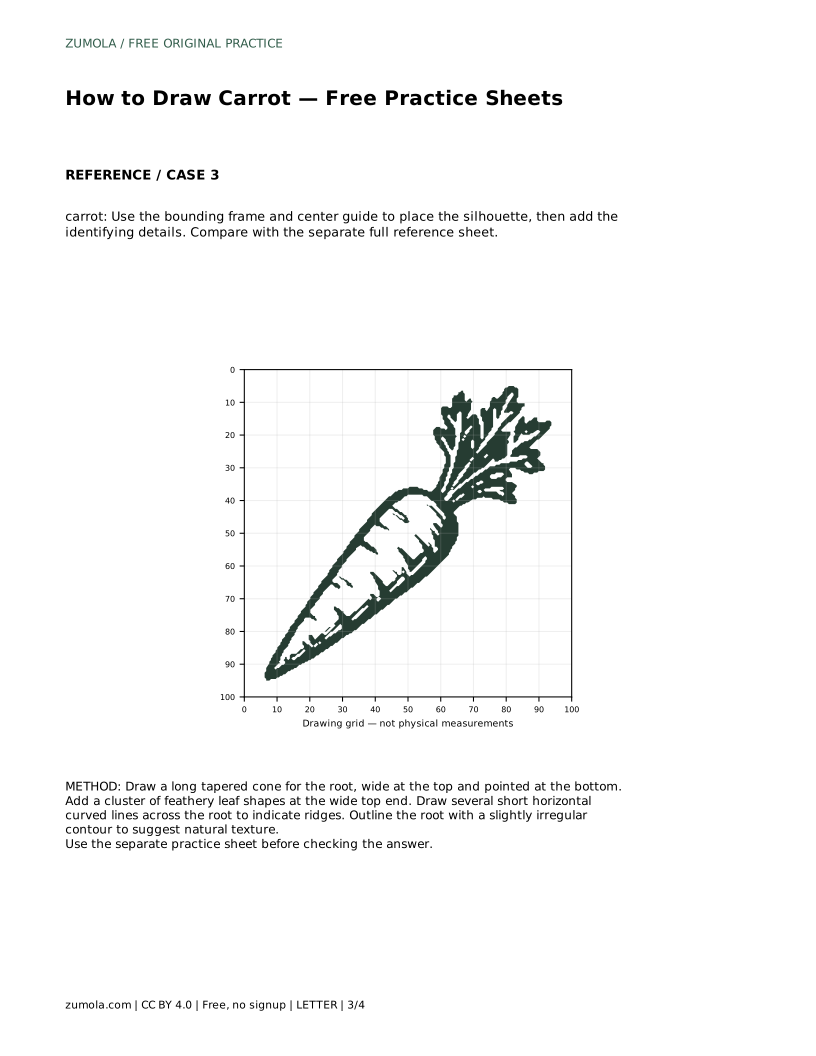
The sheets offer different ways to practise the same features. On the tracing sheet, follow the reference outline first, then attempt the contour independently and compare your result with the separate full reference sheet. On the grid sheet, copy the reference onto the blank grid using matching grid intersections to keep proportions aligned.
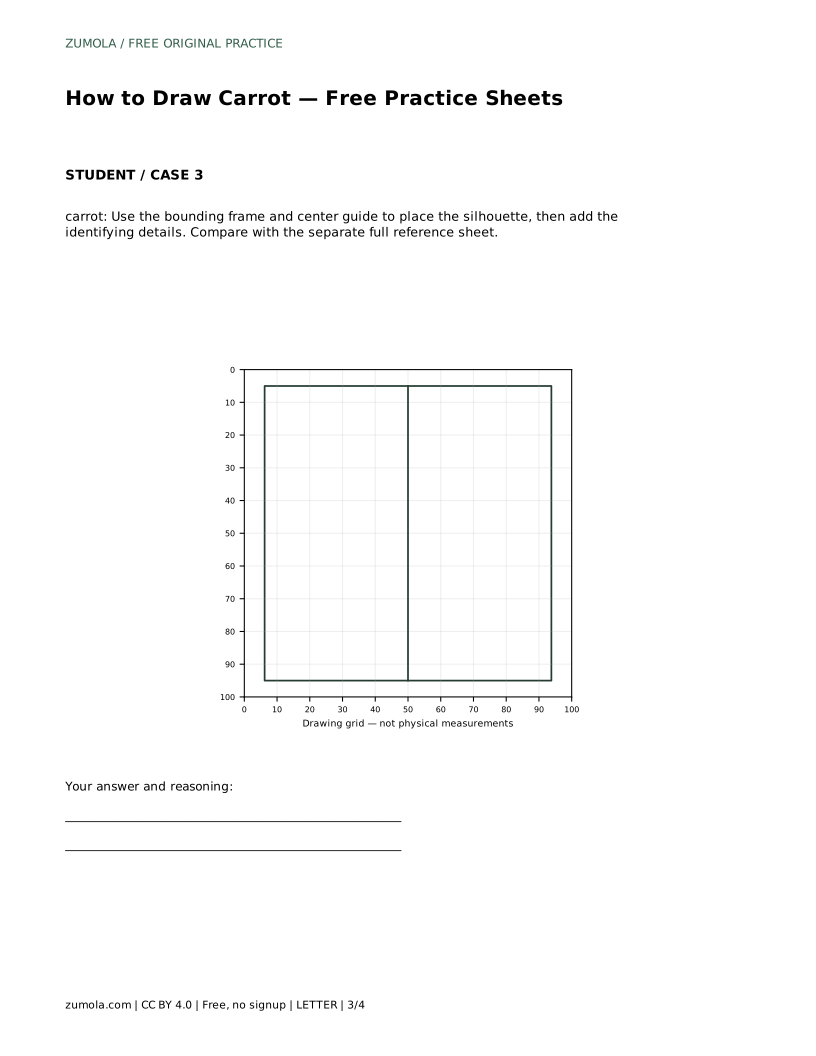
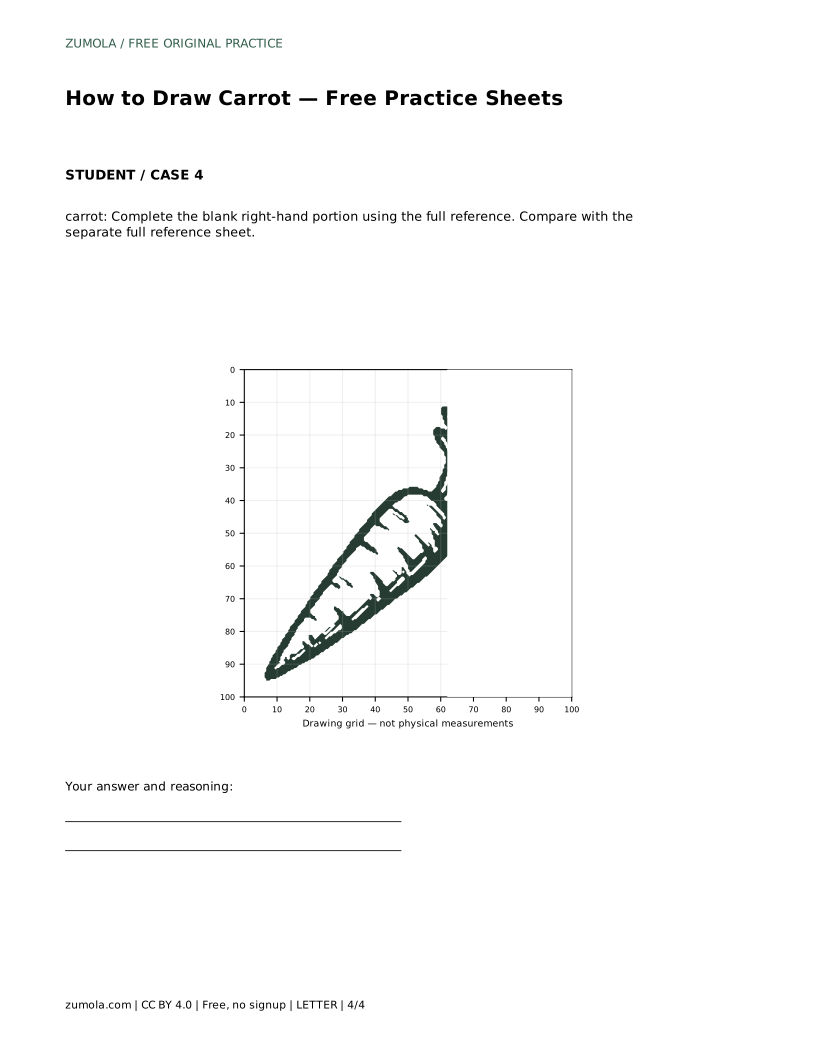
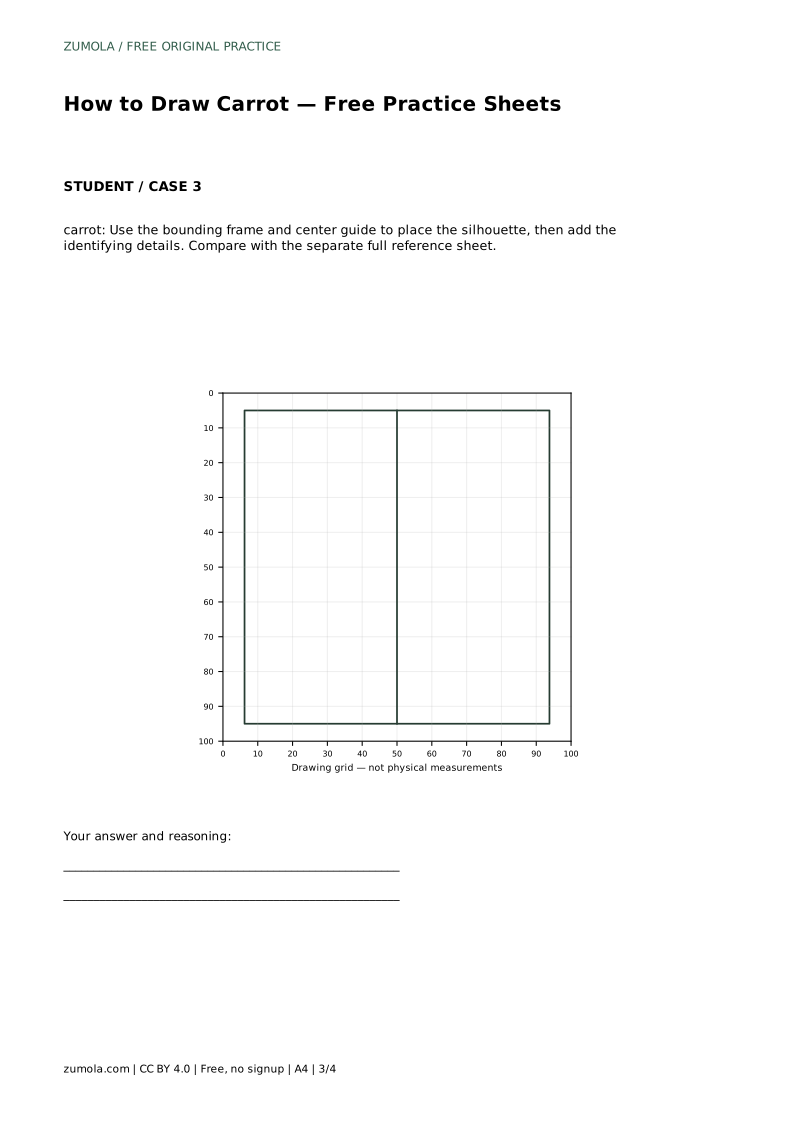
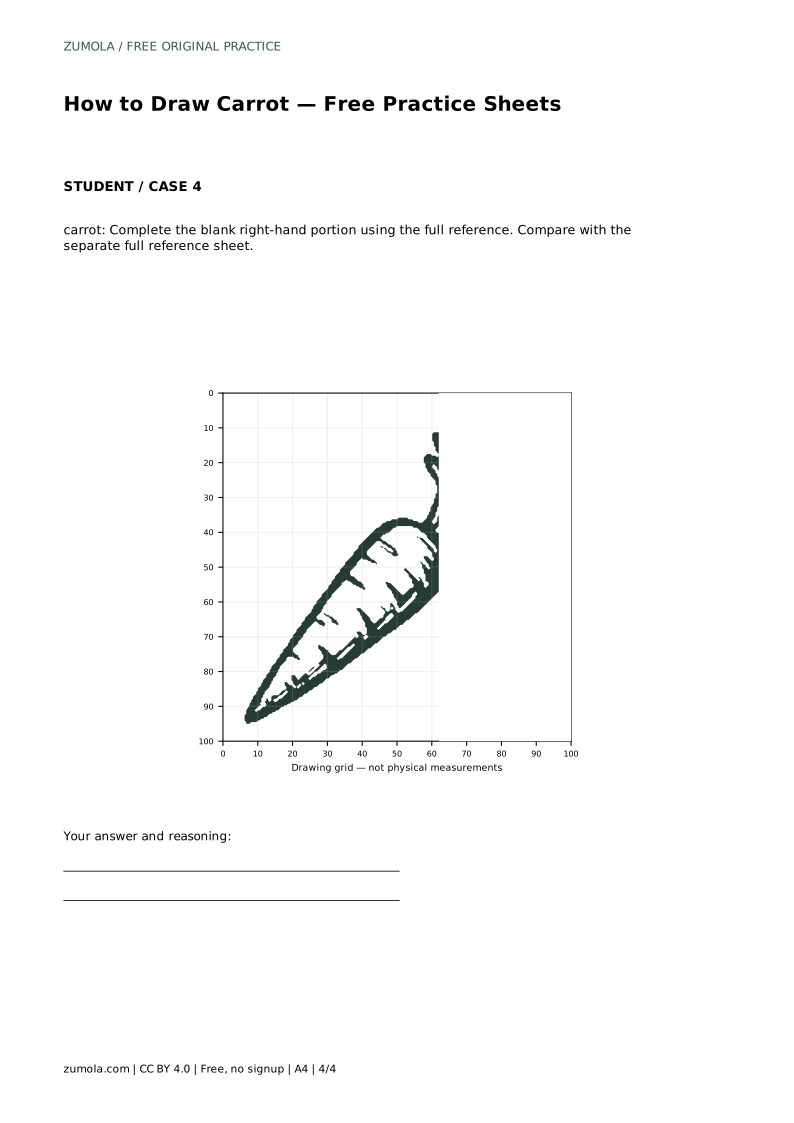
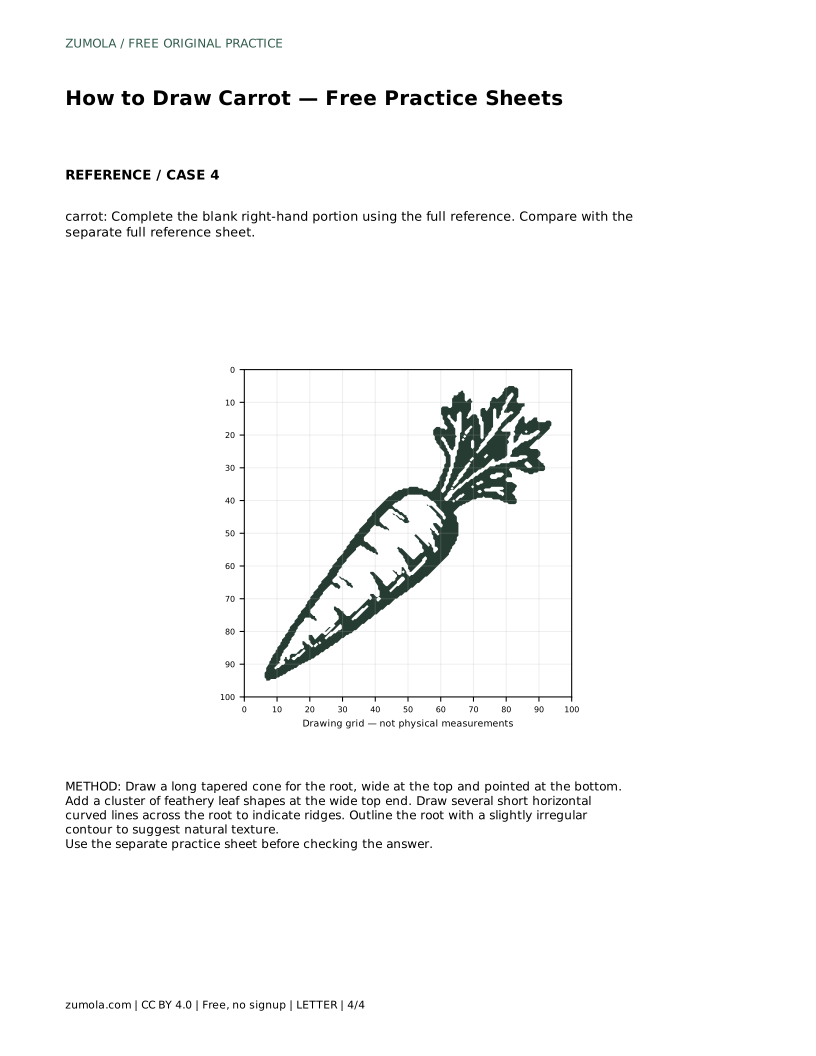
The bounding frame and center guide sheet helps you place the silhouette before adding identifying details. The partial sheet asks you to complete the blank right-hand portion using the full reference. In every case, compare the finished drawing with the separate full reference sheet and judge the visible features and proportions rather than expecting a pixel-perfect match.
A carrot drawing can be correct in more than one way. Two drawings may differ in leaf arrangement or root curvature and both still succeed. Assess whether the tapered conical root, leafy top, and horizontal ridge lines are clearly present and sensibly proportioned. Use the rubric below as a guide rather than a checklist of exact coordinates.
carrot: Trace the reference outline, then practise the contour independently. Compare with the separate full reference sheet.
Example solution: preserve tapered conical root, leafy top, horizontal ridge lines. Other drawings can be correct; assess the visible features and proportions rather than pixel-perfect matching. Draw a long tapered cone for the root, wide at the top and pointed at the bottom. Add a cluster of feathery leaf shapes at the wide top end. Draw several short horizontal curved lines across the root to indicate ridges. Outline the root with a slightly irregular contour to suggest natural texture.
No. Preserve the tapered conical root, leafy top, and horizontal ridge lines, then assess visible features and proportions rather than pixel-perfect matching.
Draw the tapered root first, add the leaf cluster at the wide end, then add short curved ridge lines across the root.
Copy the reference onto the blank grid using matching grid intersections so each feature lands in the corresponding position.
All drawing practice · Free coordinate paper
Original resources · CC BY 4.0 · Free for personal and classroom use with attribution.