Reference diagrams
LETTER · Download PDF
A4 · Download PDF
Free original resources
Learn an easy drawing of ham by building the domed body, bone end, scored surface lines, and tied end. Use the practice sheets to compare proportions and features.
Four original cases, with reference diagrams, practice sheets and worked answers. Everything is free; no signup required.
LETTER · Download PDF
A4 · Download PDF
LETTER · Download PDF
A4 · Download PDF
LETTER · Download PDF
A4 · Download PDF
Use A4 or US Letter to match your printer. Use the stated values and conditions to solve each exercise; diagrams are not physical measuring rulers.
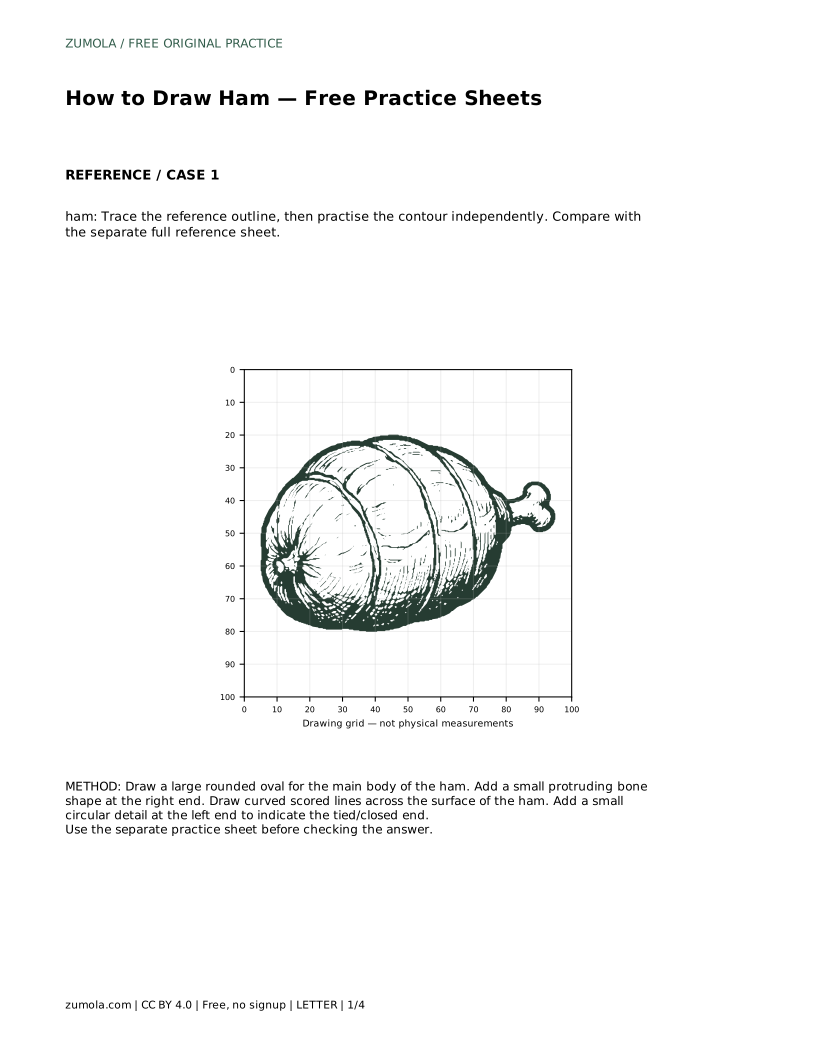
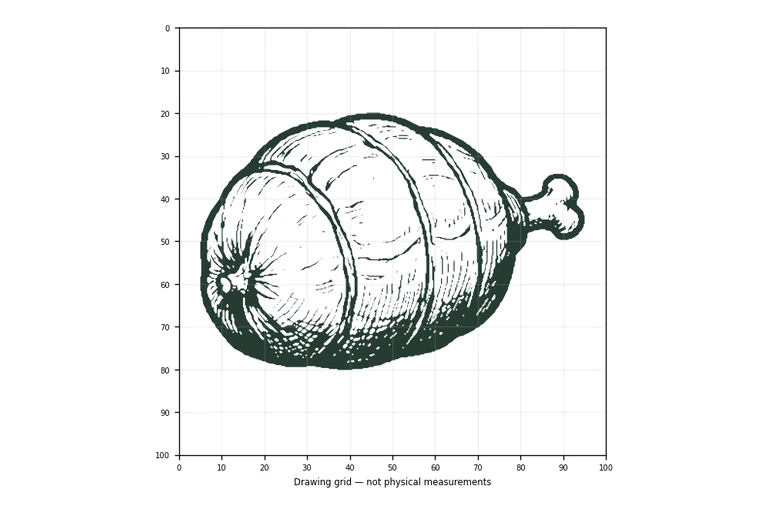
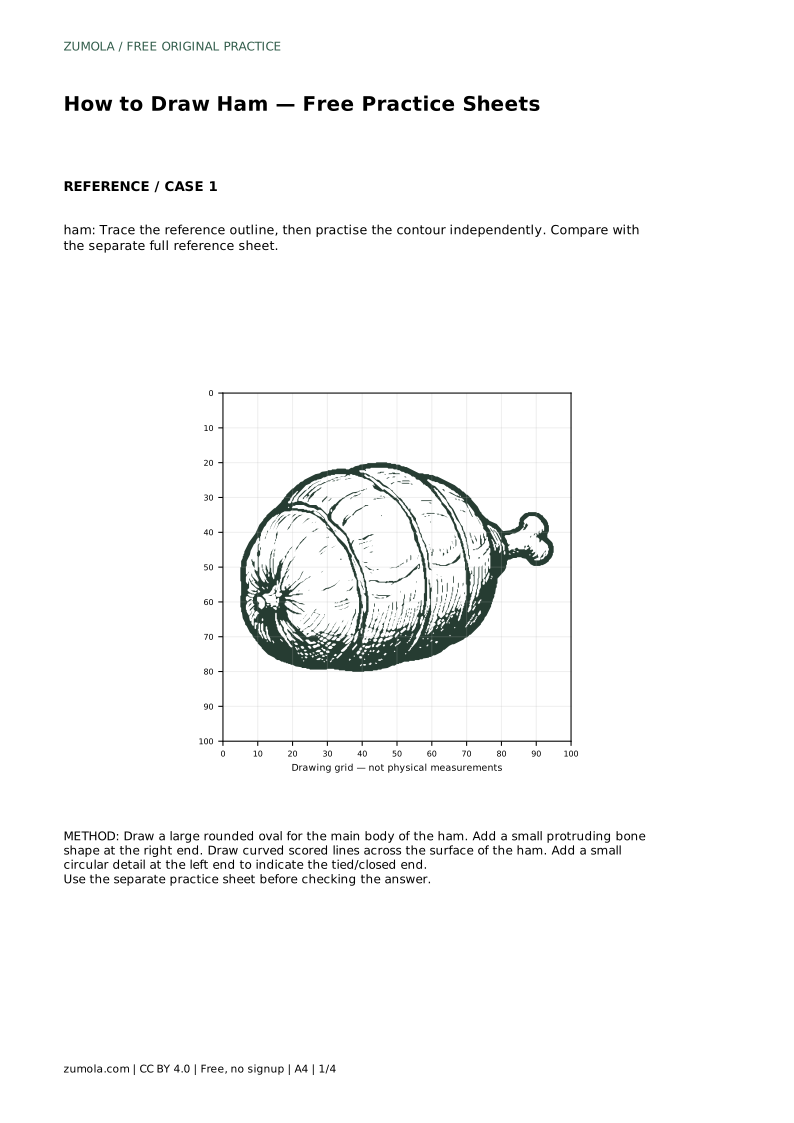
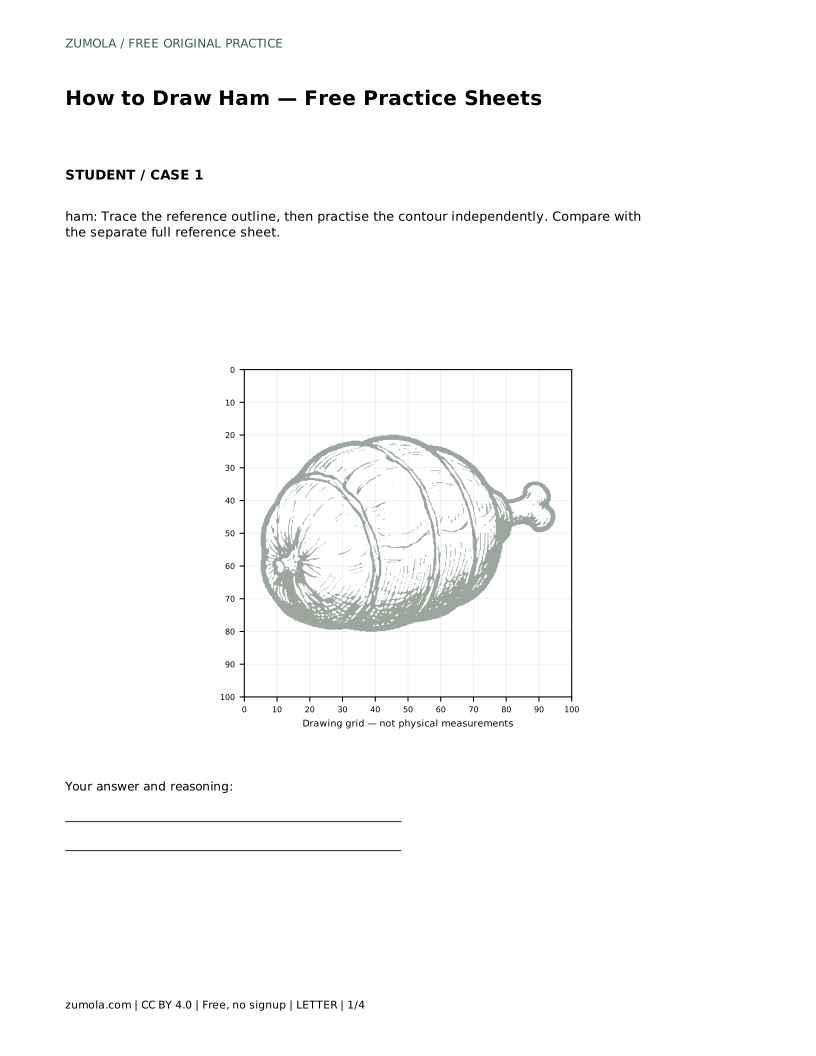
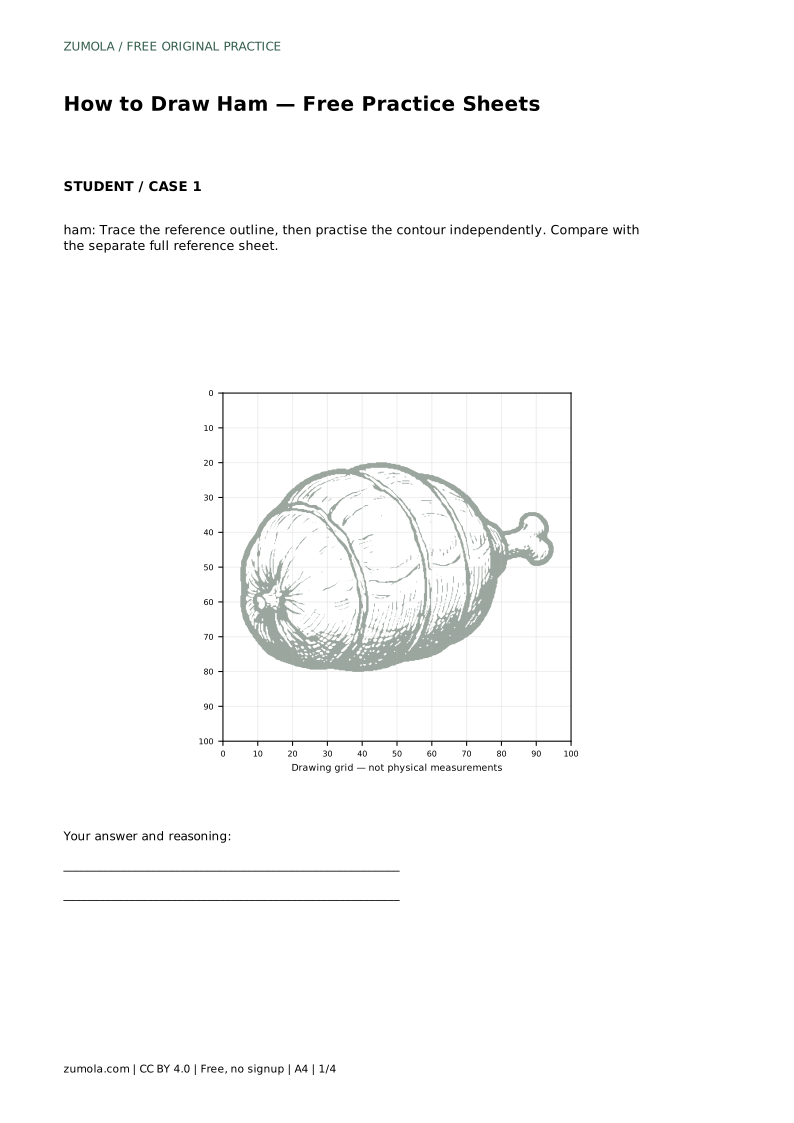
Drawing a ham is mostly a problem of shape and placement. Start with one large rounded form, then add the protruding bone, the curved score lines across the surface, and the small tied end. The practice sheets let you trace the outline first, then try the contour independently. Compare your drawing with the separate full reference sheet and judge whether the main features and proportions are visible, not whether every line matches exactly.
Begin with the largest form. A ham is usually drawn as a broad, rounded oval or dome, wider through the middle and slightly narrower at the ends. Keep this first shape simple and light, because you may adjust it after checking the reference. The body should feel full and heavy rather than flat or narrow.
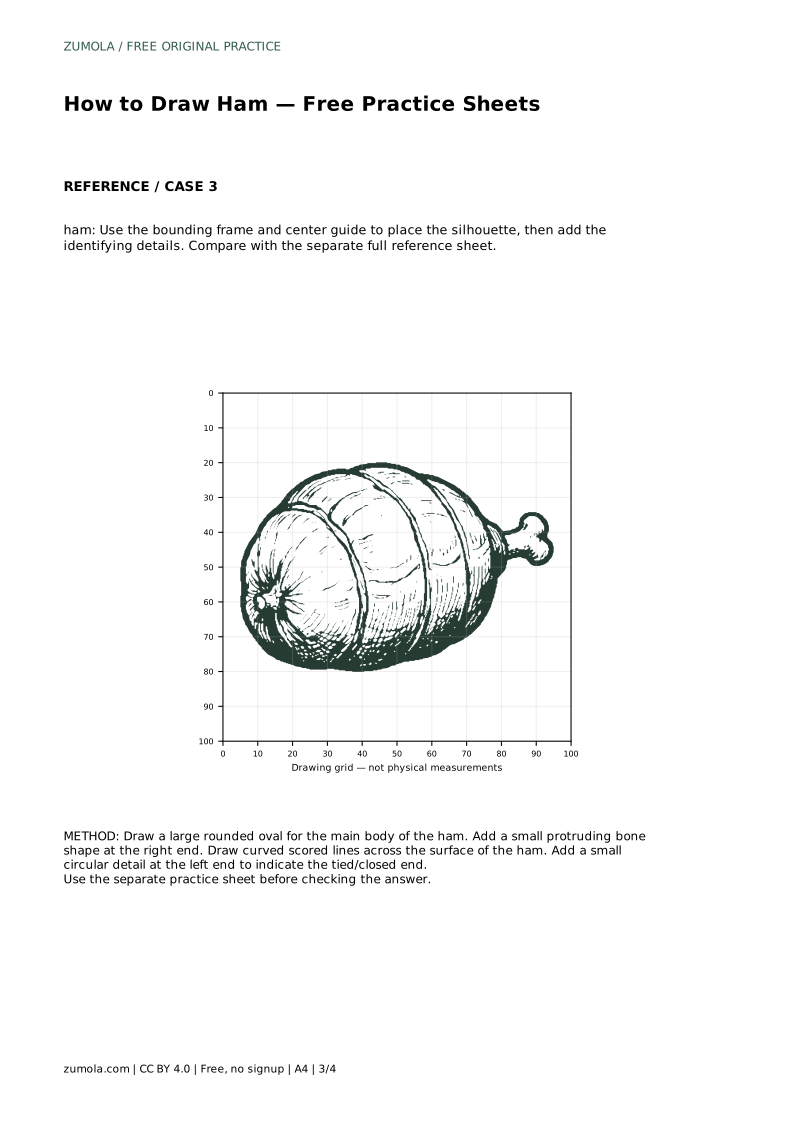
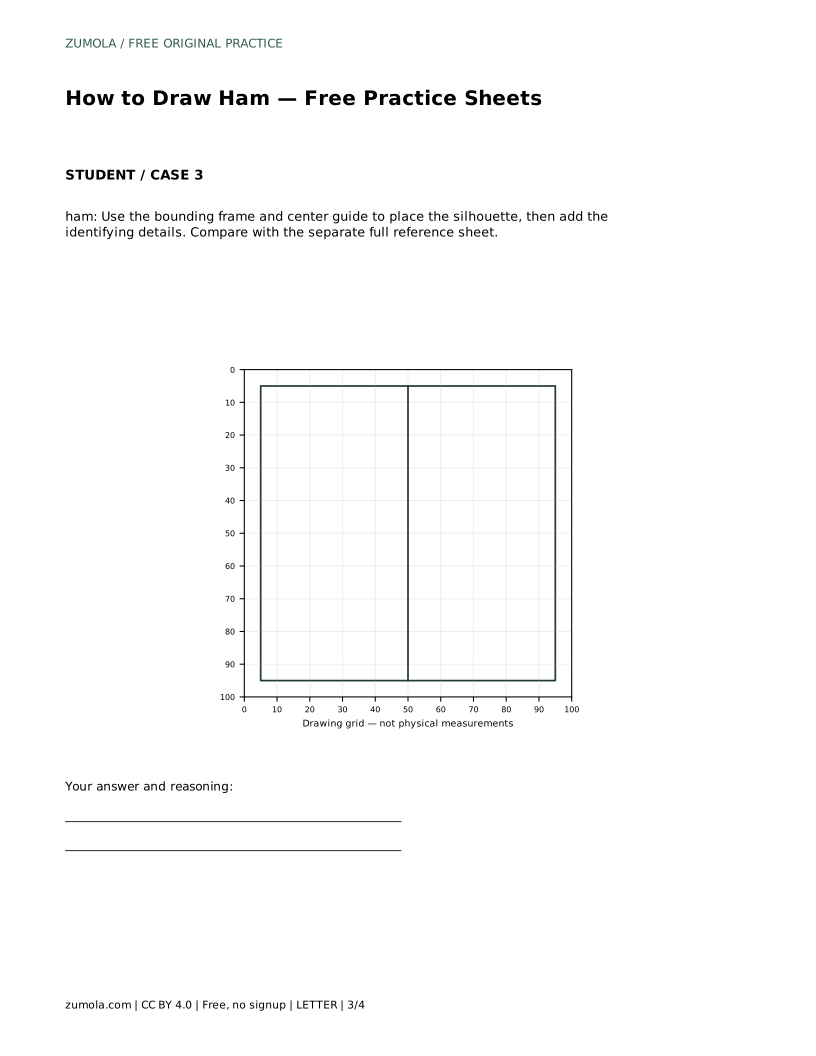
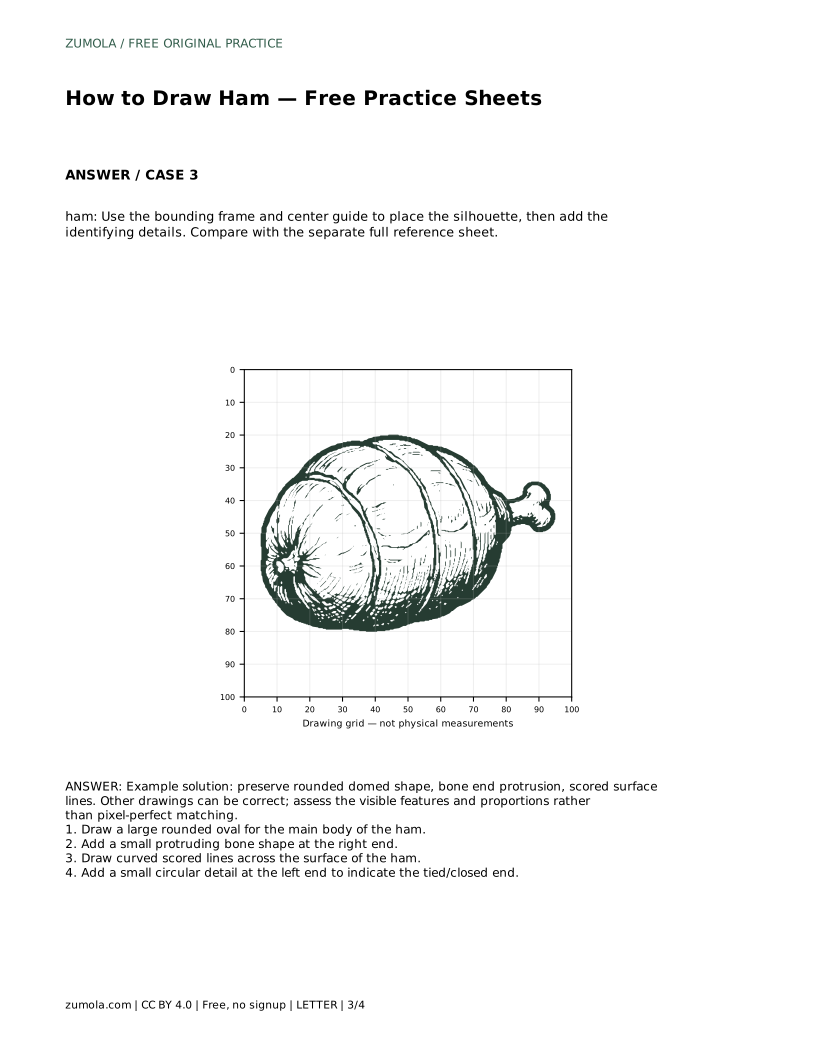
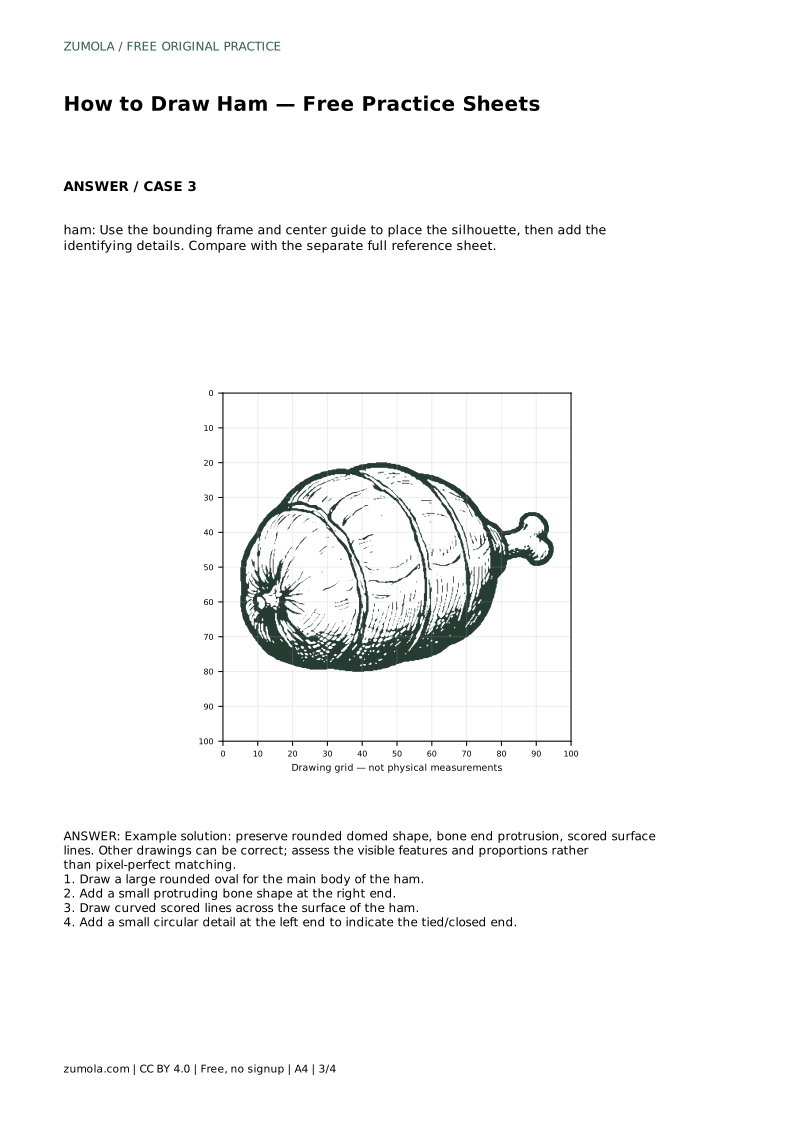
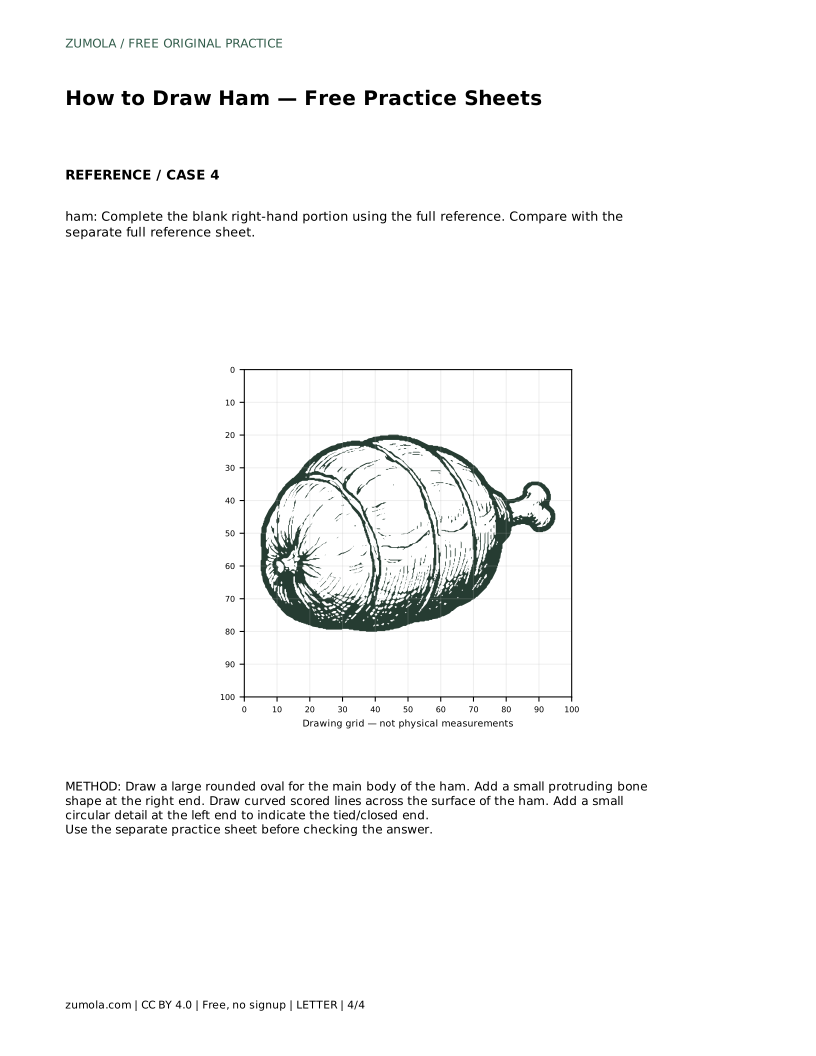
Place the body so there is room at the right for the bone and at the left for the tied end. If you are using a bounding frame or center guide, use it to position the silhouette before adding details. The guide helps with placement; it does not decide the exact outline for you.
The bone end is a small protruding shape at the right side of the ham. Keep it modest in size and attach it clearly to the body so it reads as part of the same object. A bone that is too large or detached changes the proportions and makes the ham look like two separate shapes.
The scored lines are curved lines across the surface of the ham. They should follow the rounded form rather than sit as straight stripes. Space them evenly enough to suggest a scored surface, and keep them inside the body outline. At the left end, add a small circular detail to indicate the tied or closed end. This detail is small; it should not dominate the drawing.
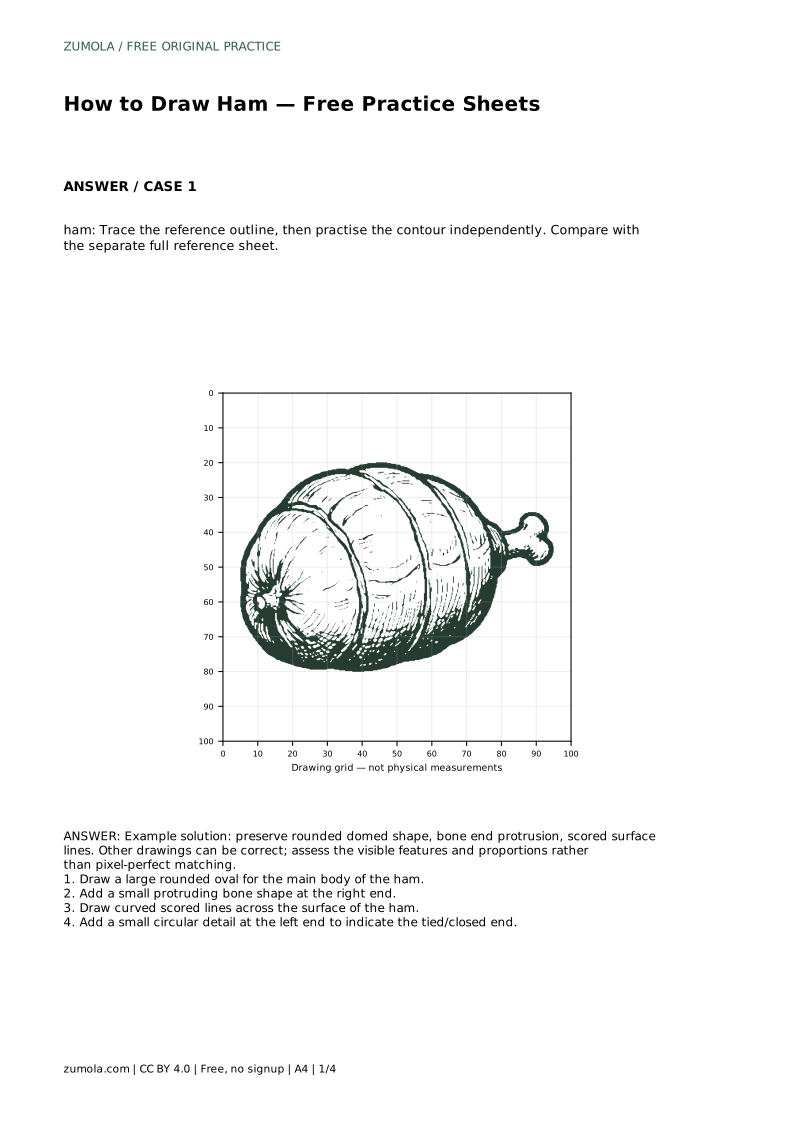
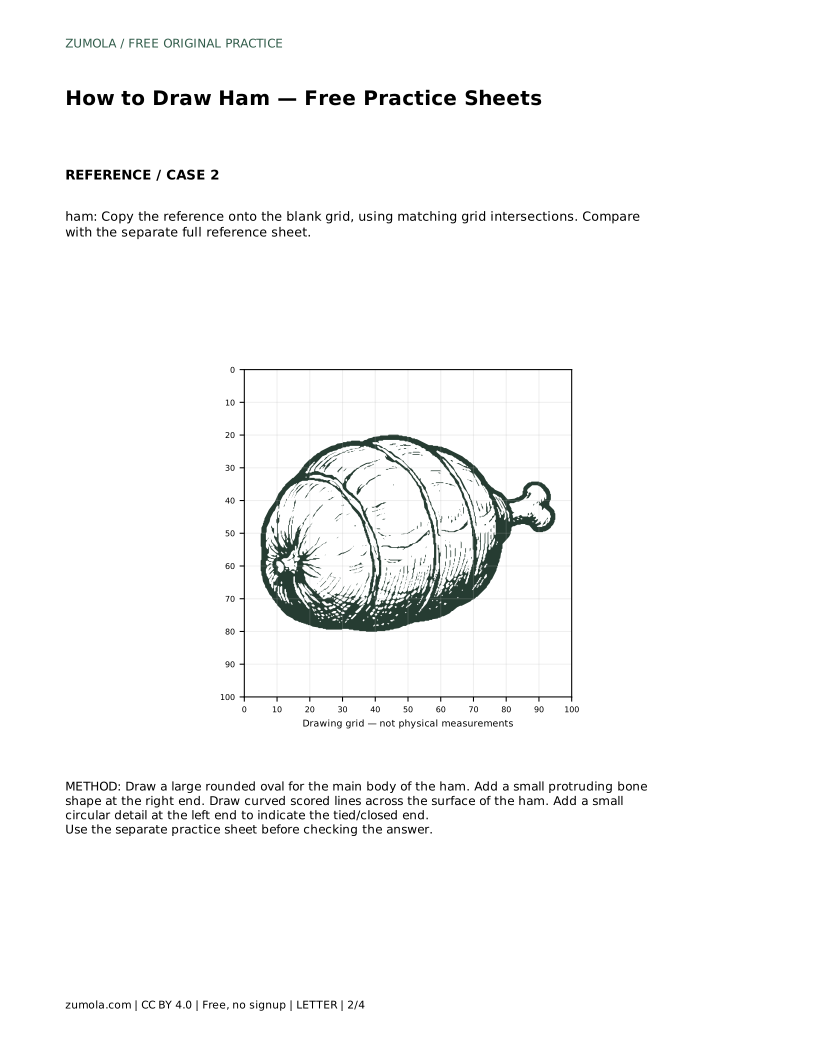
Tracing the reference outline helps you learn where the main changes of direction occur. Trace the contour first, then practise the same contour on a blank area without tracing. The goal is to remember the order of the shapes: body, bone, score lines, tied end.
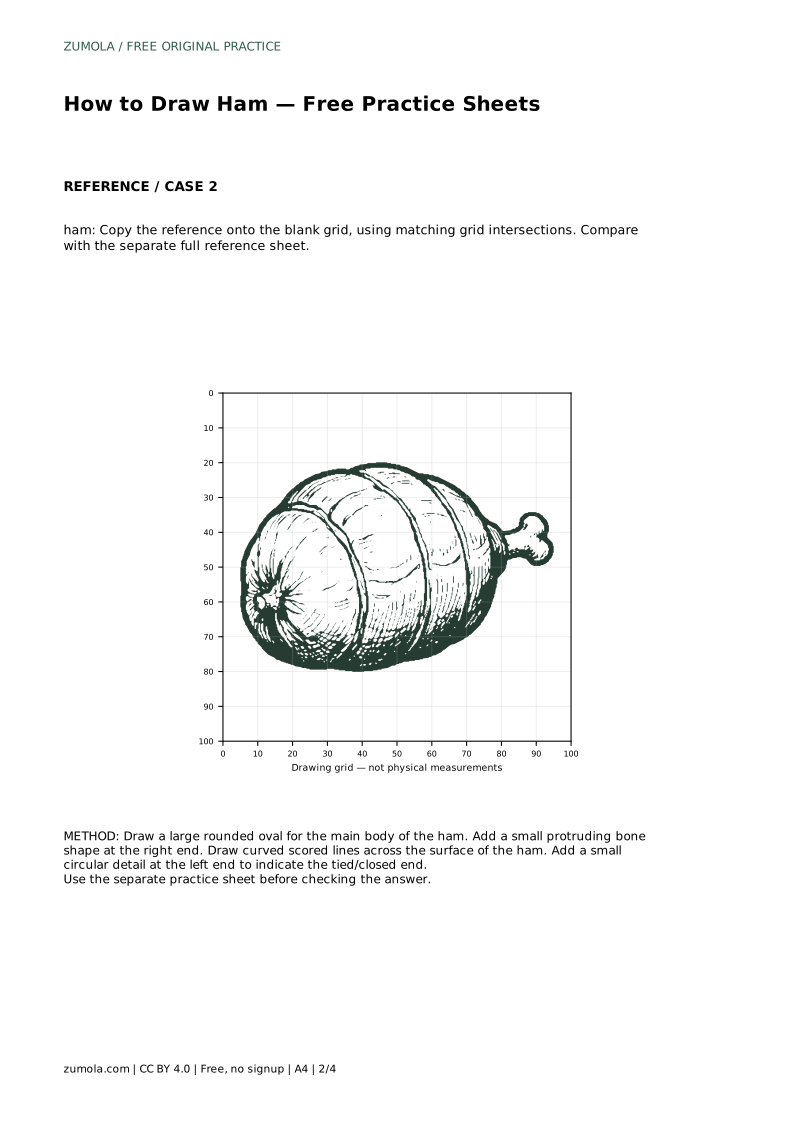
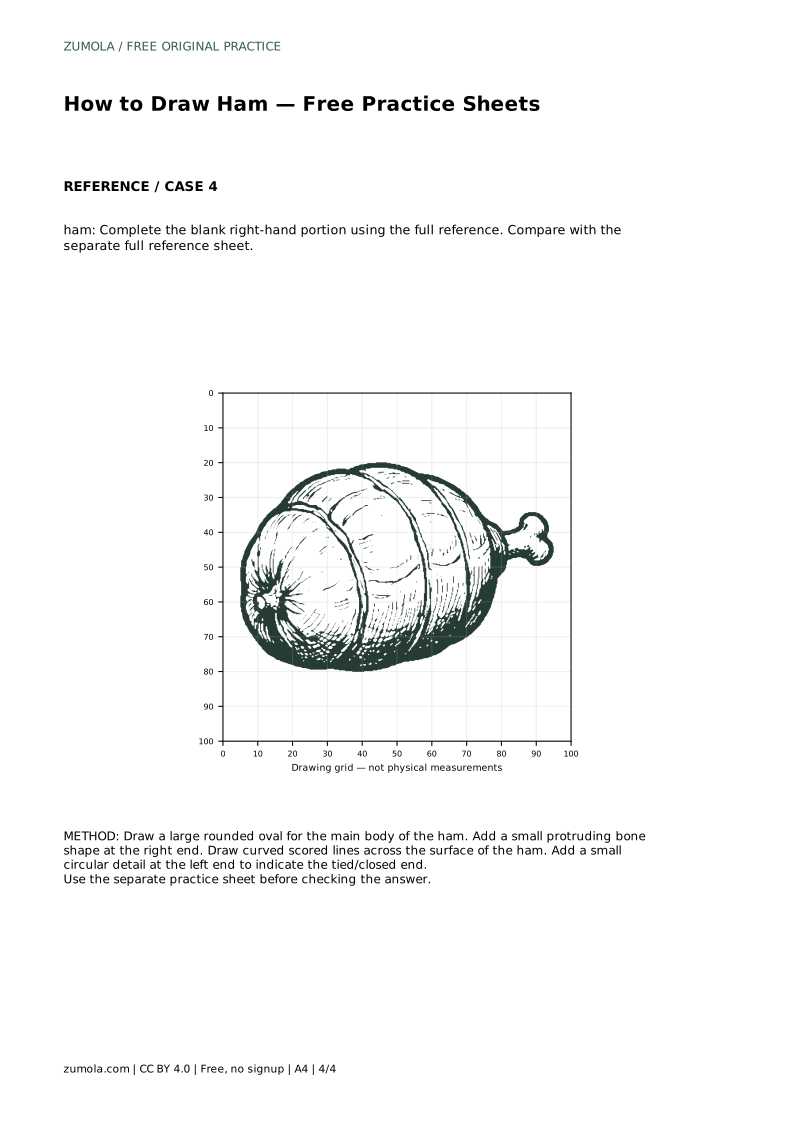
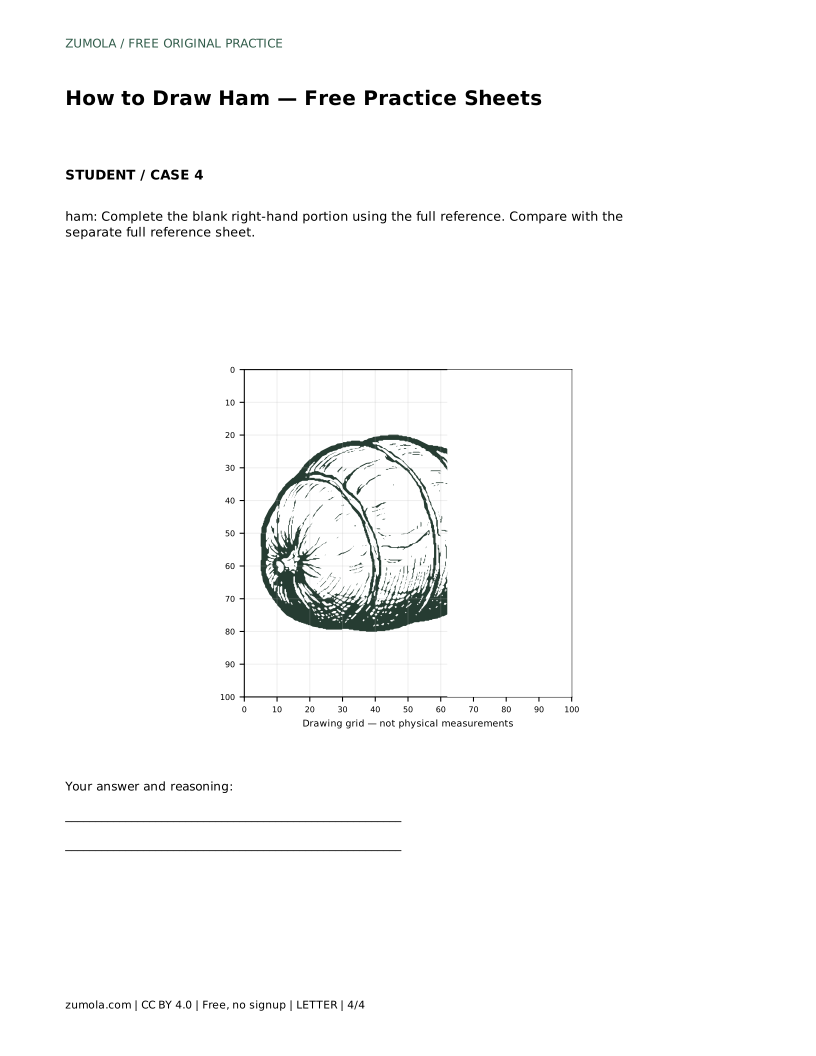
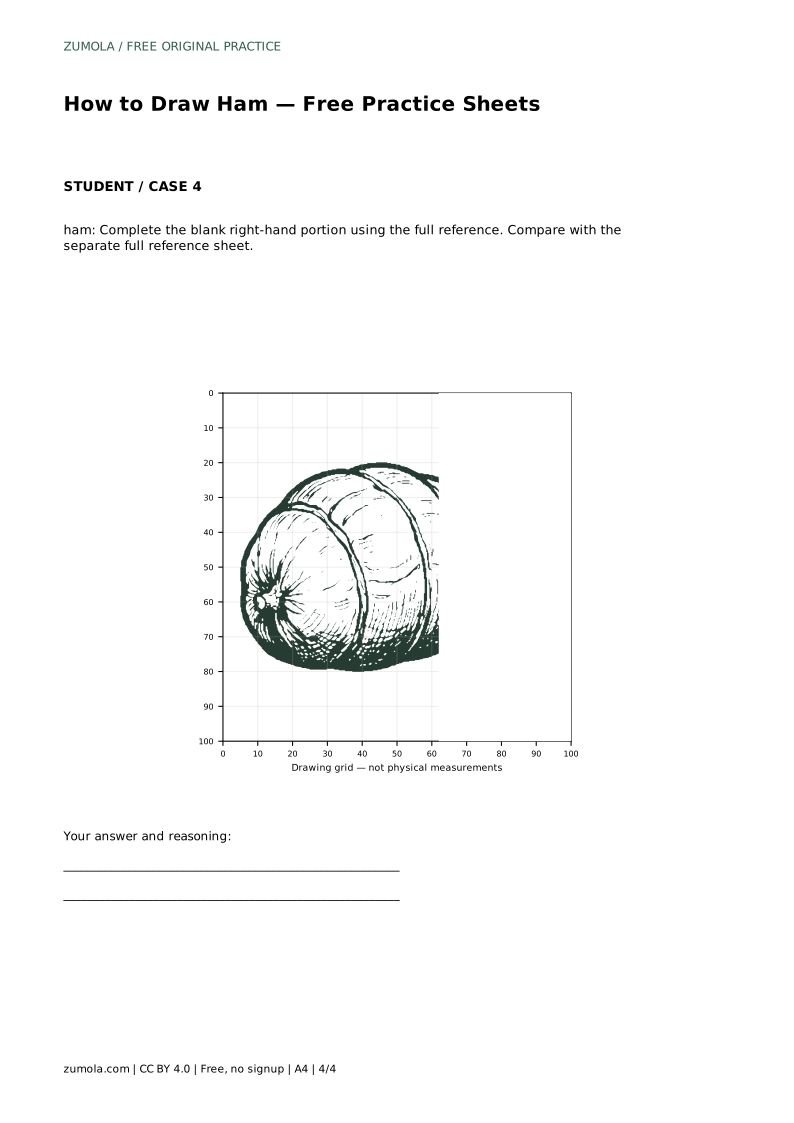
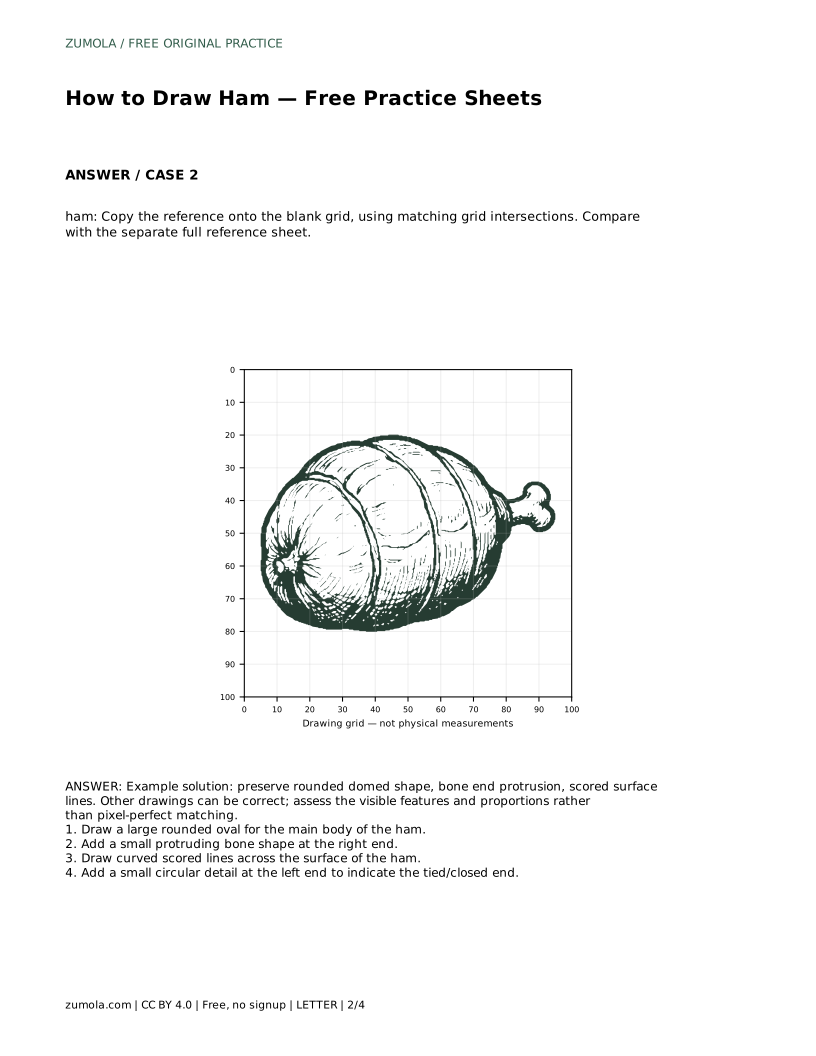
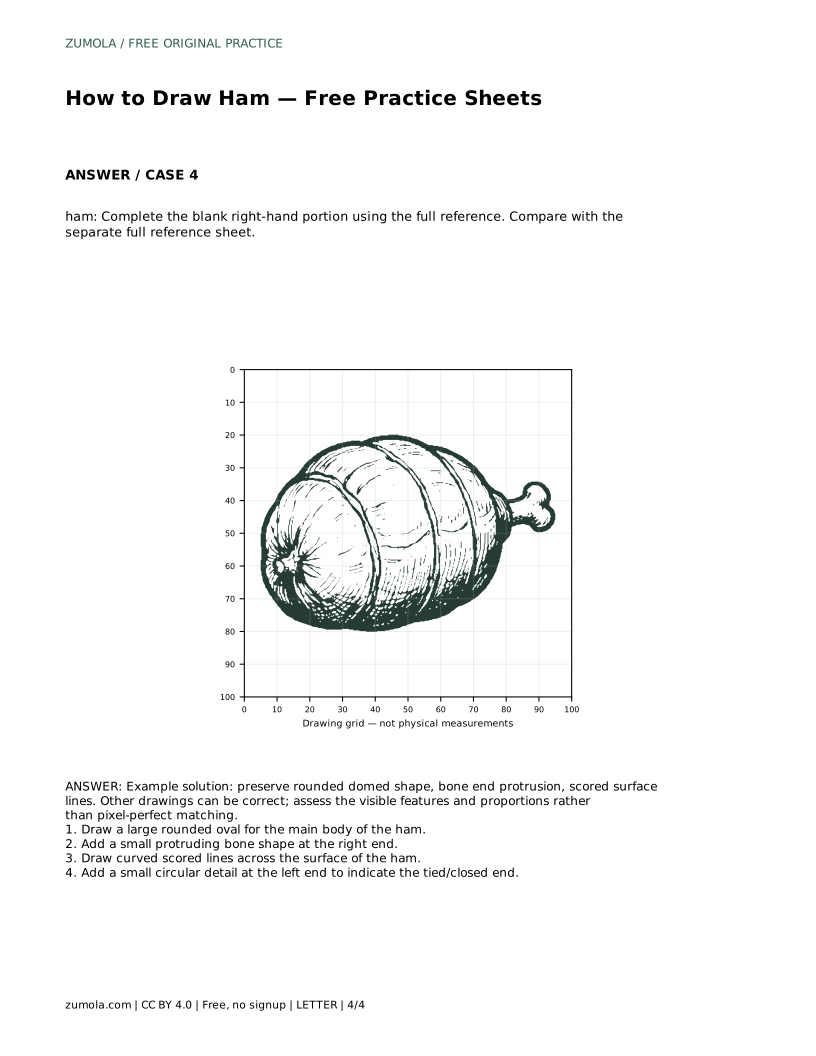
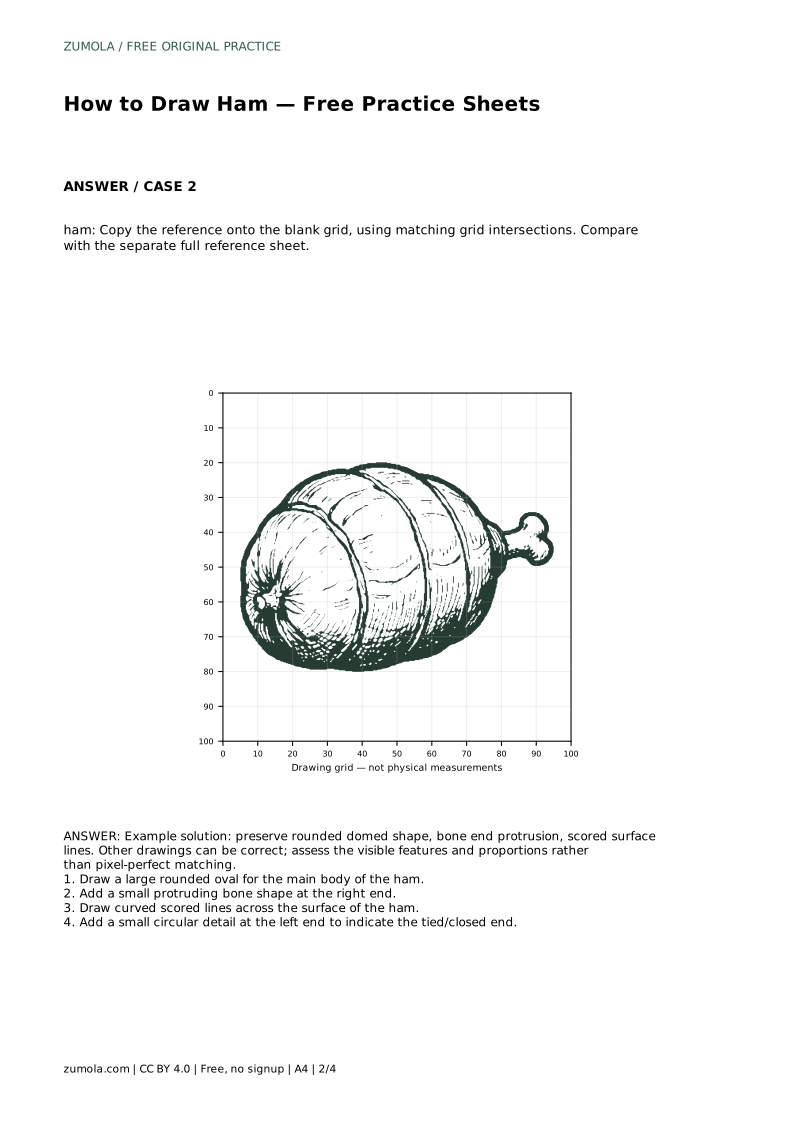
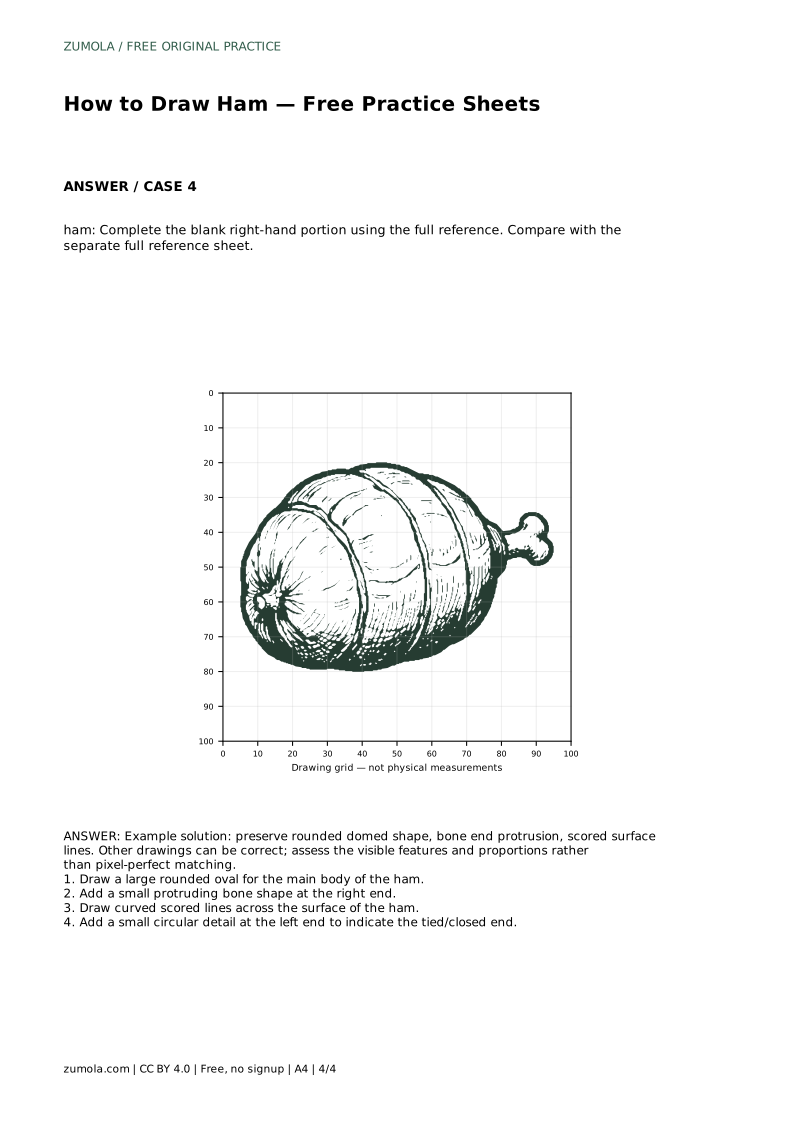
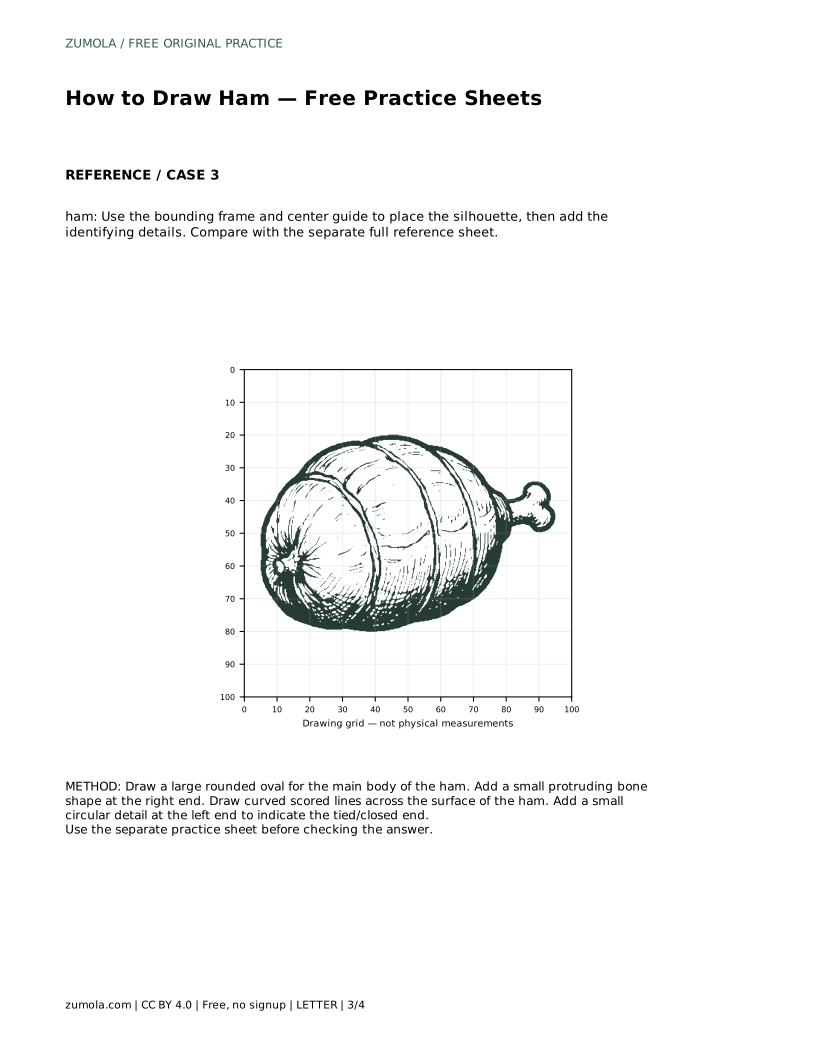
When you copy onto a blank grid, use matching grid intersections to place the main body and the bone end. When you complete a blank right-hand portion, use the full reference to judge the missing details. In every case, compare with the separate full reference sheet and assess the visible features and proportions rather than pixel-perfect matching.
A ham drawing can be correct in more than one way. Use a rubric to check whether the identifying features are present and reasonably placed. The rounded domed body should be the largest shape, the bone end should protrude at the right, the scored lines should curve across the surface, and the tied end should appear as a small circular detail at the left.
Proportions matter more than exact line matching. If the body is too narrow, the bone too large, or the score lines too straight, adjust those features and compare again with the reference.
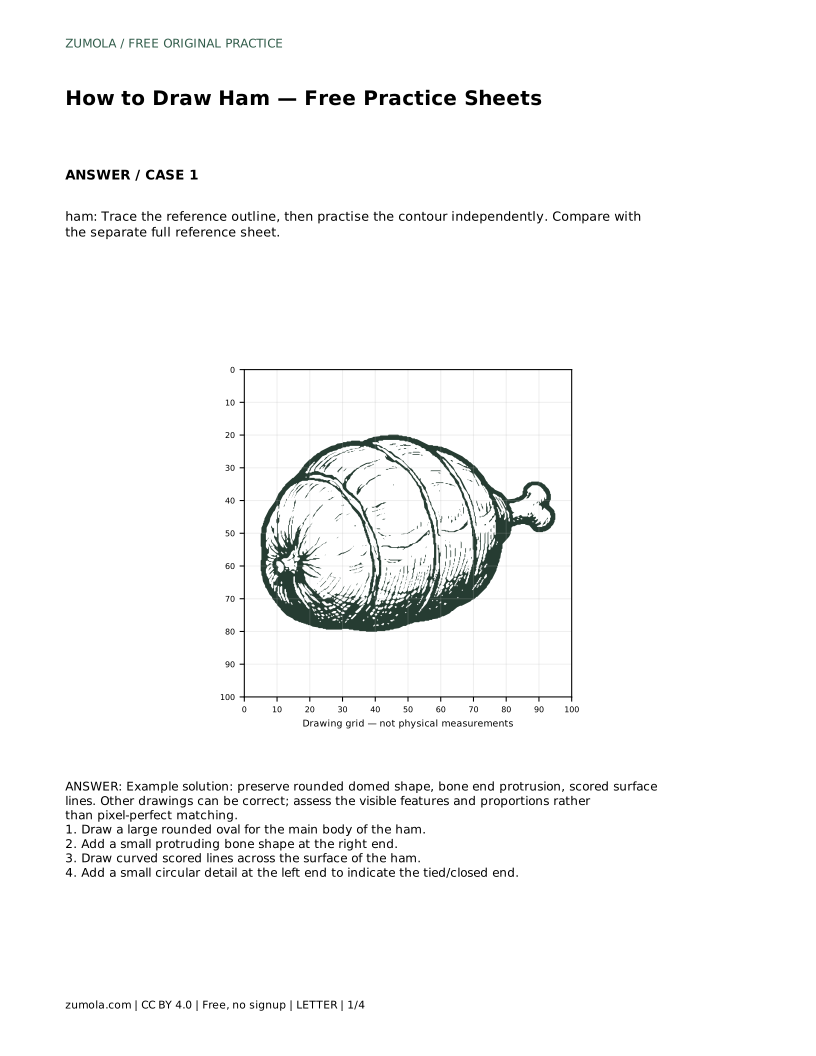
ham: Trace the reference outline, then practise the contour independently. Compare with the separate full reference sheet.
Example solution: preserve rounded domed shape, bone end protrusion, scored surface lines. Other drawings can be correct; assess the visible features and proportions rather than pixel-perfect matching. Draw a large rounded oval for the main body of the ham. Add a small protruding bone shape at the right end. Draw curved scored lines across the surface of the ham. Add a small circular detail at the left end to indicate the tied/closed end.
Draw one large rounded oval or dome for the main body. Place it with space at the right for the bone and at the left for the tied end.
There is no fixed count. Add enough curved lines across the surface to suggest scoring, spaced evenly and kept inside the body outline.
Yes. Other drawings can be correct. Assess the visible features and proportions rather than pixel-perfect matching.
All drawing practice · Free coordinate paper
Original resources · CC BY 4.0 · Free for personal and classroom use with attribution.