Reference diagrams
LETTER · Download PDF
A4 · Download PDF
Free original resources
Learn to draw a croissant by building a crescent outline, adding rolled segment bands, and suggesting flaky texture with hatch lines. Free practice sheets included.
Four original cases, with reference diagrams, practice sheets and worked answers. Everything is free; no signup required.
LETTER · Download PDF
A4 · Download PDF
LETTER · Download PDF
A4 · Download PDF
LETTER · Download PDF
A4 · Download PDF
Use A4 or US Letter to match your printer. Use the stated values and conditions to solve each exercise; diagrams are not physical measuring rulers.
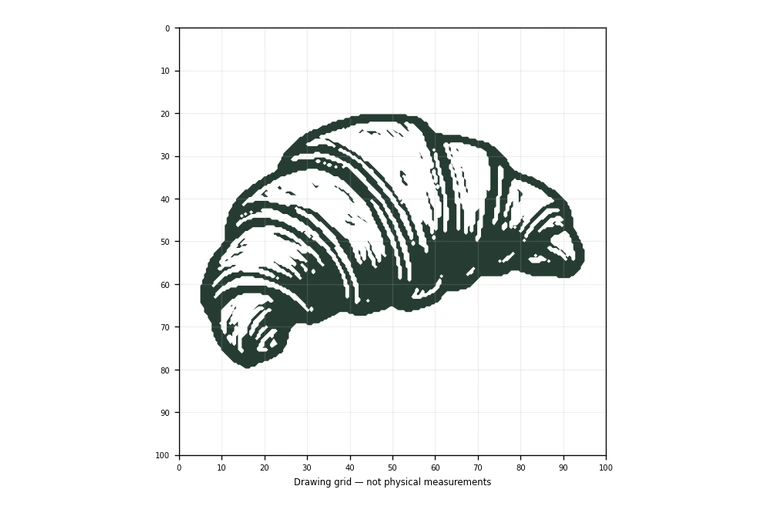
A croissant is easy to recognise but surprisingly easy to draw as a plain curved blob. The shape depends on three visible features: a thick crescent body, a series of curved bands that show how the dough was rolled, and tapered ends. This guide walks through those features in order, then explains how to check your drawing against a reference sheet without expecting an identical copy.
Begin by placing the overall shape before any detail. A croissant is not a symmetrical crescent: one end is usually fuller and rounded, while the opposite end tapers to a narrower tip. Draw a thick curved band that sweeps from the rounded end across to the tapered tip. Keep the body wide enough that you can later fit three or four segment lines inside it.
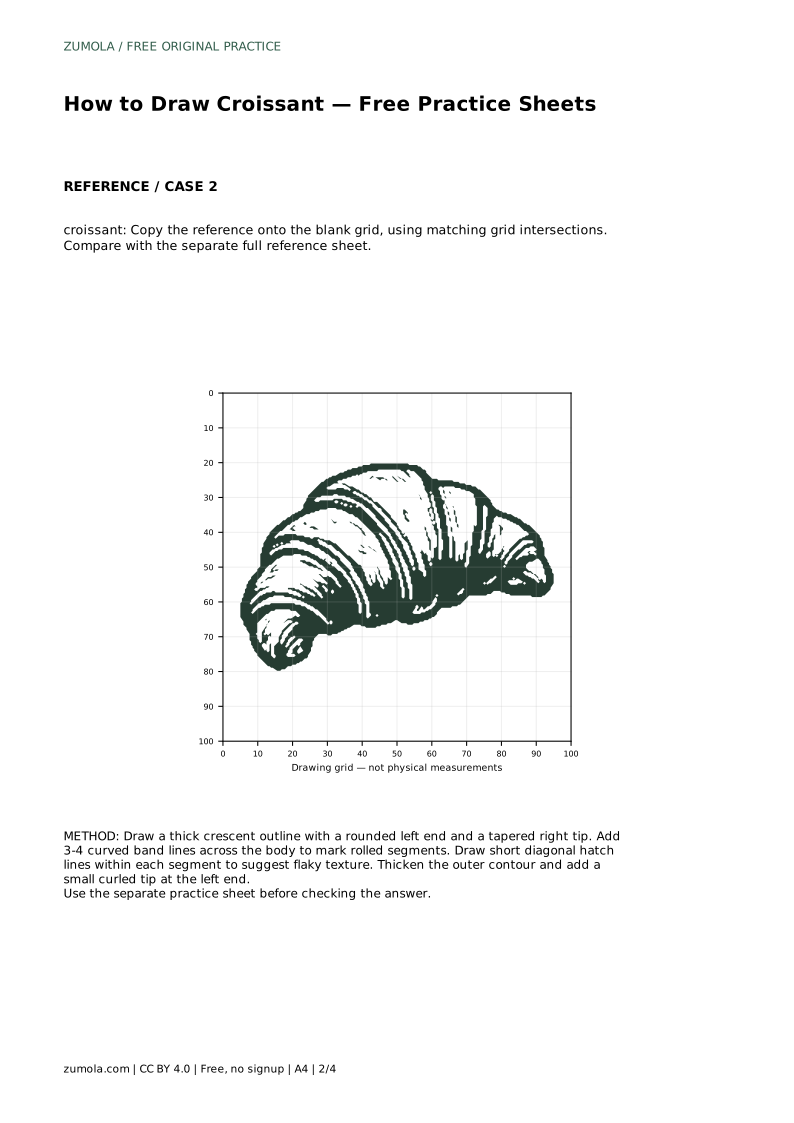
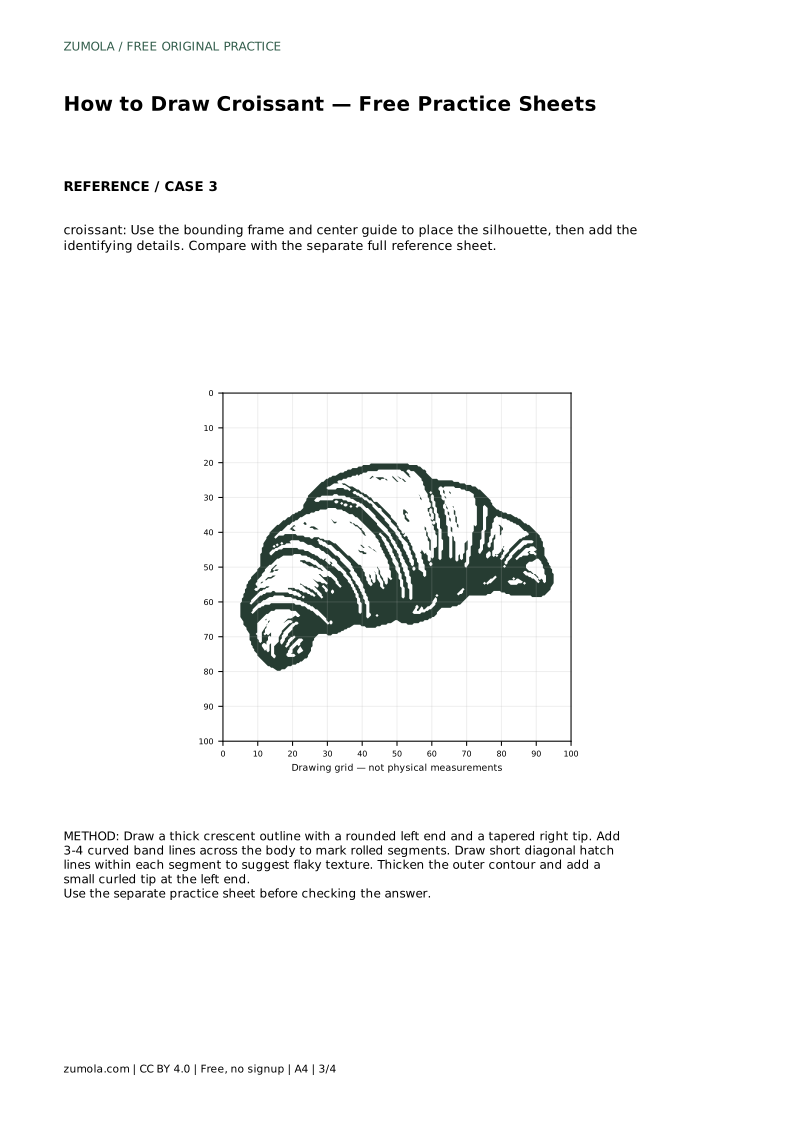
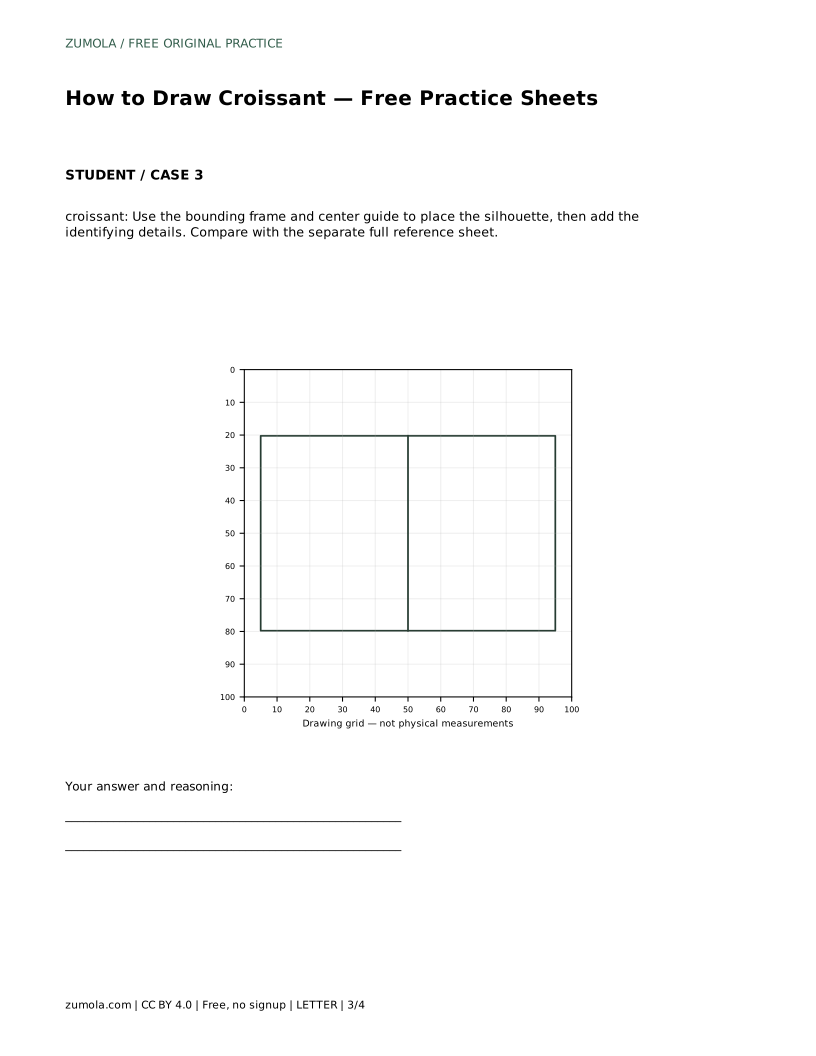
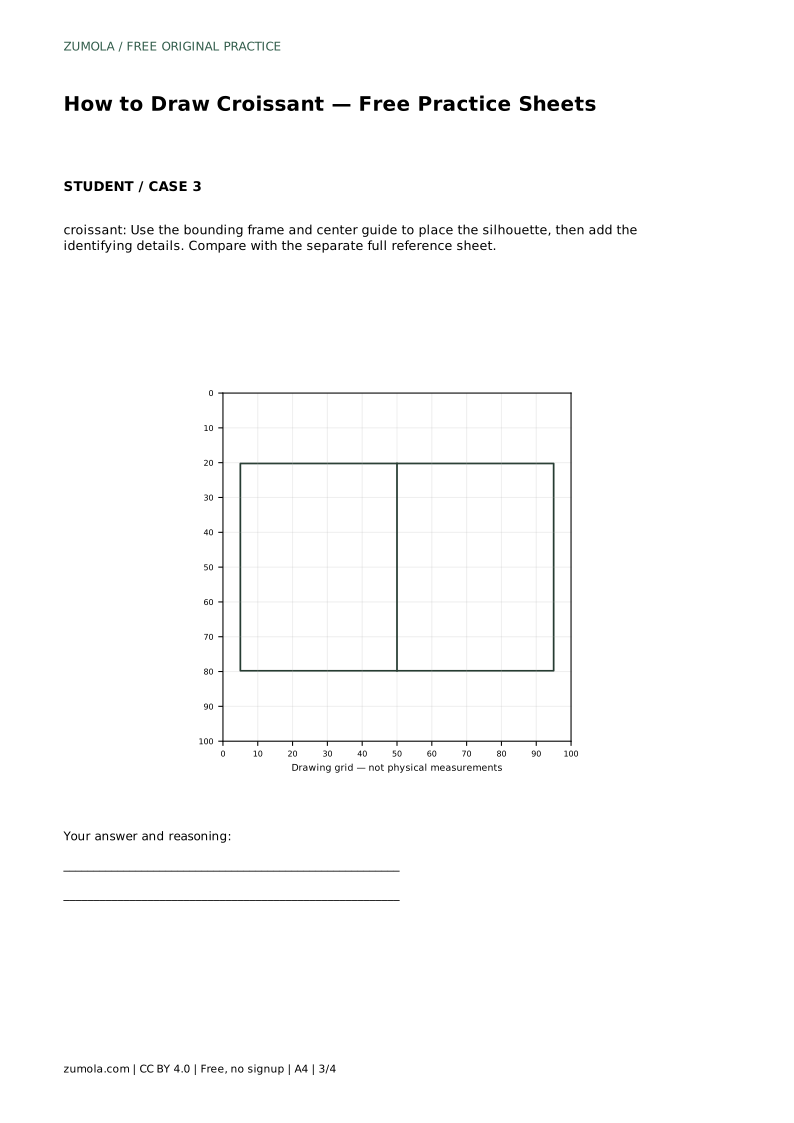
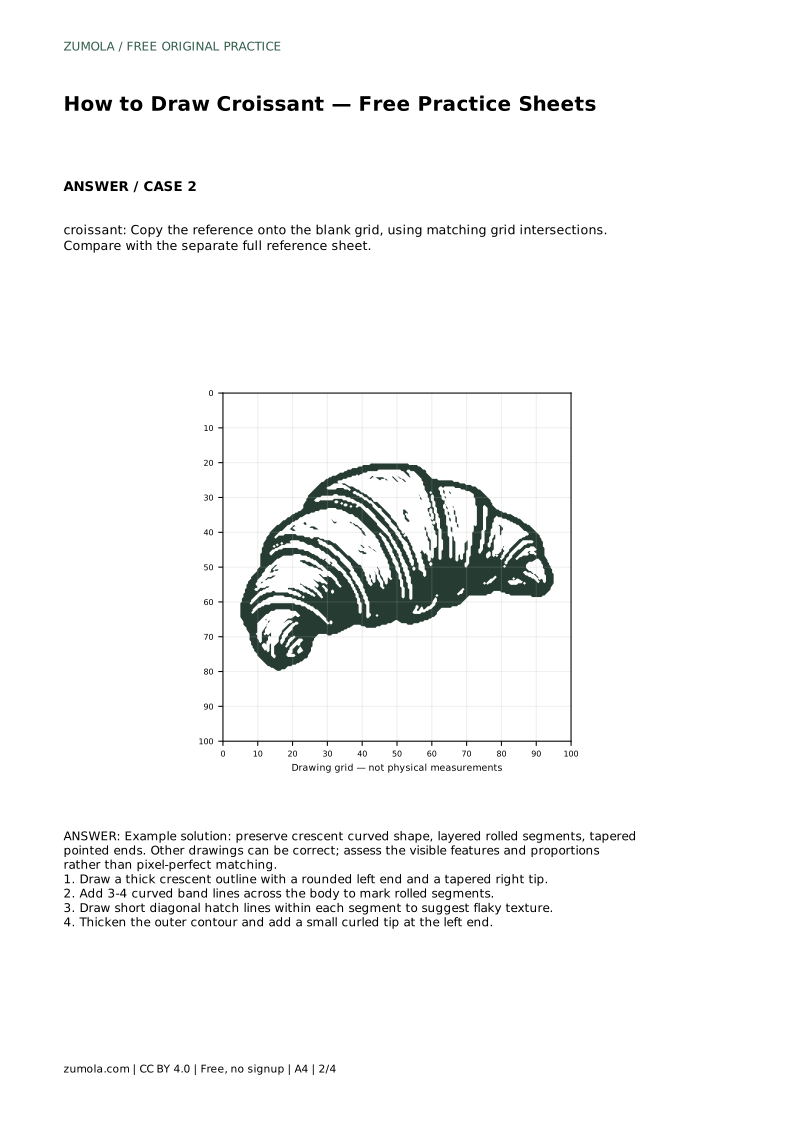
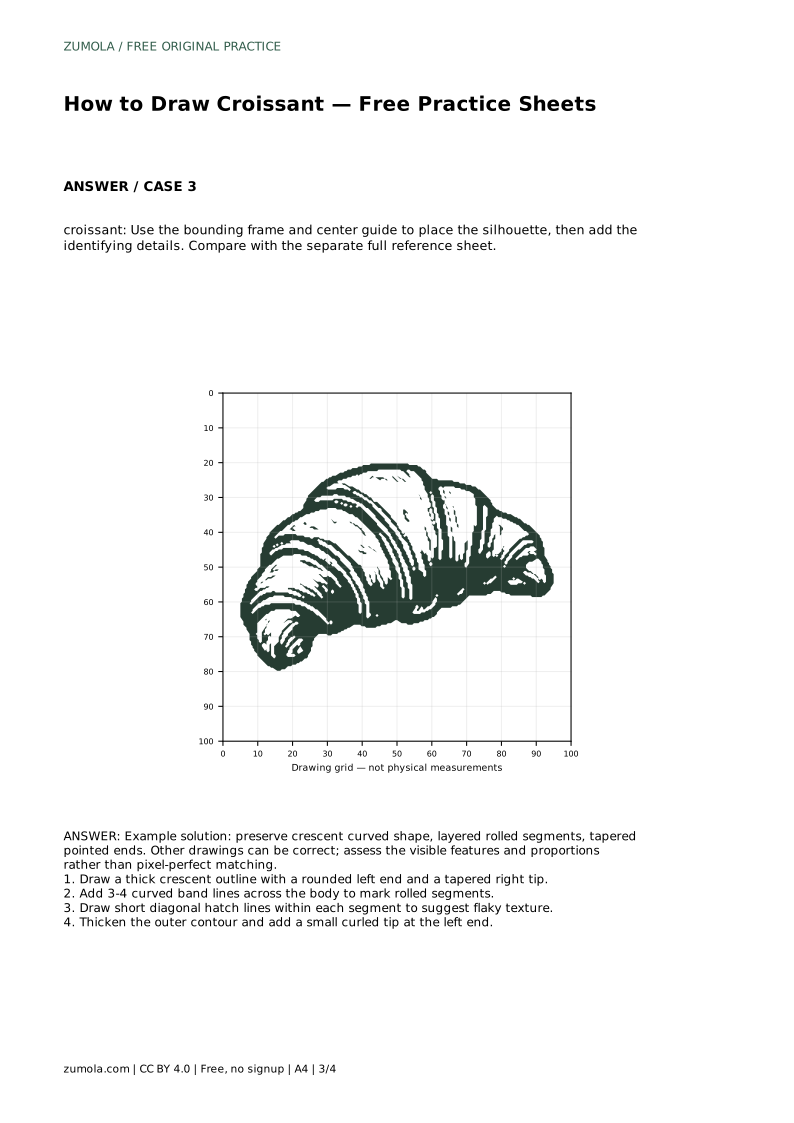
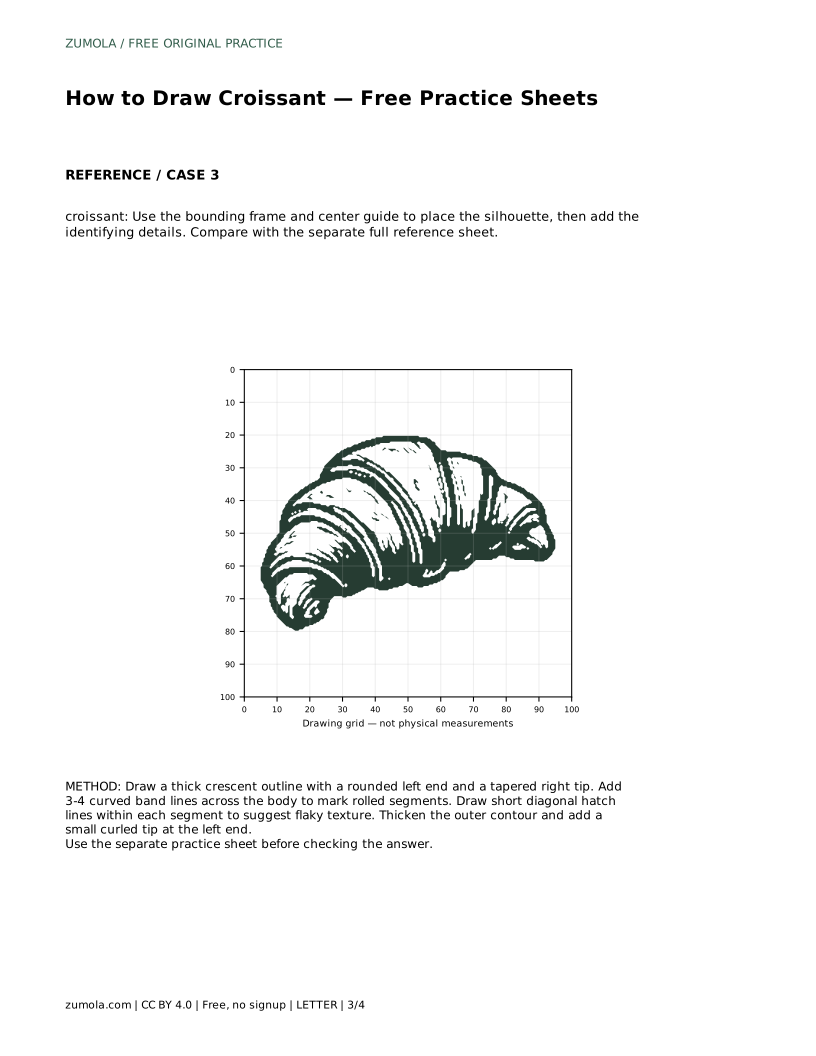
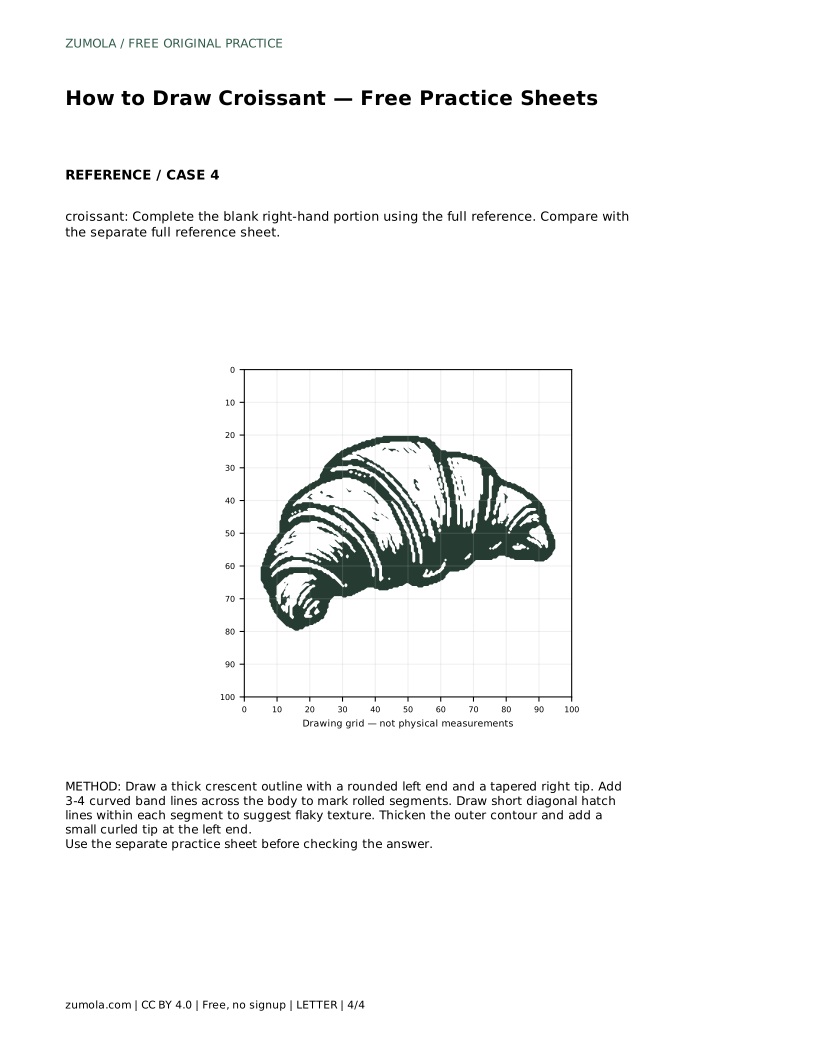
If you are working on a grid sheet, use the grid intersections to judge where the rounded end and the tip sit relative to each other. On a bounding-frame sheet, let the frame hold the widest part of the curve and check that the tips stay inside it. The silhouette should read as a crescent even before you add any interior lines.
The bands are what turn a crescent into a croissant. Each band is a curved line running across the body, following the same general sweep as the outer contour. Space them roughly evenly, but let them bunch slightly toward the tapered end, where the roll tightens. Three or four bands are usually enough; too many lines make the shape look striped rather than layered.
Keep the bands inside the silhouette. They should touch or nearly touch the outer edge on both sides, because each band represents a fold in the rolled dough. If a band stops short in the middle of the body, the drawing starts to look like a decoration rather than a structure.
Flakiness is a texture cue, not a structural one. Short diagonal hatch lines inside each segment suggest the layered surface without changing the shape. Keep the hatches short and roughly parallel within a segment, and vary their direction slightly between segments so the surface does not look mechanical.
Finish by thickening the outer contour so the croissant reads clearly against the page, and add a small curled tip at the rounded end. The curl is a small hook that suggests the outer layer of dough turning back on itself. It should be modest; a large curl changes the silhouette and competes with the tapered end.
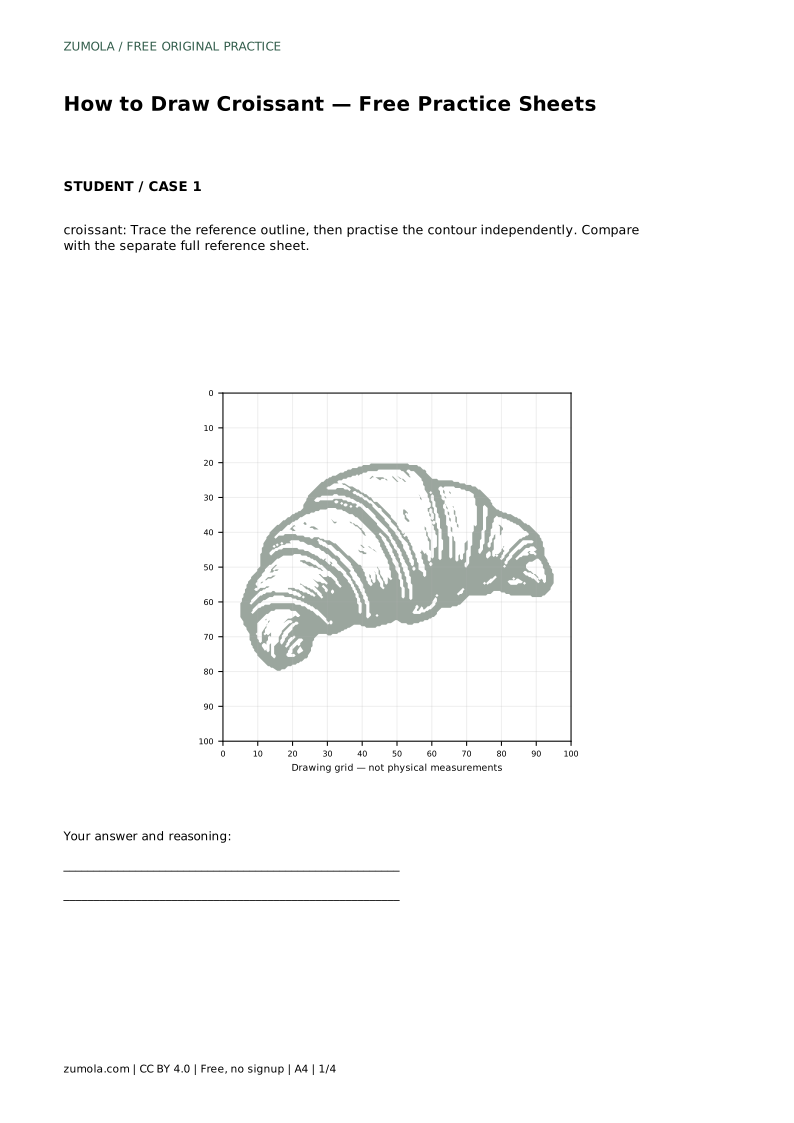
A croissant drawing has many valid outcomes. Compare your work with the separate full reference sheet by asking whether the visible features are present and proportioned sensibly, not whether every line matches. Check the crescent curve, the number and placement of bands, the taper of the ends, and the texture marks. A drawing with a slightly different curve can still be correct if those features are clear.
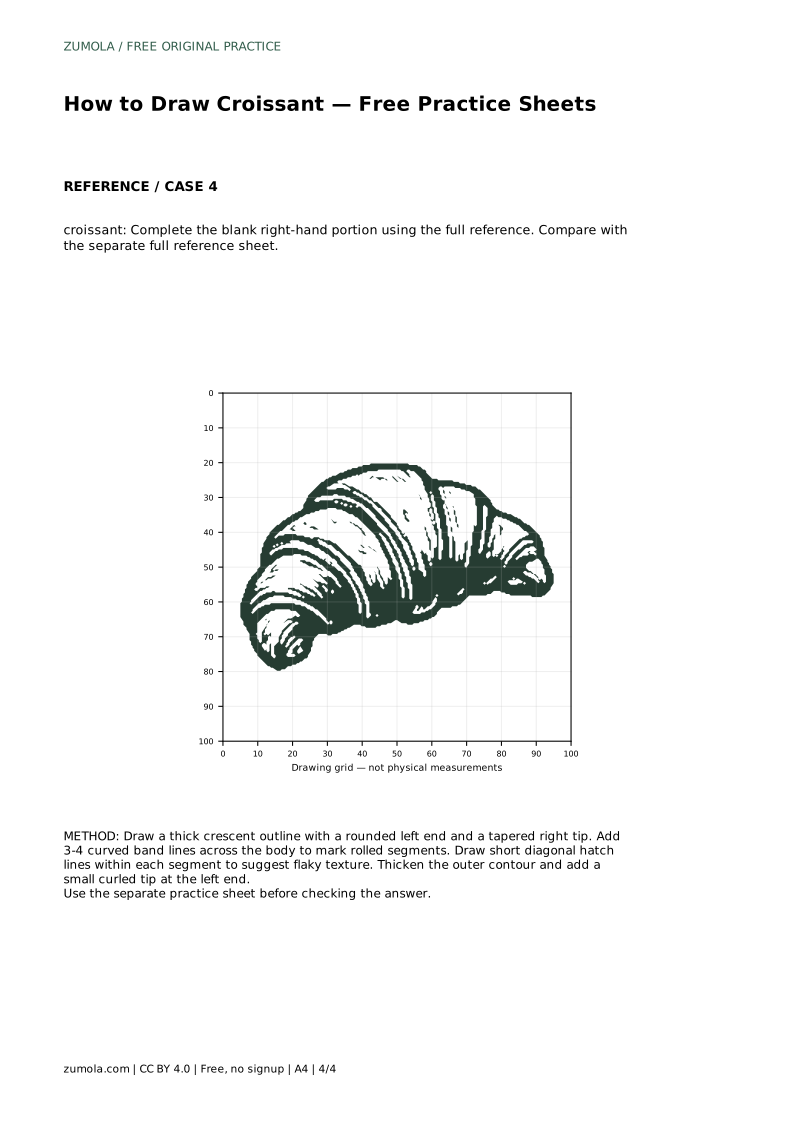
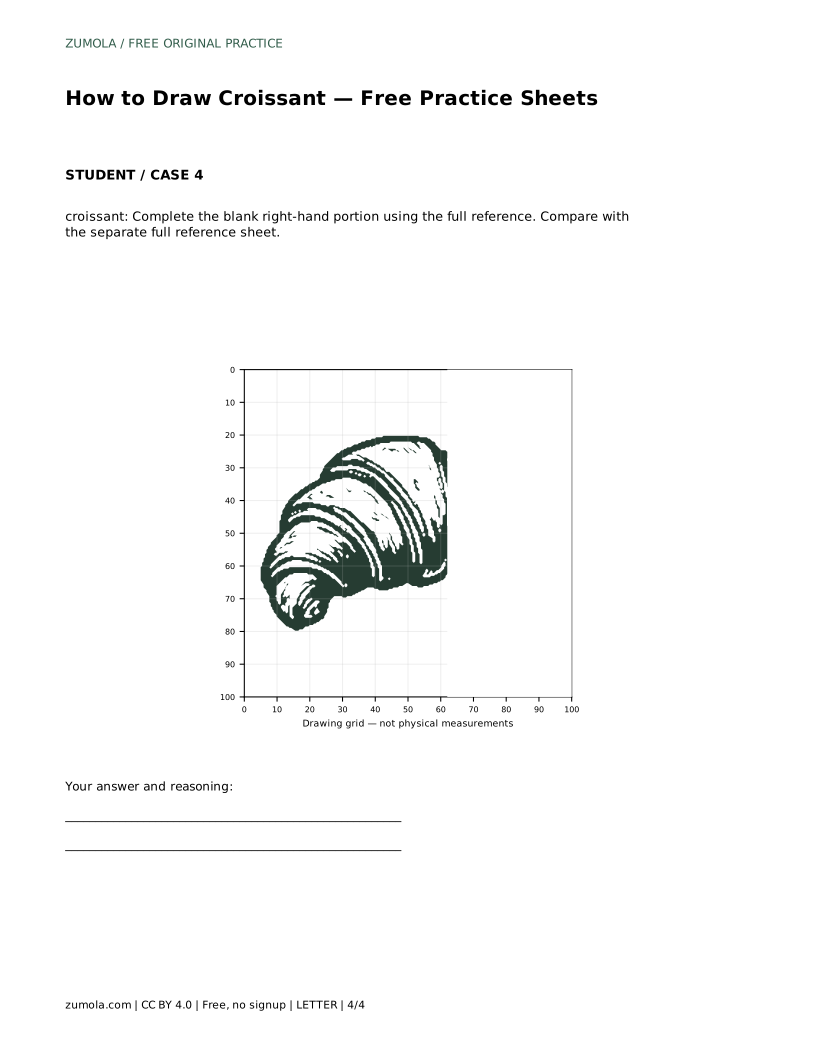
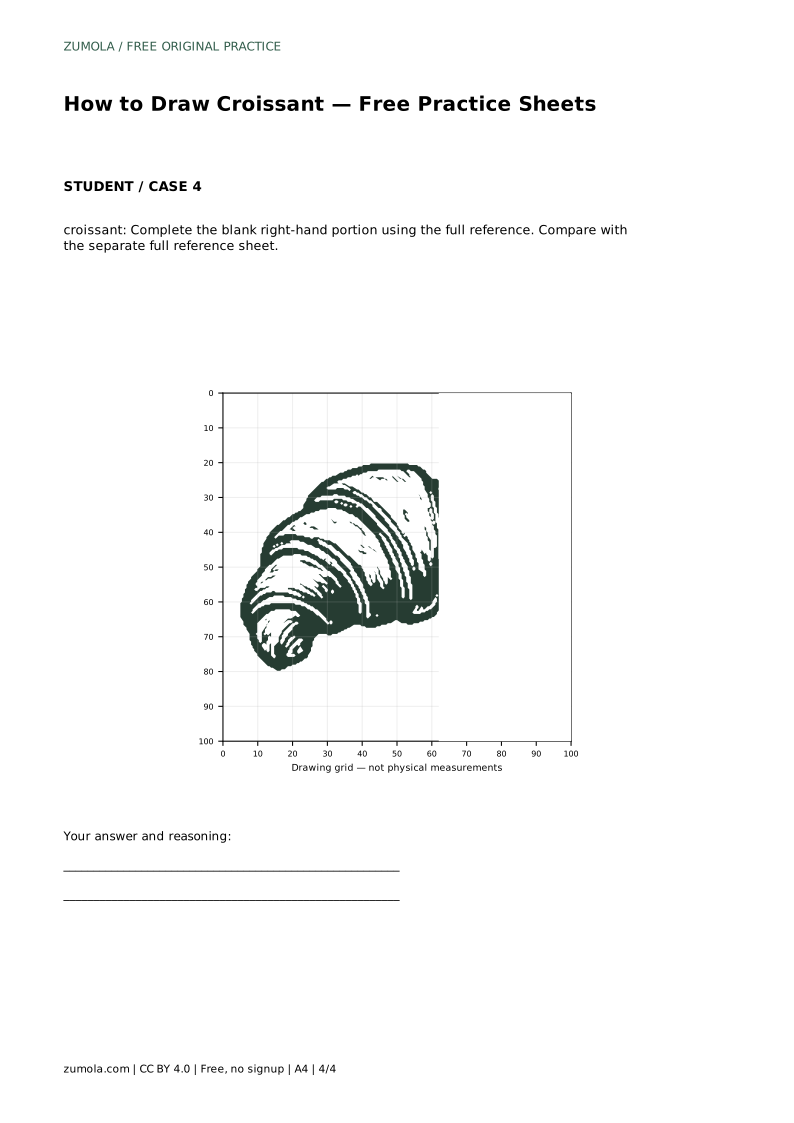
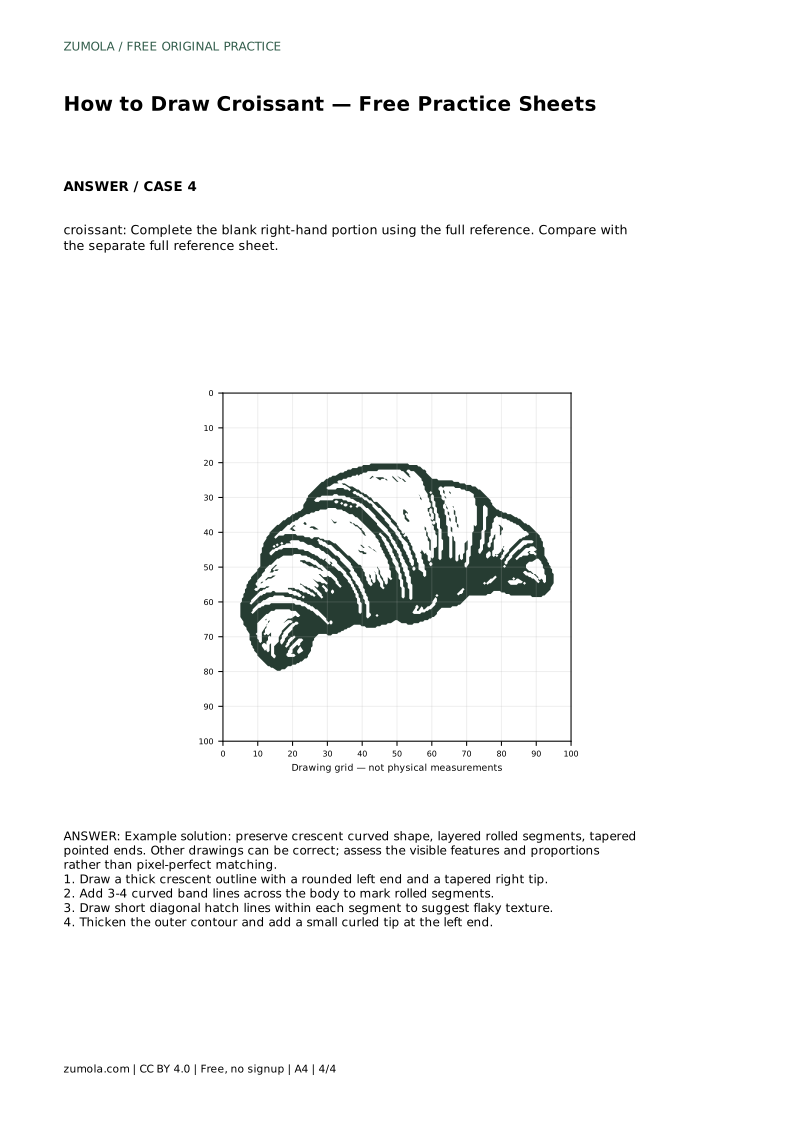
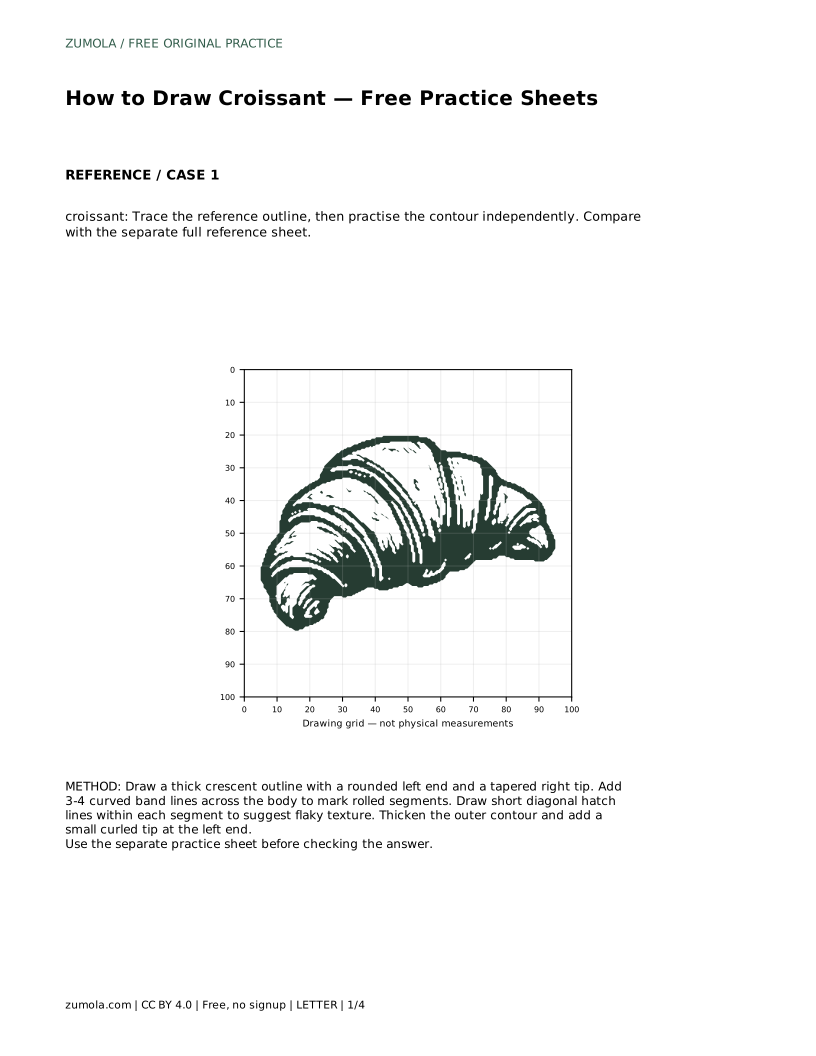
When you use a trace sheet, trace the outline first, then redraw the contour on a blank area without tracing. When you use a grid or bounding frame, compare where your tips and widest point fall against the reference. When you complete a blank half, check that the finished side continues the same curve and band spacing as the given side.
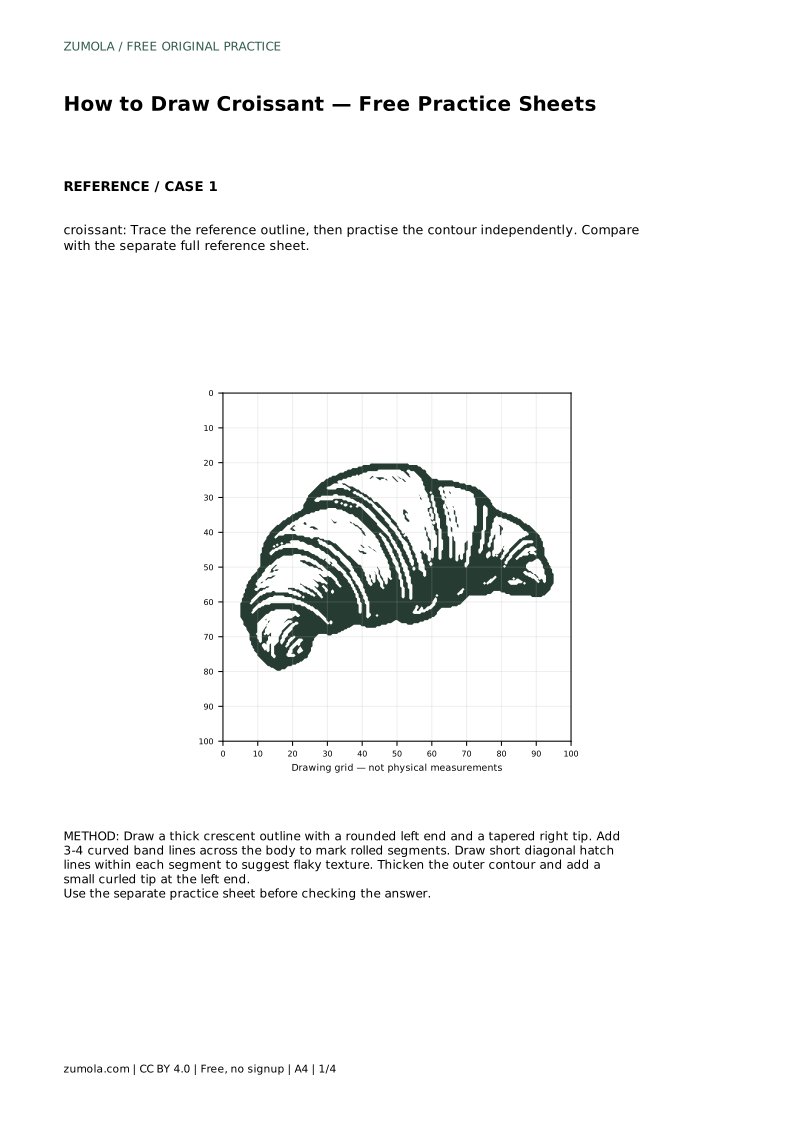
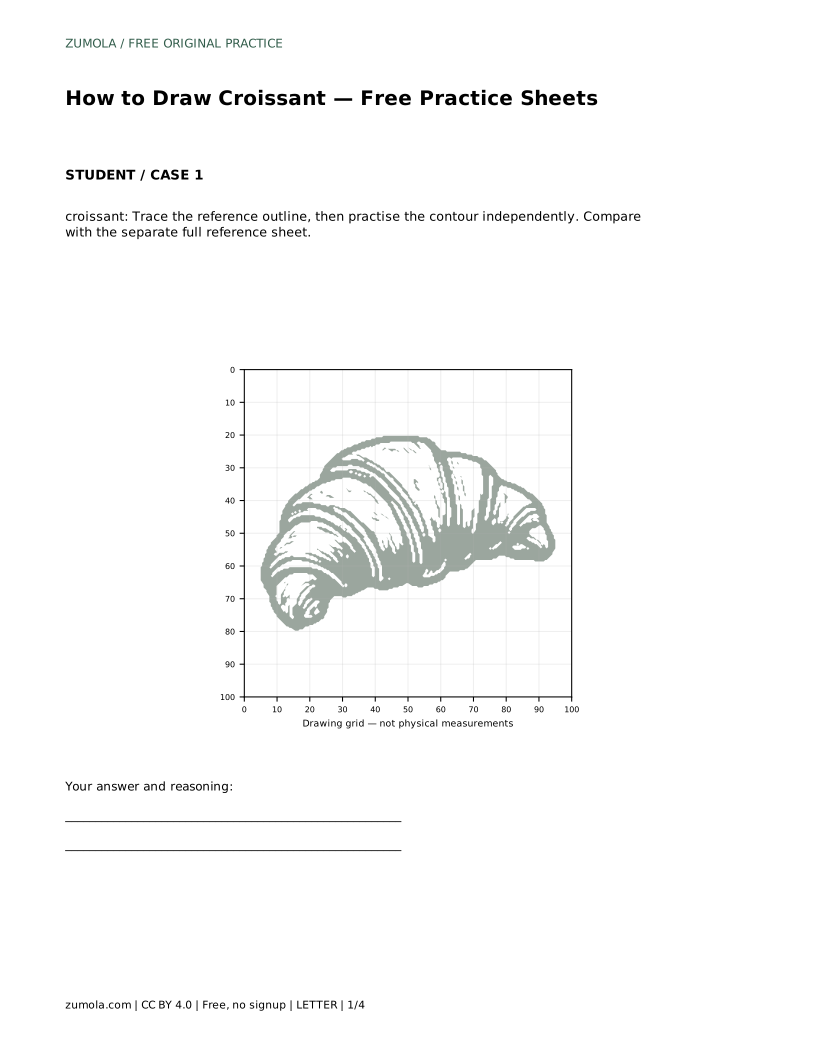
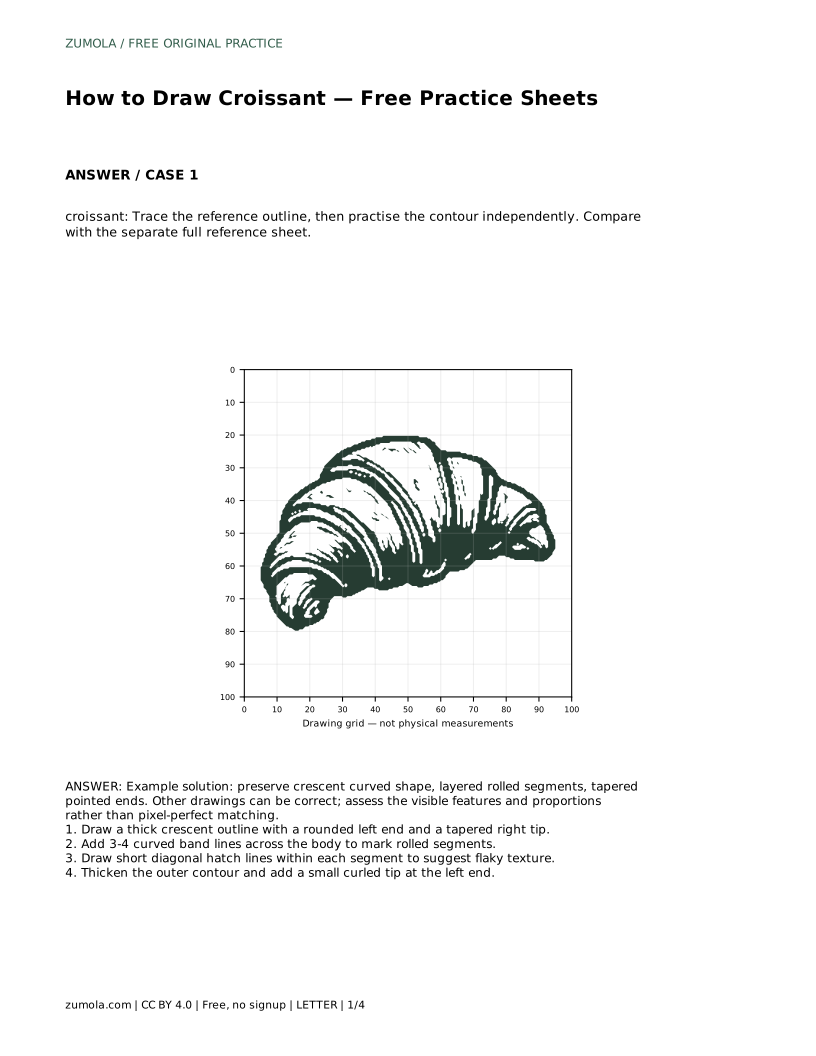
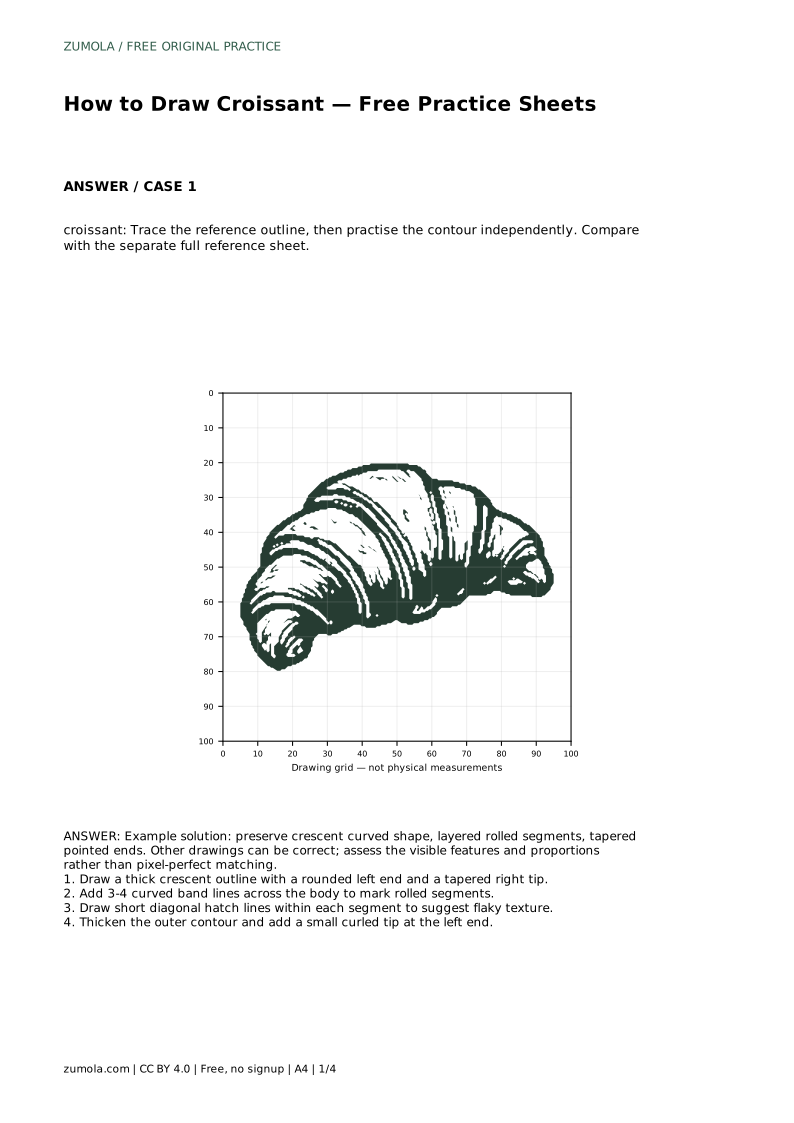
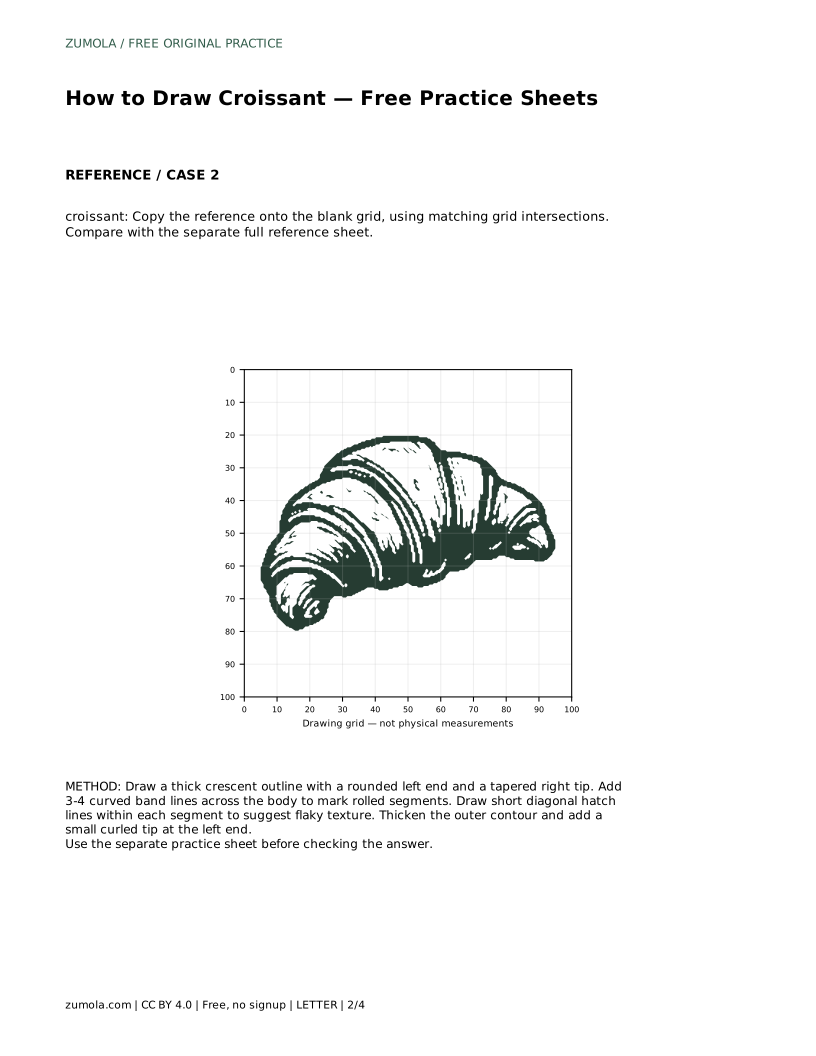
croissant: Trace the reference outline, then practise the contour independently. Compare with the separate full reference sheet.
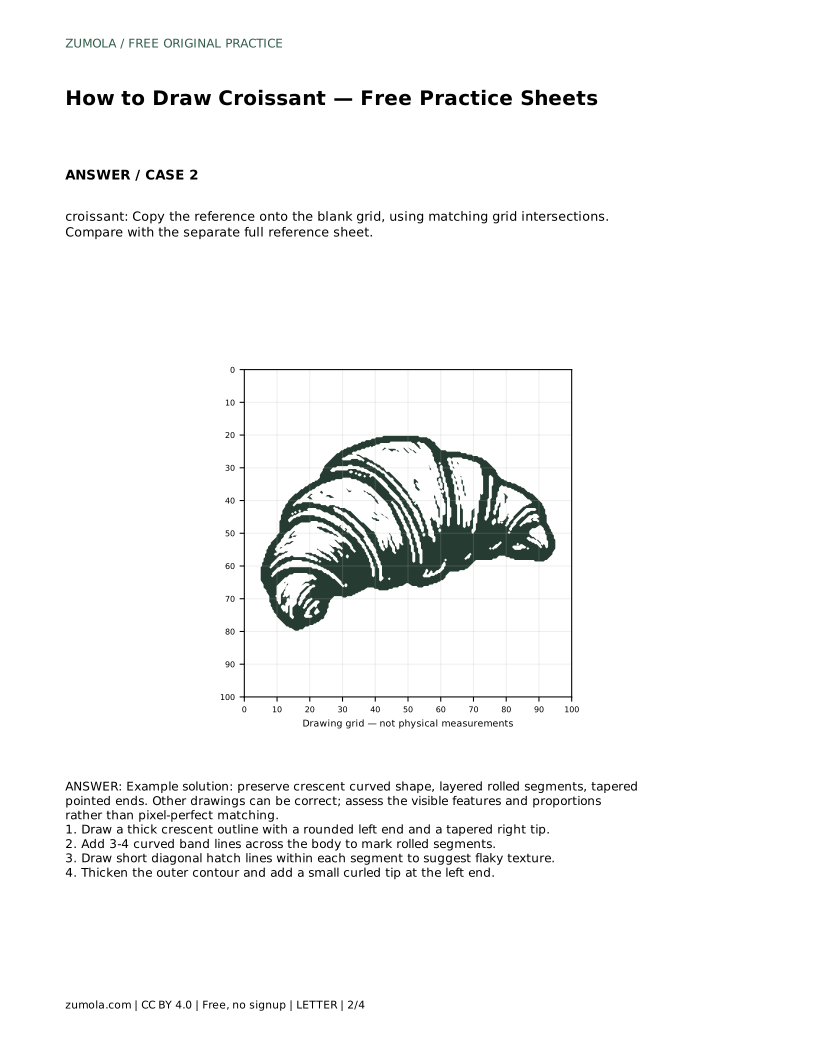
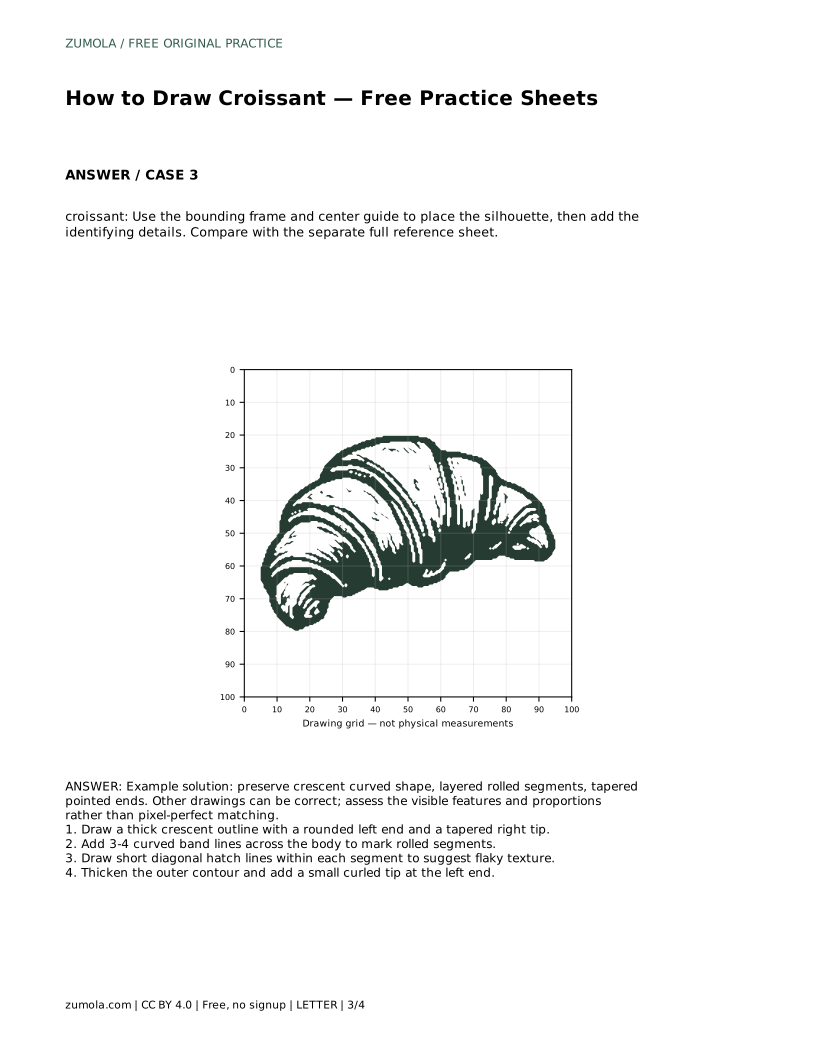
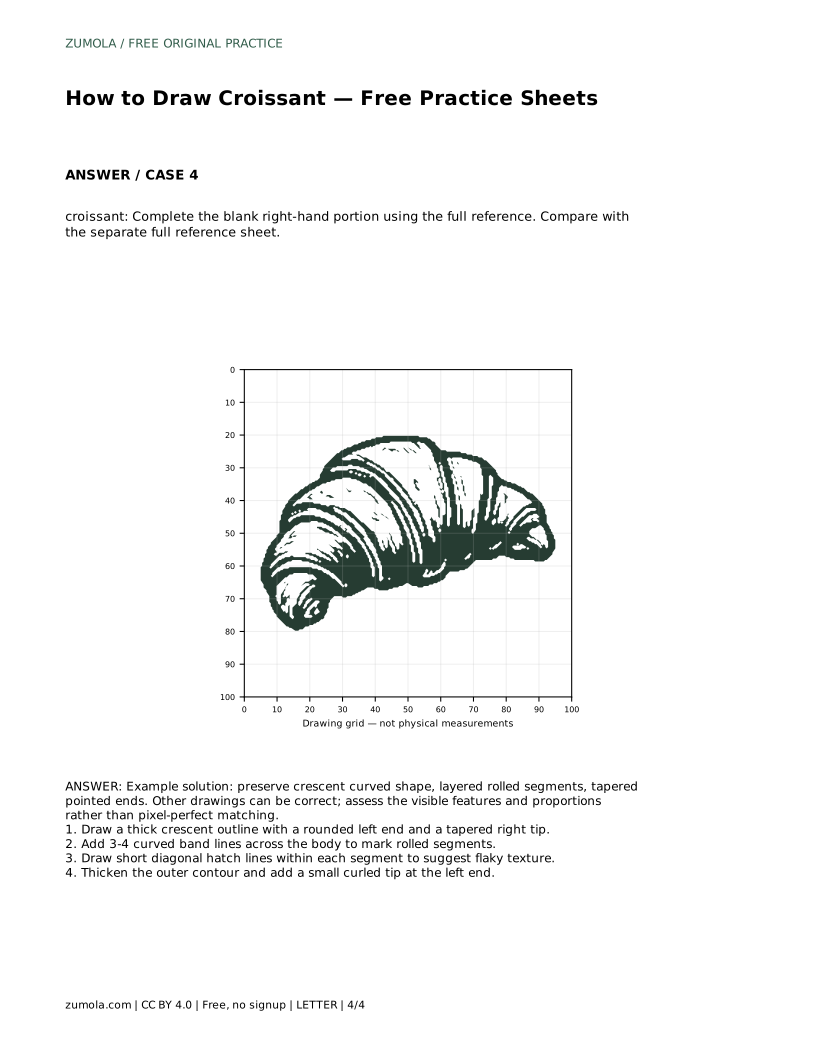
Example solution: preserve crescent curved shape, layered rolled segments, tapered pointed ends. Other drawings can be correct; assess the visible features and proportions rather than pixel-perfect matching. Draw a thick crescent outline with a rounded left end and a tapered right tip. Add 3-4 curved band lines across the body to mark rolled segments. Draw short diagonal hatch lines within each segment to suggest flaky texture. Thicken the outer contour and add a small curled tip at the left end.
Three or four curved bands across the body is a practical range. Fewer can look like a plain crescent; many more can look striped rather than layered.
No. Preserve the crescent curve, the rolled segment bands, the tapered ends, and the flaky texture. Other drawings can be correct; assess the visible features and proportions rather than pixel-perfect matching.
It suggests the outer layer of dough turning back at the rounded end. Keep it small so it does not compete with the tapered tip at the other end.
All drawing practice · Free coordinate paper
Original resources · CC BY 4.0 · Free for personal and classroom use with attribution.