Reference diagrams
LETTER · Download PDF
A4 · Download PDF
Free original resources
Learn to draw a cute pickle with a bumpy, curved body, rounded ends, and a small stem nub. Trace, grid, and complete-the-picture practice methods explained.
Four original cases, with reference diagrams, practice sheets and worked answers. Everything is free; no signup required.
LETTER · Download PDF
A4 · Download PDF
LETTER · Download PDF
A4 · Download PDF
LETTER · Download PDF
A4 · Download PDF
Use A4 or US Letter to match your printer. Use the stated values and conditions to solve each exercise; diagrams are not physical measuring rulers.
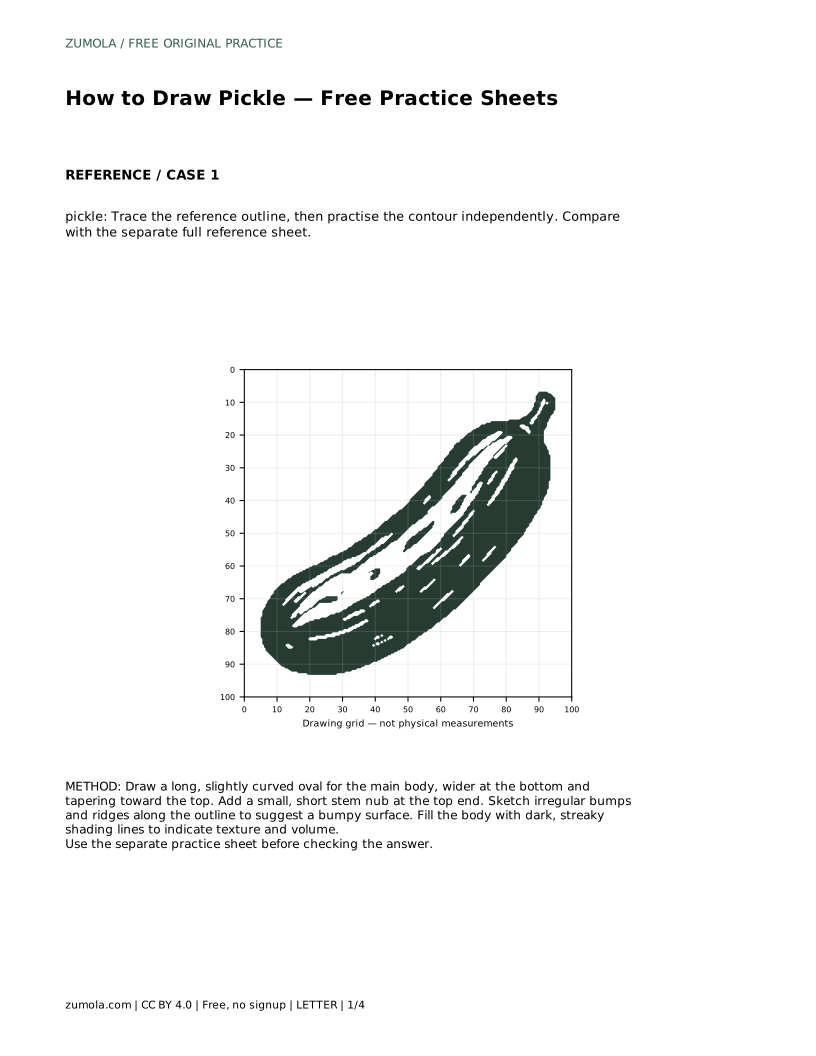
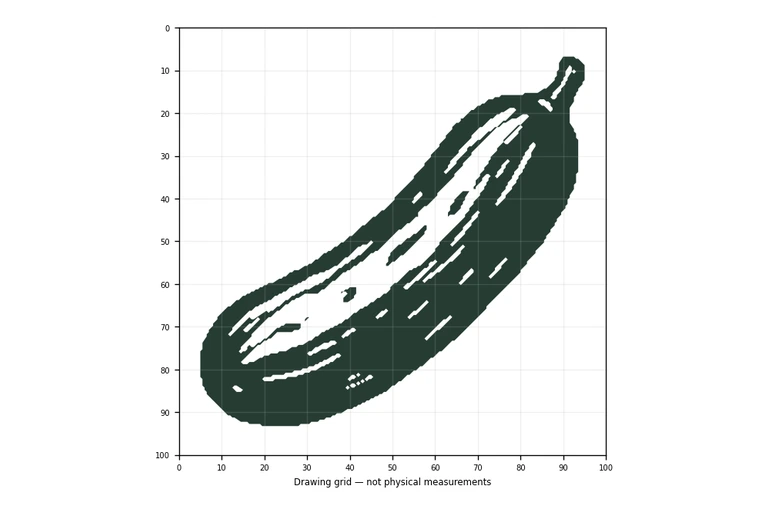
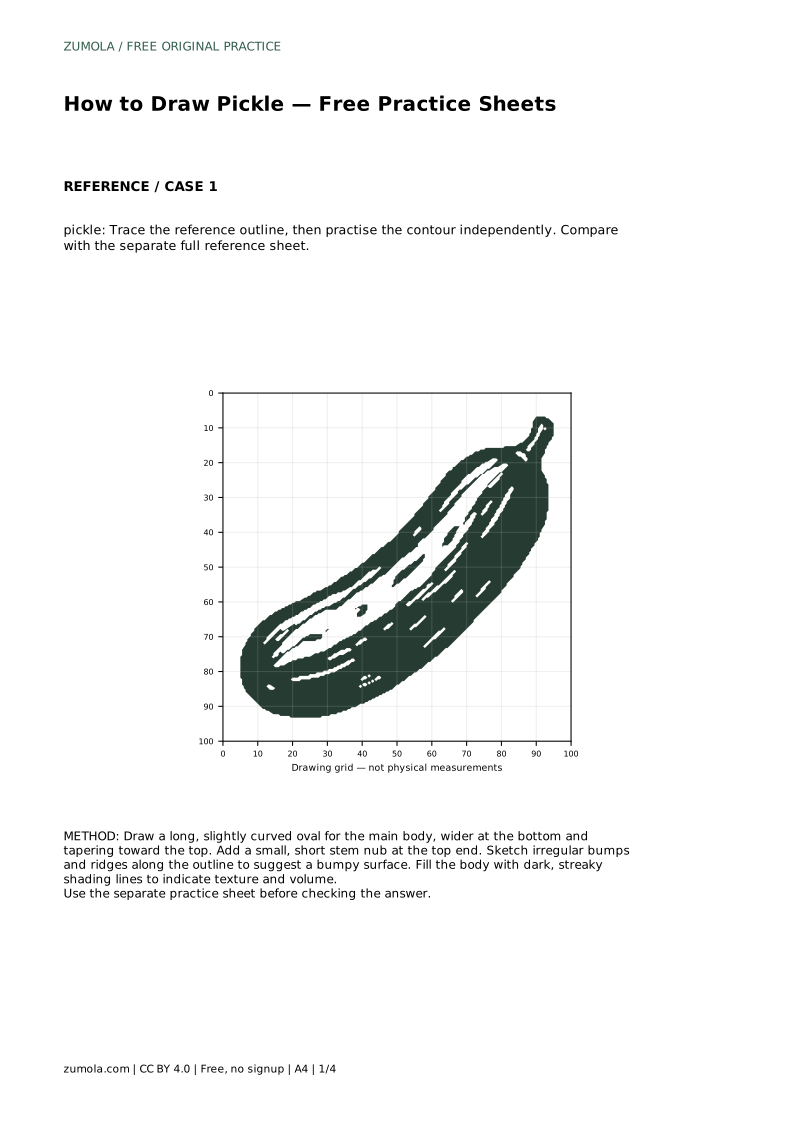
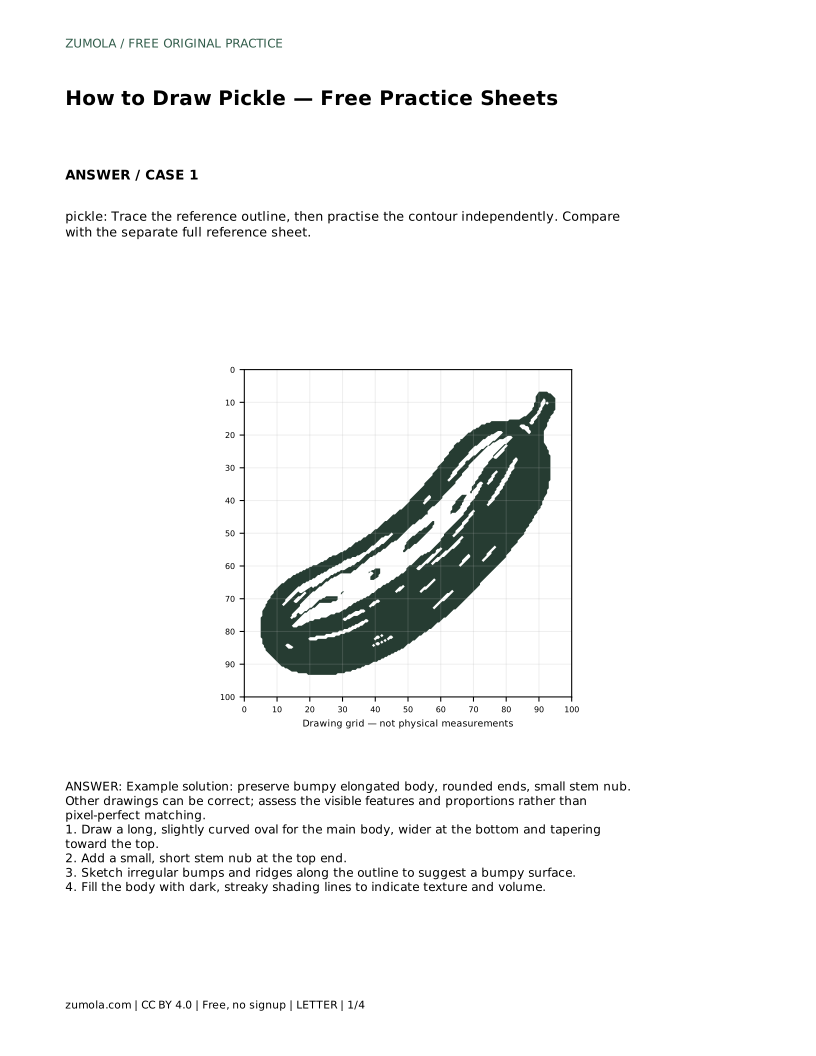
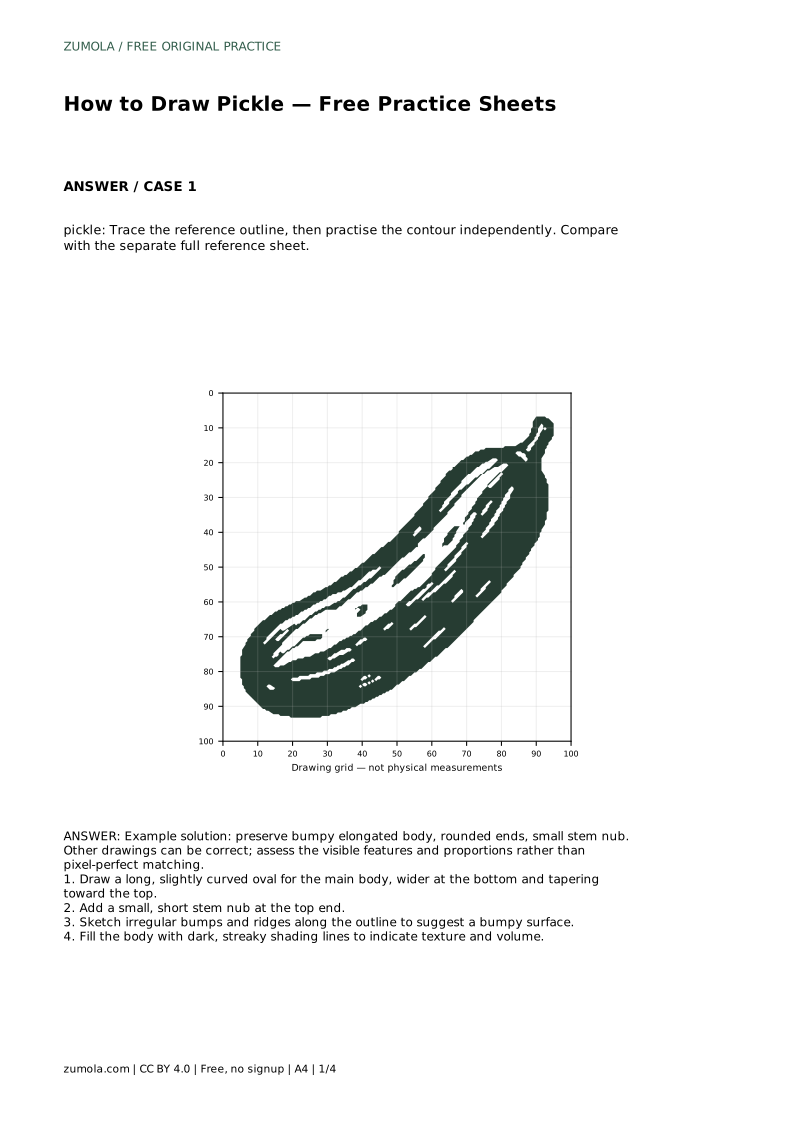
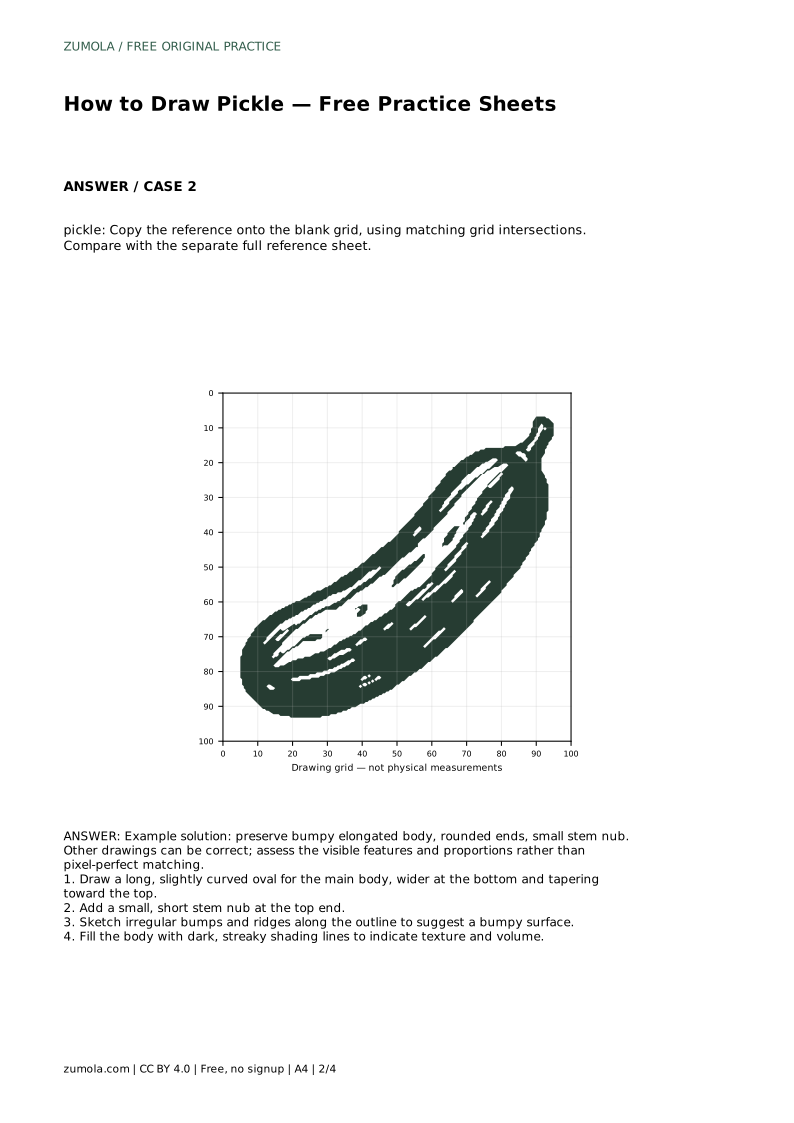
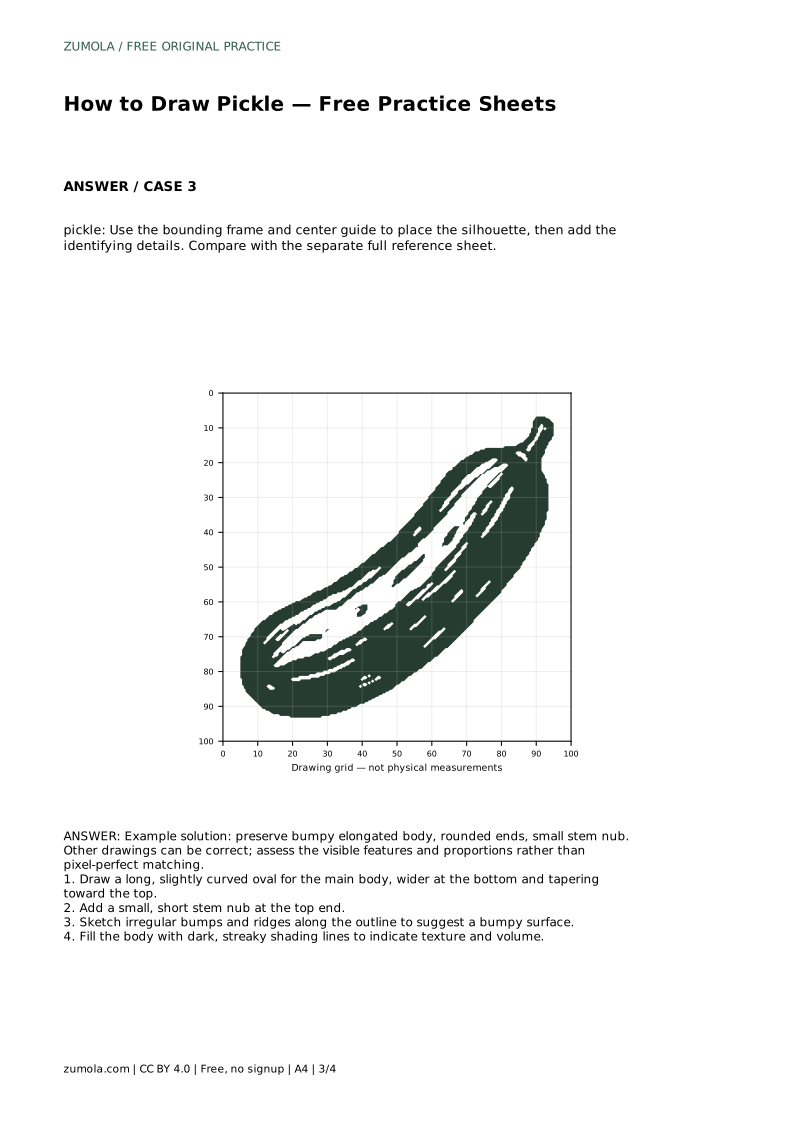
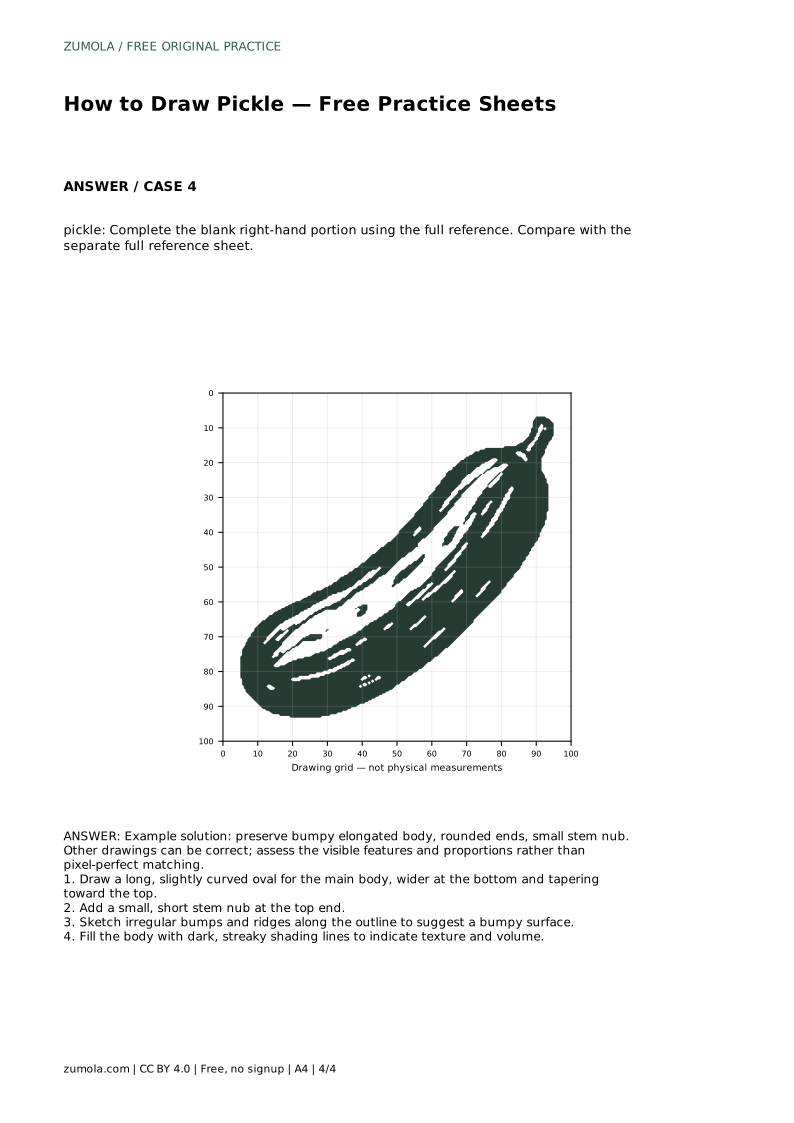
A pickle is a friendly subject for drawing practice because its shape is simple but its surface is not. The body is long and slightly curved, wider near the bottom and tapering toward the top, with rounded ends and a short stem nub. Bumps and ridges give it character. This guide explains how to capture those features using tracing, grid copying, guide frames, and partial-reference completion, so you can practise the same pickle in several ways.
Begin by drawing a long, slightly curved oval for the main body. Make it wider at the bottom and narrower toward the top. Keep both ends rounded rather than pointed; a pickle is not a spike. The curve should be gentle, like a soft banana, not a sharp hook.
Check the proportions before adding detail. The body should read as elongated, roughly three to four times taller than it is wide. If your oval looks like a circle or a teardrop, adjust the length or the taper. A light pencil line is easier to correct than a dark one.
Place a small, short stem nub at the top end. It should sit on the narrow end, not float beside it. Keep it modest in size so the body remains the main shape.
Next, sketch irregular bumps and ridges along the outline. Vary their size and spacing; evenly spaced bumps look like a pattern rather than a surface. Some bumps can push outward, and some can create small dips. Keep the overall silhouette readable as one pickle.
Fill the body with dark, streaky shading lines to indicate texture and volume. Streaks should follow the length of the pickle, curving with the body. Leave some lighter areas so the shading does not become a flat block of colour.
Shading is where cute pickles gain depth. A few darker streaks near the edges and lighter streaks in the middle suggest a rounded surface. Avoid covering the stem nub completely; it should remain visible as a separate small feature.
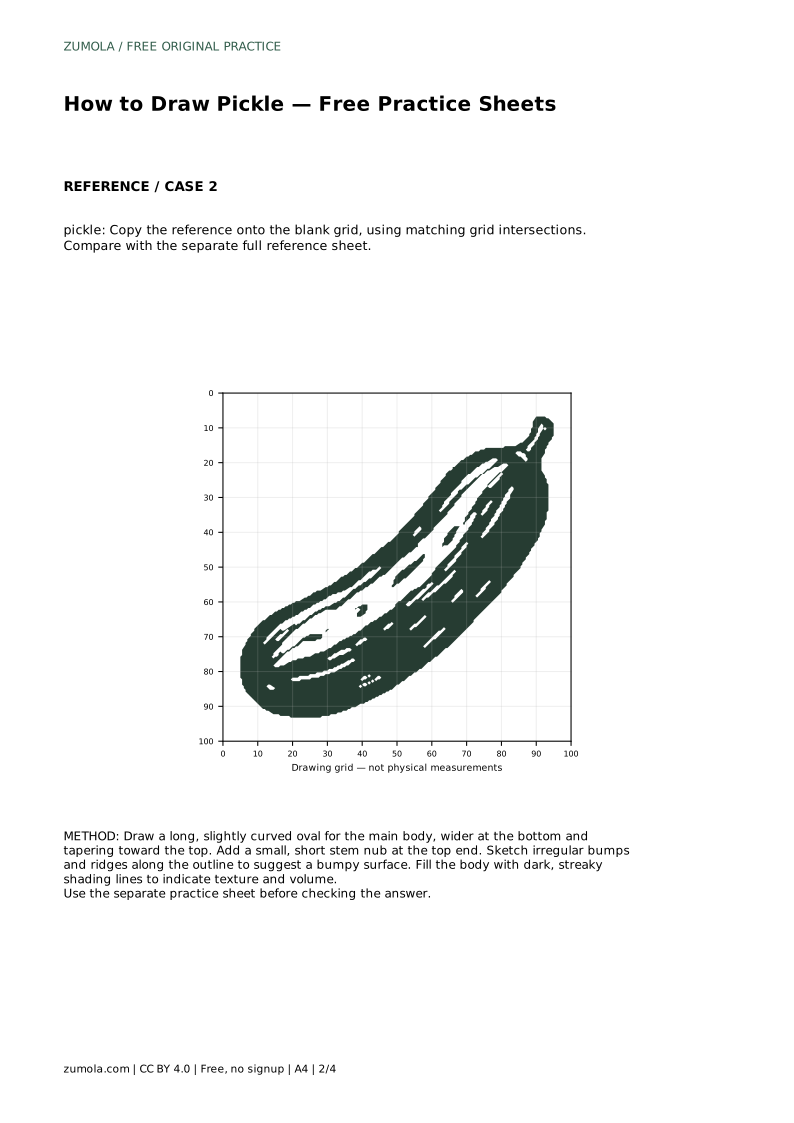
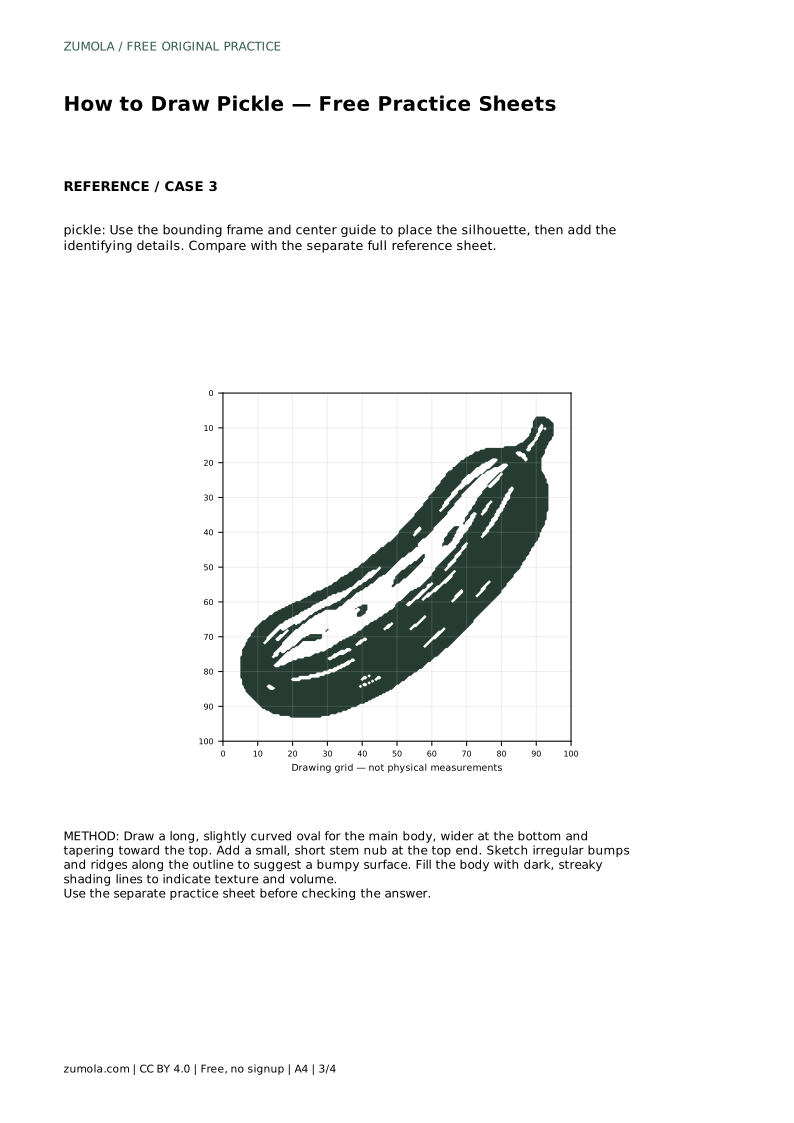
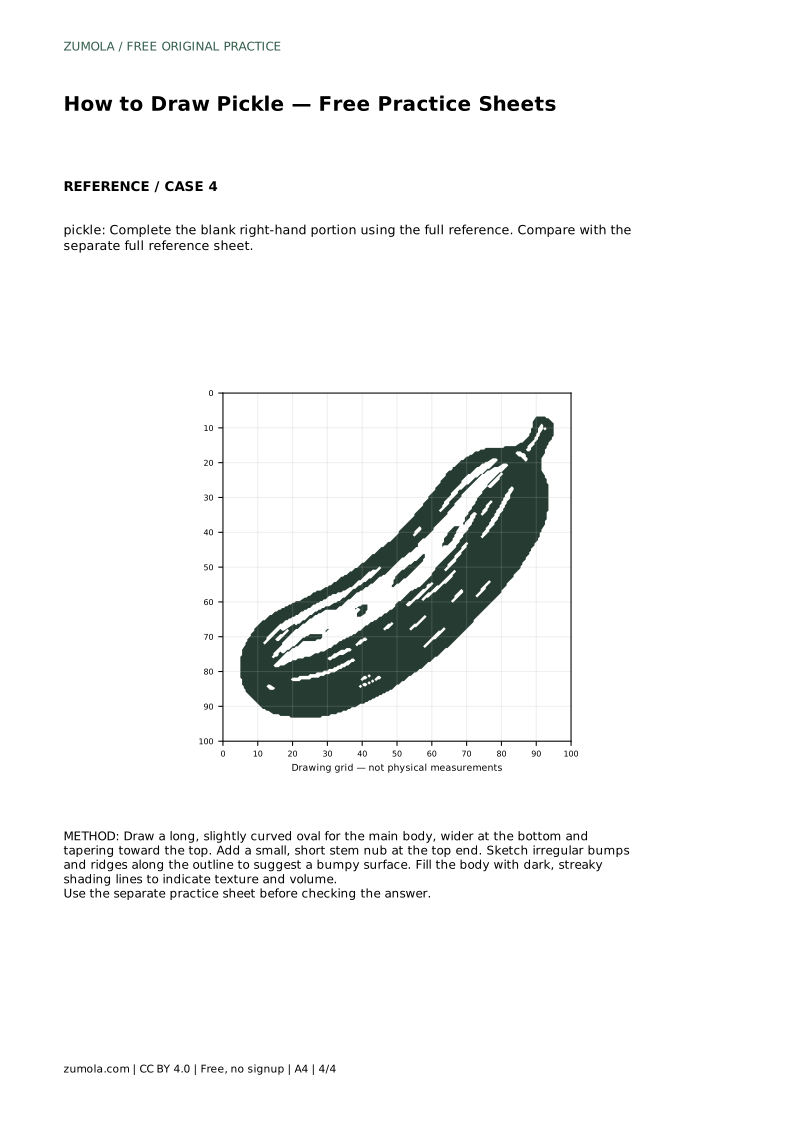
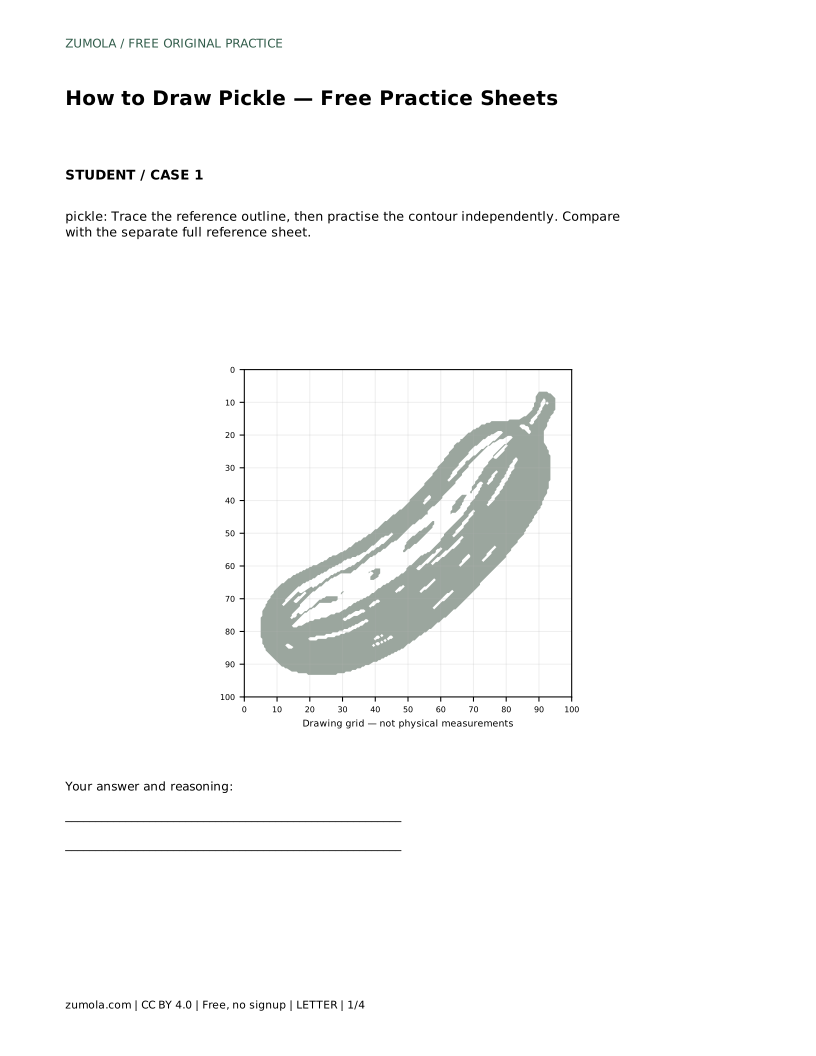
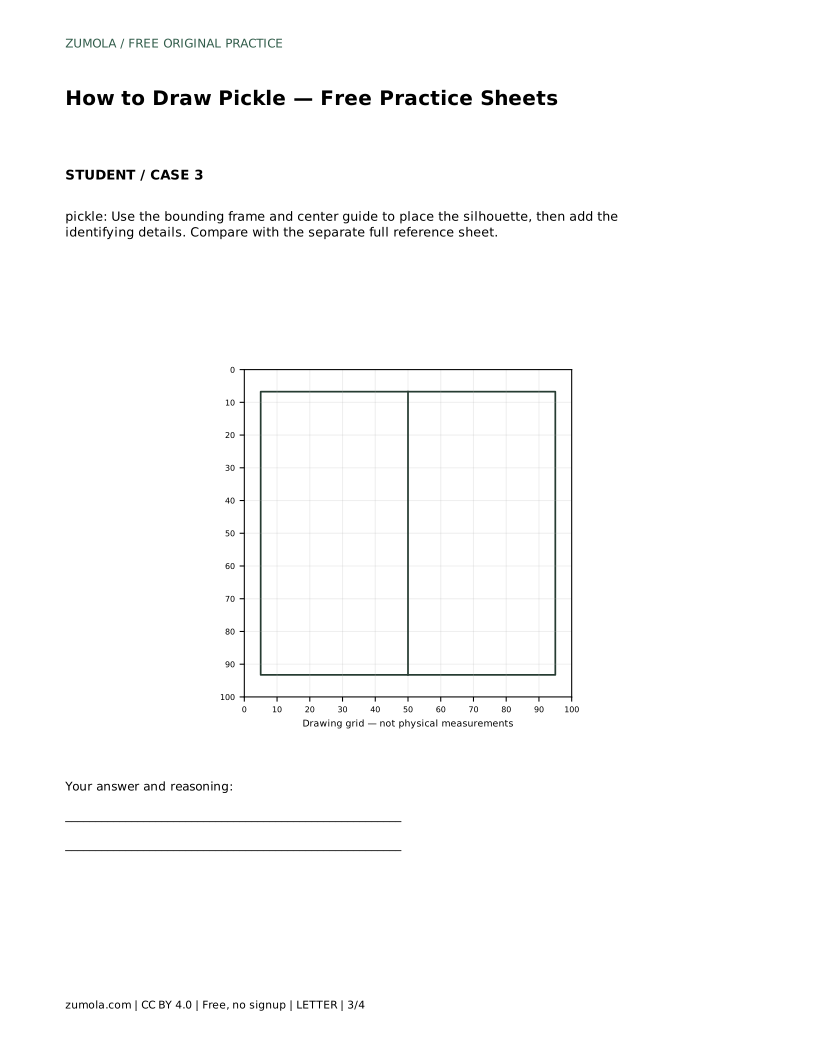
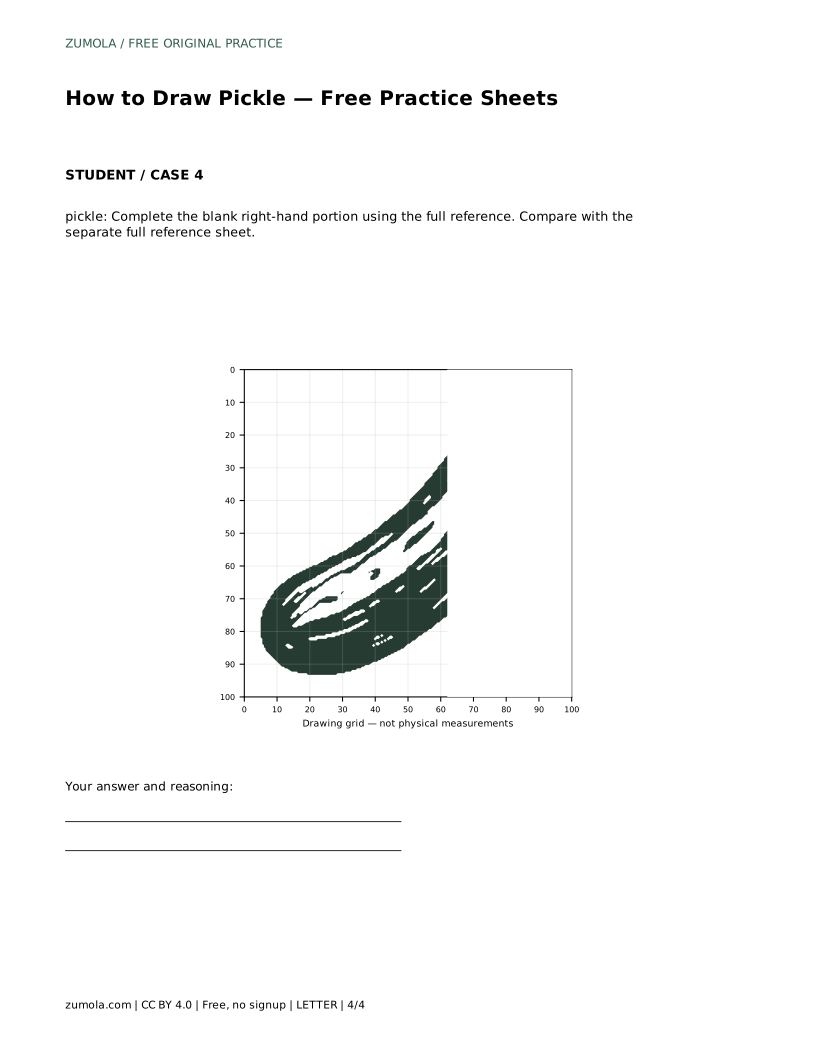
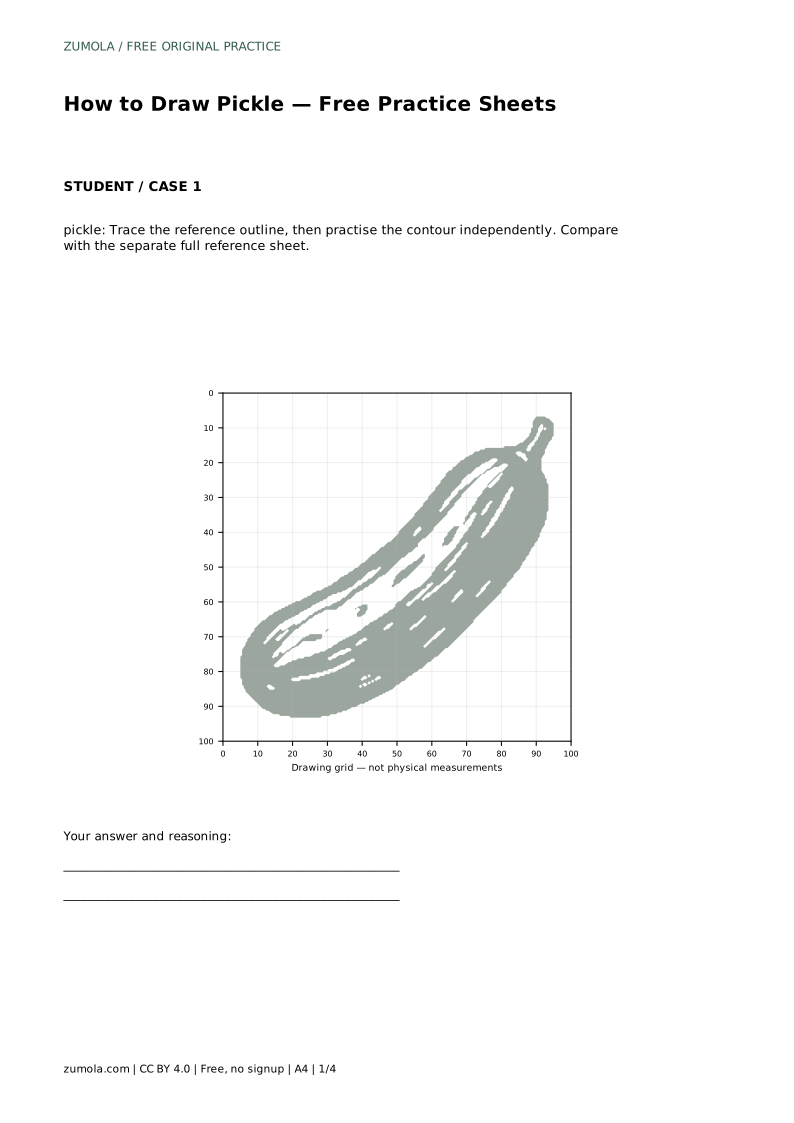
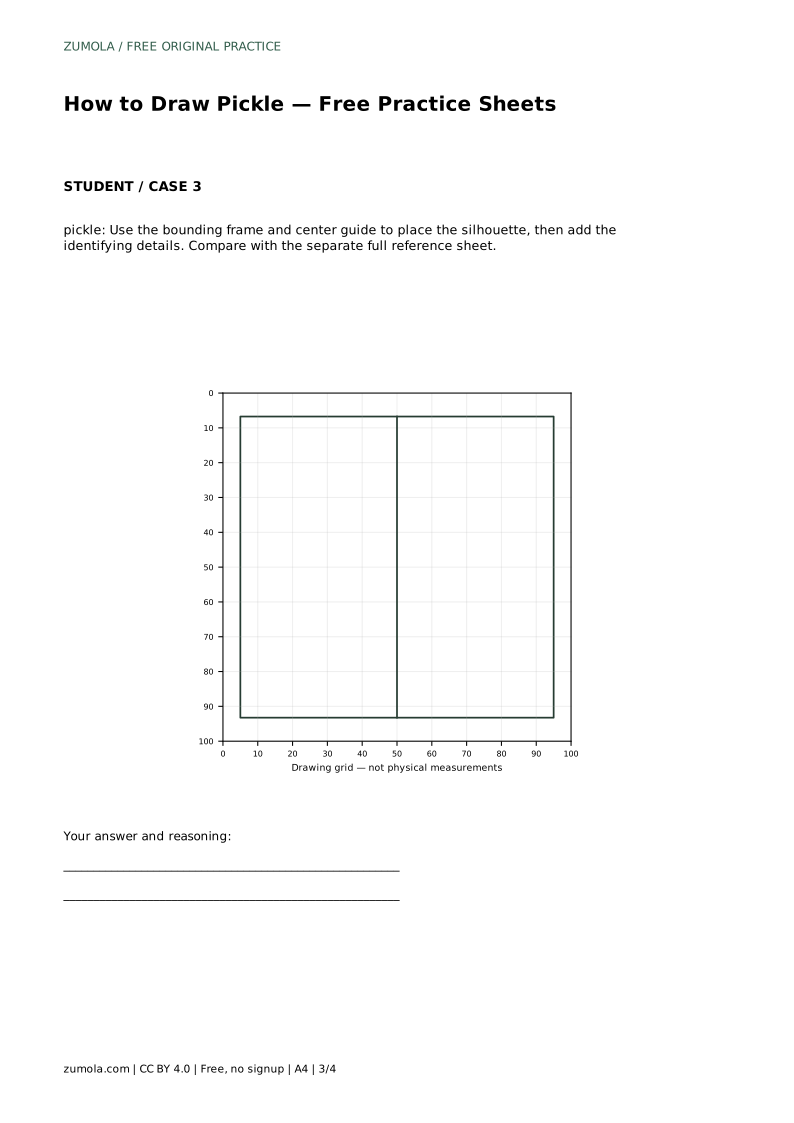
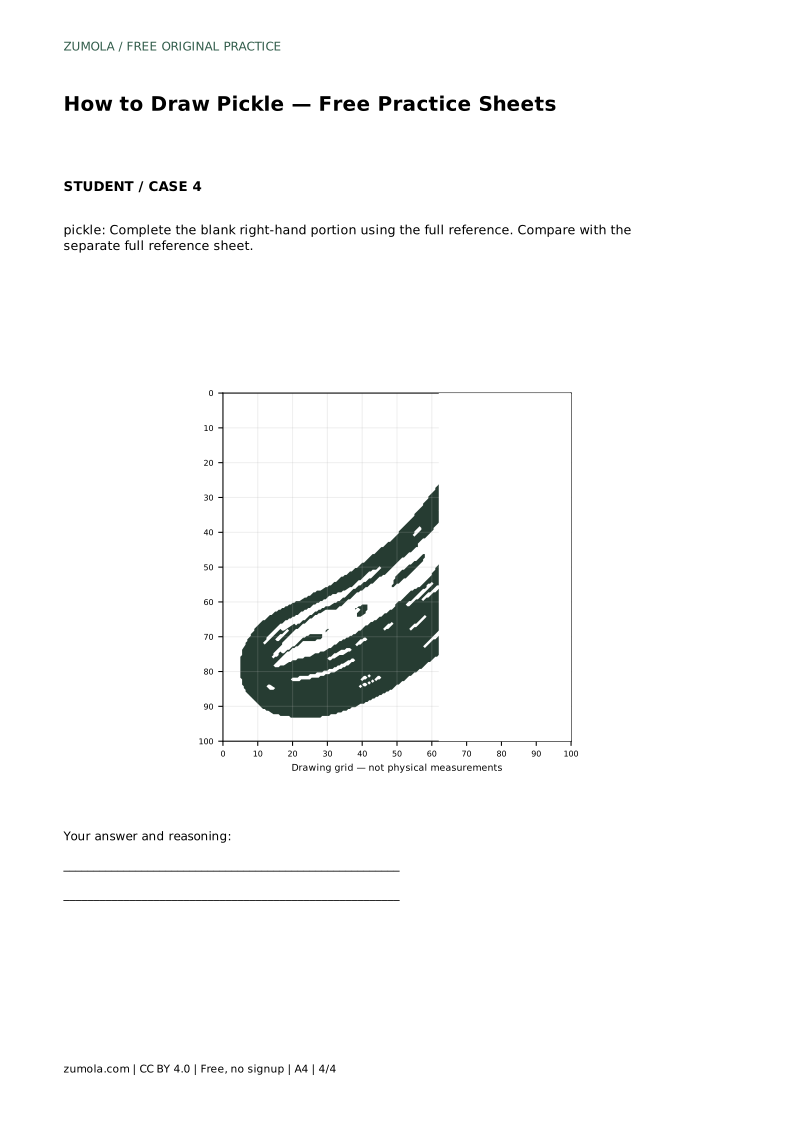
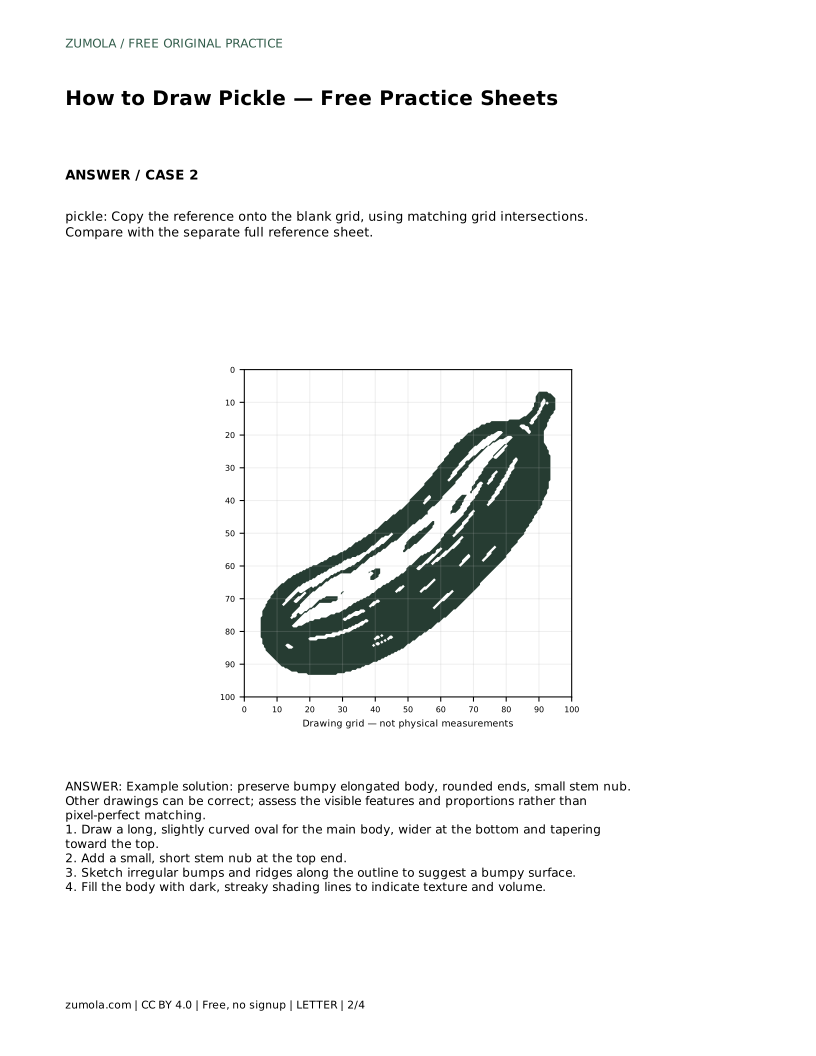
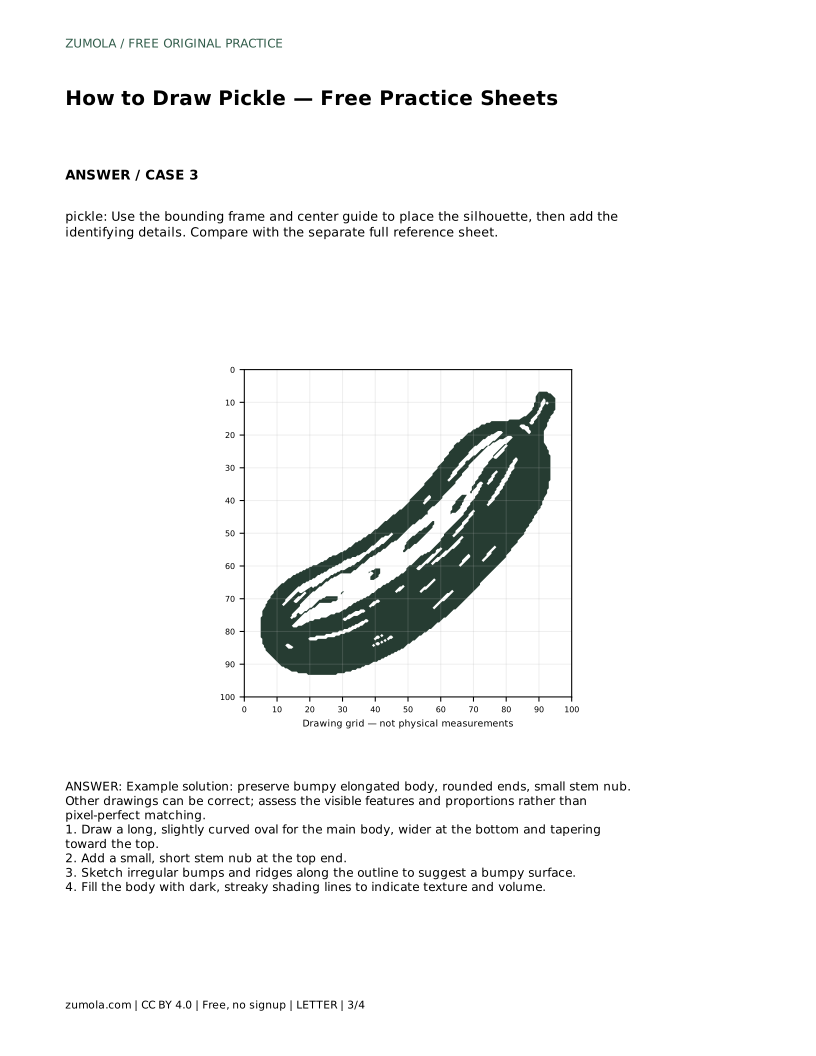
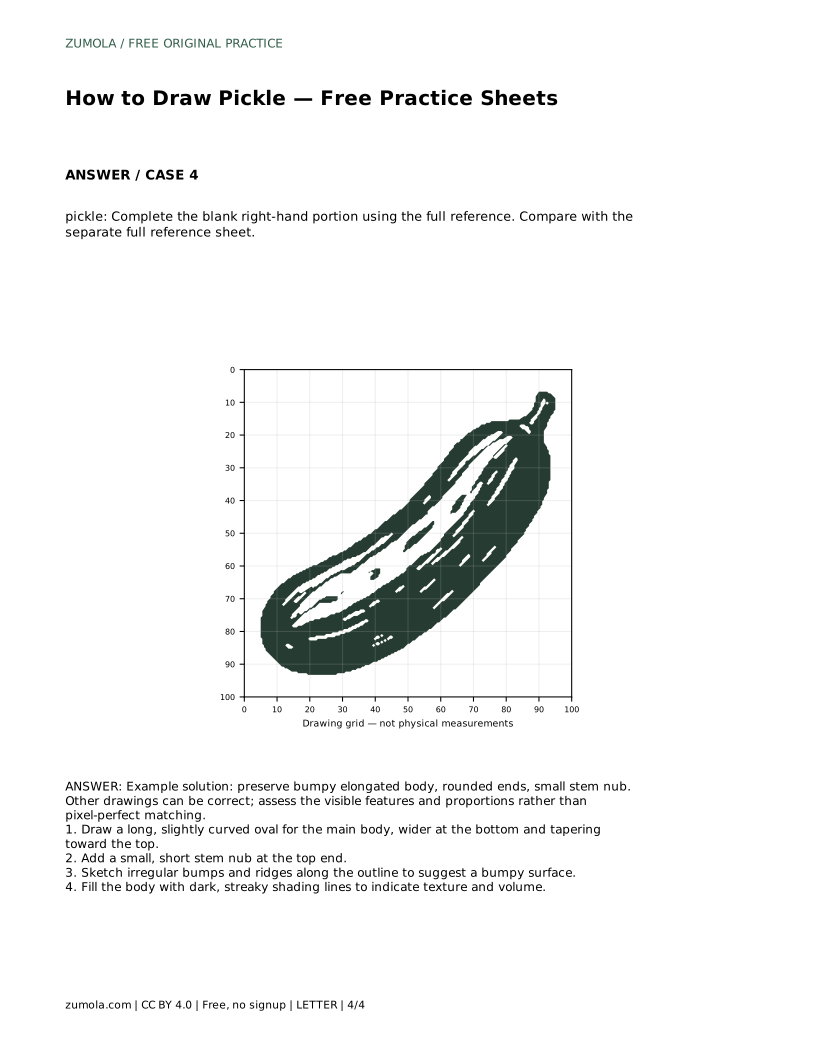
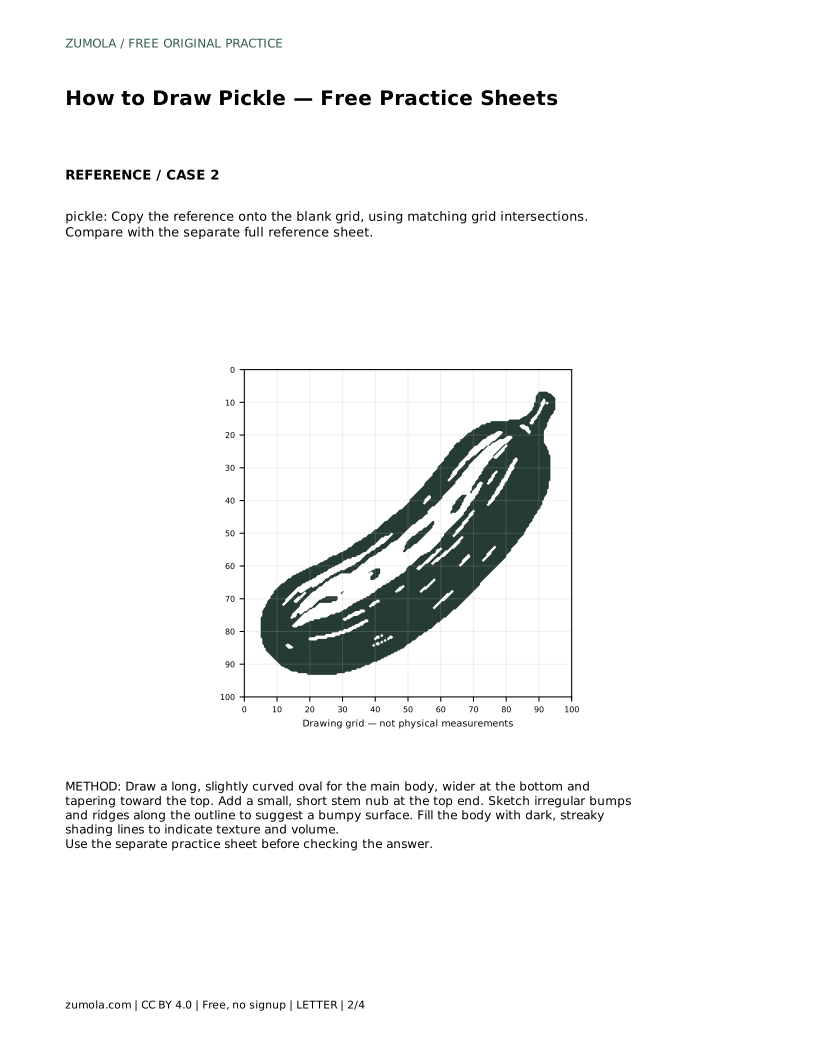
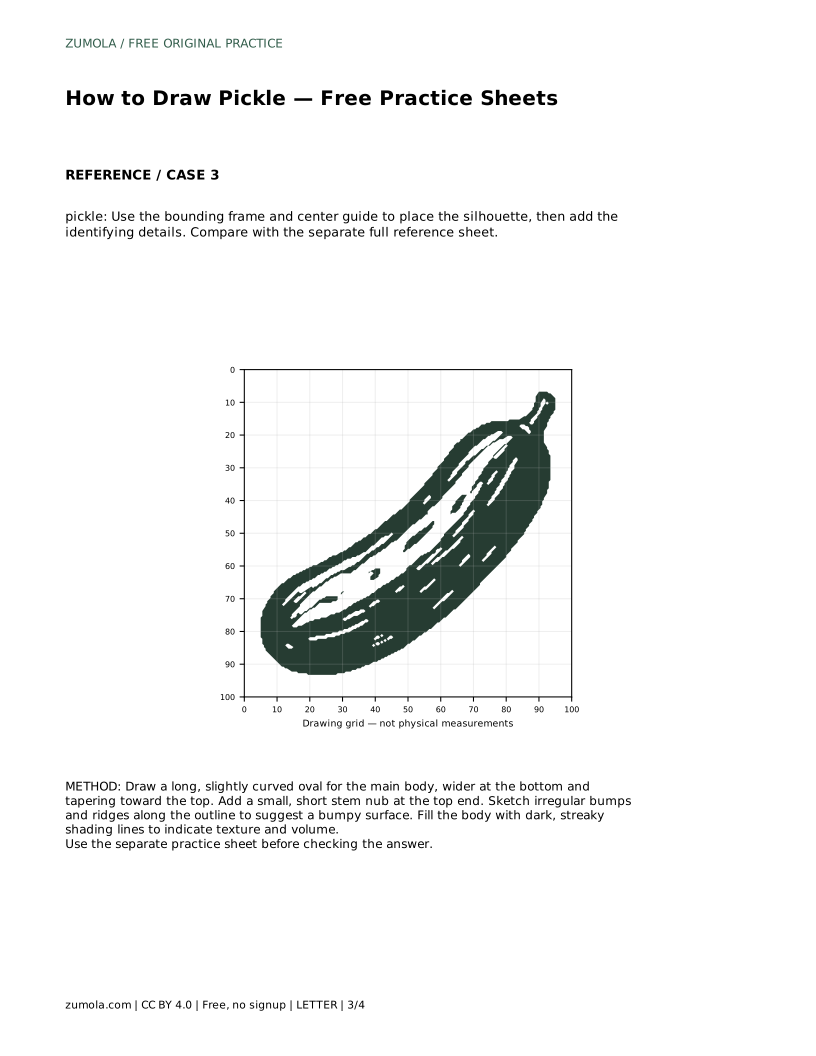
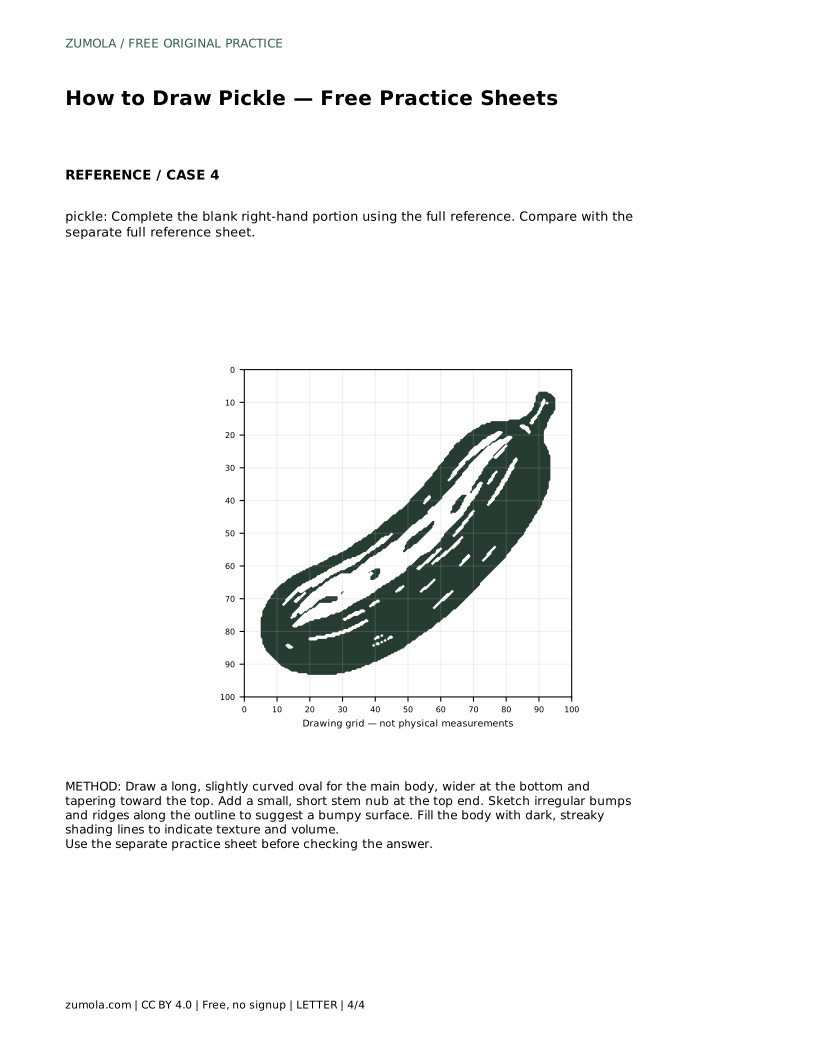
The trace method asks you to follow the reference outline first, then practise the contour independently. Compare your result with the separate full reference sheet. The grid method asks you to copy the reference onto the blank grid using matching grid intersections. The guide-frame method uses a bounding frame and centre guide to place the silhouette before adding details. The partial-reference method asks you to complete the blank right-hand portion using the full reference.
Each method trains a different skill: tracing builds familiarity, grids build proportion control, frames build placement, and partial completion builds recall. Use the rubric to assess visible features and proportions rather than pixel-perfect matching.
pickle: Trace the reference outline, then practise the contour independently. Compare with the separate full reference sheet.
Example solution: preserve bumpy elongated body, rounded ends, small stem nub. Other drawings can be correct; assess the visible features and proportions rather than pixel-perfect matching. Draw a long, slightly curved oval for the main body, wider at the bottom and tapering toward the top. Add a small, short stem nub at the top end. Sketch irregular bumps and ridges along the outline to suggest a bumpy surface. Fill the body with dark, streaky shading lines to indicate texture and volume.
No. Preserve the bumpy elongated body, rounded ends, and small stem nub. Other drawings can be correct; assess visible features and proportions rather than pixel-perfect matching.
Draw the body first, then the stem nub, then the bumps and ridges, and finally the streaky shading.
Compare the body length to its width and check that the taper runs toward the top. Adjust before shading.
All drawing practice · Free coordinate paper
Original resources · CC BY 4.0 · Free for personal and classroom use with attribution.