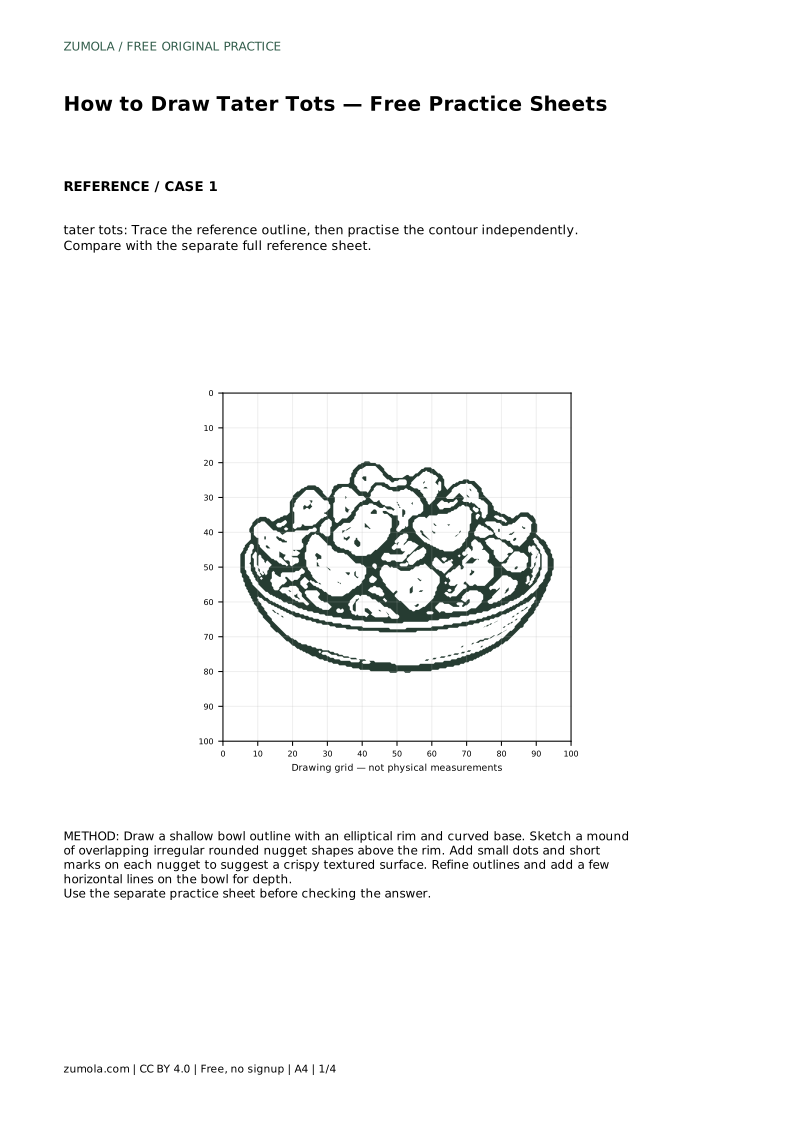
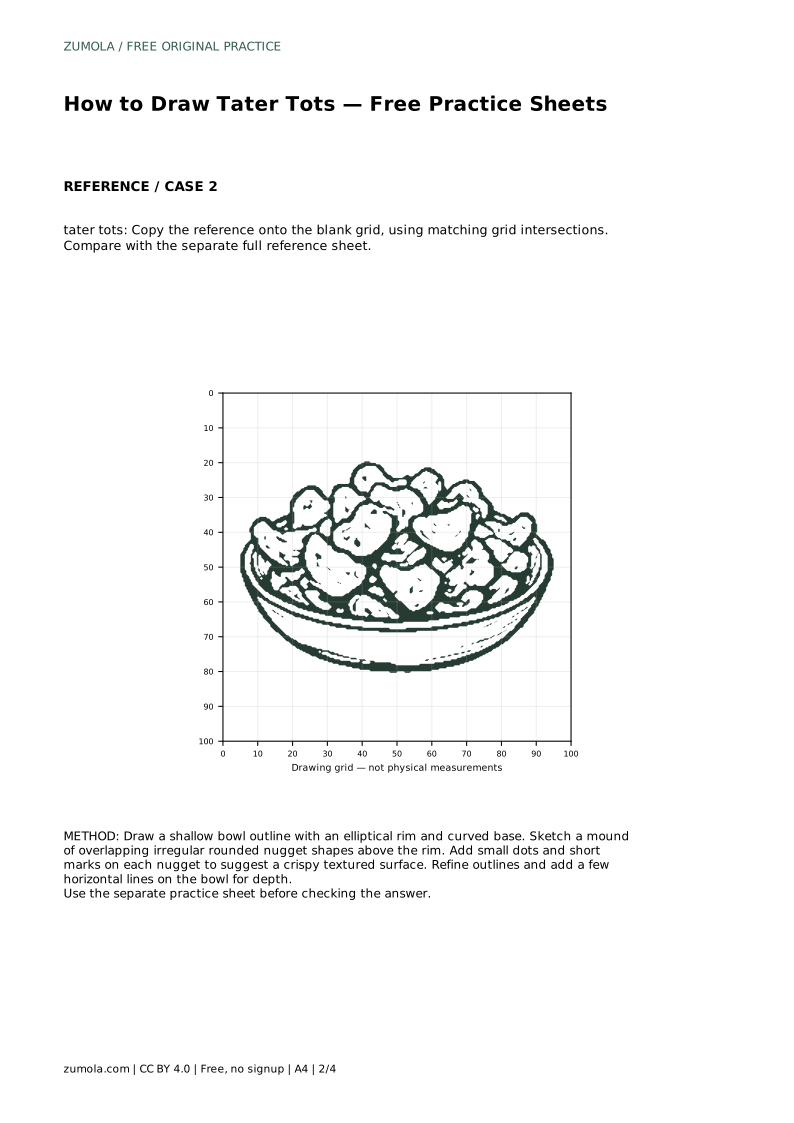
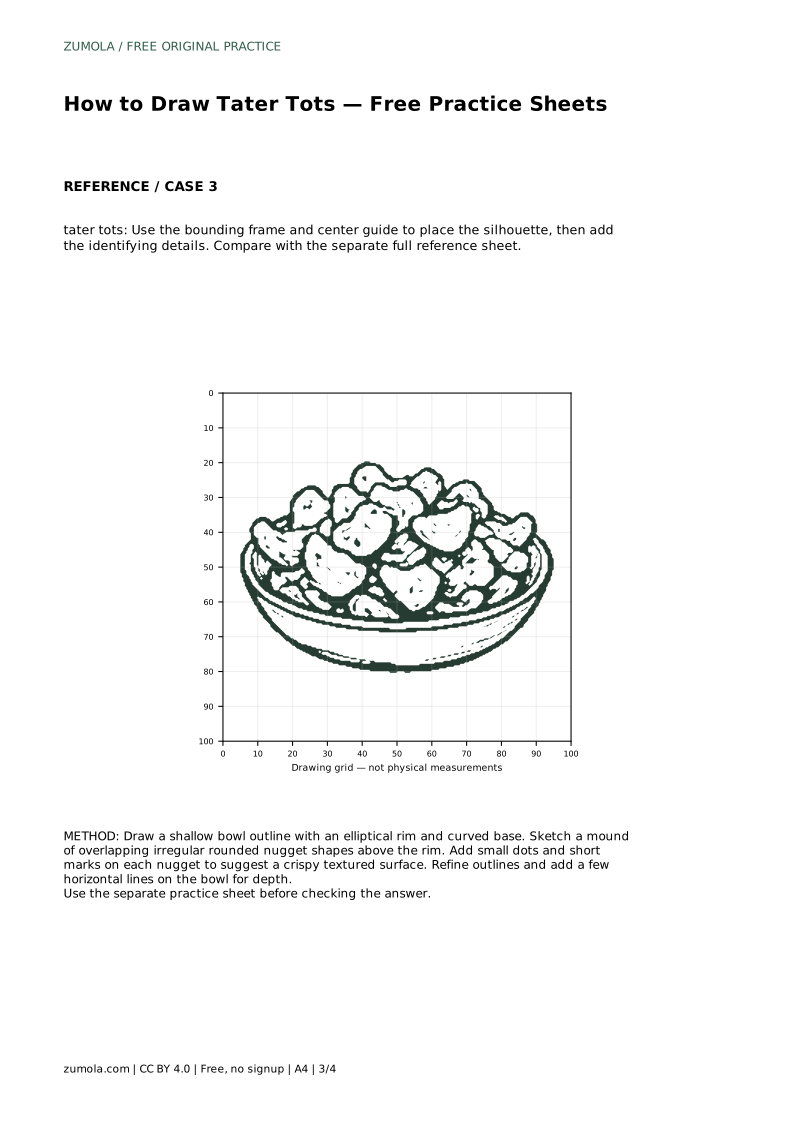
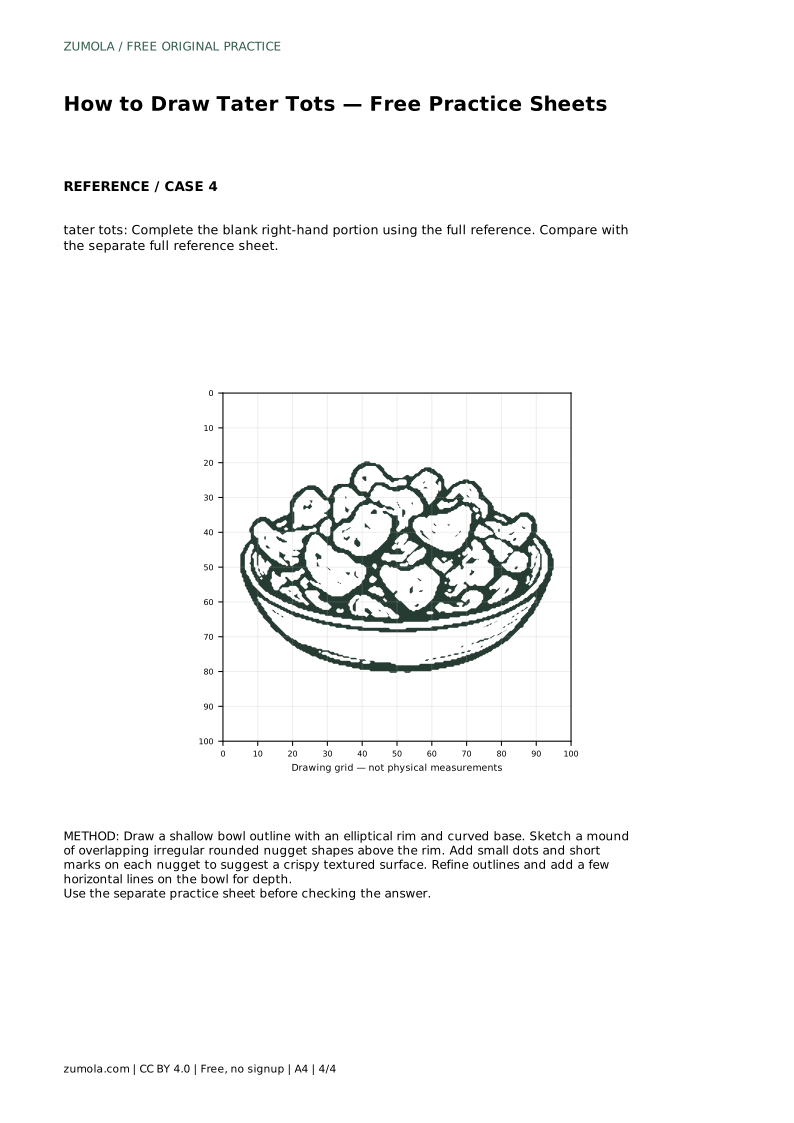
Reference diagrams
LETTER · Download PDF
A4 · Download PDF
Free original resources
Learn to draw a bowl of tater tots by building the rim, piling irregular nuggets, and adding speckled texture. Includes tracing and grid practice guidance.
Four original cases, with reference diagrams, practice sheets and worked answers. Everything is free; no signup required.
LETTER · Download PDF
A4 · Download PDF
LETTER · Download PDF
A4 · Download PDF
LETTER · Download PDF
A4 · Download PDF
Use A4 or US Letter to match your printer. Use the stated values and conditions to solve each exercise; diagrams are not physical measuring rulers.
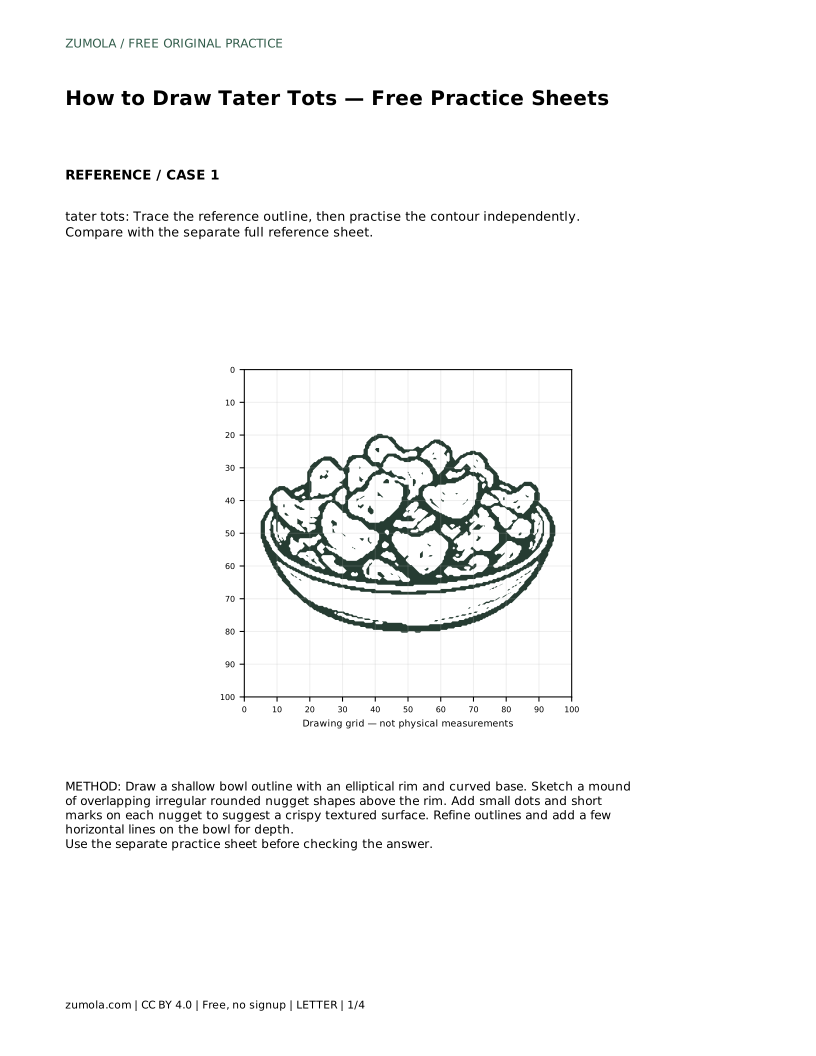
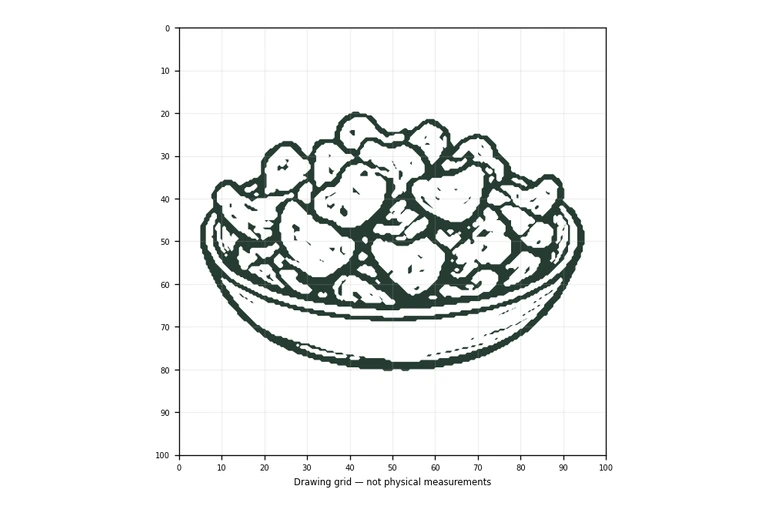
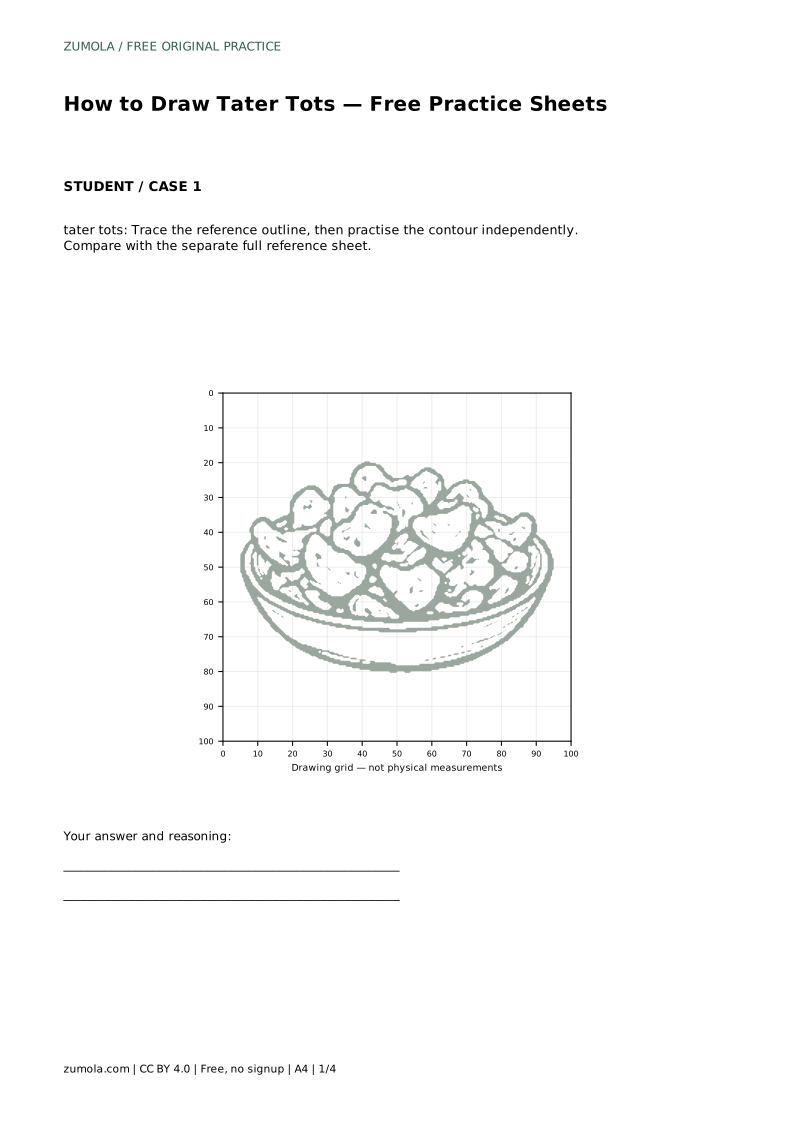
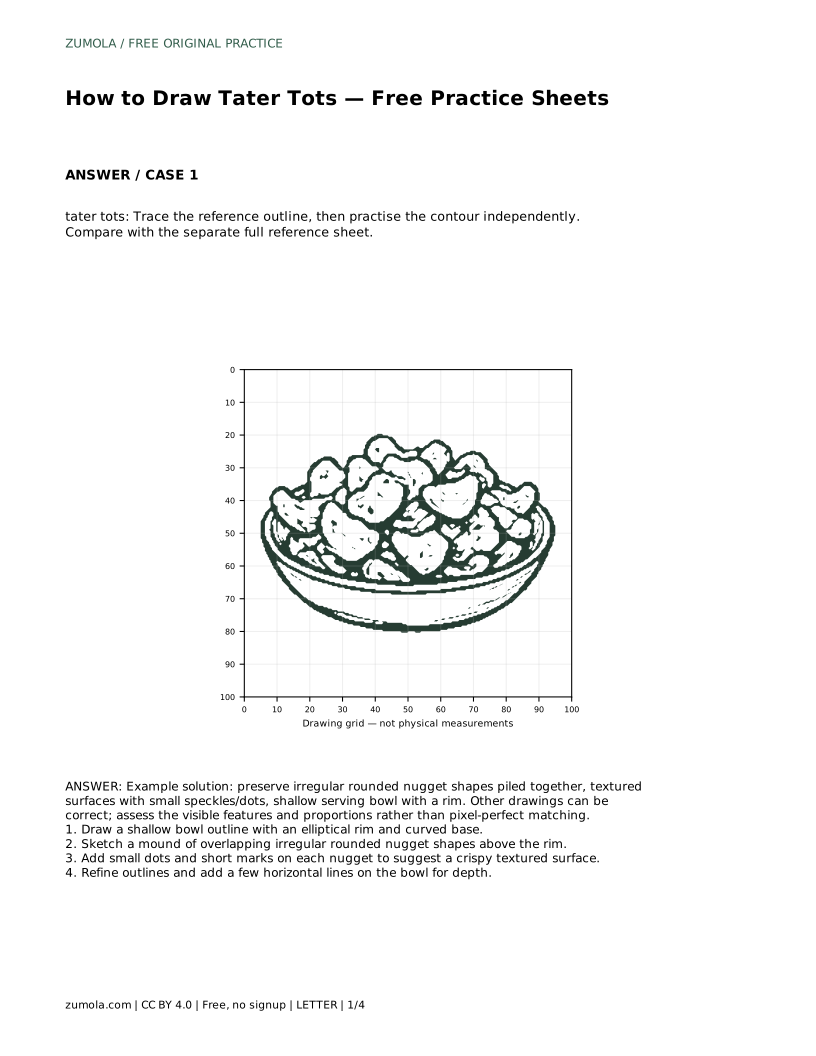
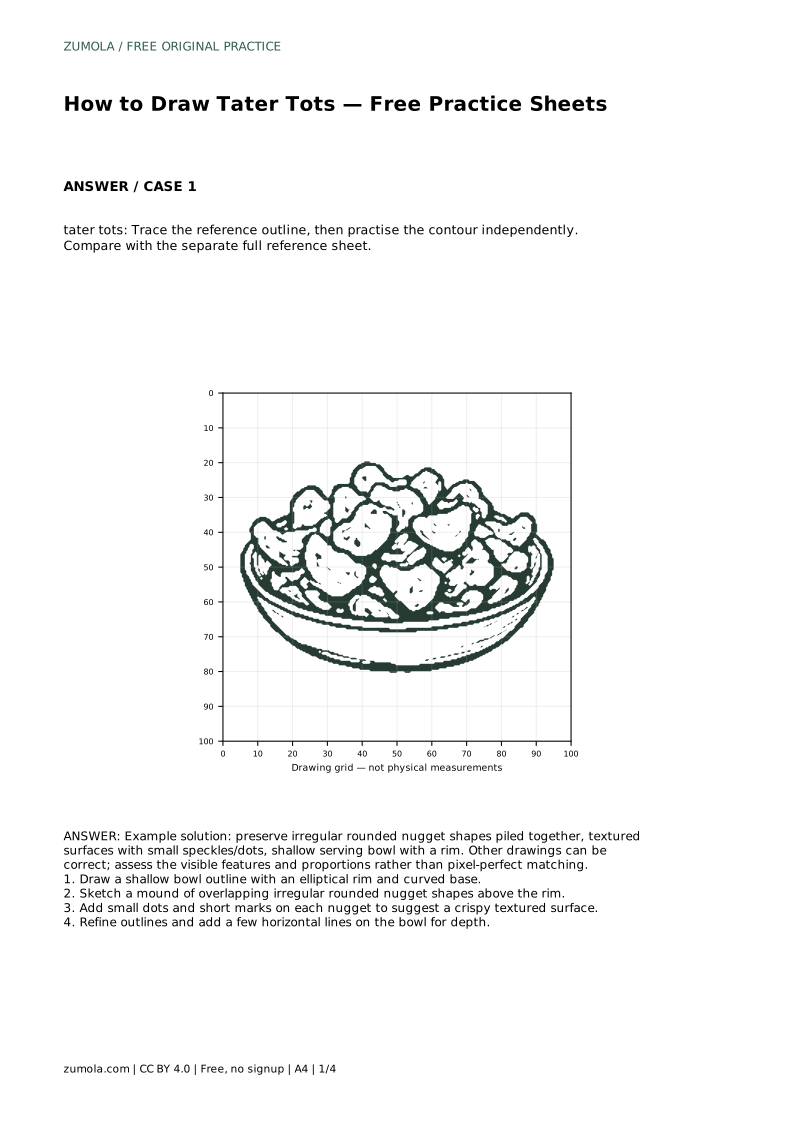
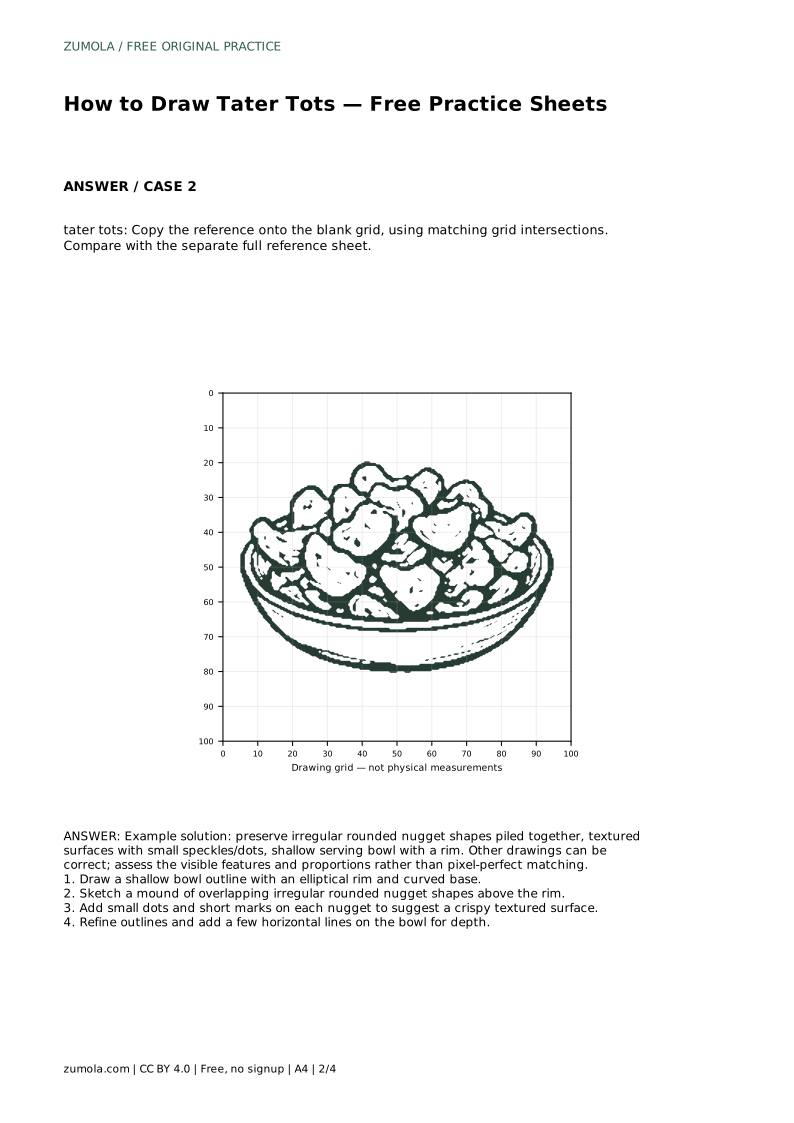
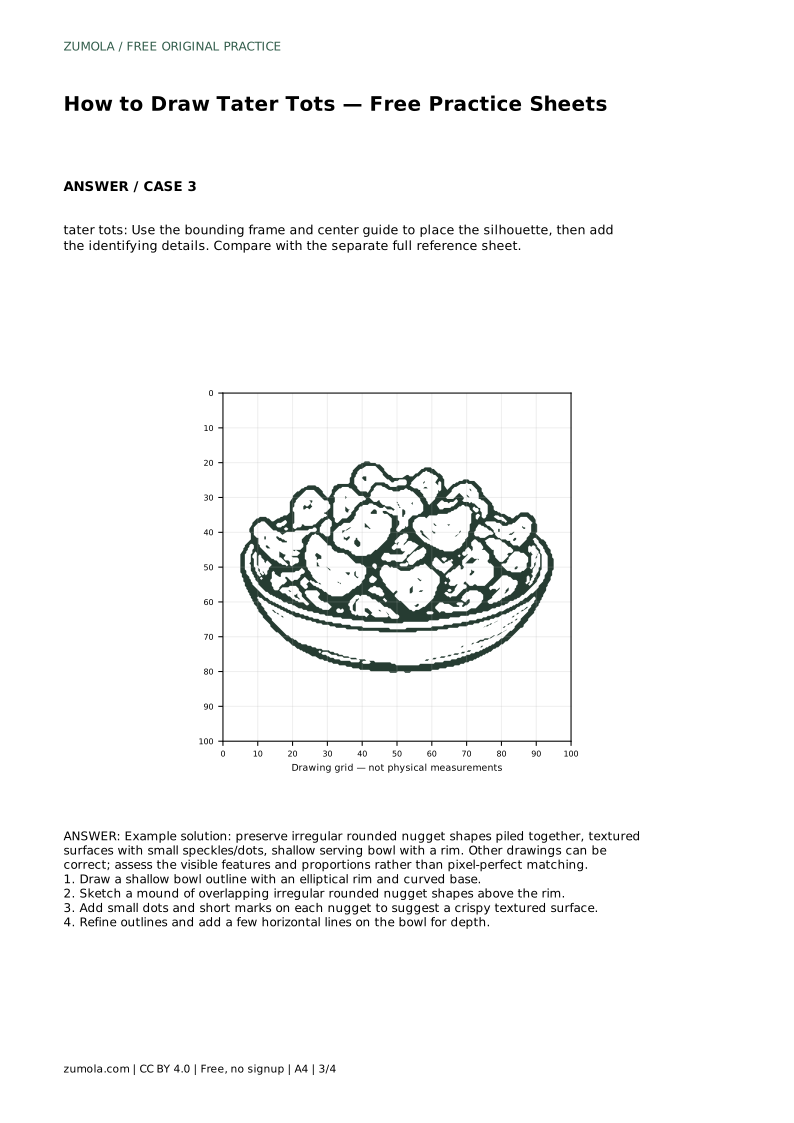
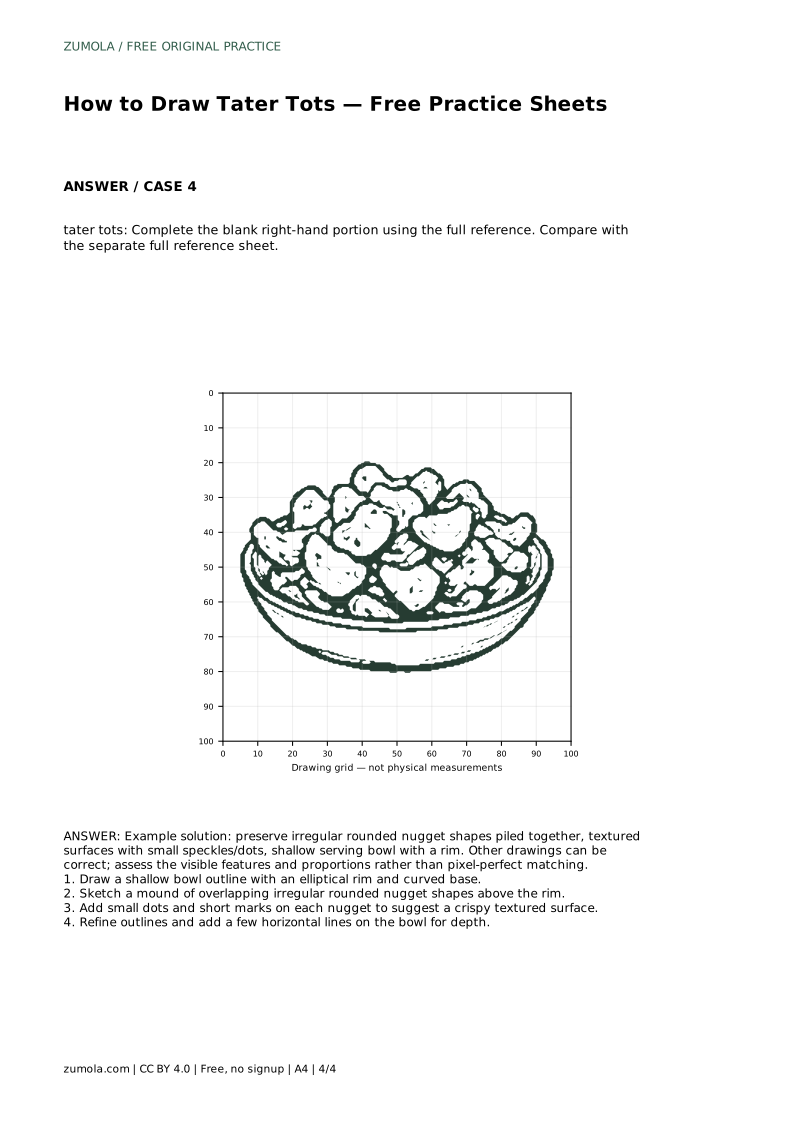
Tater tots are small, rounded potato pieces with uneven surfaces, and a bowl of them is mostly a study in overlapping shapes. This page shows how to build the drawing in layers: the shallow bowl first, then a mound of nuggets, then the small marks that suggest a crispy exterior. The practice sheets let you trace a reference outline, copy onto a grid, or complete a partial drawing, so you can work on contour and placement at your own pace.
Begin with the container, because it sets the width and the ground line for everything above it. Draw a shallow bowl as an ellipse for the rim and a curved line beneath it for the base. Keep the ellipse fairly flat; a deep, tall bowl will make the pile look like it is floating rather than resting.
The rim is the most important line in the bowl. If the ellipse is tilted, the whole drawing reads as tilted. Check that the left and right edges of the rim sit at the same height, and that the base curve mirrors the rim's curve rather than running straight across.
Tater tots are not identical cylinders. Each nugget is a rounded, slightly lumpy shape, and a pile works best when the shapes vary in size and angle. Start with the nuggets nearest the front of the bowl, then add ones behind and above them.
Overlap is what makes the pile read as a mound. Draw each new nugget so it tucks behind an earlier one, and let some edges disappear where a nugget in front covers them. Avoid drawing every nugget as a complete closed shape; partial outlines create depth. Keep the overall silhouette wider at the base and narrower at the top.
The crispy surface is suggested, not drawn in detail. Small dots, short dashes, and a few tiny curved marks on each nugget are enough. Place texture marks mostly on the upper and front faces, since those areas catch light in a simple drawing.
Keep the marks sparse and varied. A nugget covered in even, identical dots looks like a pattern rather than food. A few marks clustered on one side and left off on another reads more naturally. Finish with two or three horizontal lines on the bowl to suggest its curve and depth.
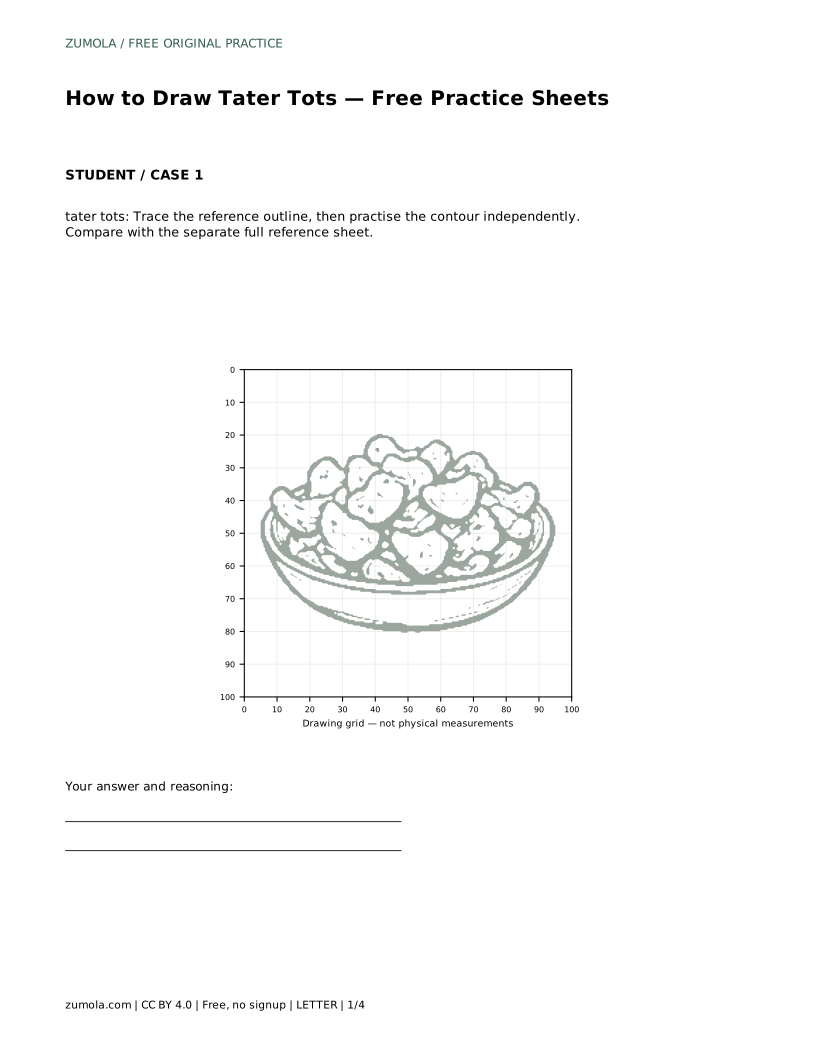
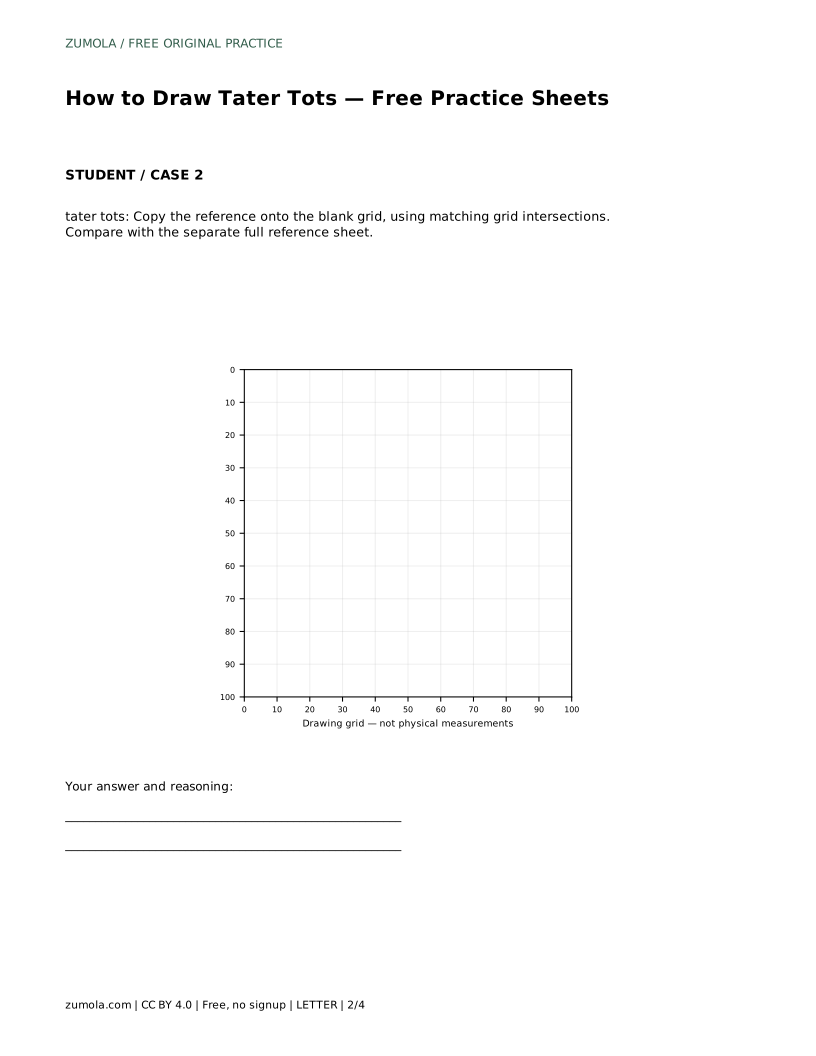
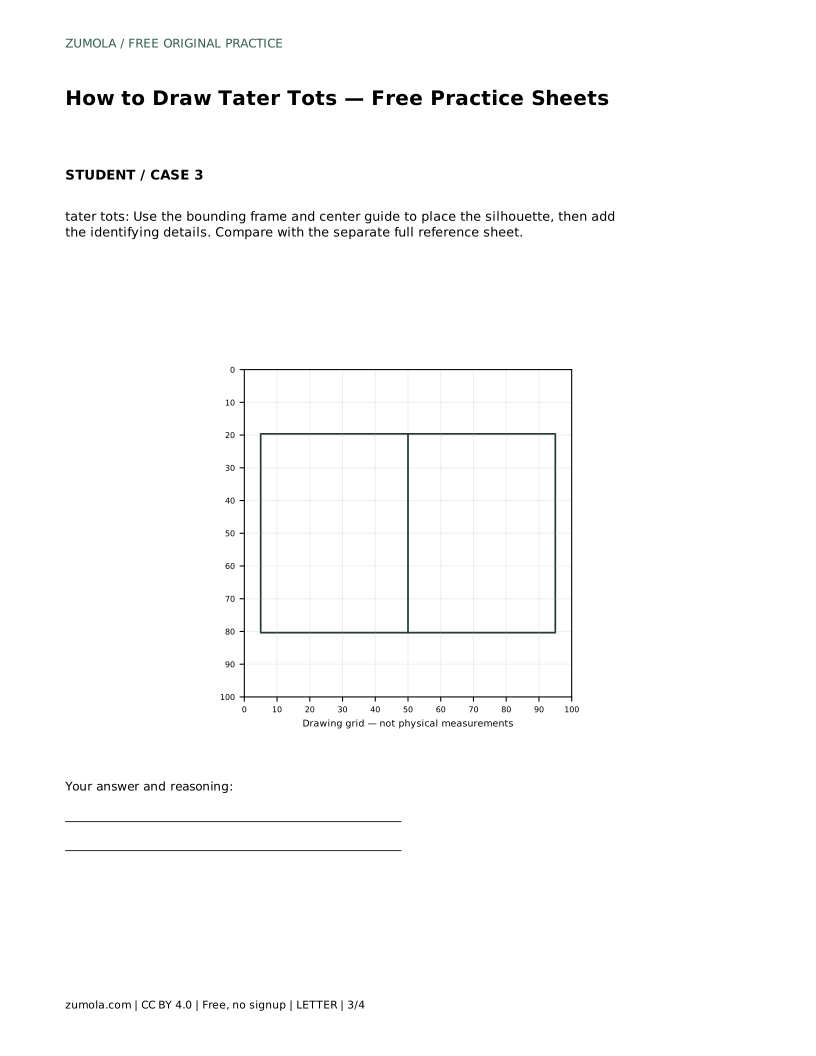
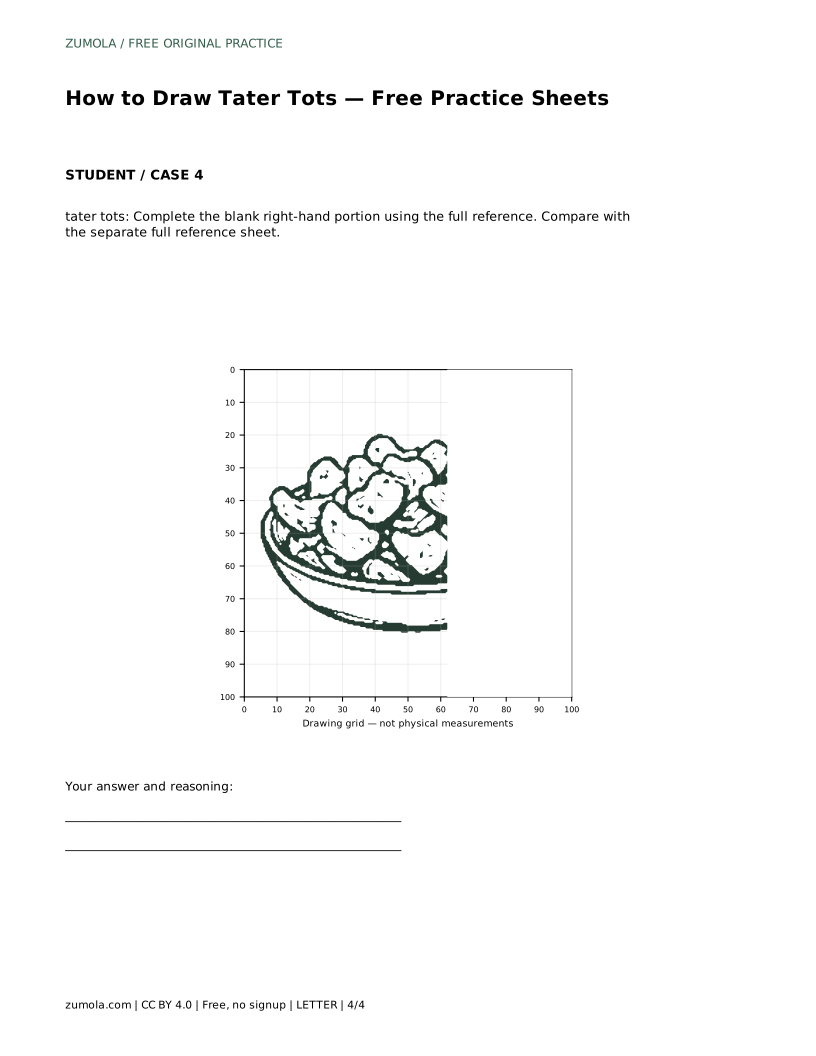
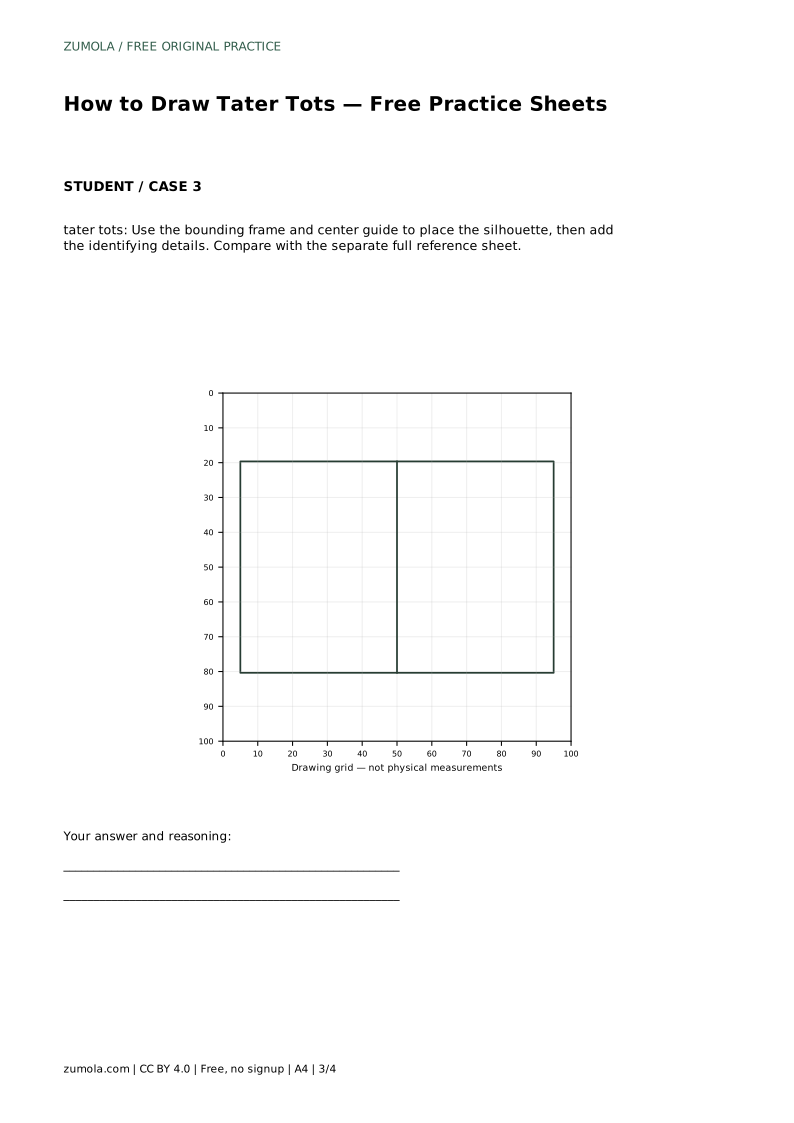
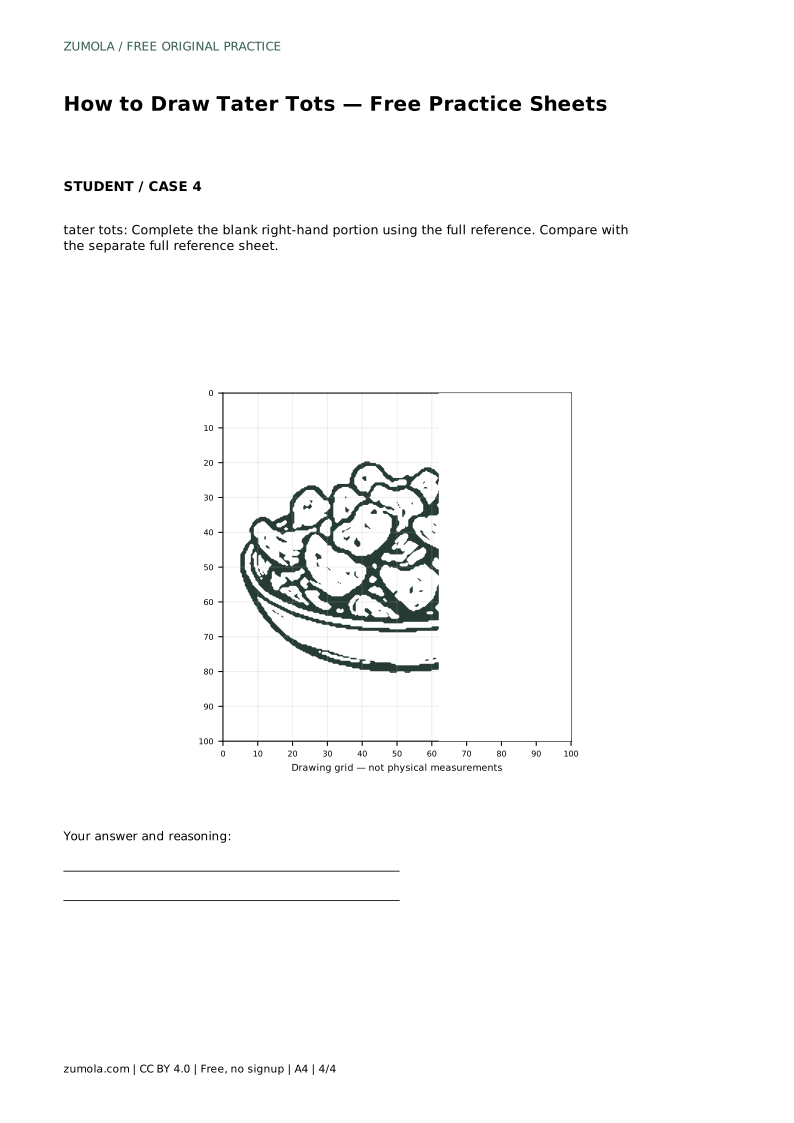
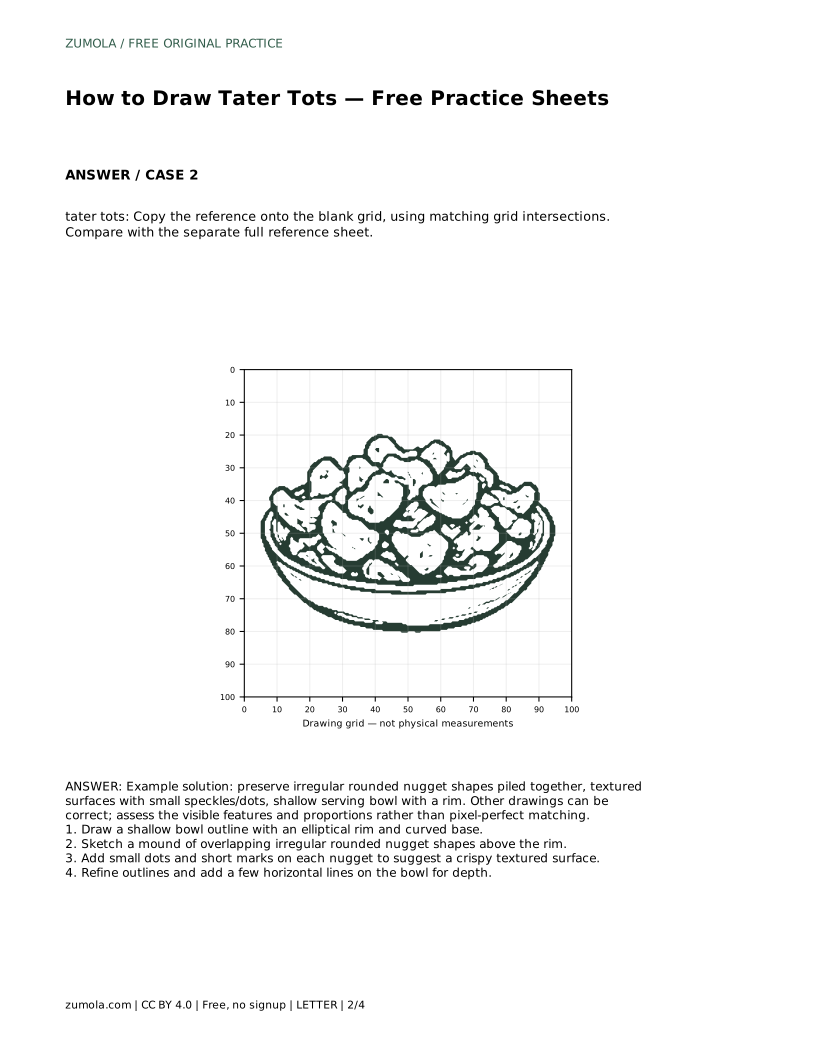
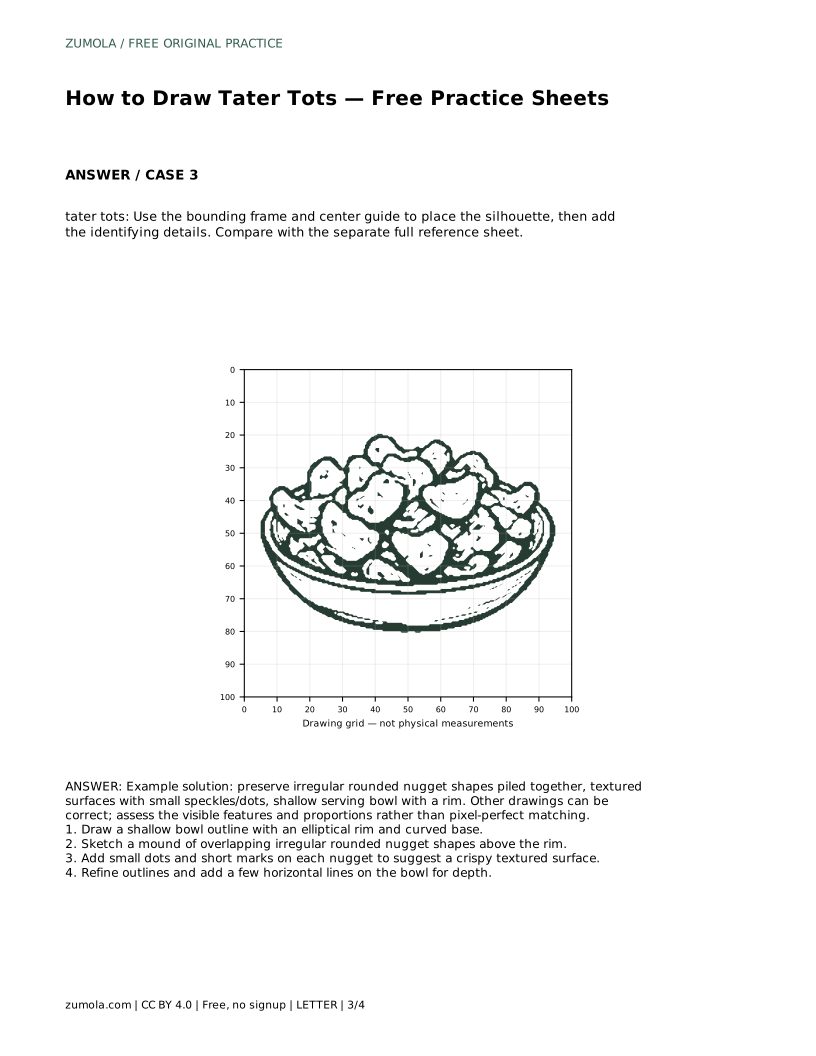
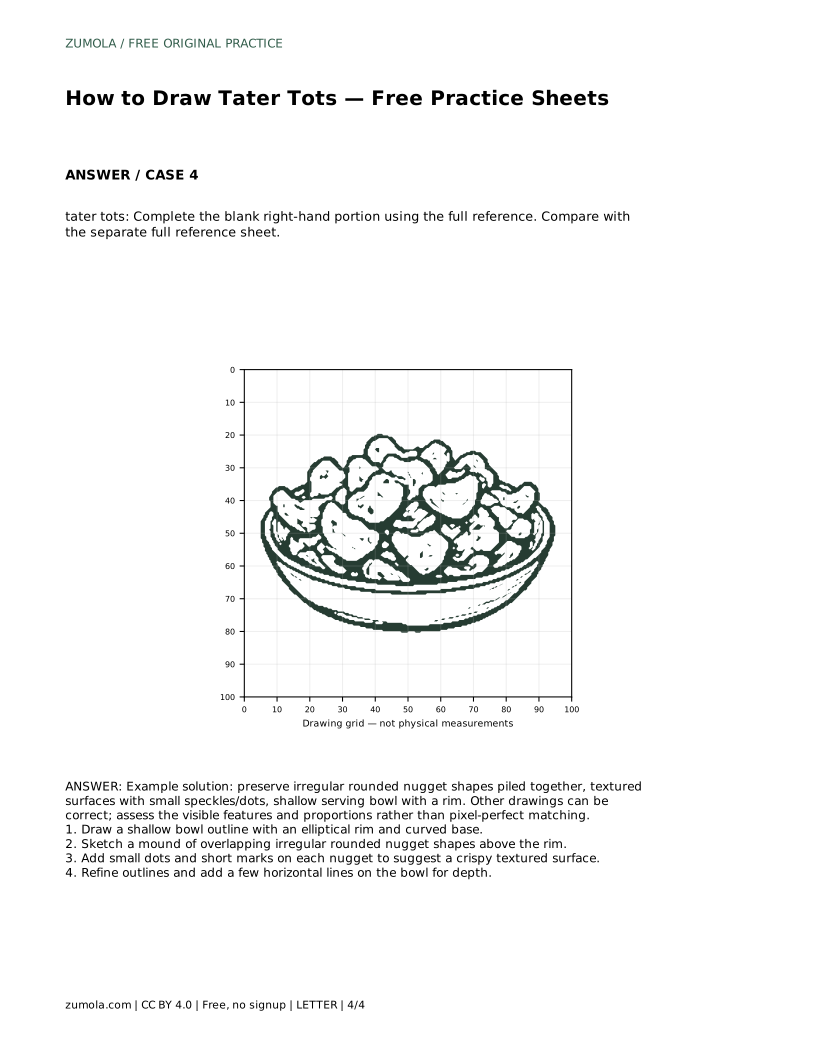
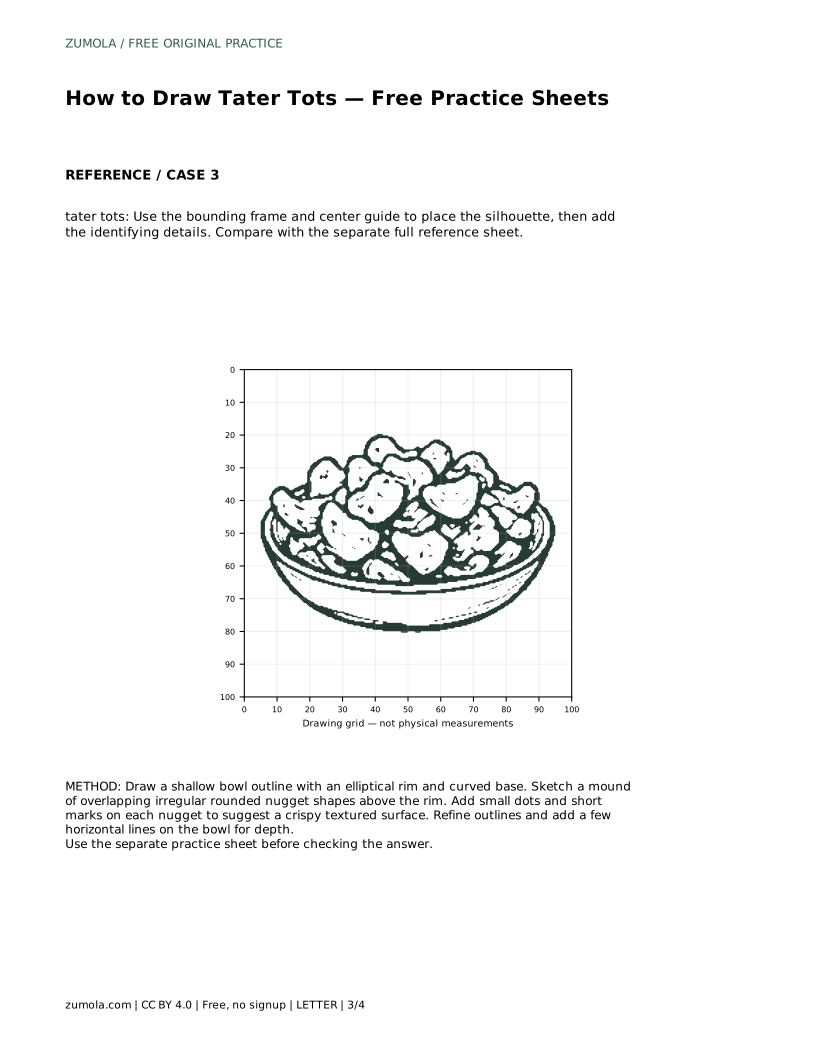
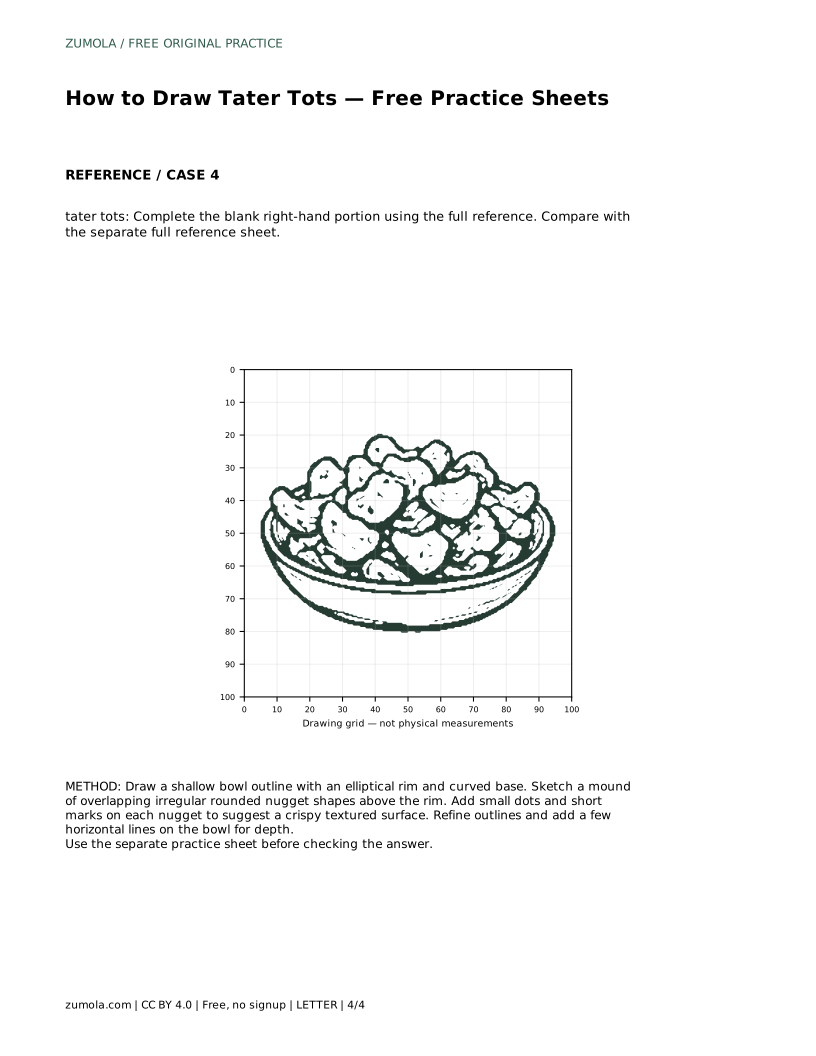
The tracing sheet asks you to follow the reference outline first, then repeat the contour on your own. The grid sheet asks you to copy the reference onto blank squares, matching where lines cross grid intersections. The bounding-frame sheet gives you a center guide for placing the silhouette before adding details. The partial sheet leaves the right-hand portion blank for you to complete from the full reference.
Each format targets a different skill, so compare your result with the separate full reference sheet rather than expecting an exact match. The goal is to preserve the bowl's proportions, the overlapping pile, and the textured surface.
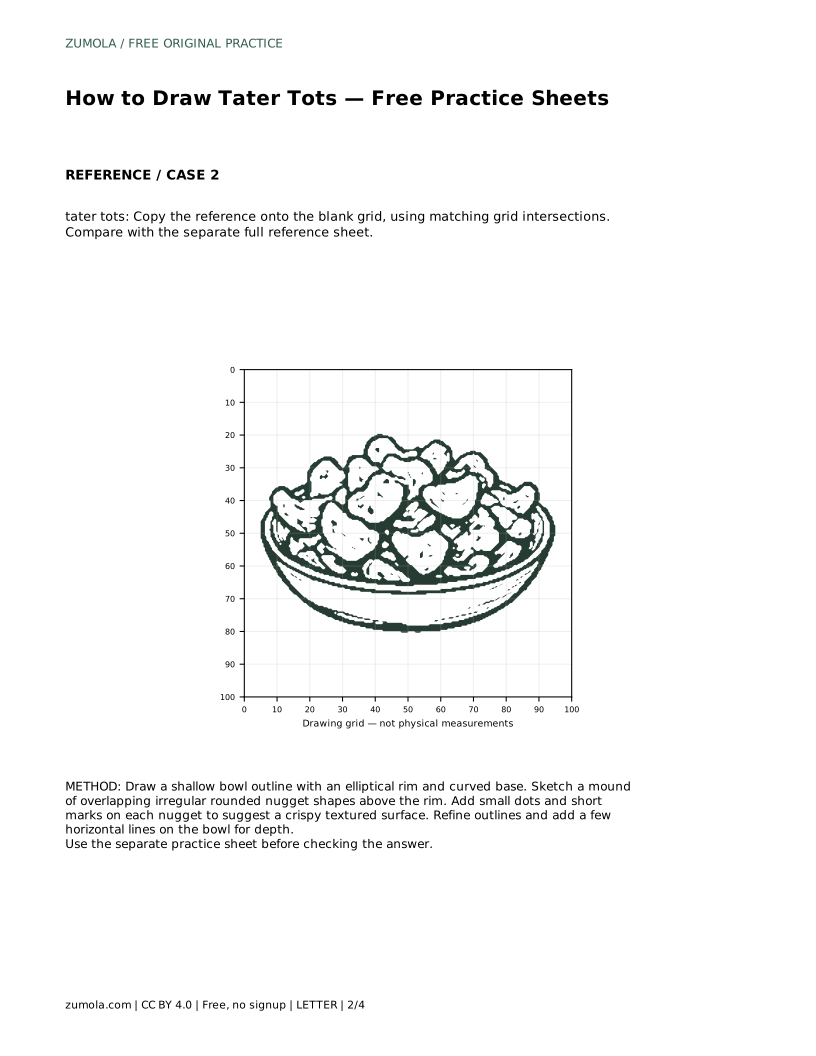
tater tots: Trace the reference outline, then practise the contour independently. Compare with the separate full reference sheet.
Example solution: preserve irregular rounded nugget shapes piled together, textured surfaces with small speckles/dots, shallow serving bowl with a rim. Other drawings can be correct; assess the visible features and proportions rather than pixel-perfect matching. Draw a shallow bowl outline with an elliptical rim and curved base. Sketch a mound of overlapping irregular rounded nugget shapes above the rim. Add small dots and short marks on each nugget to suggest a crispy textured surface. Refine outlines and add a few horizontal lines on the bowl for depth.
No. Varying size and angle makes the pile look natural. Keep the overall mound wider at the base and narrower at the top.
Yes. The bowl sets the width and ground line, so the pile can be placed relative to the rim instead of floating.
There is no single correct result. Check that the bowl is shallow, the nuggets overlap into a mound, and the texture marks are varied.
All drawing practice · Free coordinate paper
Original resources · CC BY 4.0 · Free for personal and classroom use with attribution.