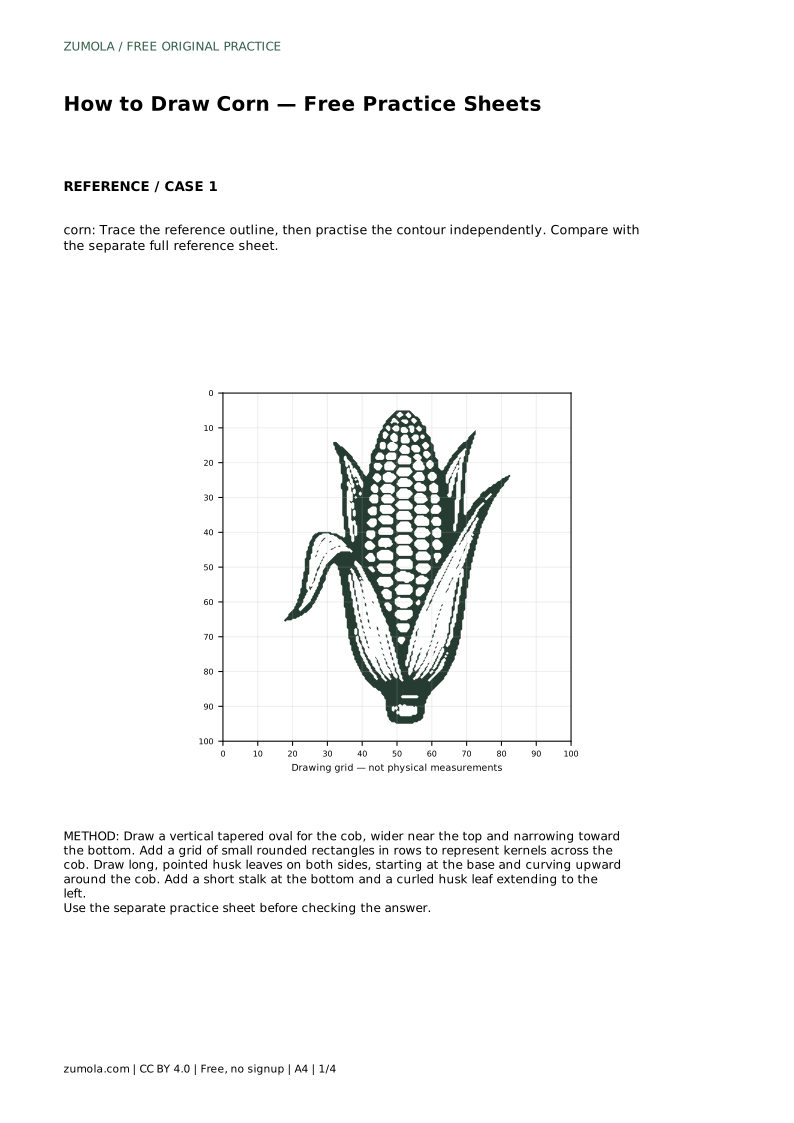
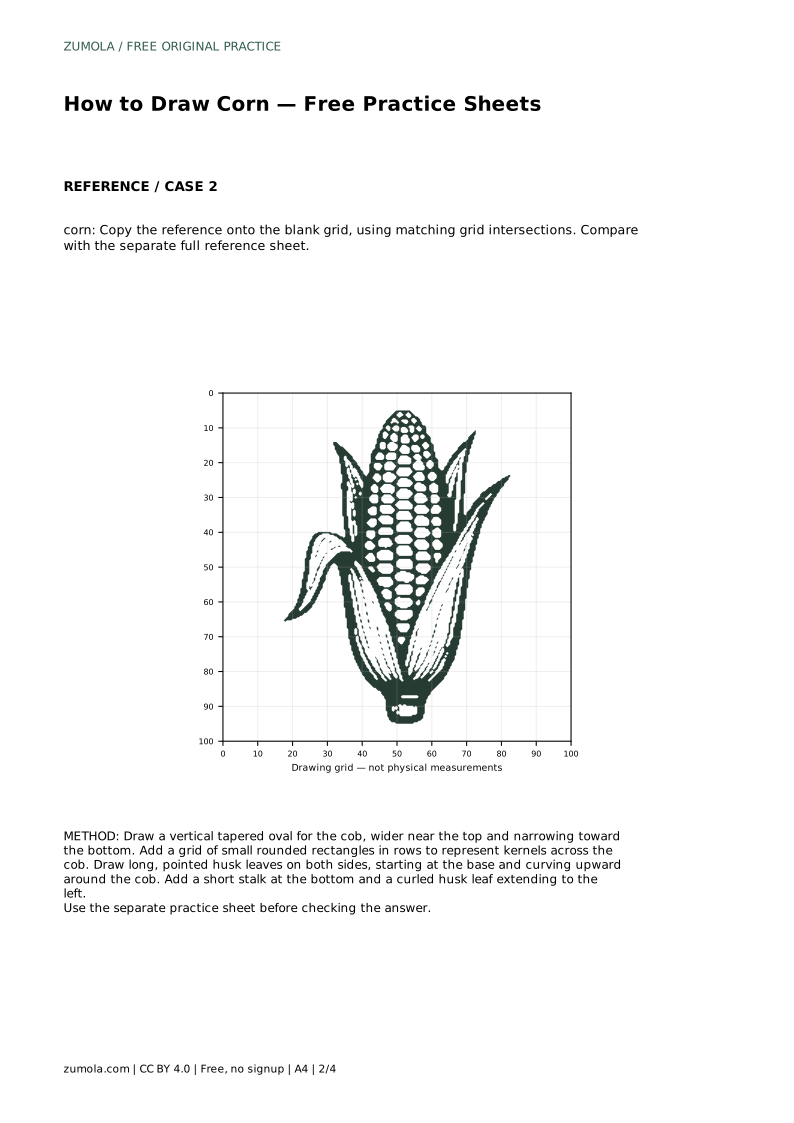
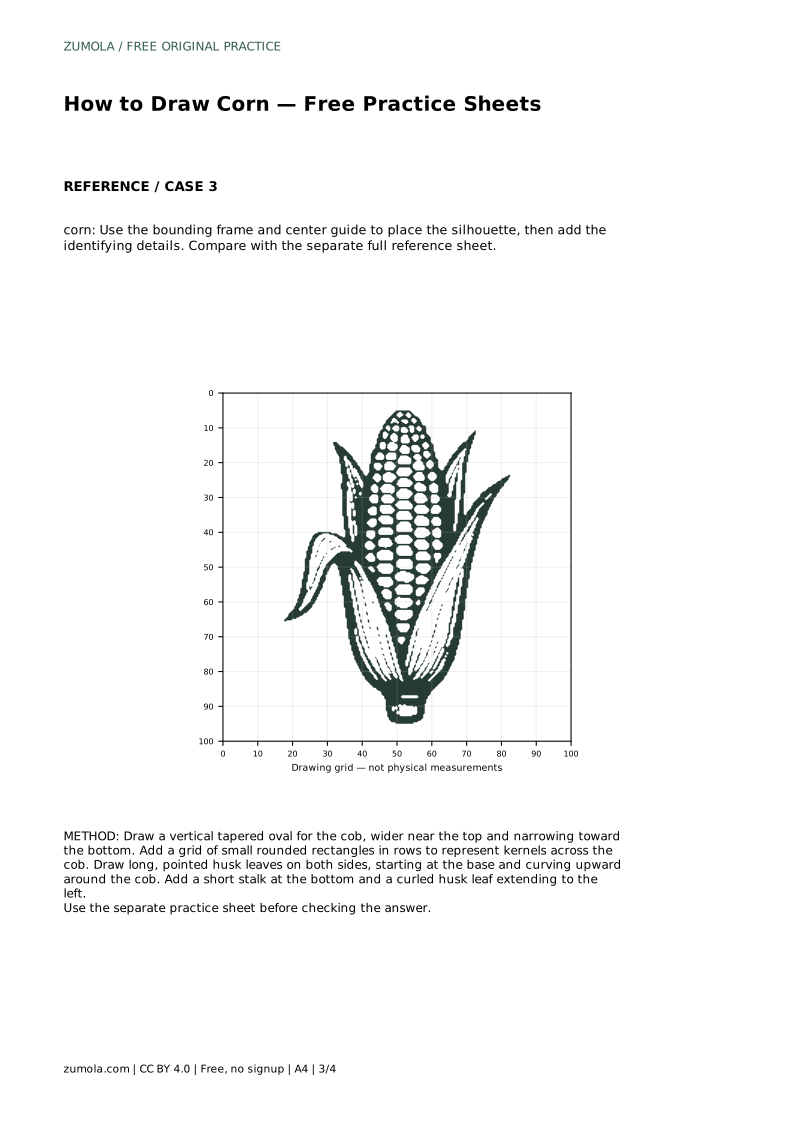
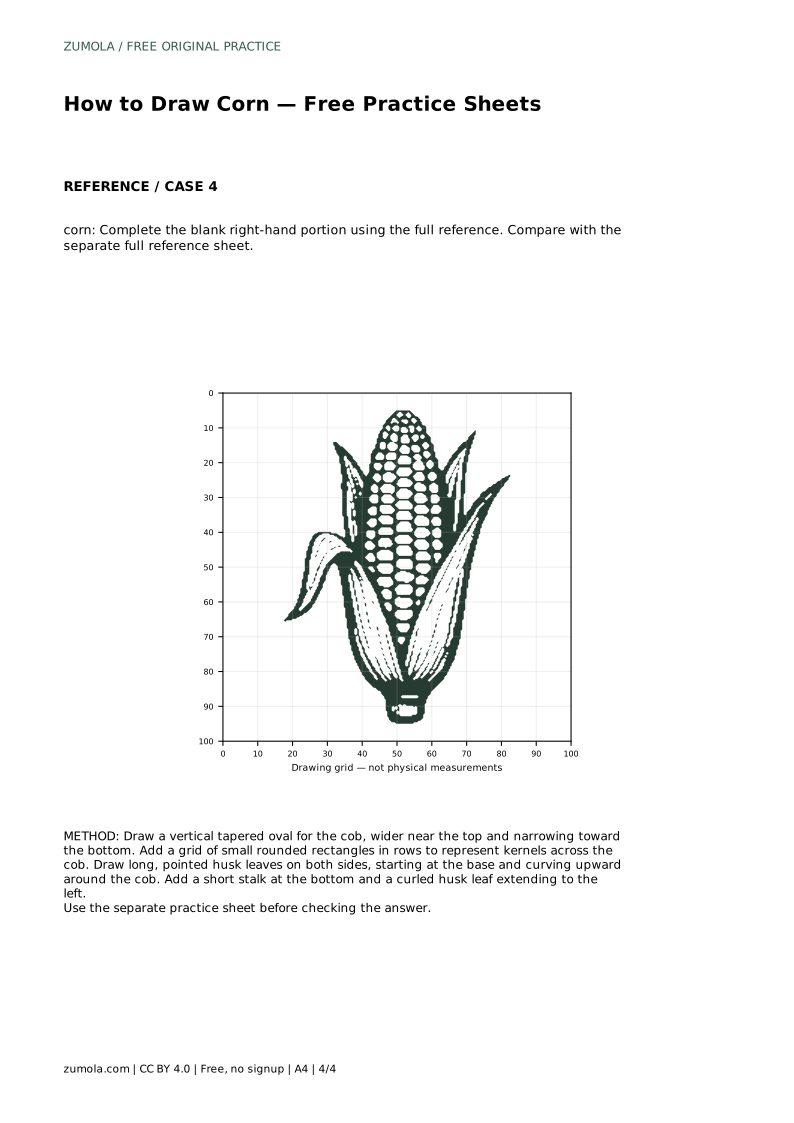
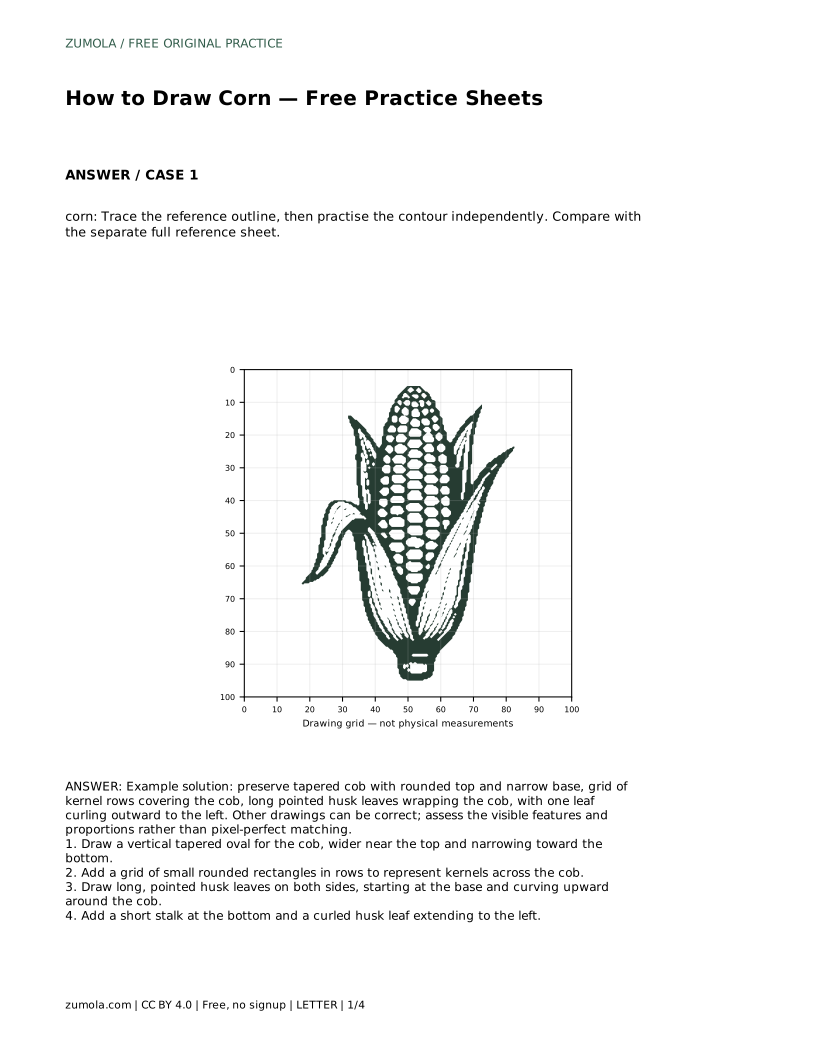
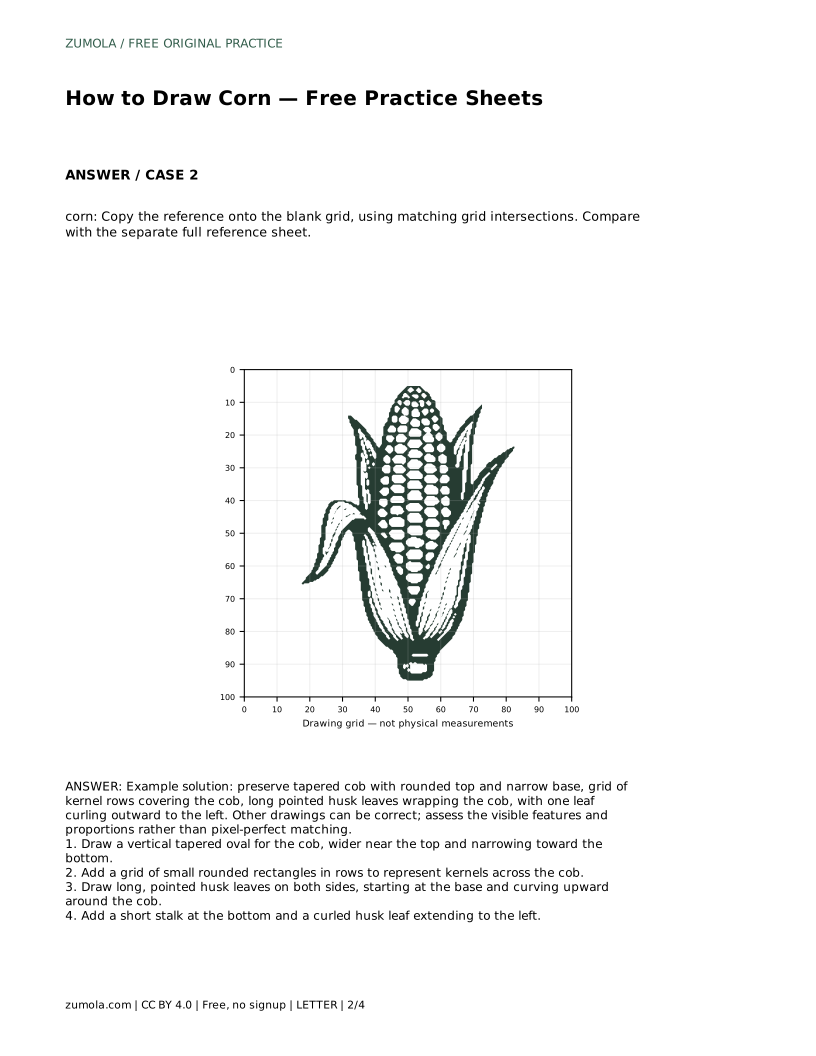
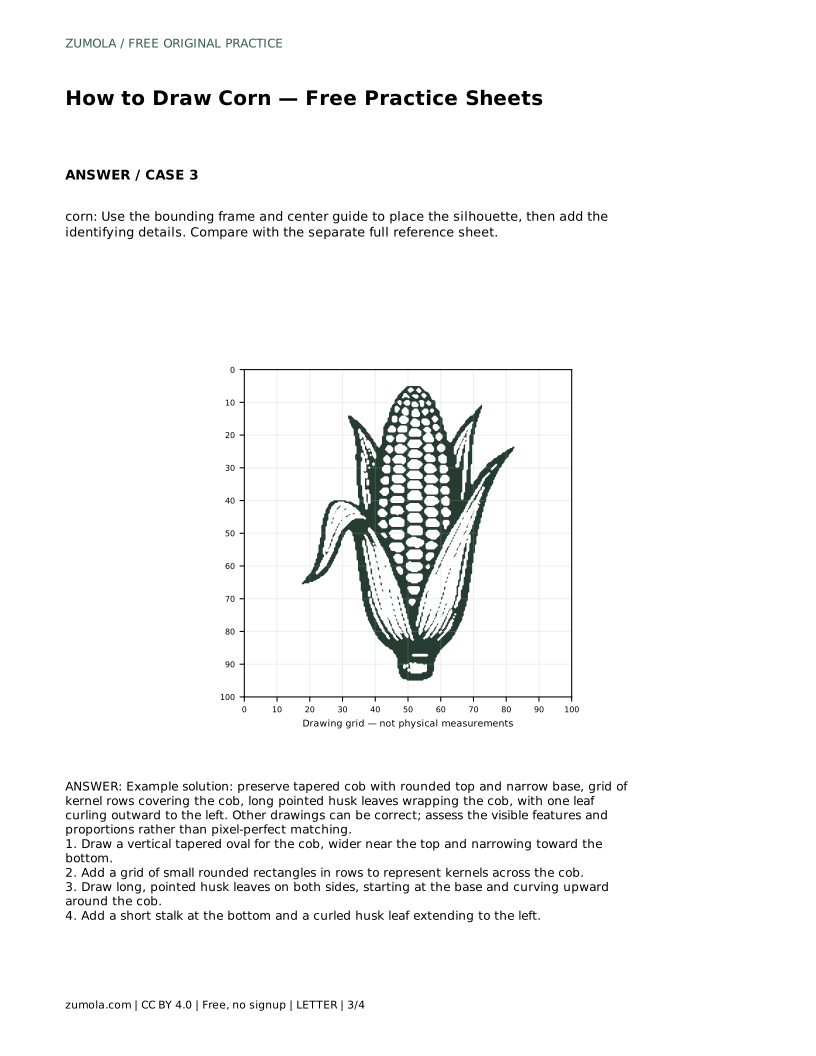
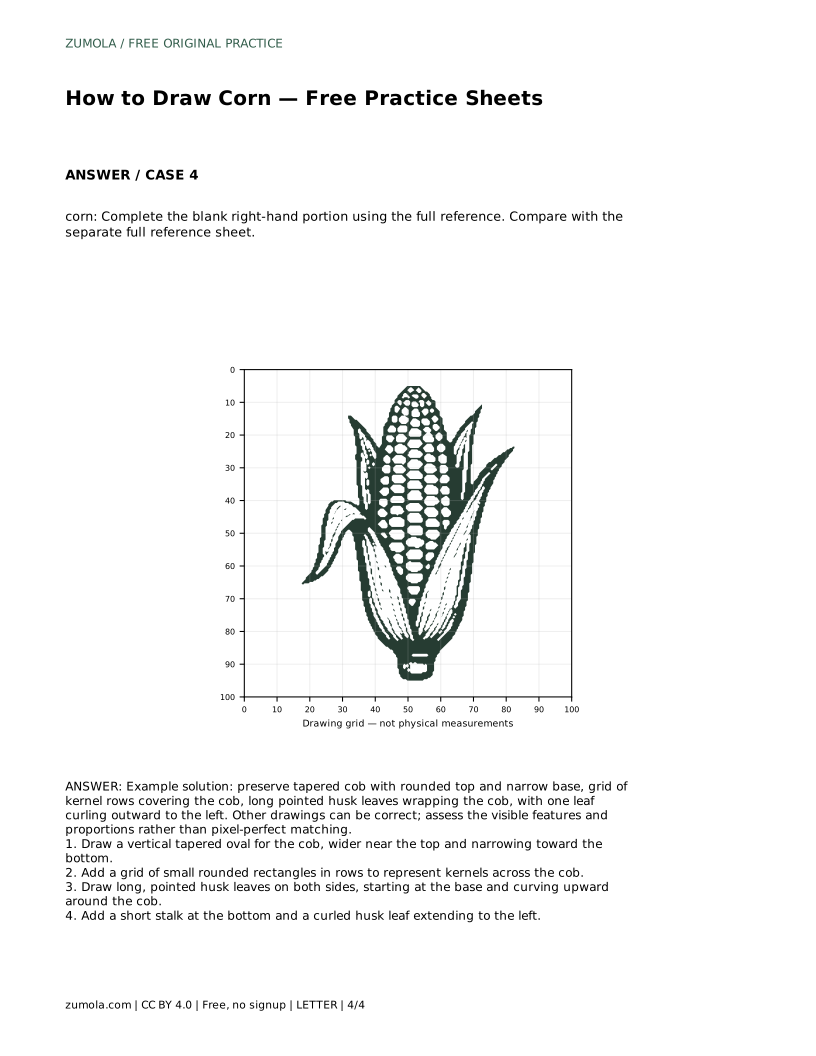
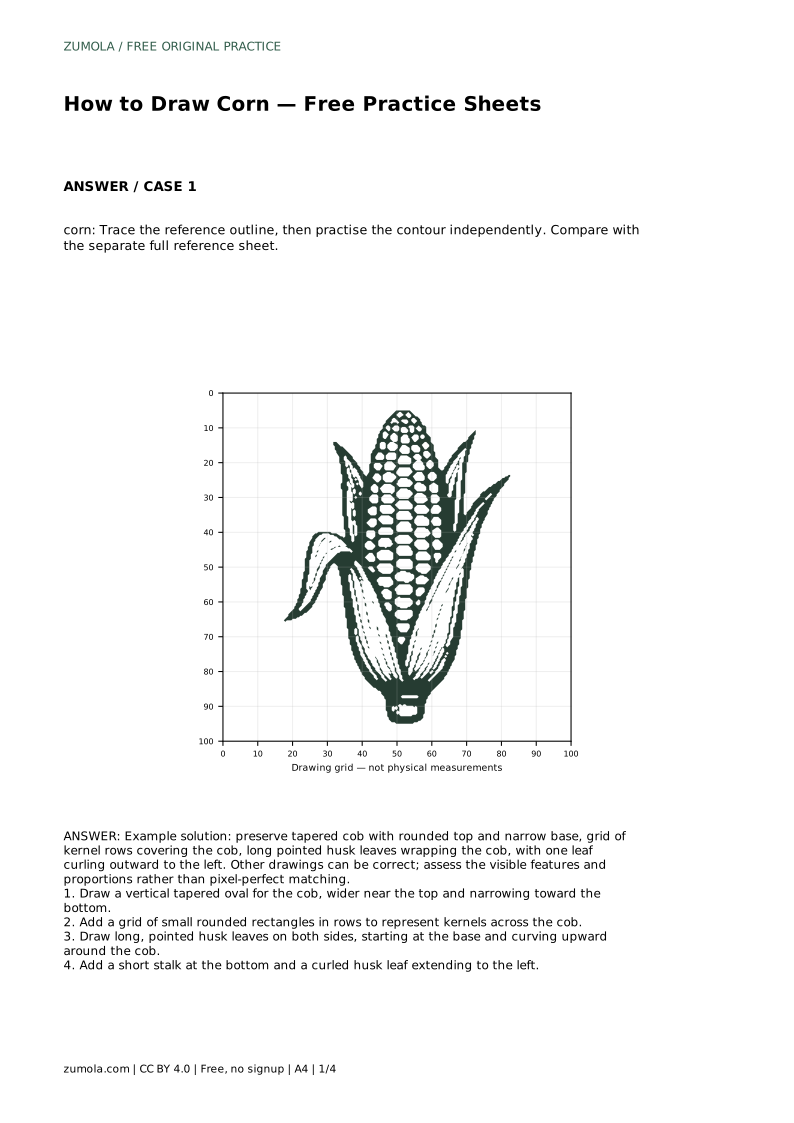
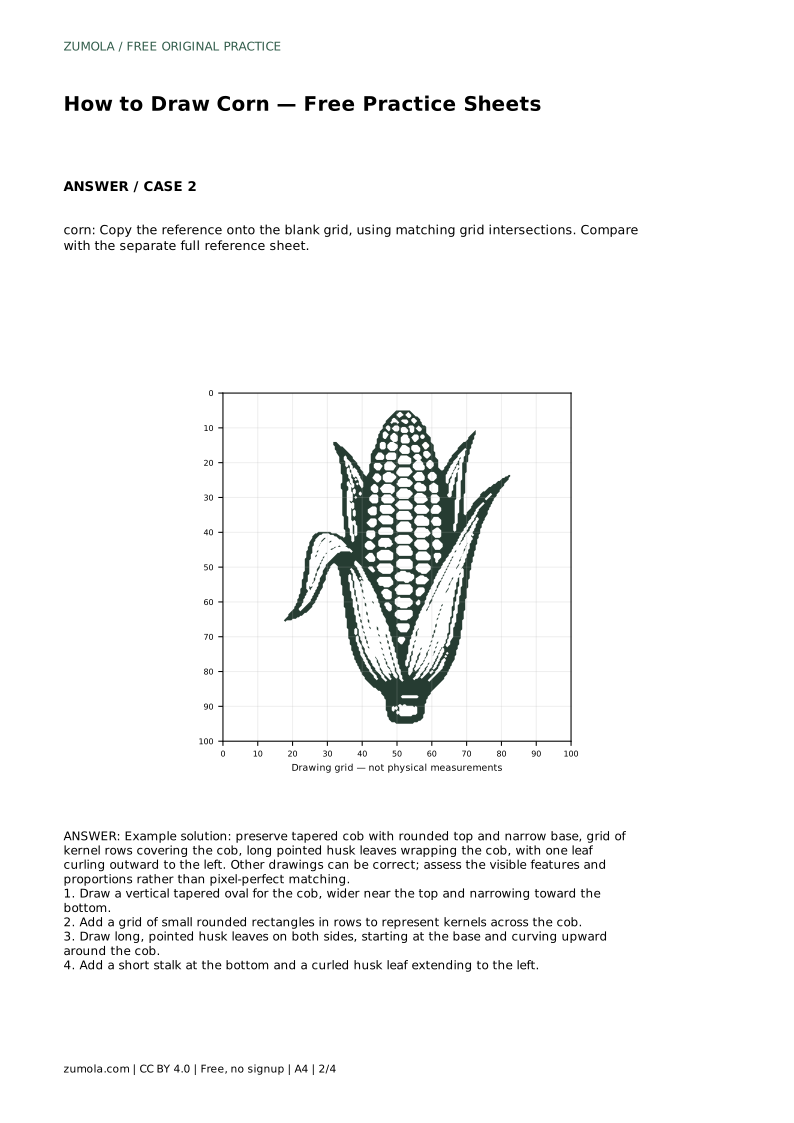
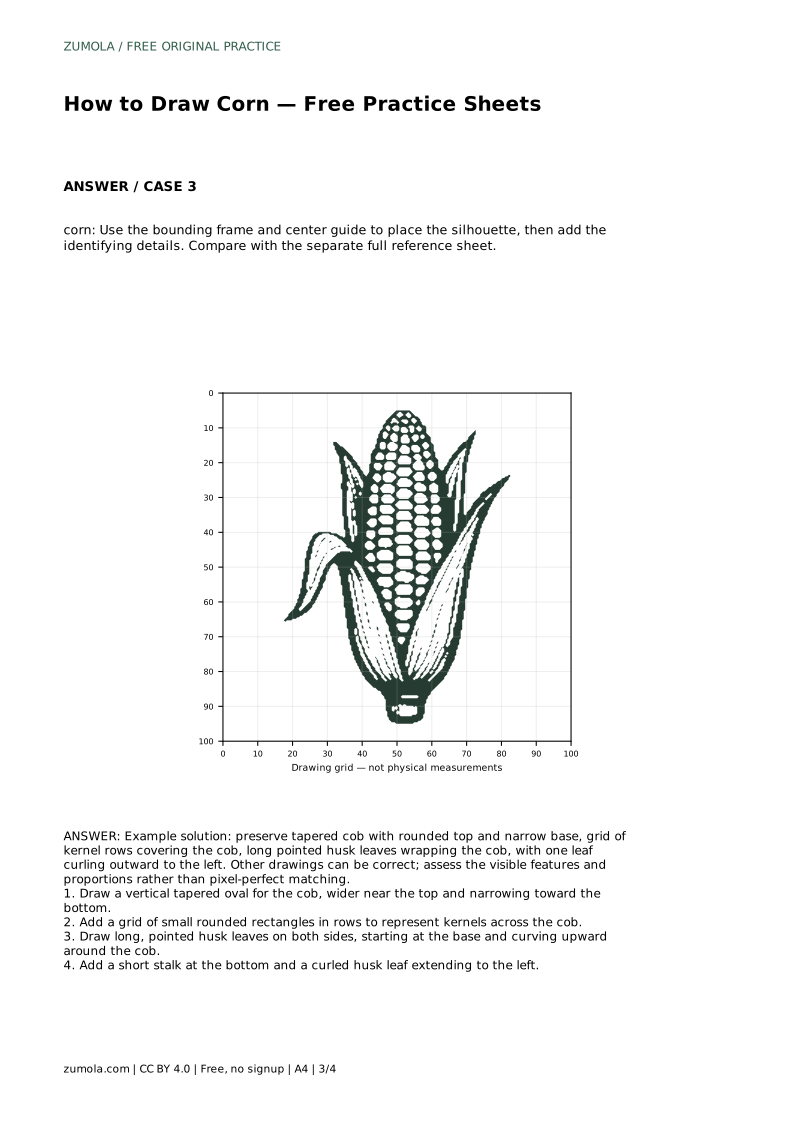
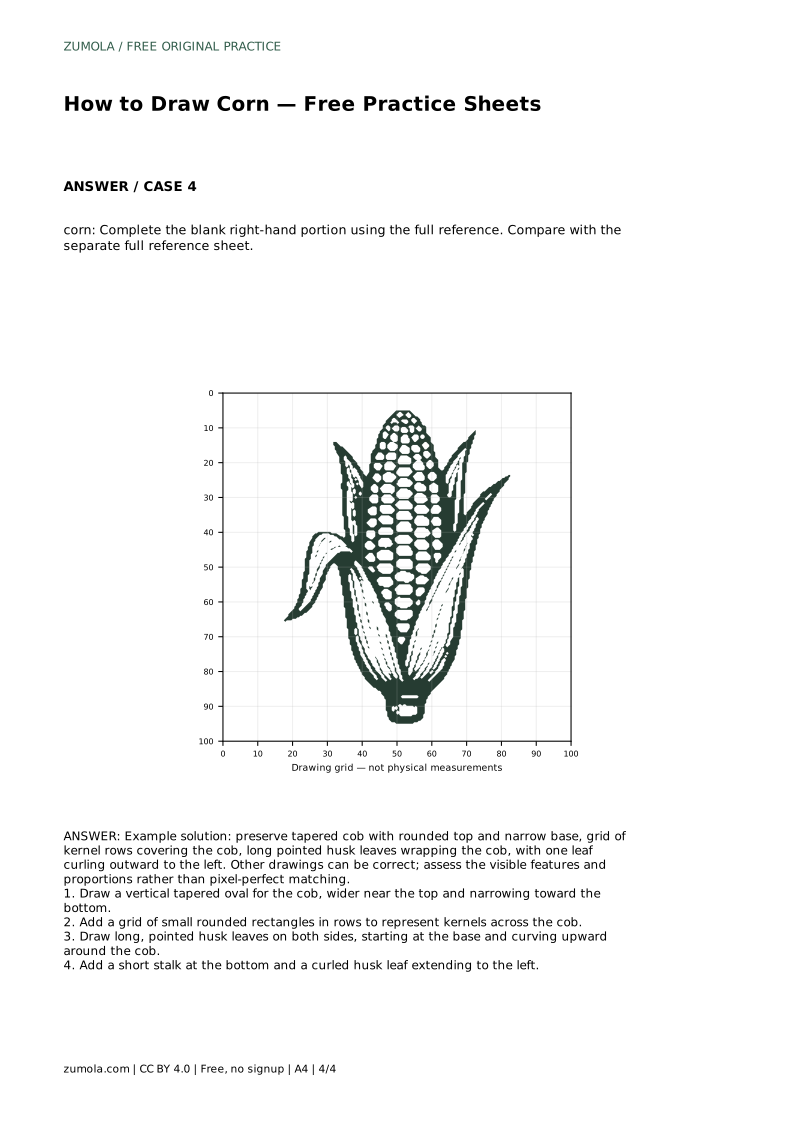
Reference diagrams
LETTER · Download PDF
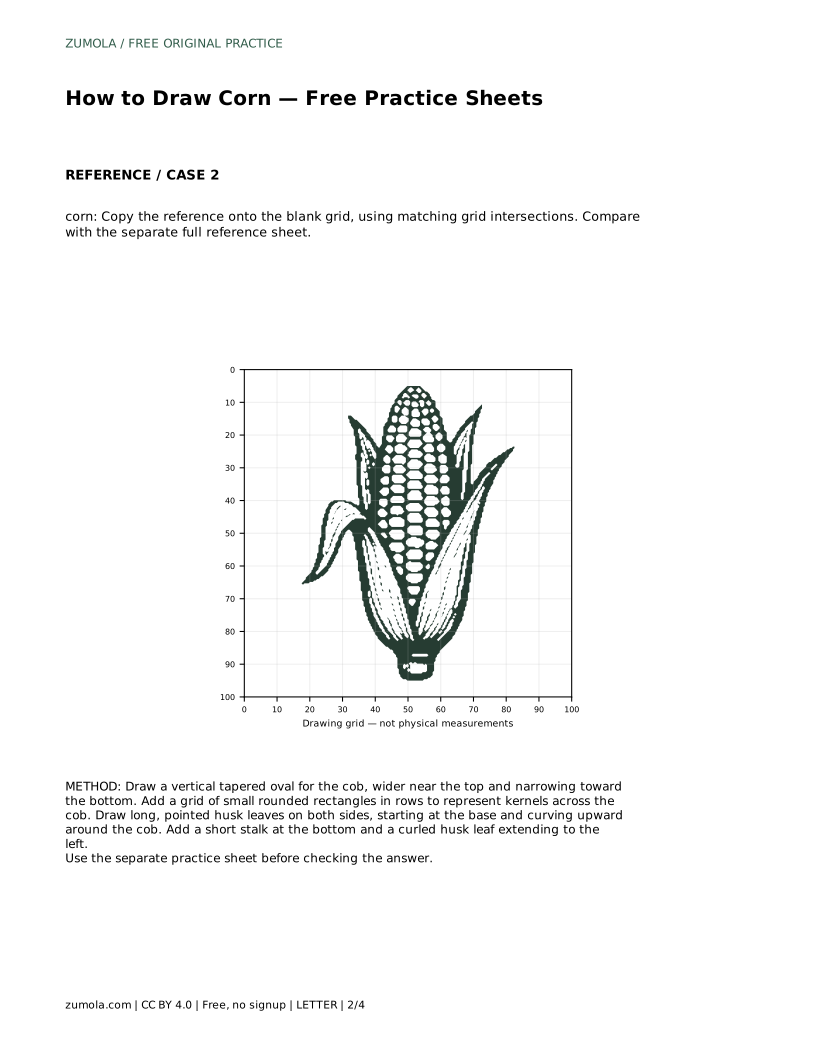
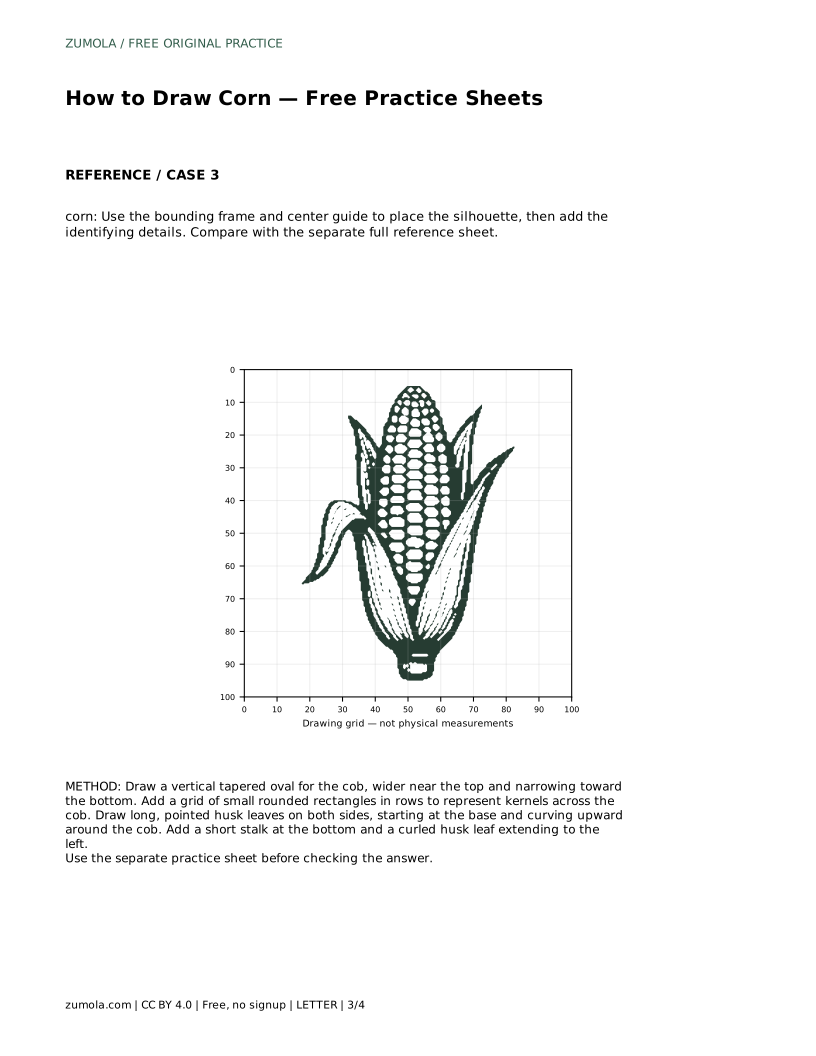
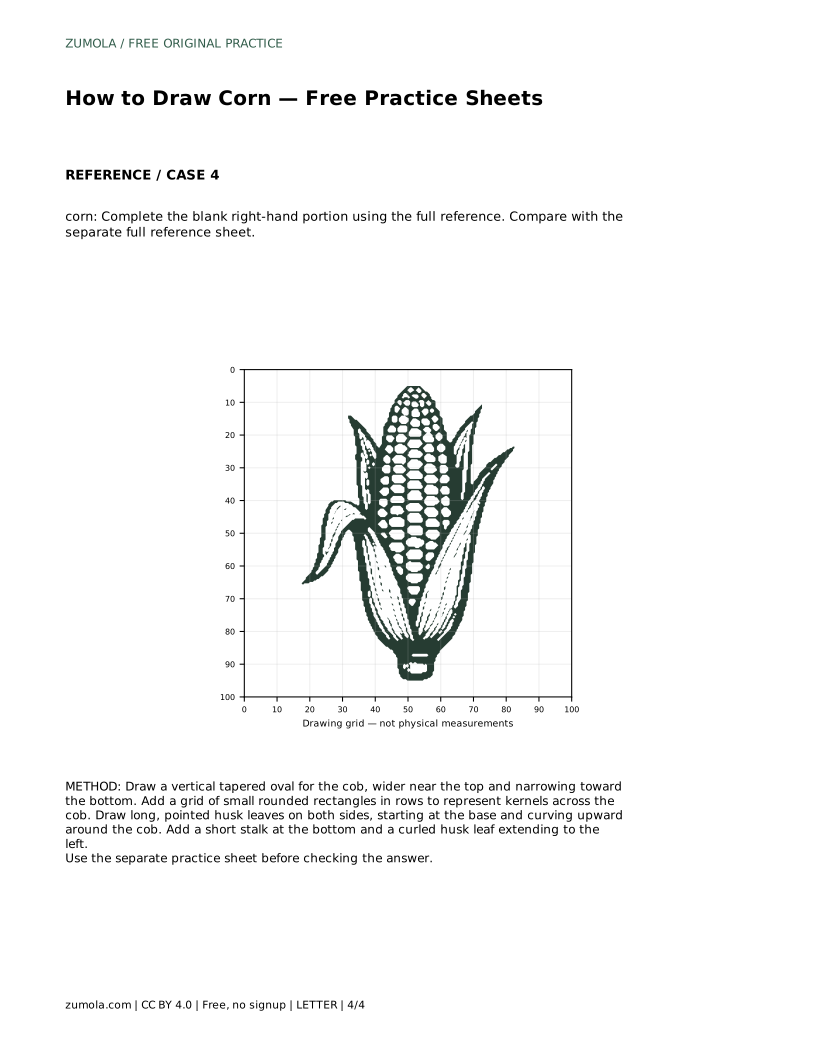
A4 · Download PDF
Free original resources
Learn a clear line drawing of corn: build a tapered cob, kernel rows, wrapping husk leaves and a curled leaf, then check proportions with a simple rubric.
Four original cases, with reference diagrams, practice sheets and worked answers. Everything is free; no signup required.
LETTER · Download PDF
A4 · Download PDF
LETTER · Download PDF
A4 · Download PDF
LETTER · Download PDF
A4 · Download PDF
Use A4 or US Letter to match your printer. Use the stated values and conditions to solve each exercise; diagrams are not physical measuring rulers.
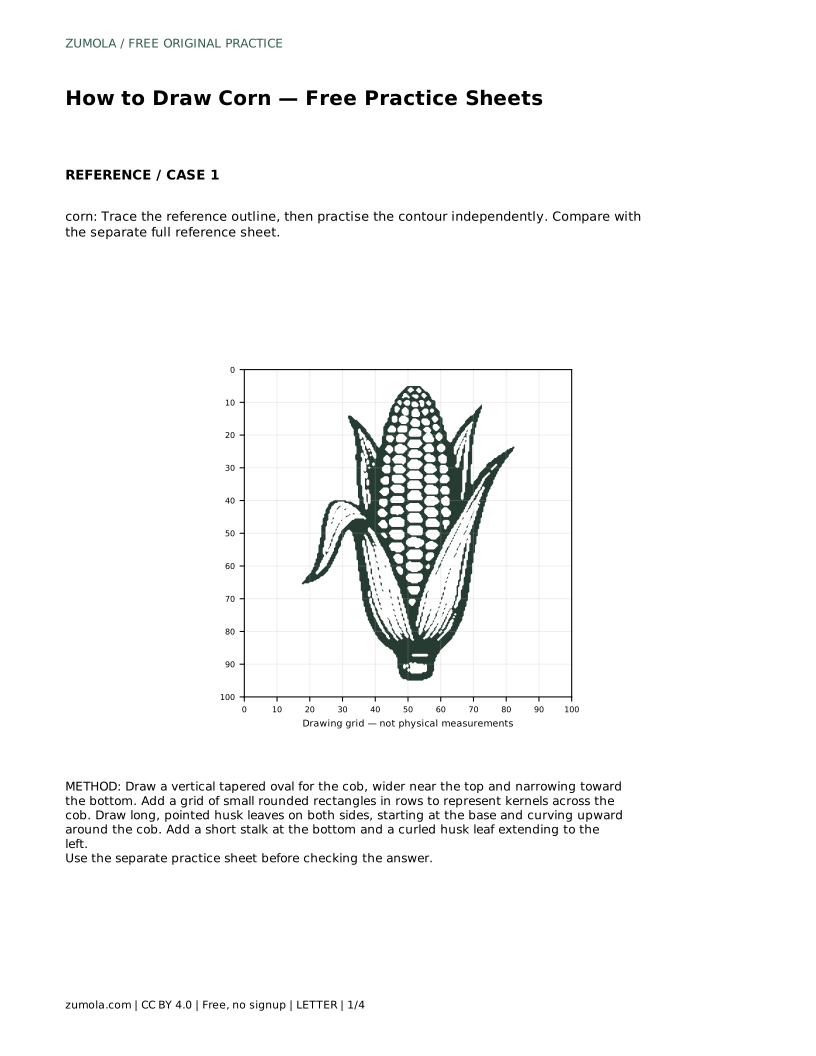
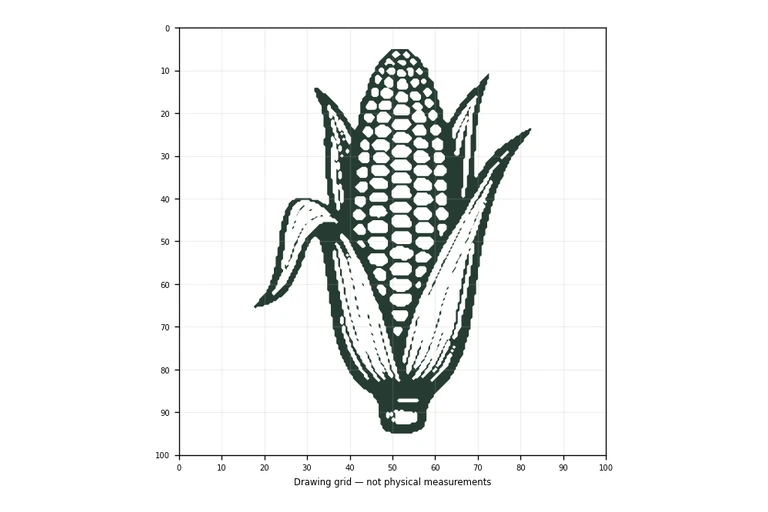
Drawing corn is mostly a problem of shape and layering. The cob is a tapered oval, the kernels form a repeating grid across its surface, and the husk leaves wrap around the sides before ending in long points. This page explains a practical order for building those parts, then shows how to compare your drawing with a reference sheet. Because drawings can be correct in more than one way, judge visible features and proportions rather than exact matching.
Begin with the largest shape: a vertical tapered oval. Make it slightly wider near the top and narrower toward the bottom, with a rounded top edge. This taper matters because it separates corn from a plain oval or a cylinder. Keep the outline light so you can adjust it after checking the overall height and width.
Before adding detail, look at the silhouette as a whole. The cob should read as one solid form, not a stack of separate shapes. If the sides bulge unevenly, redraw the curve rather than patching it with small corrections.
Kernels are best treated as a pattern, not as individual random marks. Draw rows of small rounded rectangles across the cob, following its curve so the rows narrow near the base. Keep spacing consistent and let the rows wrap slightly at the edges to suggest a rounded surface.
Work in one direction at a time. Complete a row before starting the next so the grid stays readable. If a row drifts, correct the spacing early; a crowded row is harder to fix once surrounding rows are drawn.
Husk leaves start near the base and curve upward around the cob. Draw them as long, pointed shapes on both sides, overlapping the cob edge so they appear to wrap rather than sit flat beside it. Vary the leaf lengths slightly for a natural look, but keep each leaf's point clear.
Finish with a short stalk at the bottom. Add one husk leaf curling outward to the left, as in the reference. This curl gives the drawing direction and prevents the silhouette from feeling symmetrical and stiff.
Place your drawing beside the separate full reference sheet and check four things: the tapered cob, the rounded top and narrow base, the kernel rows covering the cob, and the wrapping husk leaves with one curl to the left. Adjust the largest mismatches first, since proportion errors matter more than small line differences.
A drawing can be correct without being identical. Use the rubric below to assess whether the identifying features are present and clearly readable.
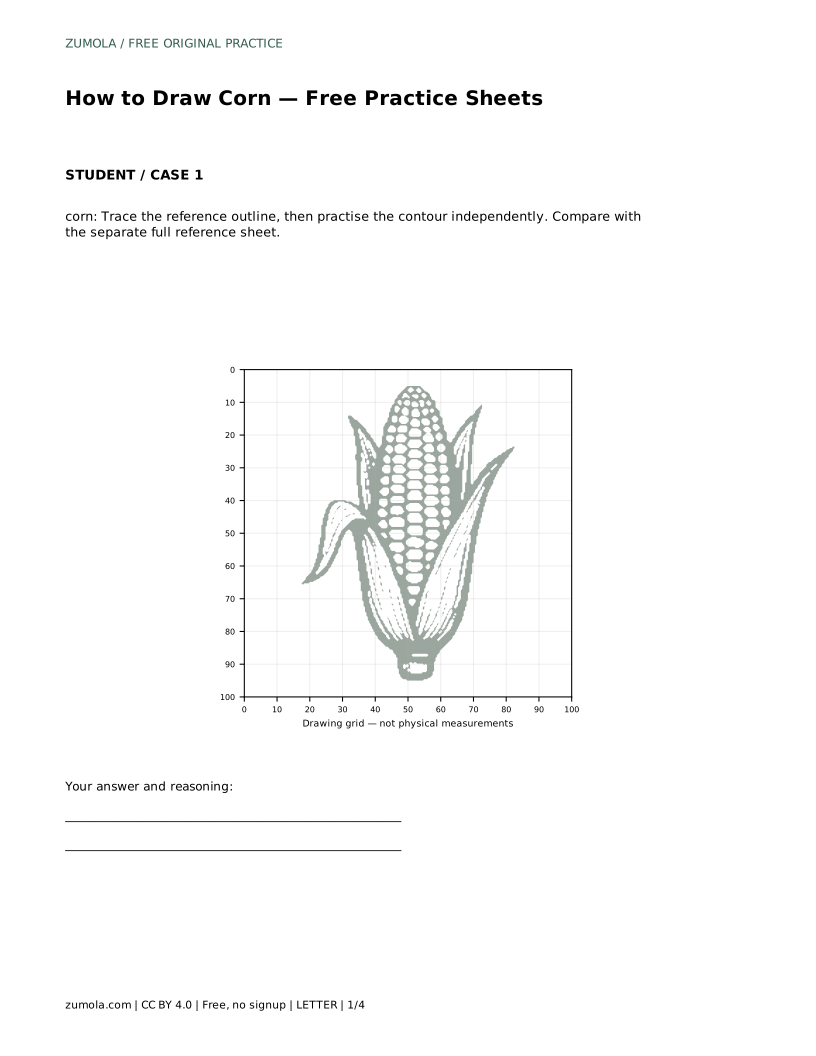
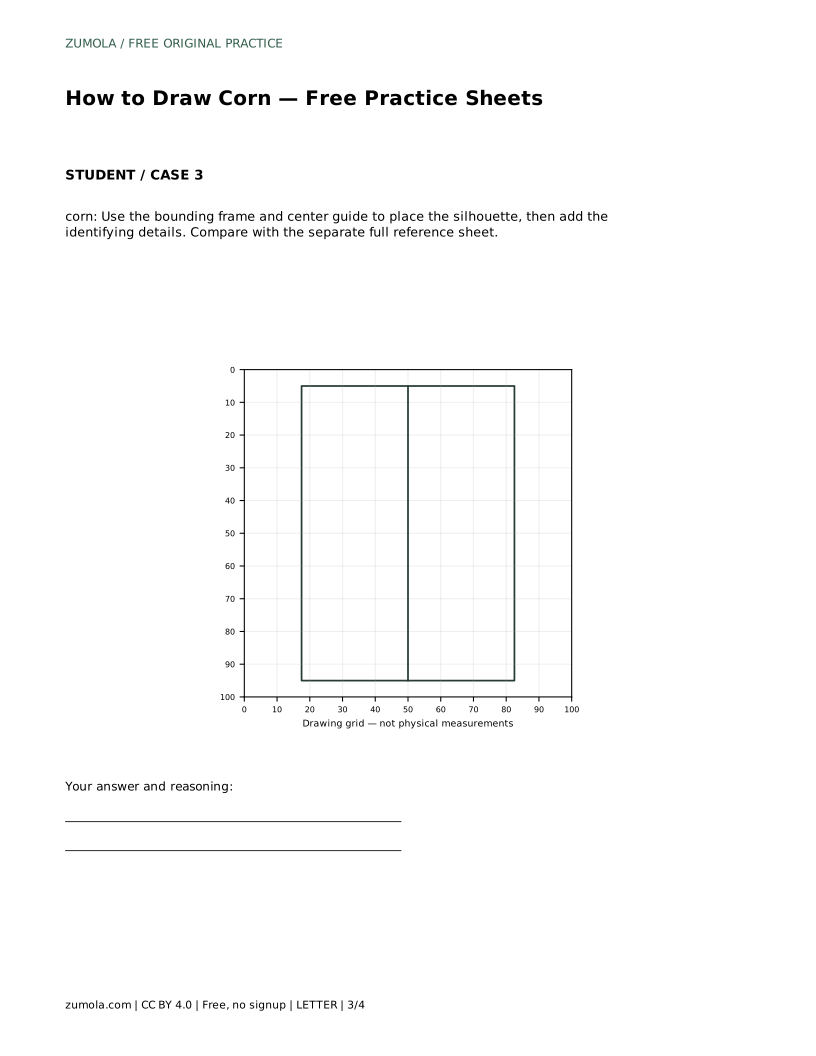
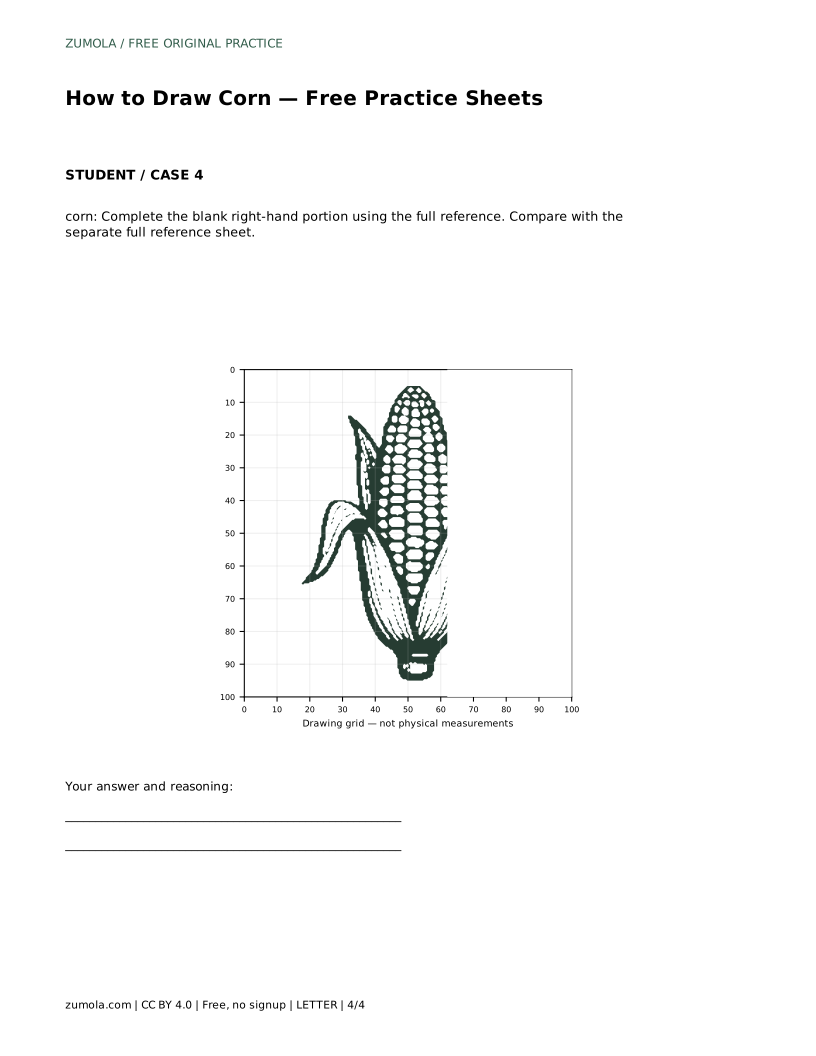
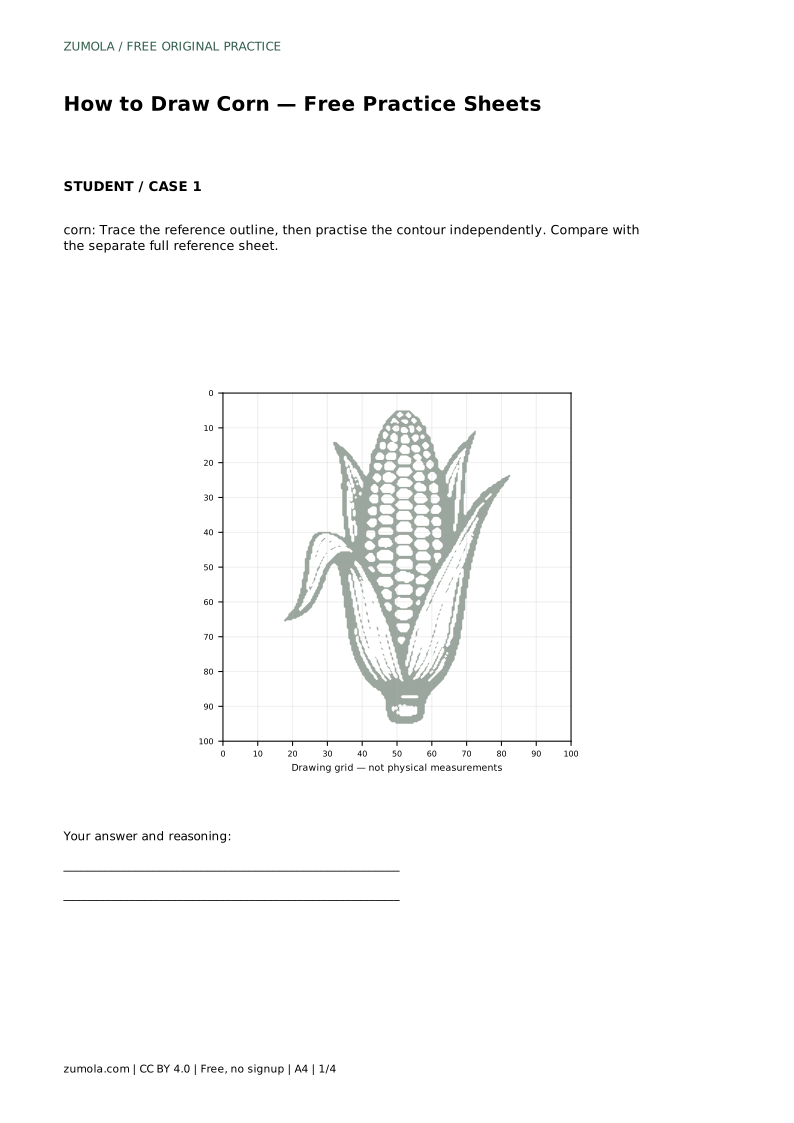
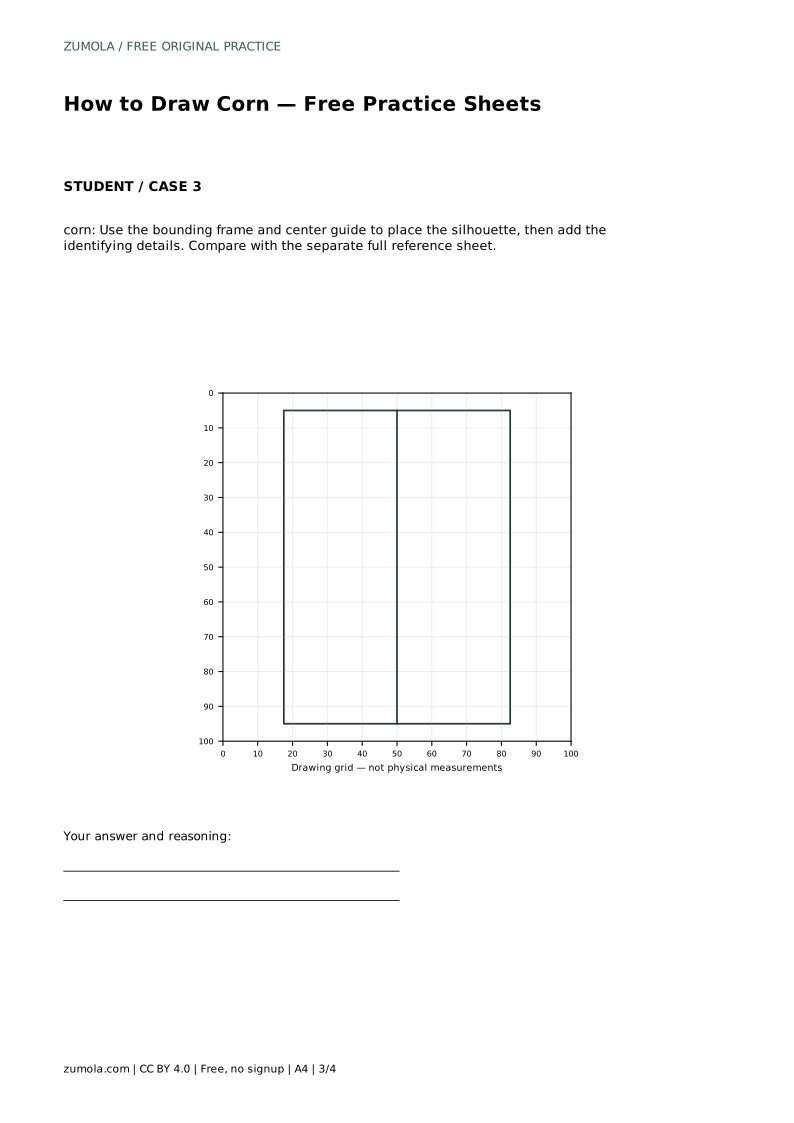
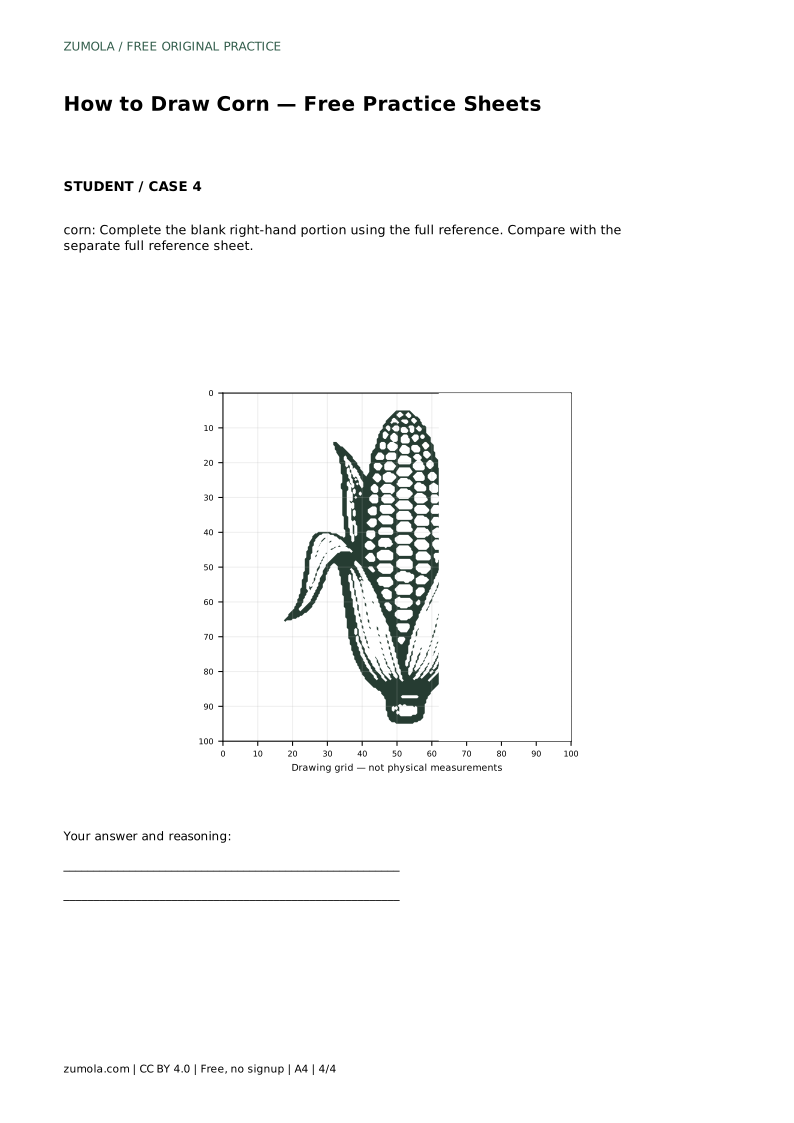
The practice sheets offer different starting points: tracing the outline, copying onto a blank grid, using a bounding frame and center guide, or completing a blank right-hand portion. Each variation tests a different skill, so read the sheet's prompt before starting. The tracing sheet supports contour control; the grid sheet supports placement; the frame sheet supports silhouette planning; the partial sheet supports completing an unfinished drawing from a reference.
corn: Trace the reference outline, then practise the contour independently. Compare with the separate full reference sheet.
Example solution: preserve tapered cob with rounded top and narrow base, grid of kernel rows covering the cob, long pointed husk leaves wrapping the cob, with one leaf curling outward to the left. Other drawings can be correct; assess the visible features and proportions rather than pixel-perfect matching. Draw a vertical tapered oval for the cob, wider near the top and narrowing toward the bottom. Add a grid of small rounded rectangles in rows to represent kernels across the cob. Draw long, pointed husk leaves on both sides, starting at the base and curving upward around the cob. Add a short stalk at the bottom and a curled husk leaf extending to the left.
No. Several drawings can be correct. Check that the tapered cob, kernel rows, wrapping husk leaves and left-curling leaf are visible and proportionate.
Draw the cob silhouette first, add kernel rows, then husk leaves, the stalk and the curled leaf. Correct large proportion errors before refining detail.
Follow the cob's curve with each row and narrow the rows near the base. Slight wrapping at the edges suggests a rounded surface.
All drawing practice · Free coordinate paper
Original resources · CC BY 4.0 · Free for personal and classroom use with attribution.