Reference diagrams
LETTER · Download PDF
A4 · Download PDF
Free original resources
Learn to draw a morel mushroom by building its dome cap, honeycomb pits, tall stem, and underside lines, then check your work with a feature-based rubric.
Four original cases, with reference diagrams, practice sheets and worked answers. Everything is free; no signup required.
LETTER · Download PDF
A4 · Download PDF
LETTER · Download PDF
A4 · Download PDF
LETTER · Download PDF
A4 · Download PDF
Use A4 or US Letter to match your printer. Use the stated values and conditions to solve each exercise; diagrams are not physical measuring rulers.
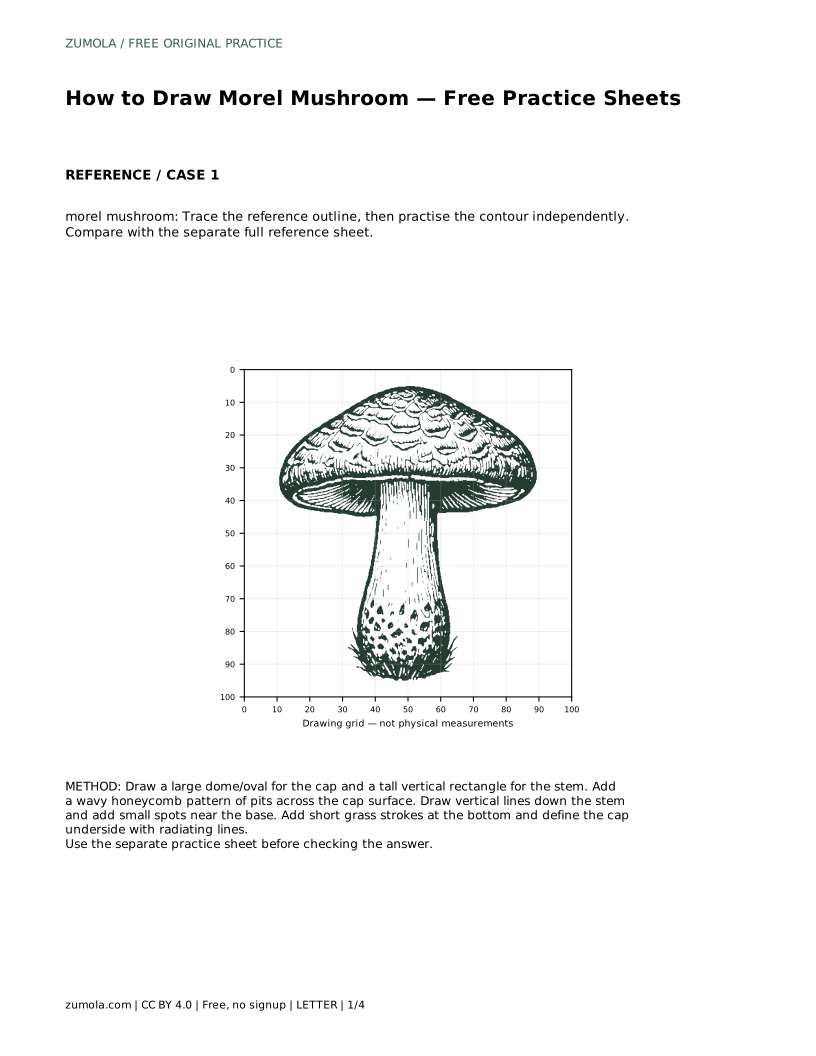
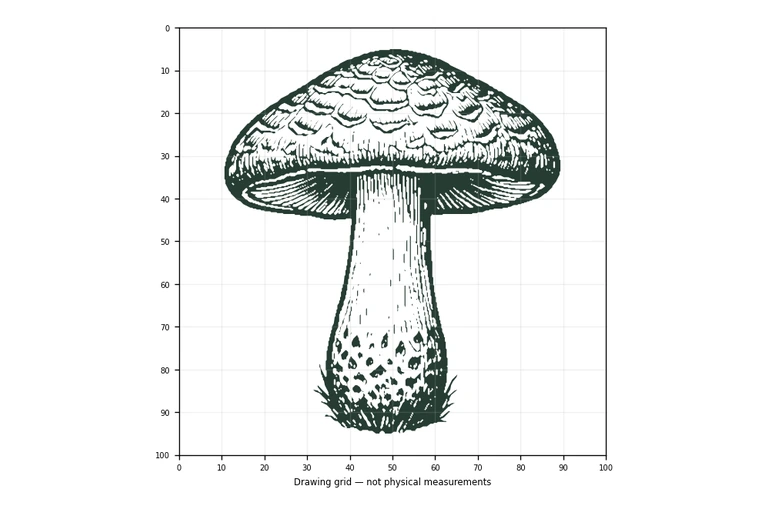
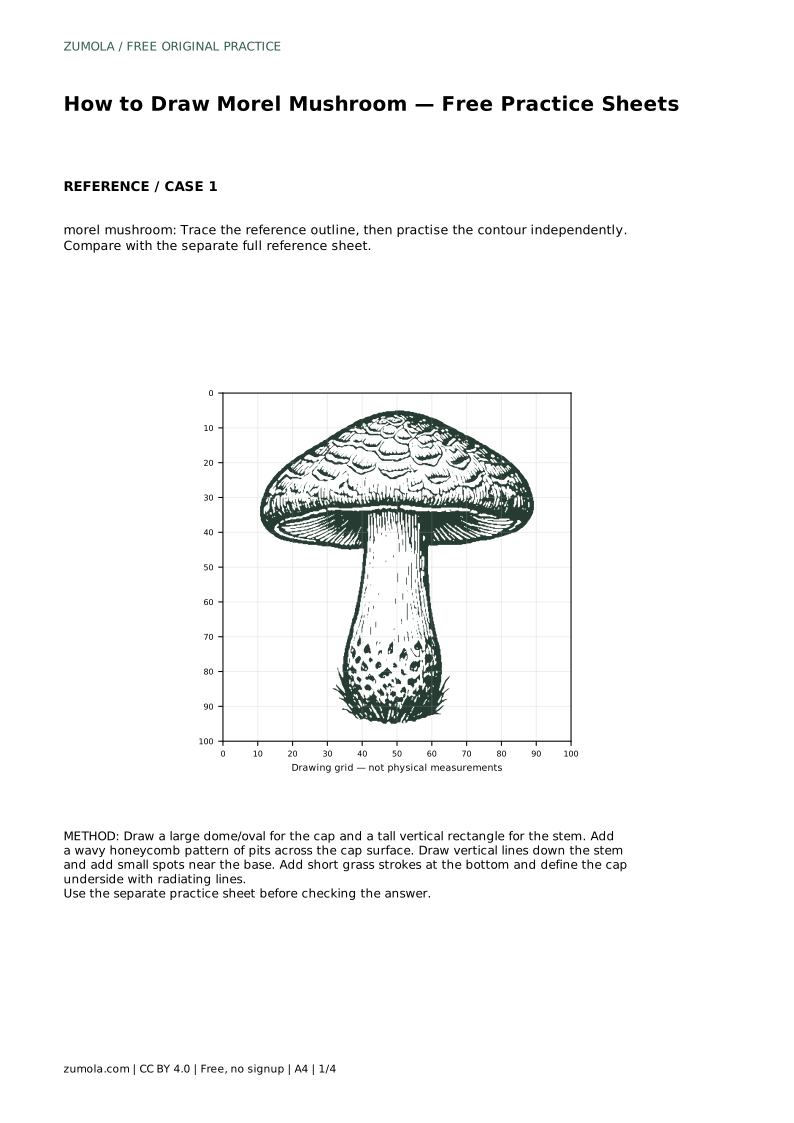
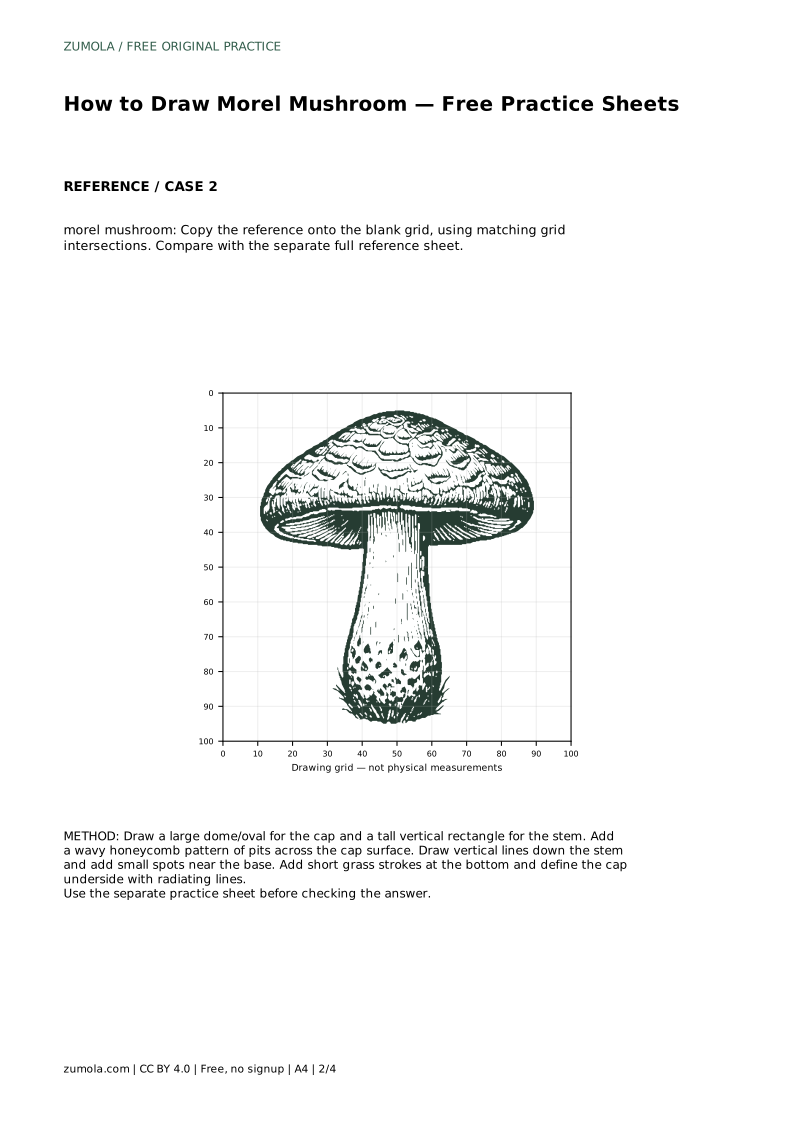
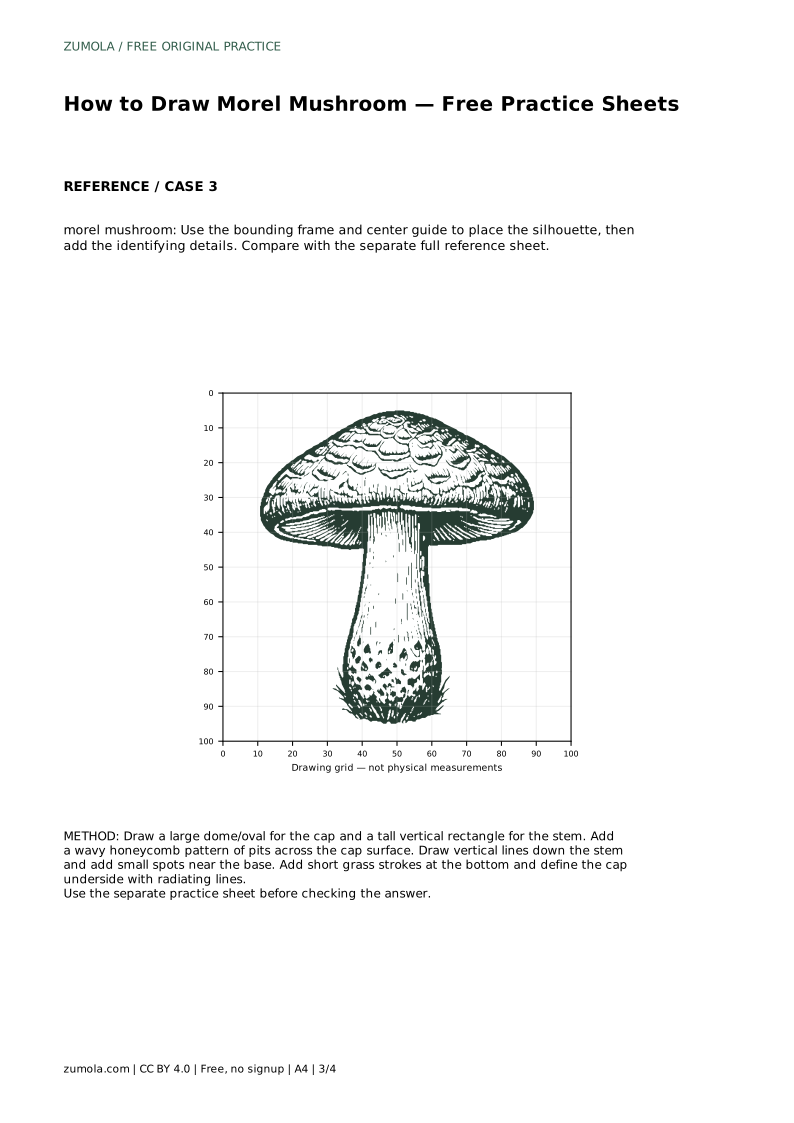
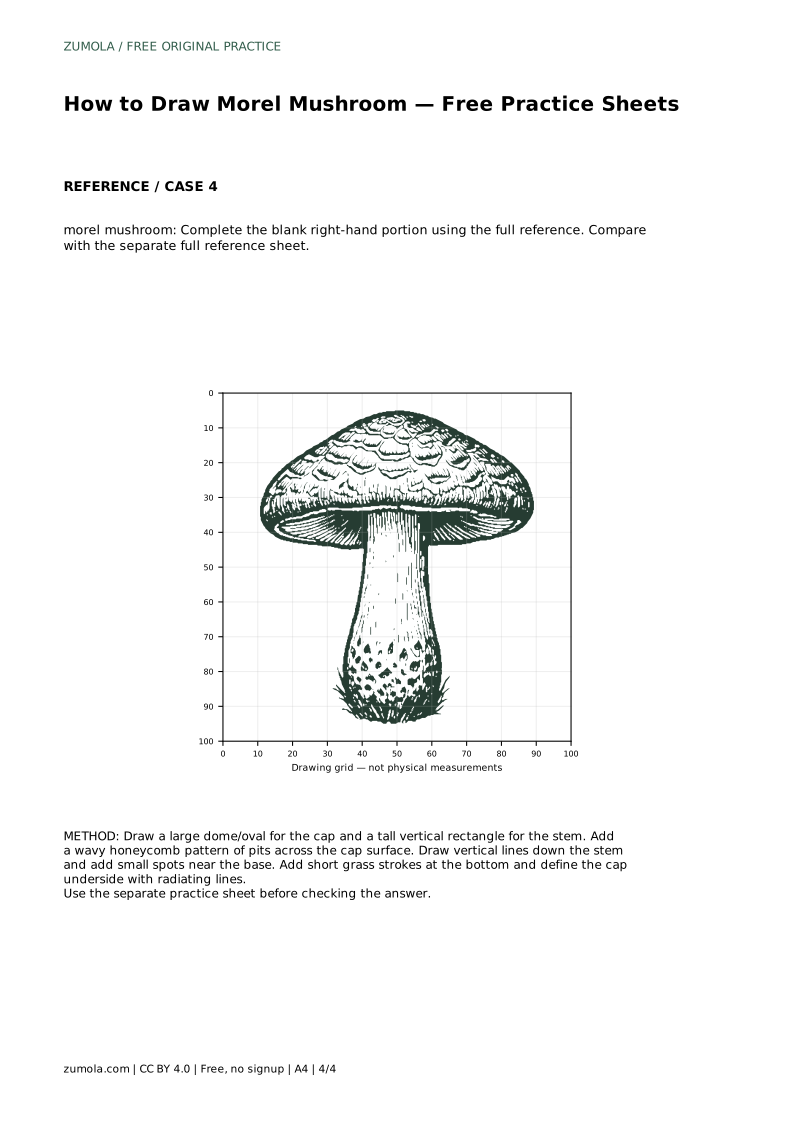
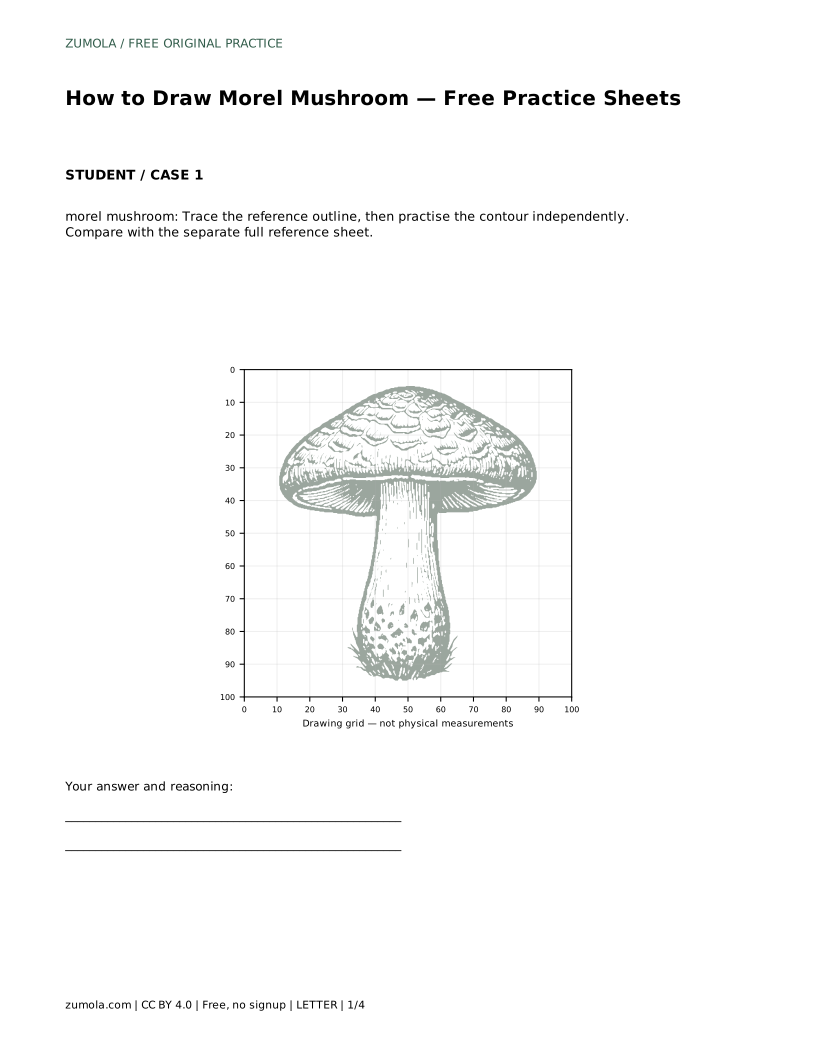
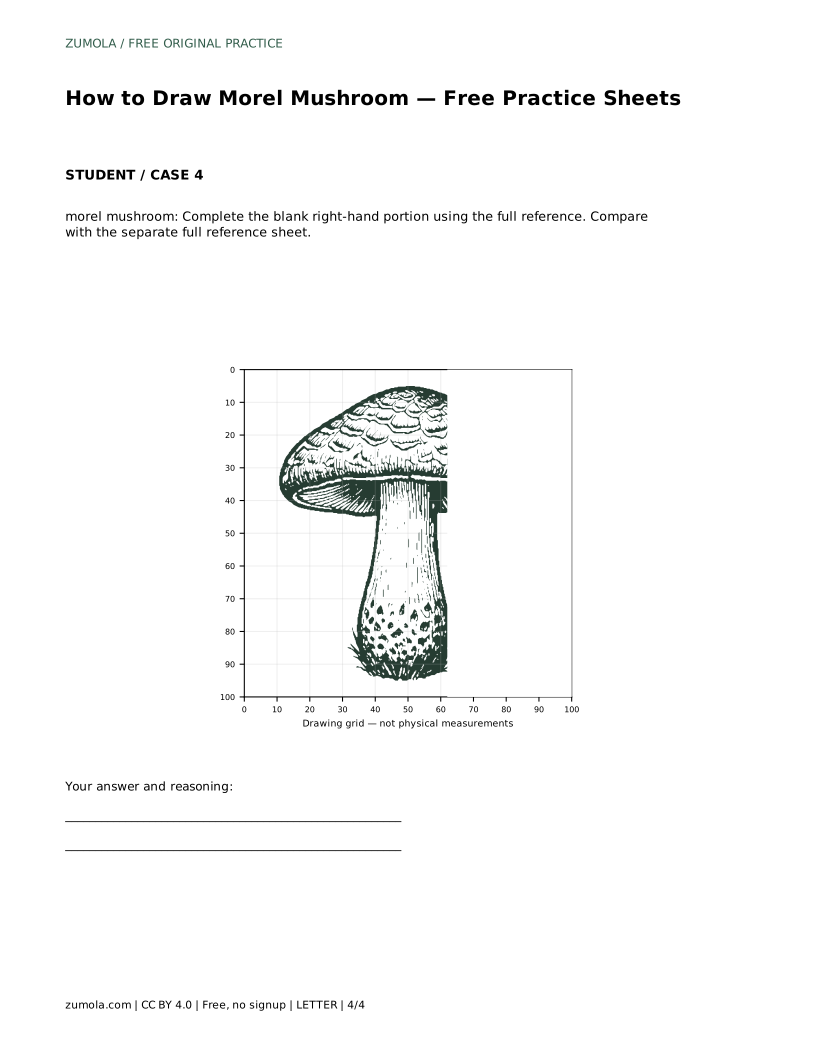
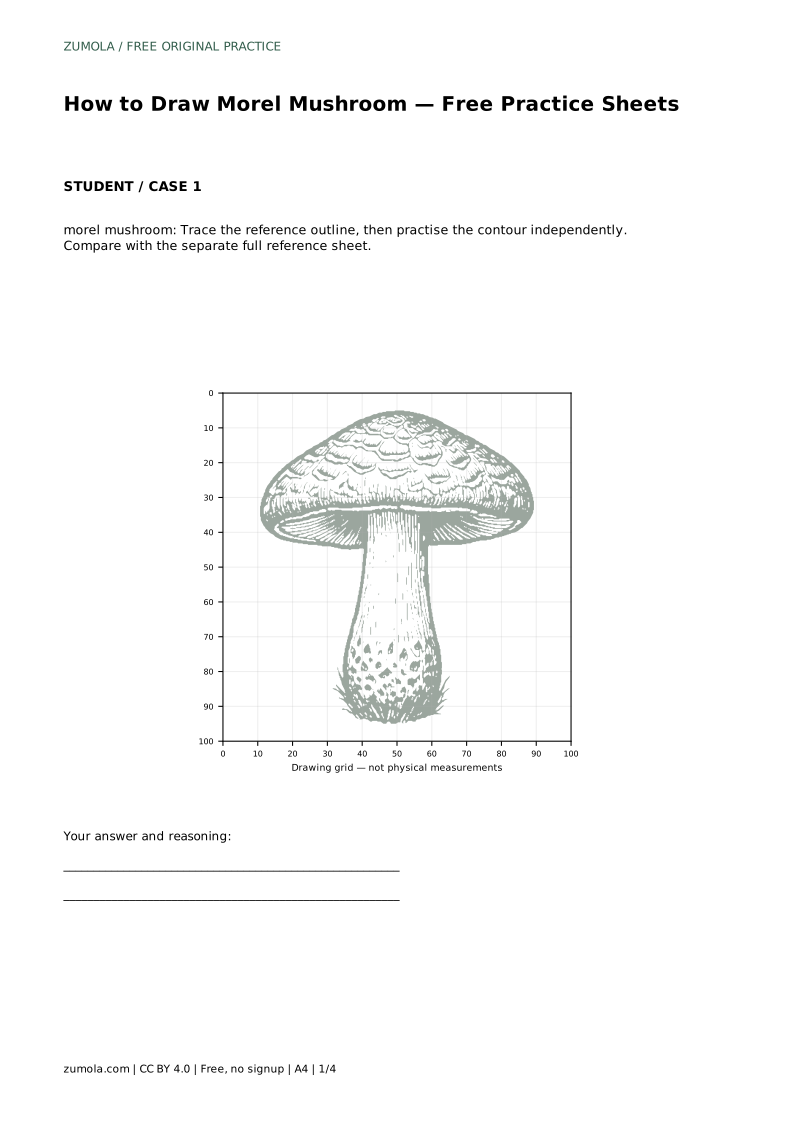
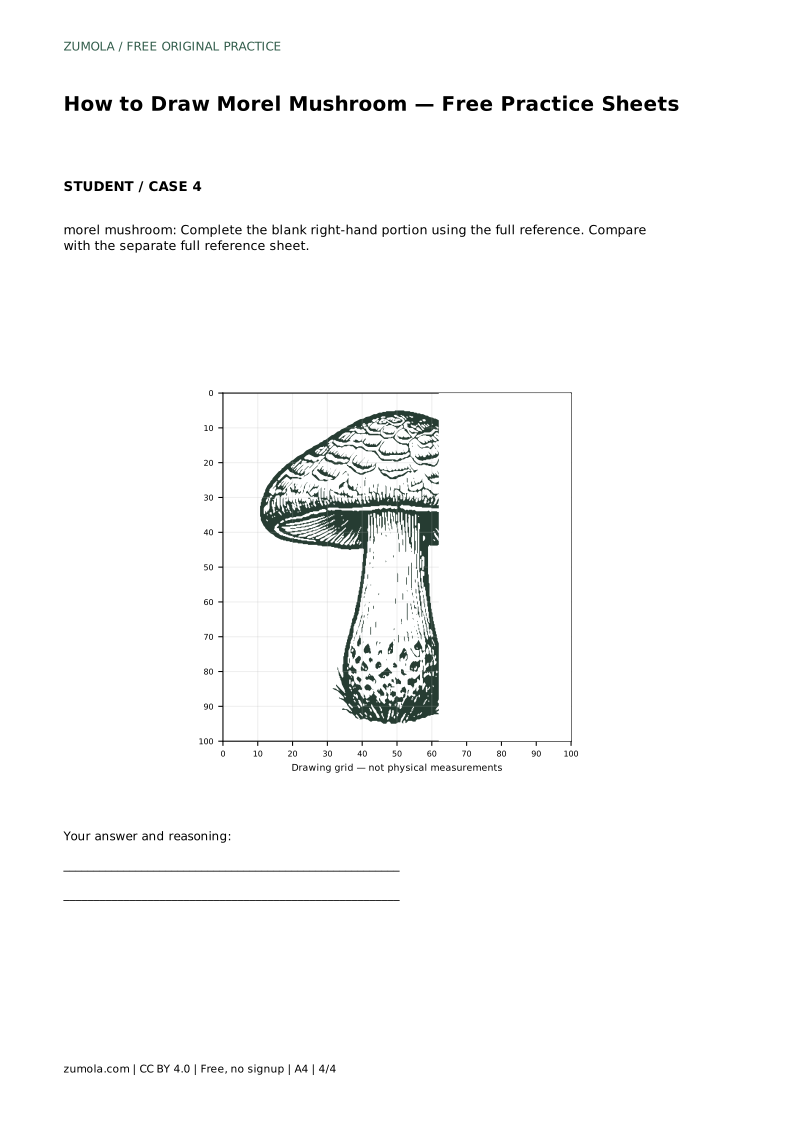
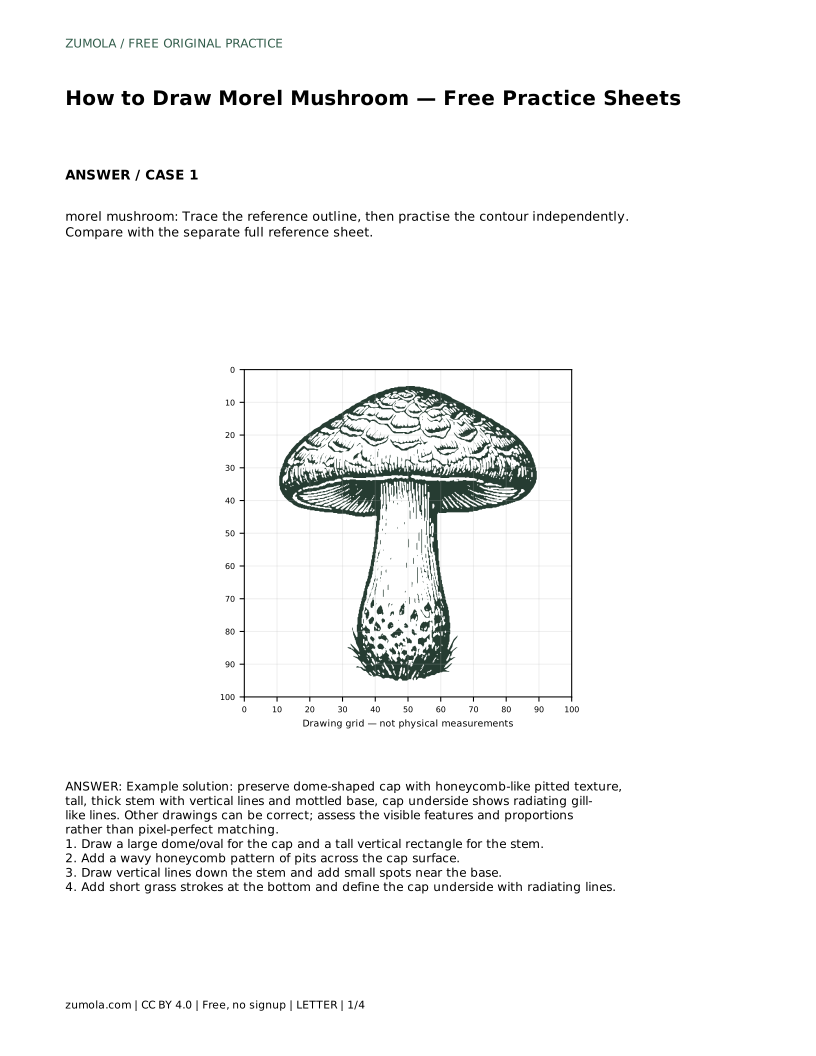
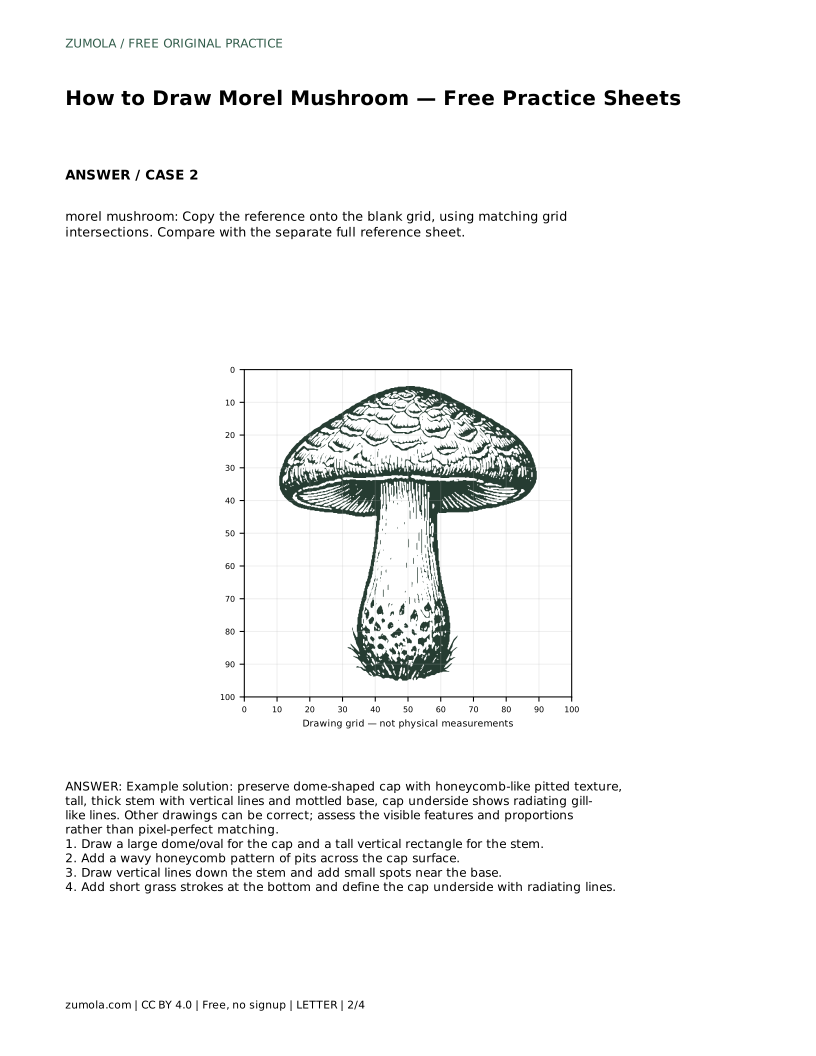
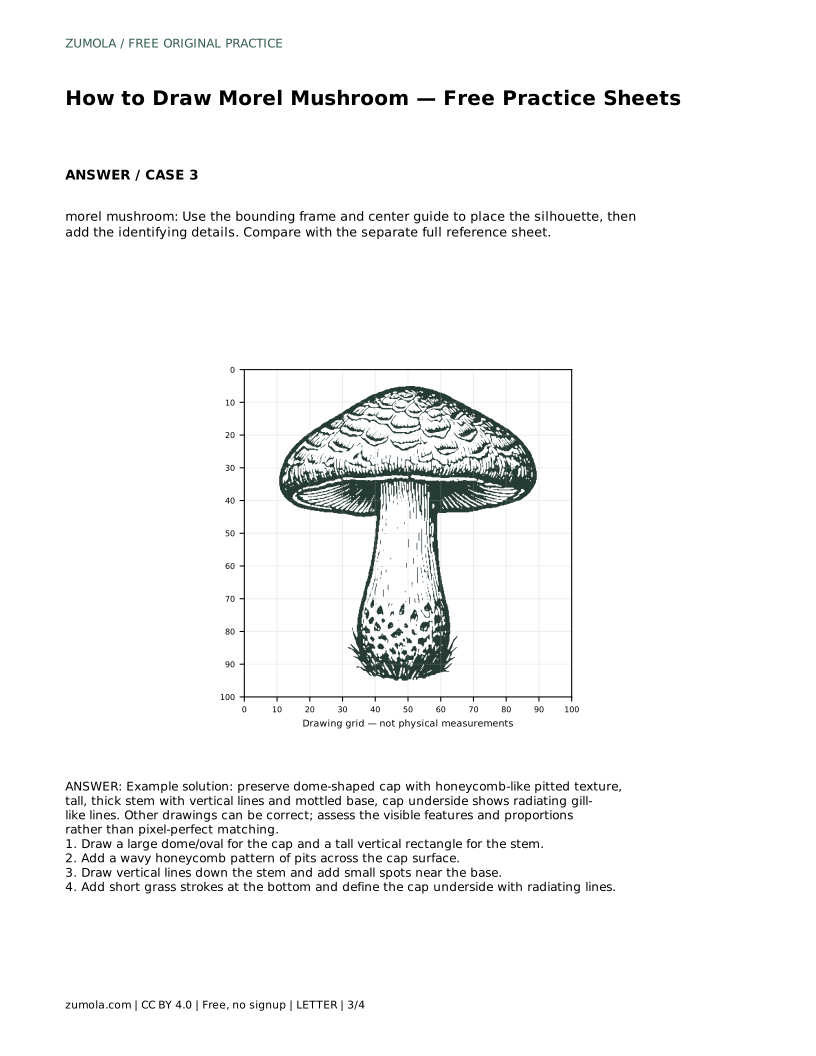
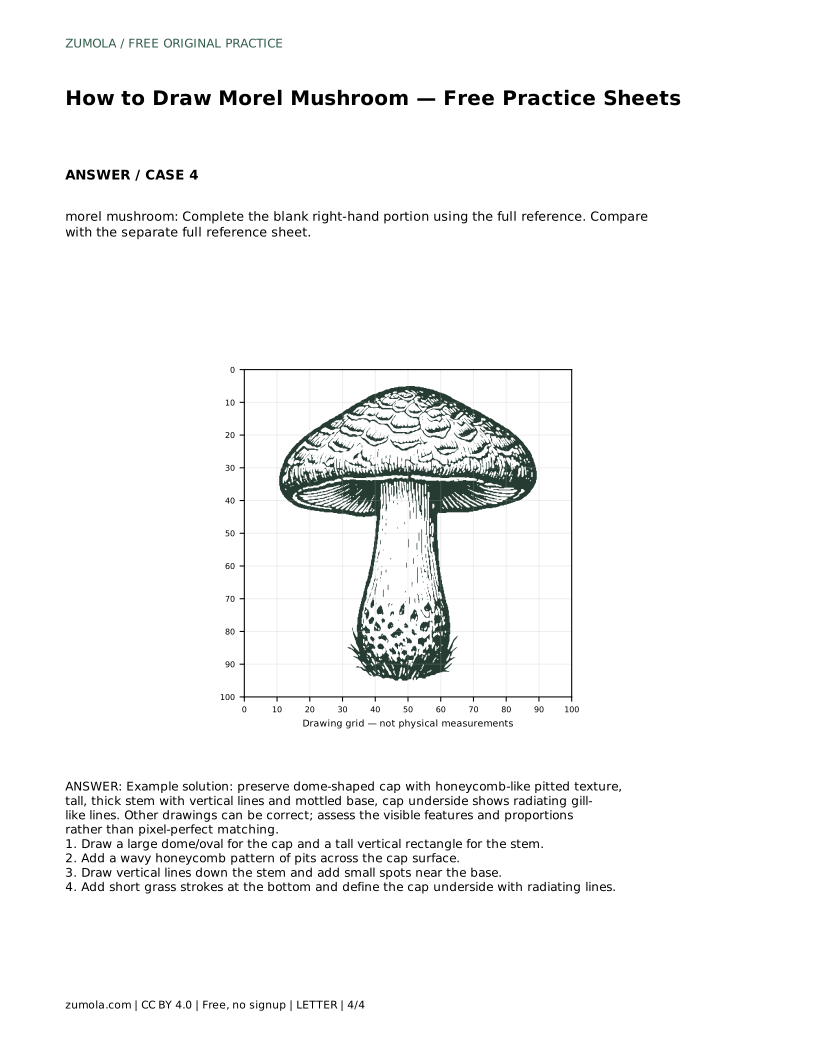
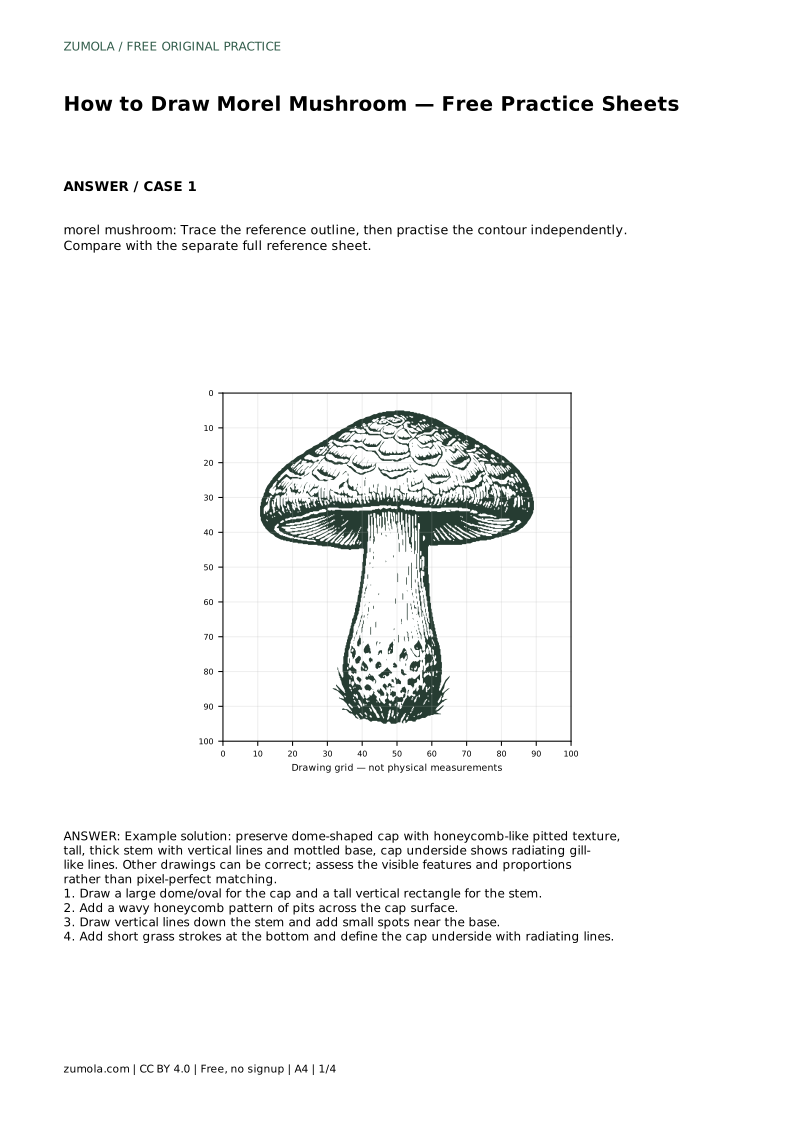
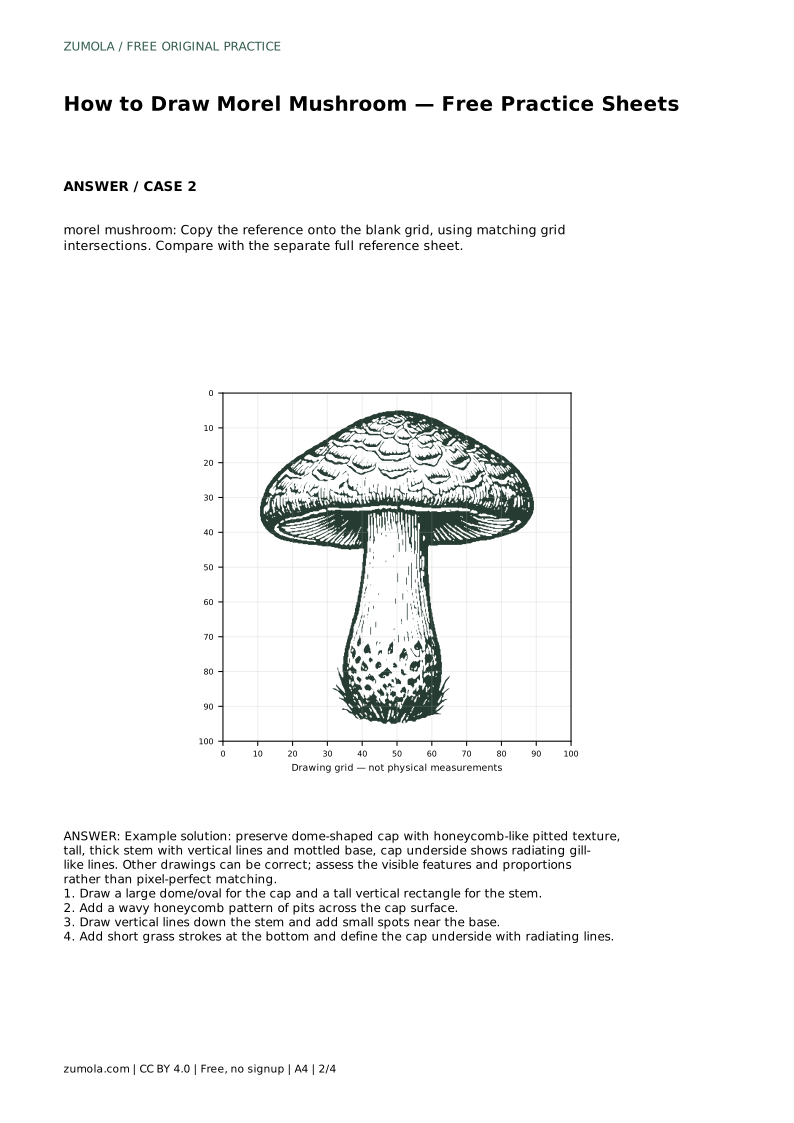
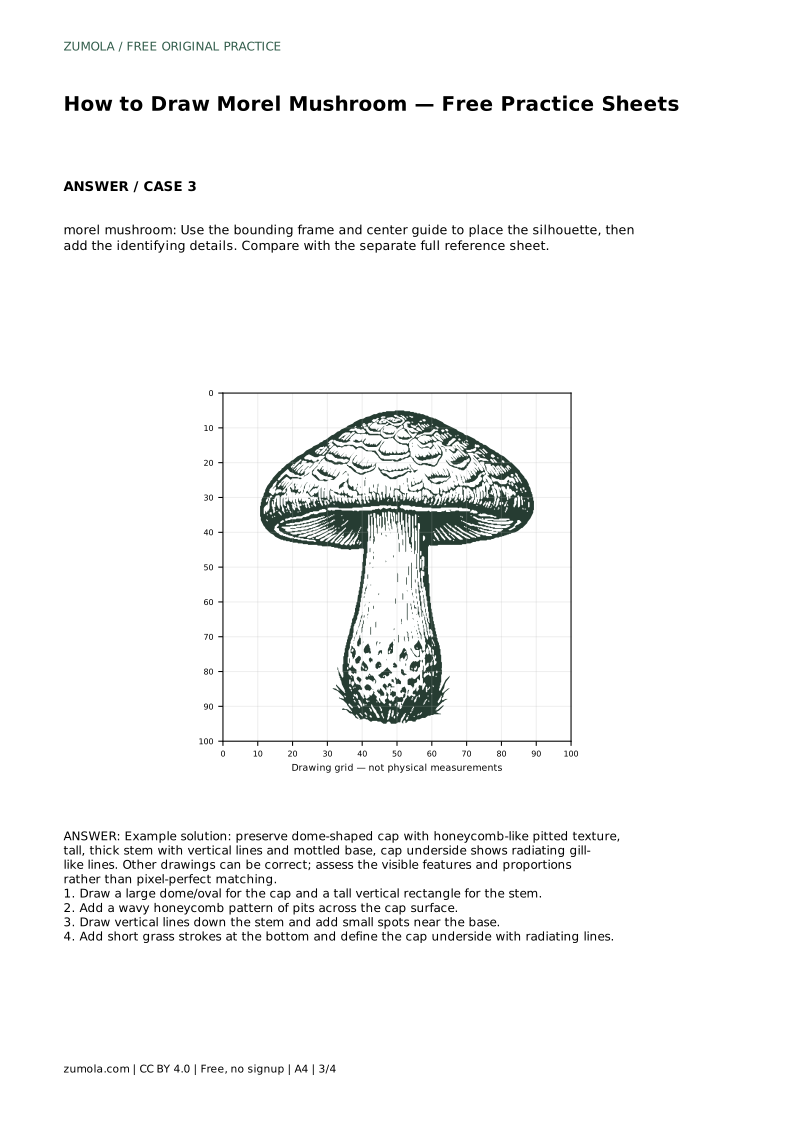
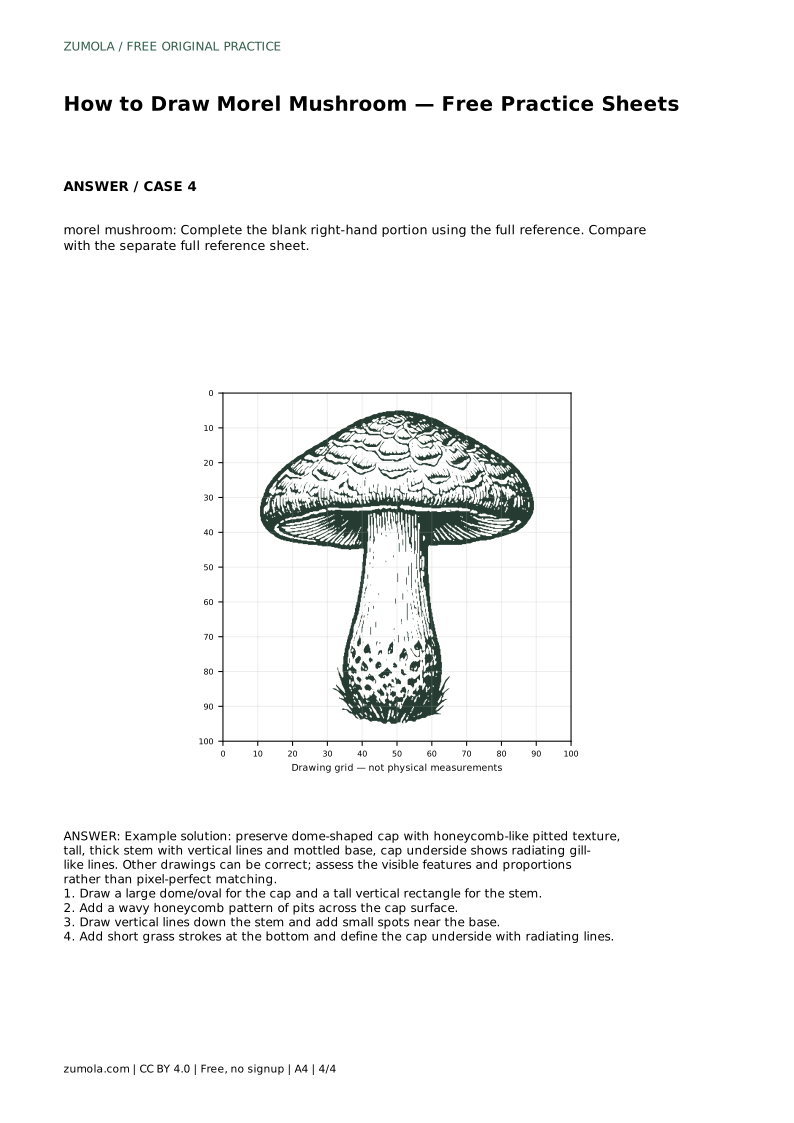
A morel drawing is recognizable because of a few clear features: a dome-shaped cap covered in a honeycomb pattern of pits, a tall thick stem with vertical lines, and a mottled base. This page explains how to build those features in order, from the large silhouette to the small surface details. You can practise by tracing a reference outline, copying onto a grid, or completing a partly drawn sheet, then compare your result with the full reference sheet.
Before any texture, place the cap and stem. The cap is a broad dome or oval sitting on top; the stem is a tall vertical rectangle beneath it. Keep the stem clearly taller than the cap is high, because a morel's stem is a strong vertical element. Lightly mark the widest point of the cap and the full height of the stem so the proportions stay stable while you add detail.
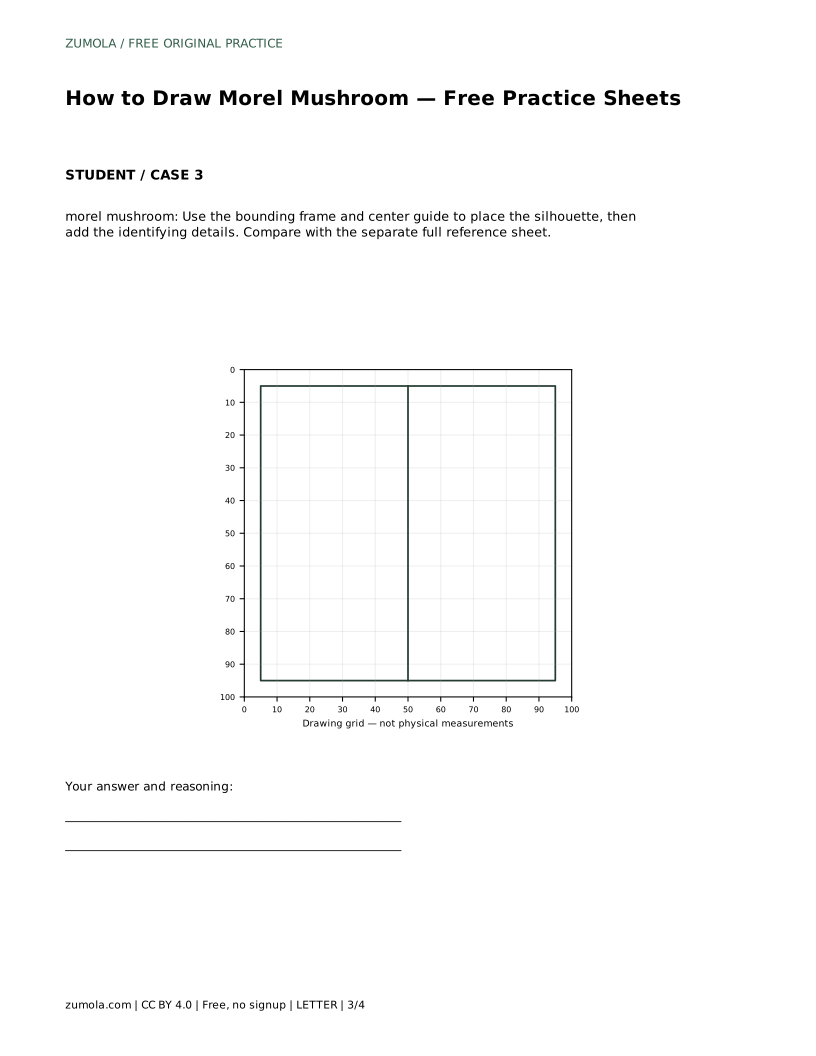
If you are using a grid sheet, match the cap's top and sides to grid intersections first, then the stem's width and base. On a bounding-frame sheet, use the center guide to keep the stem vertical and the cap centered above it. These guides only help placement; the drawing still depends on your own observation.
The cap texture is the defining feature. Draw a wavy honeycomb pattern of pits across the dome surface rather than a flat grid. Let the pit edges curve and vary in size, and follow the roundness of the cap so pits near the edges appear narrower. Keep the pattern continuous across the cap, but avoid making every cell identical; real morel caps look irregular.
Work from the center of the cap outward so the pattern stays balanced. Leave the outline of the dome visible; the pits sit inside it, not beyond it.
Draw vertical lines down the stem to suggest its fibrous surface, and add small spots near the base for the mottled look. Where the cap meets the stem, define the underside with short radiating lines that fan outward like gills. Finish with a few short grass strokes at the bottom so the mushroom sits on the ground rather than floating.
Compare your drawing with the separate full reference sheet only after these features are in place. Judge the visible features and proportions, not pixel-perfect matching, because more than one drawing can be correct.
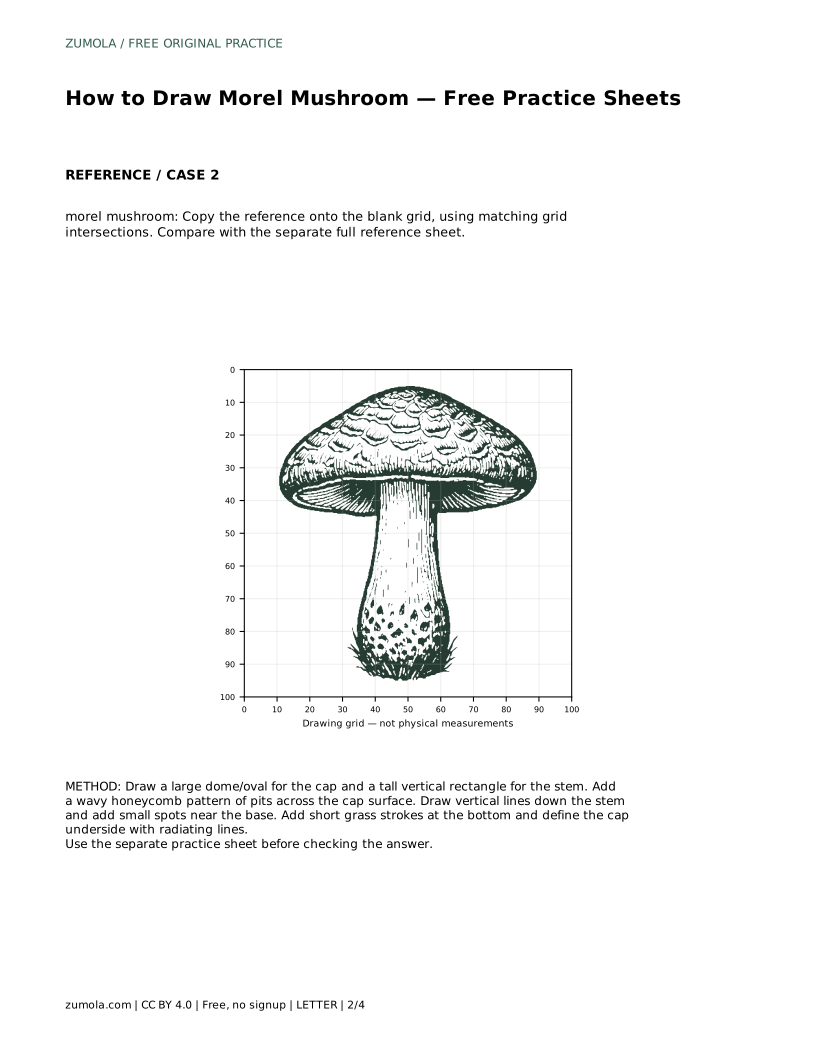
morel mushroom: Trace the reference outline, then practise the contour independently. Compare with the separate full reference sheet.
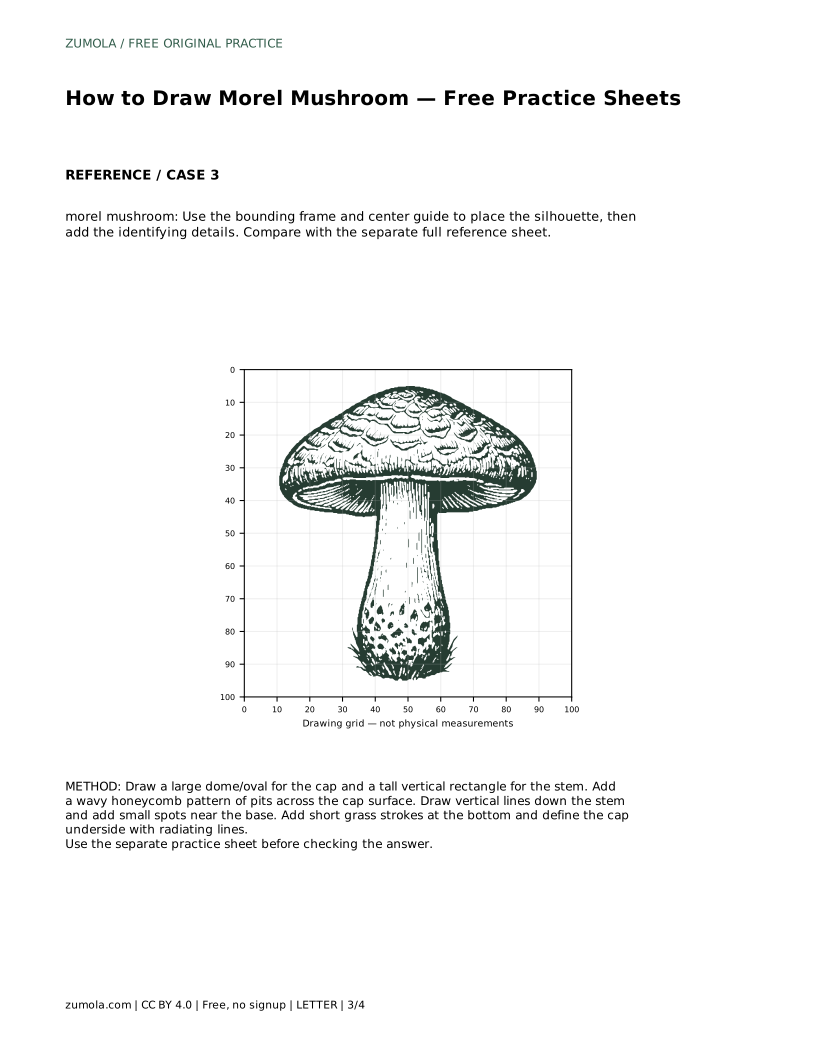
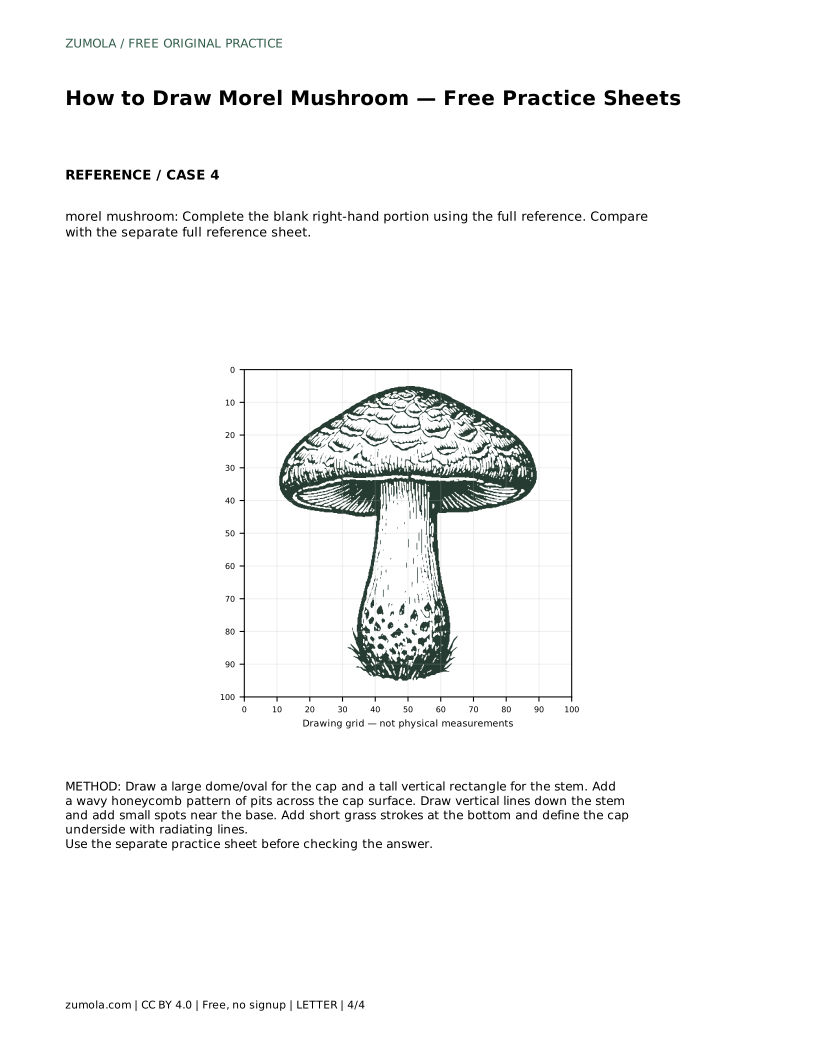
Example solution: preserve dome-shaped cap with honeycomb-like pitted texture, tall, thick stem with vertical lines and mottled base, cap underside shows radiating gill-like lines. Other drawings can be correct; assess the visible features and proportions rather than pixel-perfect matching. Draw a large dome/oval for the cap and a tall vertical rectangle for the stem. Add a wavy honeycomb pattern of pits across the cap surface. Draw vertical lines down the stem and add small spots near the base. Add short grass strokes at the bottom and define the cap underside with radiating lines.
No. Several drawings can be correct. Check that the dome cap, honeycomb pits, tall stem, mottled base, and radiating underside lines are all present and in proportion.
Start with the trace-the-outline sheet to learn the silhouette, then move to the grid, bounding-frame, or half-completed sheet for independent practice.
When the cap, stem, texture, underside, and ground strokes are all placed and the proportions look balanced against the reference.
All drawing practice · Free coordinate paper
Original resources · CC BY 4.0 · Free for personal and classroom use with attribution.