Reference diagrams
LETTER · Download PDF
A4 · Download PDF
Free original resources
Learn to draw a cracker with a slanted top face, scalloped edges, visible thickness, and scattered holes. Free practice sheets support tracing, grids, and guided placement.
Four original cases, with reference diagrams, practice sheets and worked answers. Everything is free; no signup required.
LETTER · Download PDF
A4 · Download PDF
LETTER · Download PDF
A4 · Download PDF
LETTER · Download PDF
A4 · Download PDF
Use A4 or US Letter to match your printer. Use the stated values and conditions to solve each exercise; diagrams are not physical measuring rulers.
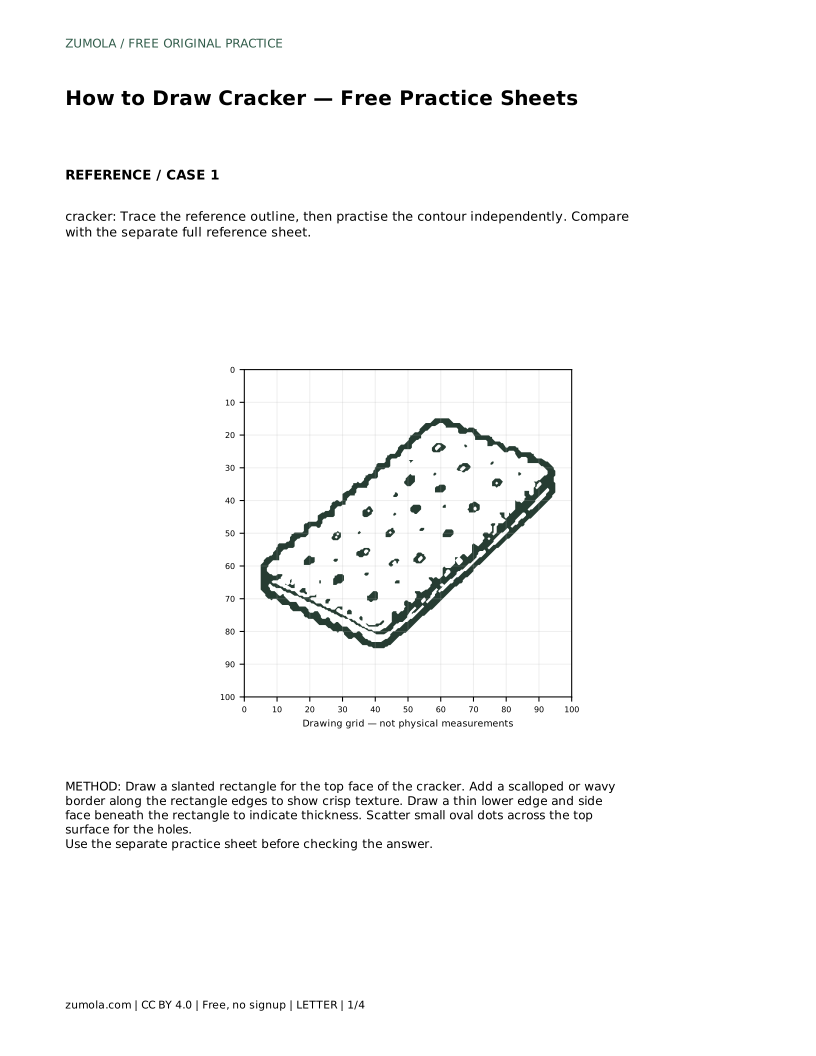
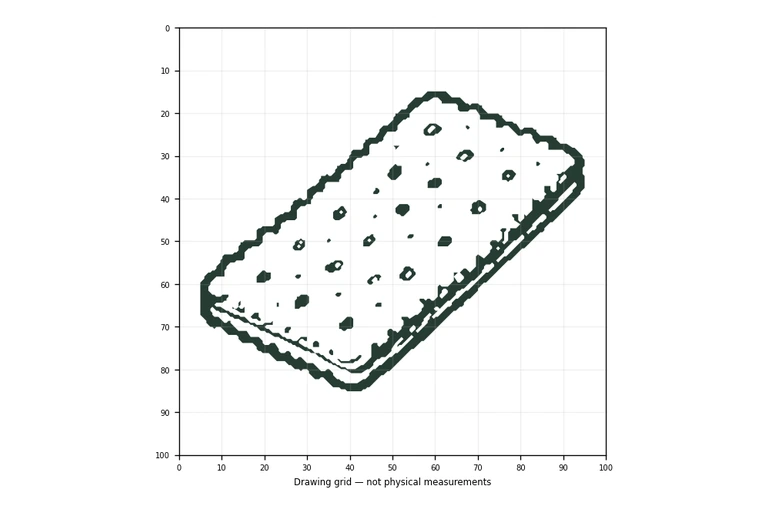
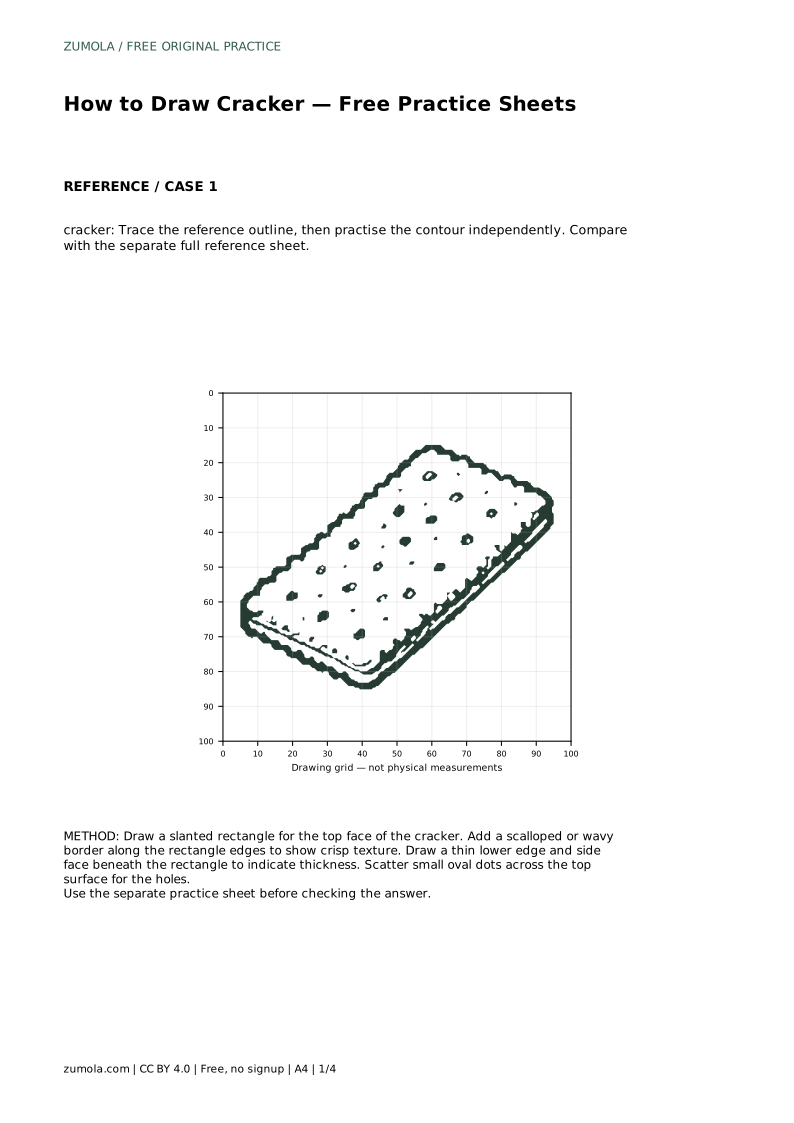
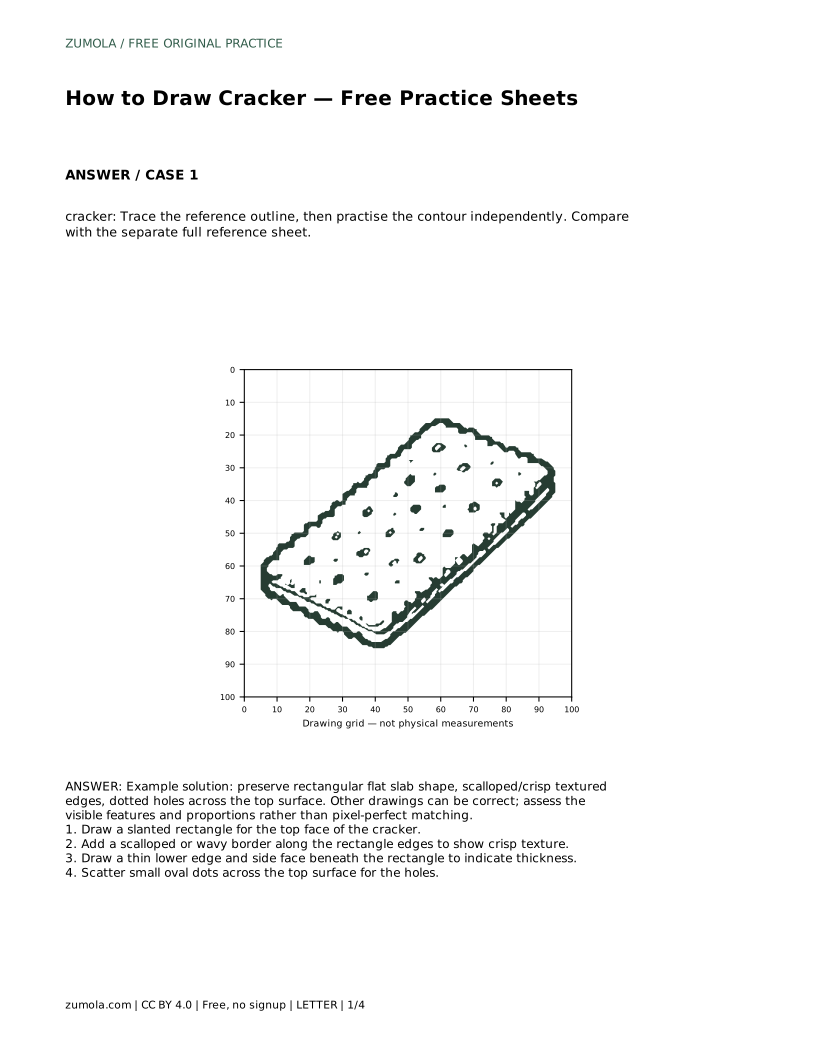
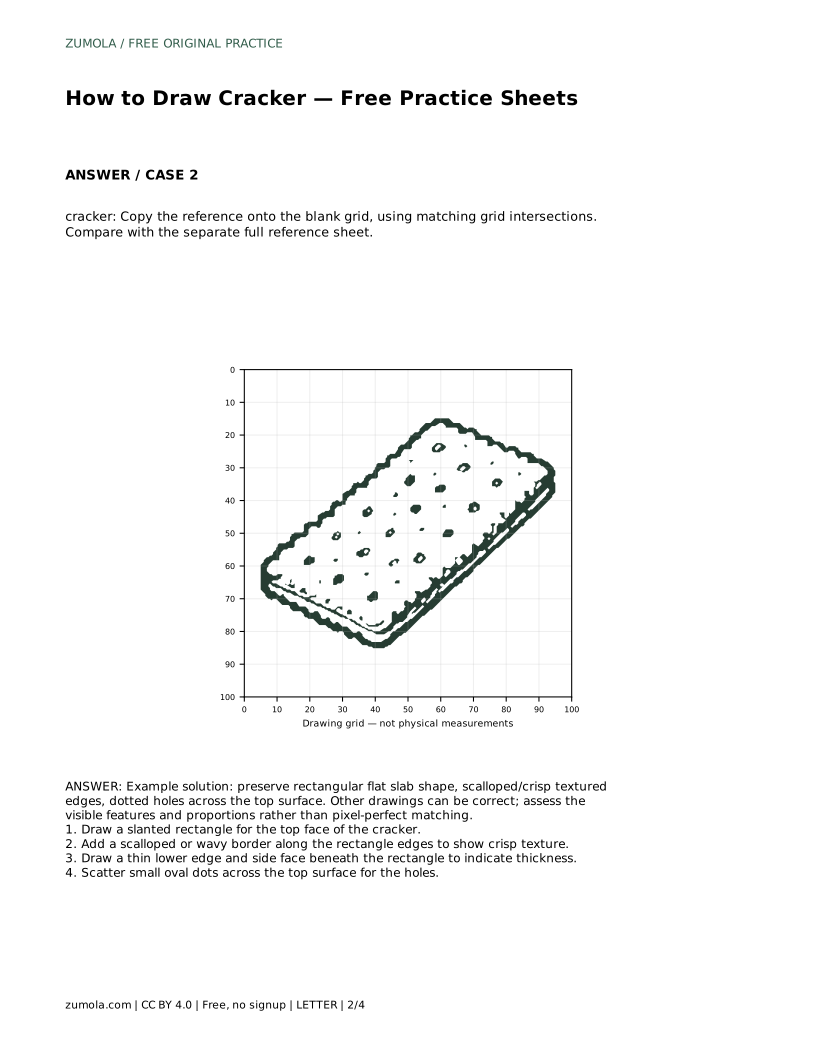
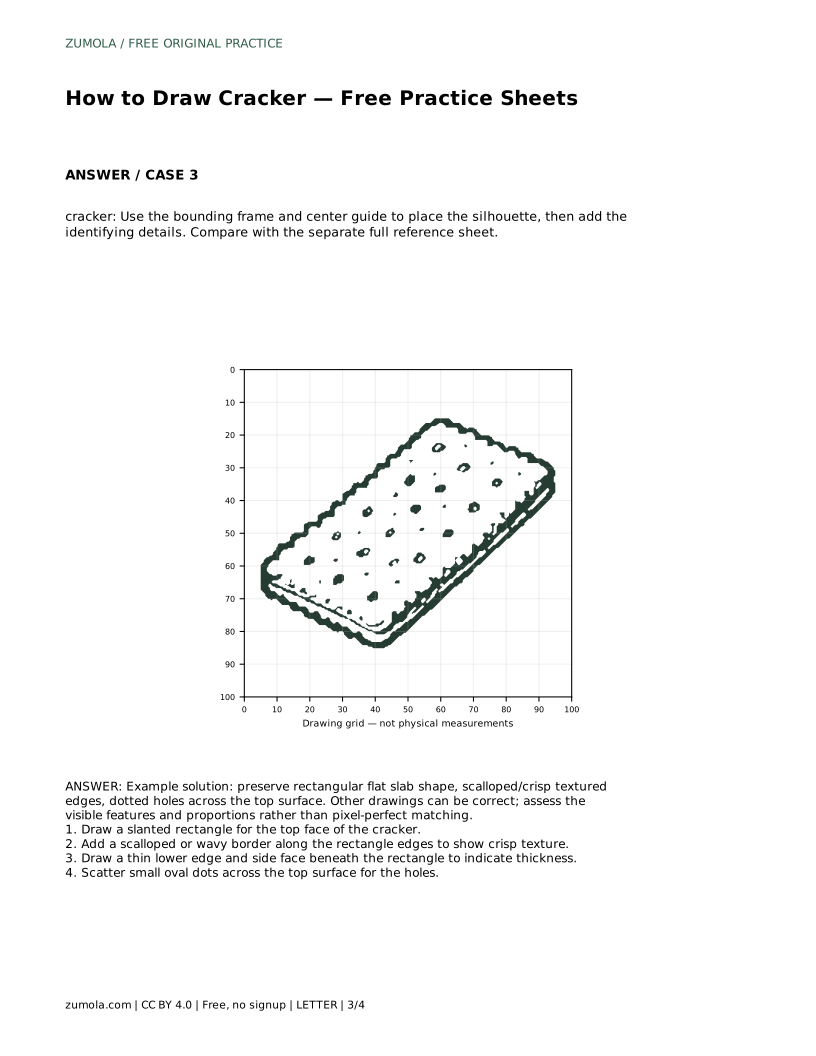
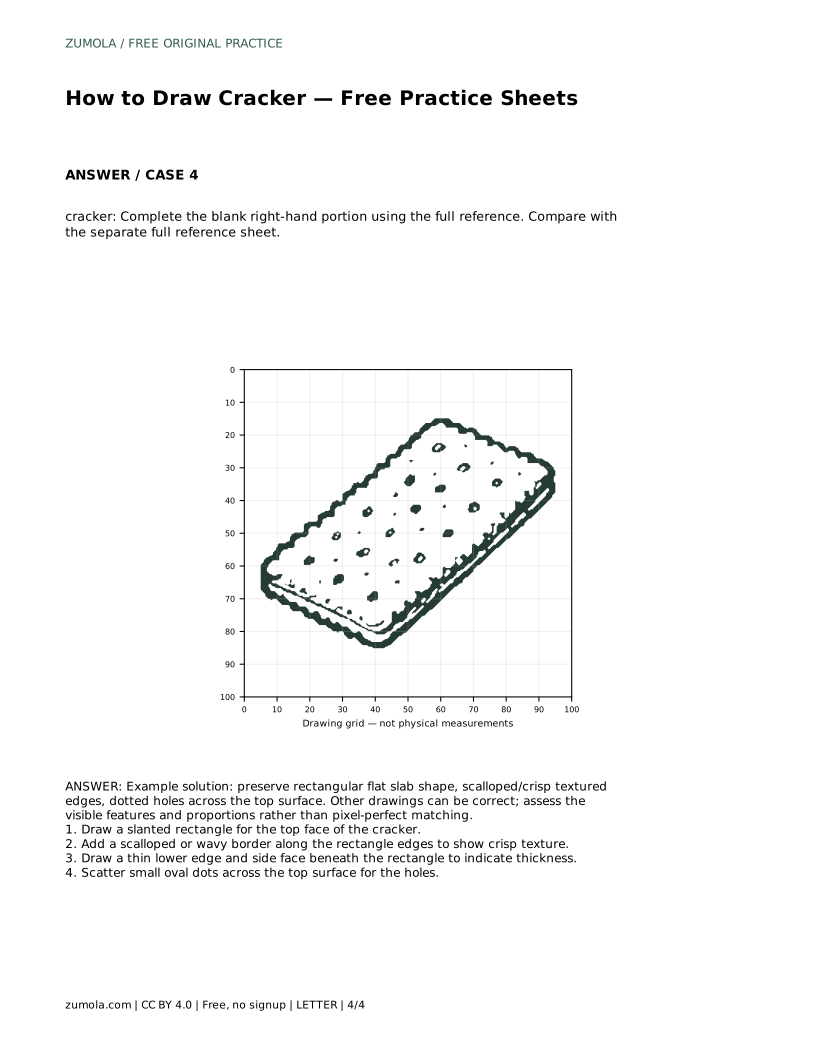
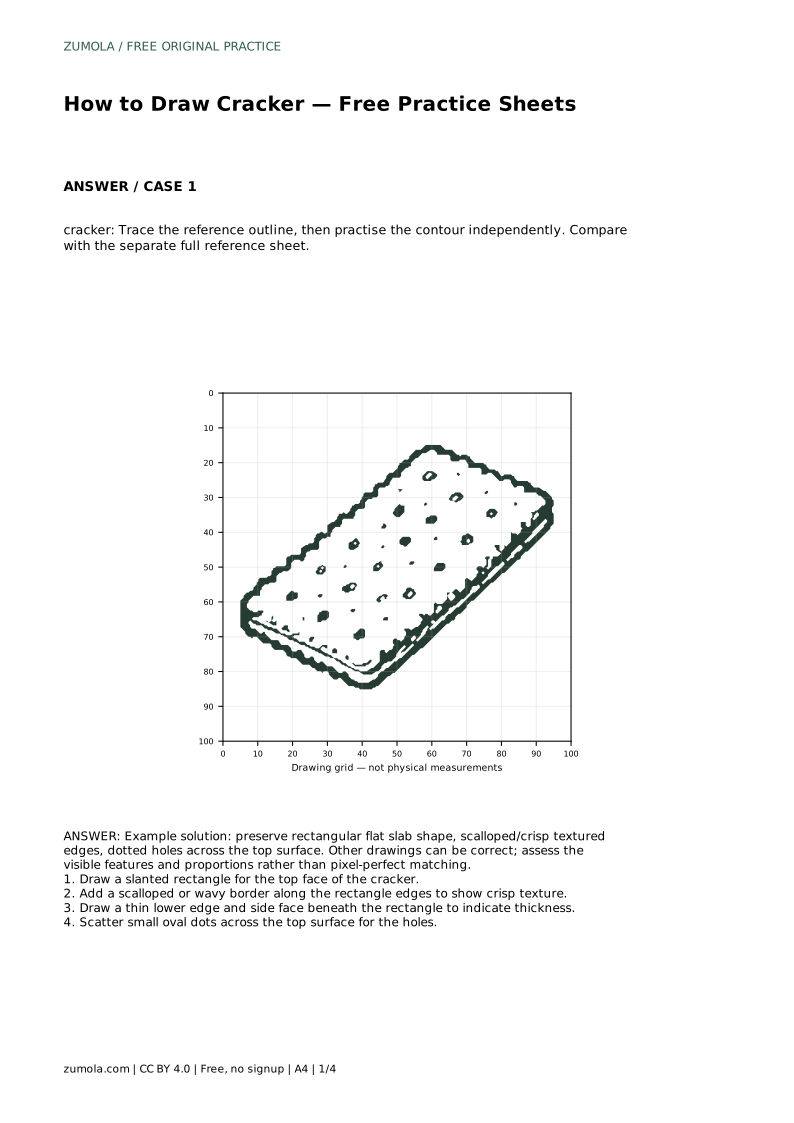
A cracker is a simple subject with a few clear features: a flat rectangular slab, crisp scalloped edges, a thin side face showing thickness, and small holes across the top. This page explains how to build those features in order so your drawing reads as a cracker rather than a plain rectangle. The free practice sheets let you trace a reference outline, copy onto a grid, use a bounding frame and center guide, or complete a partially drawn version.
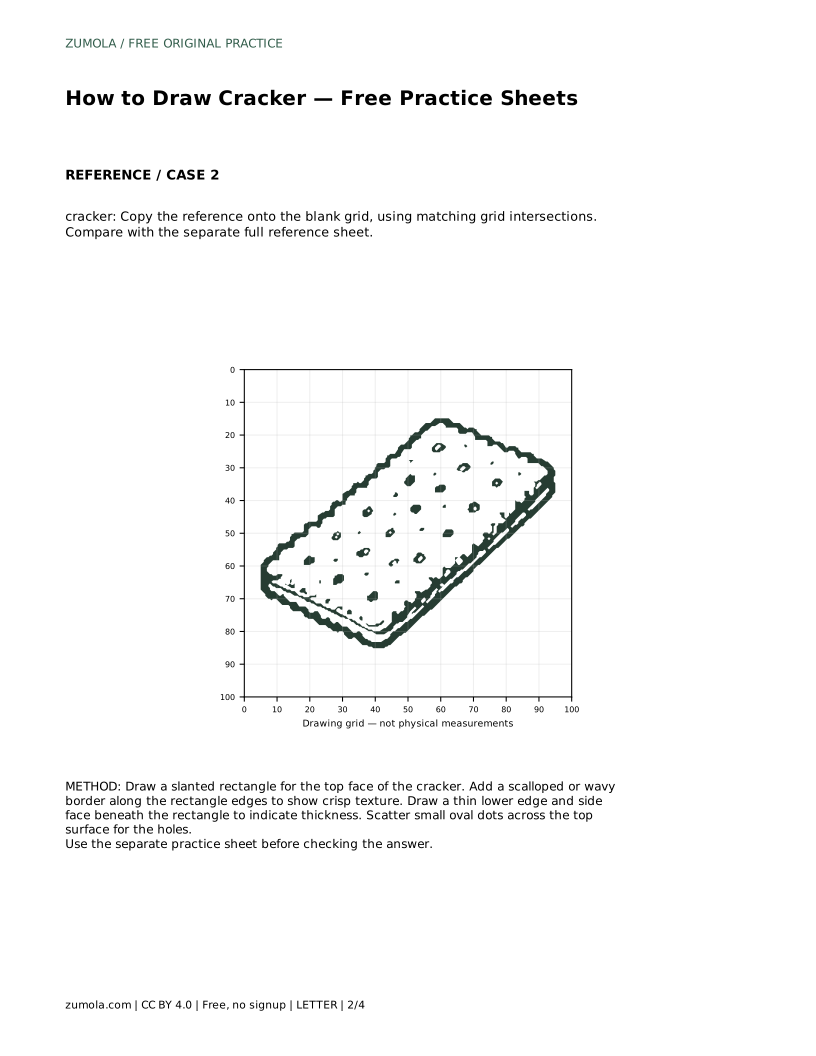
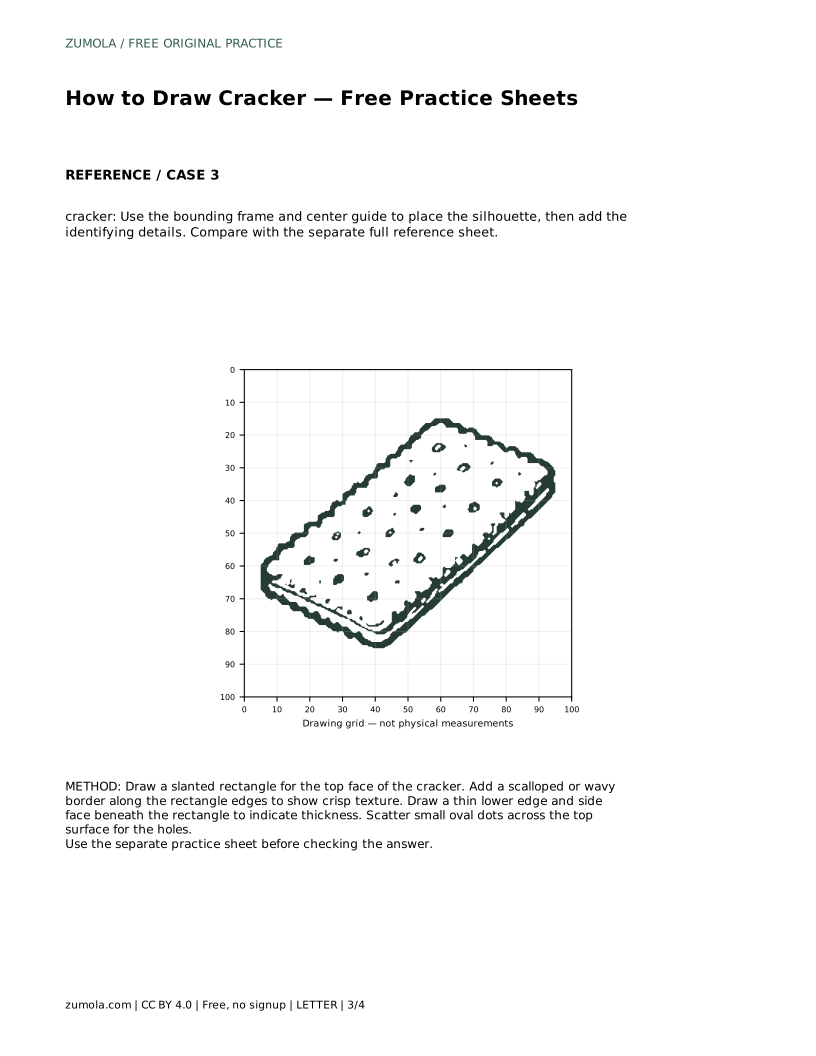
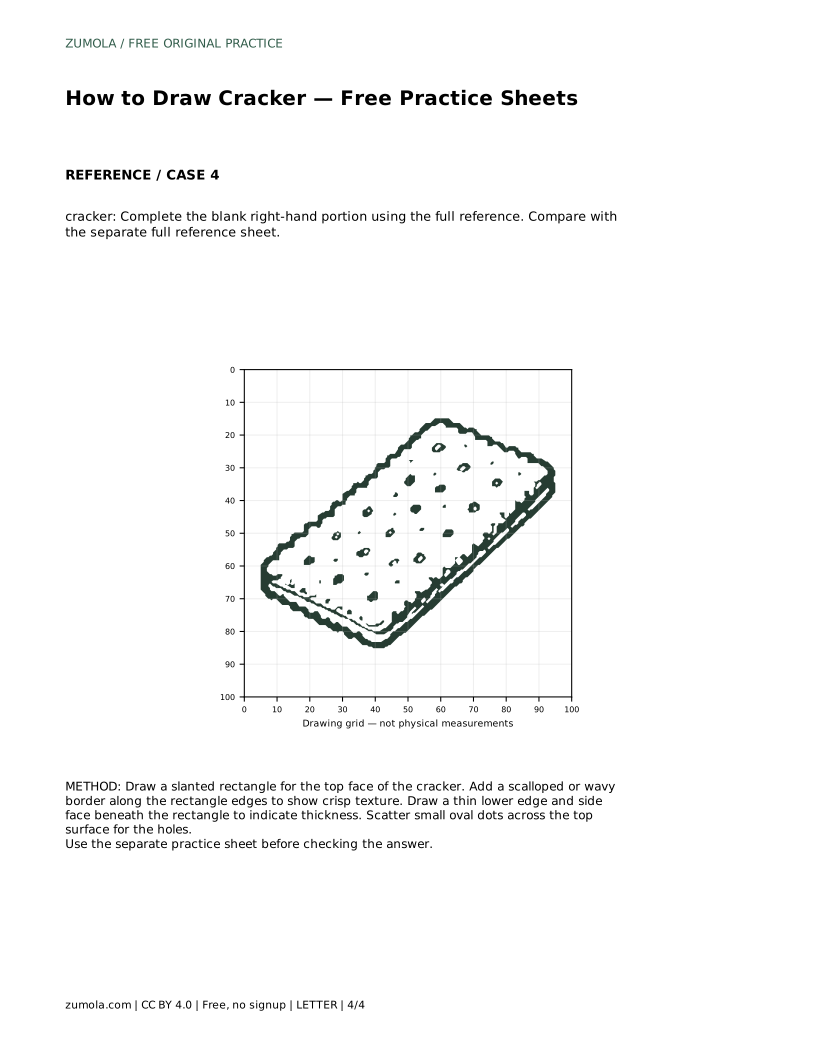
Begin with the largest shape: the top face. Draw a slanted rectangle rather than a perfectly upright one. The slant gives the cracker a slight tilt, which makes the flat slab easier to read and leaves room for the side face beneath it. Keep the four corners distinct and the opposite sides roughly parallel. If the rectangle looks too narrow or too wide, adjust before adding texture, because every later detail depends on this outline.
A common trap is drawing the top face as a square. Most crackers are longer than they are wide, so check that one pair of sides is clearly longer. Lightly sketch the rectangle first, then firm up the lines once the proportions look right.
Crisp texture comes from the border. Replace the straight edges of the rectangle with a scalloped or wavy line, working around the perimeter. Keep the scallops small and fairly even; large irregular bumps start to look like a pie crust rather than a cracker. The wavy border should follow the same slanted rectangle you already drew, so the overall shape stays consistent.
Next, show thickness. Draw a thin lower edge and a side face beneath the top rectangle. The side face should be narrow, since crackers are thin. Keep its lines parallel to the nearest top edge so the slab looks solid rather than folded. This step separates a flat shape from a believable object.
Small oval dots across the top surface complete the cracker. Space them loosely and vary their positions slightly so the pattern looks natural. Keep the dots inside the scalloped border and away from the very edge. A few rows are usually enough; too many dots crowd the surface and hide the shape.
When the drawing is finished, compare it with the separate full reference sheet. Check the slab shape, the scalloped border, the visible thickness, and the hole pattern. Other drawings can be correct, so assess the visible features and proportions rather than pixel-perfect matching.
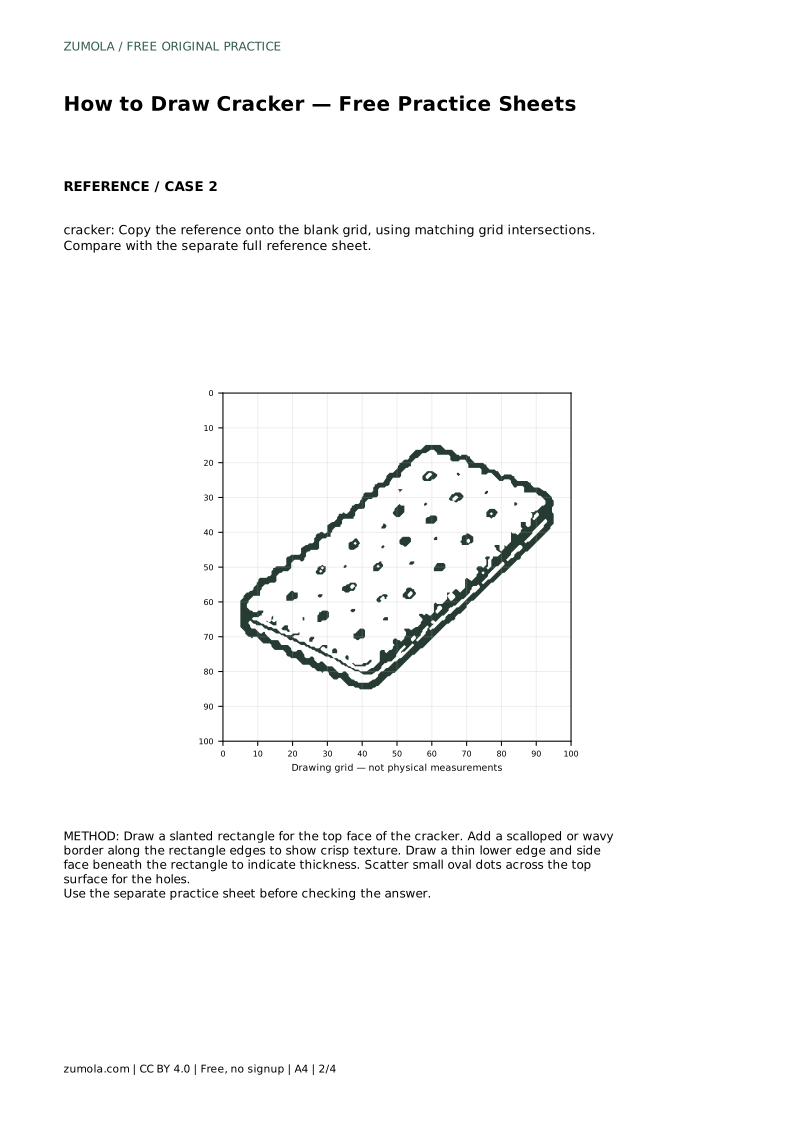
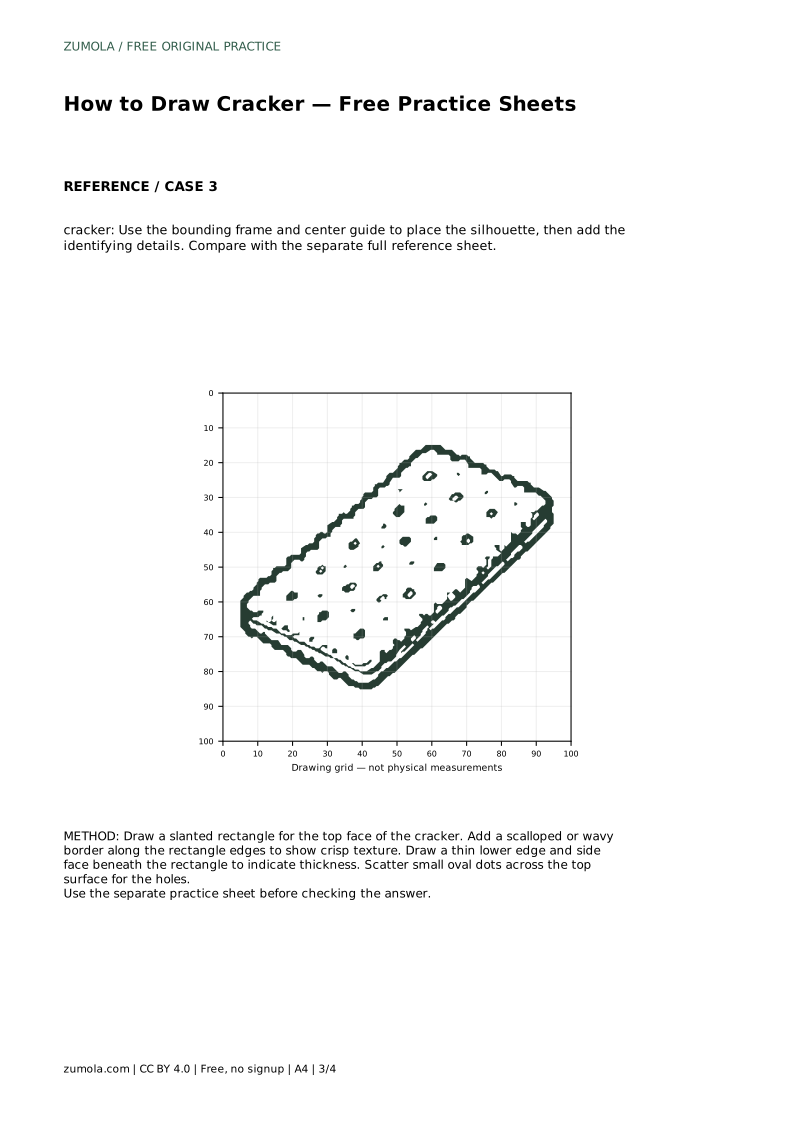
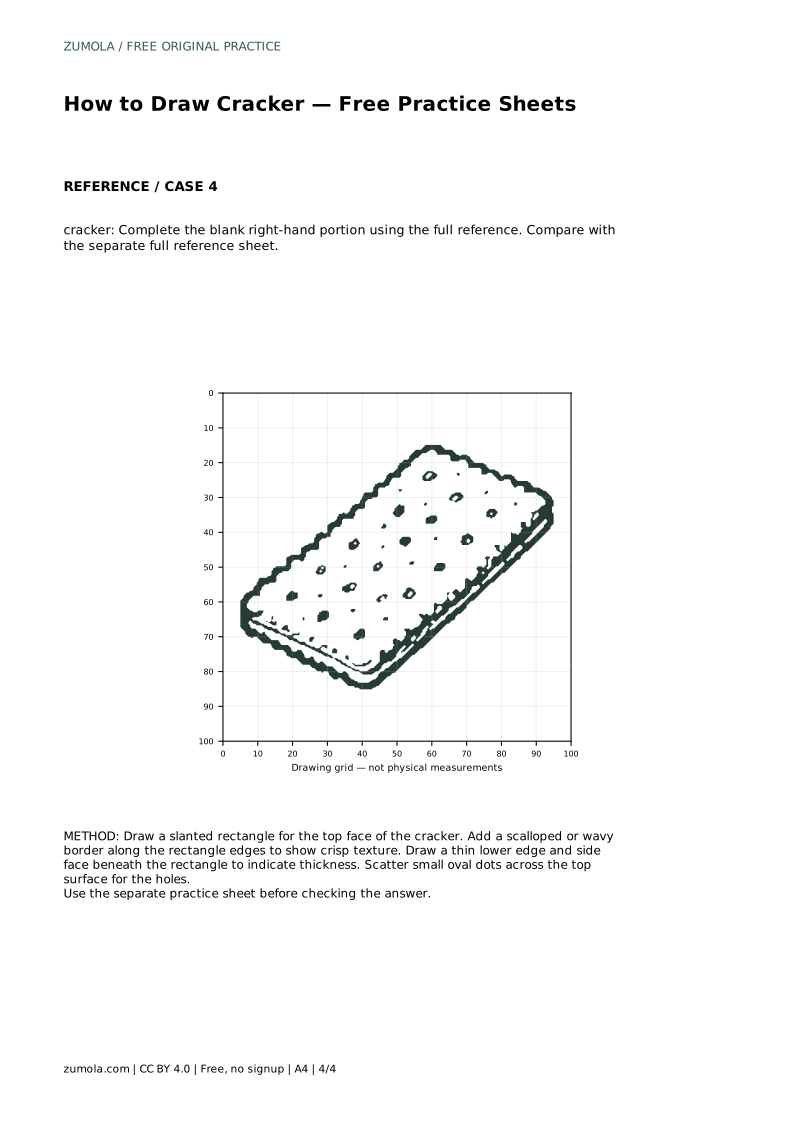
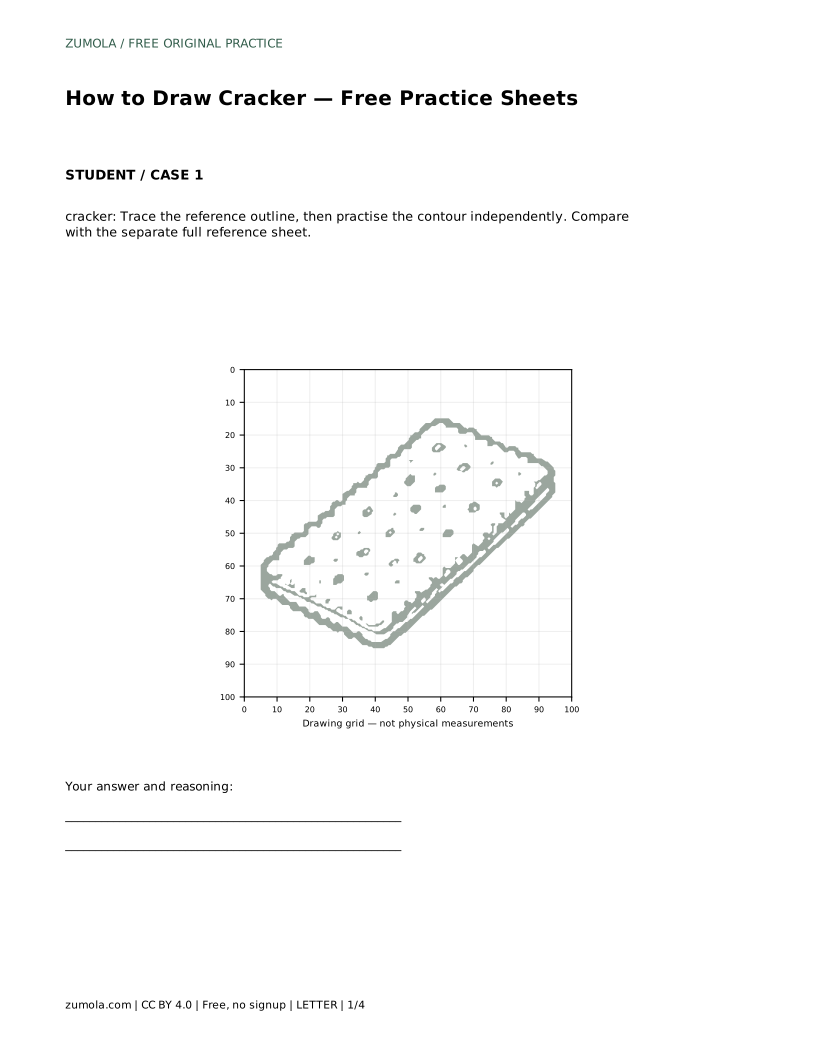
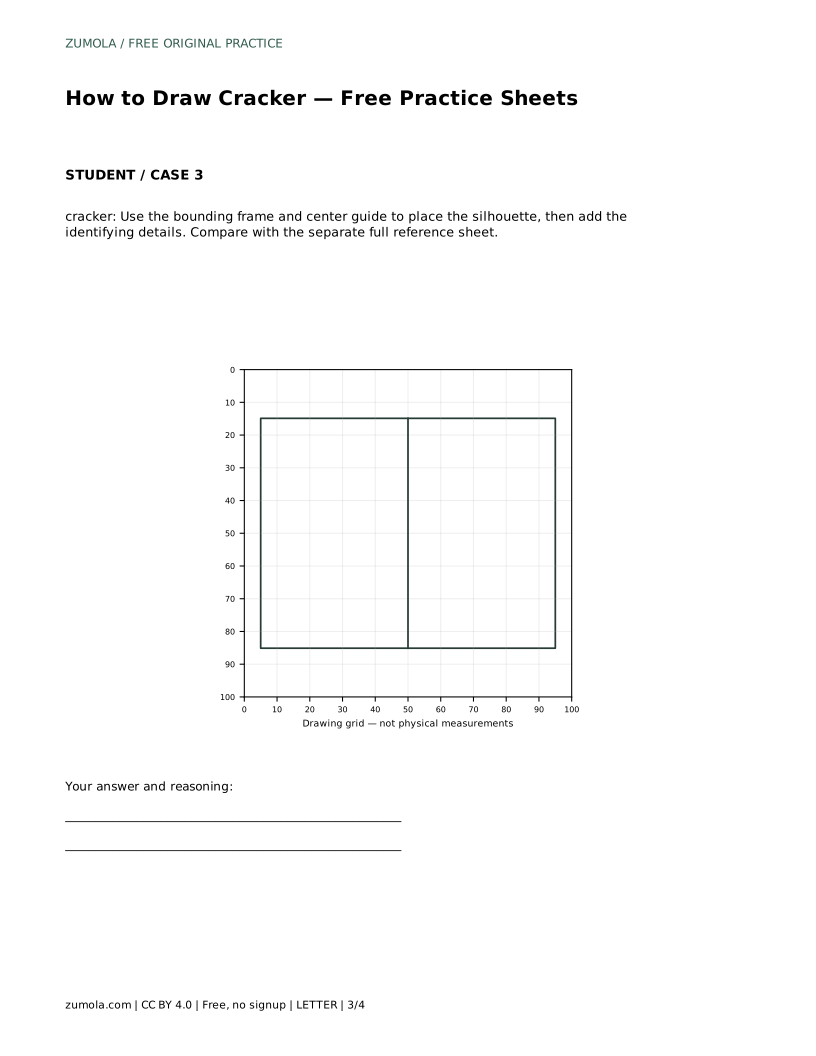
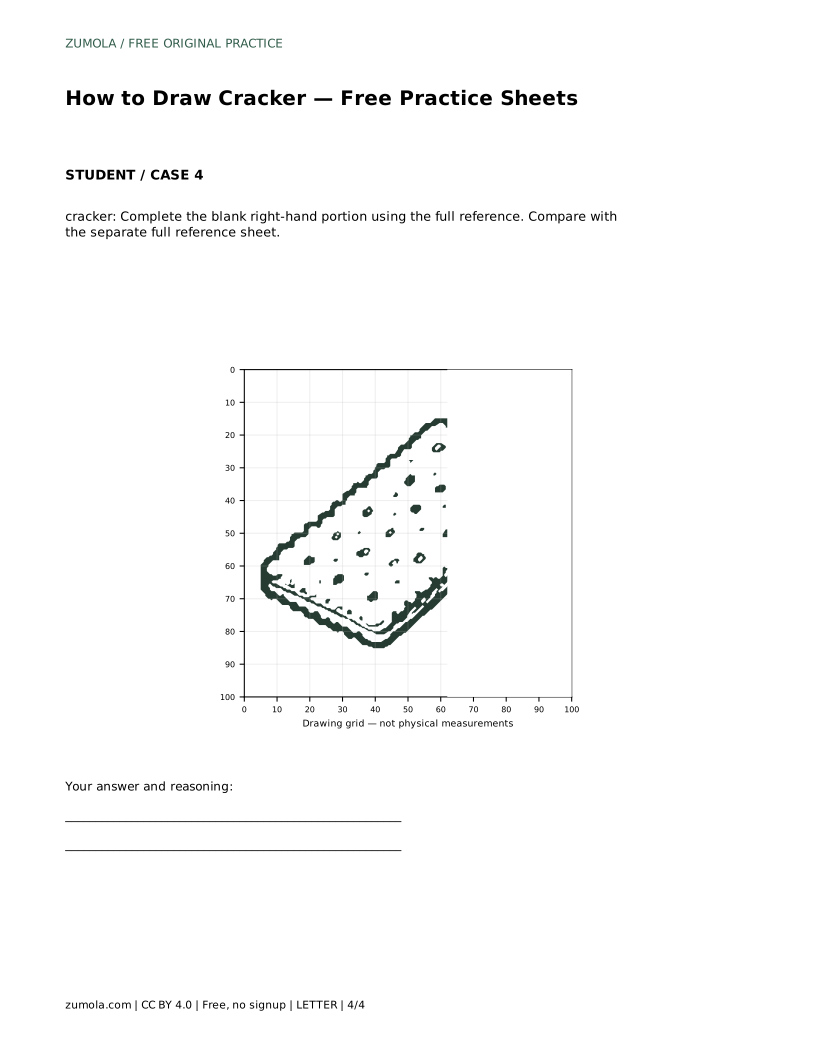
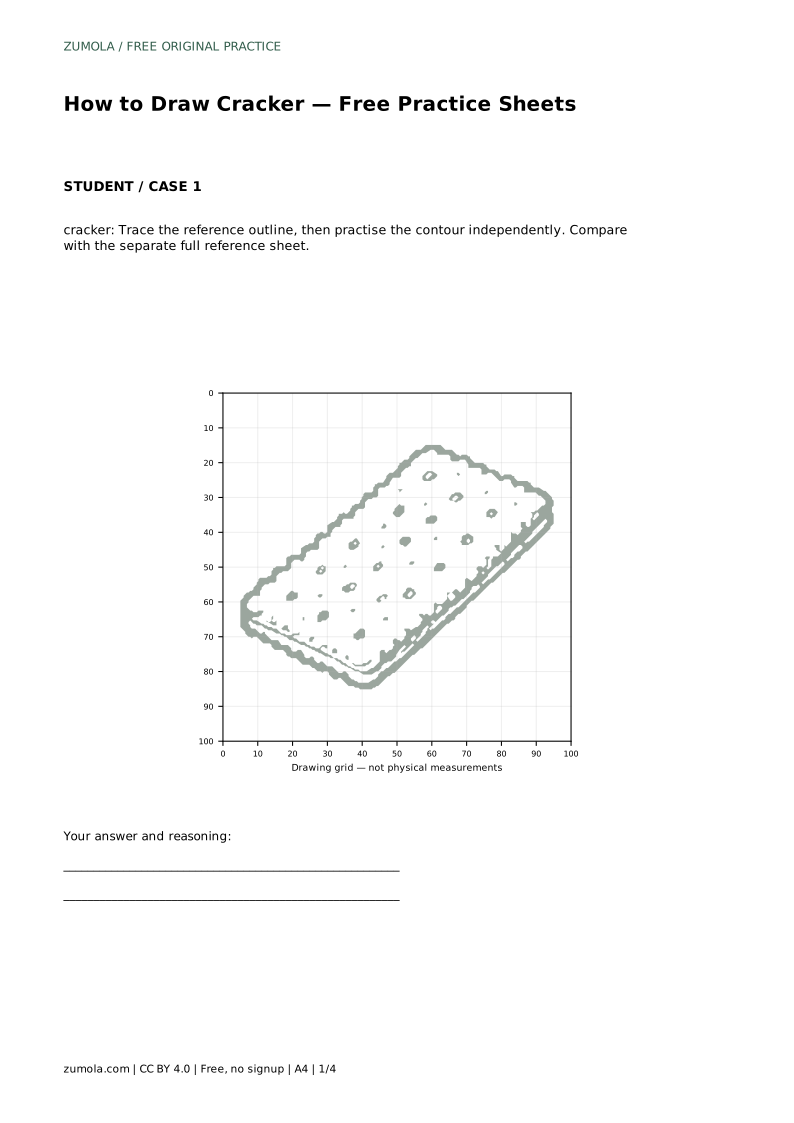
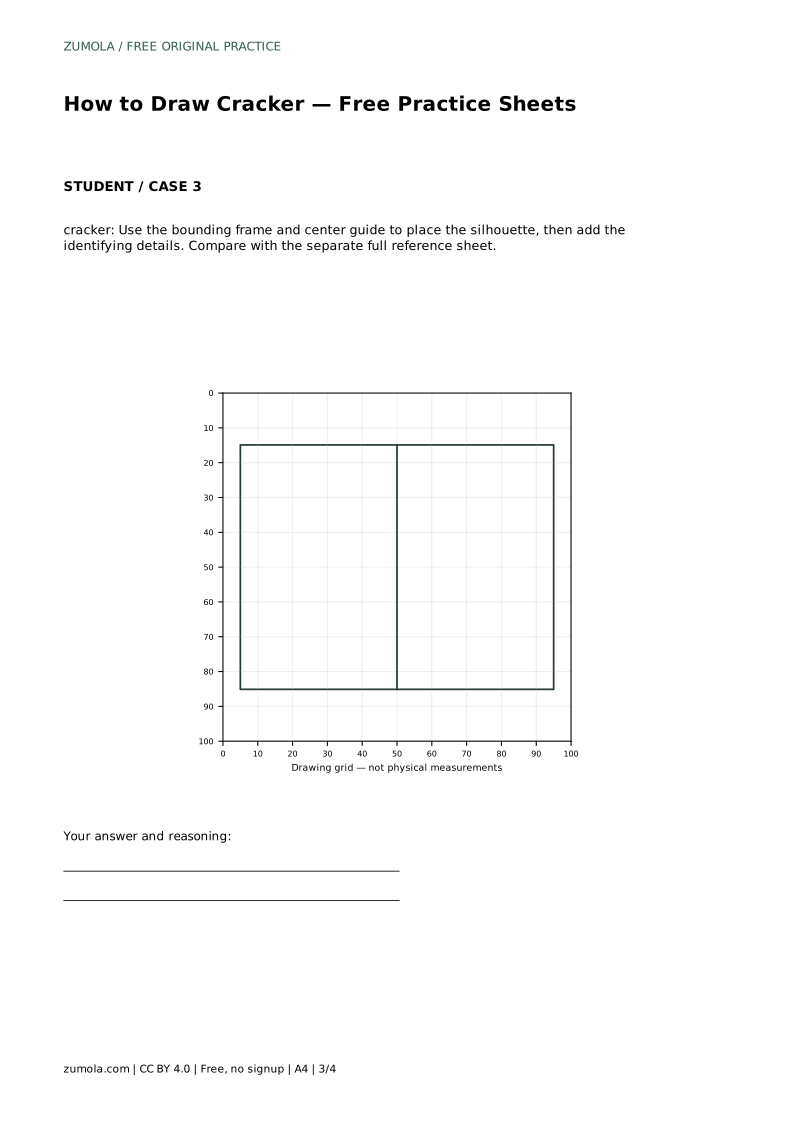
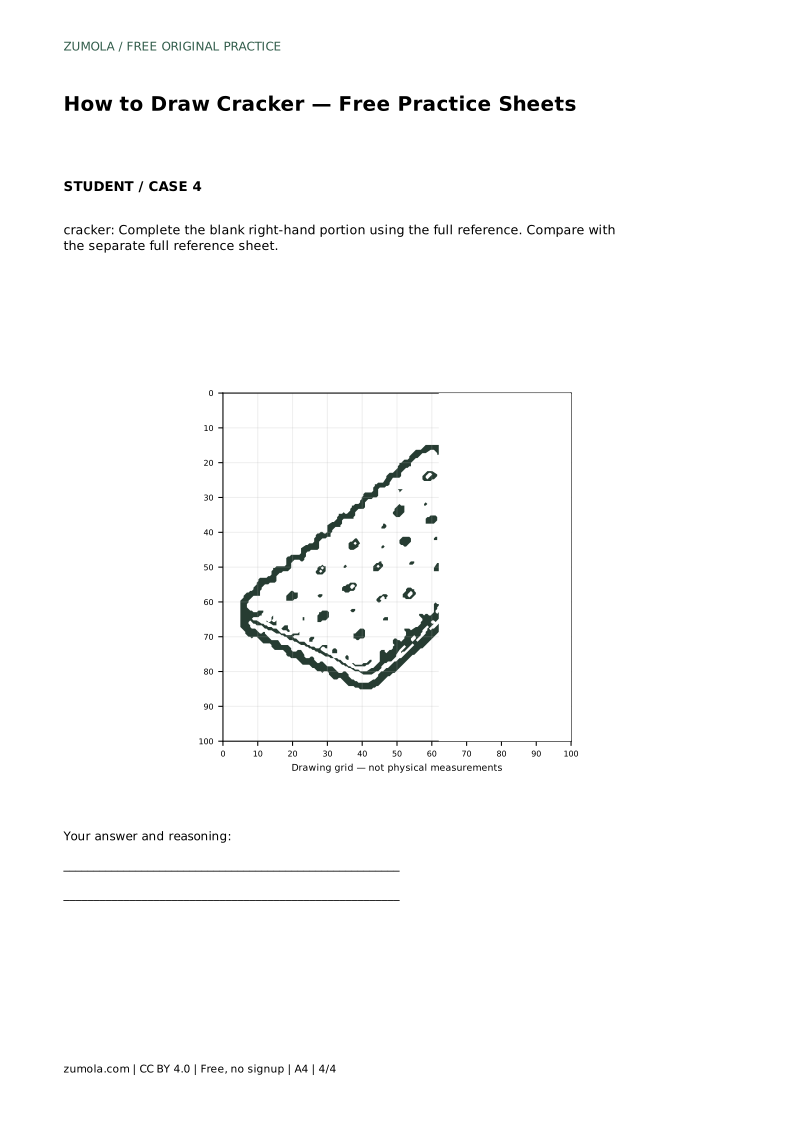
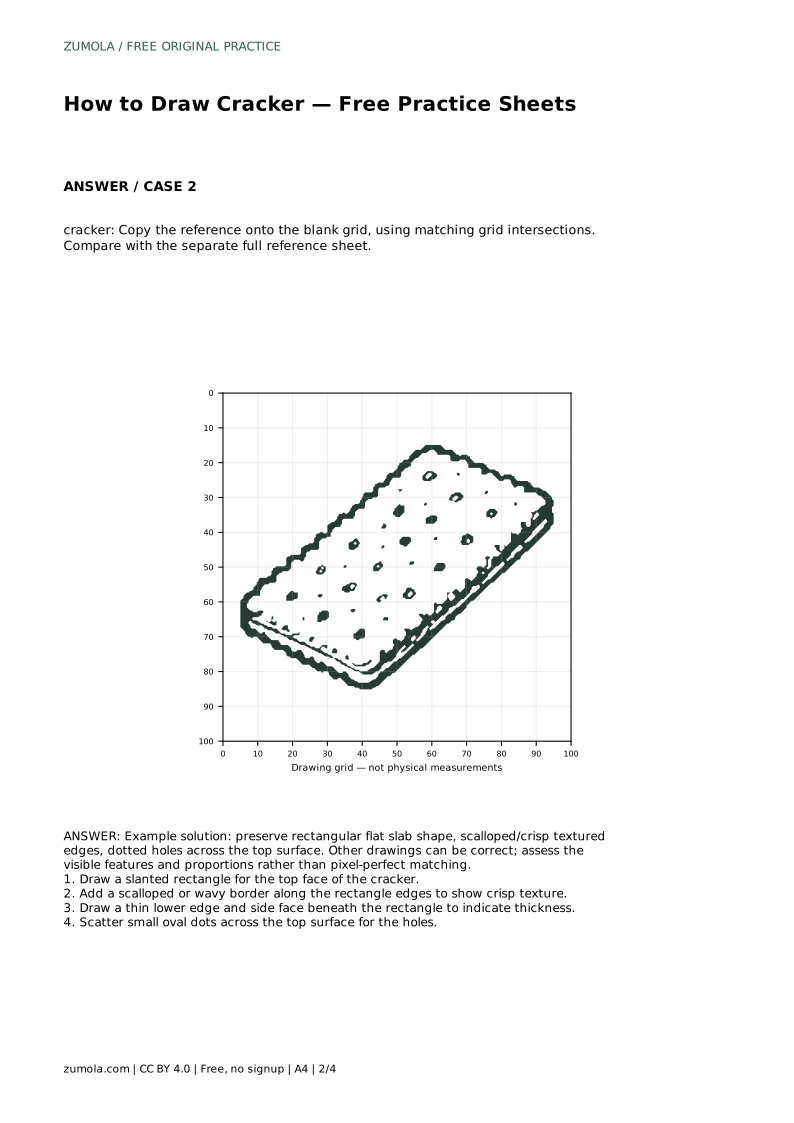
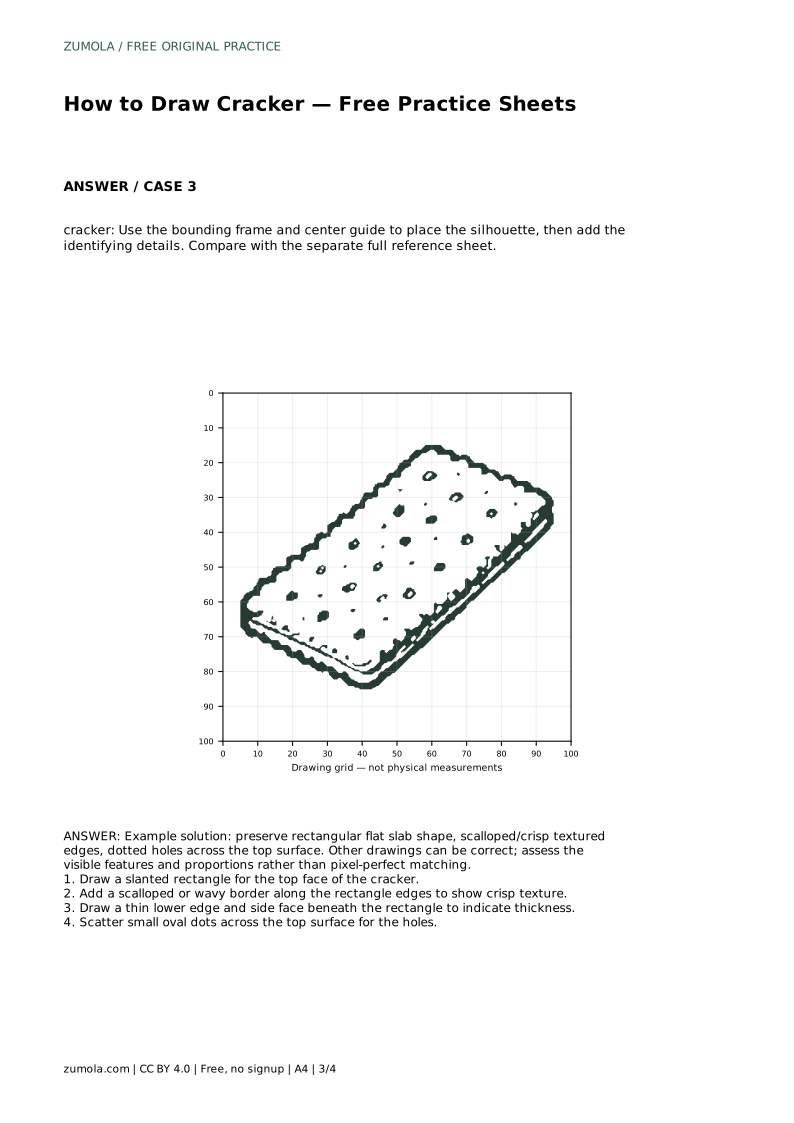
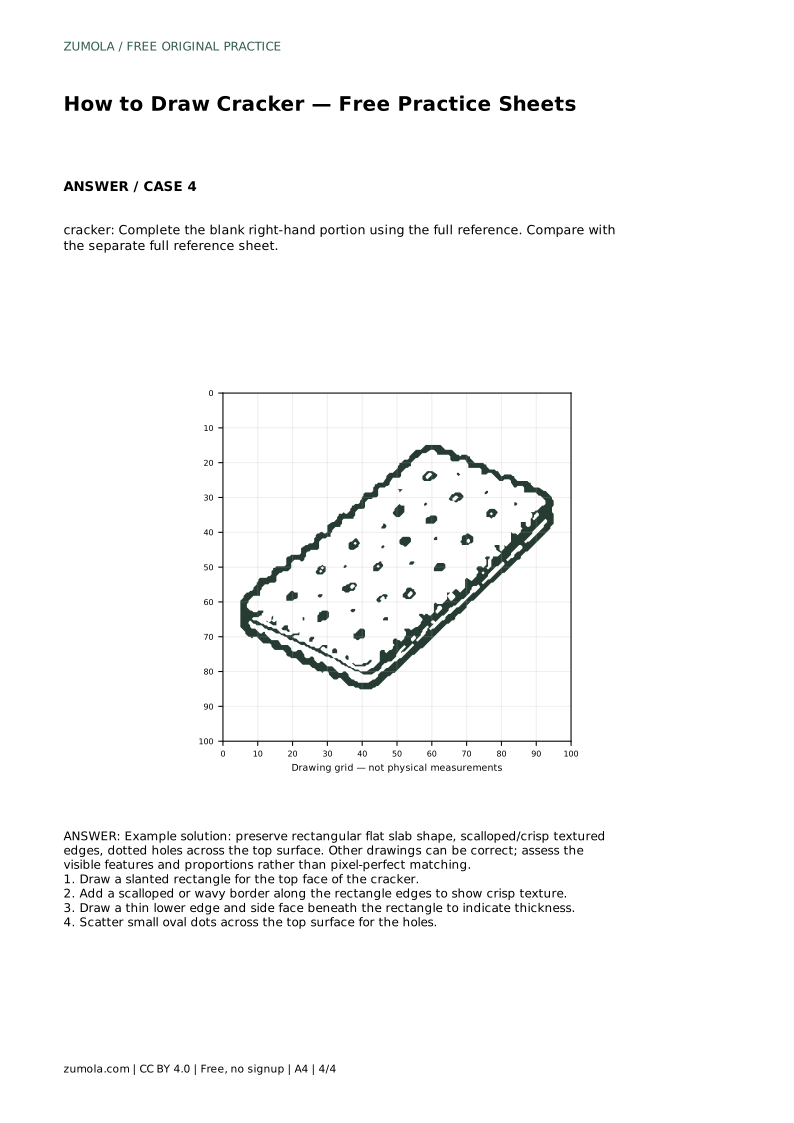
The tracing sheet asks you to follow the reference outline first, then practise the contour independently. The grid sheet asks you to copy the reference onto a blank grid using matching intersections, which helps with proportion. The bounding frame and center guide help you place the silhouette before adding details. The partial sheet gives you the left portion and asks you to complete the right side from the full reference.
Each format targets a different skill, so use the one that matches what you want to practise. Tracing builds familiarity with the contour; the grid builds proportional judgment; the frame builds placement; the partial sheet builds completion from a reference.
Prompt: Trace the reference outline, then practise the contour independently. Compare with the separate full reference sheet.
Example solution: preserve rectangular flat slab shape, scalloped/crisp textured edges, dotted holes across the top surface. Other drawings can be correct; assess the visible features and proportions rather than pixel-perfect matching.
cracker: Trace the reference outline, then practise the contour independently. Compare with the separate full reference sheet.
Example solution: preserve rectangular flat slab shape, scalloped/crisp textured edges, dotted holes across the top surface. Other drawings can be correct; assess the visible features and proportions rather than pixel-perfect matching. Draw a slanted rectangle for the top face of the cracker. Add a scalloped or wavy border along the rectangle edges to show crisp texture. Draw a thin lower edge and side face beneath the rectangle to indicate thickness. Scatter small oval dots across the top surface for the holes.
No. Other drawings can be correct. Assess the visible features and proportions rather than pixel-perfect matching.
Draw the slanted top rectangle first, then the scalloped border, then the thin side face, and finally the scattered holes.
Start with tracing if you are learning the contour, then move to the grid or frame formats to practise proportion and placement.
All drawing practice · Free coordinate paper
Original resources · CC BY 4.0 · Free for personal and classroom use with attribution.