Reference diagrams
LETTER · Download PDF
A4 · Download PDF
Free original resources
Learn to draw a peanut with a pinched two-lobe silhouette, thick shell outline, and irregular cell texture. Free printable practice sheets support tracing, grids, and guided frames.
Four original cases, with reference diagrams, practice sheets and worked answers. Everything is free; no signup required.
LETTER · Download PDF
A4 · Download PDF
LETTER · Download PDF
A4 · Download PDF
LETTER · Download PDF
A4 · Download PDF
Use A4 or US Letter to match your printer. Use the stated values and conditions to solve each exercise; diagrams are not physical measuring rulers.
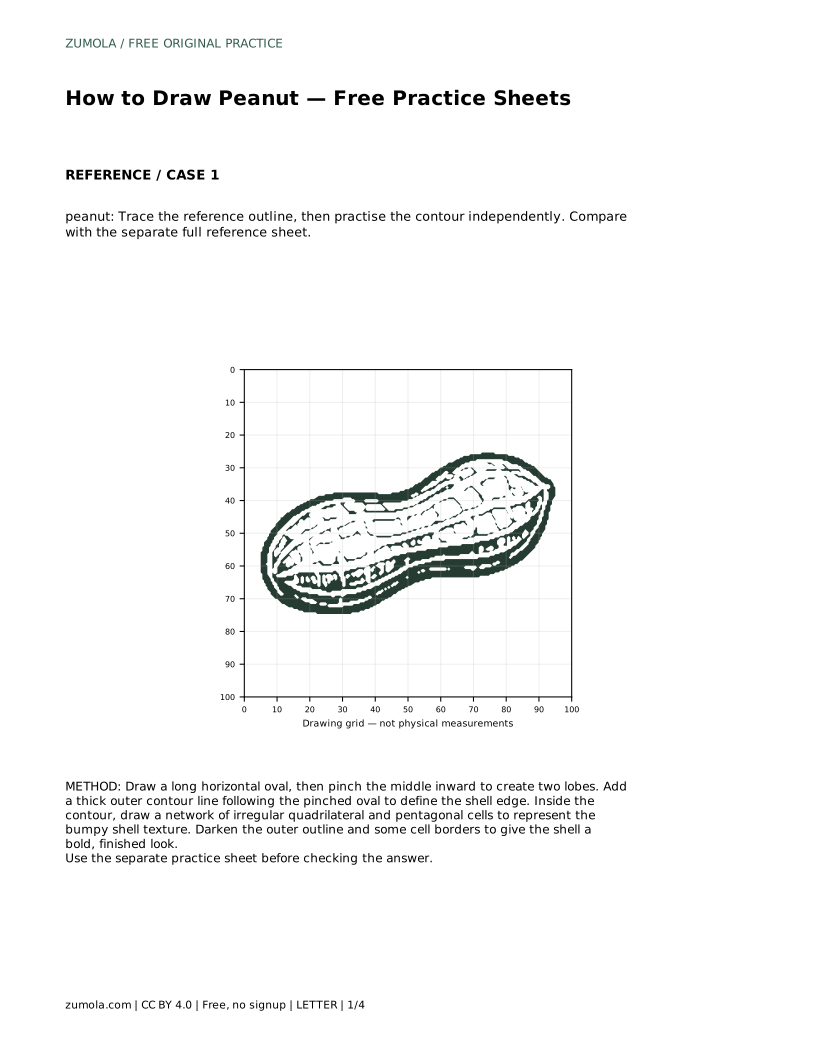
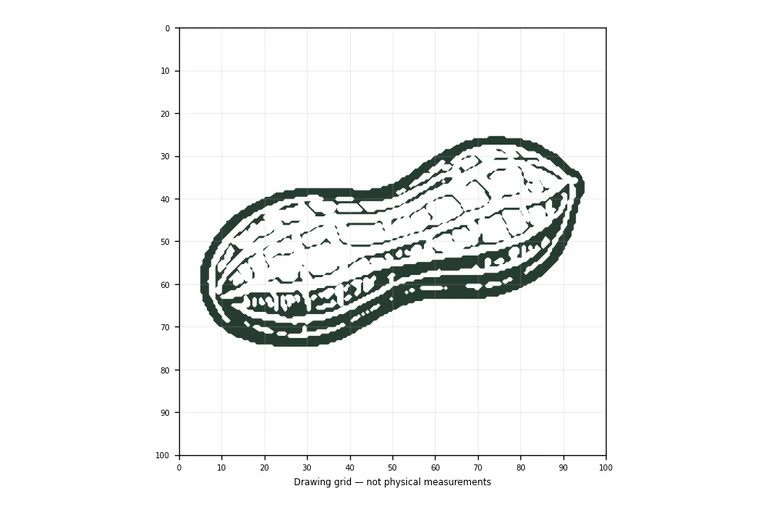
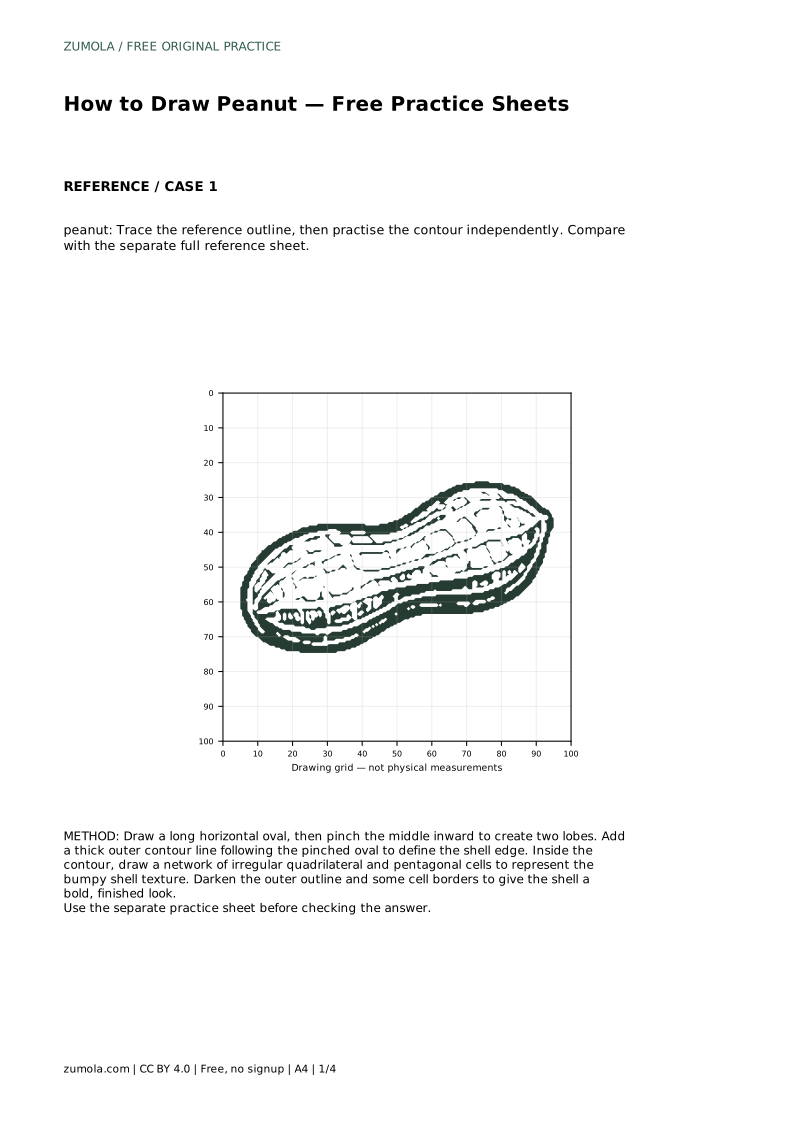
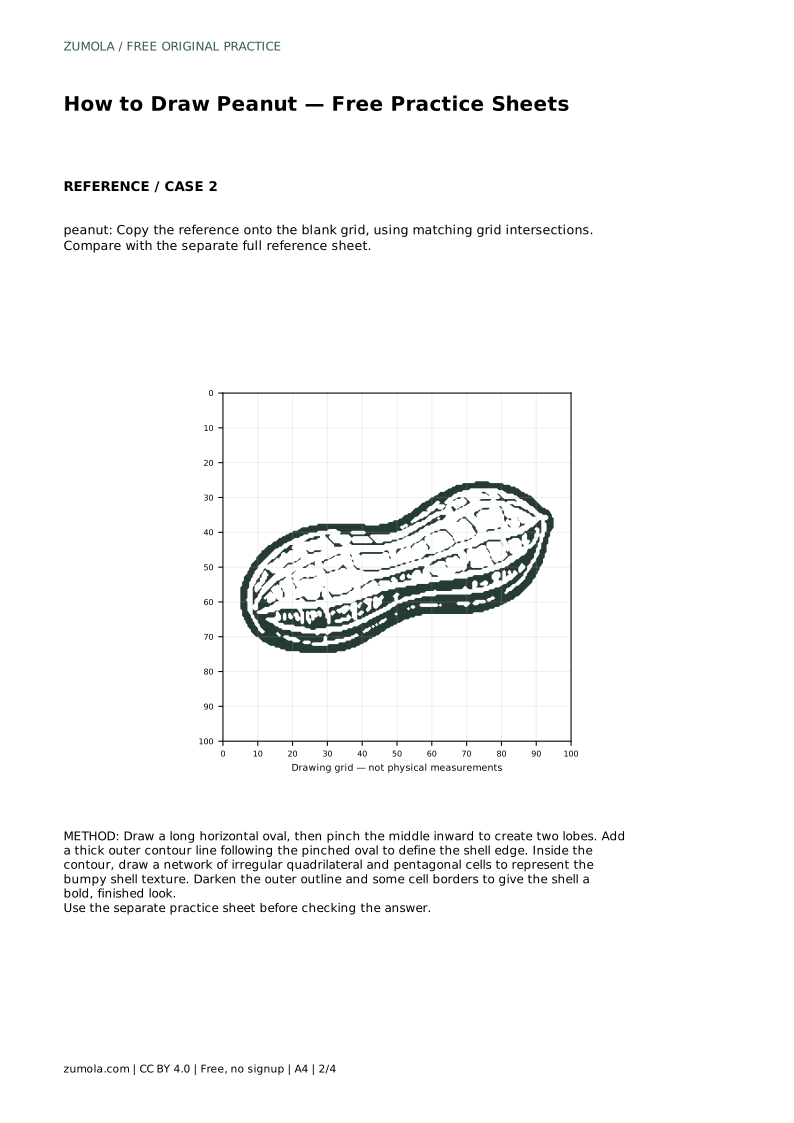
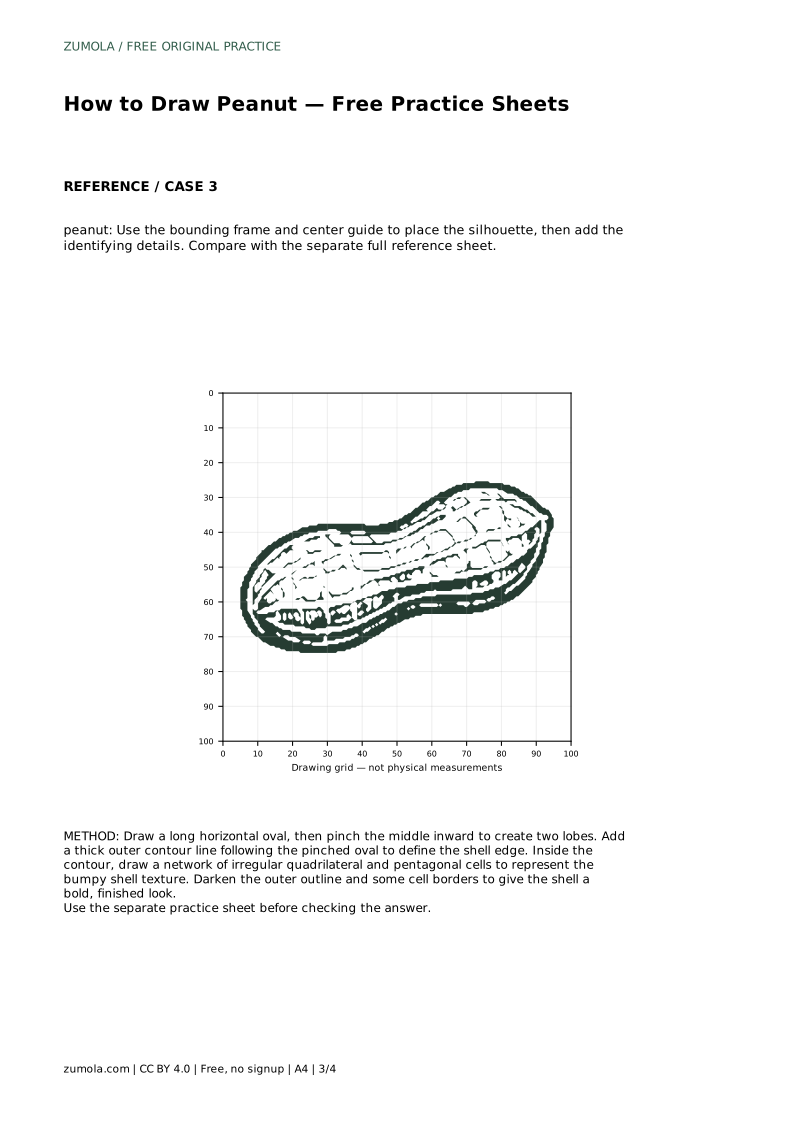
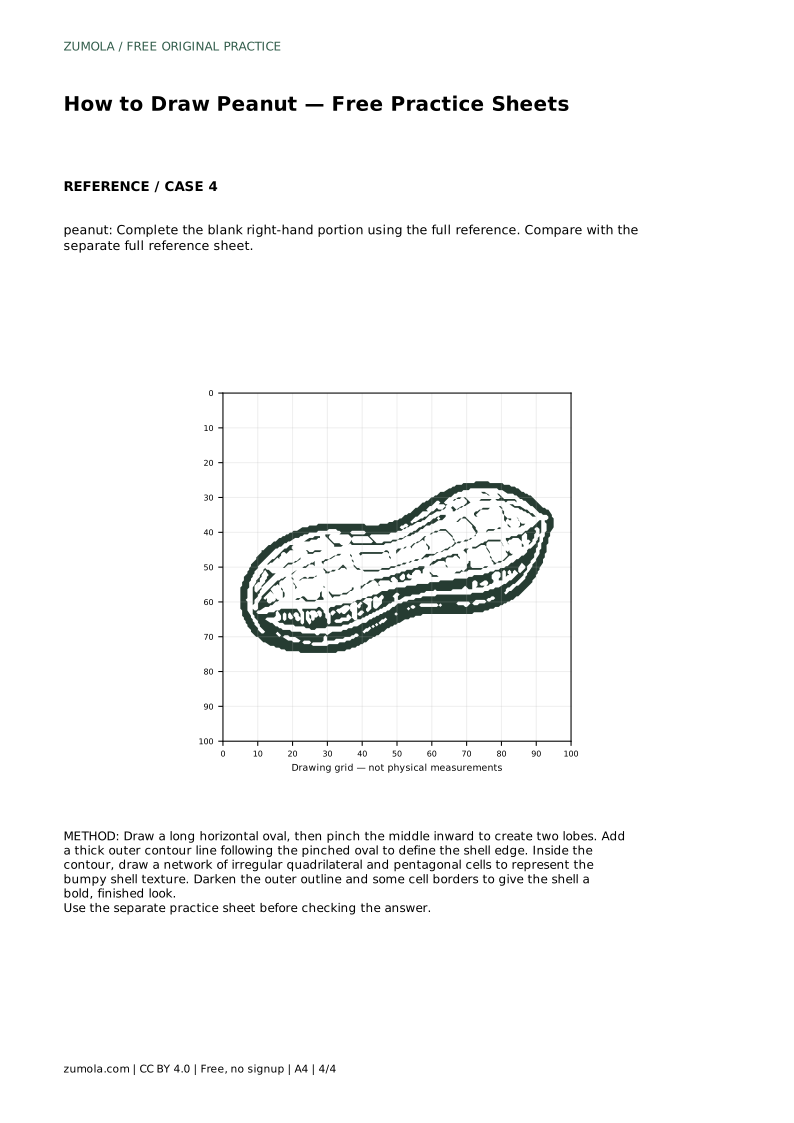
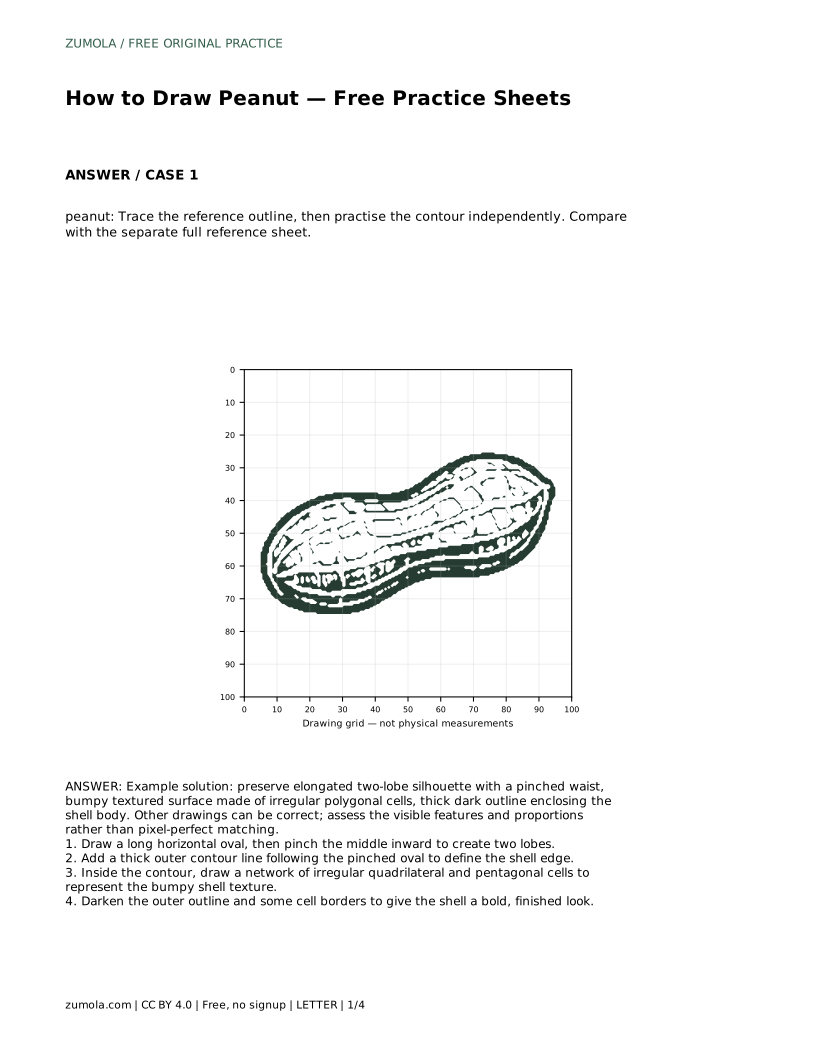
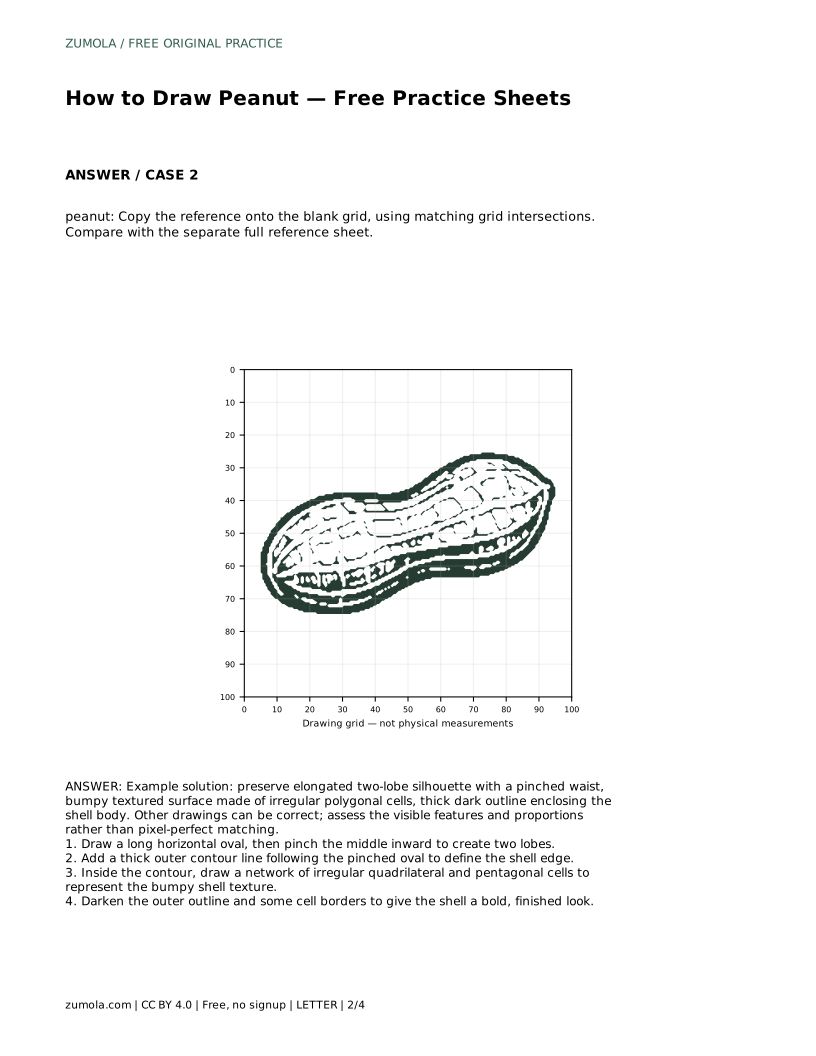
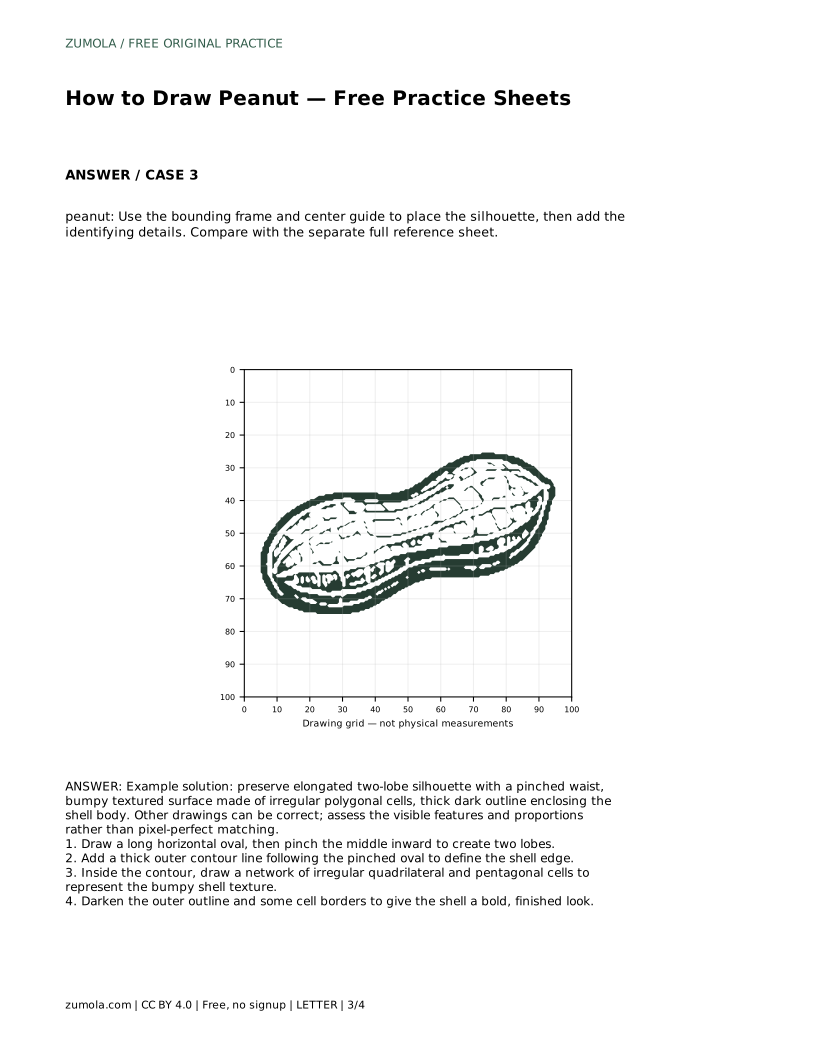
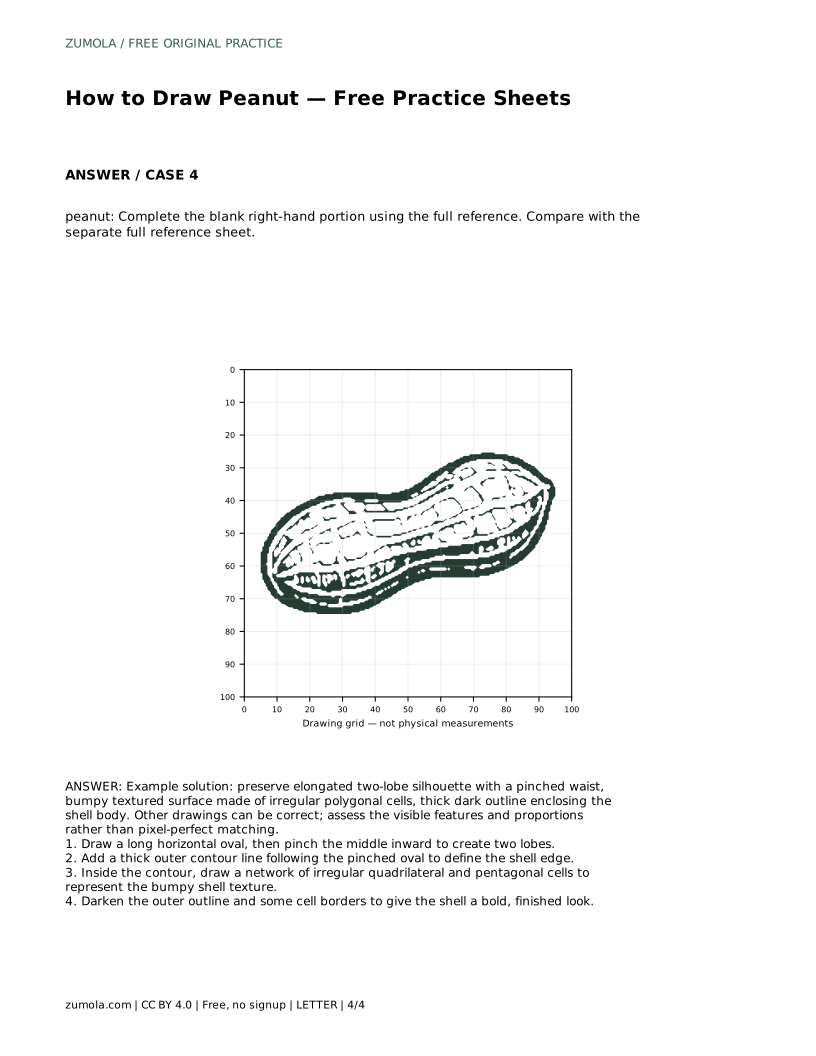
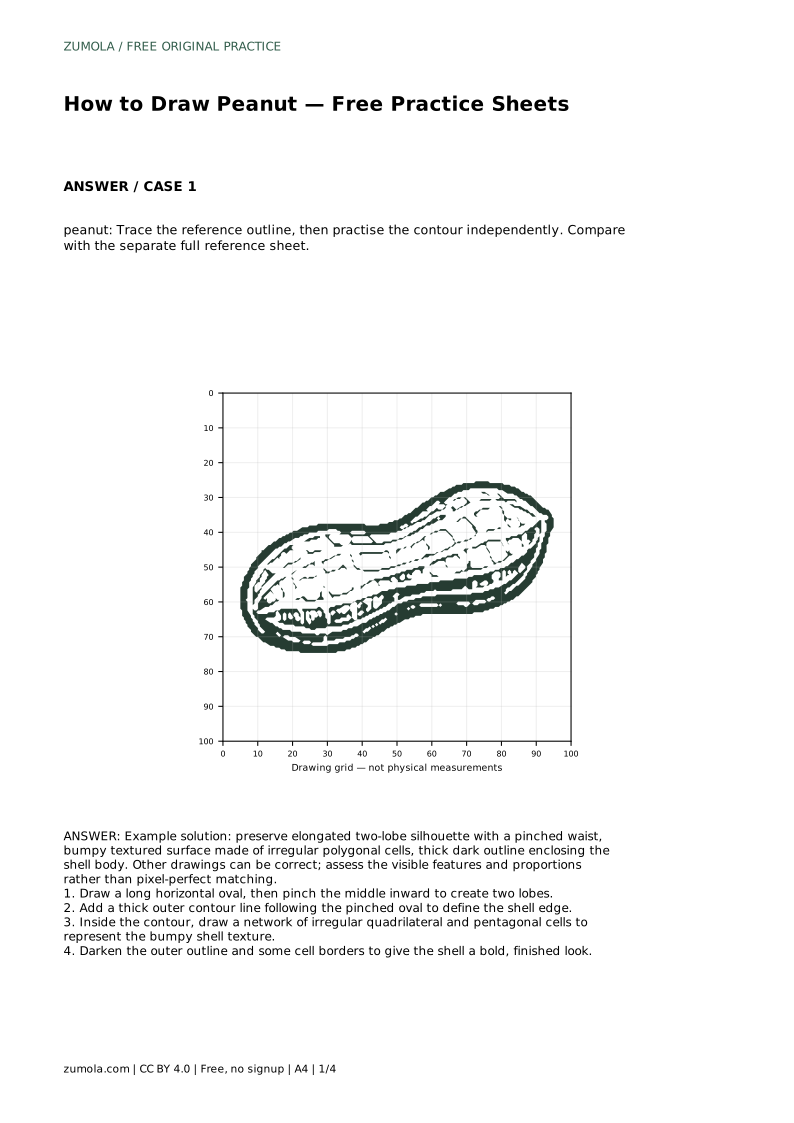
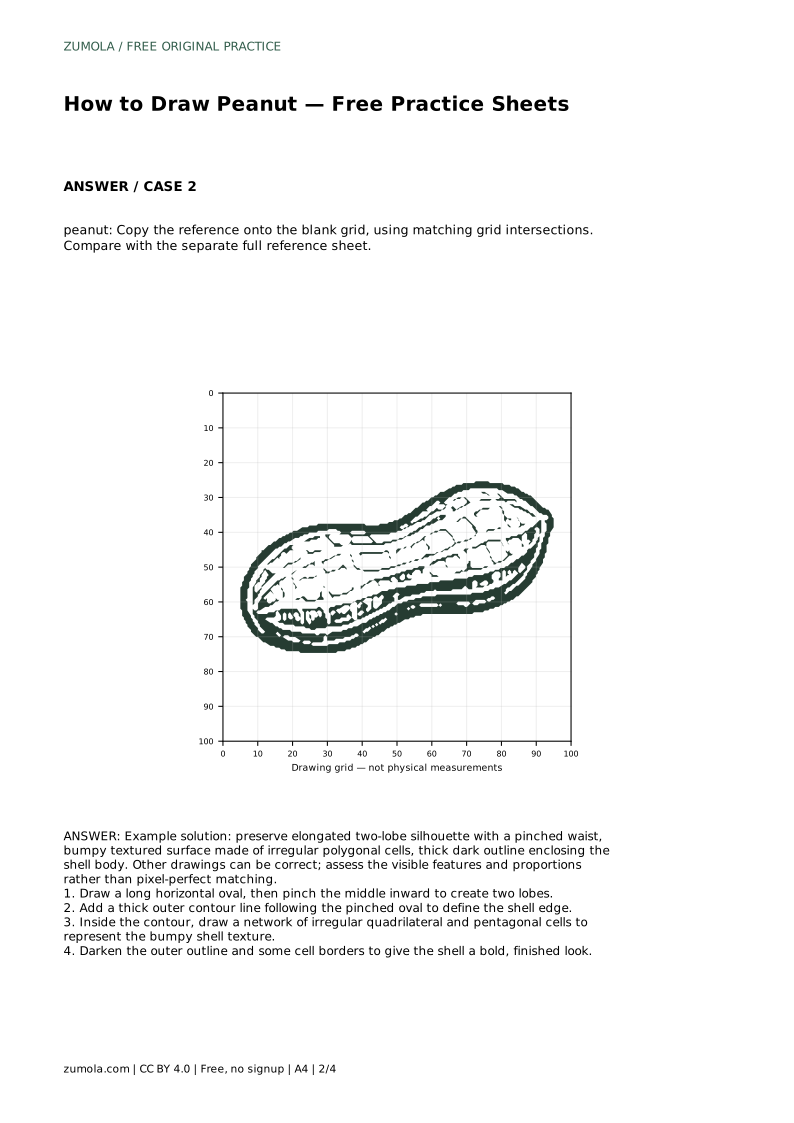
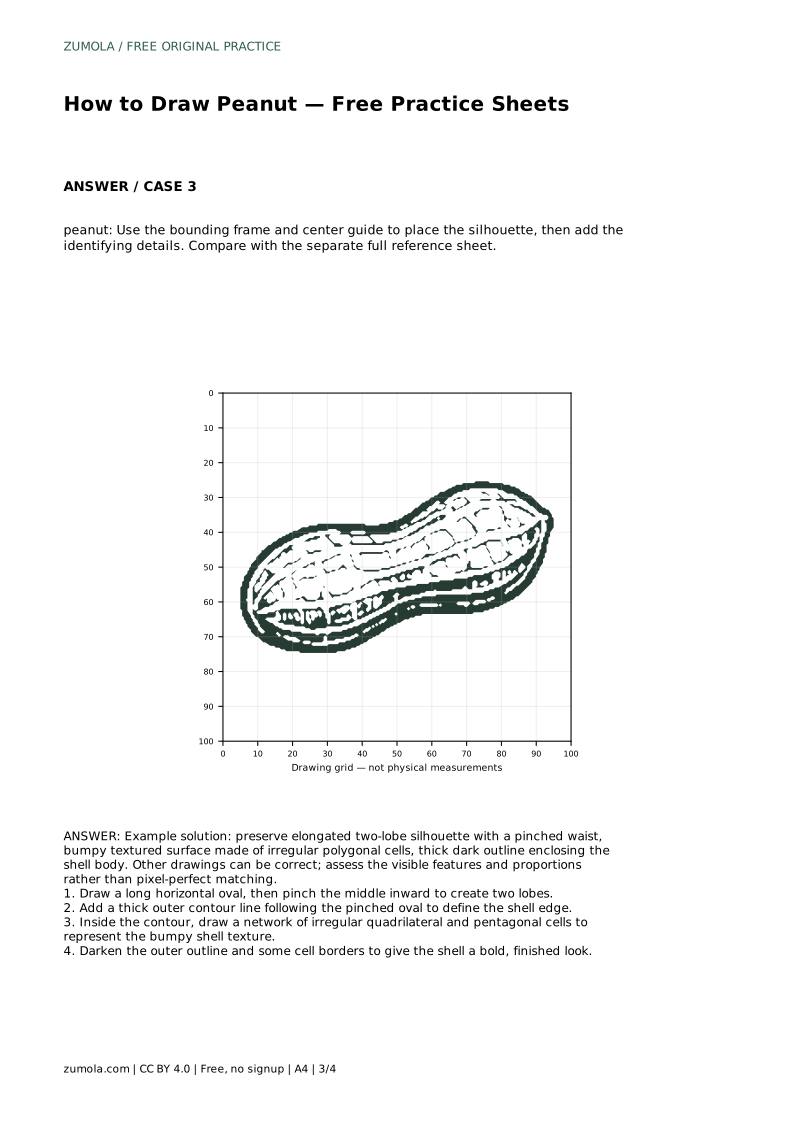
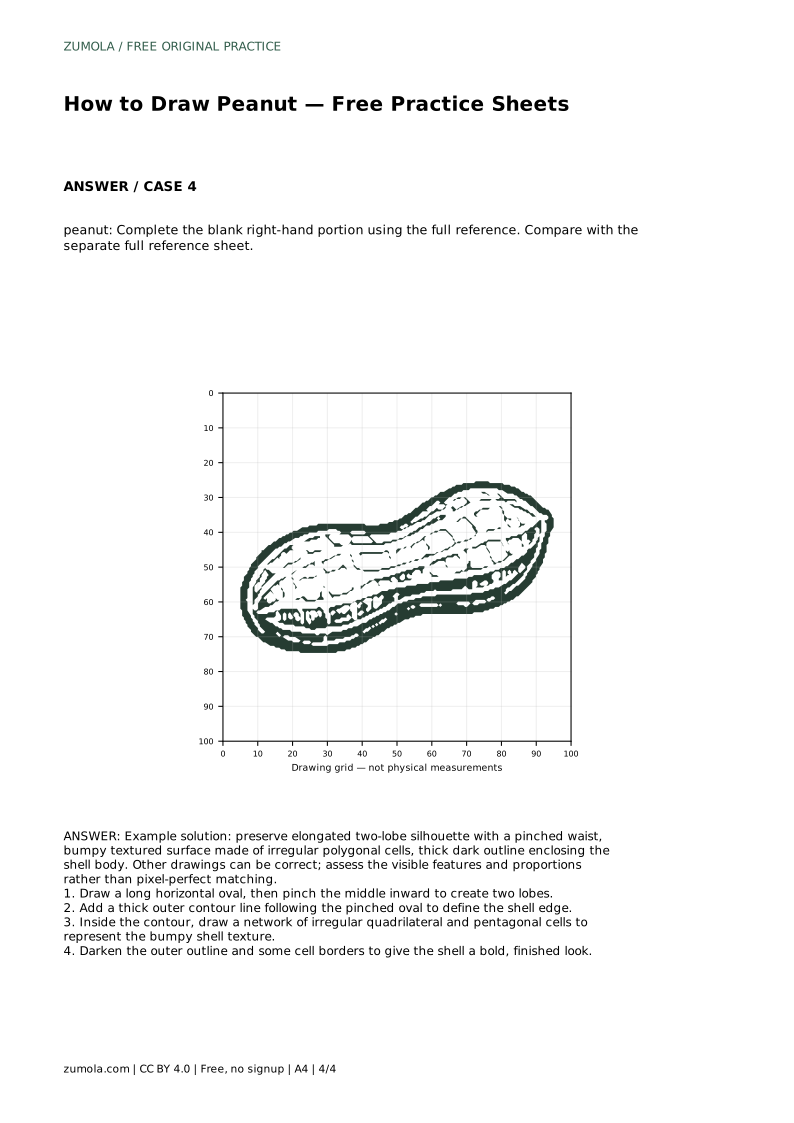
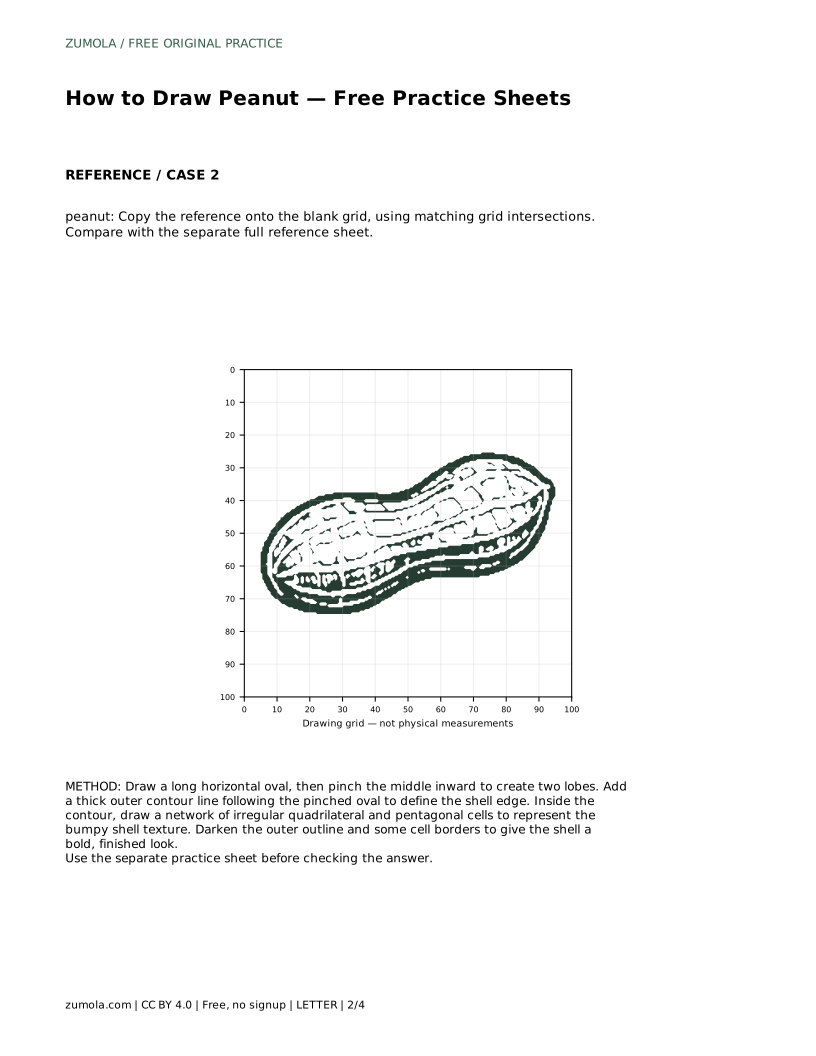
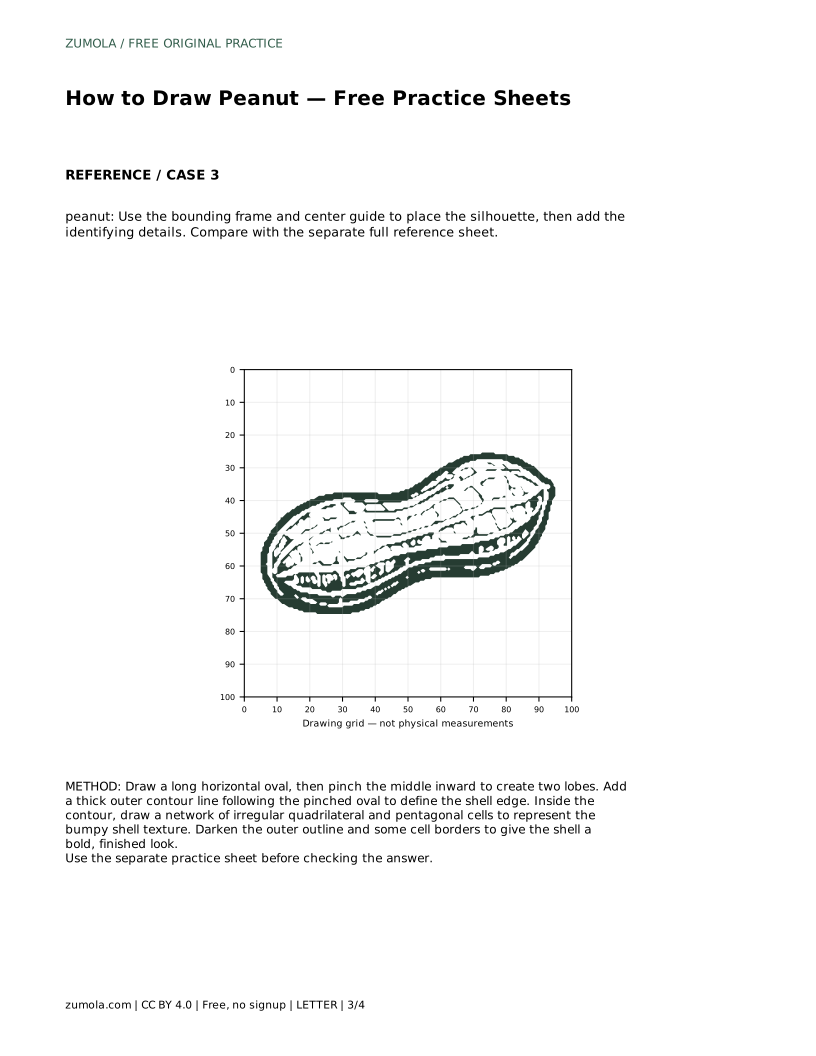
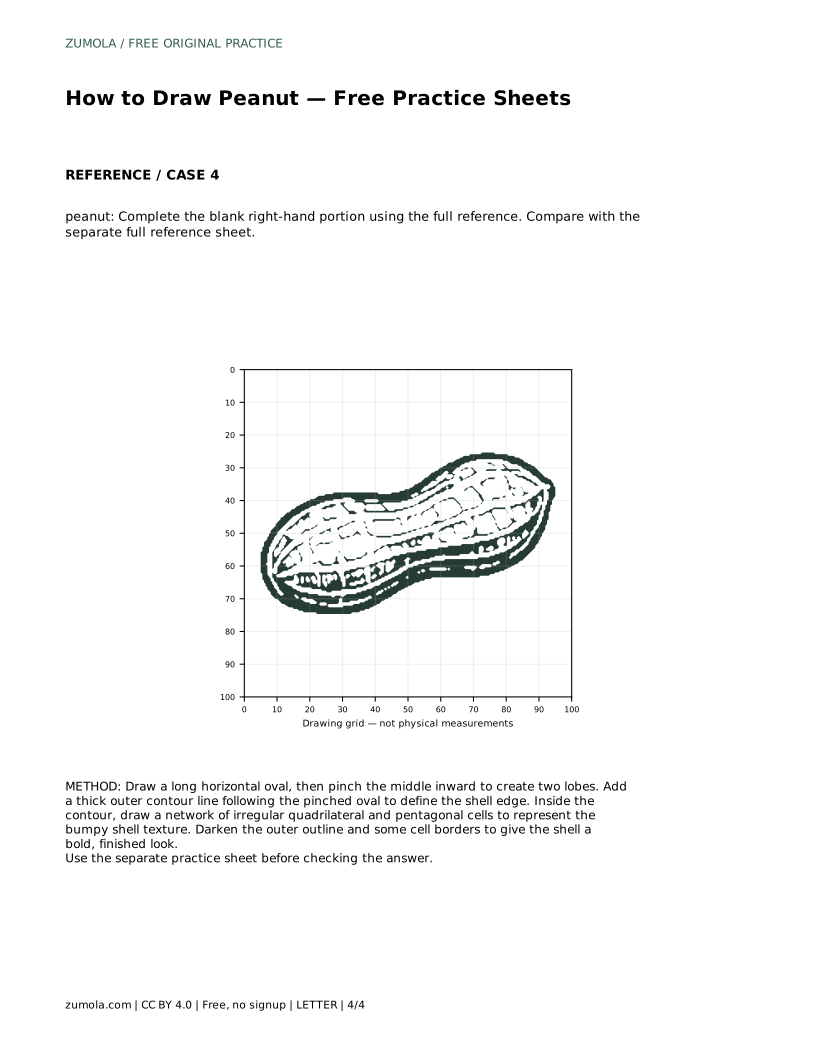
A peanut drawing depends on two visible features: an elongated shell with a pinched waist between two lobes, and a bumpy surface built from irregular polygonal cells. This page explains how to construct that shape step by step, then how to use the free printable practice sheets to trace, copy, or complete the drawing independently. Because many drawings can be correct, compare your work with the reference by checking proportions and visible features rather than expecting a pixel-perfect match.
Start with the overall shape before adding any texture. A peanut shell is longer than it is tall, so begin with a long horizontal oval. Then pinch the middle inward on both the top and bottom edges to create two rounded lobes joined by a narrower waist. Keep the lobes similar in size unless your reference shows otherwise, and check that the waist is a gentle inward curve rather than a sharp notch.
The silhouette is the foundation for everything else. If the outline is too round, too short, or missing the waist, the texture will not make it read as a peanut. Lightly sketch the oval and the pinch, adjust the proportions, and only then commit to a firmer line.
Once the silhouette is settled, draw a thick outer contour line that follows the pinched oval. This line defines the shell edge and gives the drawing a bold, finished look. Keep the contour continuous around the whole shape, and let it follow the waist rather than cutting straight across it.
A common problem is making the outer line thin and hesitant. A thicker contour separates the shell from the background and prepares the eye for the textured cells inside. You can darken the outline after the interior texture is drawn so the two layers work together.
Inside the contour, draw a network of irregular quadrilateral and pentagonal cells. These cells represent the bumpy shell surface. Vary their sizes and shapes slightly so the texture looks natural rather than tiled. Cells should sit inside the shell body and stop at the contour, not spill outside it.
After the network is complete, darken some cell borders to suggest depth. Not every border needs the same weight; a mix of darker and lighter lines keeps the surface readable. The goal is a bumpy, textured shell, not a perfect geometric pattern.
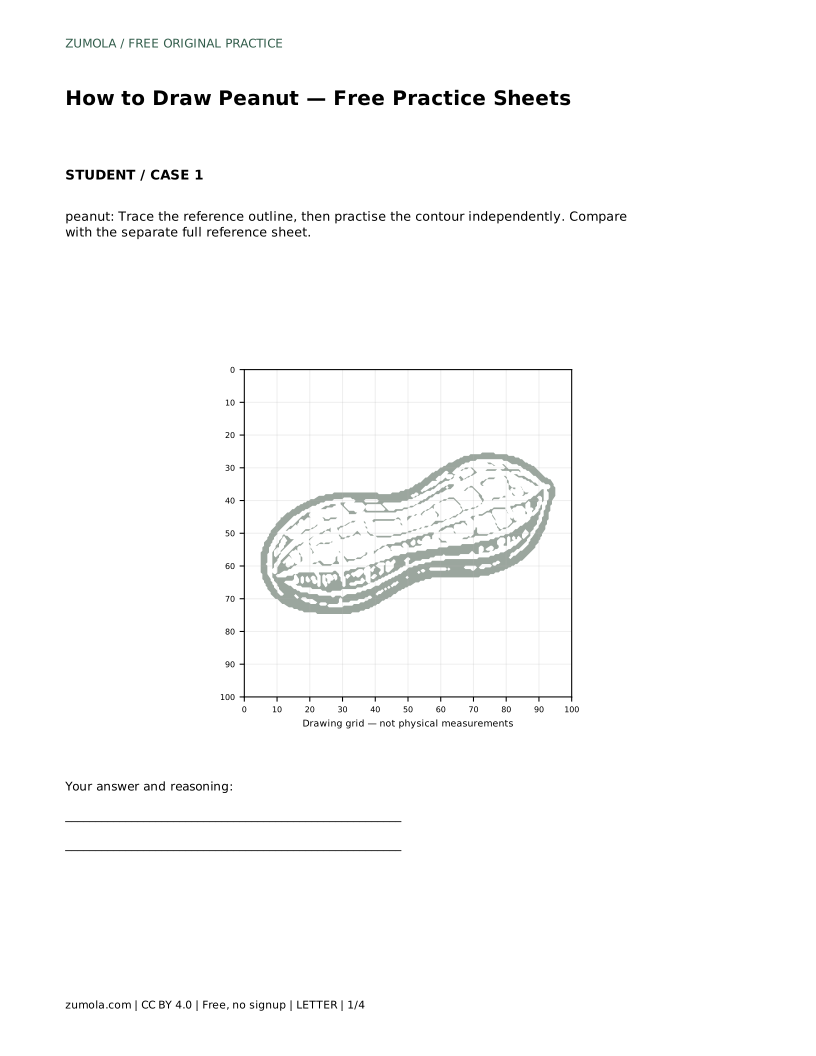
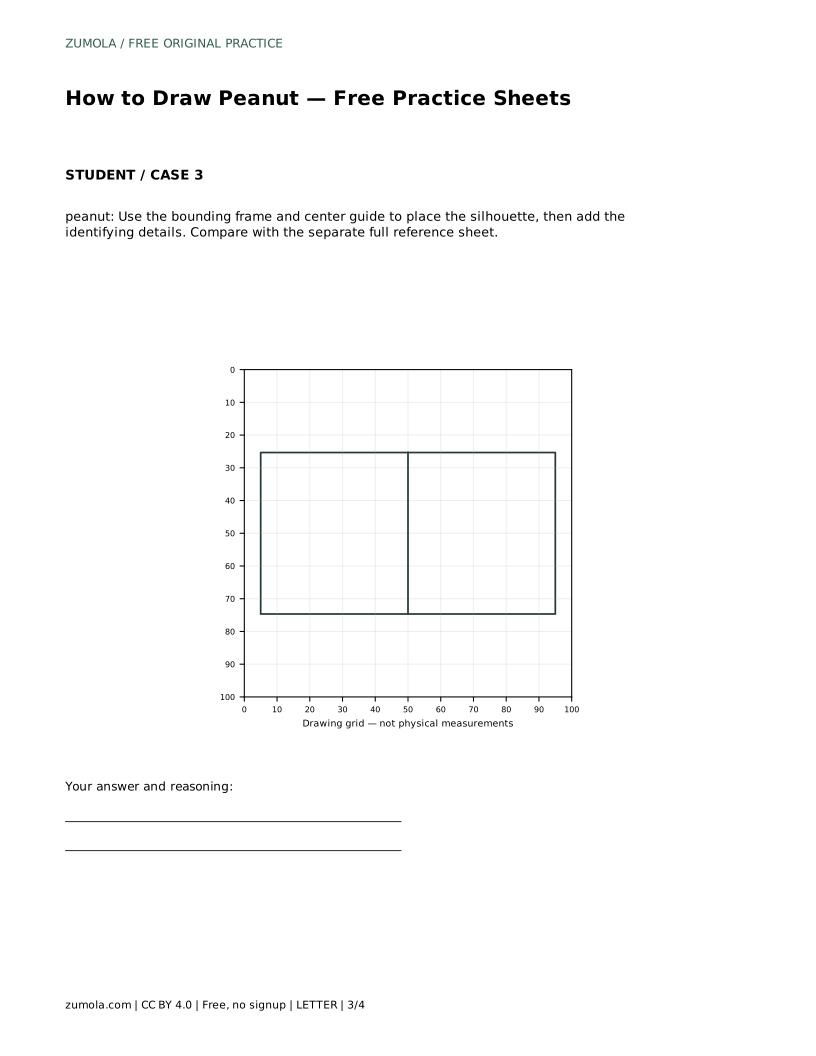
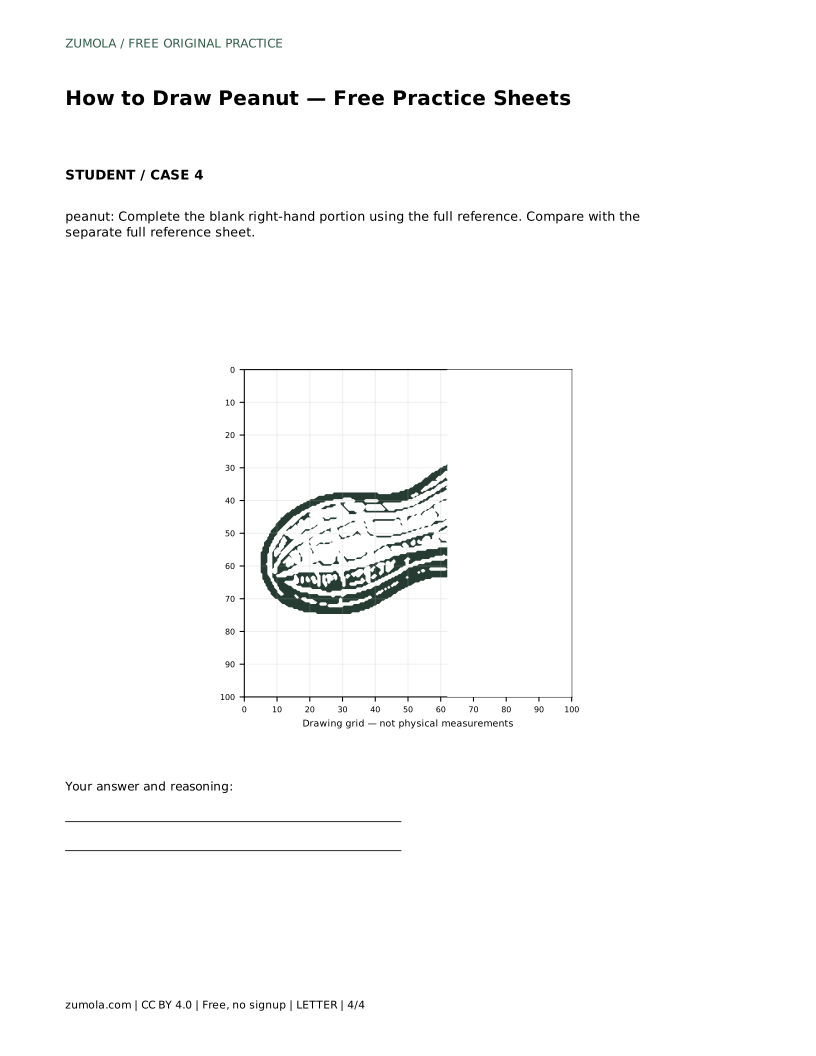
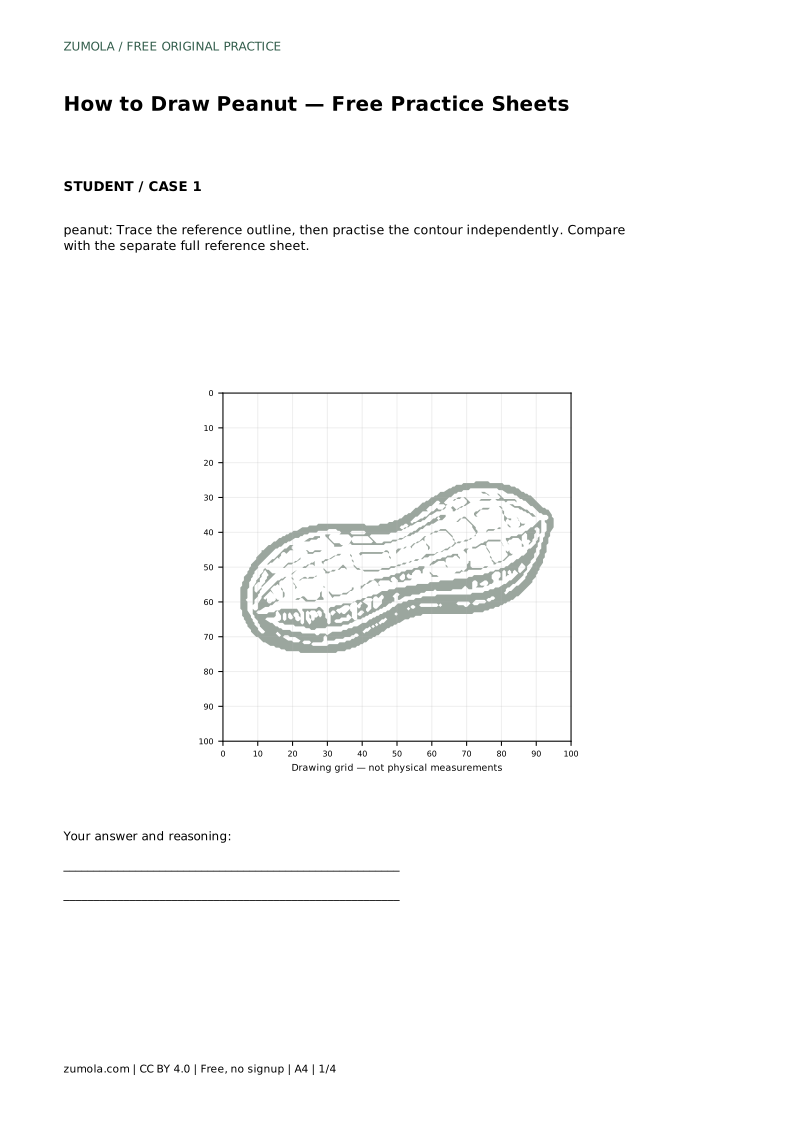
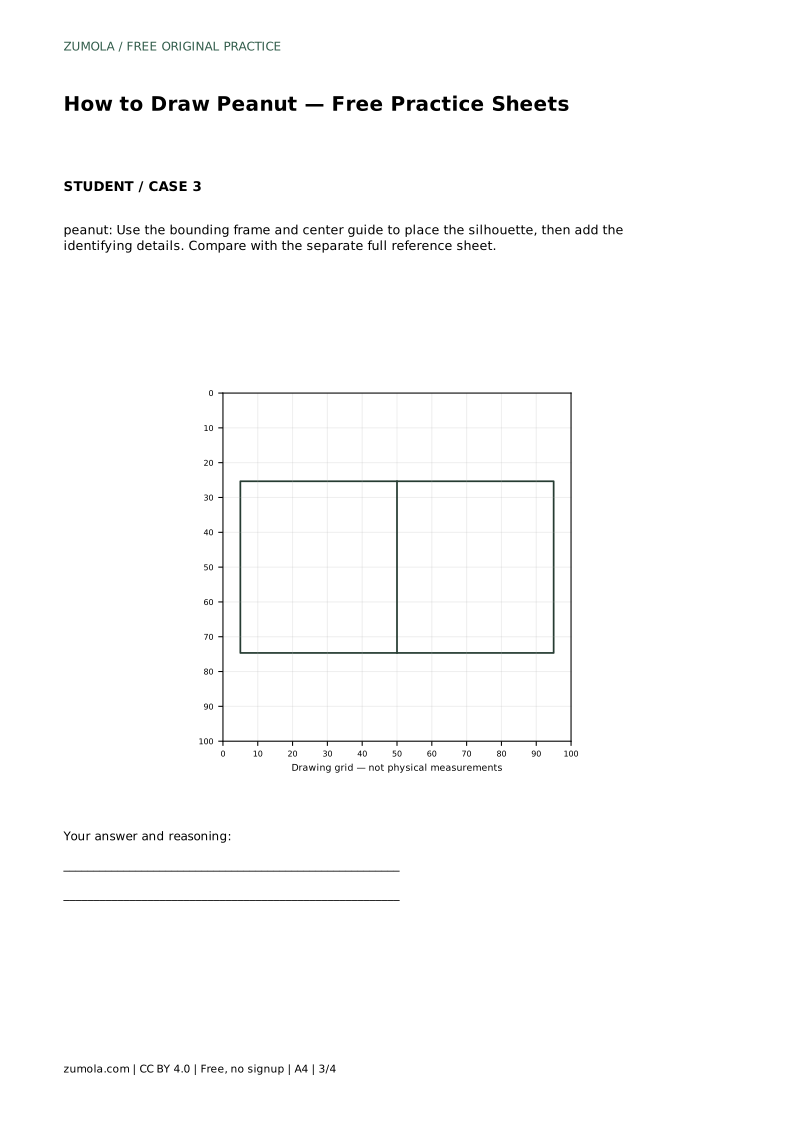
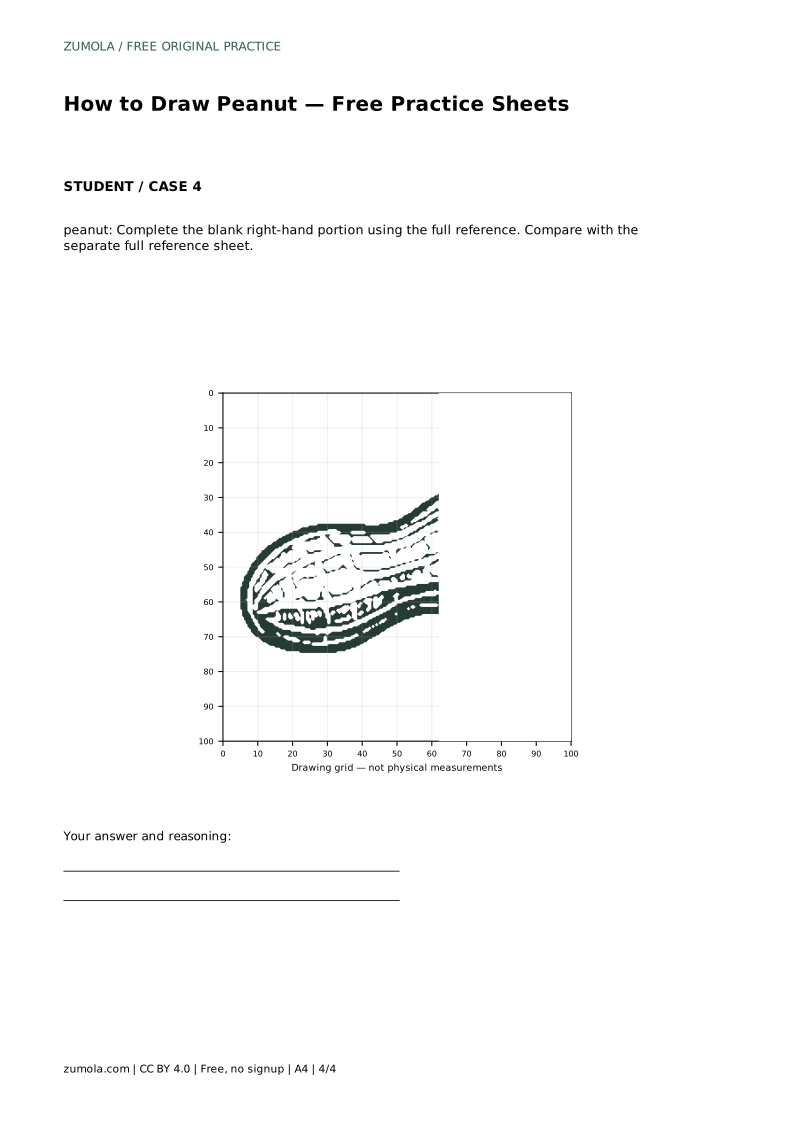
The printable sheets offer different levels of support. One asks you to trace the reference outline, then practise the contour independently and compare with the separate full reference sheet. Another asks you to copy the reference onto a blank grid using matching grid intersections. A third uses a bounding frame and center guide to place the silhouette before adding details. A fourth asks you to complete the blank right-hand portion using the full reference.
Choose the sheet that matches your current confidence. Tracing builds familiarity with the silhouette; grid copying trains proportion; the frame and center guide support placement; the partial sheet tests independent completion. In every case, compare your finished drawing with the full reference sheet and judge the visible features and proportions.
peanut: Trace the reference outline, then practise the contour independently. Compare with the separate full reference sheet.
Example solution: preserve elongated two-lobe silhouette with a pinched waist, bumpy textured surface made of irregular polygonal cells, thick dark outline enclosing the shell body. Other drawings can be correct; assess the visible features and proportions rather than pixel-perfect matching. Draw a long horizontal oval, then pinch the middle inward to create two lobes. Add a thick outer contour line following the pinched oval to define the shell edge. Inside the contour, draw a network of irregular quadrilateral and pentagonal cells to represent the bumpy shell texture. Darken the outer outline and some cell borders to give the shell a bold, finished look.
No. Art has multiple valid outcomes. Compare visible features and proportions, such as the two-lobe silhouette, pinched waist, thick contour, and irregular cell texture, rather than pixel-perfect matching.
Start with the tracing sheet if you are new to the shape. Move to the grid copy, then the frame and center guide, and finally the partial sheet for independent completion.
The cells should be irregular in size and shape, stay inside the shell contour, and include some darker borders. If the pattern looks evenly tiled, vary the cells more.
All drawing practice · Free coordinate paper
Original resources · CC BY 4.0 · Free for personal and classroom use with attribution.