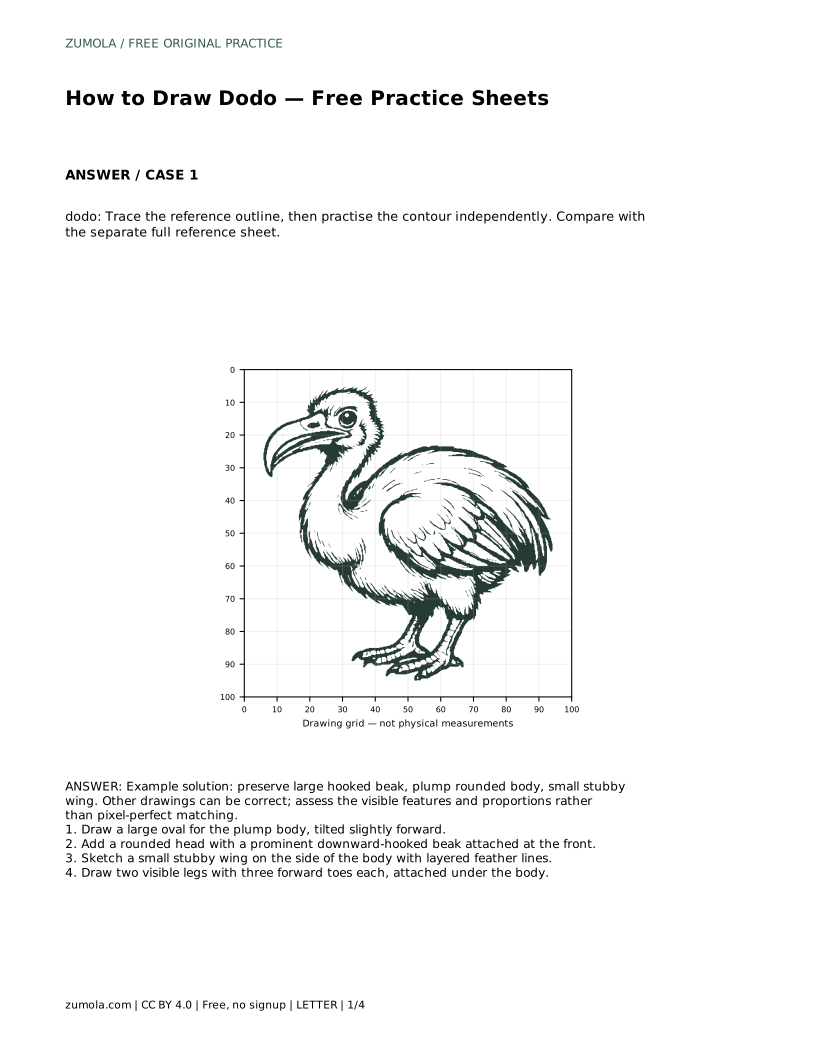
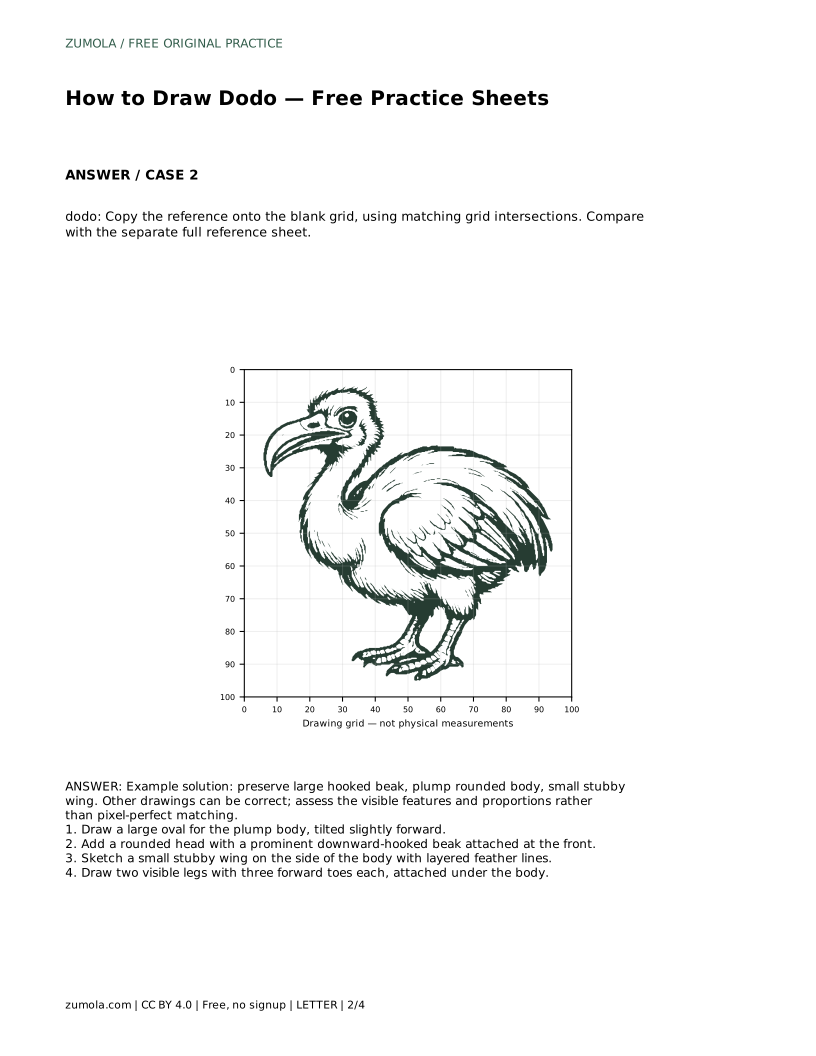
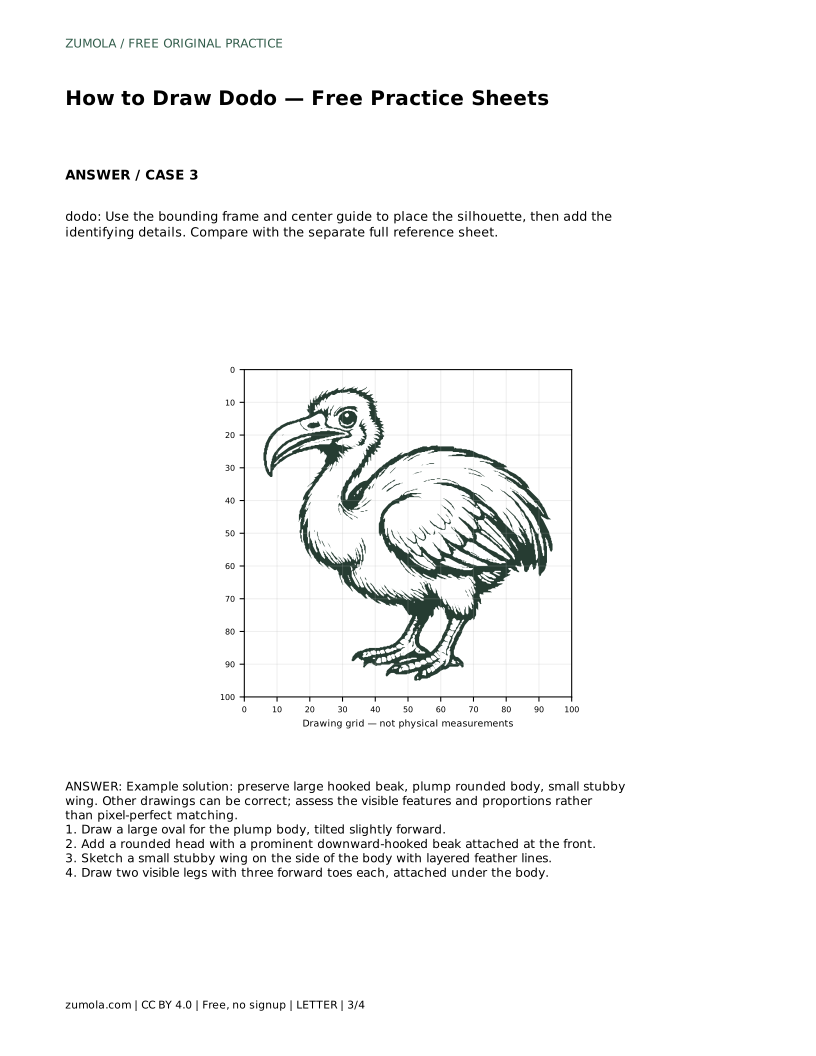
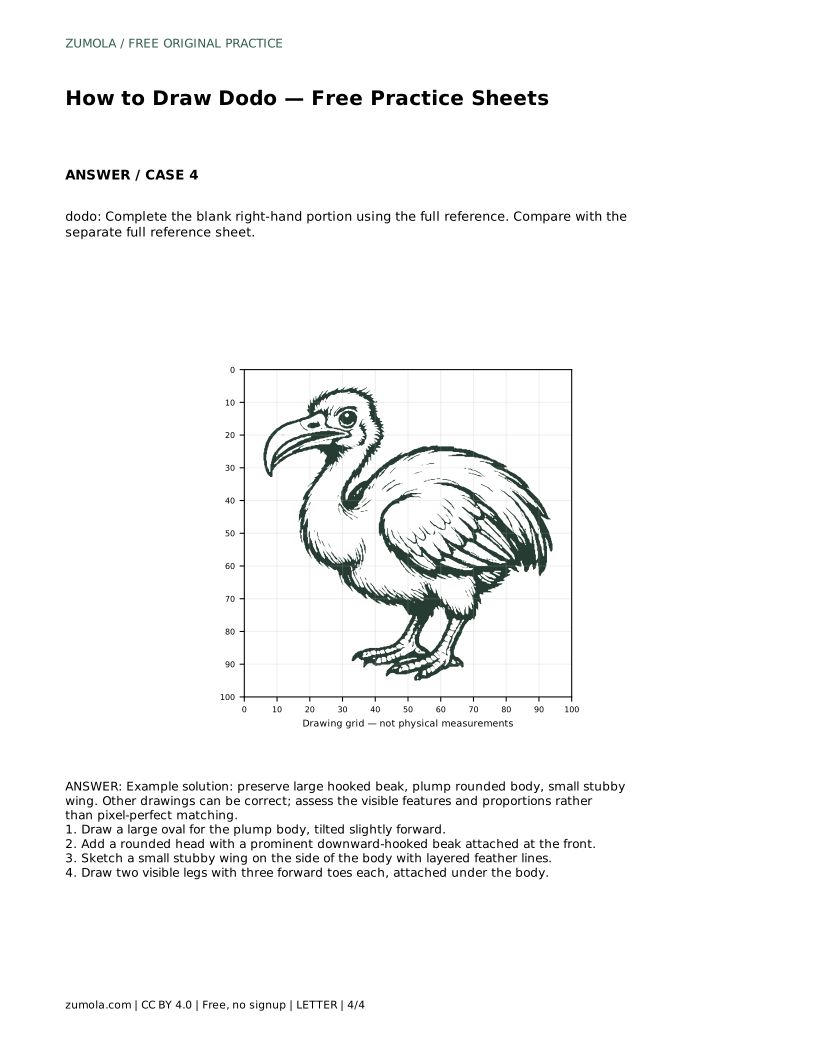
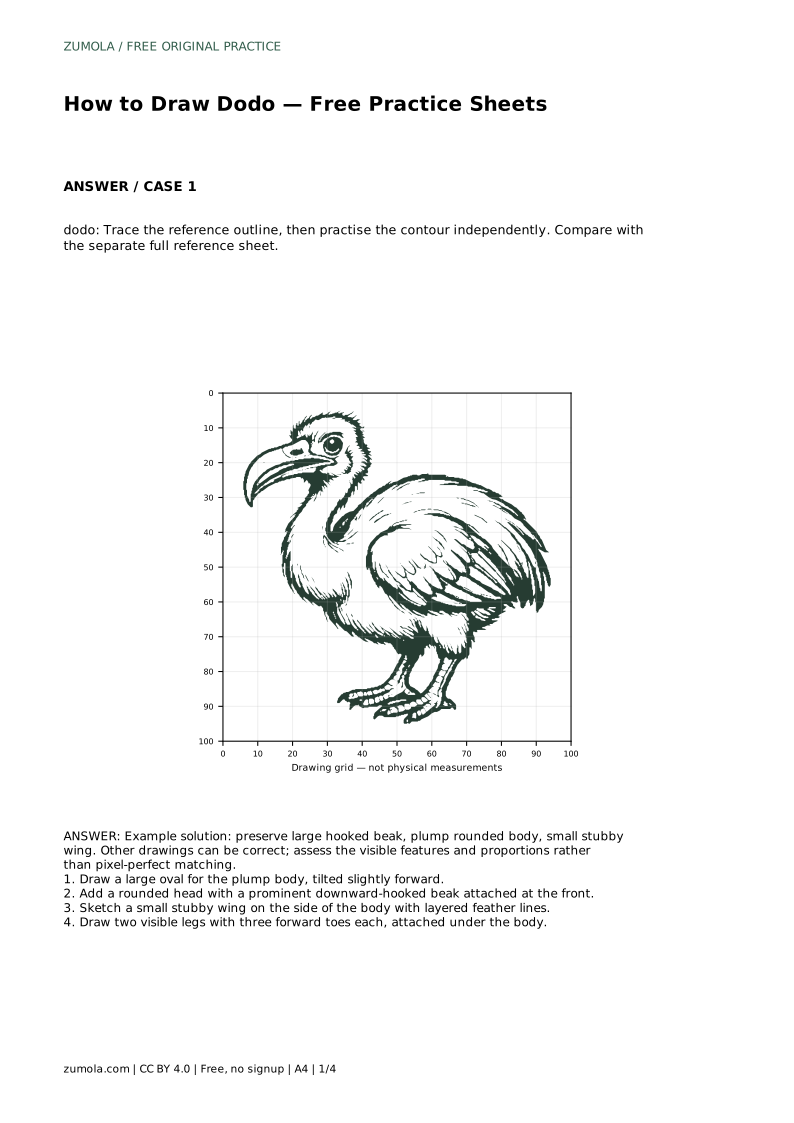
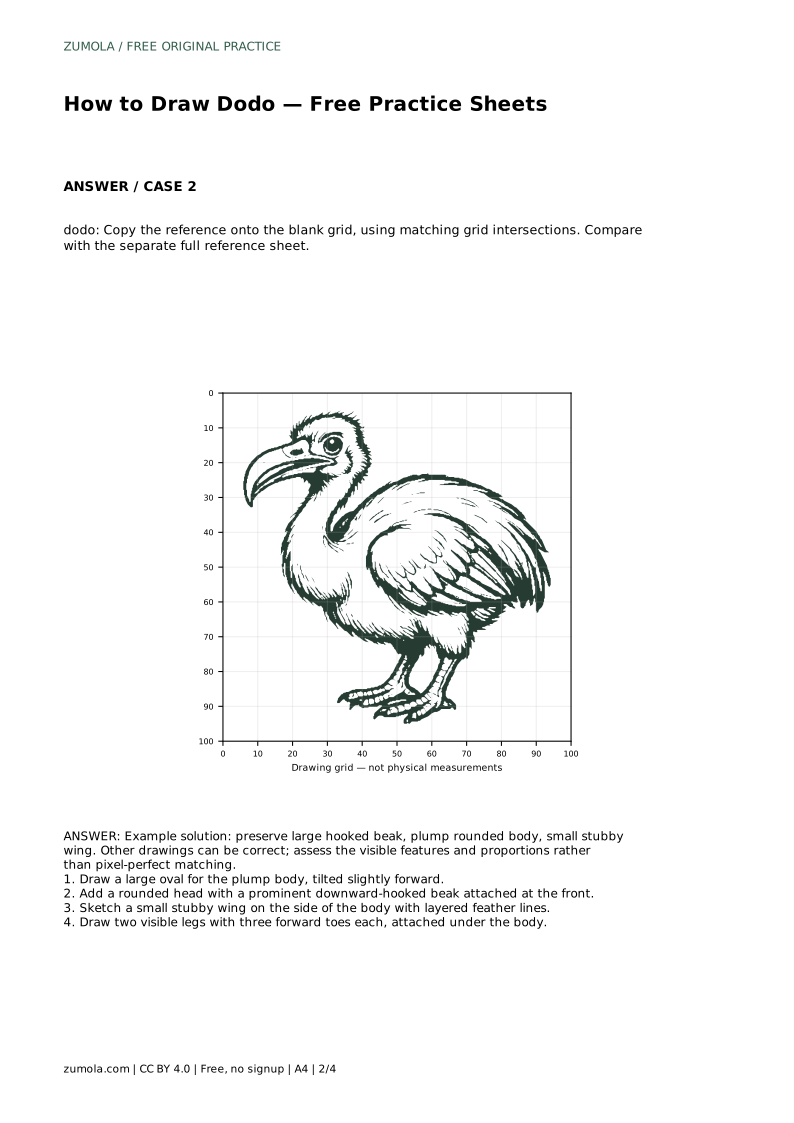
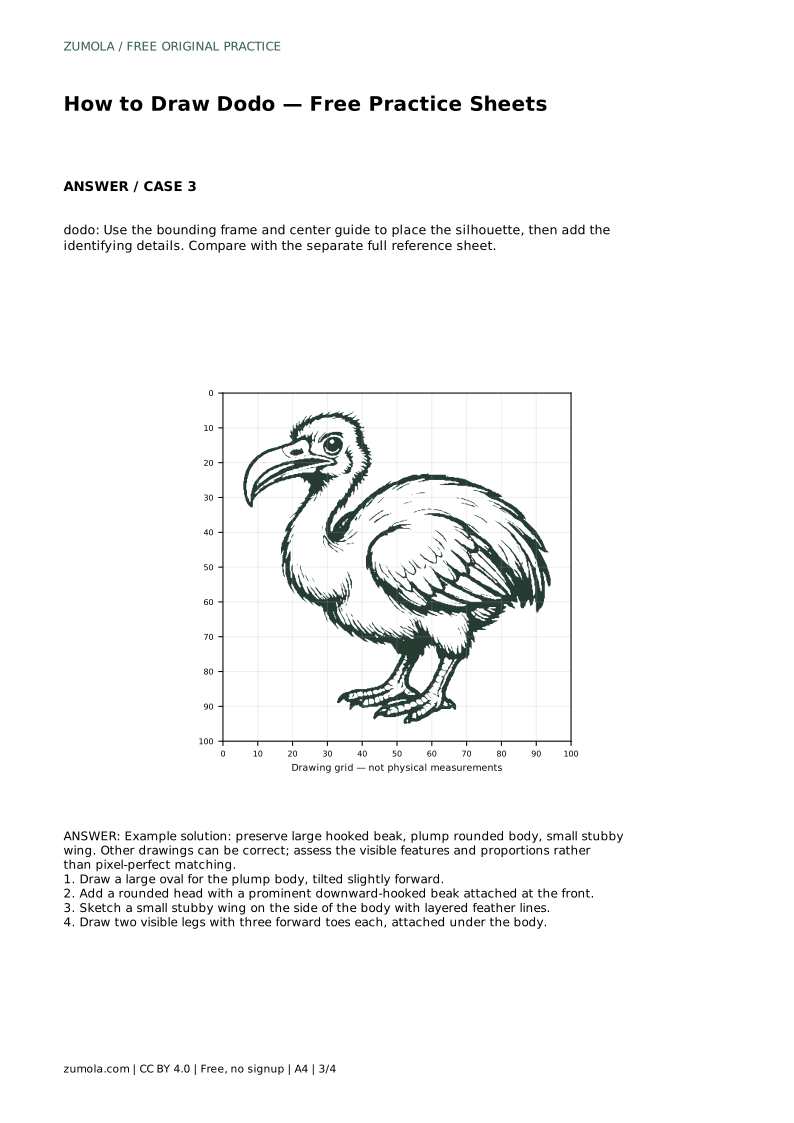
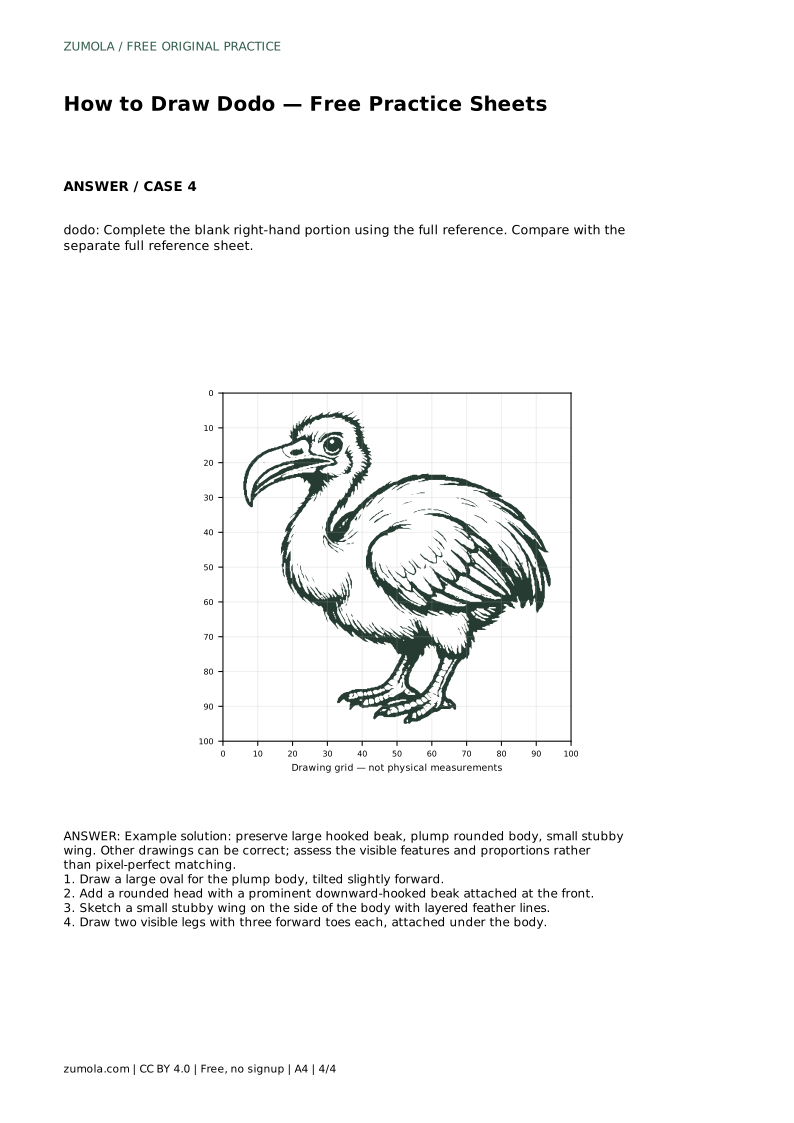
Reference diagrams
LETTER · Download PDF
A4 · Download PDF
Free original resources
Learn to draw a dodo by building a plump body, hooked beak, stubby wing, and three-toed feet. Trace, grid, and complete-the-drawing practice included.
Four original cases, with reference diagrams, practice sheets and worked answers. Everything is free; no signup required.
LETTER · Download PDF
A4 · Download PDF
LETTER · Download PDF
A4 · Download PDF
LETTER · Download PDF
A4 · Download PDF
Use A4 or US Letter to match your printer. Use the stated values and conditions to solve each exercise; diagrams are not physical measuring rulers.
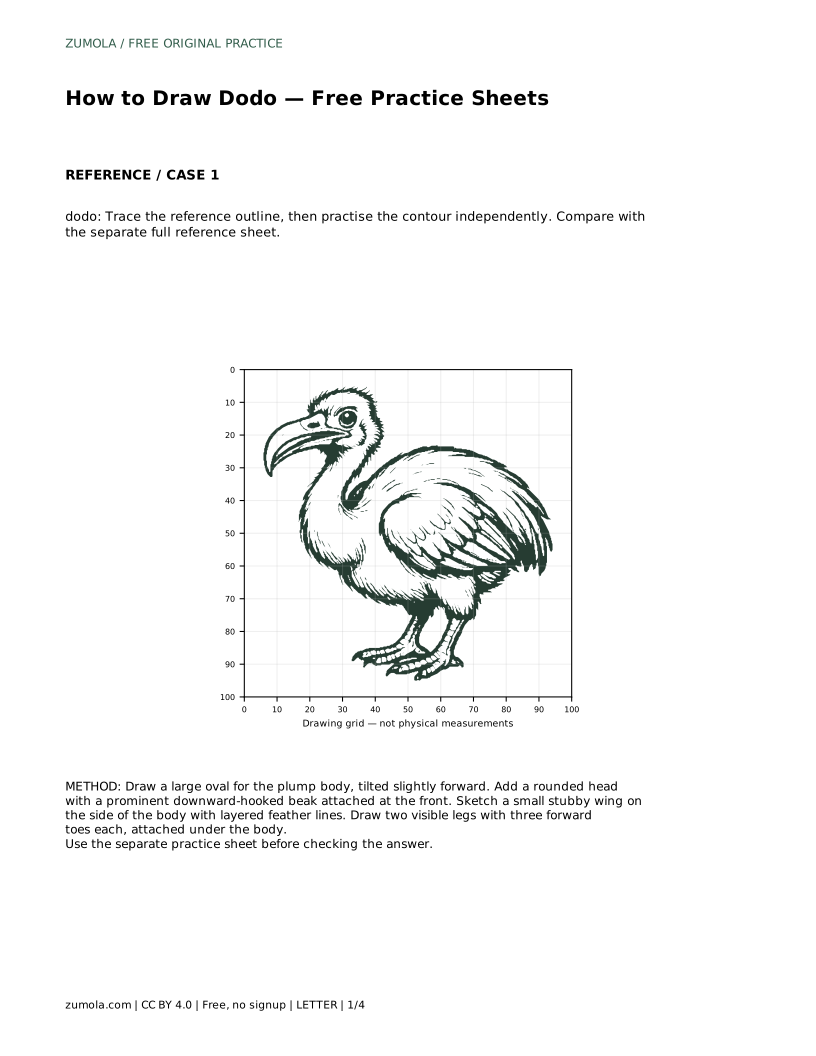
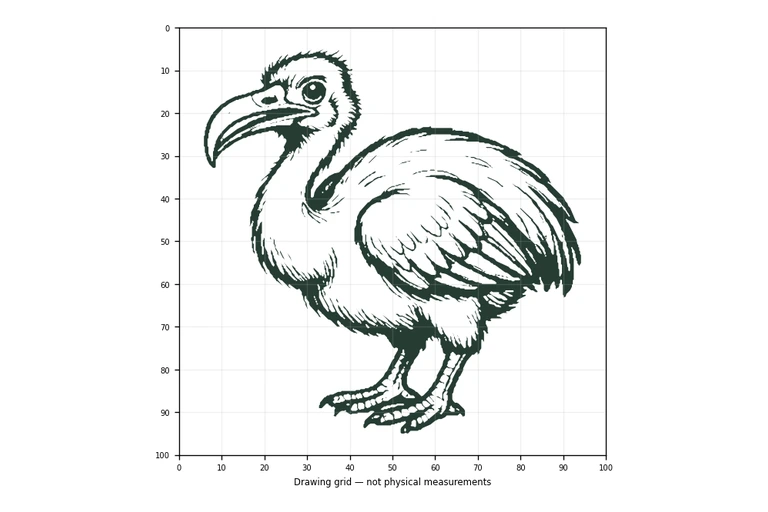
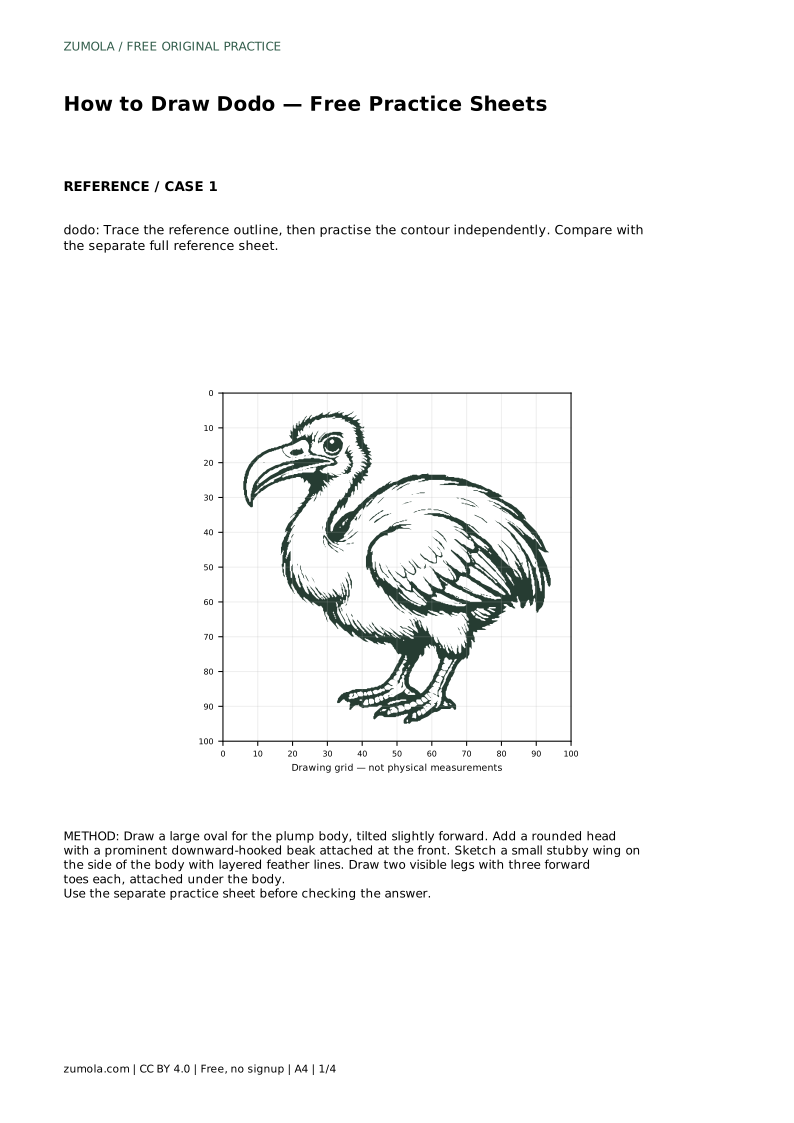
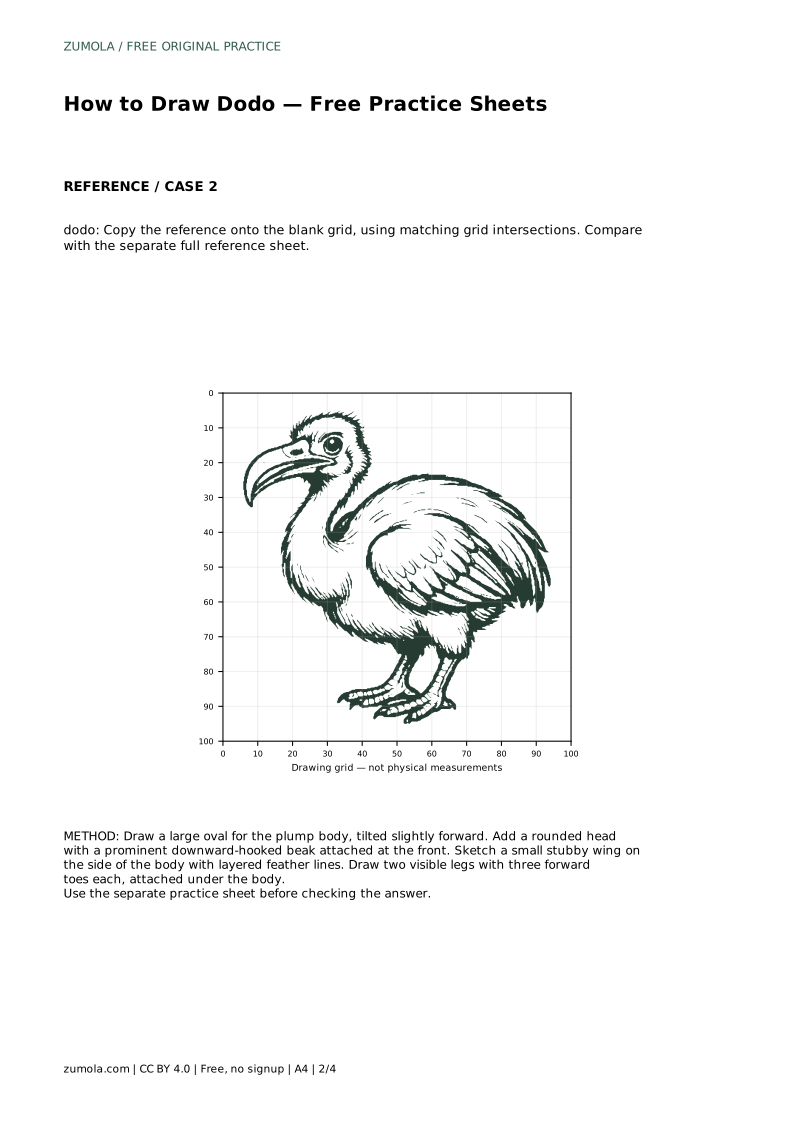
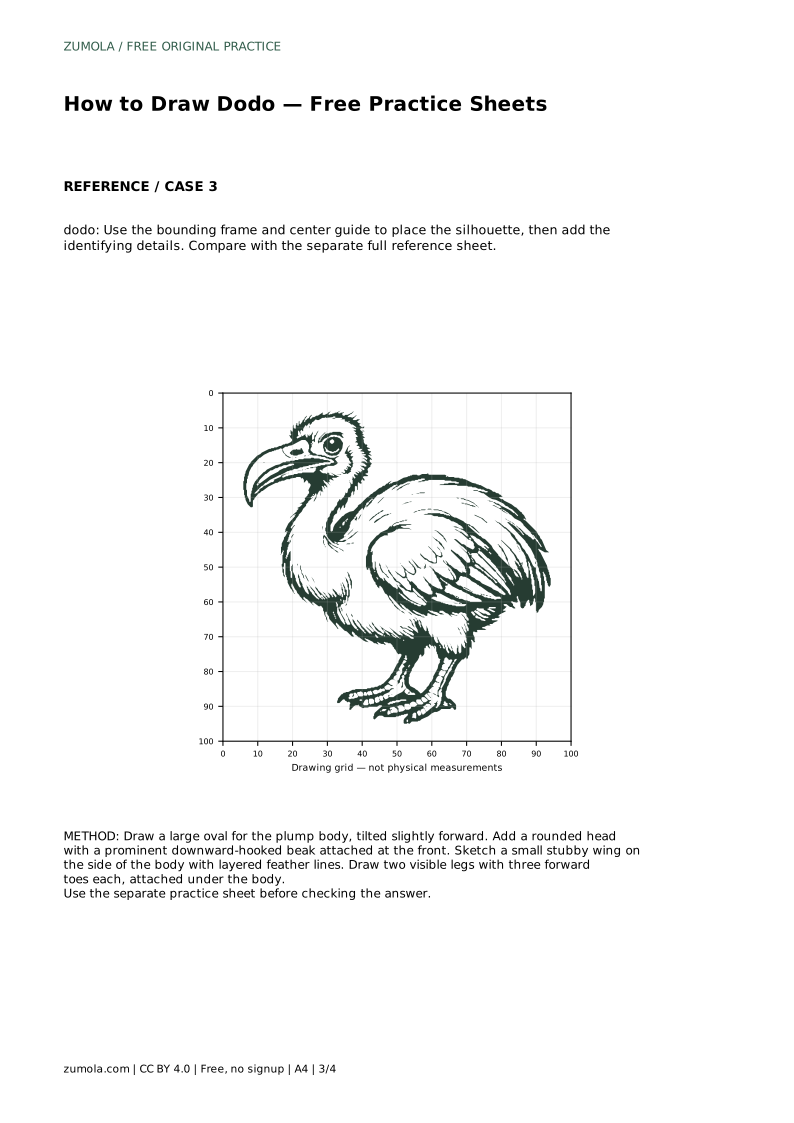
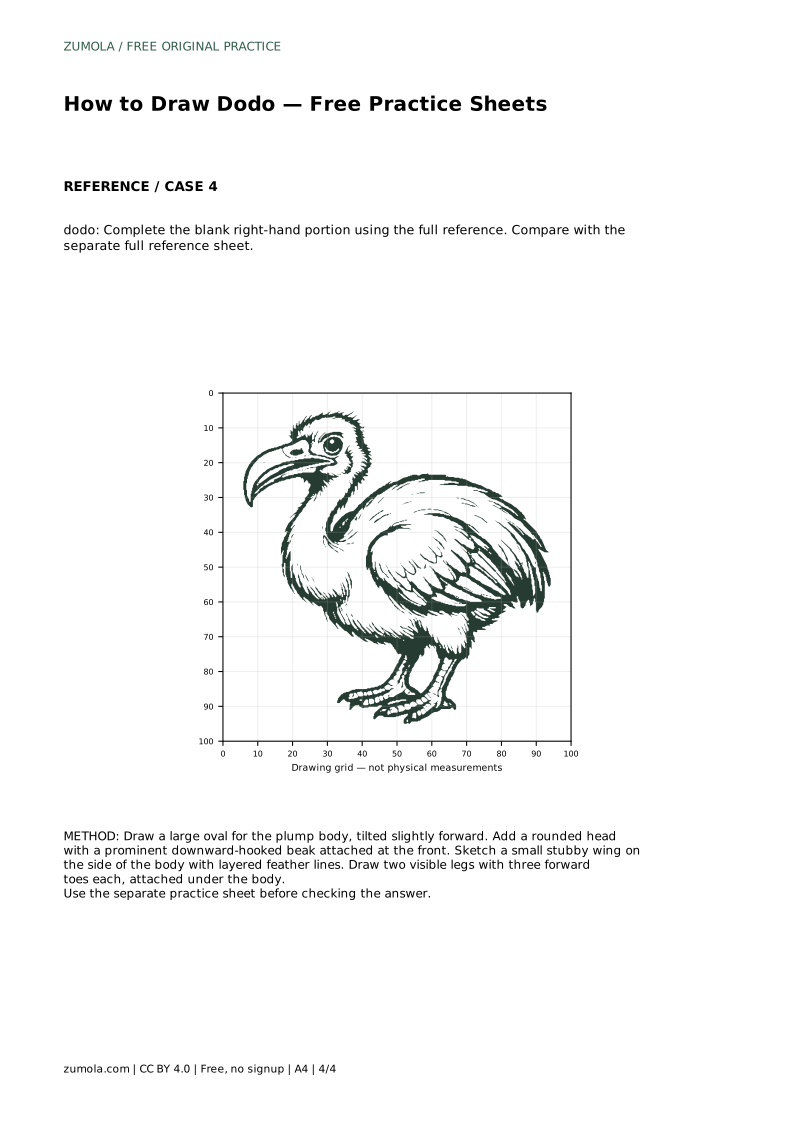
A dodo is easy to recognize once you know its key shapes: a heavy, rounded body, a rounded head, a large downward-hooked beak, a small stubby wing, and two short legs with three forward toes. This page explains how to build those features in order, then use the practice sheet formats to test whether your drawing keeps the same proportions. The goal is a clear, recognizable dodo, not a pixel-perfect copy.
Begin with the largest shape. Draw a large oval for the plump body, tilted slightly forward so the front sits lower than the back. Keep the oval wide rather than tall; a narrow body will make the bird look like a different species. Next, add a rounded head at the upper front of the body. The head should overlap the body oval slightly so the neck area reads as continuous rather than as two separate circles.
Check the balance before adding details. The head should be noticeably smaller than the body, and the body should still look heavy and rounded. If the head looks too large, shrink it rather than enlarging the body, because the plump body is the feature that carries the silhouette.
Attach the beak at the front of the head. Make it prominent and draw the upper edge curving downward into a hook. The hook is the strongest identifying detail, so give it a clear downward turn rather than a short triangle. Keep the beak attached to the head outline so it does not float.
Sketch a small stubby wing on the side of the body. The wing should stay compact; it is a short rounded shape, not a long folded wing. Add a few layered feather lines inside the wing to suggest texture. Place the wing so it sits on the visible side of the body and does not cross the belly outline.
Draw two visible legs attached under the body. Keep them short and place them toward the lower center so the body still looks balanced. Each foot should show three forward toes. Draw the toes as simple tapered shapes spreading forward from the leg, and keep both feet at a similar level unless your reference shows otherwise.
After the legs are in place, step back and check the whole drawing. The body should be plump and rounded, the head rounded, the beak large and hooked, the wing small and stubby, and the feet three-toed. These visible features and proportions matter more than matching every line exactly.
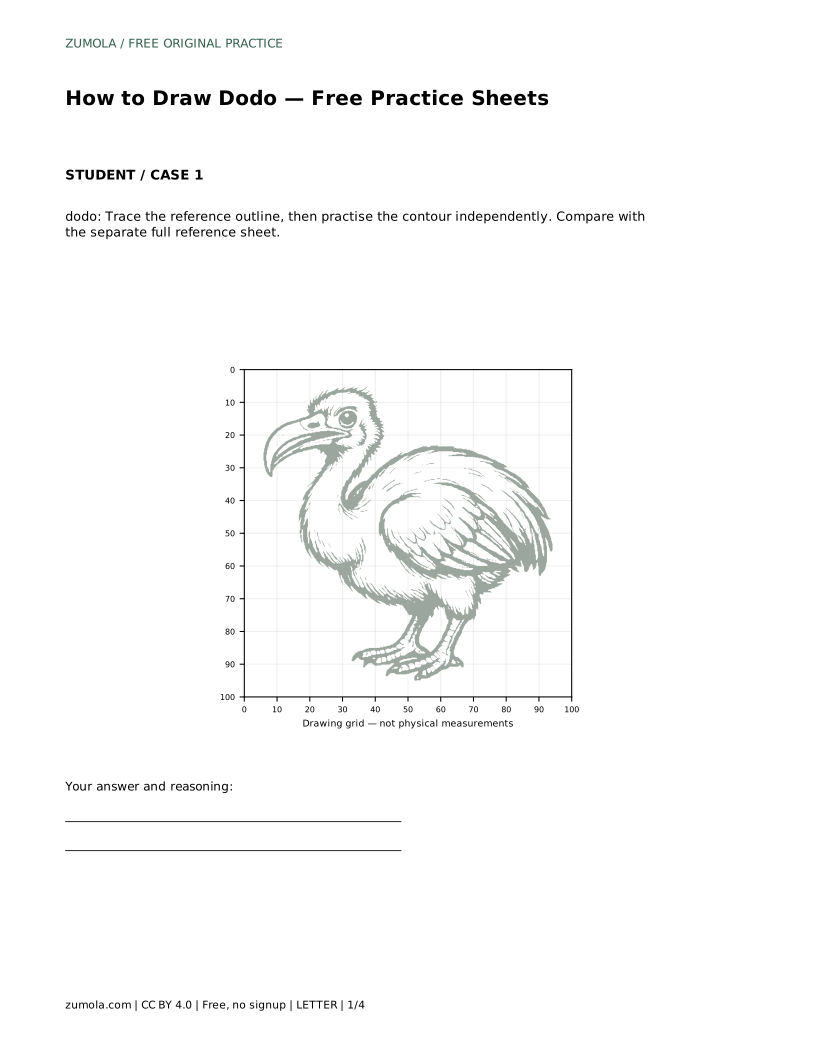
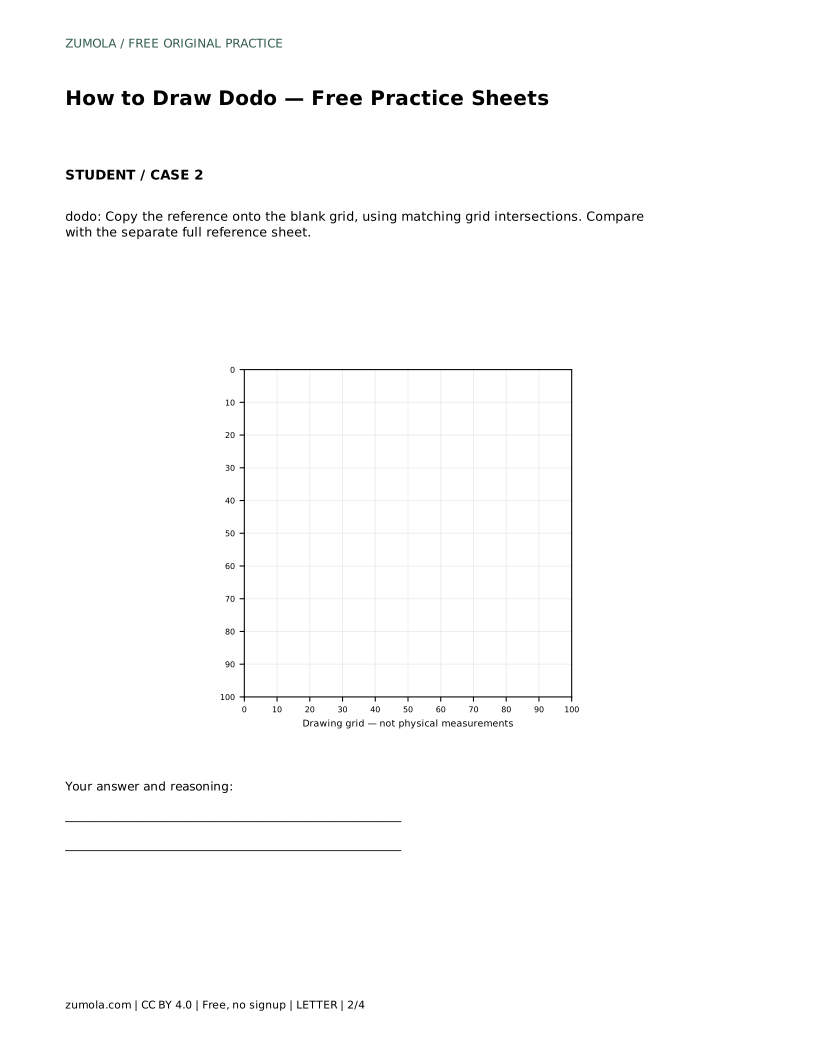
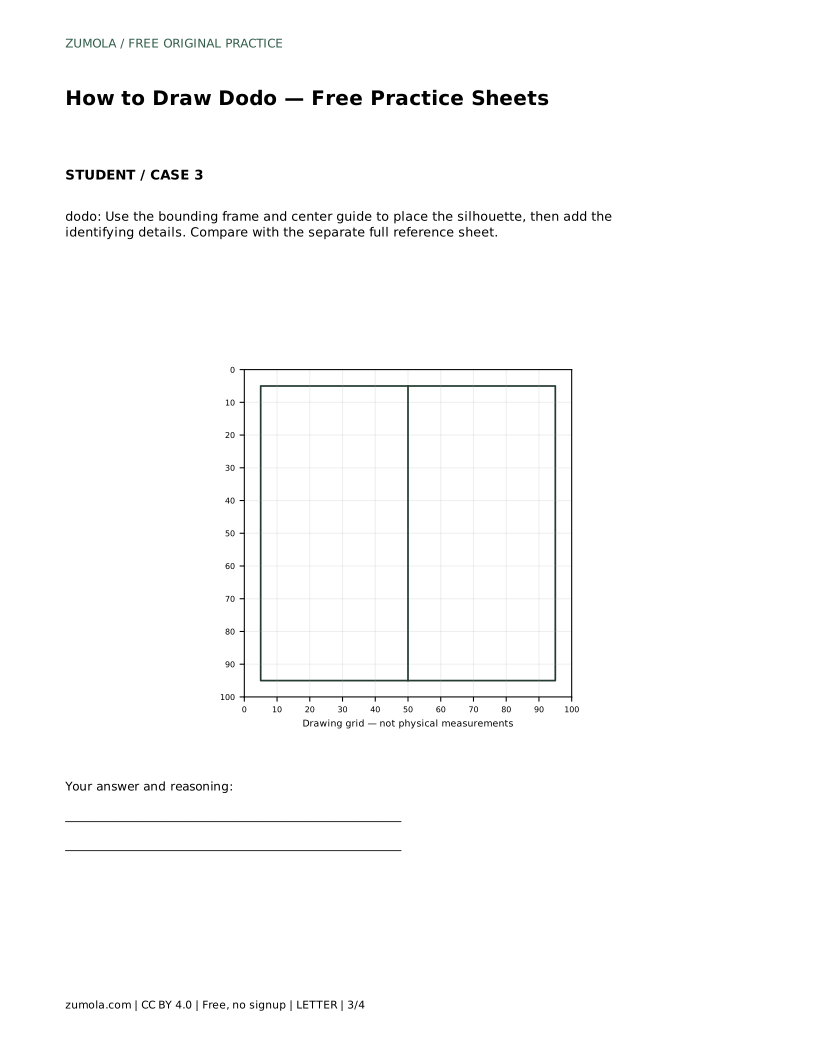
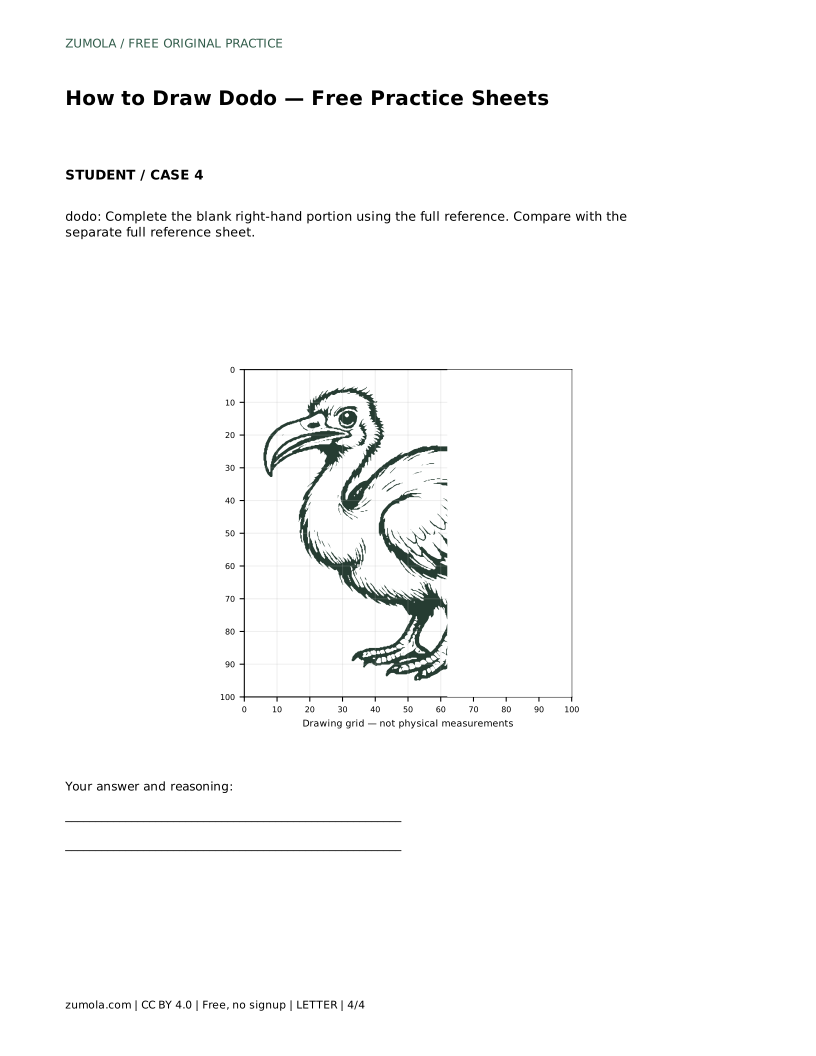
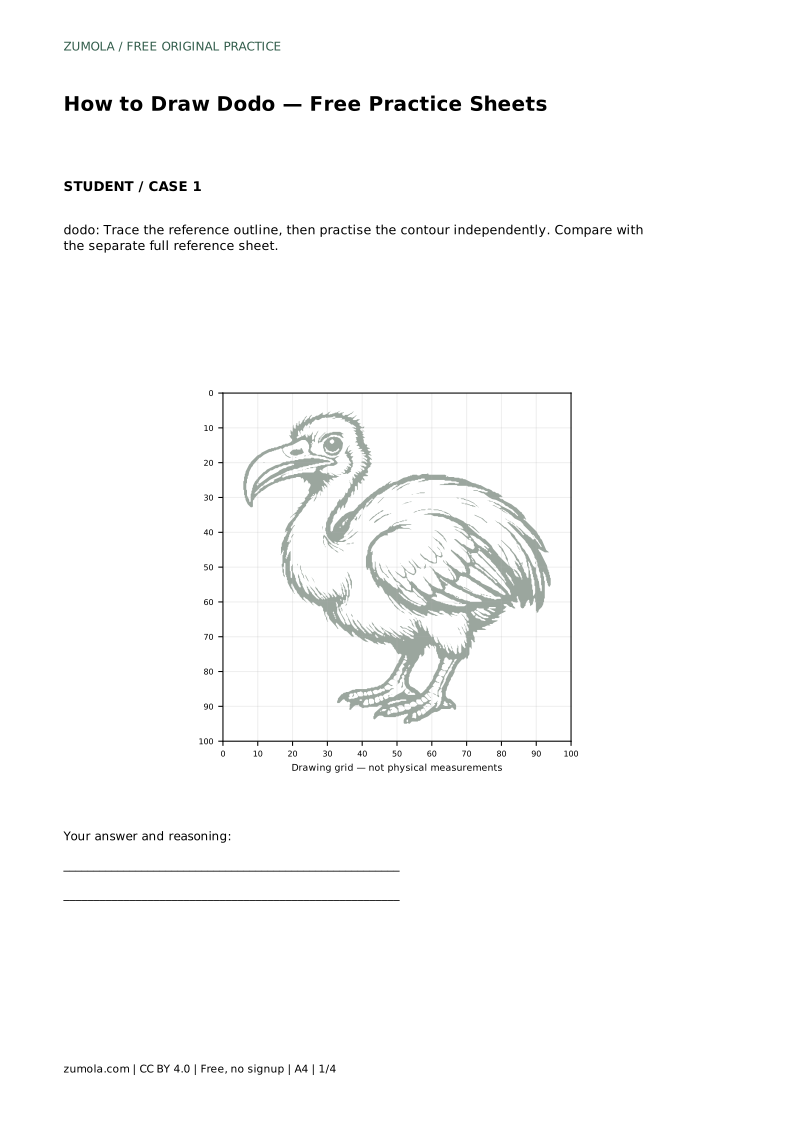
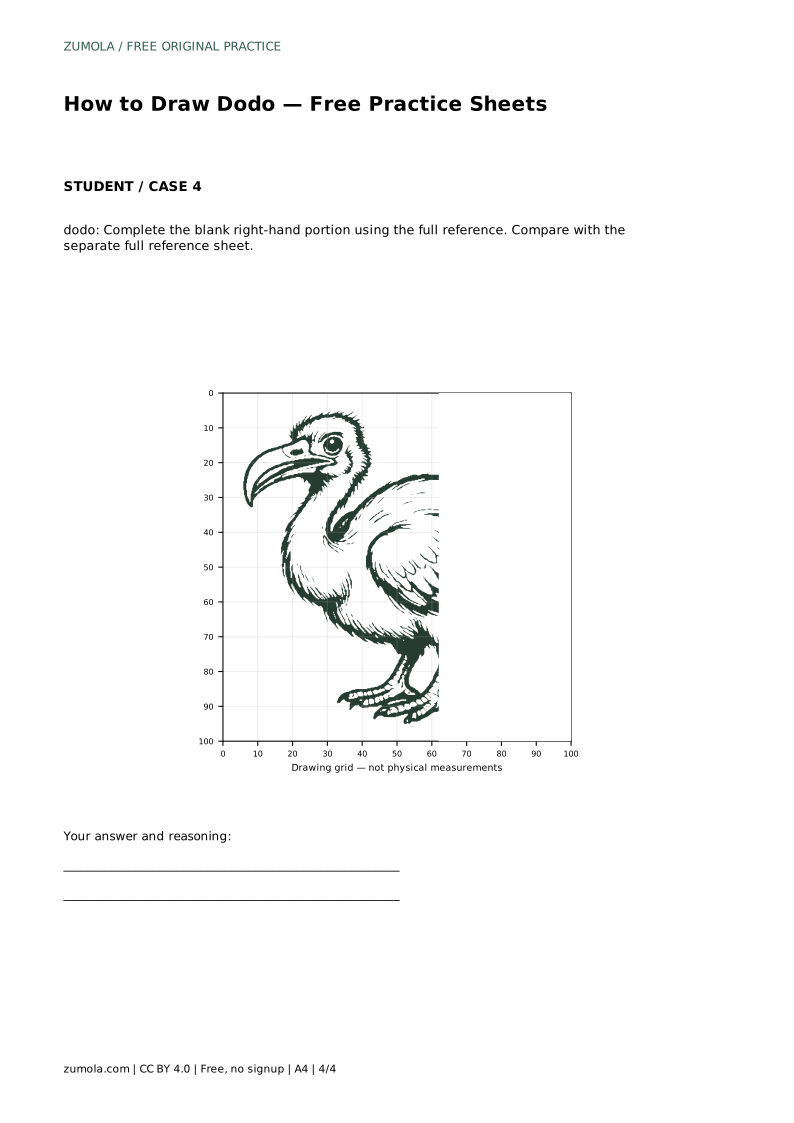
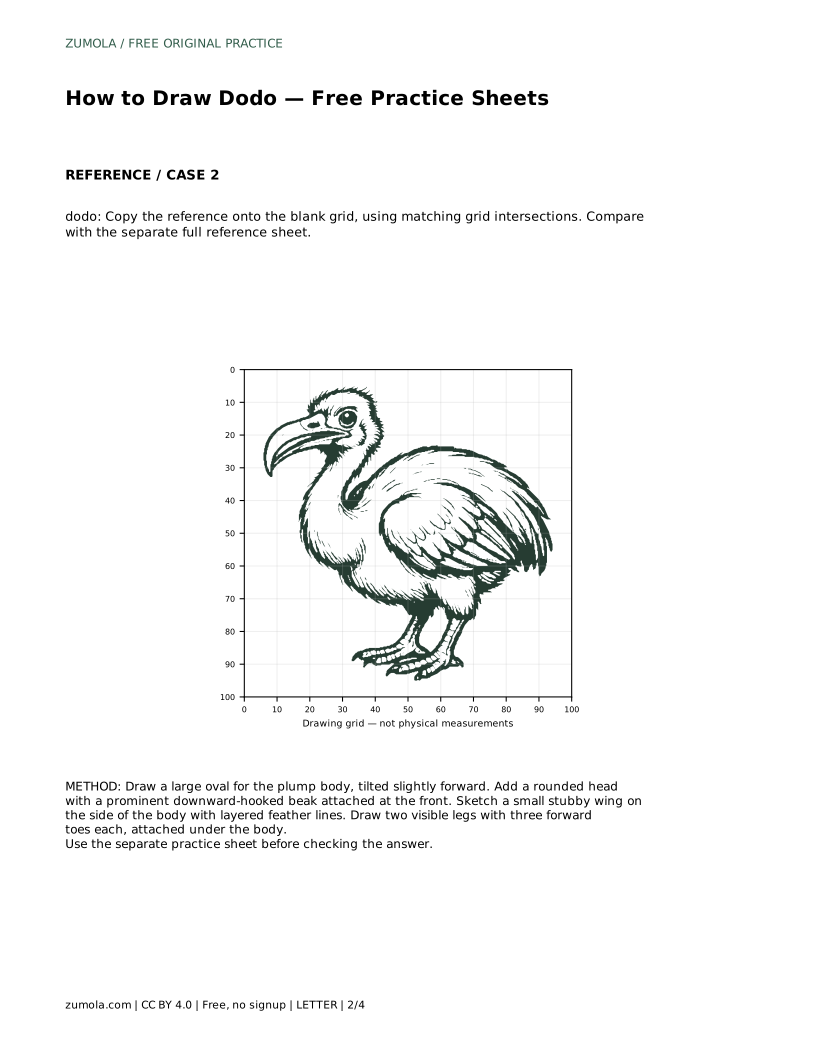
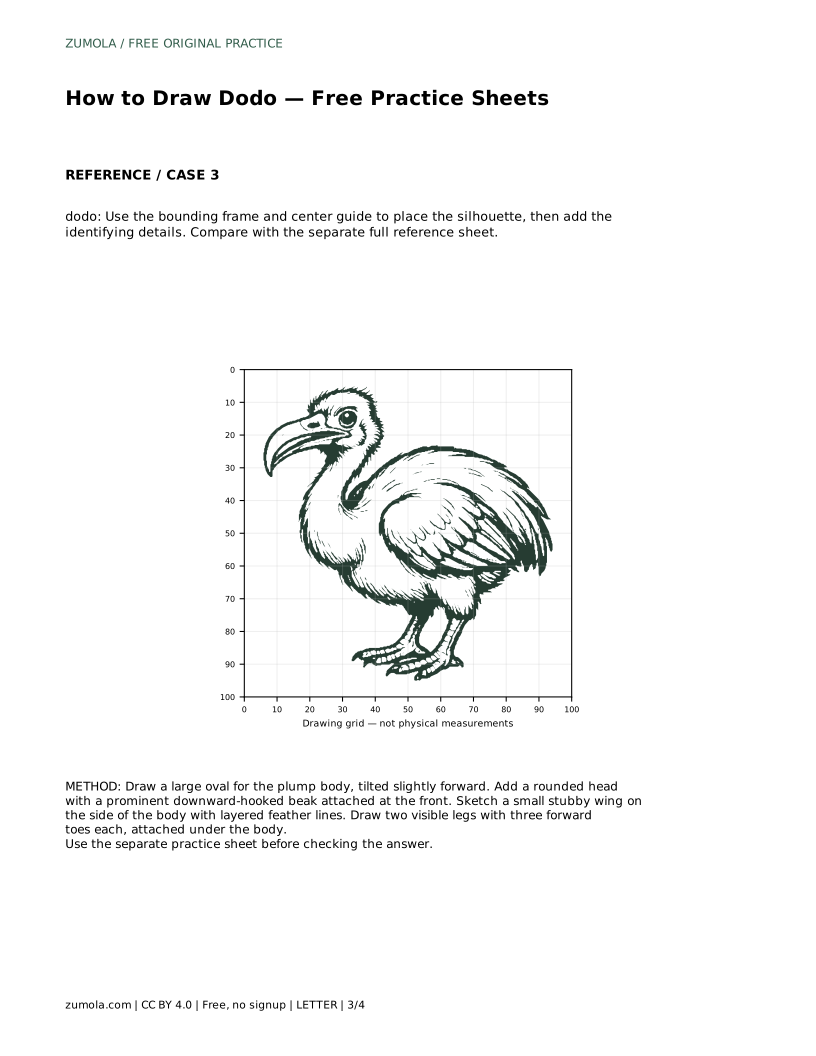
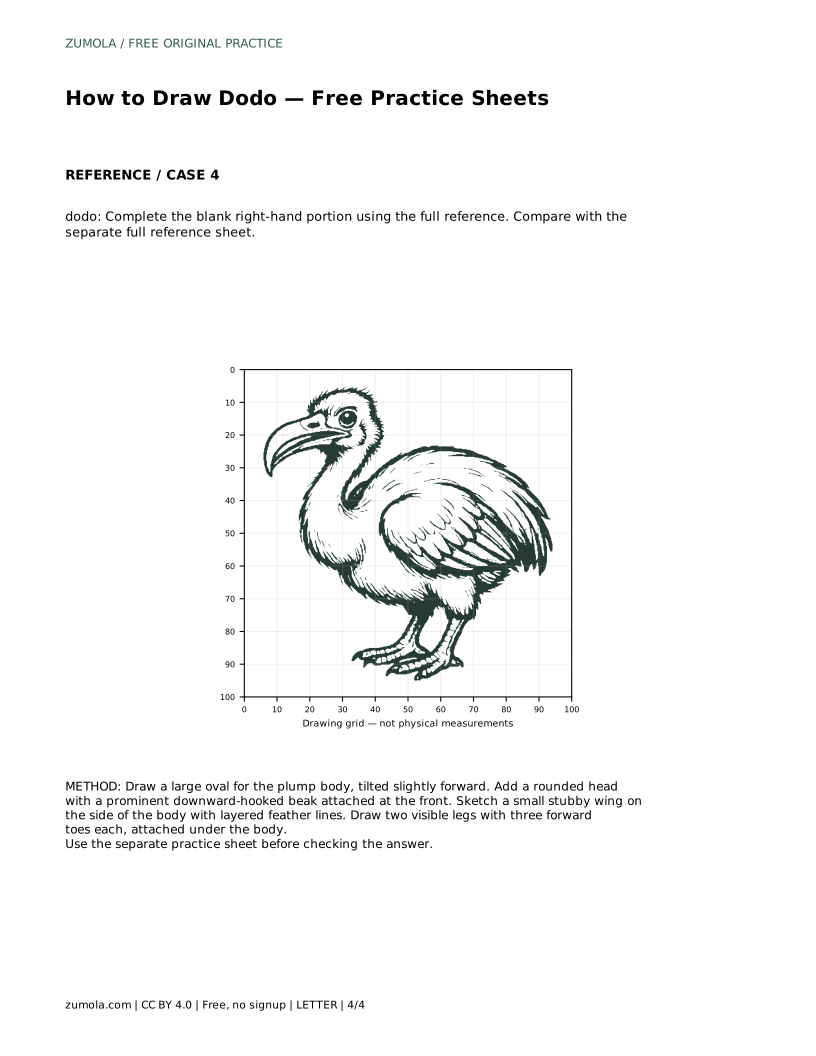
The trace sheet asks you to follow the reference outline first, then practise the contour independently. Compare your freehand attempt with the separate full reference sheet. The grid sheet asks you to copy the reference onto the blank grid using matching grid intersections, which helps you judge where each shape begins and ends. The bounding-frame sheet gives you a frame and center guide for placing the silhouette before adding details. The complete-the-drawing sheet gives you part of the reference and asks you to finish the blank portion.
In every format, compare with the separate full reference sheet rather than judging from memory. Different drawings can be correct, so assess the visible features and proportions instead of demanding an exact match.
dodo: Trace the reference outline, then practise the contour independently. Compare with the separate full reference sheet.
Example solution: preserve large hooked beak, plump rounded body, small stubby wing. Other drawings can be correct; assess the visible features and proportions rather than pixel-perfect matching. Draw a large oval for the plump body, tilted slightly forward. Add a rounded head with a prominent downward-hooked beak attached at the front. Sketch a small stubby wing on the side of the body with layered feather lines. Draw two visible legs with three forward toes each, attached under the body.
No. Other drawings can be correct. Assess the visible features and proportions, such as the hooked beak, plump body, and stubby wing, rather than pixel-perfect matching.
Check the body shape and head size first. A plump, rounded body with a smaller rounded head carries most of the silhouette.
Draw three forward toes on each visible foot, attached under the body on two short legs.
All drawing practice · Free coordinate paper
Original resources · CC BY 4.0 · Free for personal and classroom use with attribution.