Reference diagrams
LETTER · Download PDF
A4 · Download PDF
Free original resources
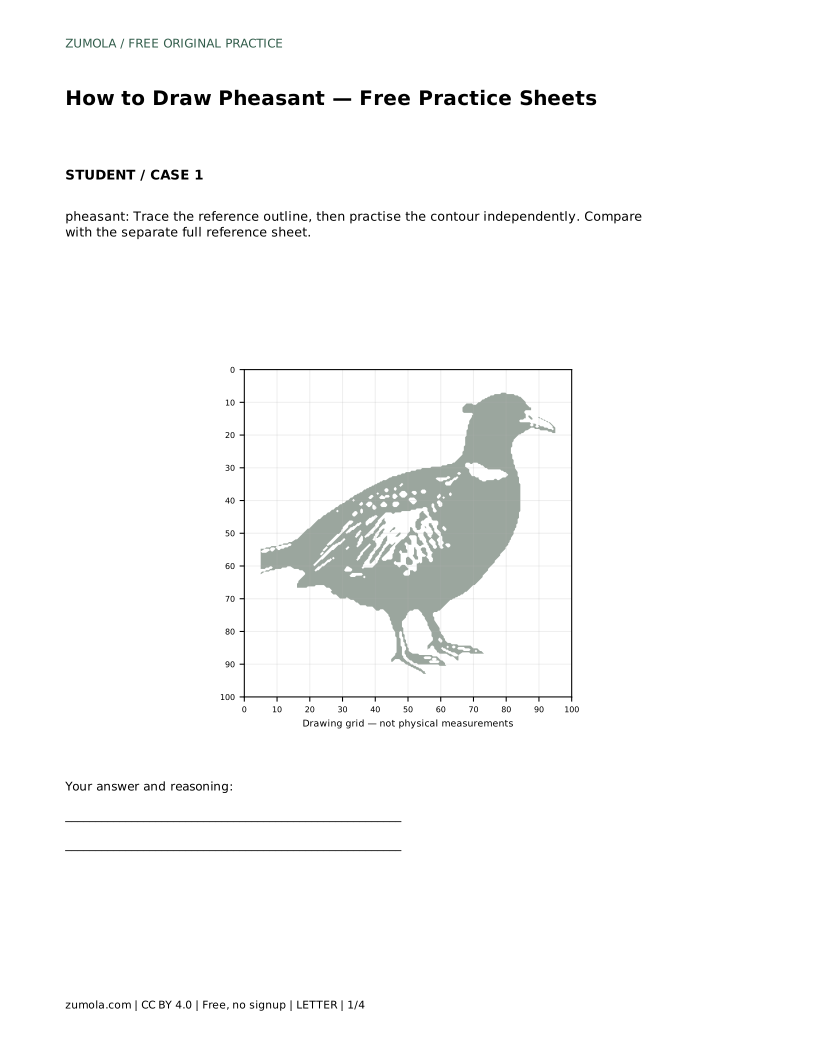
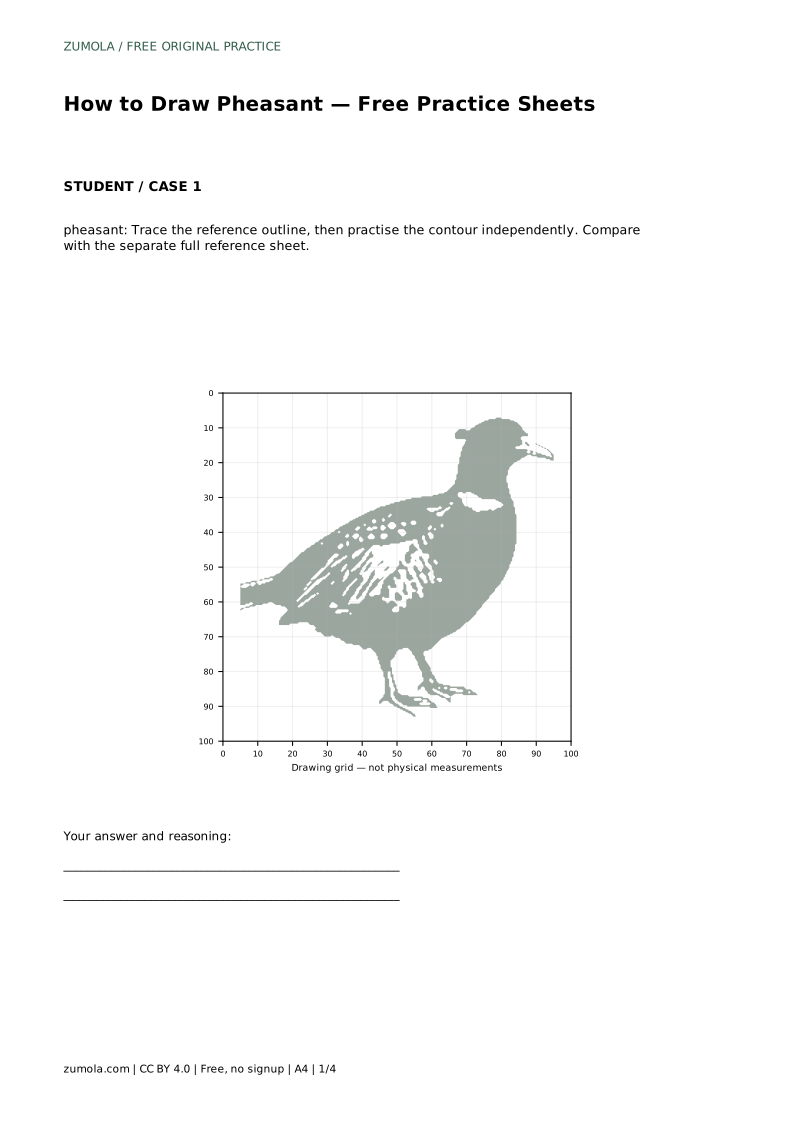
Learn to draw a pheasant by tracing its outline, then working independently. Focus on the long left-sweeping tail, rounded body, barred wing, and neck ring.
Four original cases, with reference diagrams, practice sheets and worked answers. Everything is free; no signup required.
LETTER · Download PDF
A4 · Download PDF
LETTER · Download PDF
A4 · Download PDF
LETTER · Download PDF
A4 · Download PDF
Use A4 or US Letter to match your printer. Use the stated values and conditions to solve each exercise; diagrams are not physical measuring rulers.
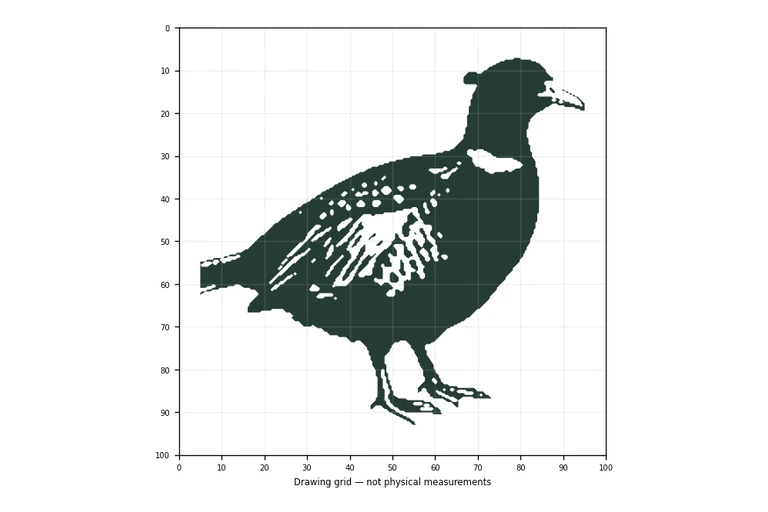
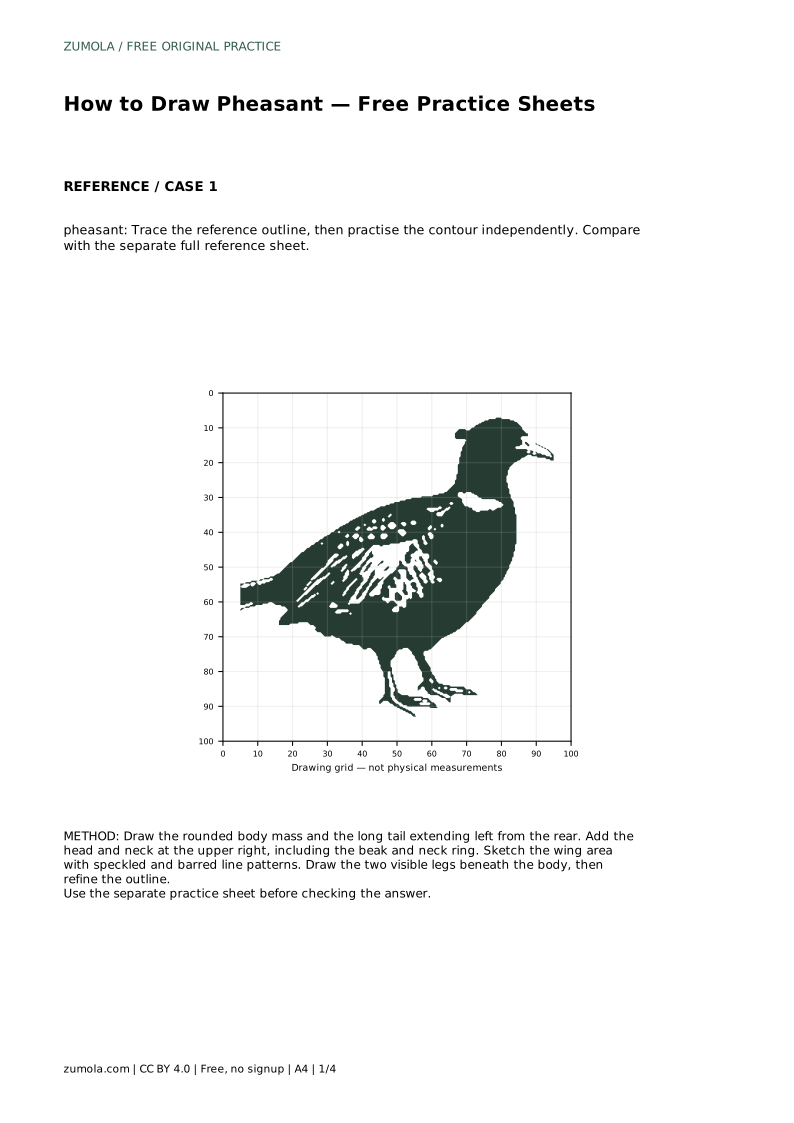
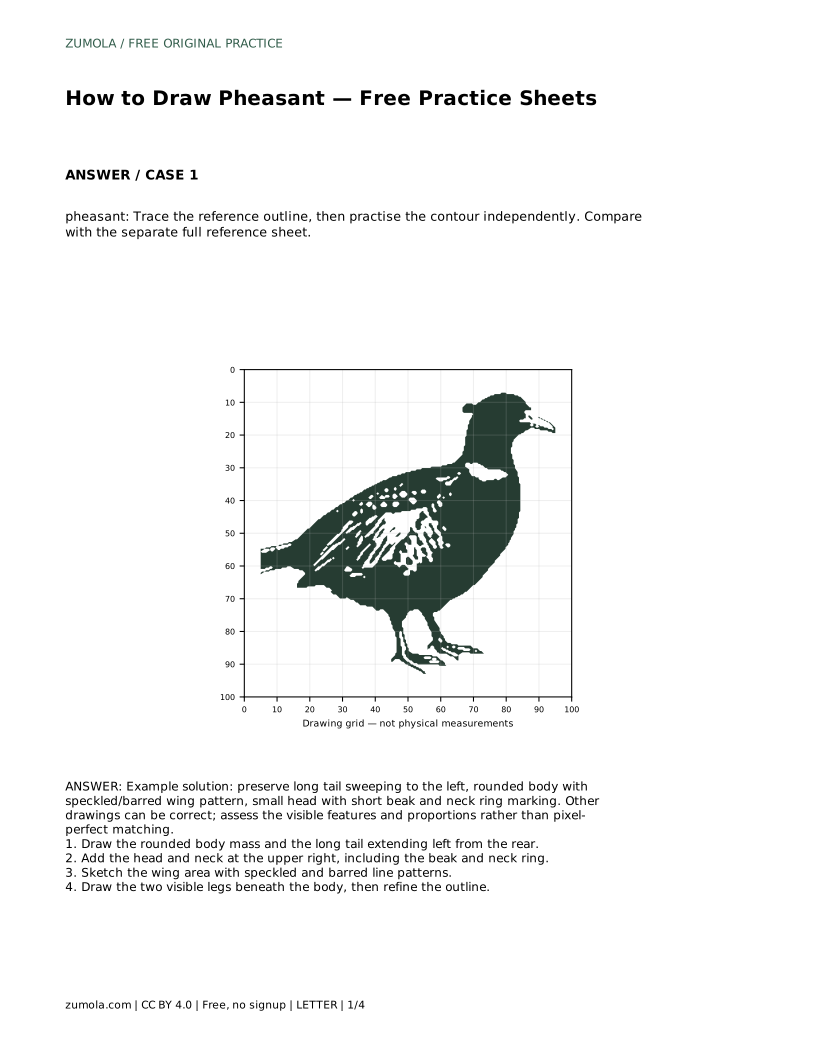
A pheasant drawing is easy to recognise when a few features stay clear: a rounded body, a long tail sweeping to one side, a small head with a short beak, and a patterned wing. This page explains how to trace a reference outline and then practise the same contour without tracing. The aim is not a pixel-perfect copy. Different drawings can be correct when the visible features and proportions hold together.
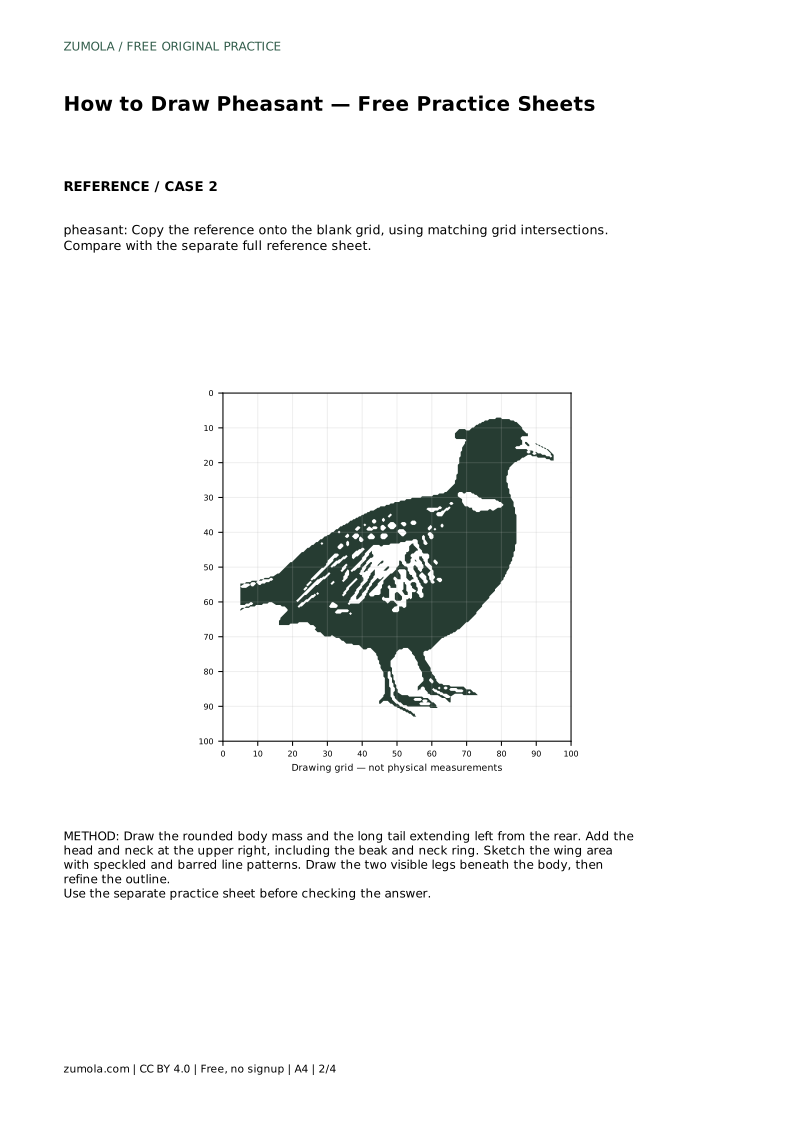
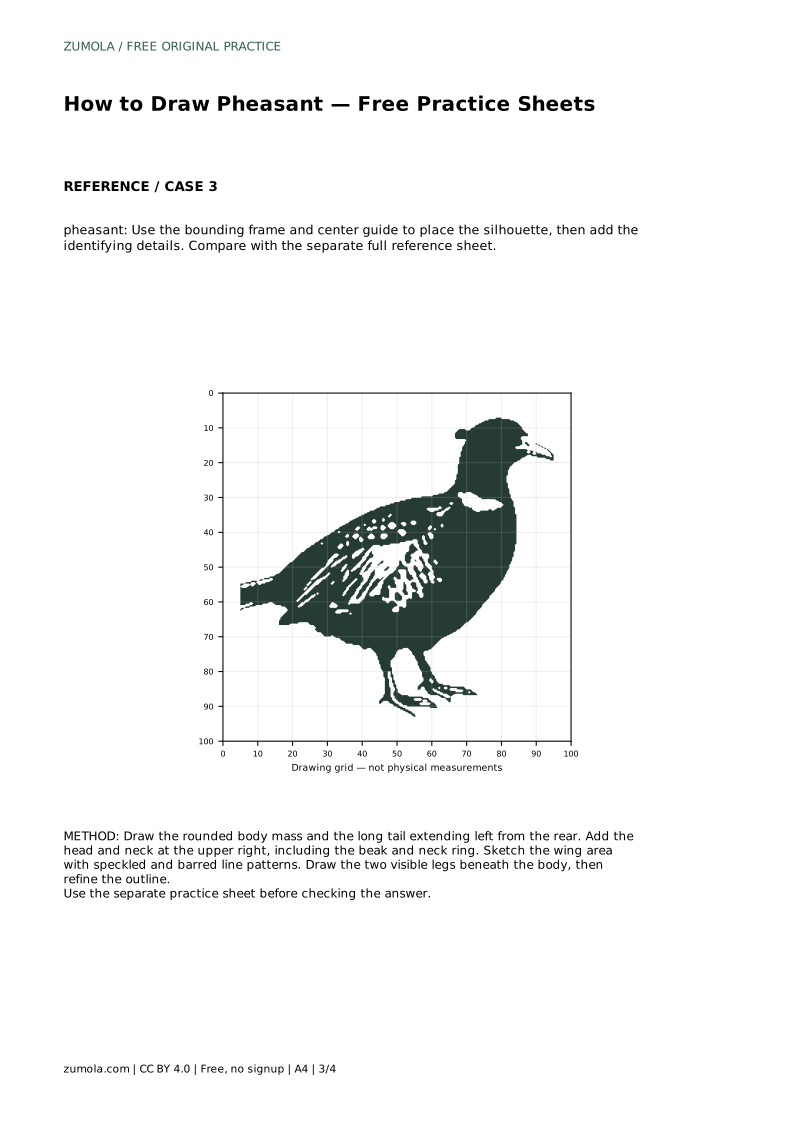
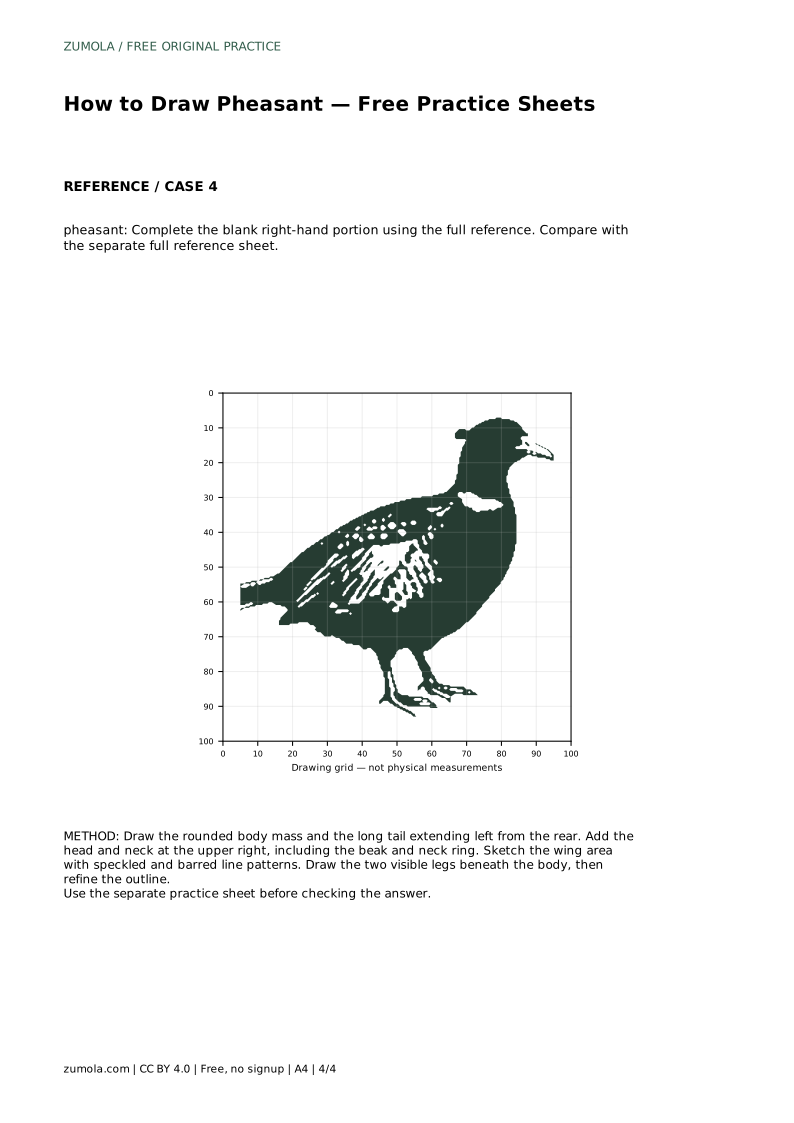
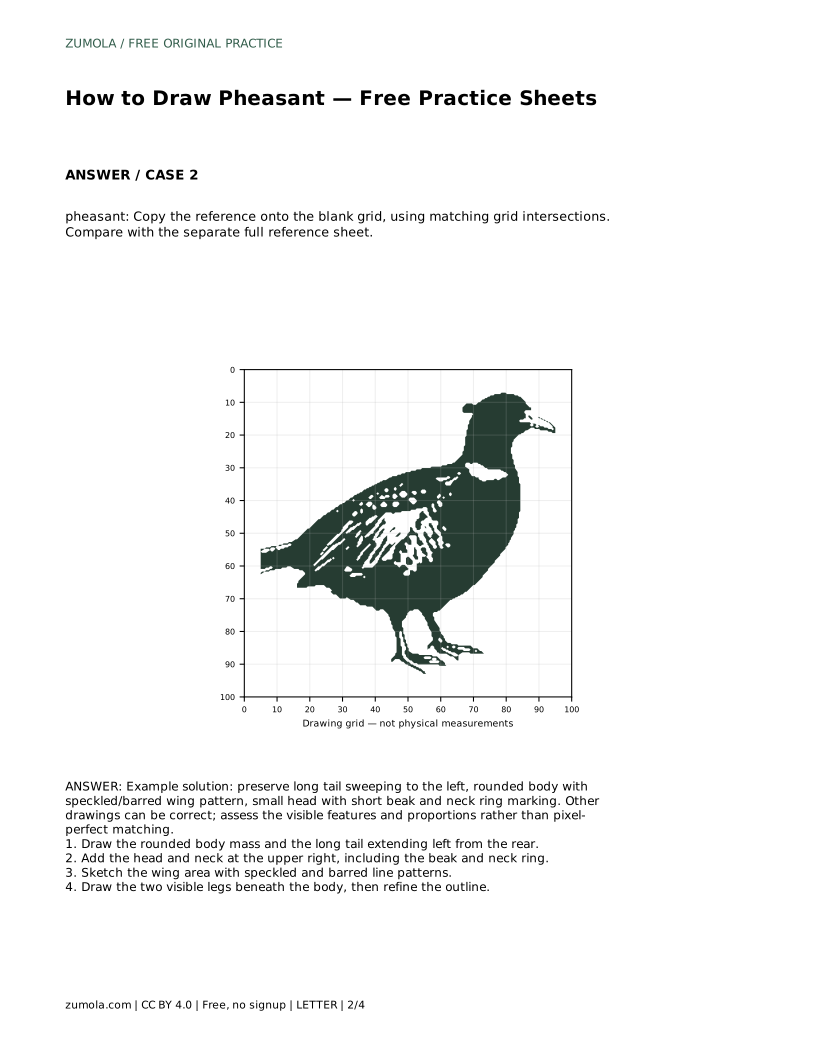
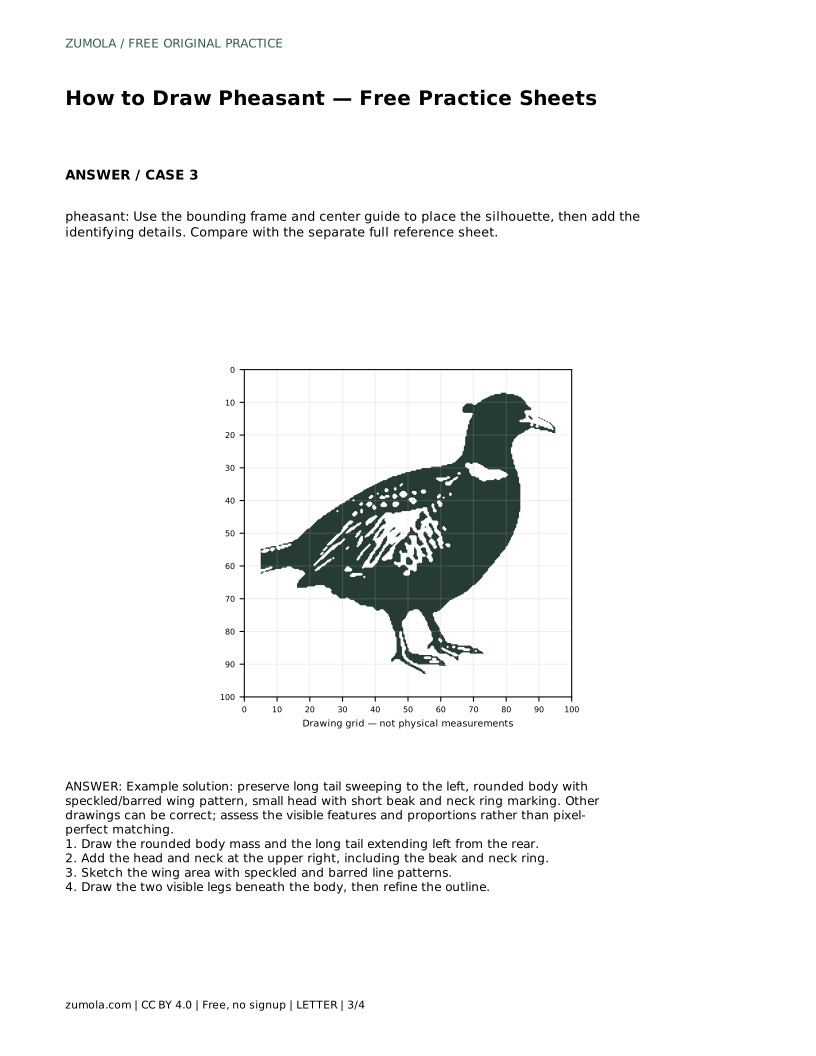
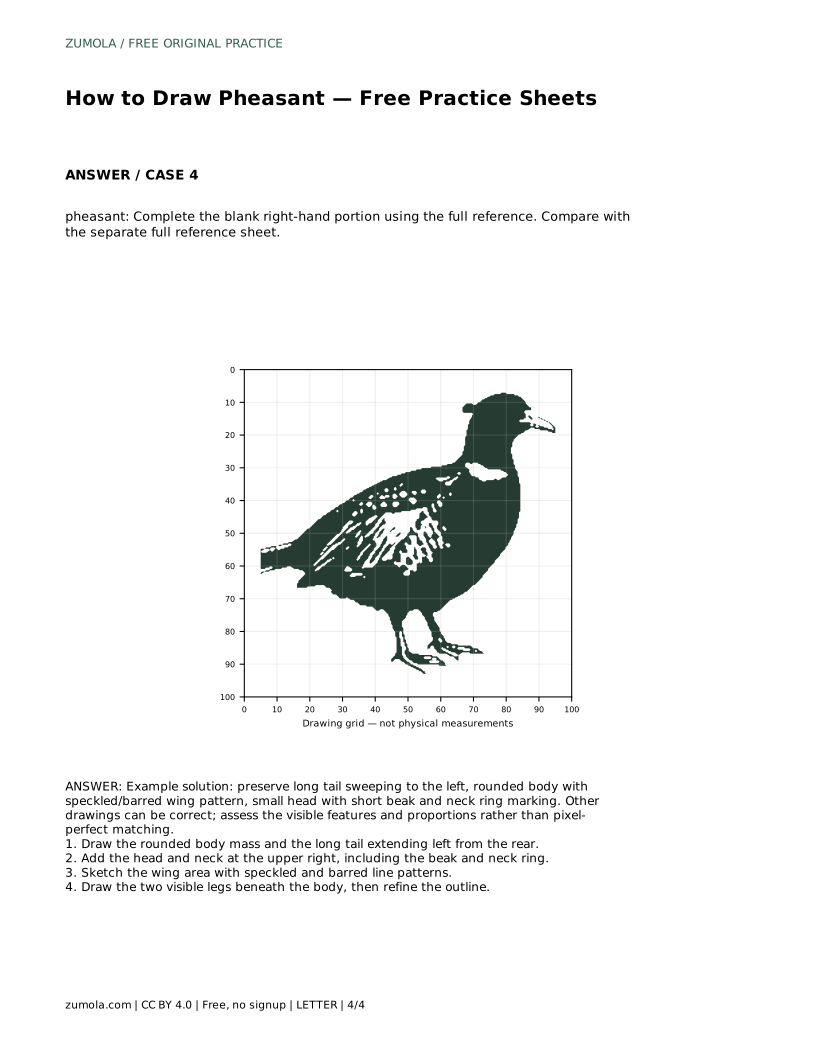
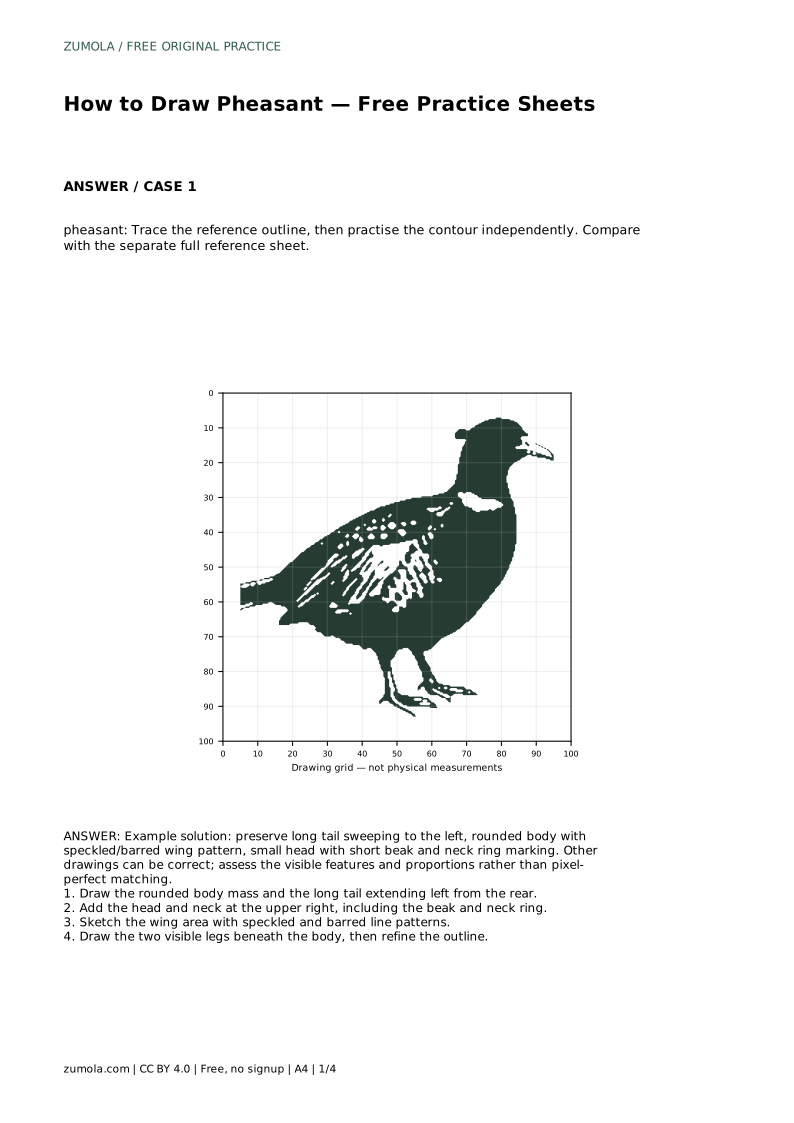
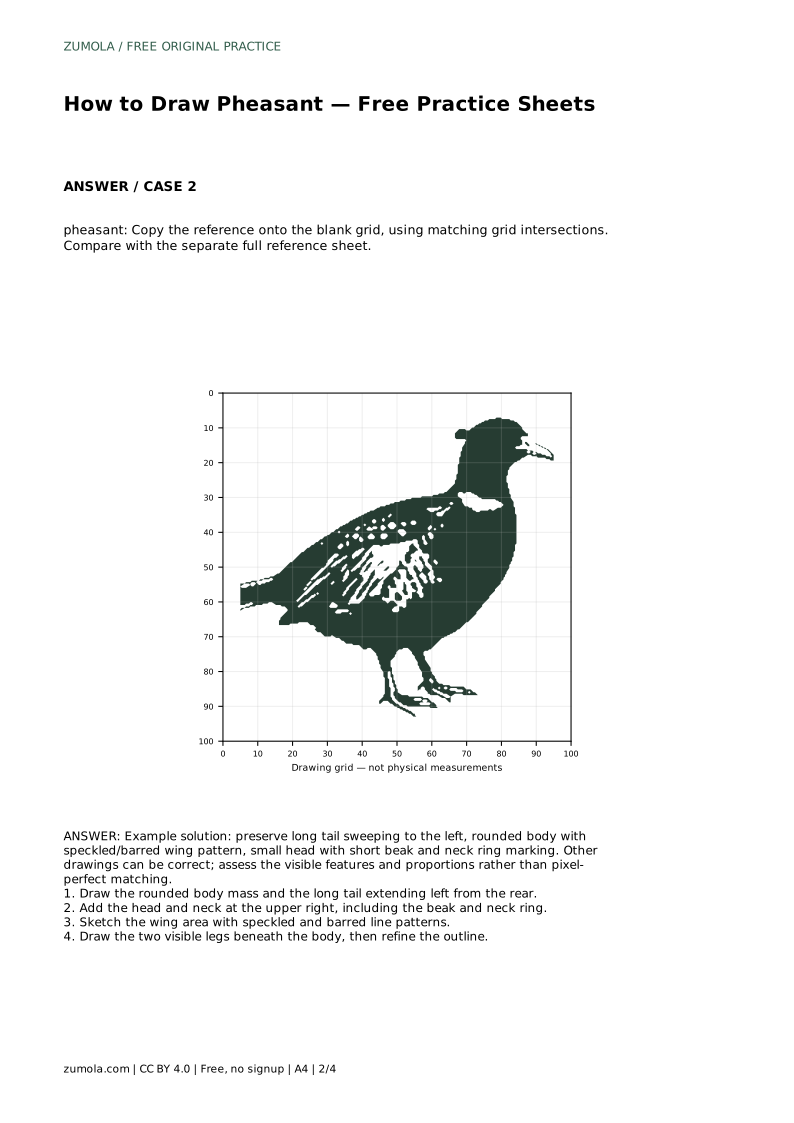
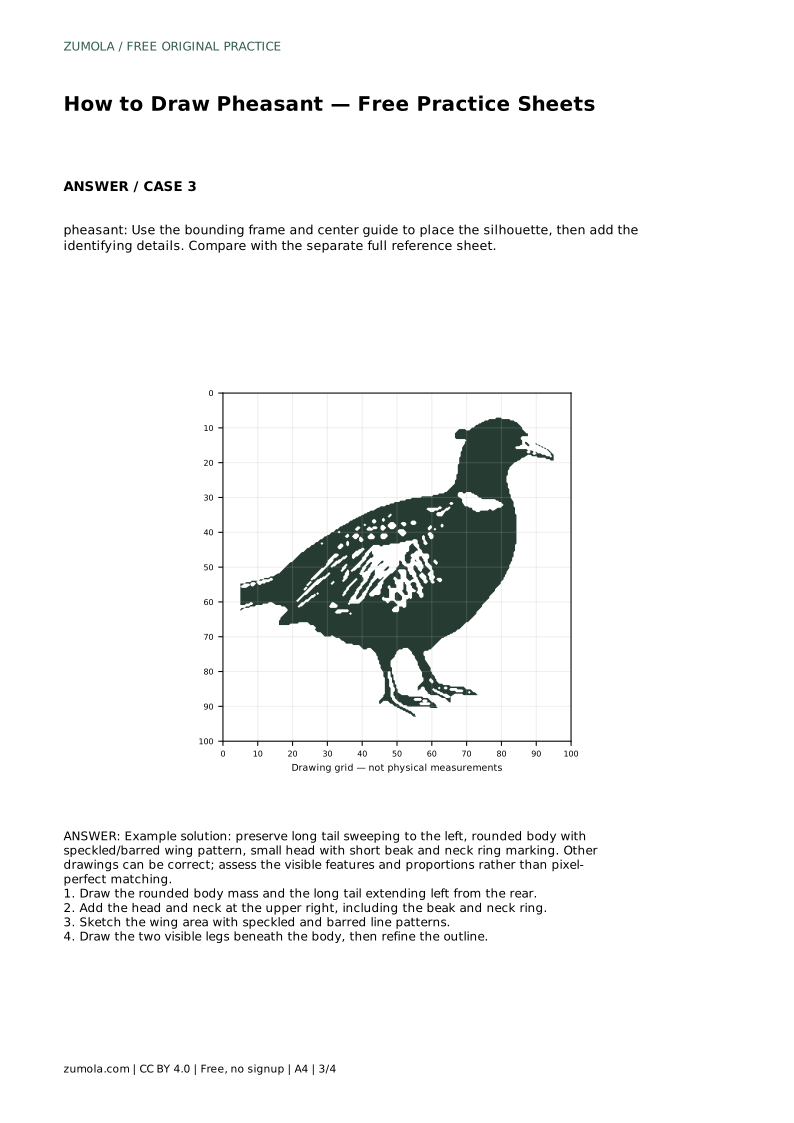
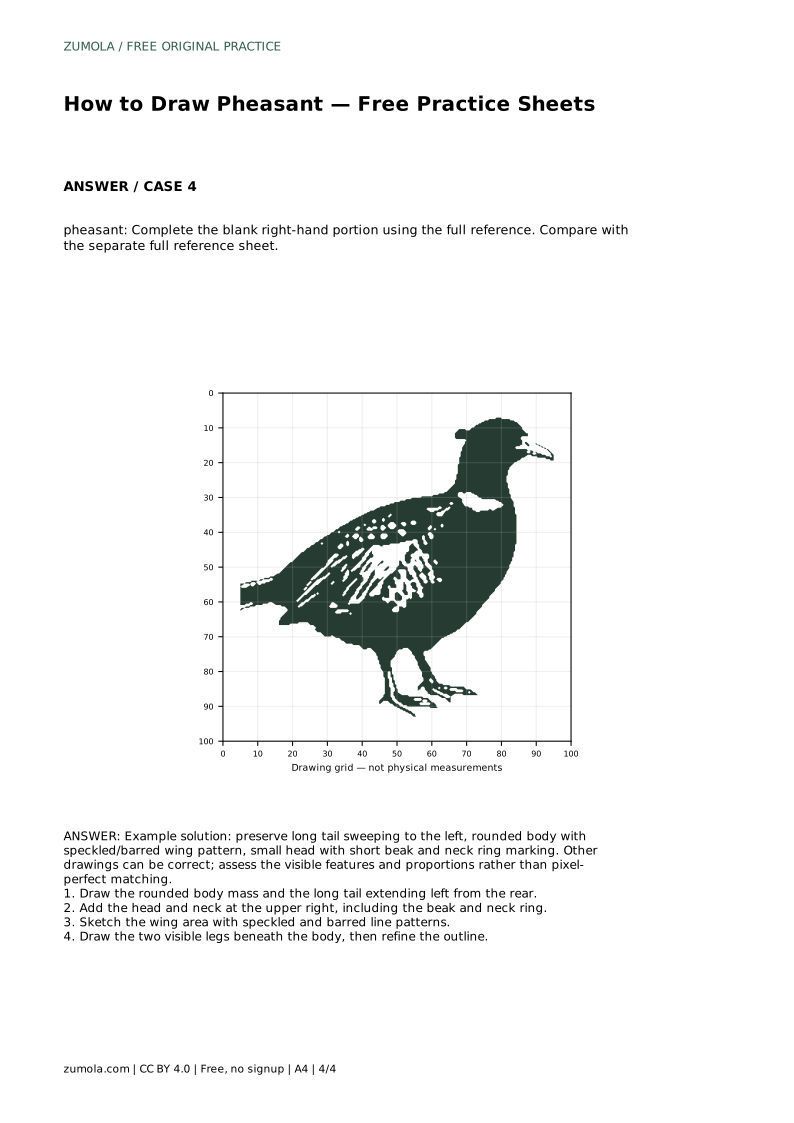
Look at the reference as a set of connected masses rather than a single outline. The body is the largest rounded mass. The tail extends from the rear as a long, narrowing sweep. The head and neck sit at the upper right in the reference, with a short beak and a neck ring marking. The wing area carries speckled and barred line patterns. Two legs are visible beneath the body.
Decide the direction of the tail first. In this reference the tail sweeps to the left, so the body sits to its right and the head rises at the upper right. Keeping that arrangement prevents the common problem of a tail that points the wrong way or a head placed over the body centre.
Tracing builds familiarity with the contour, but it does not by itself teach placement. After tracing the reference outline once, set the traced sheet aside and draw the same contour on a fresh sheet while glancing at the reference. Compare your independent drawing with the separate full reference sheet, not with your traced copy.
When comparing, check the large relationships first: body size against tail length, head height against body height, and the angle of the tail. Only then compare the smaller details such as the beak, neck ring, and wing pattern. Correcting a proportion is more useful than polishing a pattern on a misplaced wing.
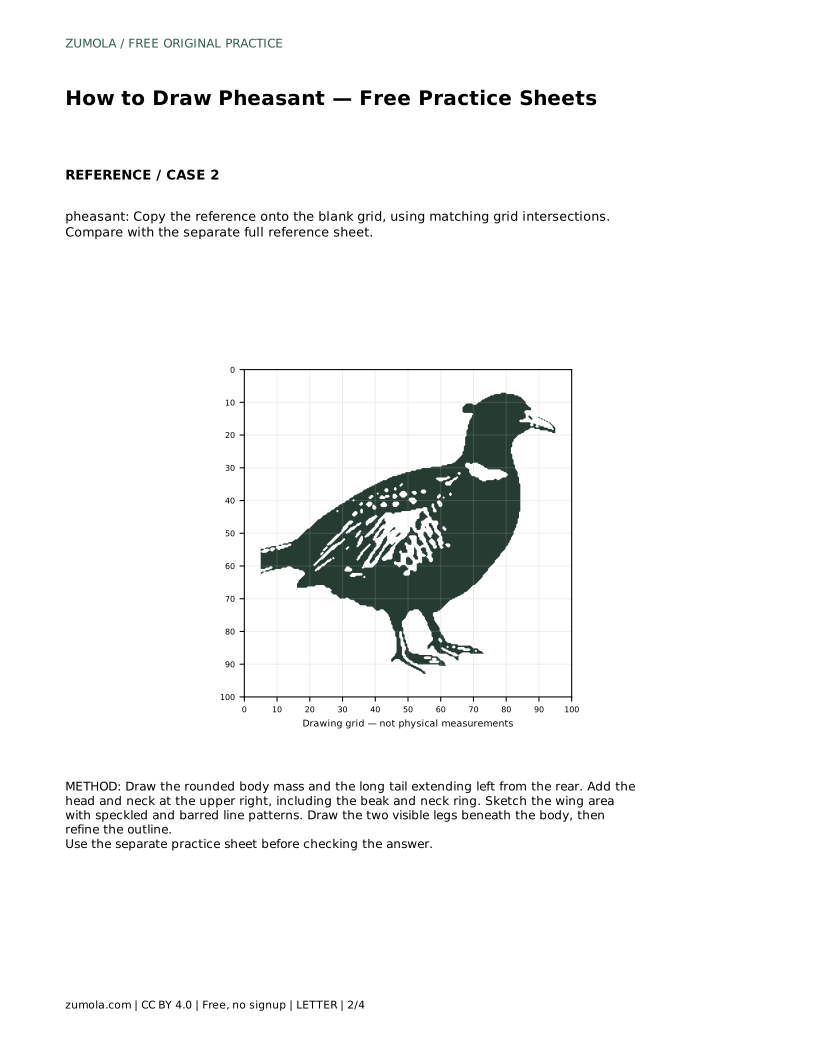
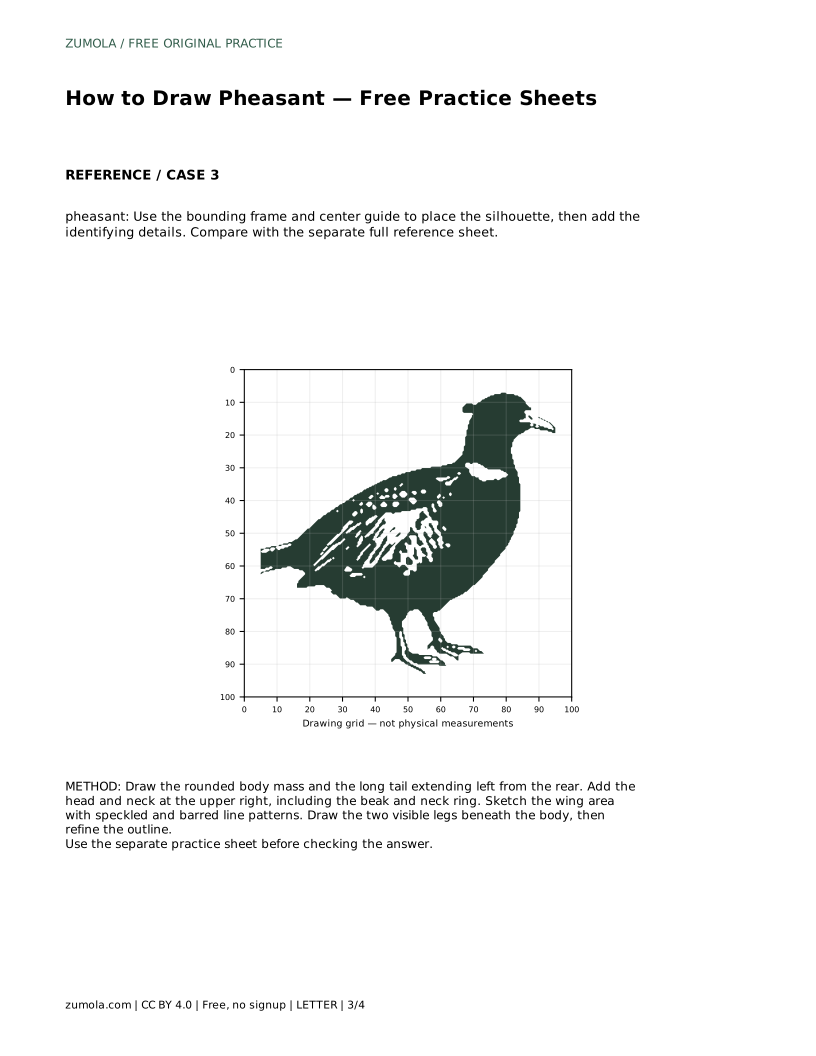
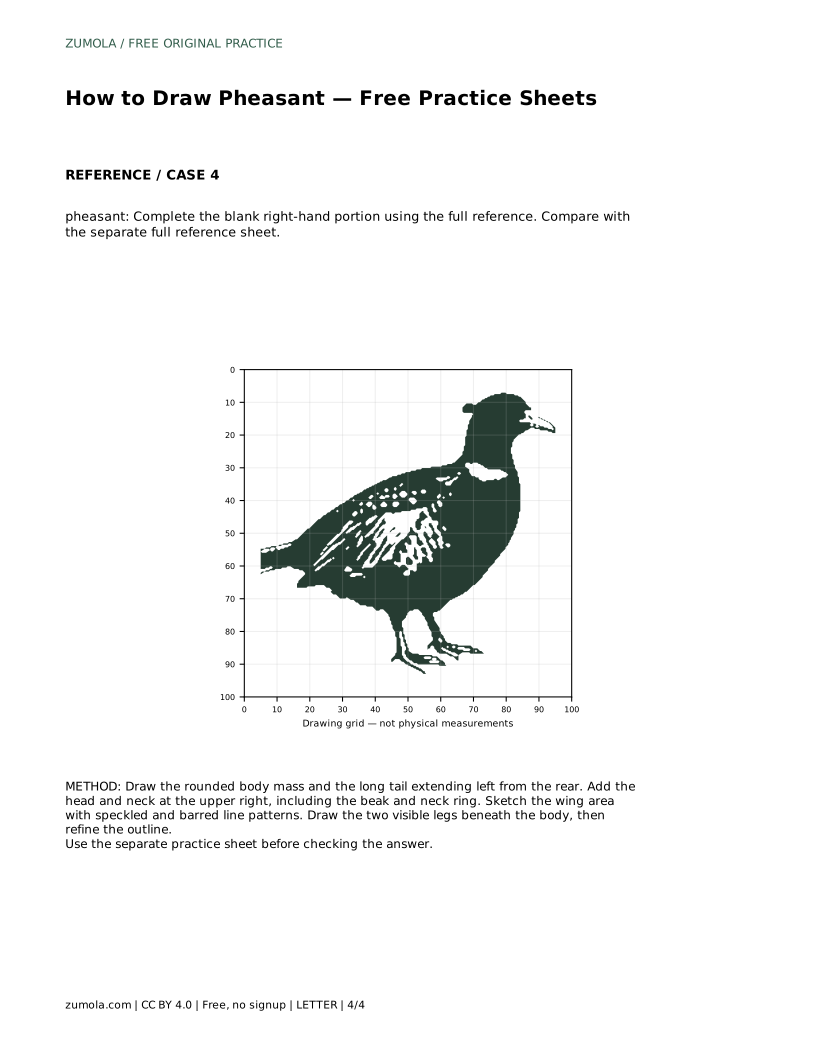
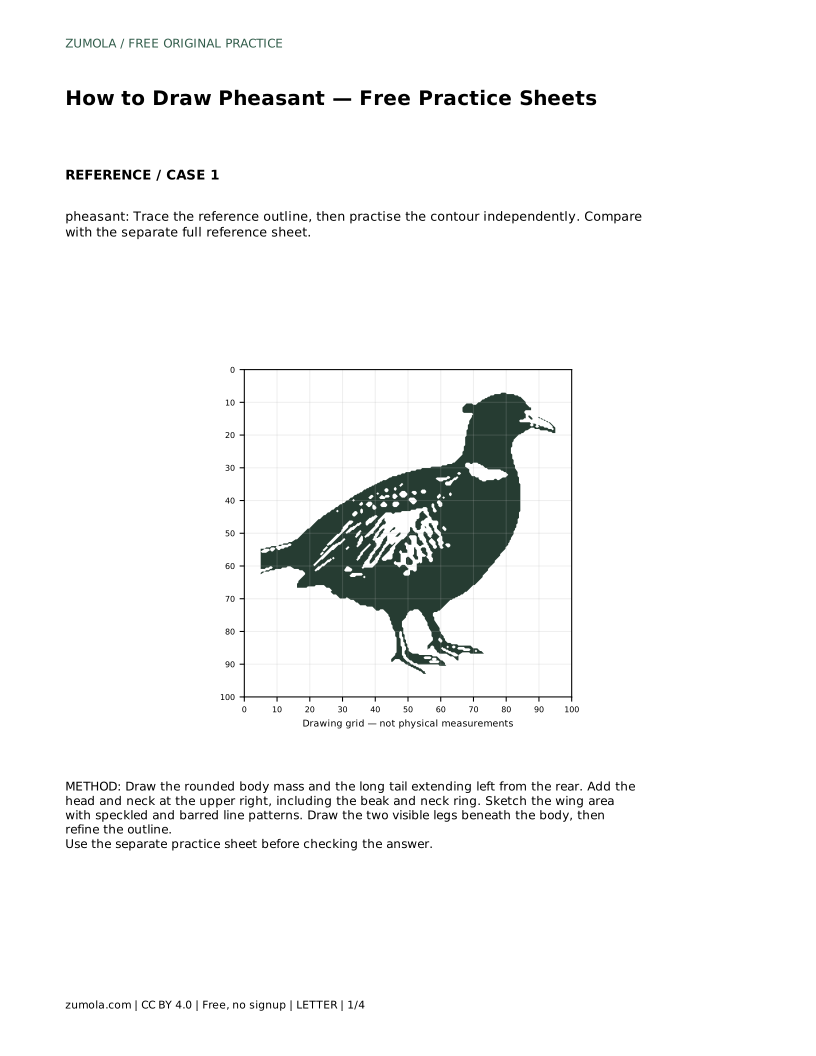
Build the drawing from the body outward. Draw the rounded body mass and the long tail extending left from the rear. Add the head and neck at the upper right, including the short beak and the neck ring. Sketch the wing area with speckled and barred line patterns. Draw the two visible legs beneath the body, then refine the outline.
The wing pattern is a texture, not a single shape. Bars run across the wing in repeated strokes, while speckles sit as small marks between them. Keep the marks inside the wing boundary so the pattern reads as plumage rather than scattered noise. The neck ring is a narrow band, not a collar that changes the neck shape.
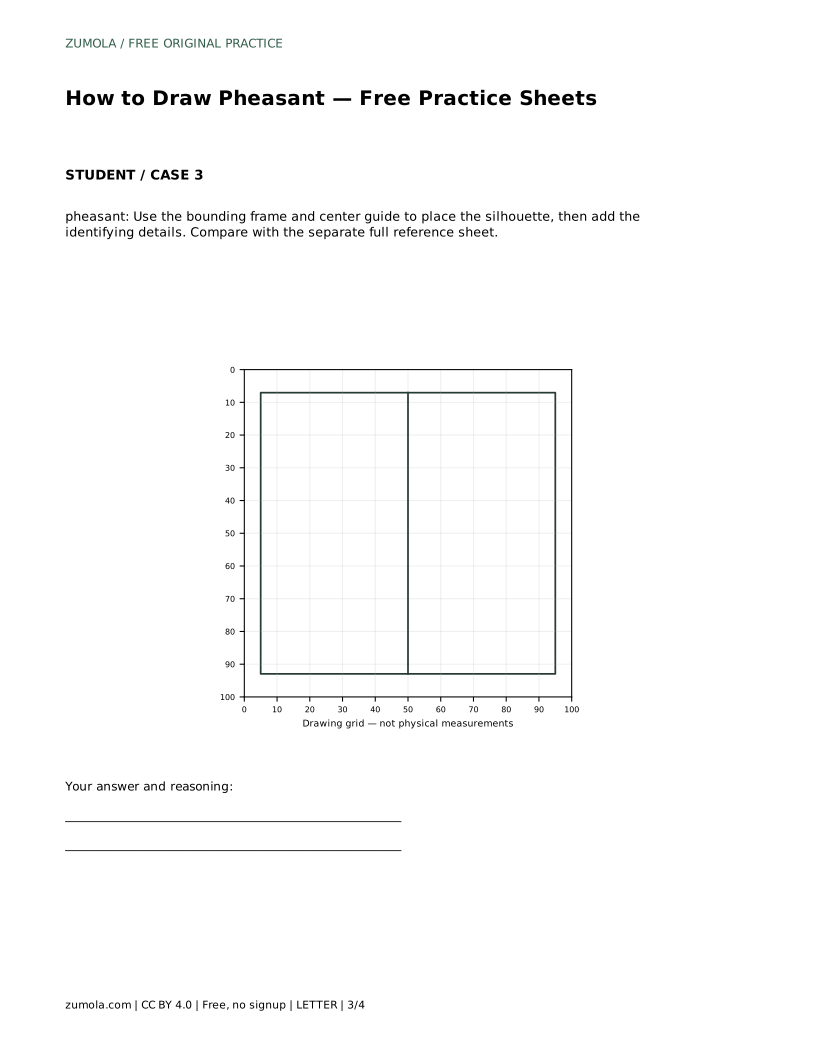
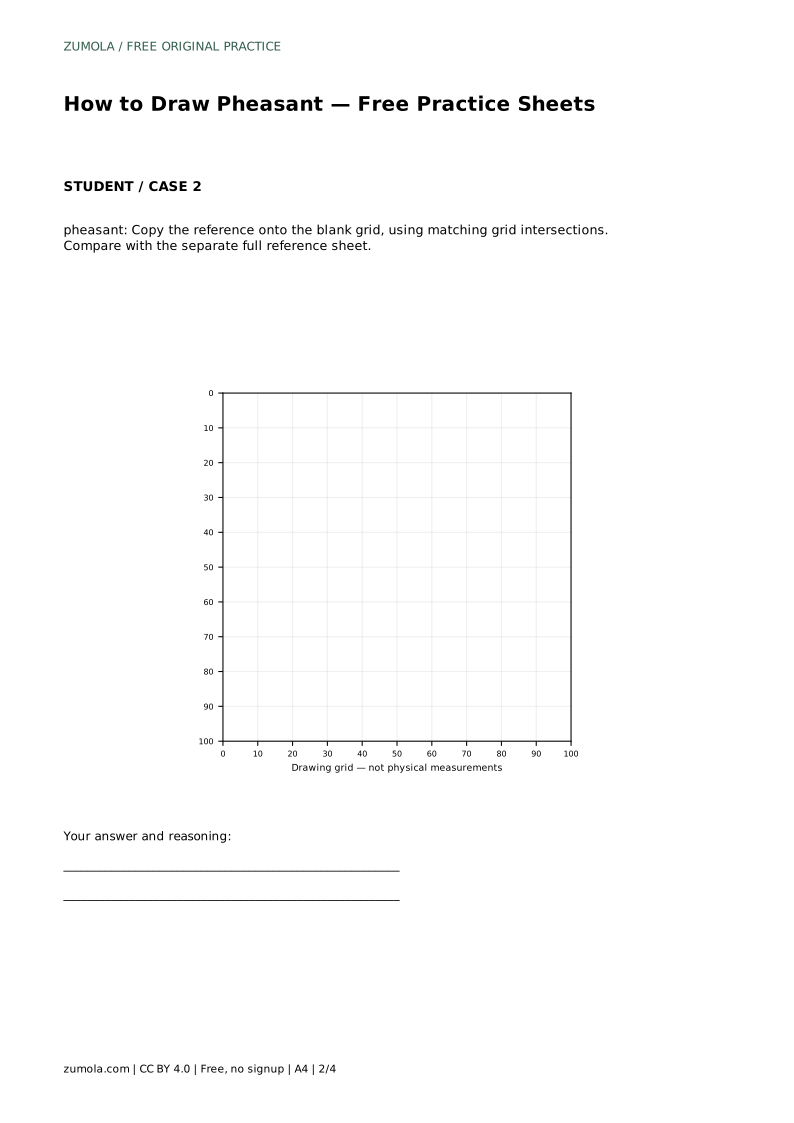
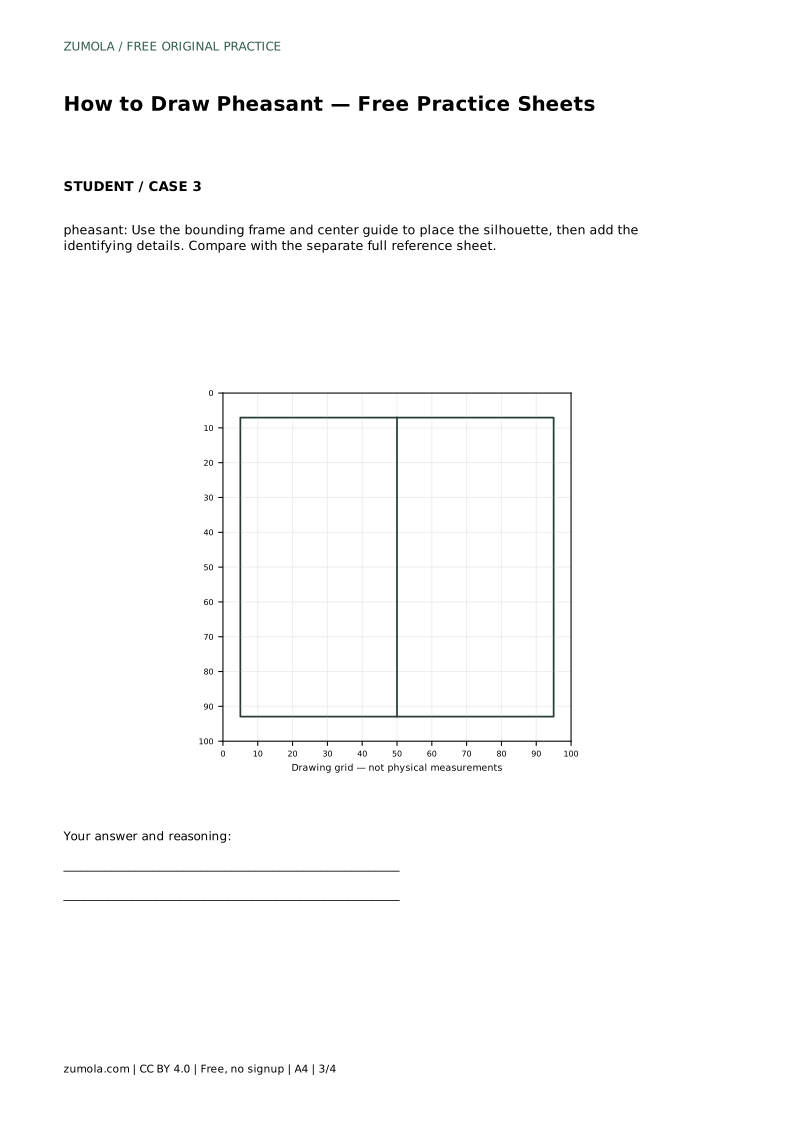
The grid version asks you to copy the reference onto a blank grid using matching grid intersections. Place the tail tip, body centre, head, and leg positions at the corresponding intersections before drawing curves between them. The bounding frame and centre guide version works differently: use the frame to set the outer limits of the silhouette and the centre guide to judge whether the body sits above or below the middle.
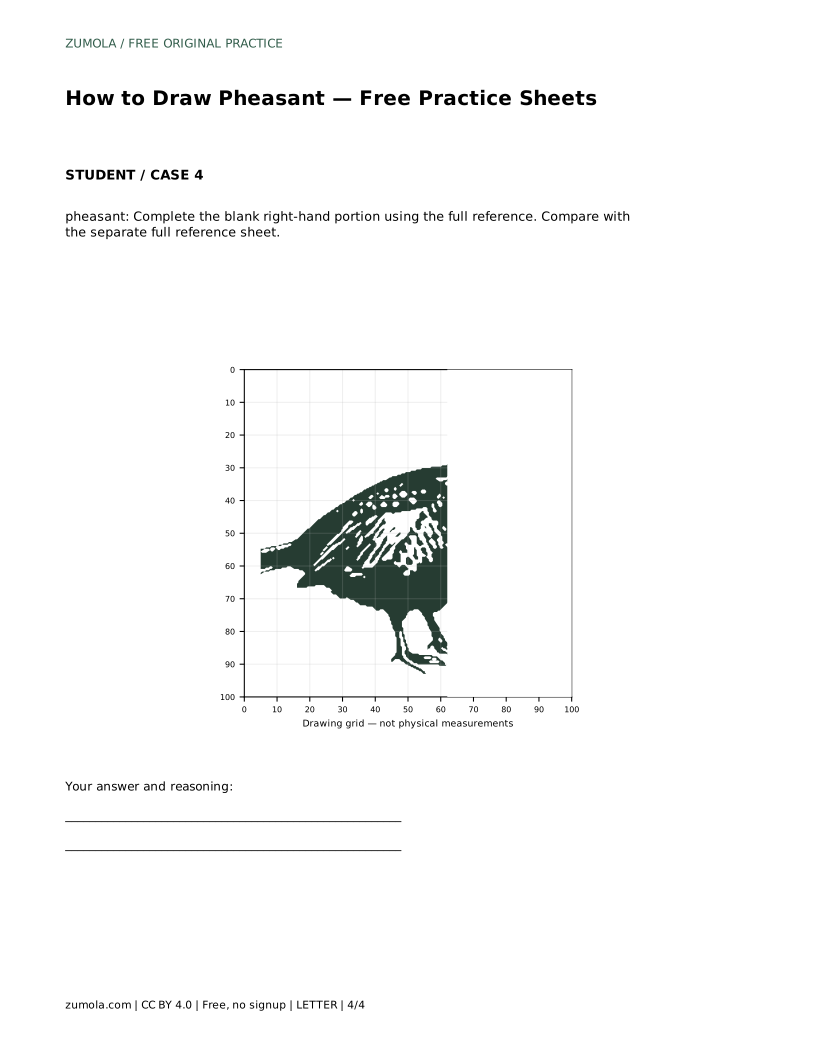
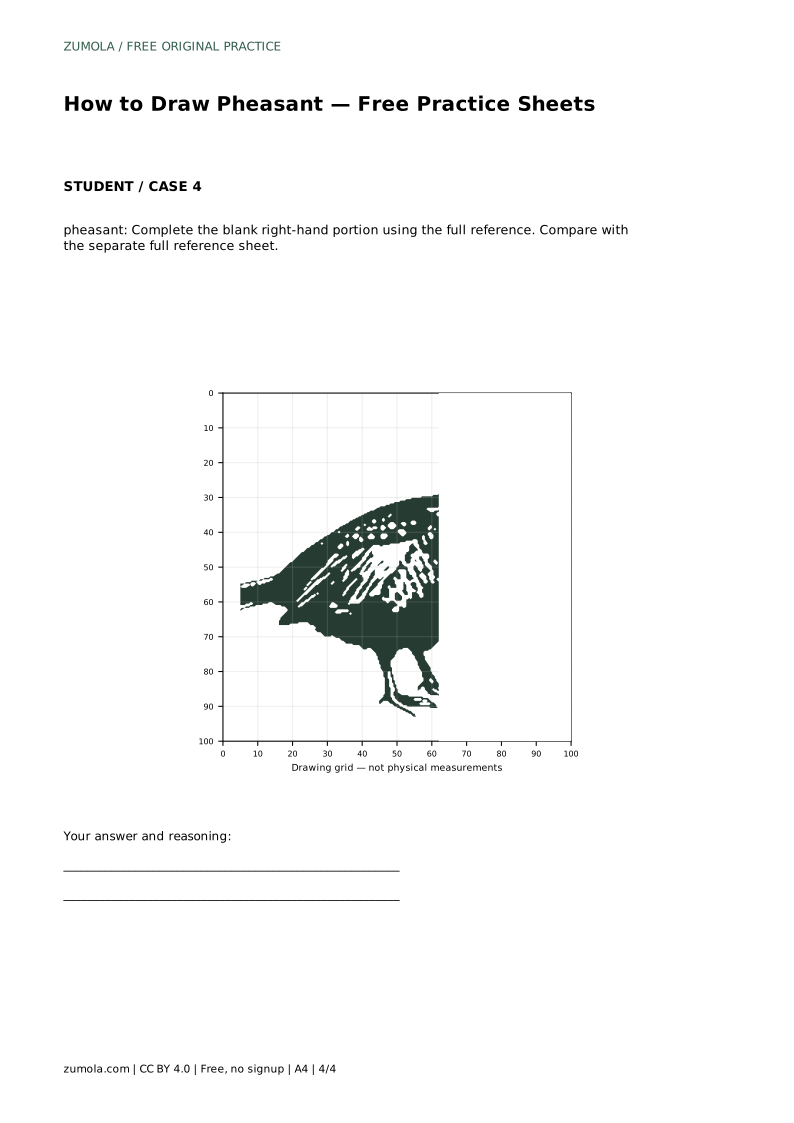
The partial version gives you the full reference and a blank right-hand portion. Complete only the missing portion, matching the scale and line direction of the drawn side. In every version, compare with the separate full reference sheet and judge the visible features and proportions rather than exact matching.
pheasant: Trace the reference outline, then practise the contour independently. Compare with the separate full reference sheet.
Example solution: preserve long tail sweeping to the left, rounded body with speckled/barred wing pattern, small head with short beak and neck ring marking. Other drawings can be correct; assess the visible features and proportions rather than pixel-perfect matching. Draw the rounded body mass and the long tail extending left from the rear. Add the head and neck at the upper right, including the beak and neck ring. Sketch the wing area with speckled and barred line patterns. Draw the two visible legs beneath the body, then refine the outline.
No. Other drawings can be correct. Assess the visible features and proportions, such as the long left-sweeping tail, rounded body, barred wing, short beak, and neck ring.
Check the large relationships first: body size against tail length, head height against body height, and the tail angle. Refine small details afterward.
The grid version uses matching intersections to copy the whole reference. The partial version supplies the full reference and asks you to complete only the blank right-hand portion at matching scale.
All drawing practice · Free coordinate paper
Original resources · CC BY 4.0 · Free for personal and classroom use with attribution.