Reference diagrams
LETTER · Download PDF
A4 · Download PDF
Free original resources
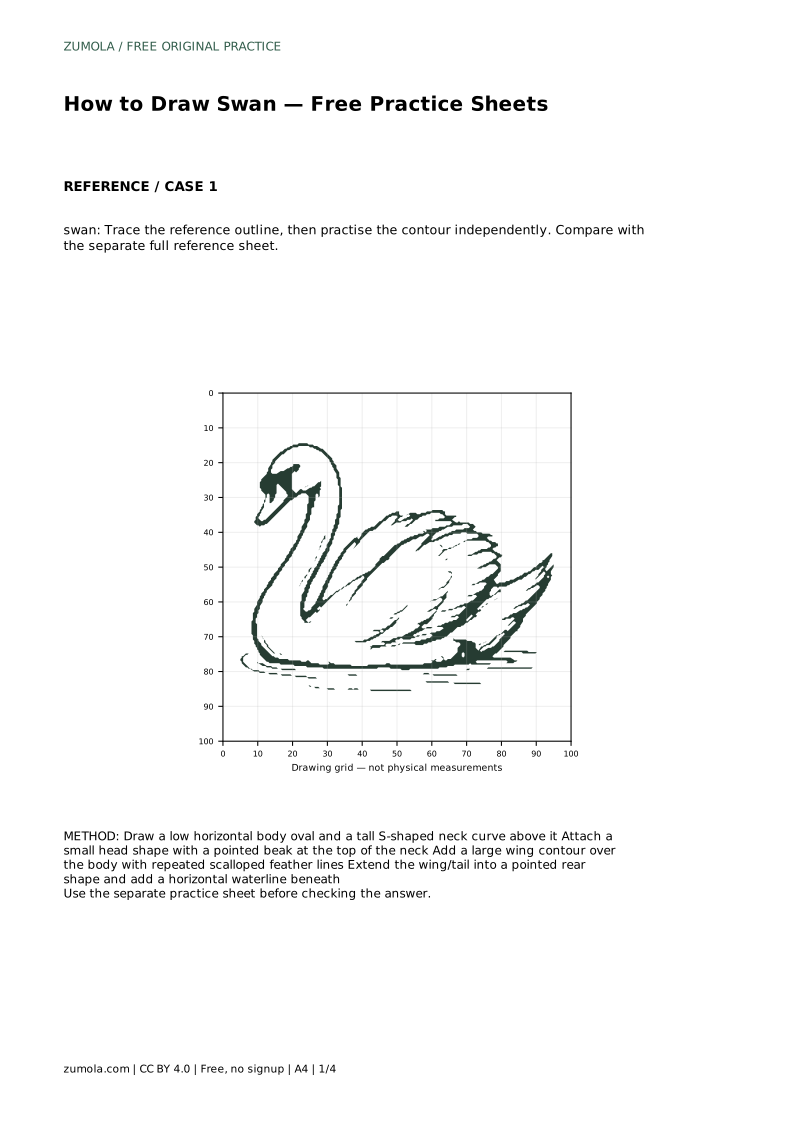
Learn to draw a swan by building a low body oval, an S-curved neck, a pointed beak and scalloped wing feathers, then compare your work with a reference sheet.
Four original cases, with reference diagrams, practice sheets and worked answers. Everything is free; no signup required.
LETTER · Download PDF
A4 · Download PDF
LETTER · Download PDF
A4 · Download PDF
LETTER · Download PDF
A4 · Download PDF
Use A4 or US Letter to match your printer. Use the stated values and conditions to solve each exercise; diagrams are not physical measuring rulers.
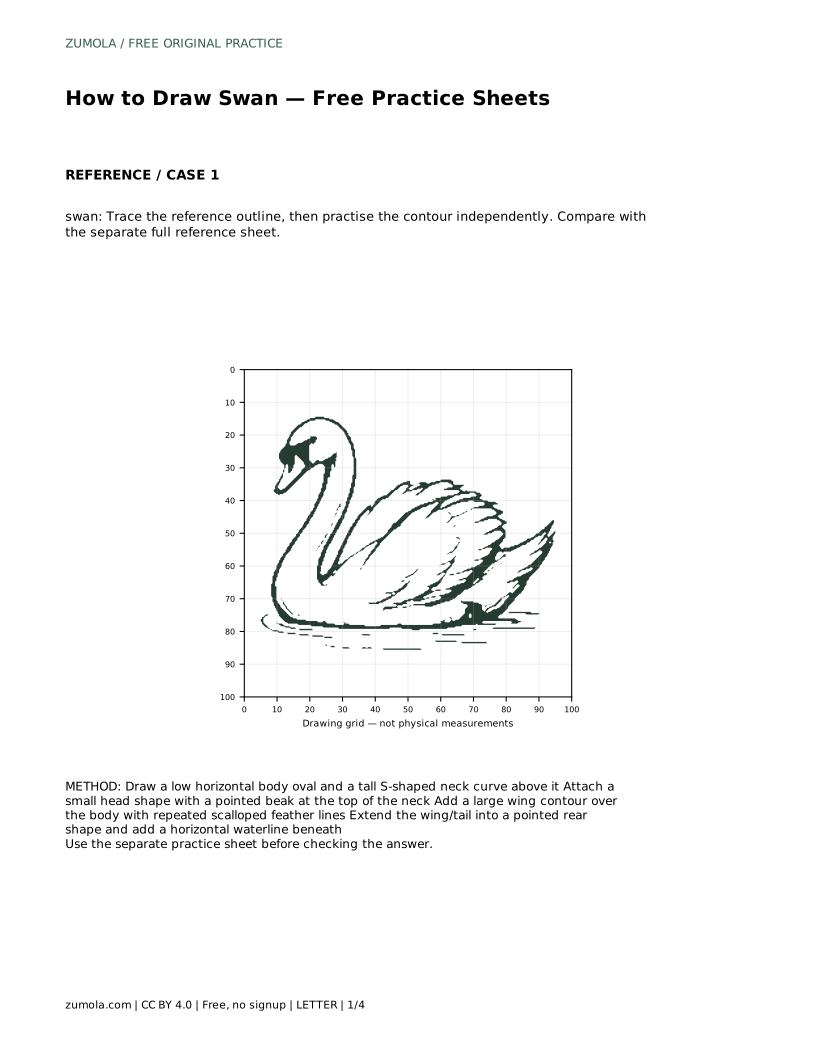
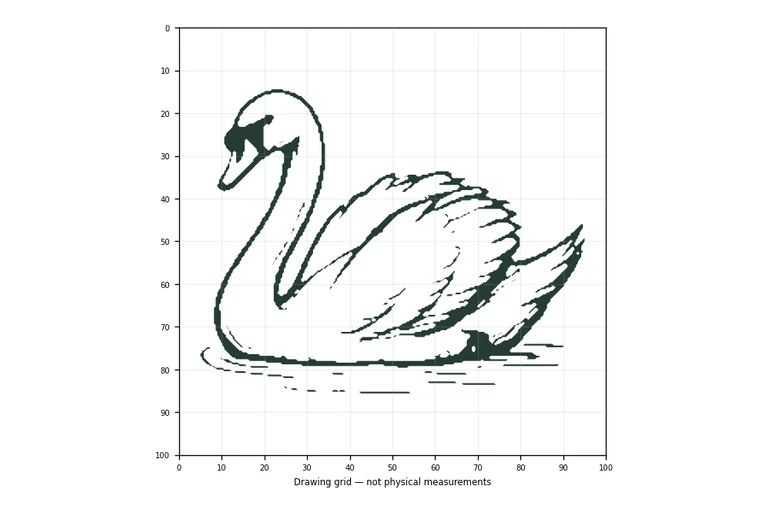
A swan drawing depends on a few clear shapes working together: a low, rounded body, a long neck that curves in a smooth S, a small head with a pointed beak, and a wing whose edge breaks into soft scallops toward a pointed tail. The practice sheets let you trace a reference outline first, then try the same contour without tracing. Because drawings of swans can vary, judge your result by visible features and proportions rather than an exact match.
Begin with the two largest shapes before any detail. Draw a low horizontal oval for the body; keep it wider than it is tall so the bird sits close to the water. Above it, draw a tall S-shaped curve for the neck. The lower end of the neck should meet the front of the body oval, and the upper end should rise clearly above the body. Check that the neck is long relative to the body, since a short neck changes the whole silhouette.
The S curve should flow rather than zigzag. If your neck looks stiff, redraw it as one continuous line from the body to the head position. Leave the head and wing for later so you can adjust the body and neck proportions first.
At the top of the neck, attach a small head shape. Add a pointed beak projecting forward from the head; the point should be clear rather than rounded. A dark, jagged eye and face patch belongs near the base of the beak. Treat this patch as a marking on the head, not as a separate object, and keep its edge irregular.
The head should look small next to the body. If the head grows too large, the neck appears short and the swan loses its characteristic profile. Compare the head size with the width of the neck where they meet.
Draw a large wing contour over the body. The wing should cover much of the body's upper area and sweep toward the rear. Along its lower and rear edge, add repeated scalloped lines to suggest layered feathers. Keep the scallops rhythmic and similar in size so the wing reads as feathers rather than random bumps.
Extend the wing and tail into a pointed rear shape. The point should continue the sweep of the wing rather than stick out at a sharp angle. Finally, add a horizontal waterline beneath the body so the swan appears to float. The waterline is a straight reference, not part of the bird.
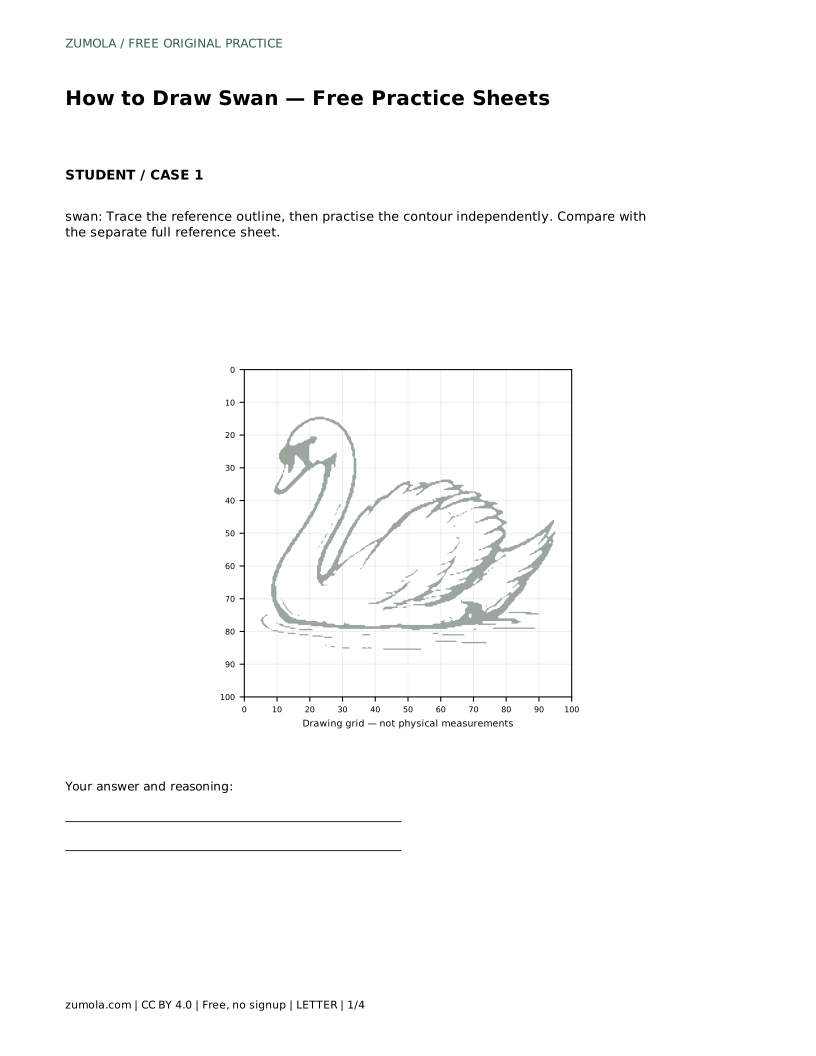
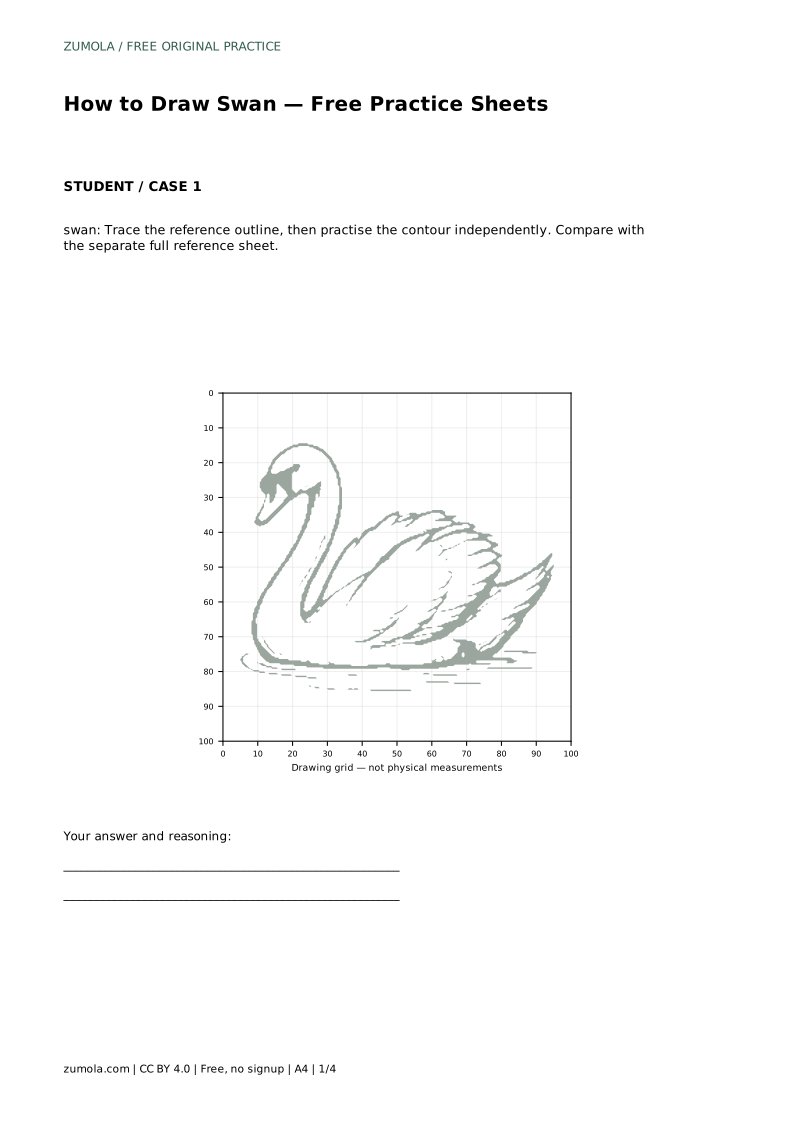
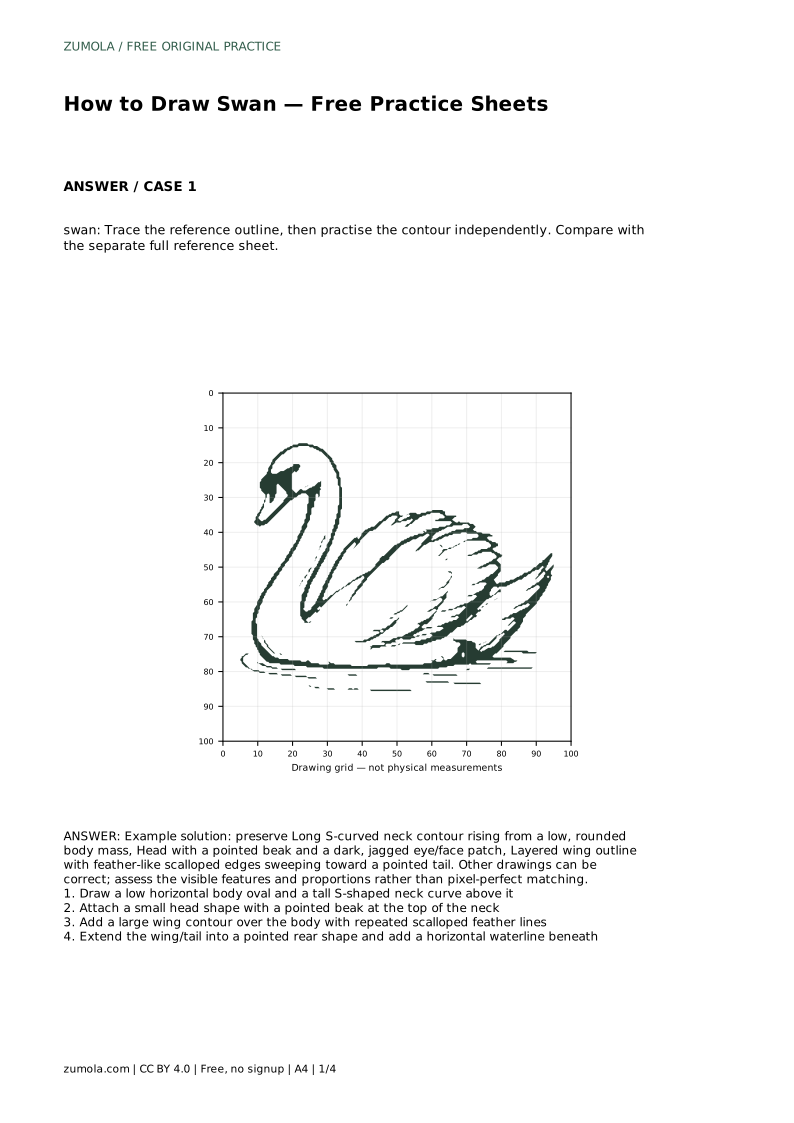
Use the trace sheet first: follow the reference outline slowly, paying attention to where the neck meets the body and where the wing edge changes direction. Then move to a blank sheet and draw the same contour from memory or by glancing at the separate full reference sheet. Compare your independent drawing with the reference, noting which feature drifted: neck length, body width, head size, wing sweep or tail point.
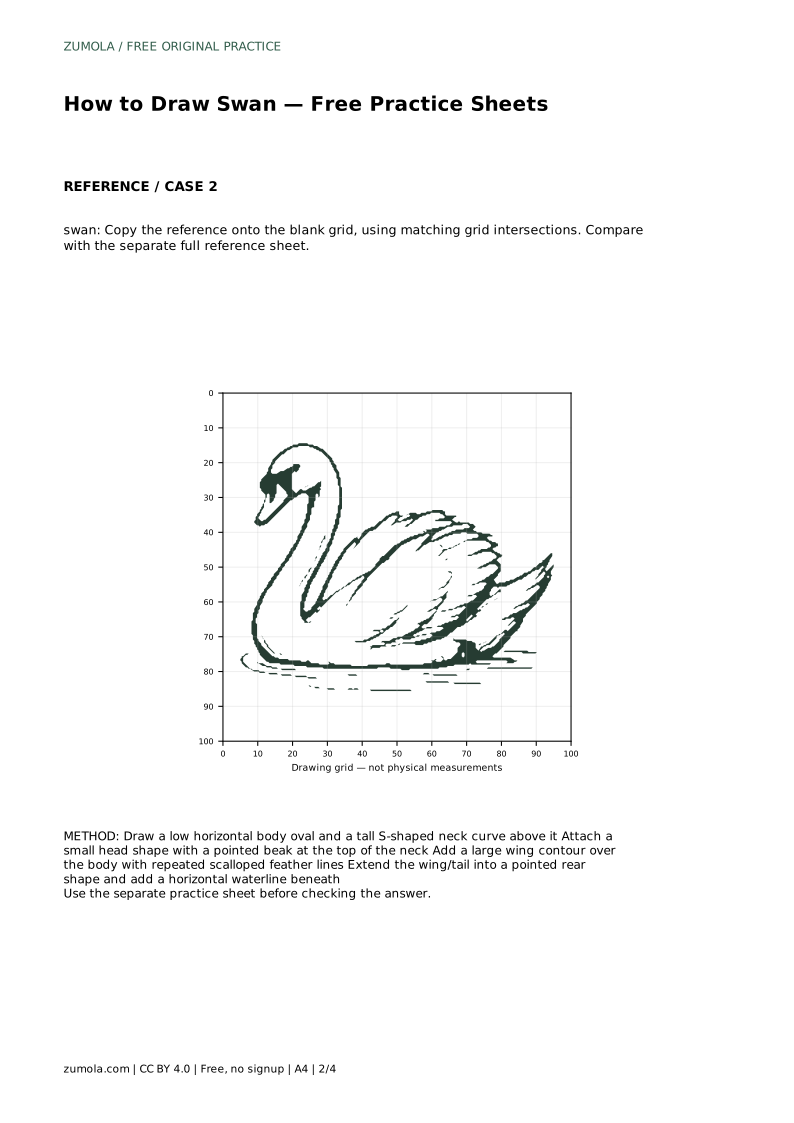
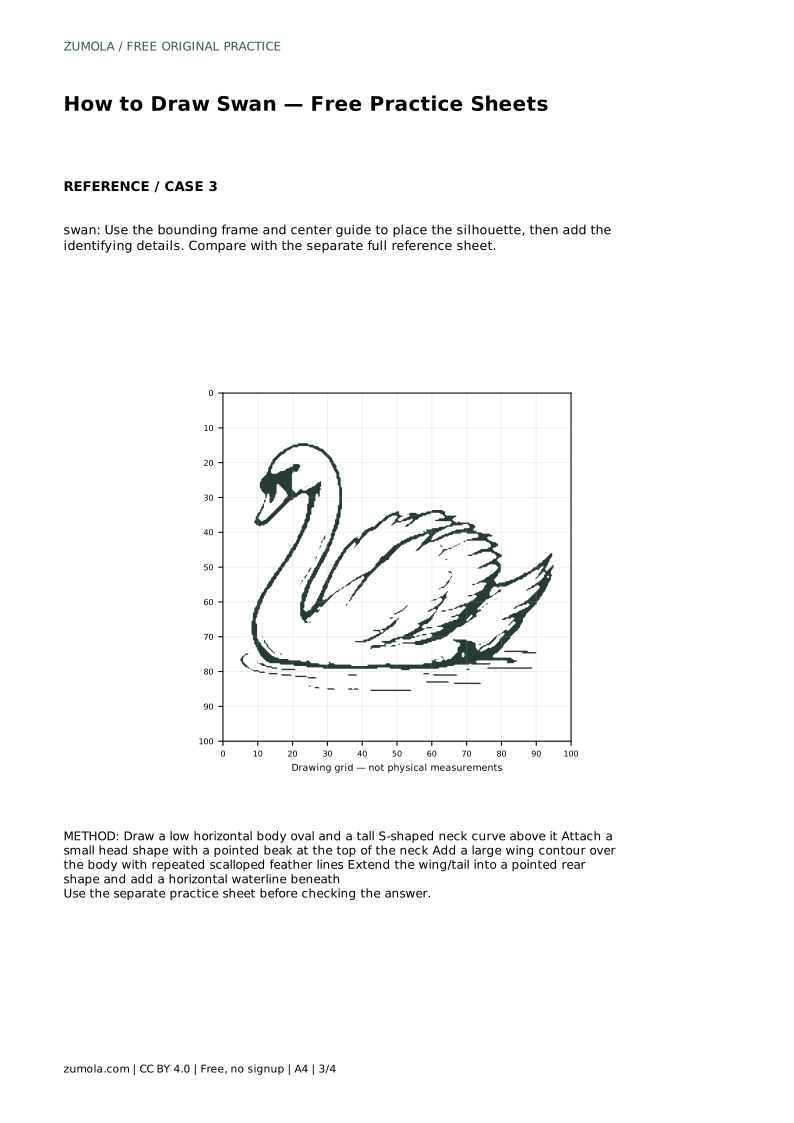
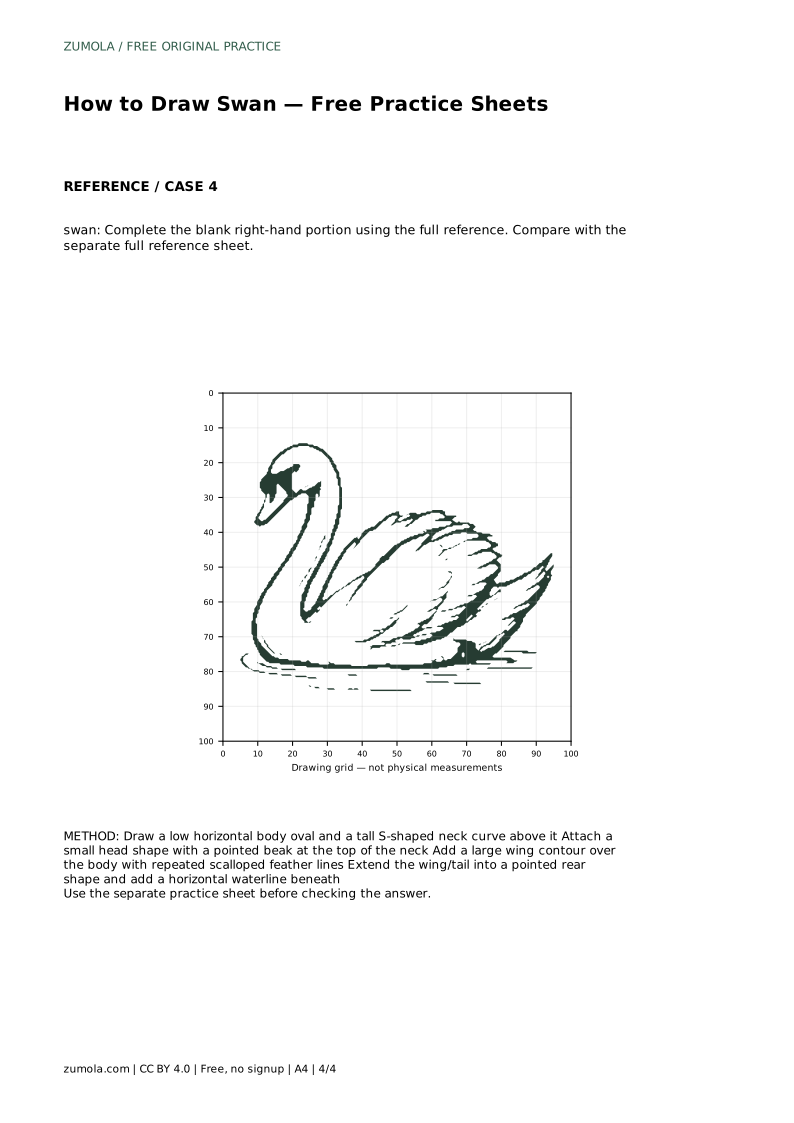
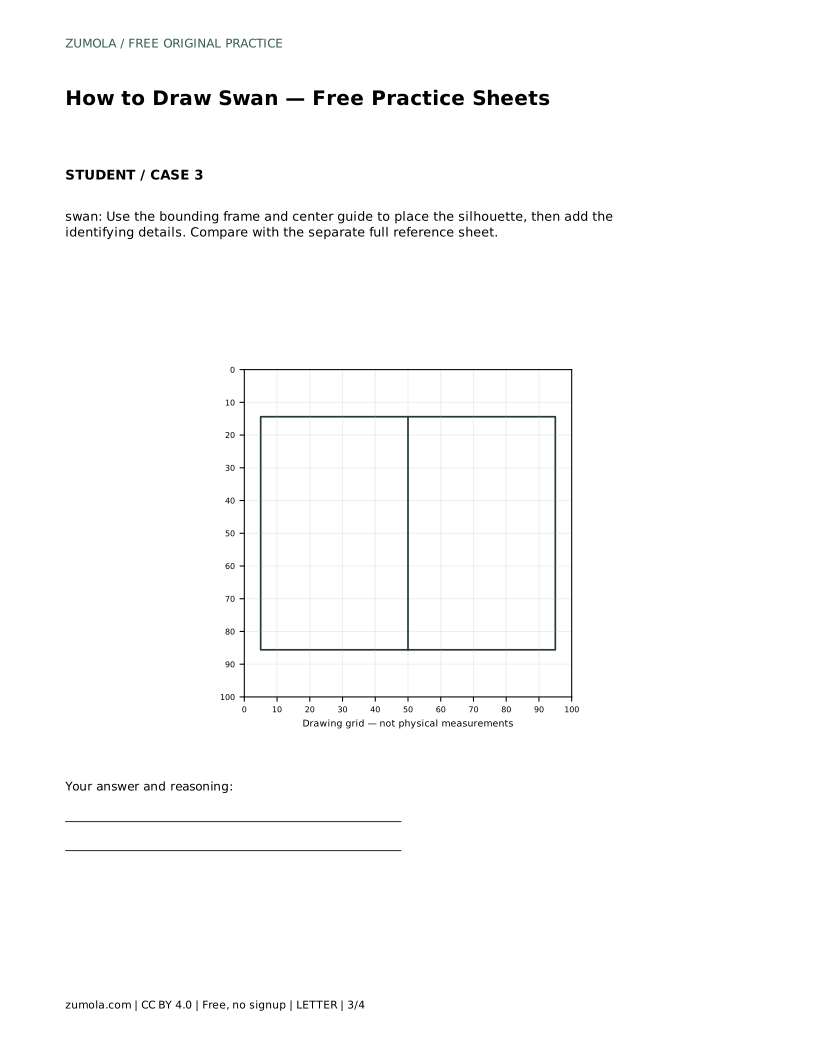
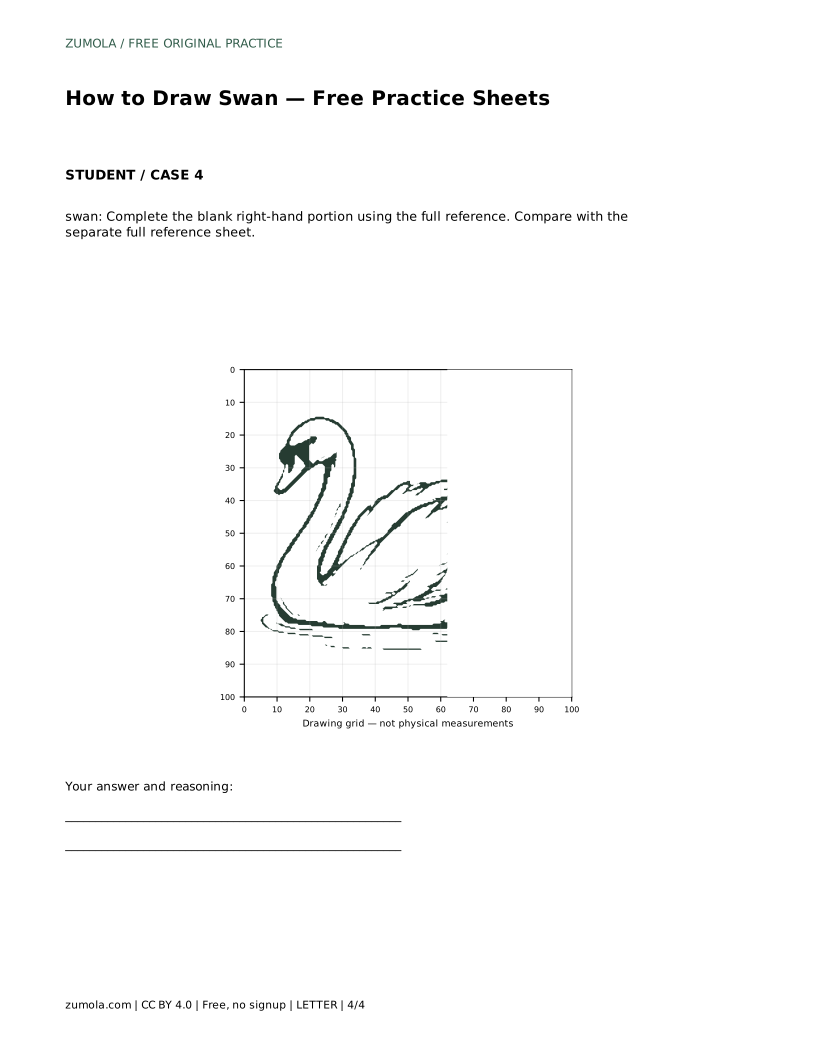
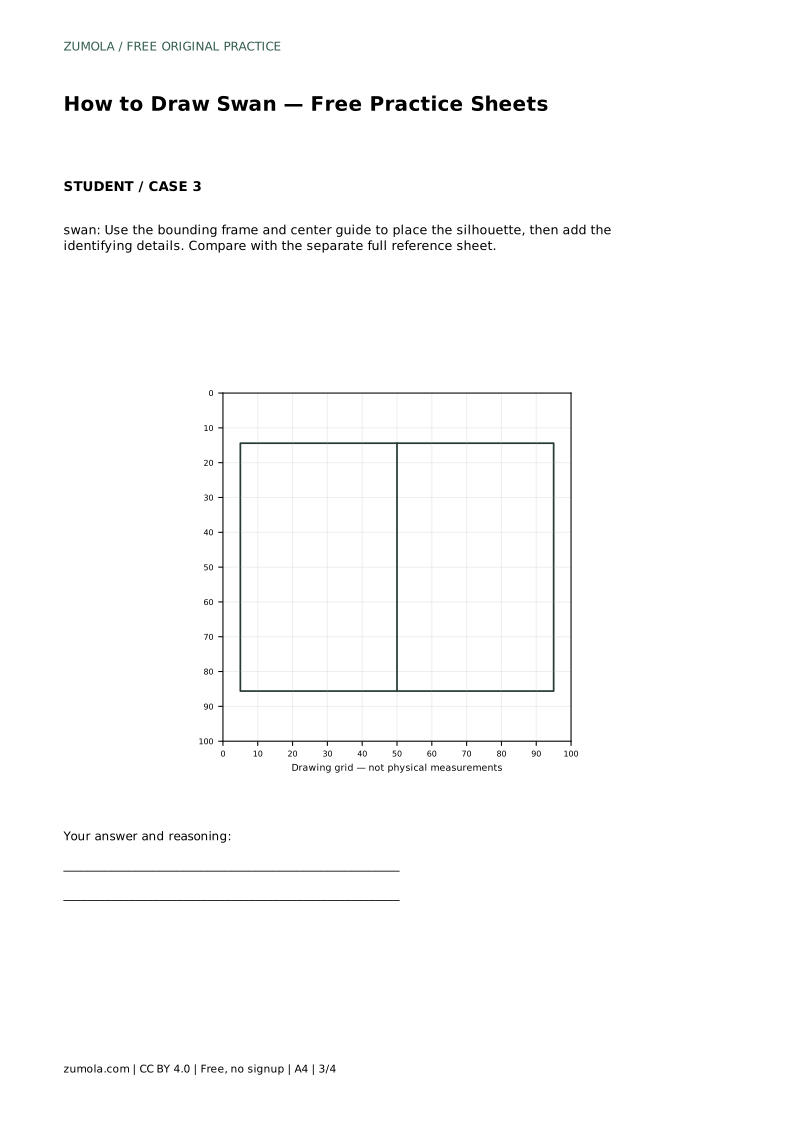
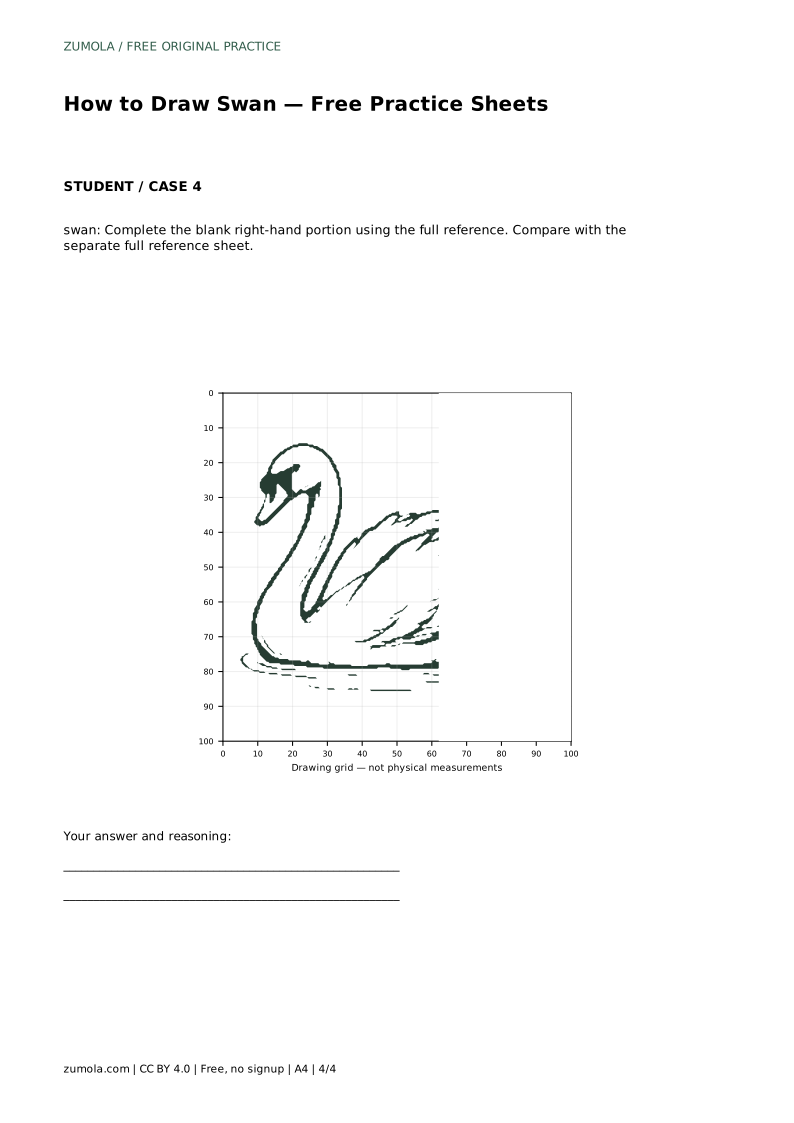
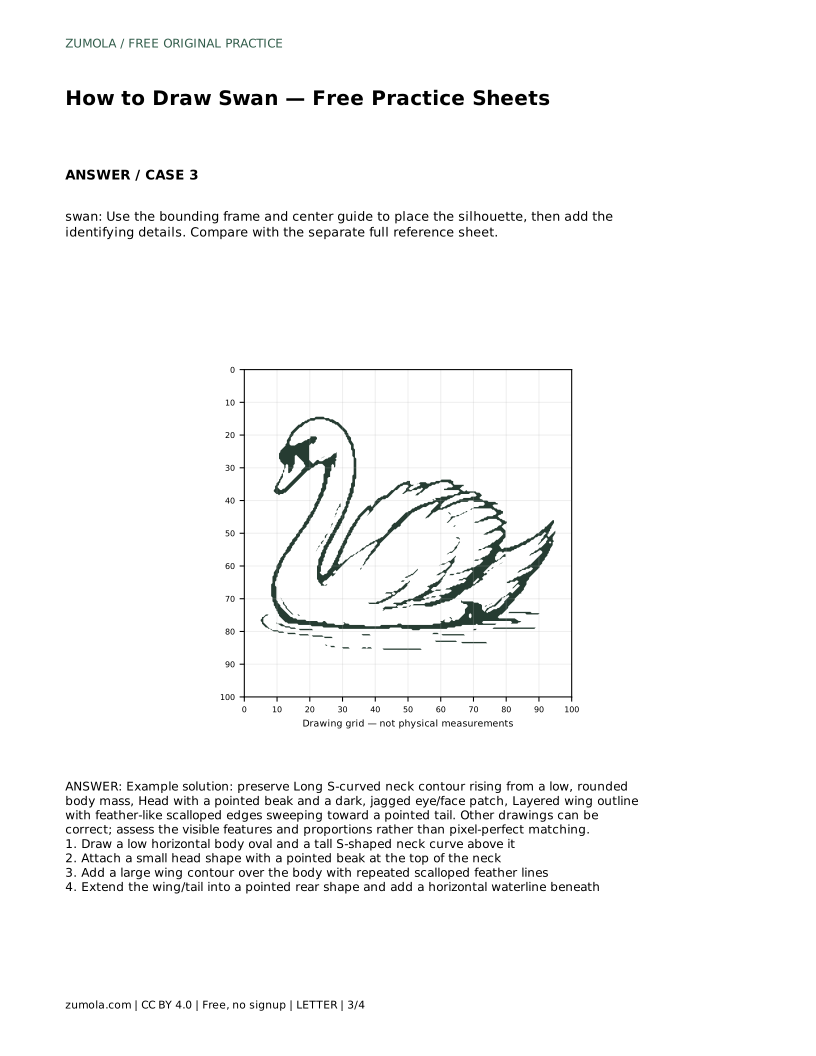
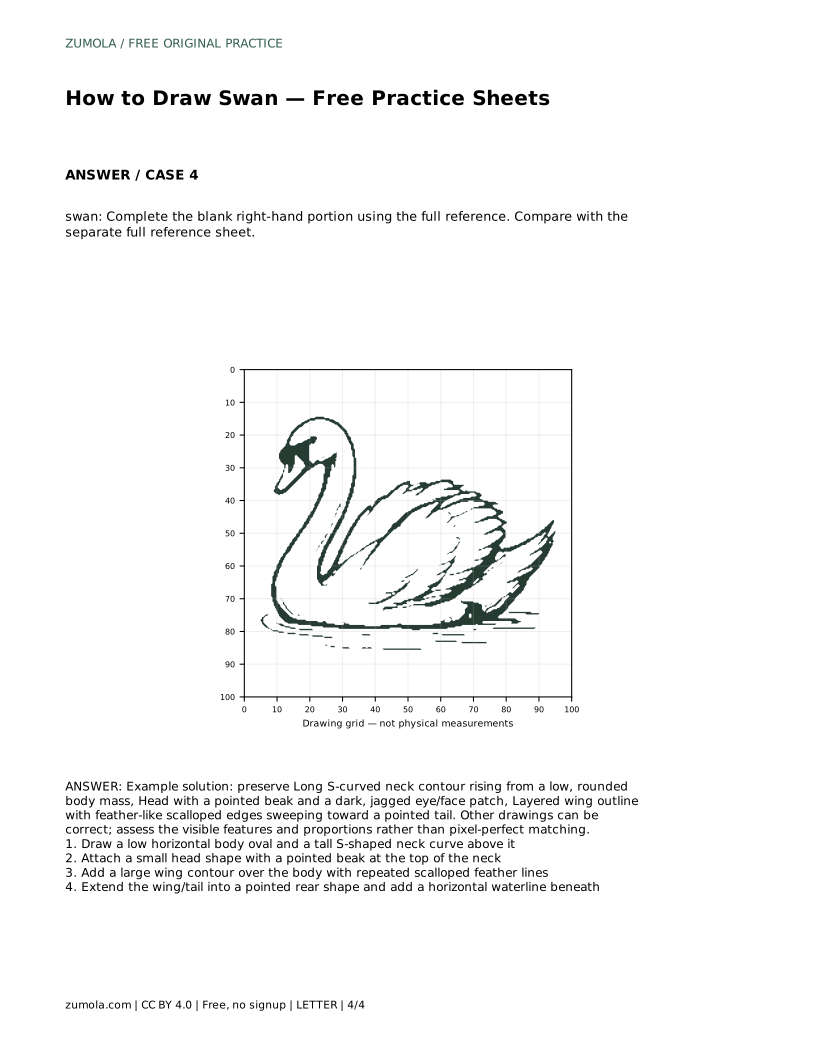
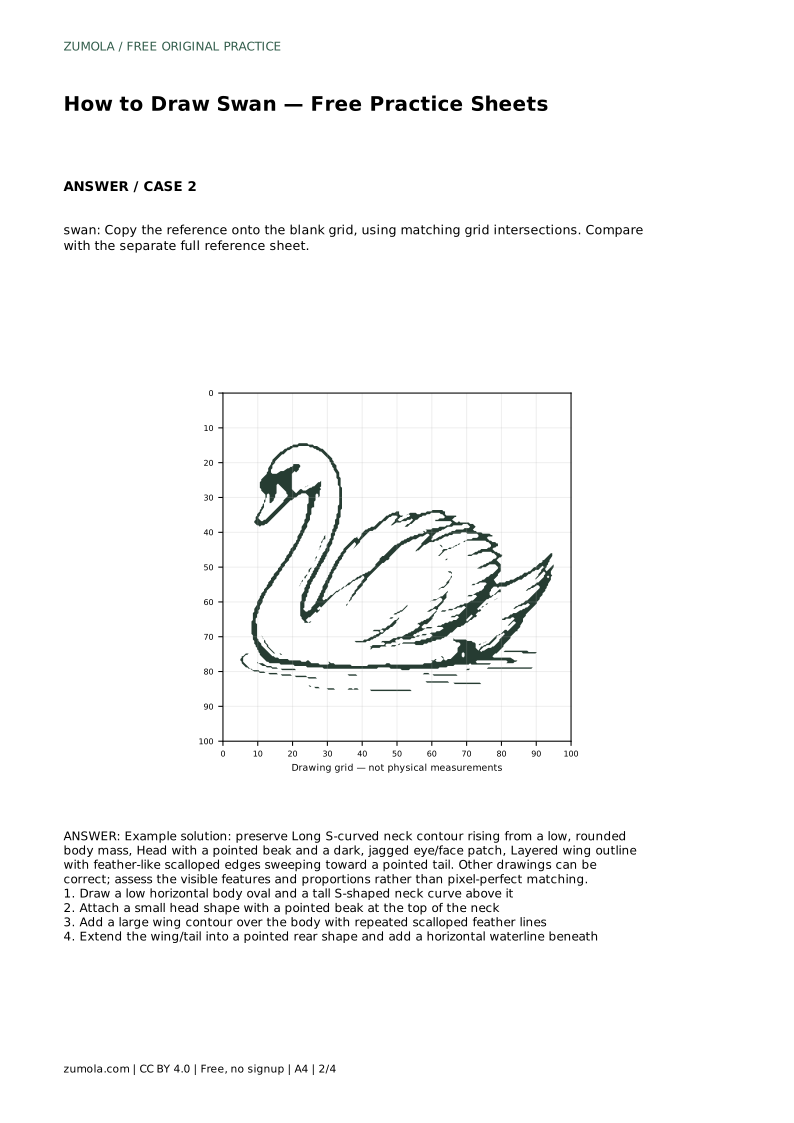
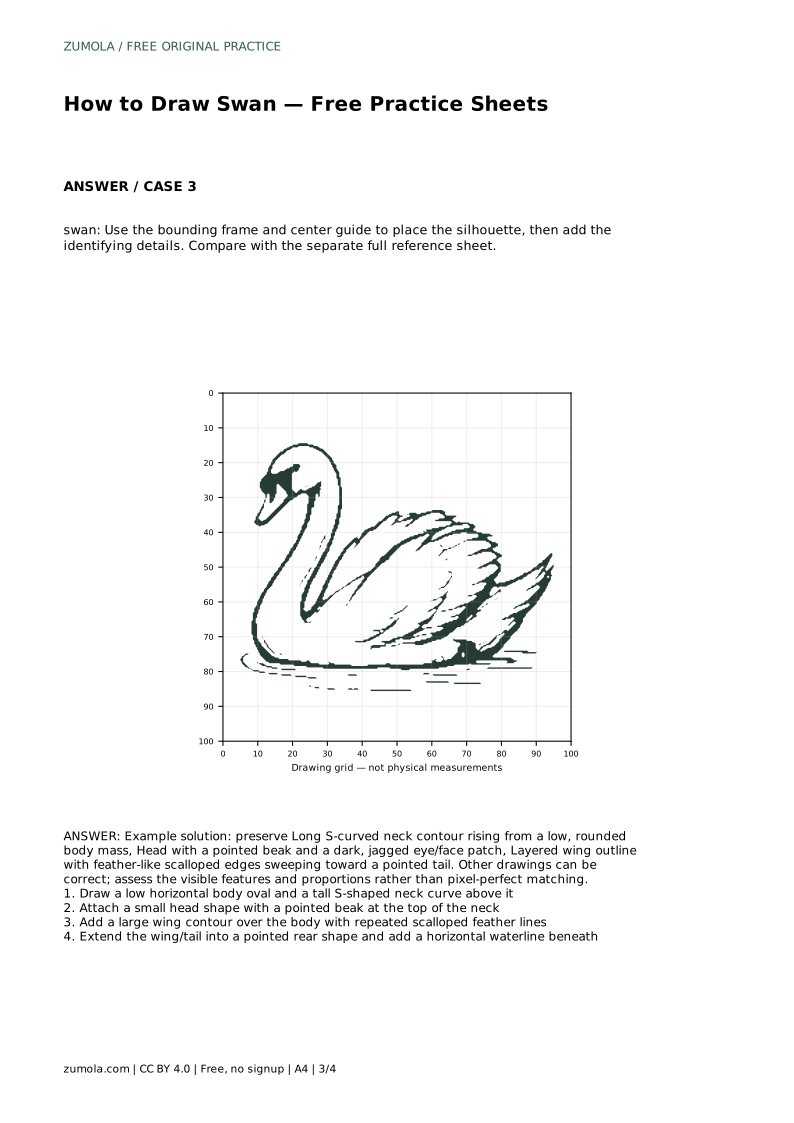
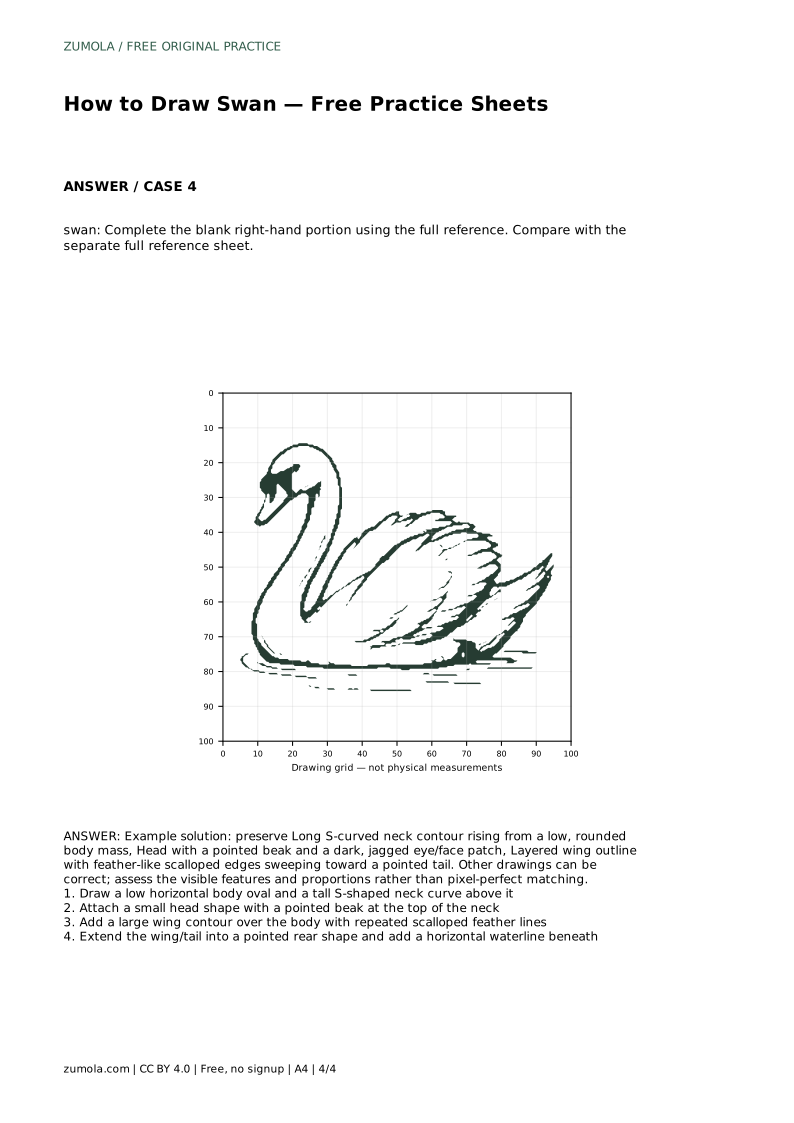
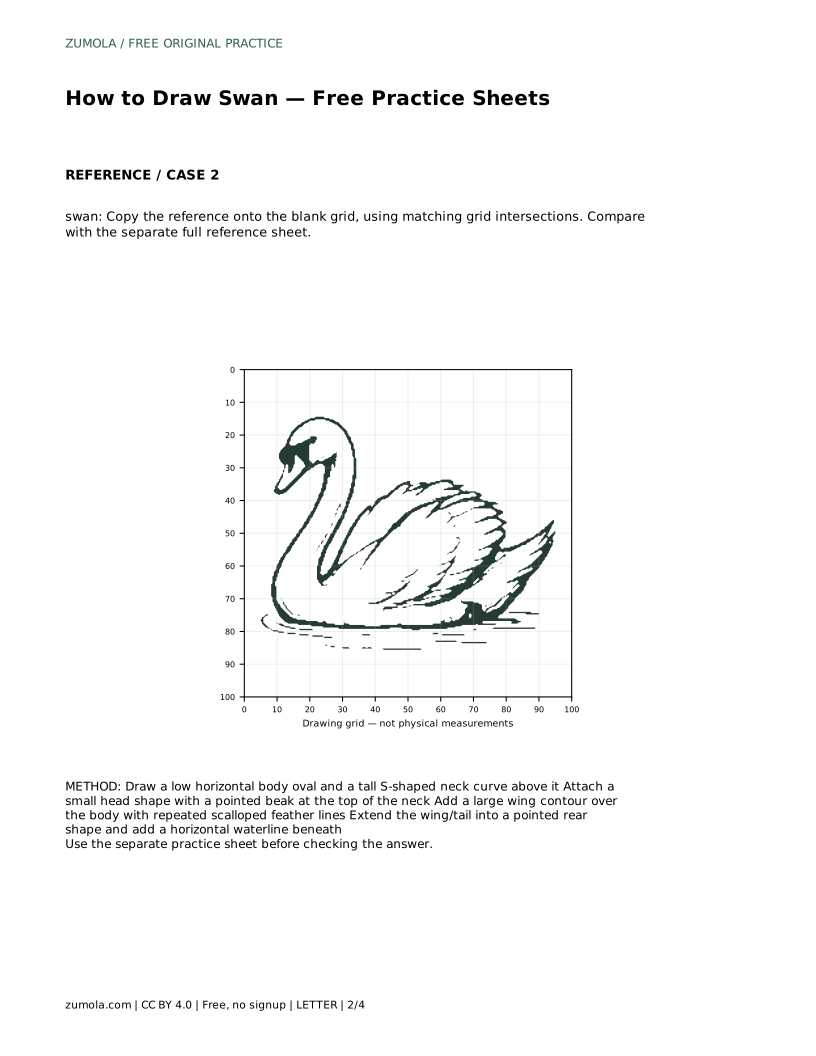
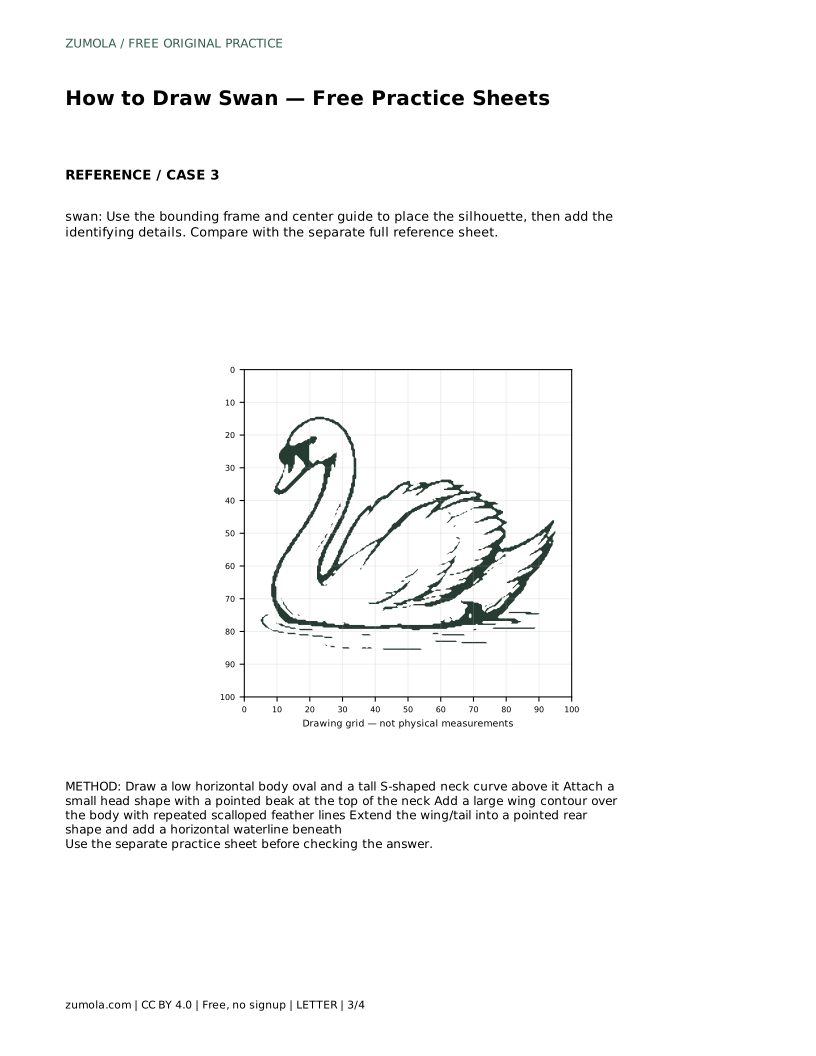
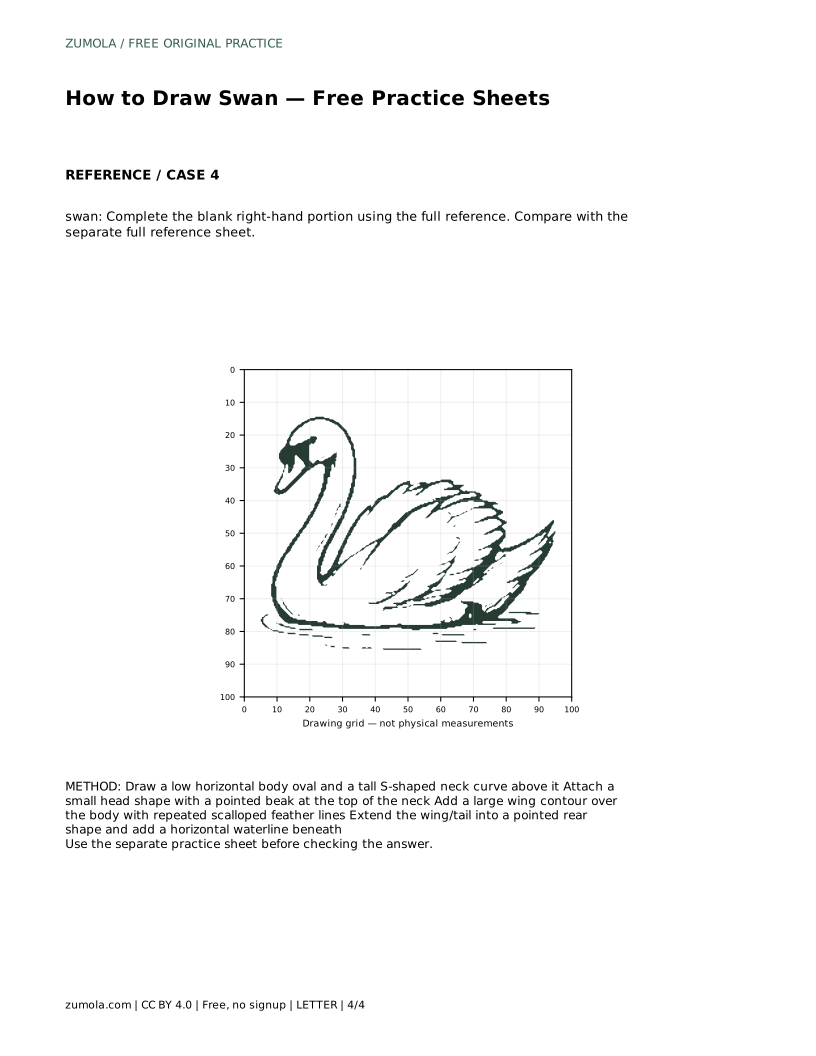
On the grid sheet, use matching grid intersections to place key points such as the top of the head, the base of the neck and the tail tip. On the bounding-frame sheet, use the frame and center guide to position the silhouette before adding details. On the half-completed sheet, use the full reference to finish the blank right-hand portion, keeping the neck curve and wing edge continuous across the join.
A finished swan drawing should show a low rounded body, a long S-curved neck, a small head with a pointed beak, a dark jagged face patch, a layered wing with scalloped edges and a pointed rear. Proportions matter more than perfect line quality. Use the rubric below to assess your own sheet honestly.
Most problems come from drawing details before the large shapes are settled. Fix the body and neck first, then the head, then the wing. Keep the waterline straight and separate from the bird.
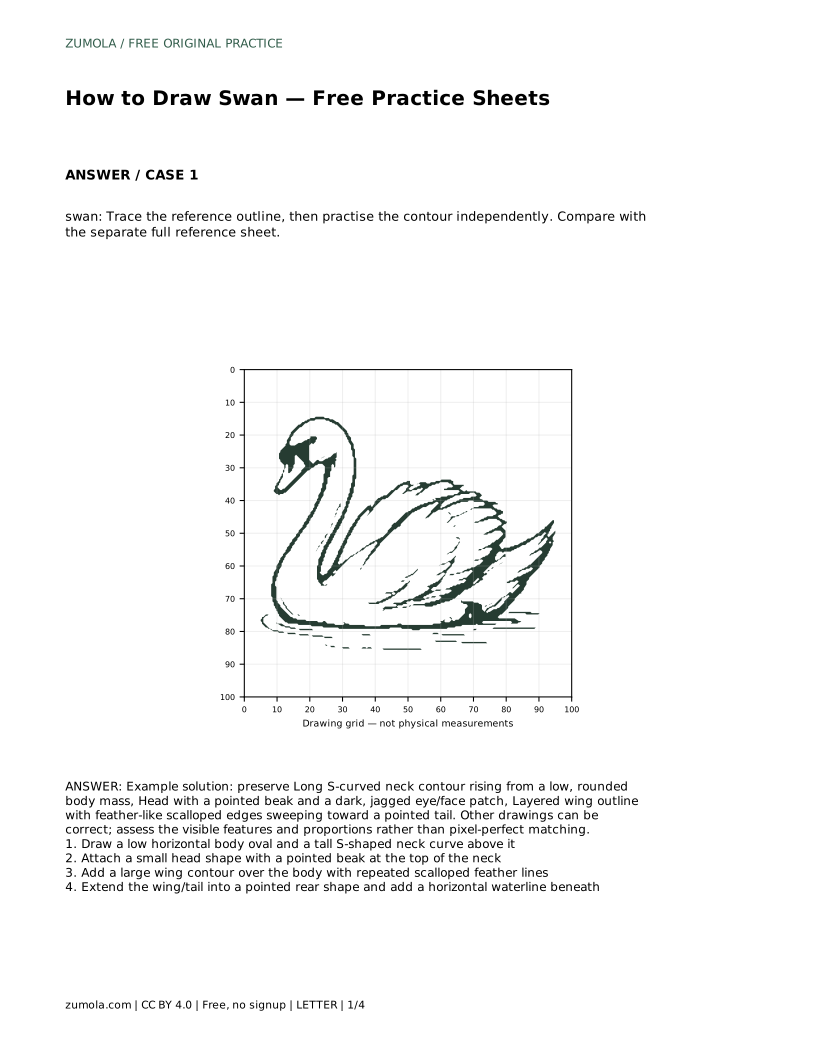
swan: Trace the reference outline, then practise the contour independently. Compare with the separate full reference sheet.
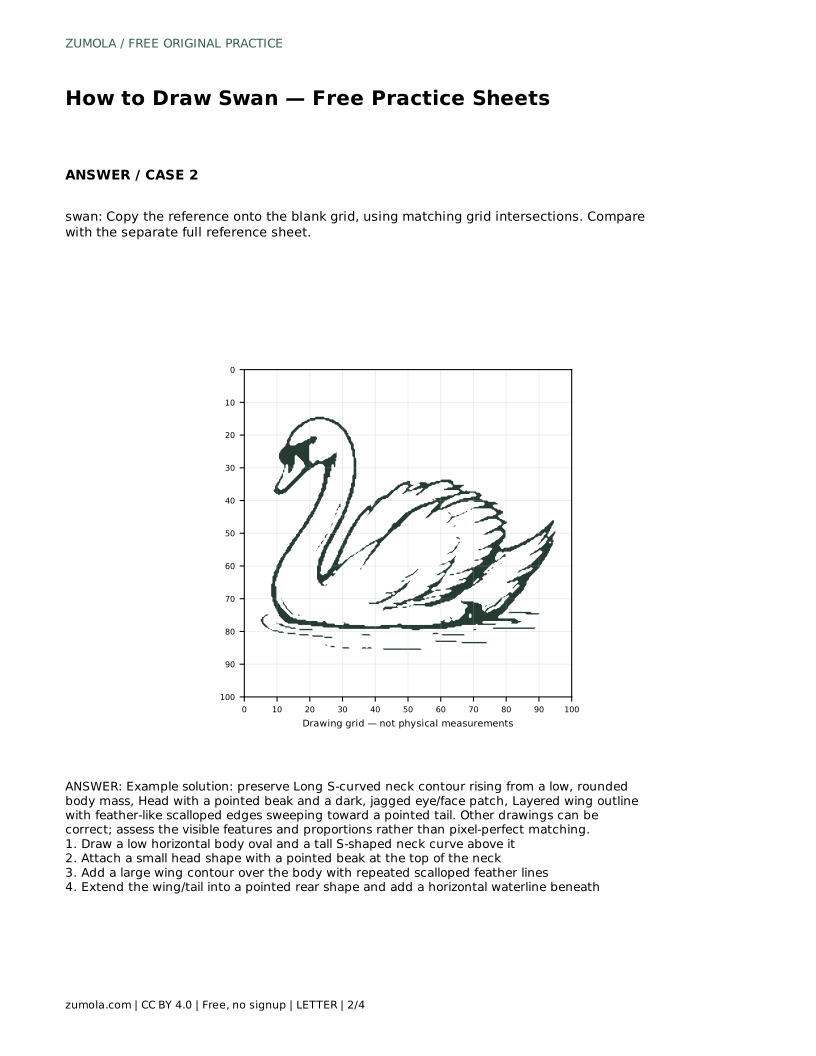
Example solution: preserve Long S-curved neck contour rising from a low, rounded body mass, Head with a pointed beak and a dark, jagged eye/face patch, Layered wing outline with feather-like scalloped edges sweeping toward a pointed tail. Other drawings can be correct; assess the visible features and proportions rather than pixel-perfect matching. Draw a low horizontal body oval and a tall S-shaped neck curve above it Attach a small head shape with a pointed beak at the top of the neck Add a large wing contour over the body with repeated scalloped feather lines Extend the wing/tail into a pointed rear shape and add a horizontal waterline beneath
No. Drawings of swans can differ. Check that the low body, long S-curved neck, pointed beak, jagged face patch, scalloped wing and pointed rear are all visible and reasonably proportioned.
Draw the body oval, then the S-curved neck, then the head and pointed beak, then the wing with scalloped feathers and pointed rear, and finally the horizontal waterline.
Place key points at matching grid intersections, such as the top of the head, the base of the neck and the tail tip, then connect them with the body and neck contours.
All drawing practice · Free coordinate paper
Original resources · CC BY 4.0 · Free for personal and classroom use with attribution.