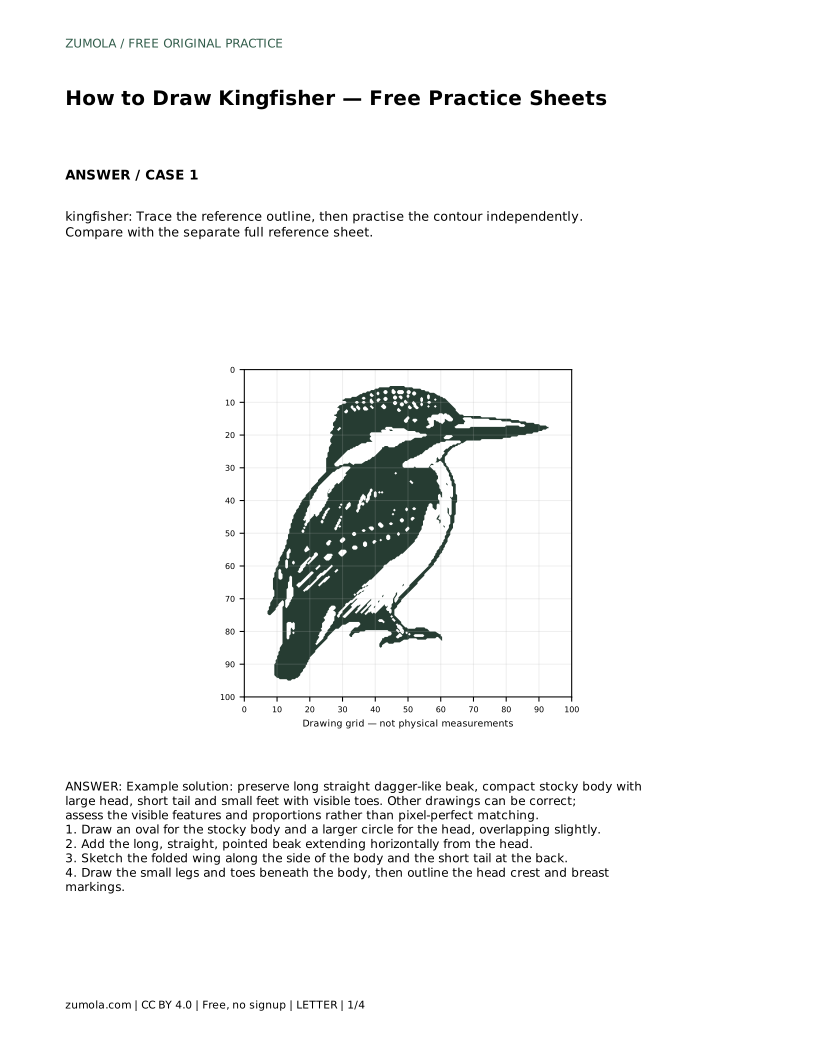
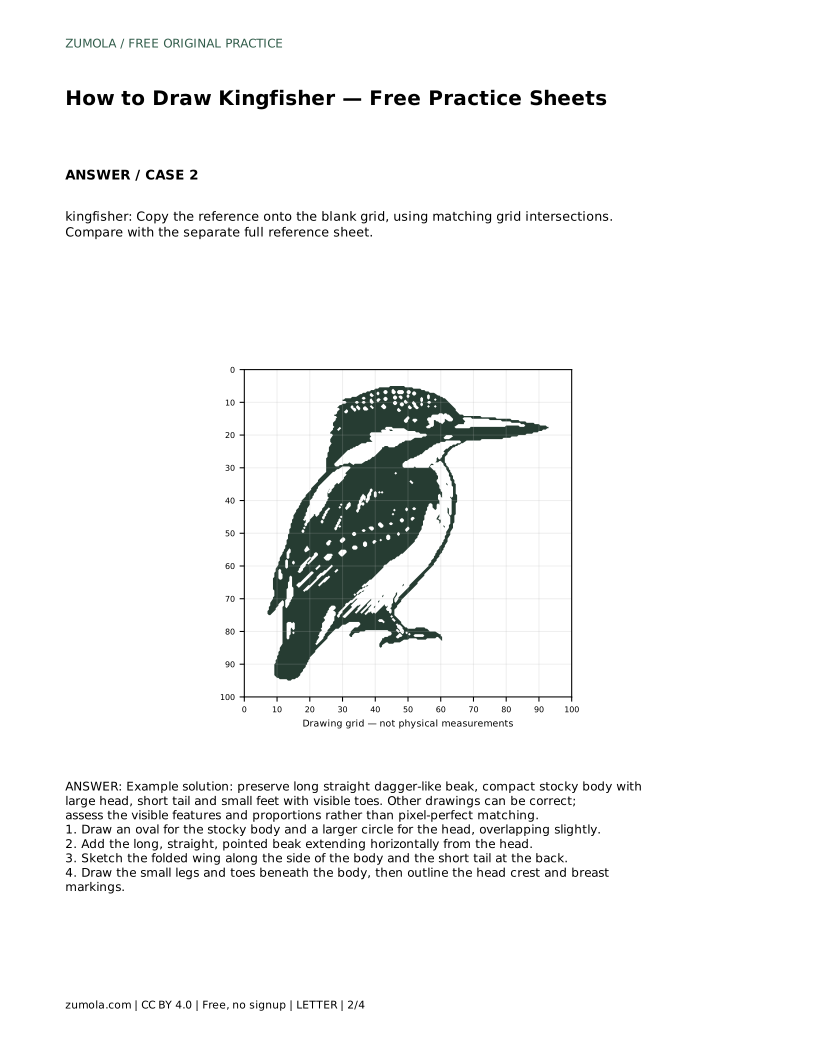
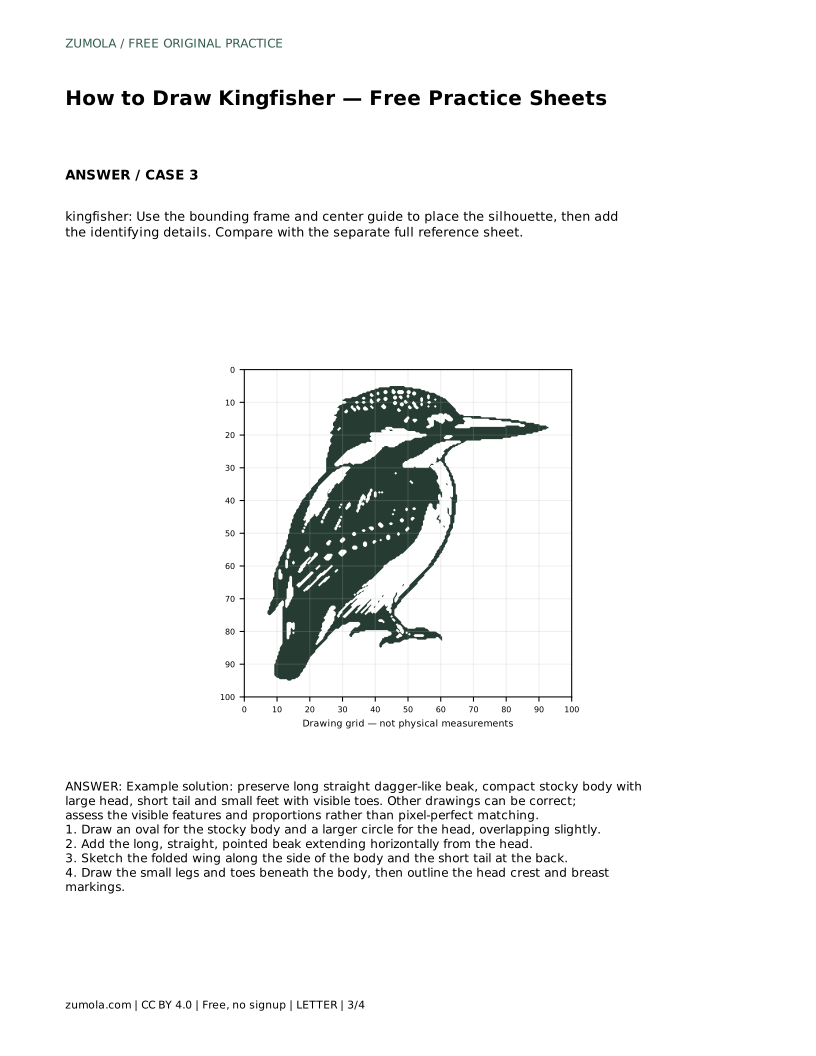
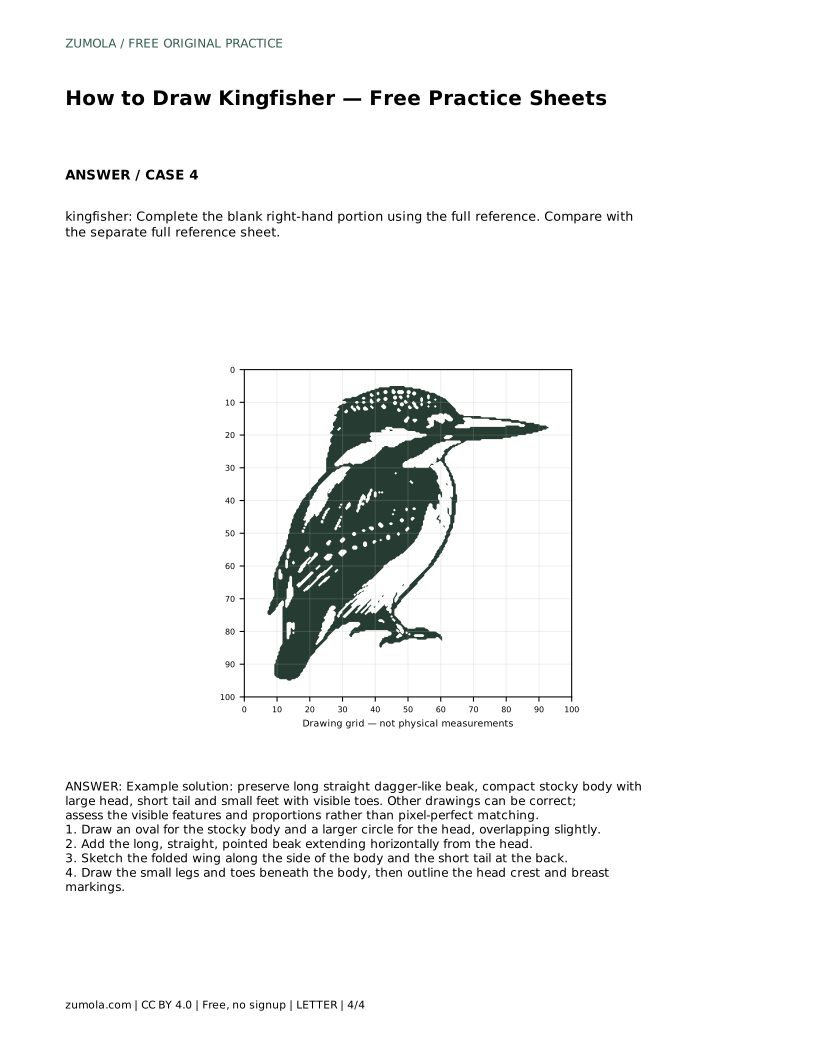
Reference diagrams
LETTER · Download PDF
A4 · Download PDF
Free original resources
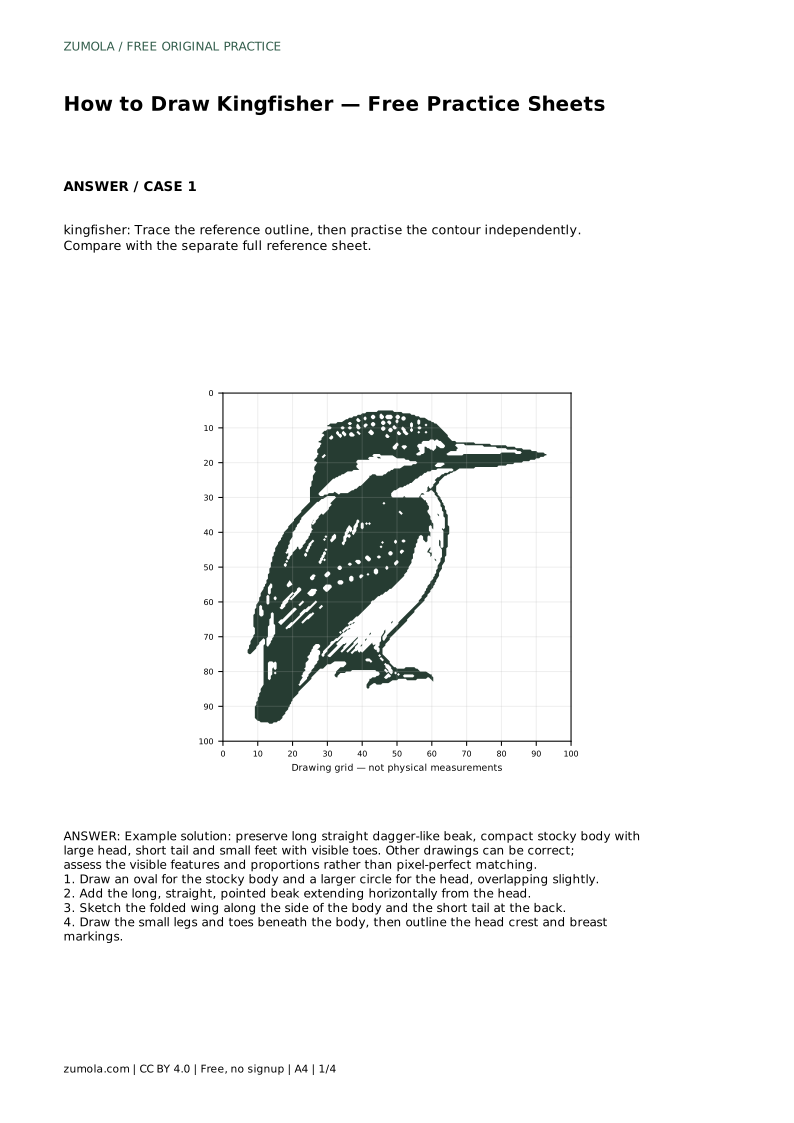
Learn to draw a kingfisher by building its stocky body, large head, long dagger-like beak, folded wing, short tail and small feet, then check your work against a reference.
Four original cases, with reference diagrams, practice sheets and worked answers. Everything is free; no signup required.
LETTER · Download PDF
A4 · Download PDF
LETTER · Download PDF
A4 · Download PDF
LETTER · Download PDF
A4 · Download PDF
Use A4 or US Letter to match your printer. Use the stated values and conditions to solve each exercise; diagrams are not physical measuring rulers.
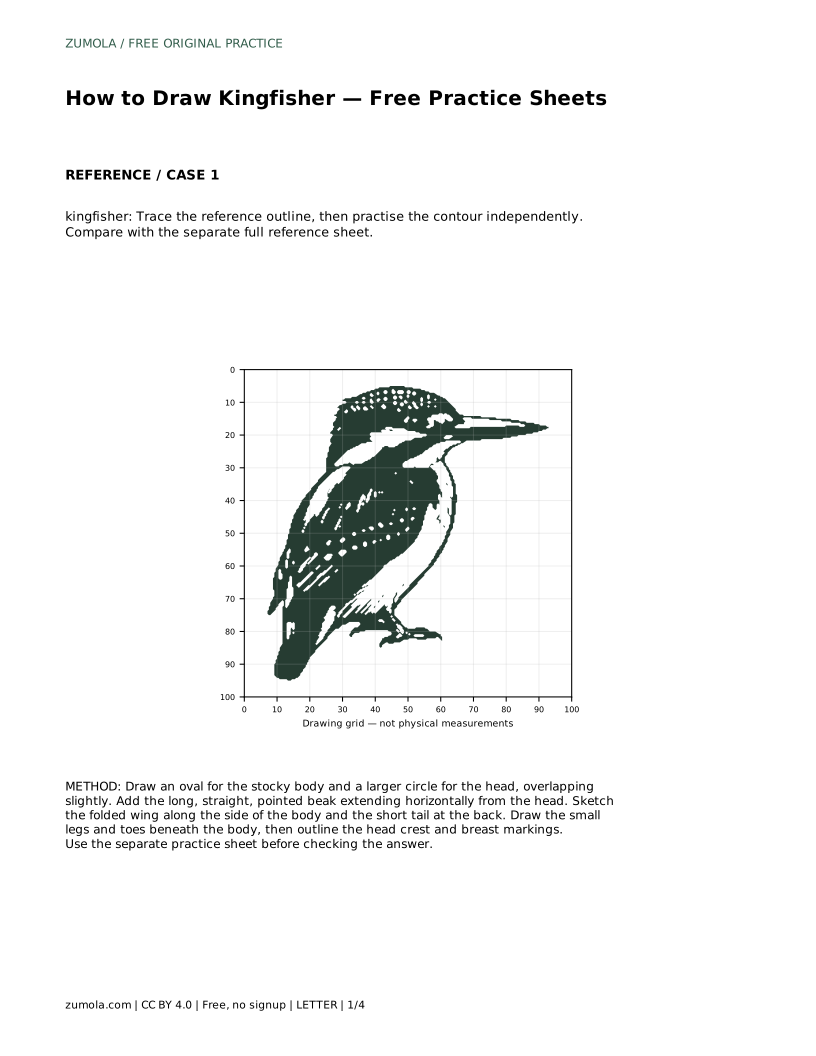
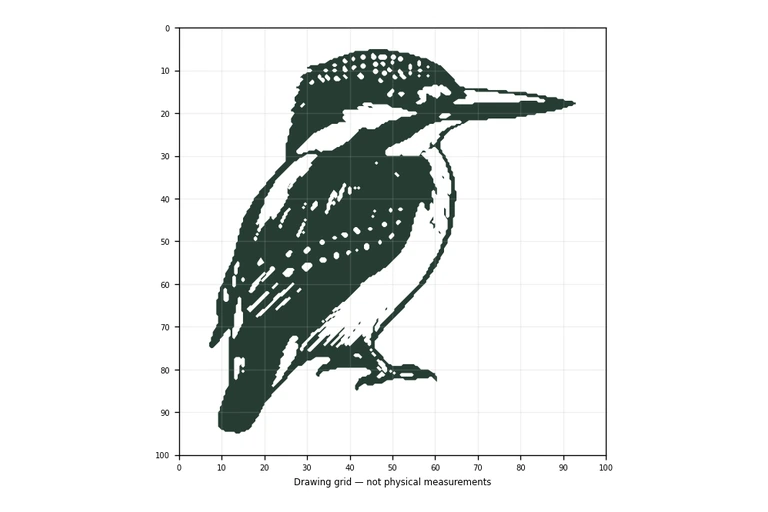
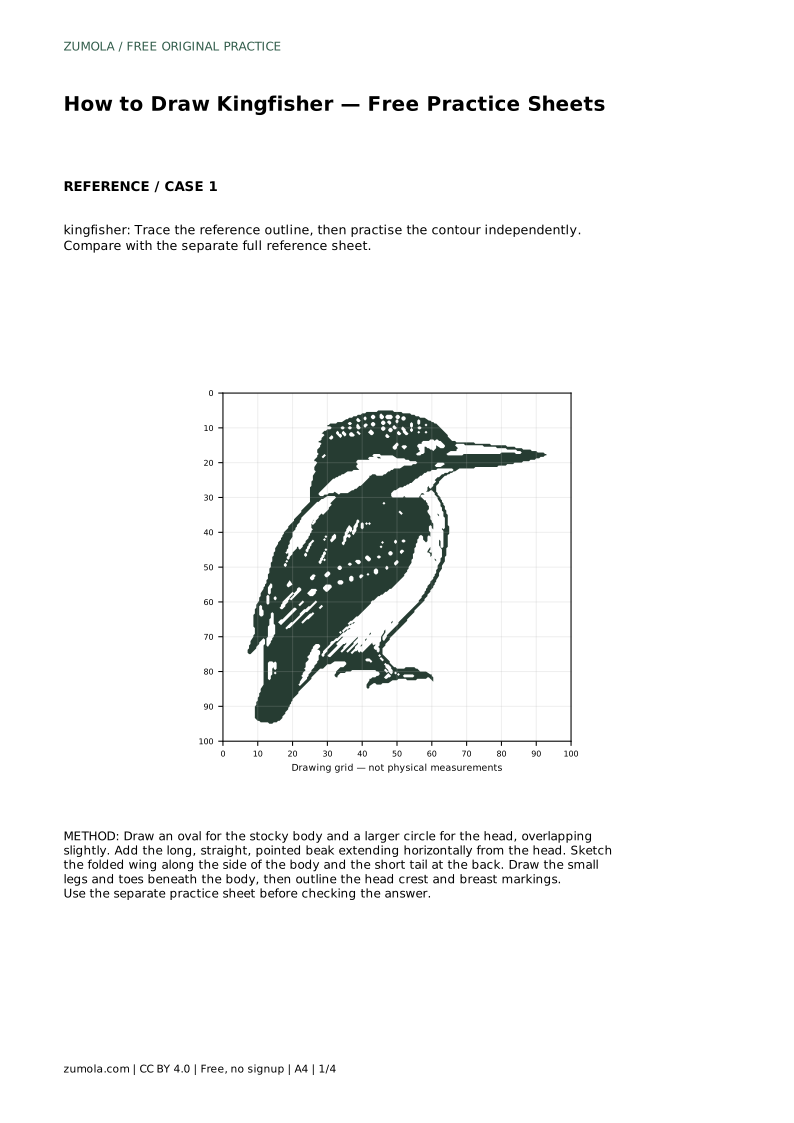
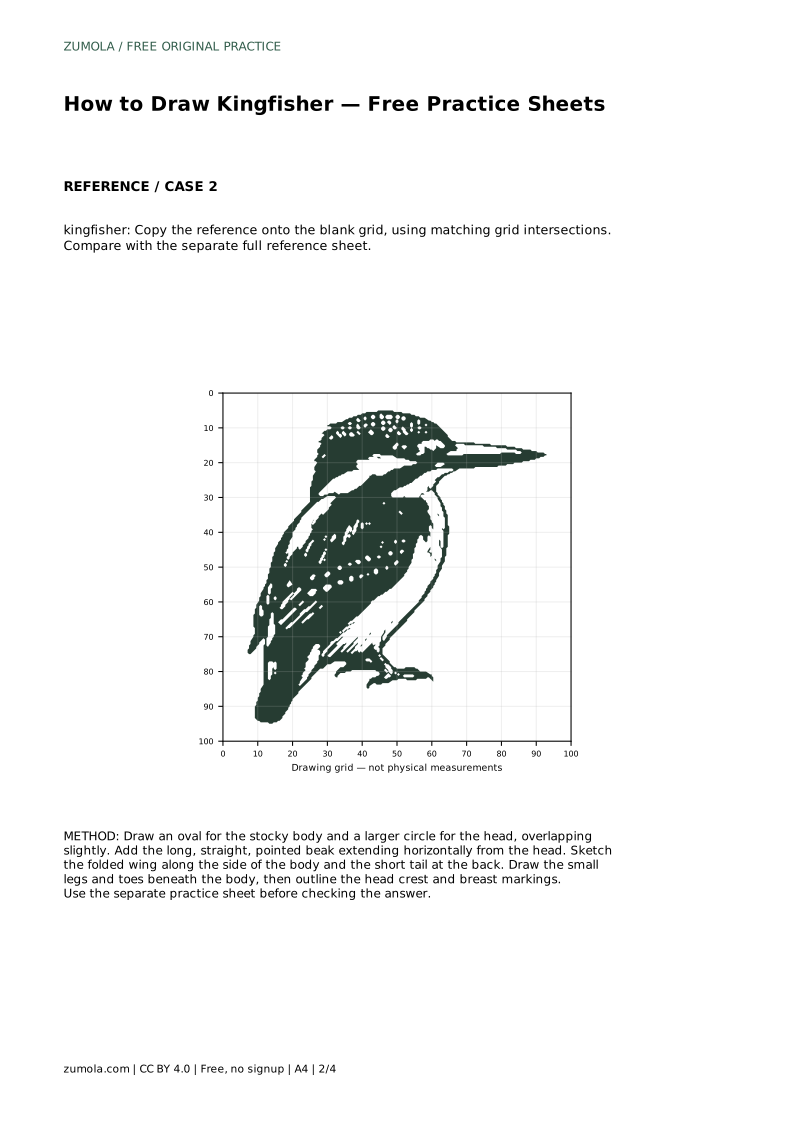
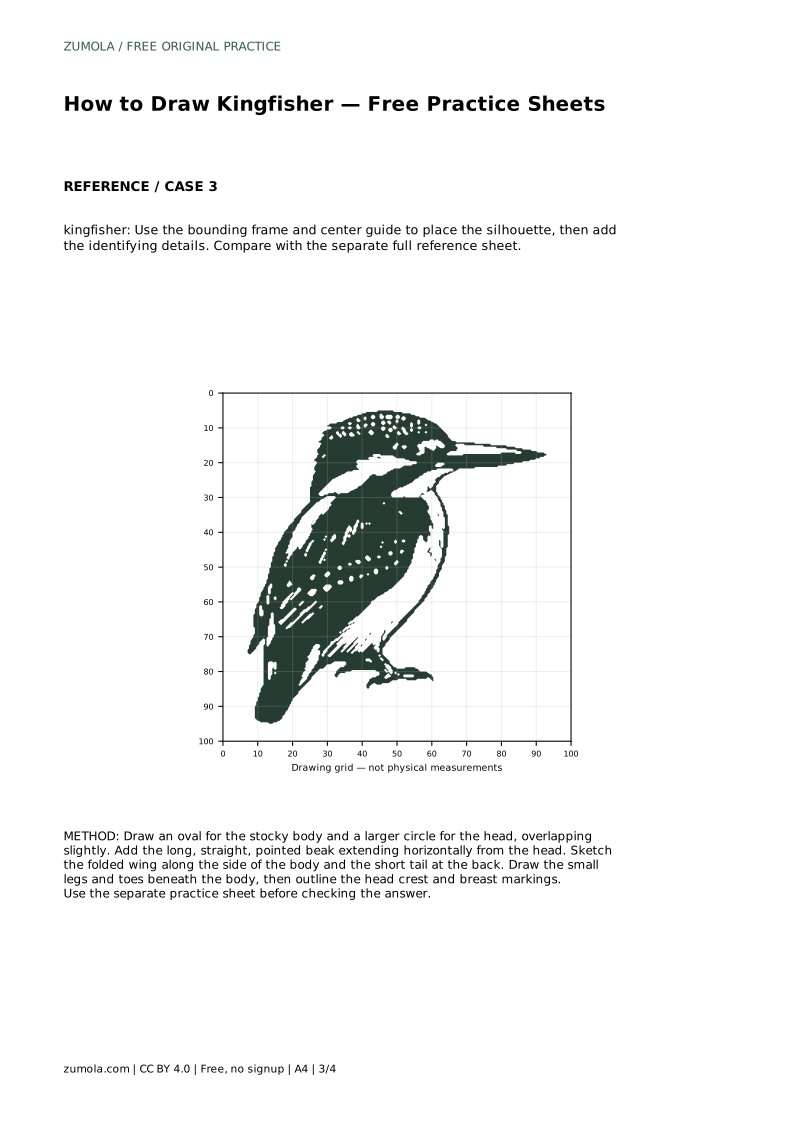
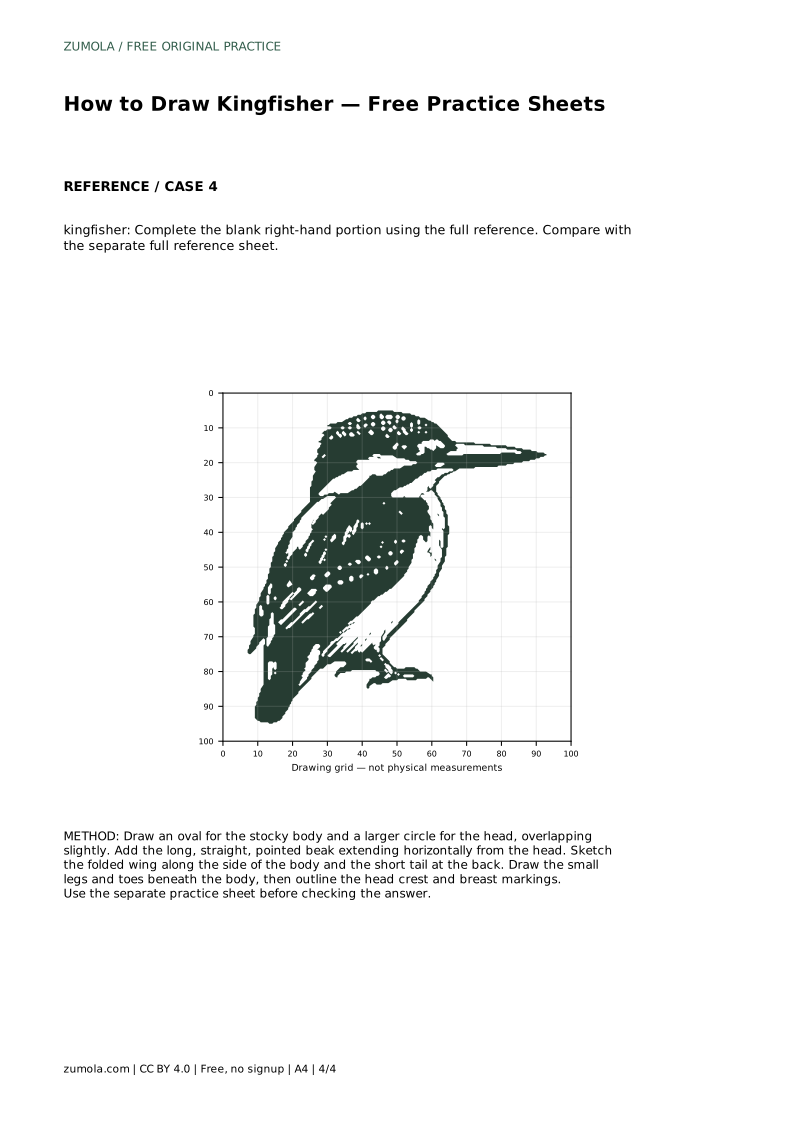
A kingfisher is easy to recognise once you notice its proportions: a compact, stocky body, a large head, a long straight beak, a short tail and small feet. This page shows how to build that shape step by step, then use the practice sheets to trace, copy onto a grid, place a silhouette with a frame and centre guide, or complete a partly blank drawing. Because drawings can be correct in different ways, judge your work by visible features and proportions rather than an exact match.
Begin with two simple shapes. Draw an oval for the stocky body, then a larger circle for the head, overlapping the oval slightly. The overlap keeps the neck short and thick, which suits a kingfisher's compact build. Keep the head noticeably large relative to the body; a small head makes the bird look like a different species.
Next, add the long, straight, pointed beak extending horizontally from the head. Treat it as a dagger shape: narrow at the base, straight along its length and tapering to a point. Check that the beak looks long compared with the head, and that it points forward rather than drooping.
Sketch the folded wing along the side of the body. It should sit close to the body rather than spread outward, because a perched kingfisher keeps its wings folded. At the back, draw a short tail; a long tail changes the silhouette and weakens the compact look.
Beneath the body, draw small legs and visible toes. Keep the feet modest in size. The toes should be clear enough to read as feet, but not so large that they dominate the drawing. Finally, outline the head crest and breast markings, using the reference to see where these details sit.
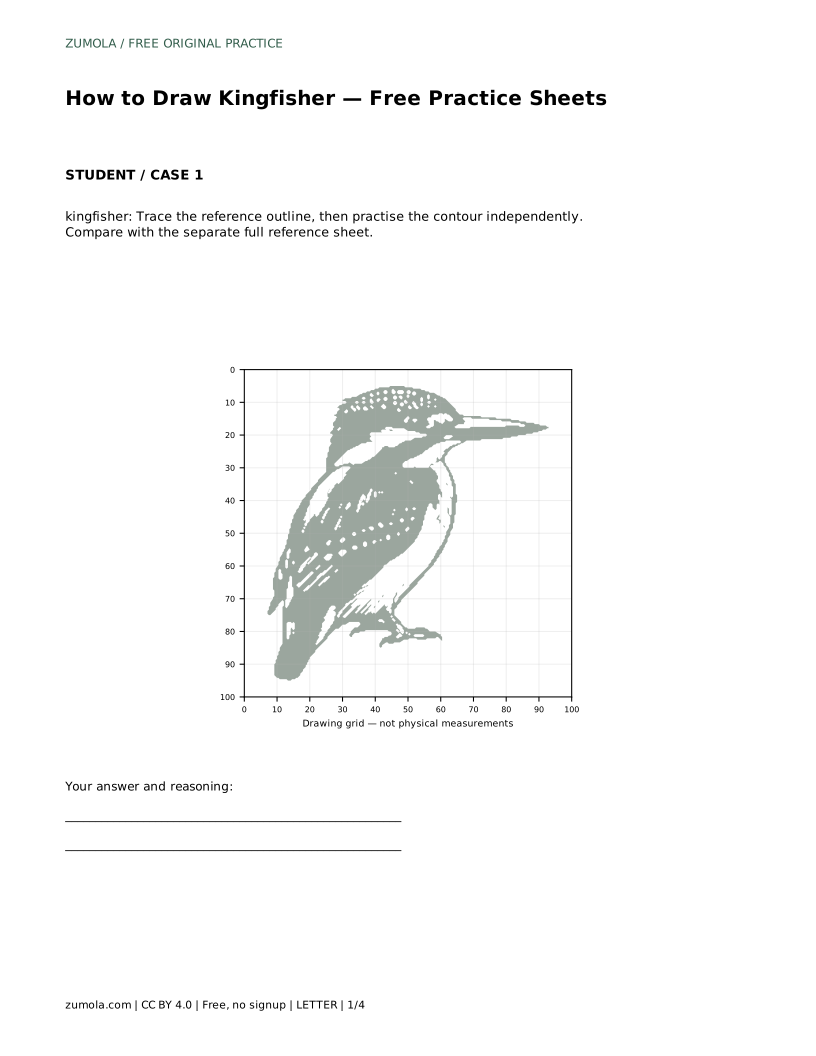
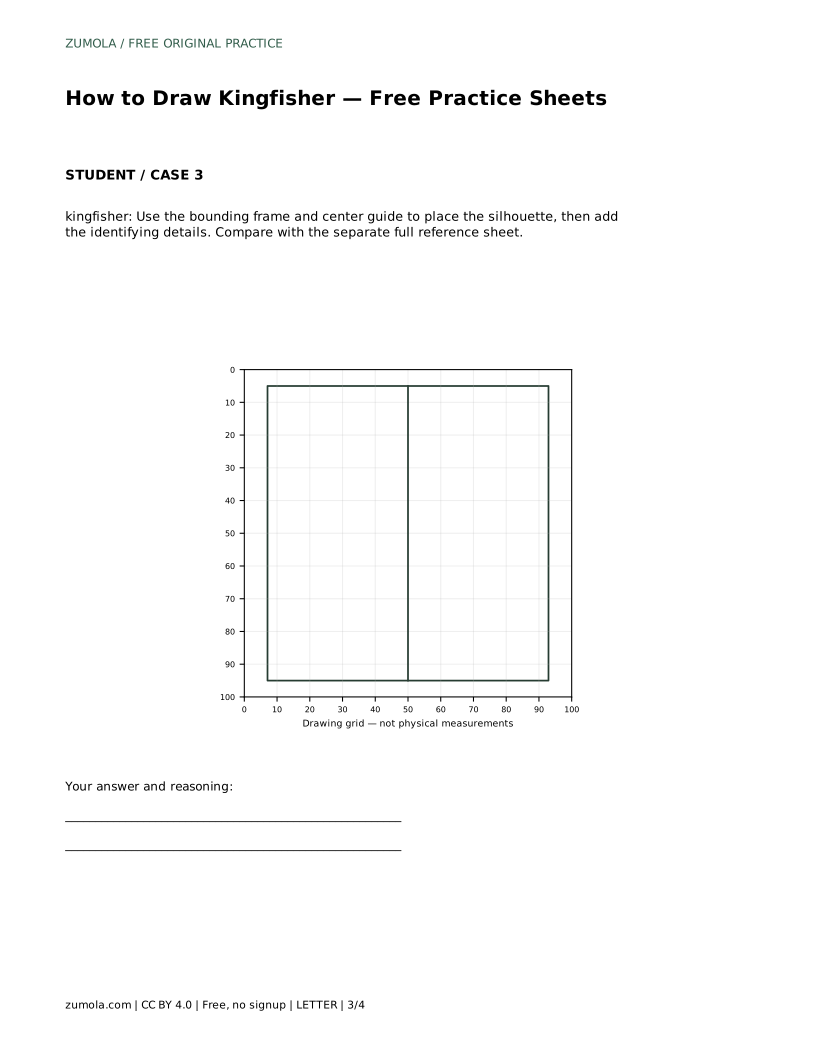
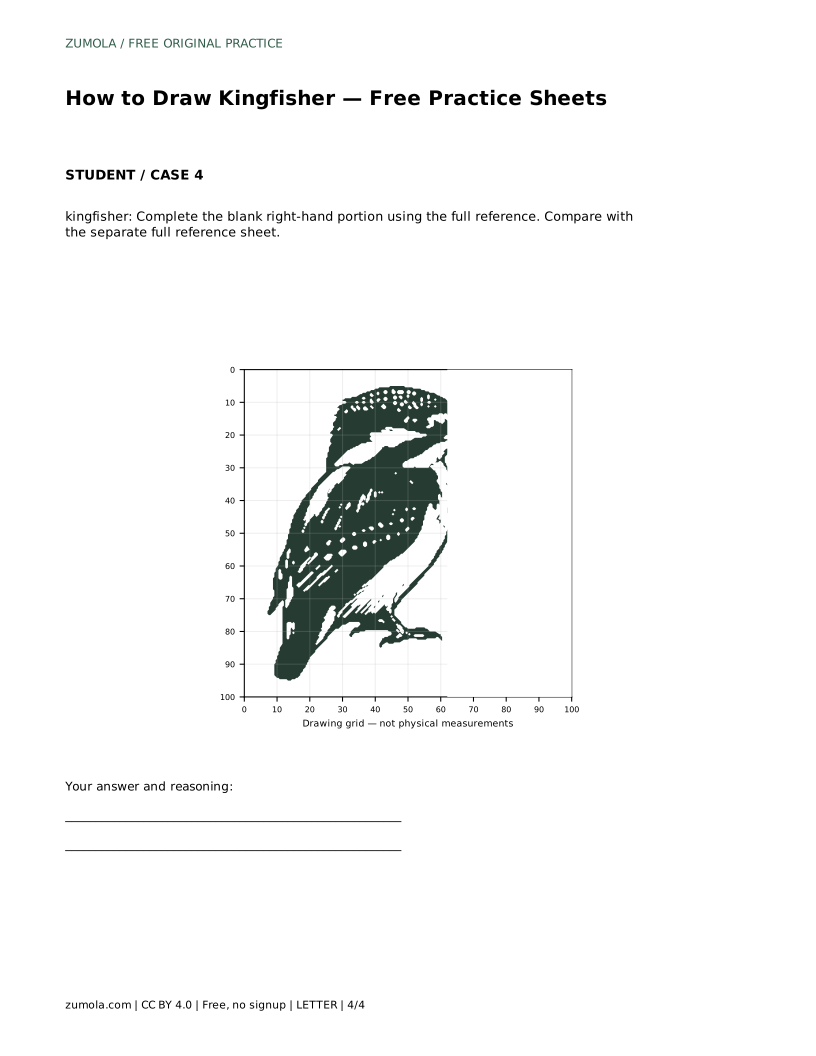
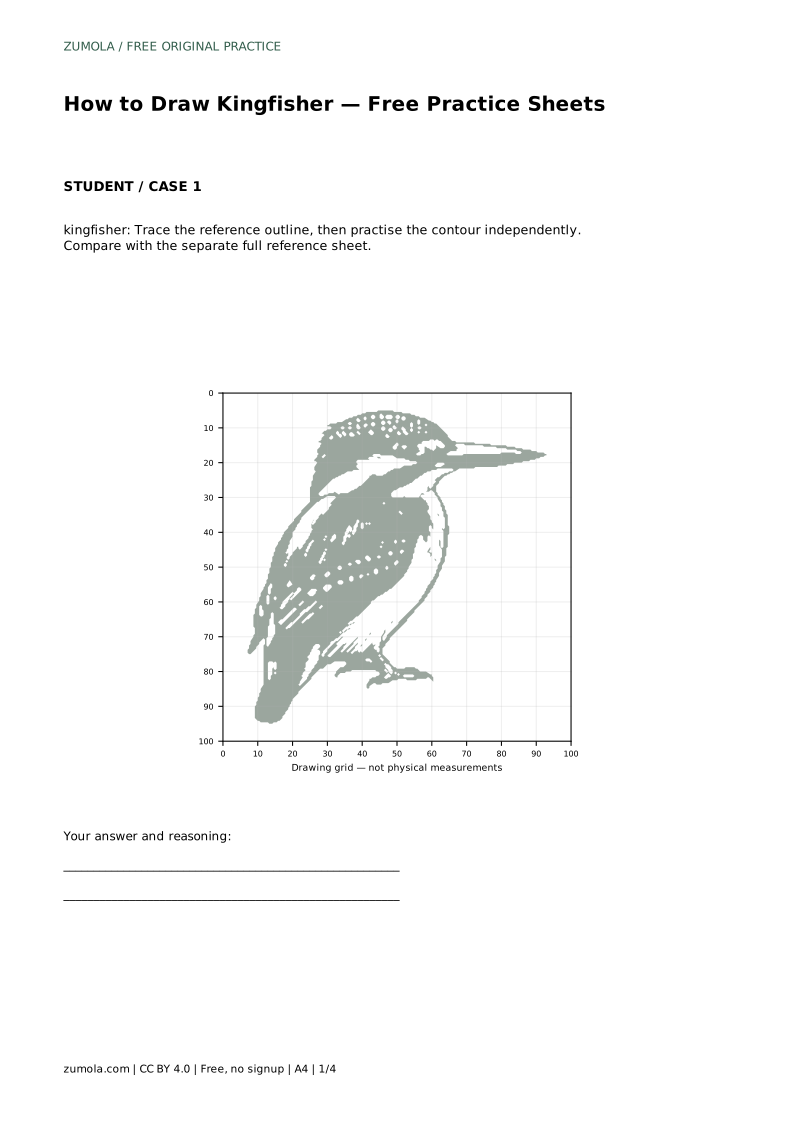
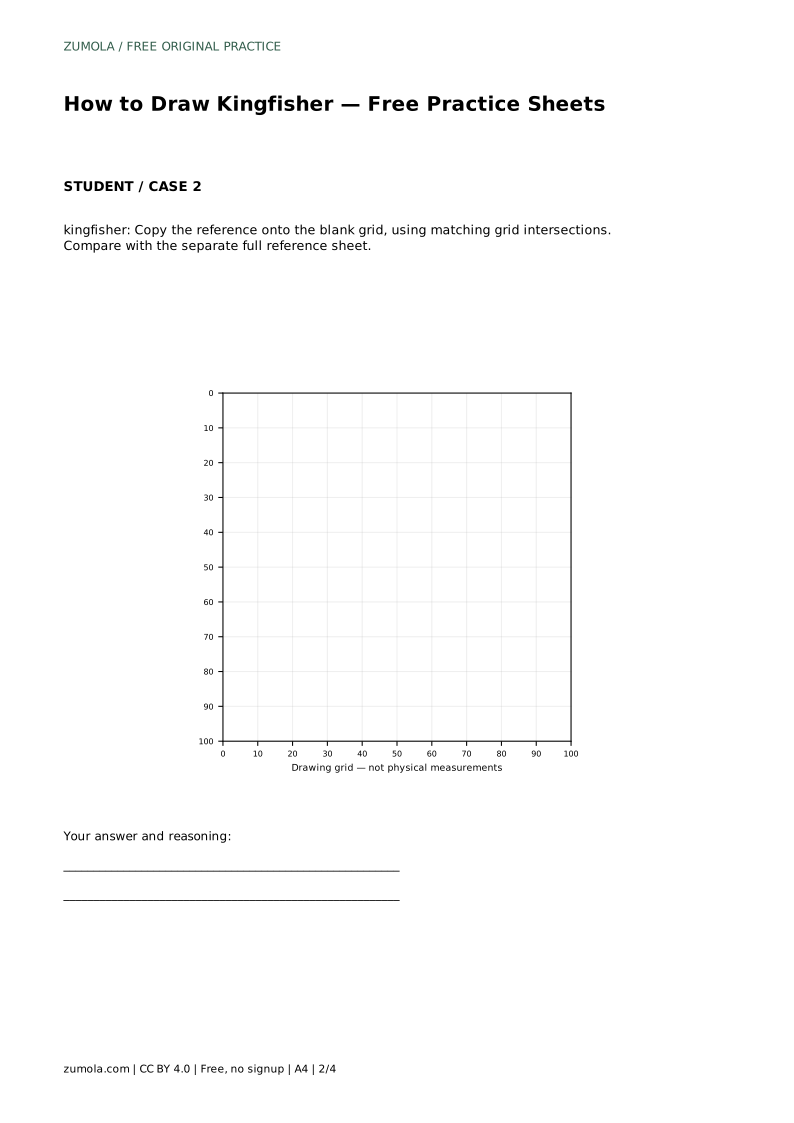
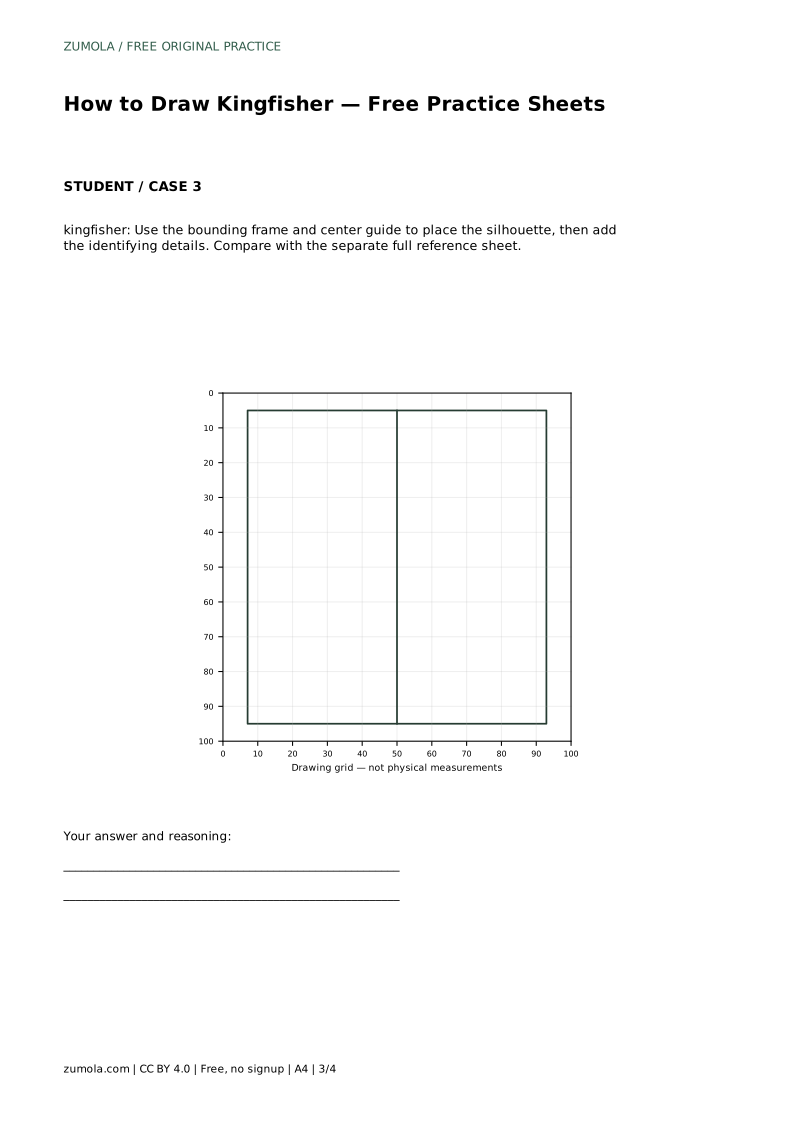
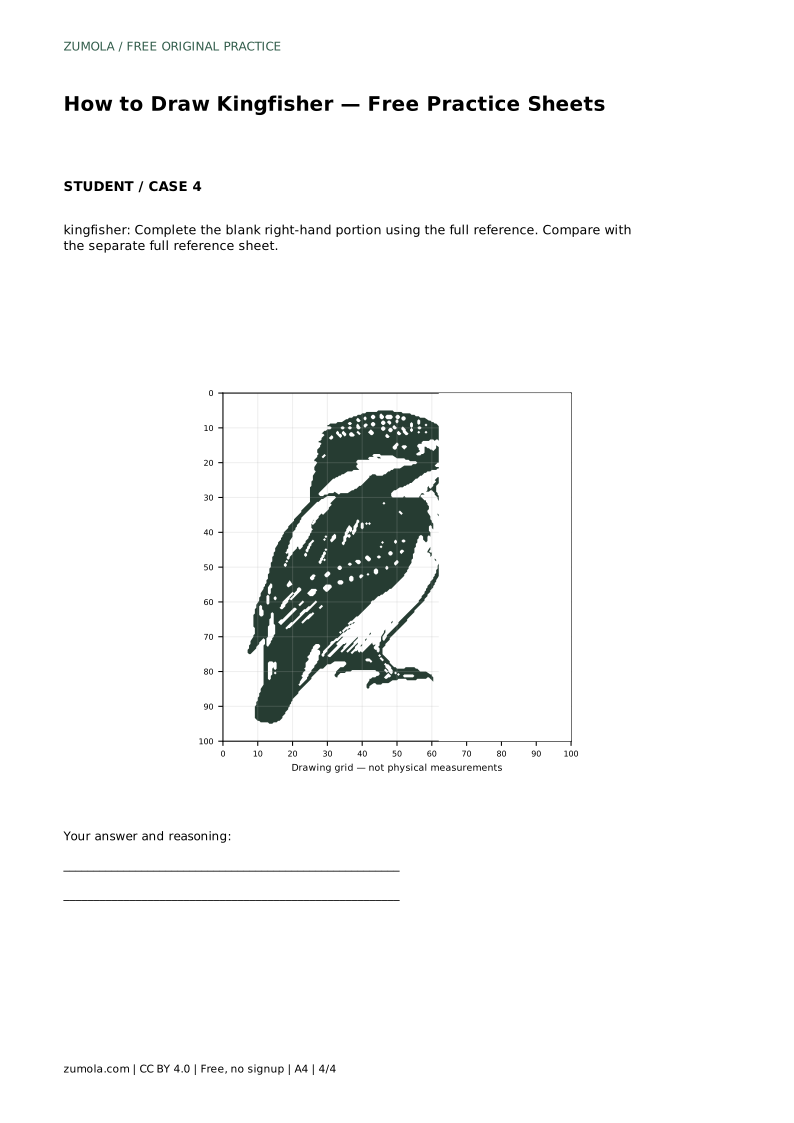
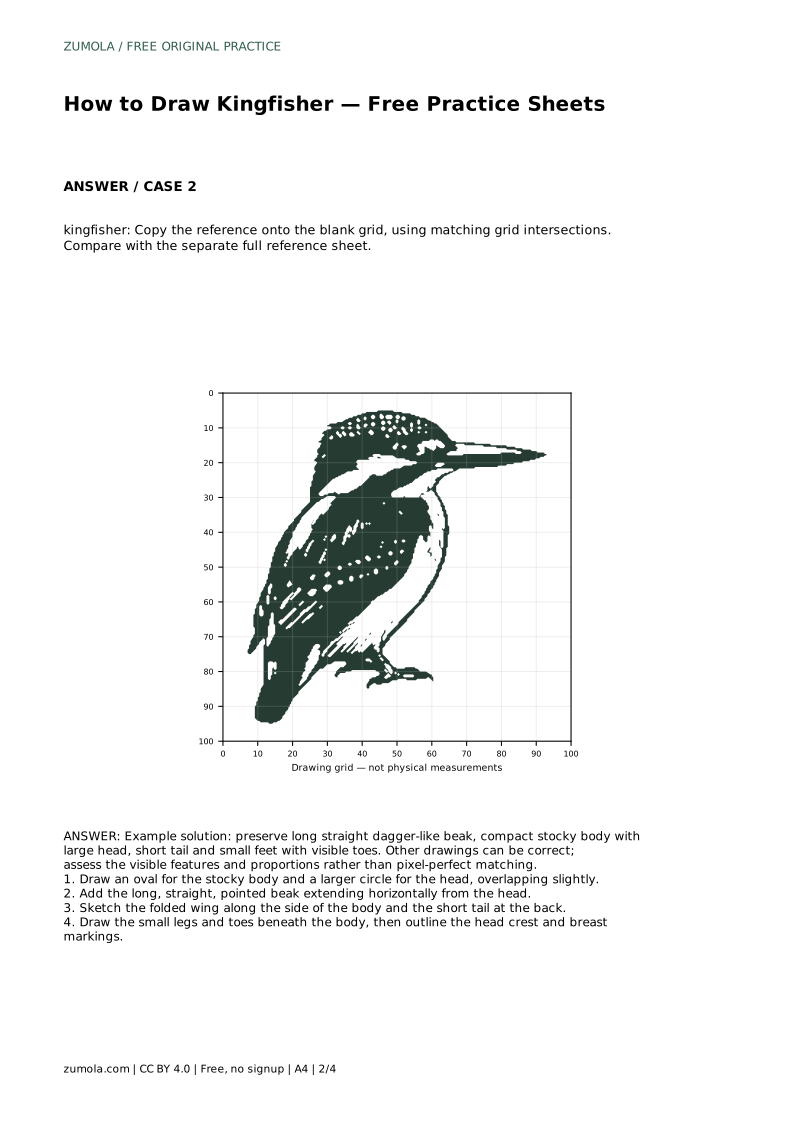
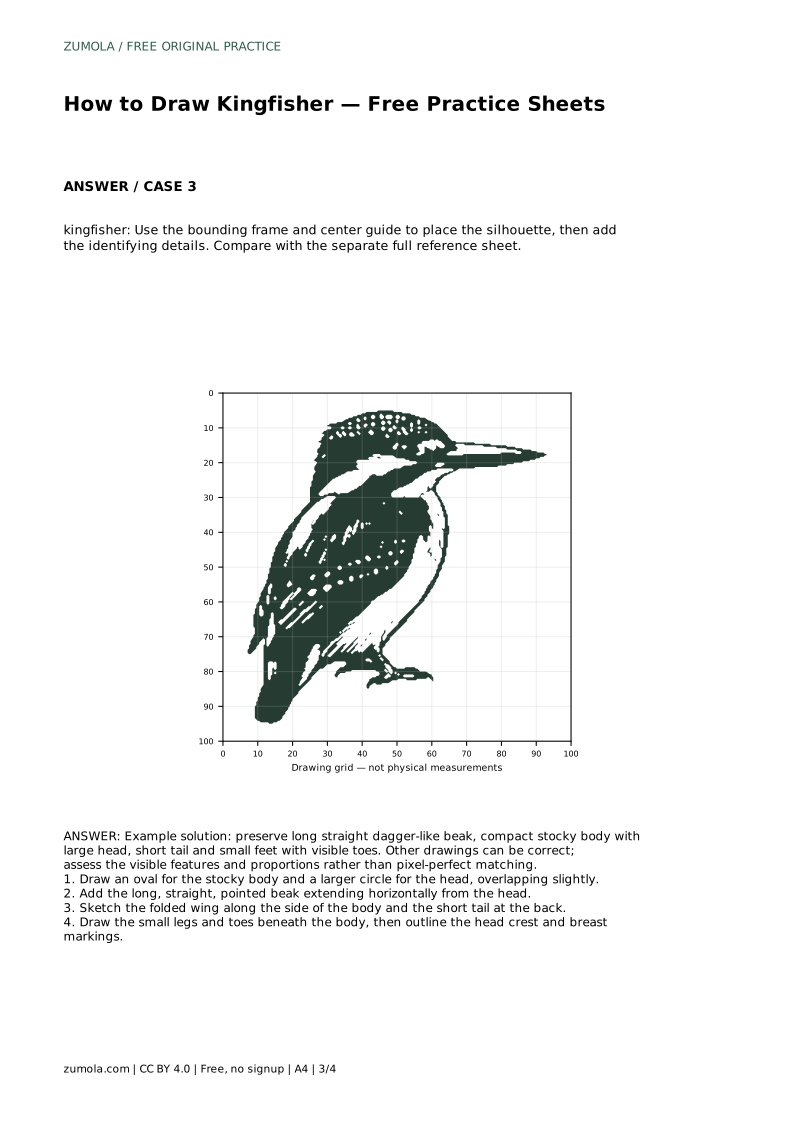
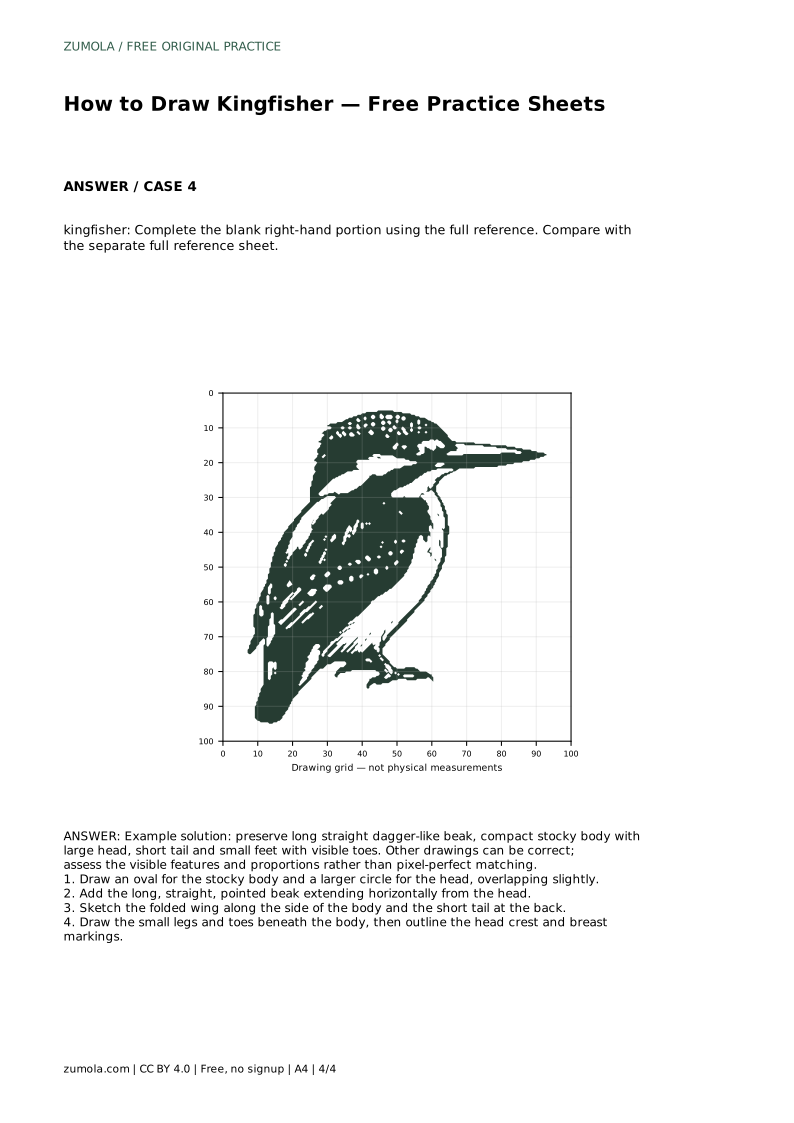
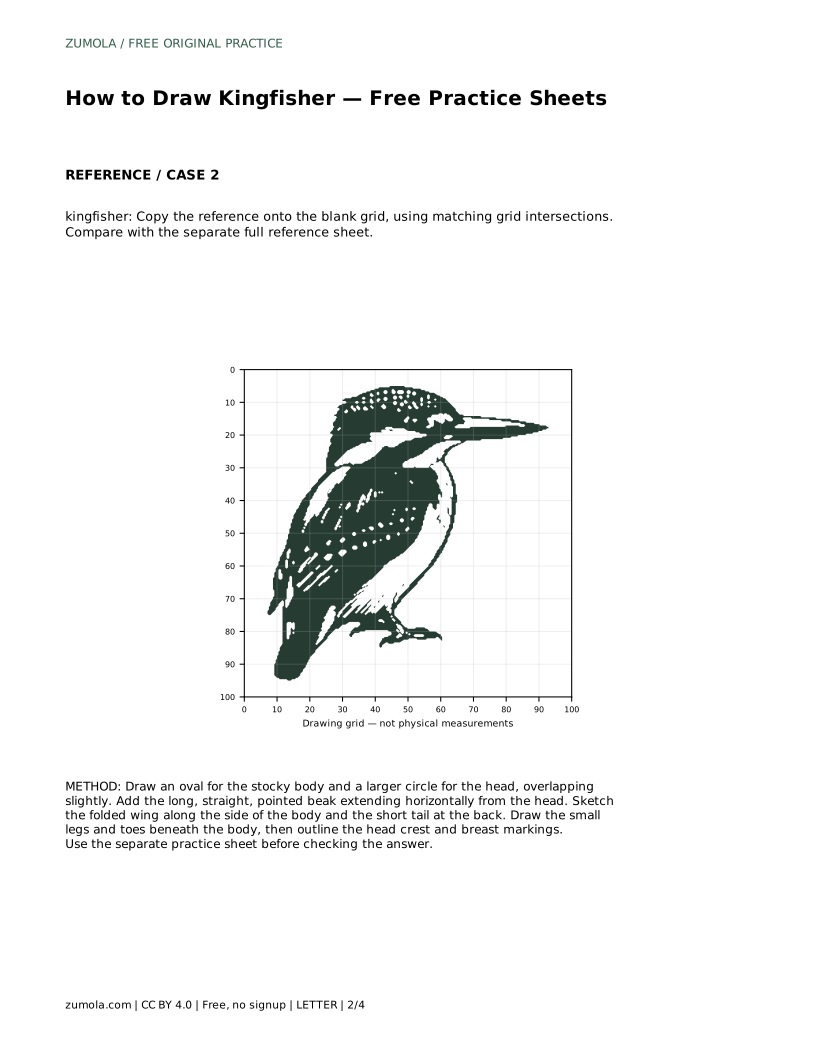
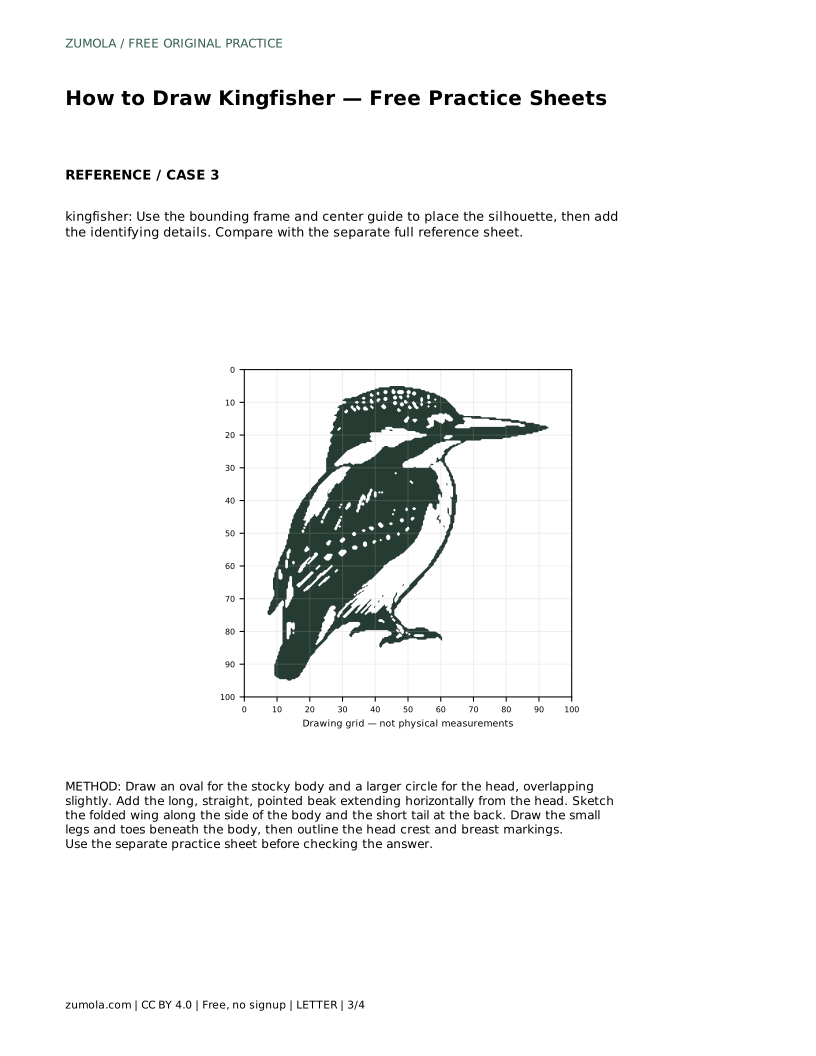
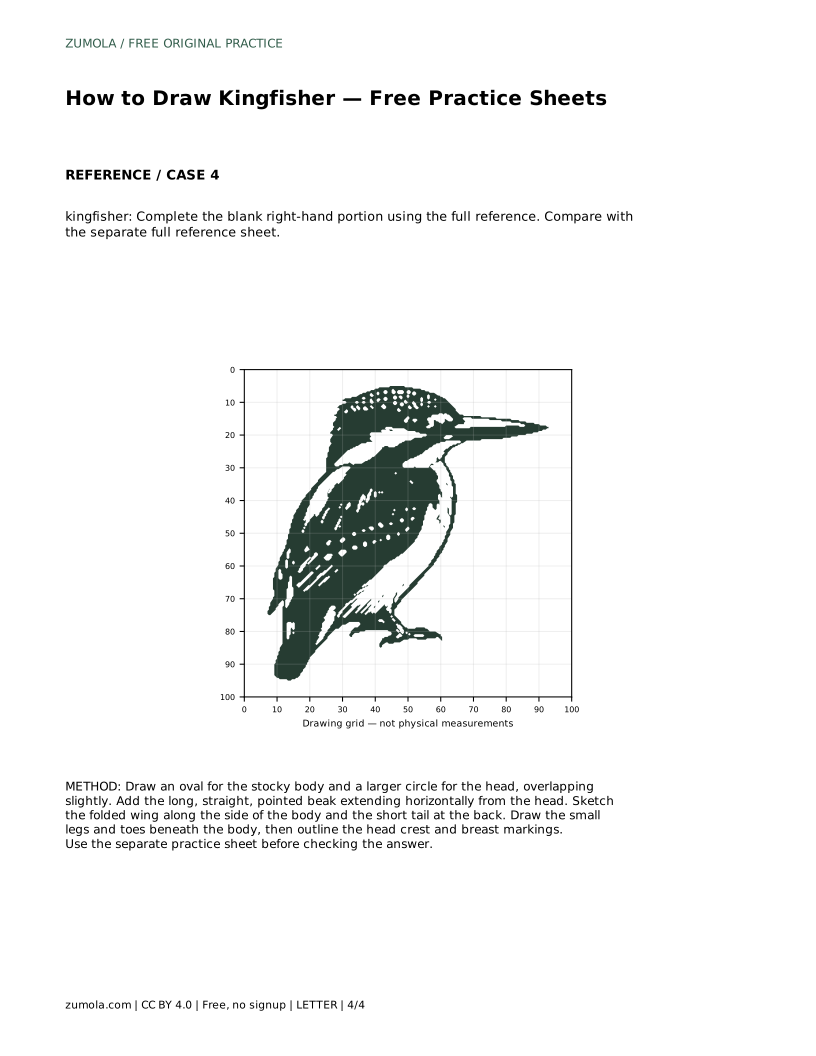
Each sheet practises a different skill. On the tracing sheet, trace the reference outline first, then try the contour independently and compare with the separate full reference sheet. On the grid sheet, copy the reference onto the blank grid using matching grid intersections. On the frame sheet, use the bounding frame and centre guide to place the silhouette before adding identifying details. On the partial sheet, complete the blank right-hand portion using the full reference.
These methods train different habits: tracing builds familiarity with the contour, the grid builds proportional judgement, the frame builds placement, and the partial sheet builds completion from a reference. None of them requires a pixel-perfect match. Compare features and proportions instead.
Use the rubric below to review your work. A drawing can be correct even if it differs from the reference in line quality or detail, as long as the identifying features and proportions hold. If one feature is off, redraw that part rather than starting over.
kingfisher: Trace the reference outline, then practise the contour independently. Compare with the separate full reference sheet.
Example solution: preserve long straight dagger-like beak, compact stocky body with large head, short tail and small feet with visible toes. Other drawings can be correct; assess the visible features and proportions rather than pixel-perfect matching. Draw an oval for the stocky body and a larger circle for the head, overlapping slightly. Add the long, straight, pointed beak extending horizontally from the head. Sketch the folded wing along the side of the body and the short tail at the back. Draw the small legs and toes beneath the body, then outline the head crest and breast markings.
No. Other drawings can be correct. Assess the visible features and proportions rather than pixel-perfect matching.
Start with the tracing sheet to learn the contour, then move to the grid, frame or partial sheet to practise independent placement.
A long straight dagger-like beak, a compact stocky body with a large head, a short tail and small feet with visible toes.
All drawing practice · Free coordinate paper
Original resources · CC BY 4.0 · Free for personal and classroom use with attribution.