Reference diagrams
LETTER · Download PDF
A4 · Download PDF
Free original resources
Learn to draw a fidget spinner with four rounded arms, a central bearing, and circular weight caps. Trace, grid, and complete-the-drawing practice sheets included.
Four original cases, with reference diagrams, practice sheets and worked answers. Everything is free; no signup required.
LETTER · Download PDF
A4 · Download PDF
LETTER · Download PDF
A4 · Download PDF
LETTER · Download PDF
A4 · Download PDF
Use A4 or US Letter to match your printer. Use the stated values and conditions to solve each exercise; diagrams are not physical measuring rulers.
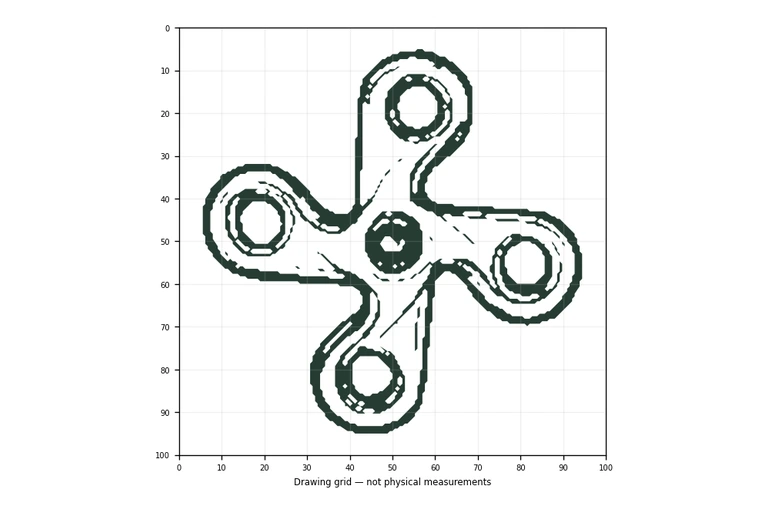
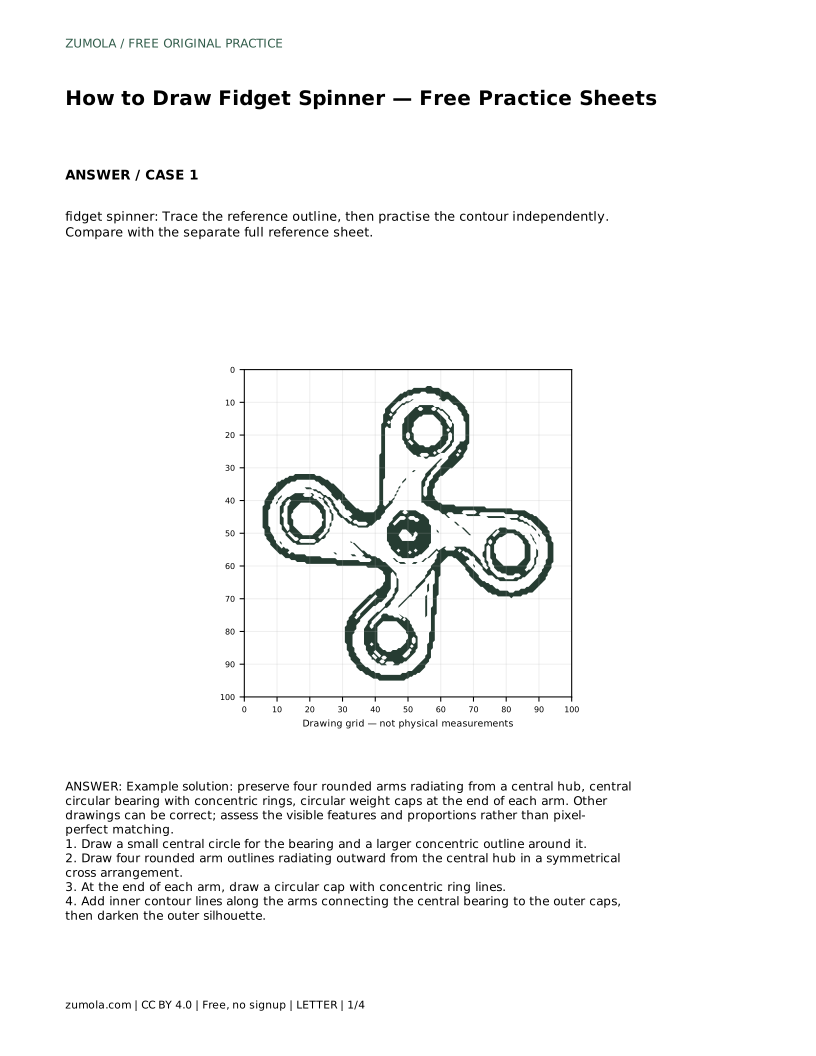
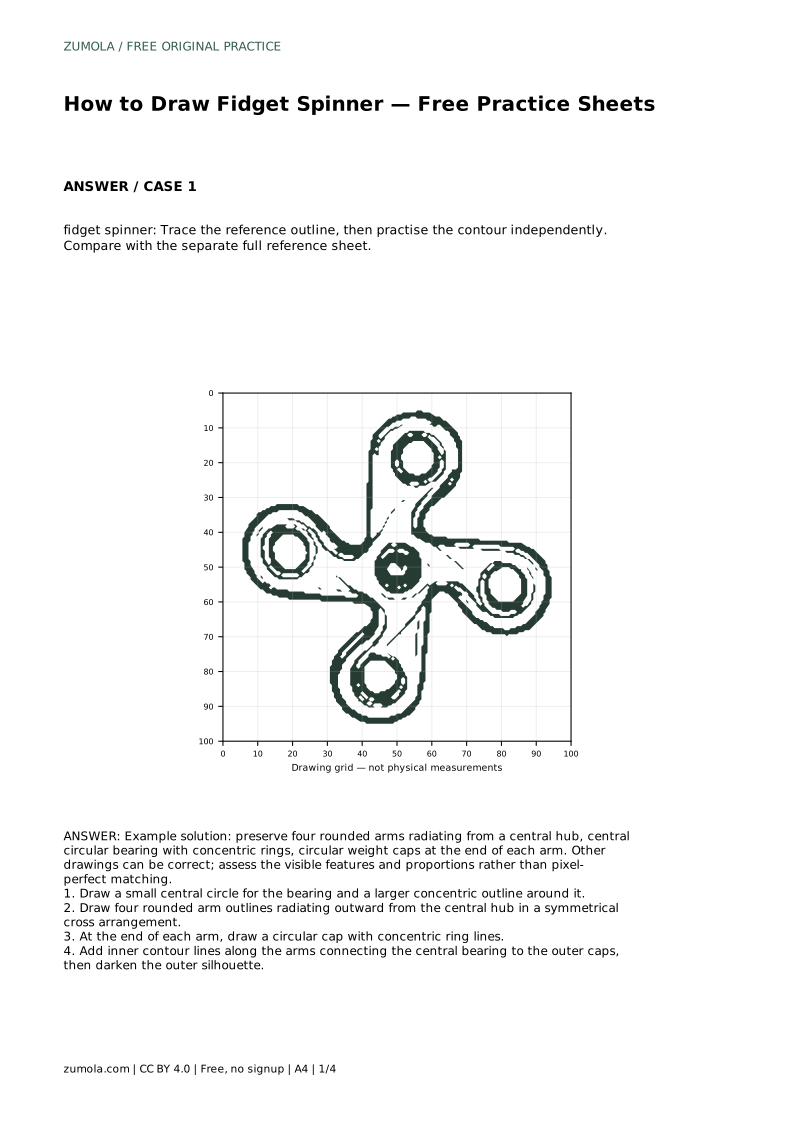
A fidget spinner is easy to recognise but surprisingly easy to draw lopsided. Its shape depends on symmetry: four rounded arms radiate from a central hub, each ending in a circular weight cap, with a bearing drawn as concentric circles at the centre. This guide explains how to build that structure step by step, then how to use trace, grid, bounding-frame, and partial-reference practice sheets to strengthen your control. The goal is not a pixel-perfect copy but a drawing that preserves the spinner's visible features and proportions.
Most beginners draw the outer silhouette first and then struggle to fit the bearing and caps inside it. Work from the middle outward instead. Begin with a small circle for the central bearing, then draw a larger concentric circle around it. These two circles establish the hub's size and give you a reference point for everything else.
From that hub, plan four arms in a symmetrical cross arrangement. Each arm should be rounded rather than sharply rectangular, and each should reach roughly the same distance from the centre. Lightly mark the four arm directions before committing to full outlines, so you can check that the spacing looks even.
Once the four arms and end caps are placed, the spinner still looks plain. The details are what make it read as a fidget spinner: concentric ring lines inside each weight cap, and inner contour lines running along the arms from the central bearing outward. These lines suggest the raised edges and recessed surfaces of a real spinner without requiring shading.
Keep the inner lines parallel to the arm edges and stop them cleanly where they meet the caps. If a line wanders, erase it rather than thickening it, because heavy correction lines make the drawing look uneven. Finish by darkening only the outer silhouette, leaving interior lines lighter so the shape stays readable.
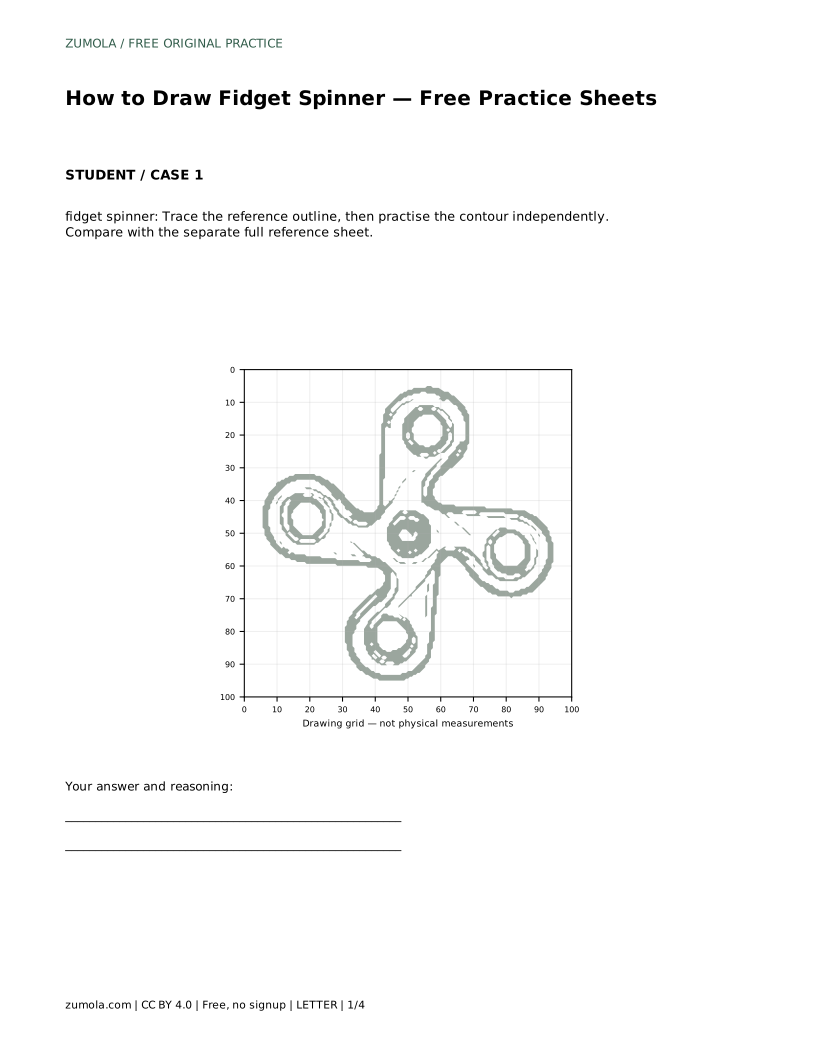
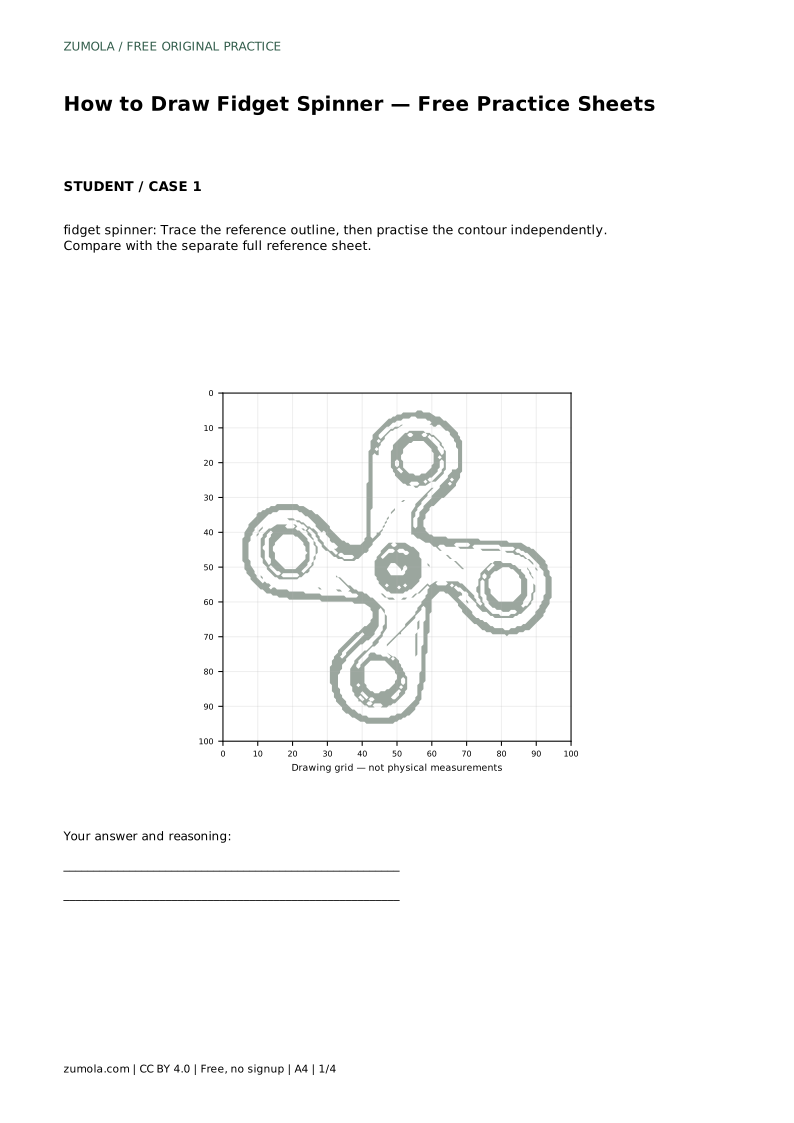
The trace sheet asks you to follow the reference outline first, then repeat the contour on your own. Tracing builds familiarity with the arm curves and cap placement; the independent attempt tests whether you can reproduce them without guidance.
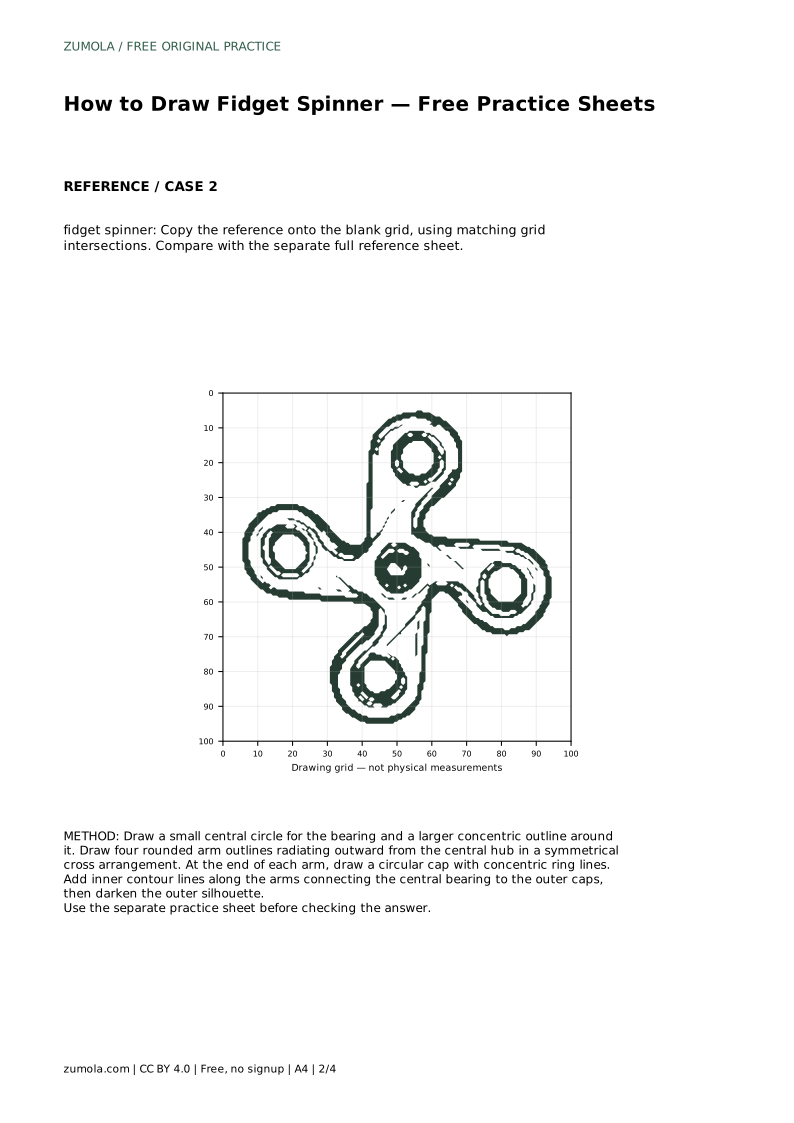
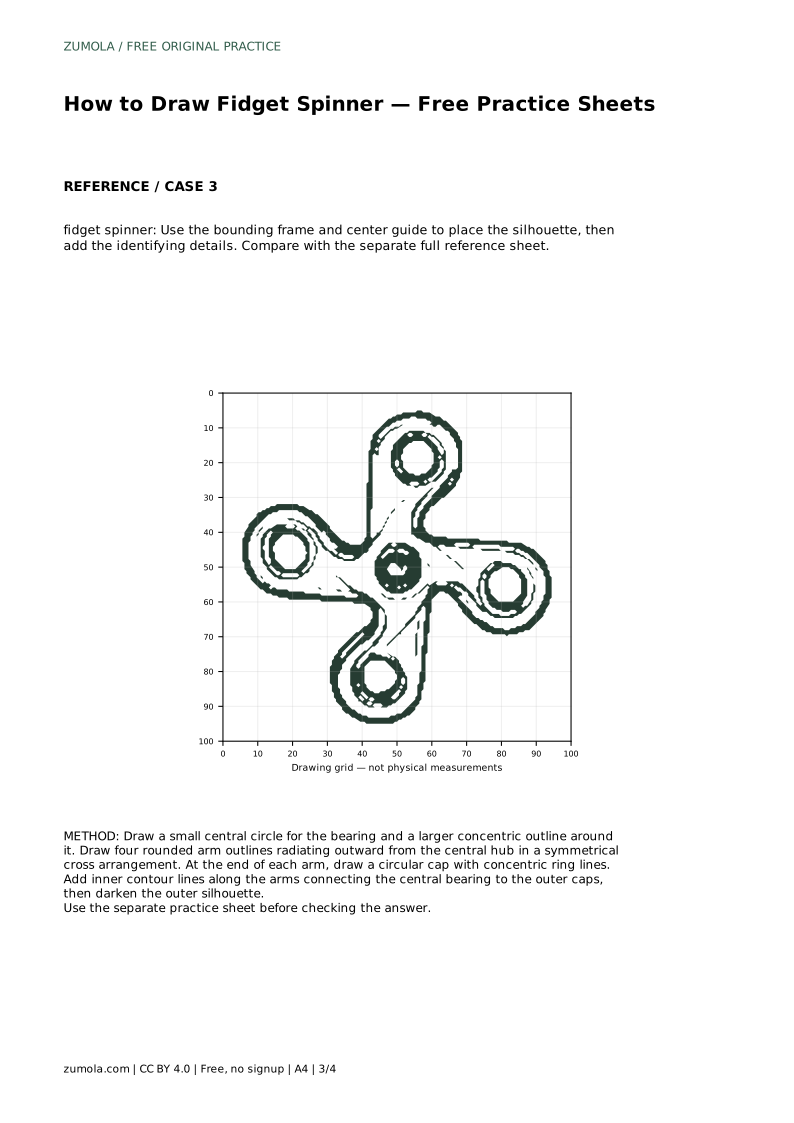
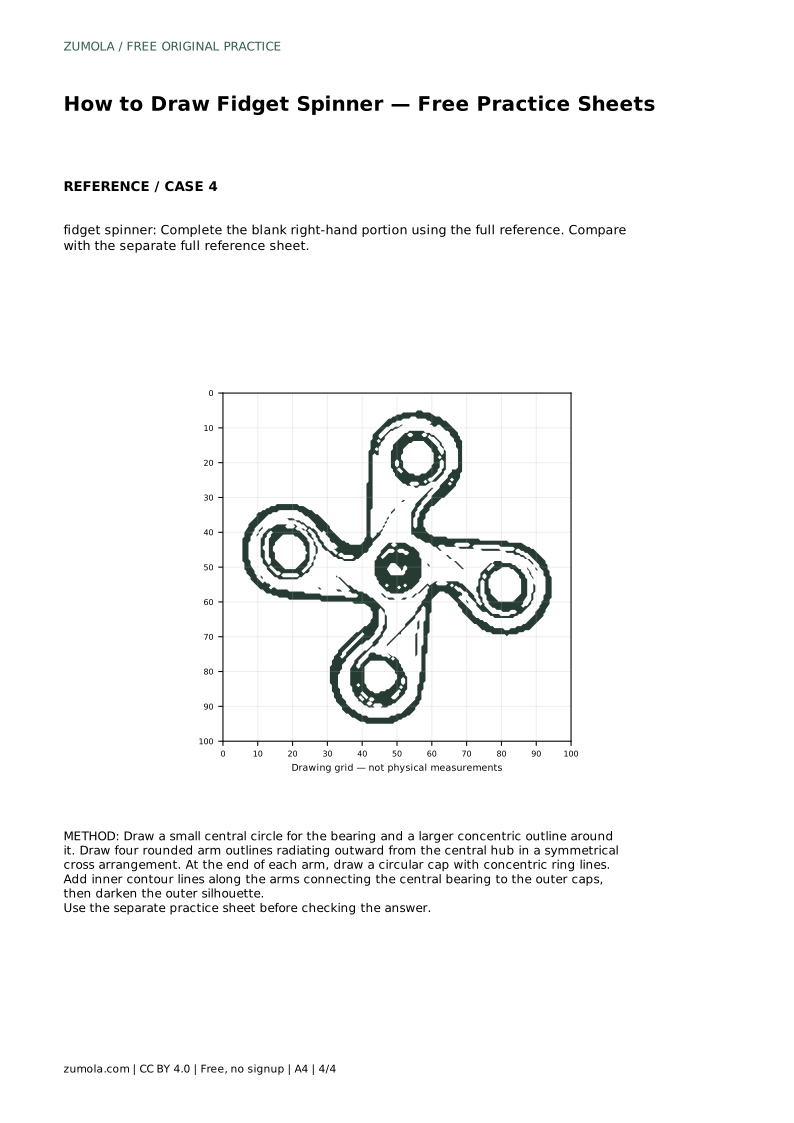
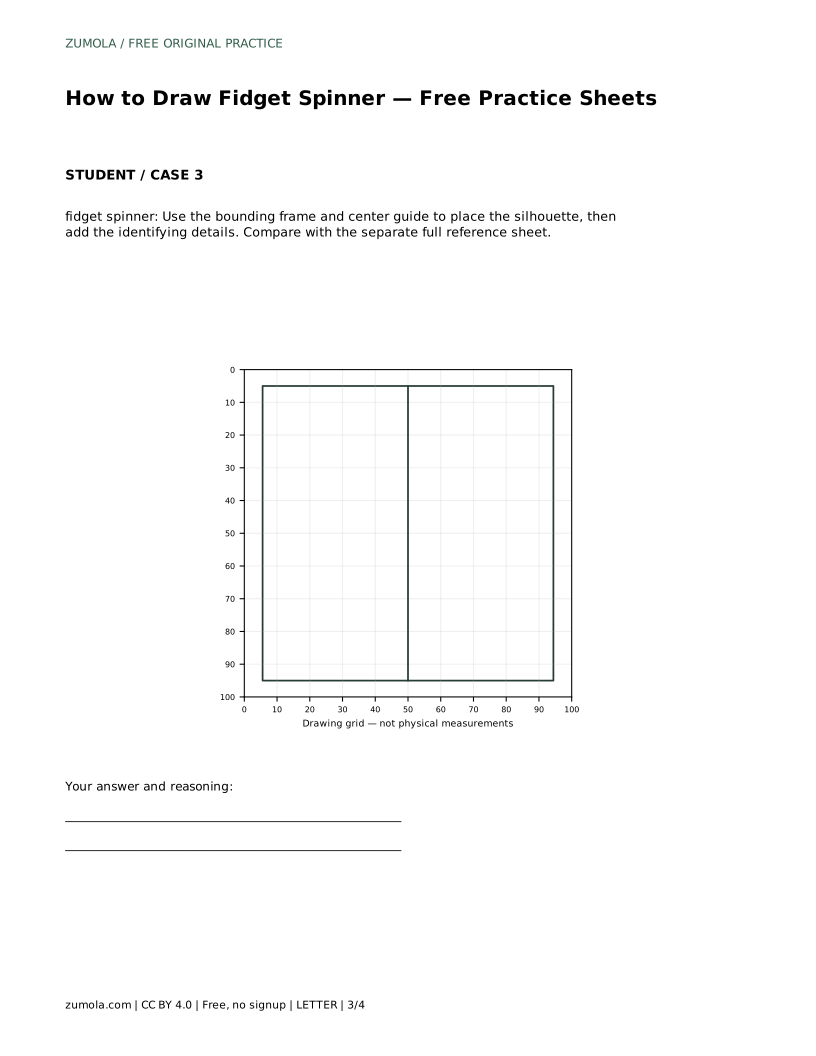
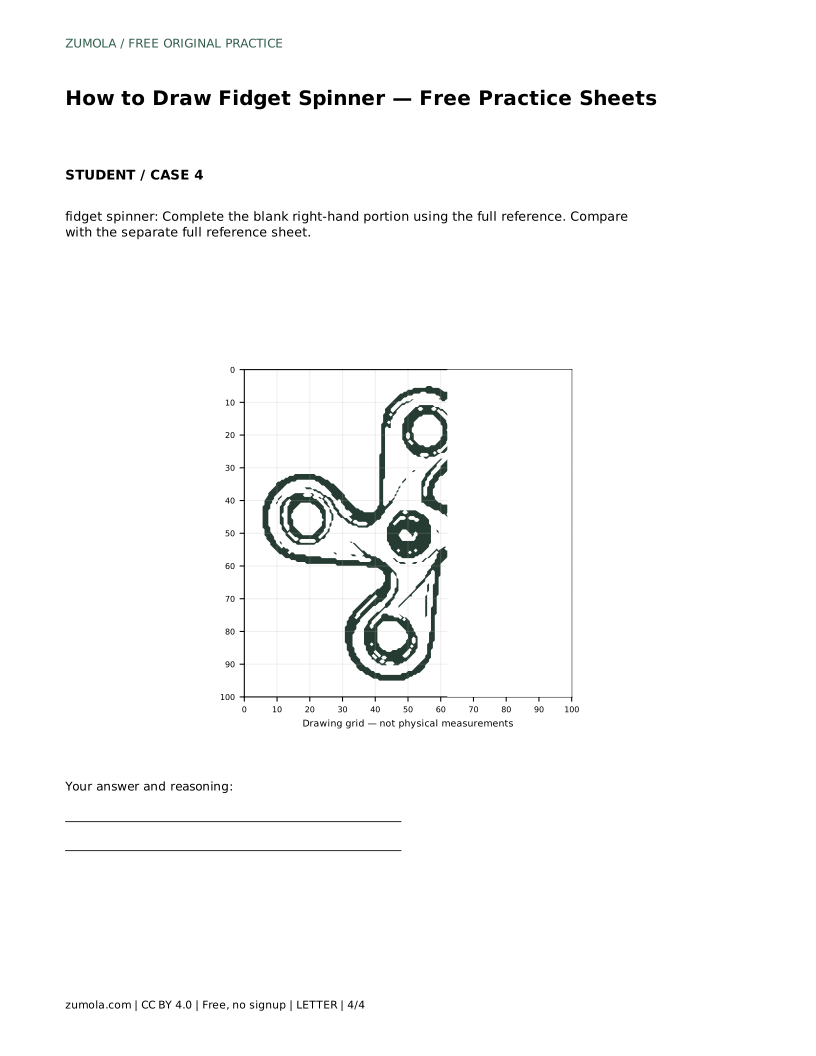
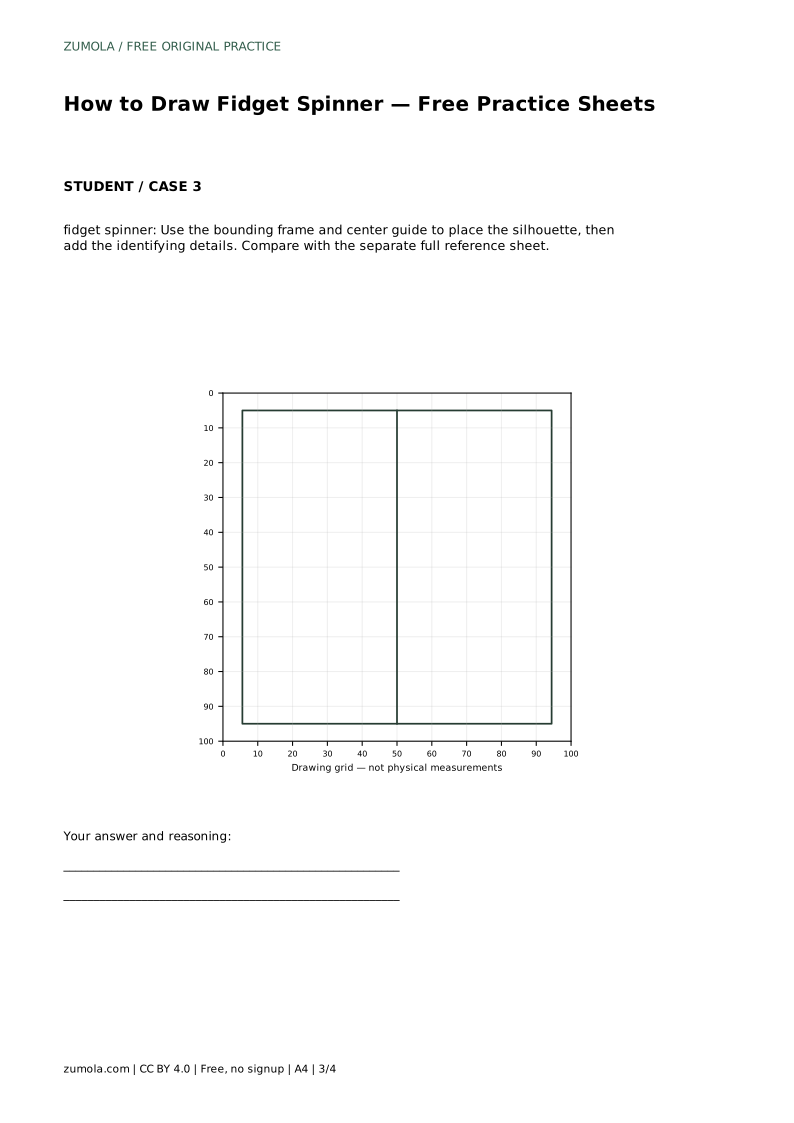
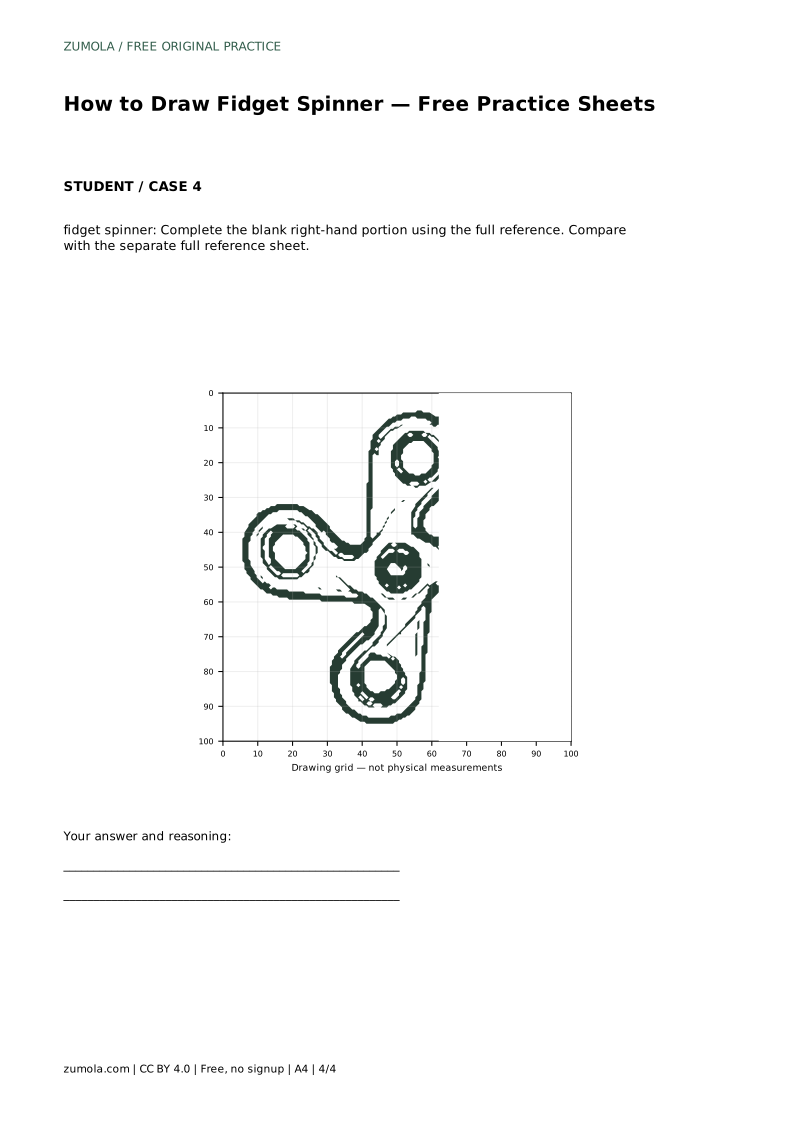
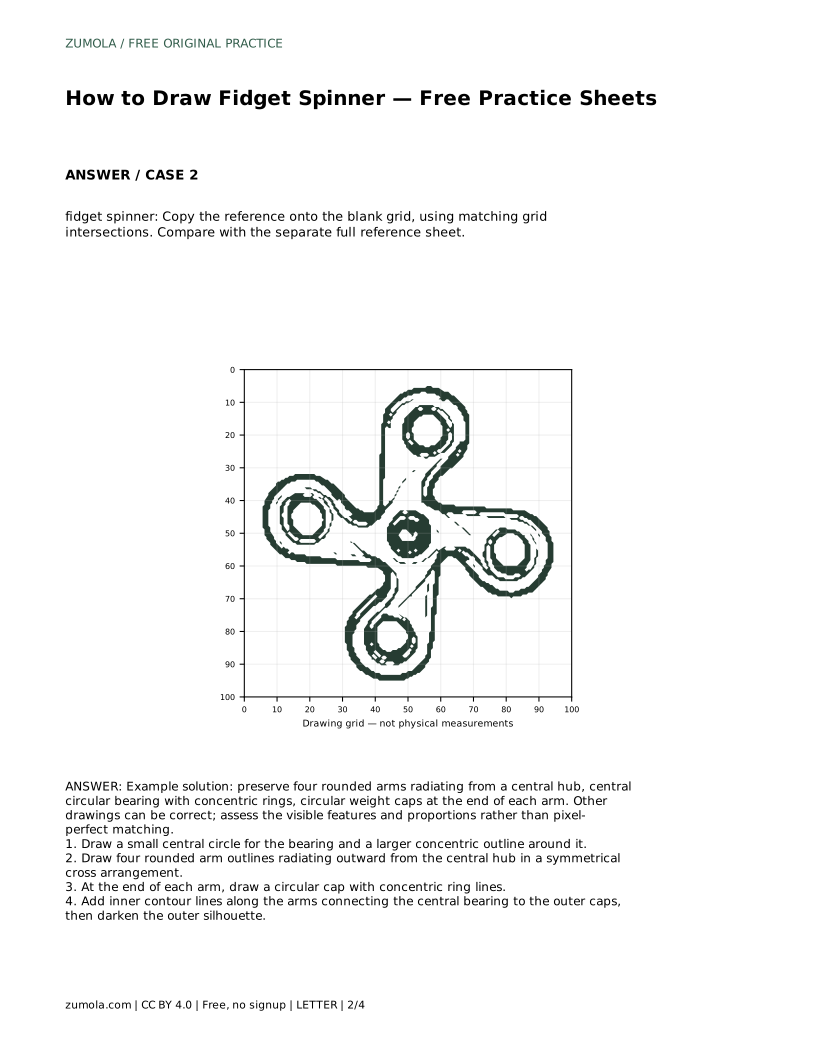
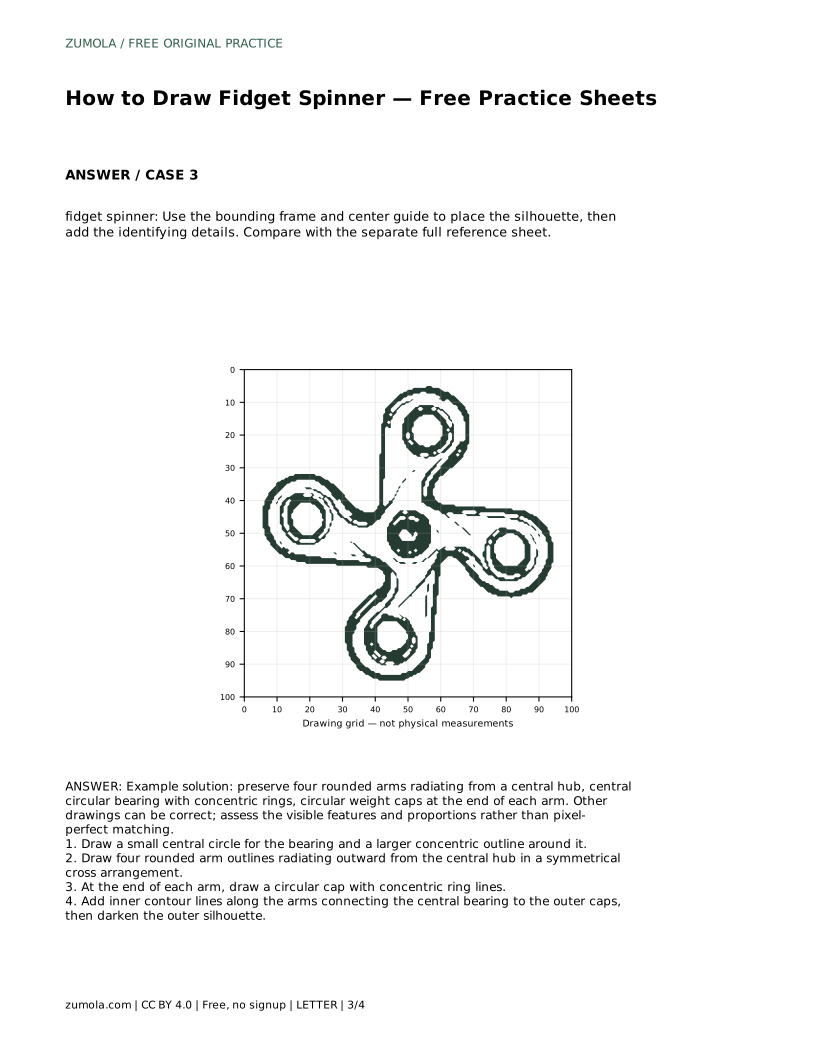
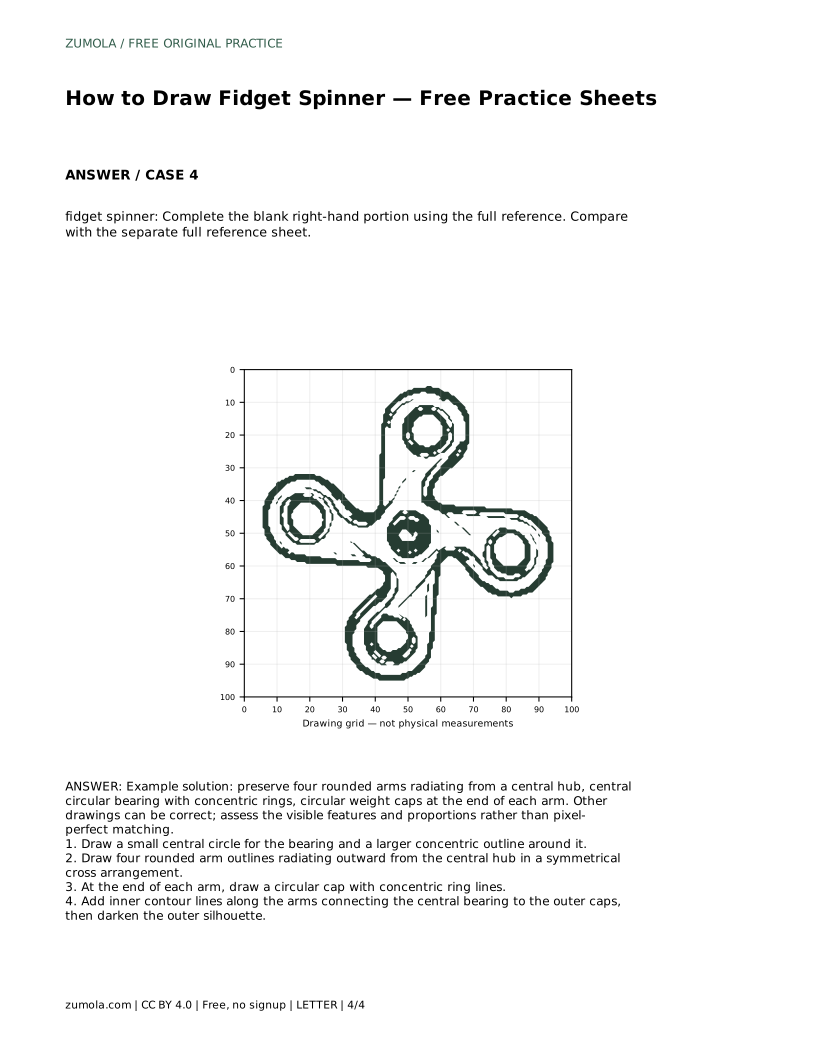
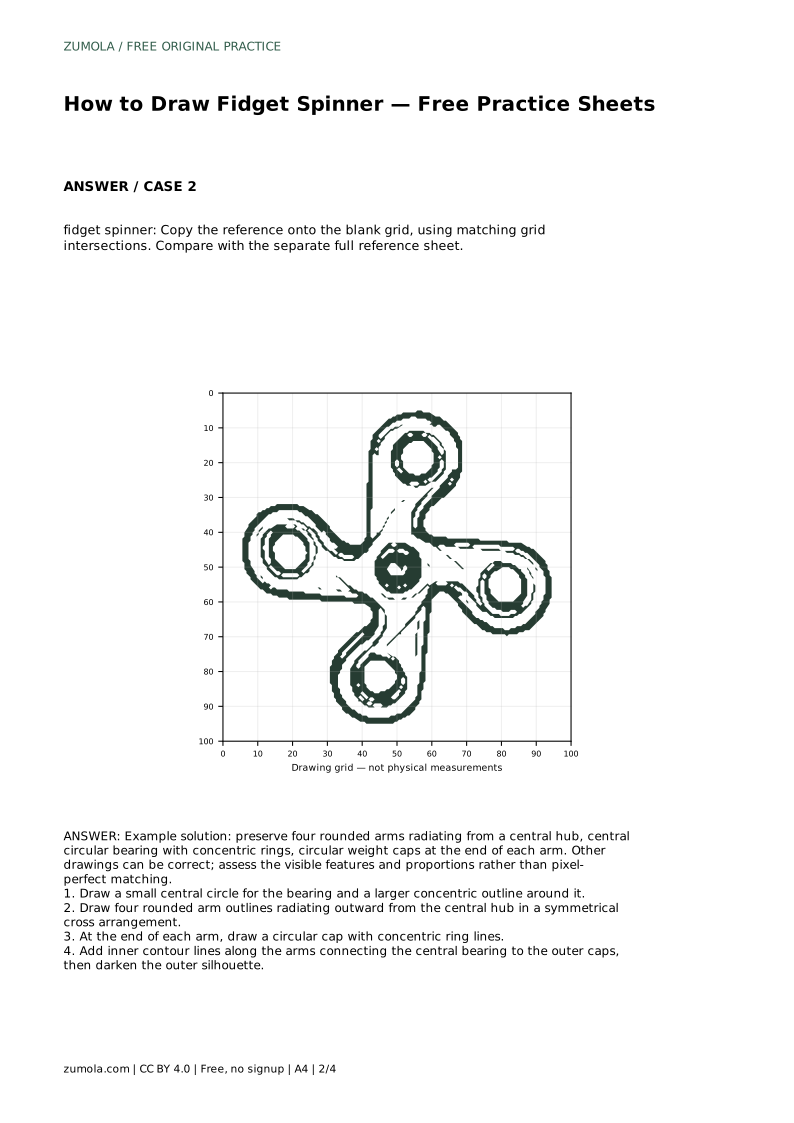
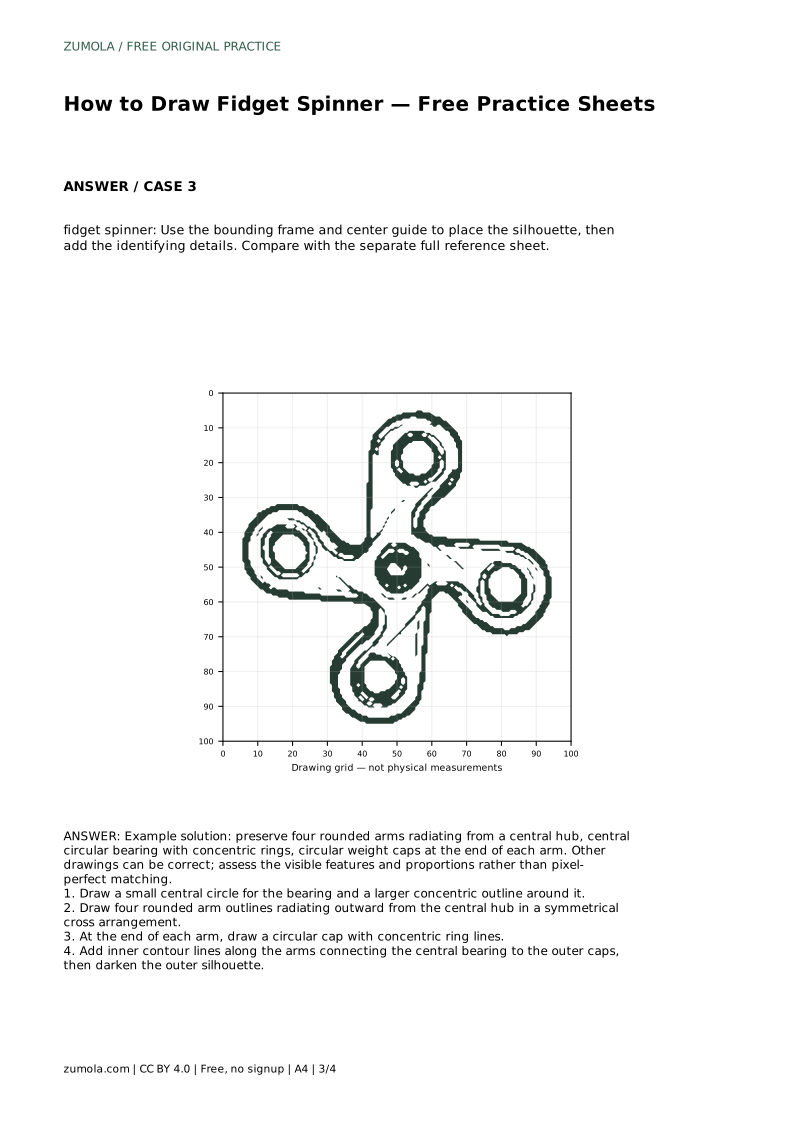
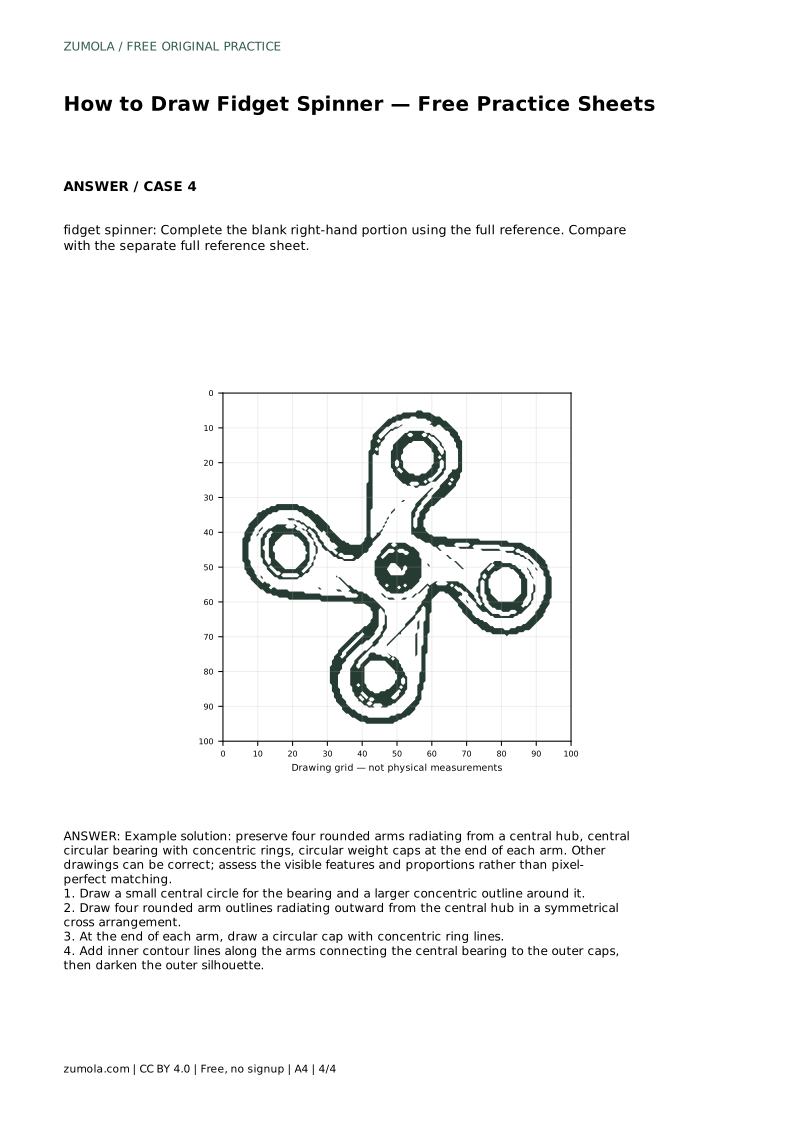
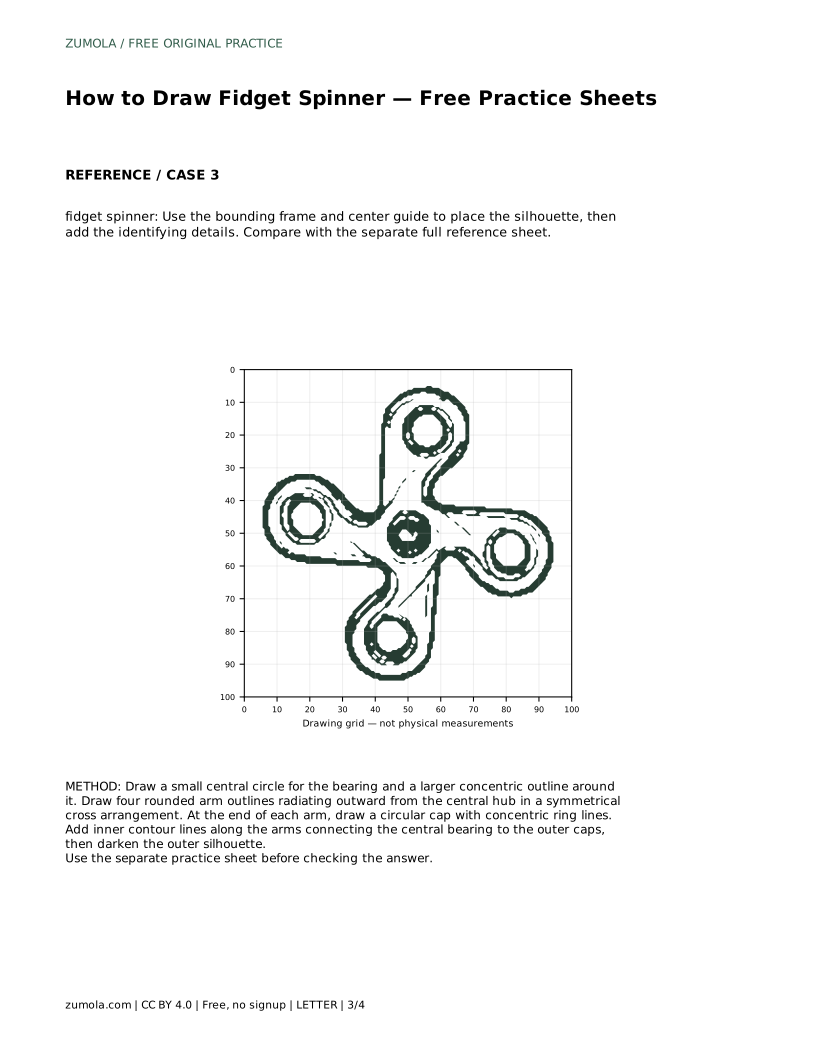
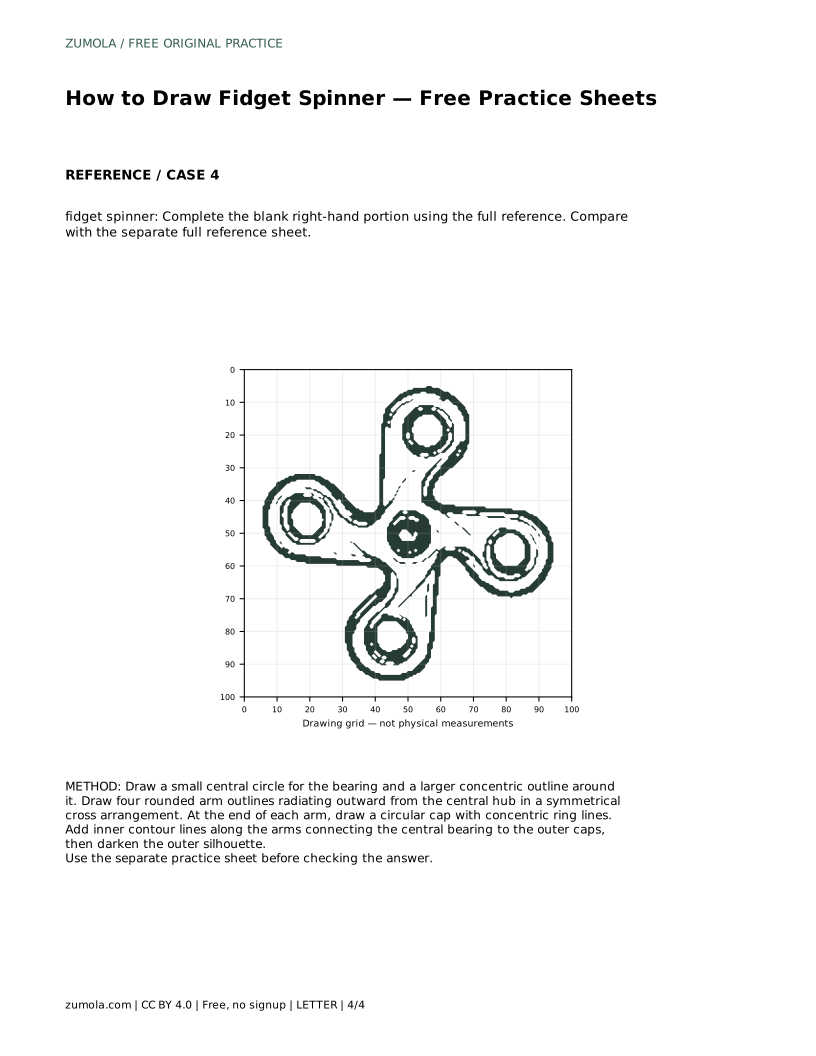
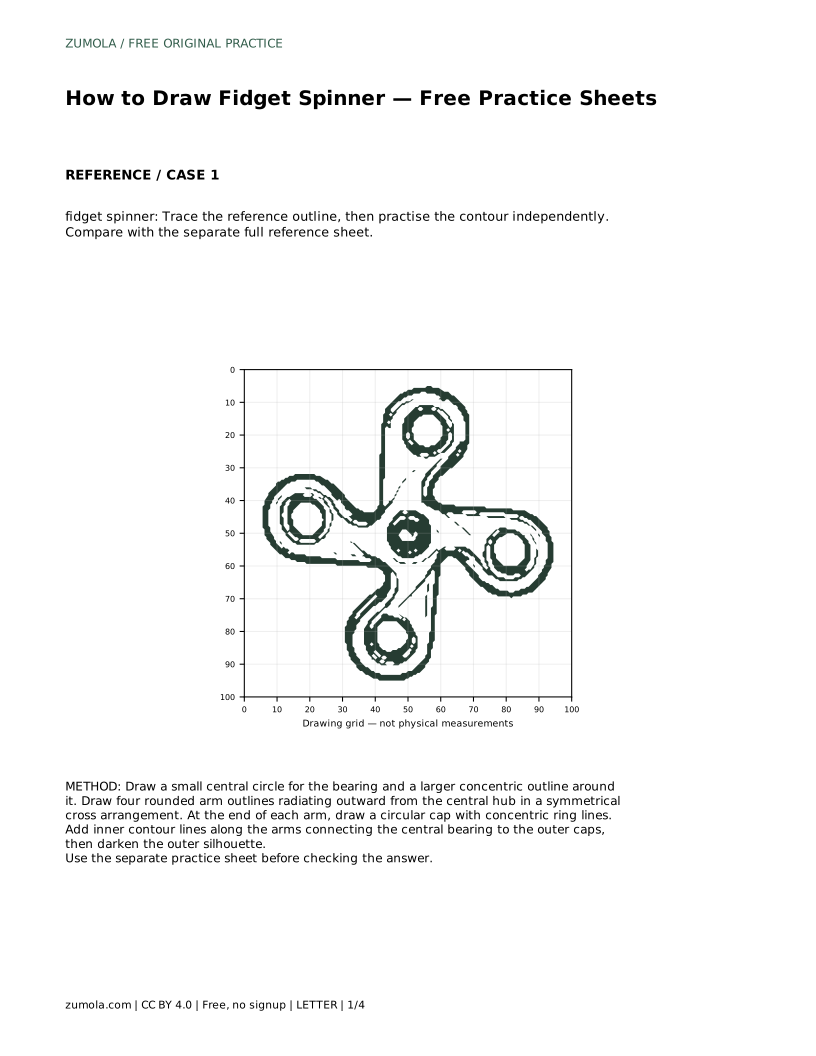
The grid sheet places the reference on a matching grid so you can copy it intersection by intersection. This is useful for checking proportion: if the top arm spans three grid squares, your drawn arm should span about three as well. The bounding-frame sheet gives you an outer frame and centre guide, so you place the silhouette within fixed limits before adding details. The partial-reference sheet shows only the left portion, and you complete the right side by mirroring the structure. In every format, compare your finished drawing with the separate full reference sheet and judge the visible features rather than exact line placement.
Because drawings of the same object can differ legitimately, assess your work against visible criteria rather than a single correct answer. A strong drawing keeps four distinct arms, a centred bearing with concentric rings, and circular caps of similar size. Slight differences in arm curvature or cap diameter are acceptable if the overall symmetry holds.
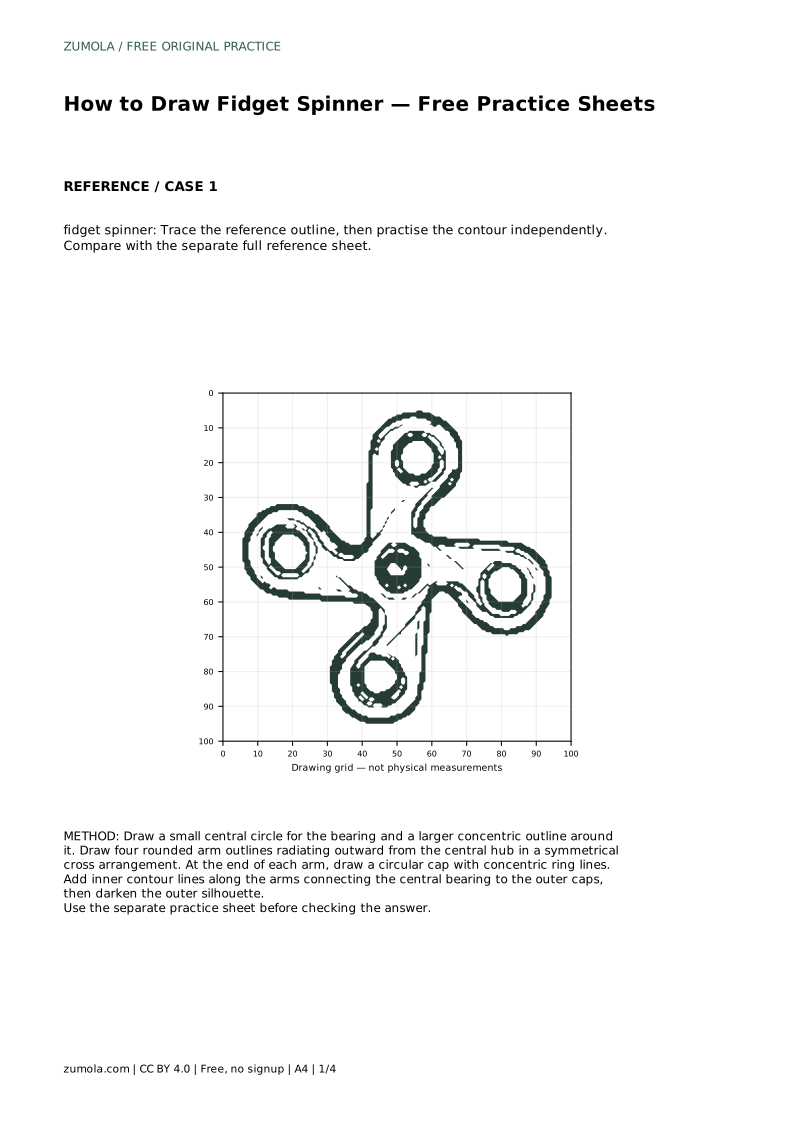
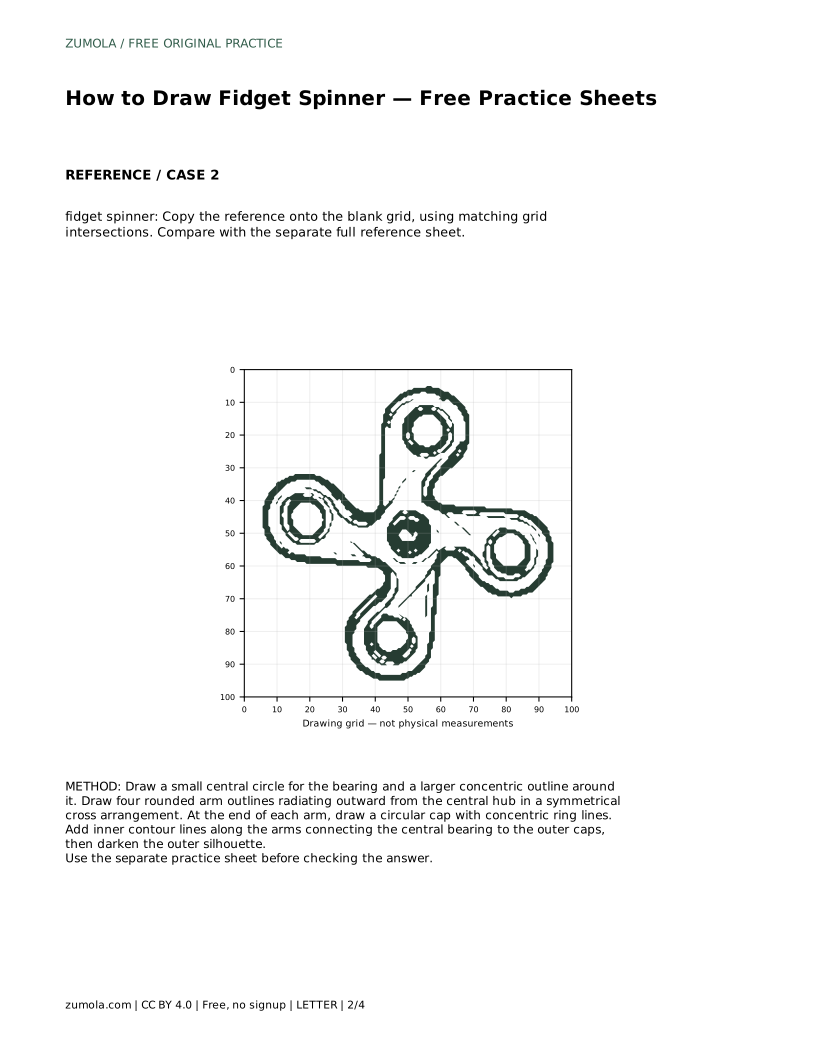
fidget spinner: Trace the reference outline, then practise the contour independently. Compare with the separate full reference sheet.
Example solution: preserve four rounded arms radiating from a central hub, central circular bearing with concentric rings, circular weight caps at the end of each arm. Other drawings can be correct; assess the visible features and proportions rather than pixel-perfect matching. Draw a small central circle for the bearing and a larger concentric outline around it. Draw four rounded arm outlines radiating outward from the central hub in a symmetrical cross arrangement. At the end of each arm, draw a circular cap with concentric ring lines. Add inner contour lines along the arms connecting the central bearing to the outer caps, then darken the outer silhouette.
They should look evenly balanced, but small differences are acceptable. Check that no arm is obviously longer or shorter than the others and that the spacing between arms is roughly equal.
The bearing is usually the cause. If the central circles are not at the true middle of the arm span, every arm will look uneven. Place the hub first and measure each arm's reach from it.
Yes. The grid sheet works on its own by matching key points to grid intersections. Tracing first is helpful for beginners, but it is not required.
All drawing practice · Free coordinate paper
Original resources · CC BY 4.0 · Free for personal and classroom use with attribution.