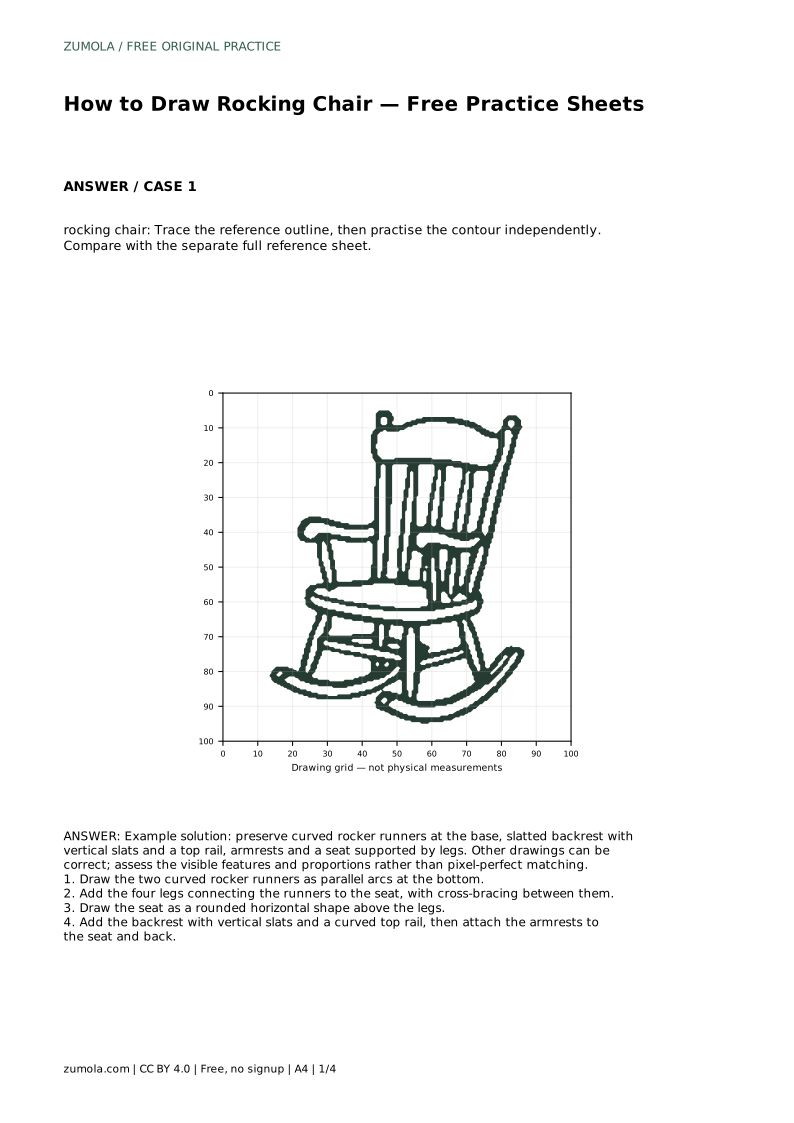
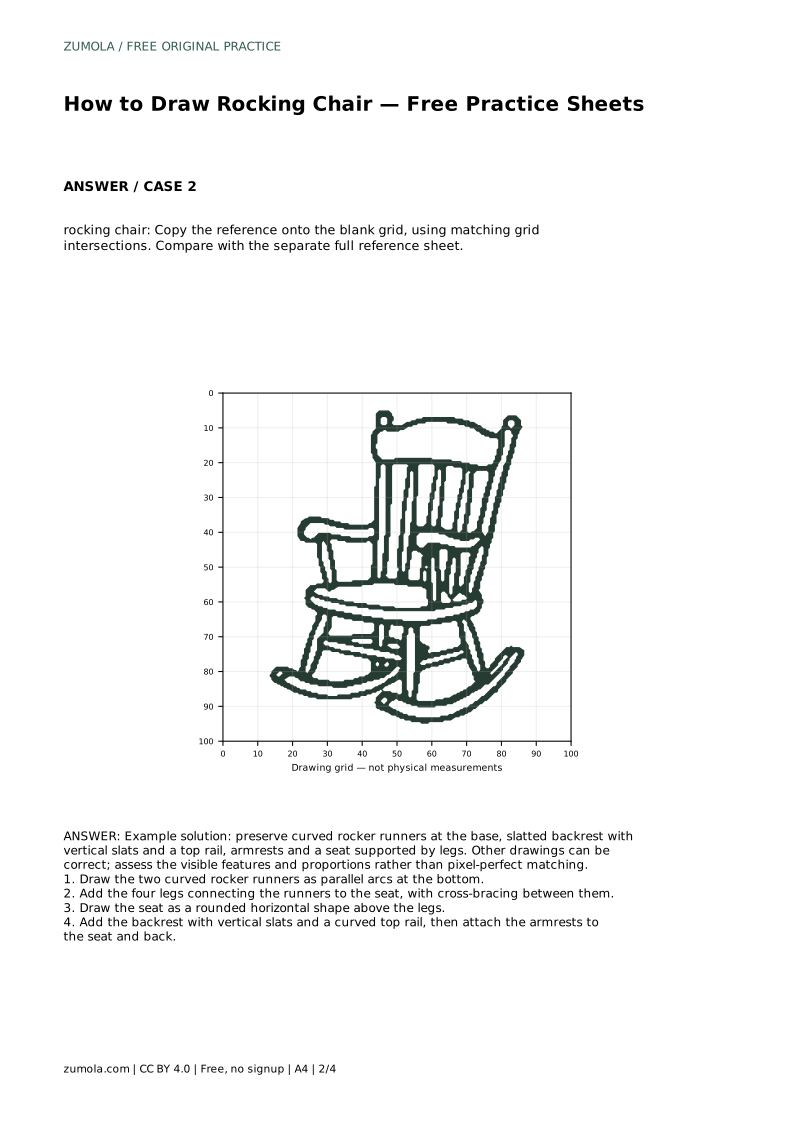
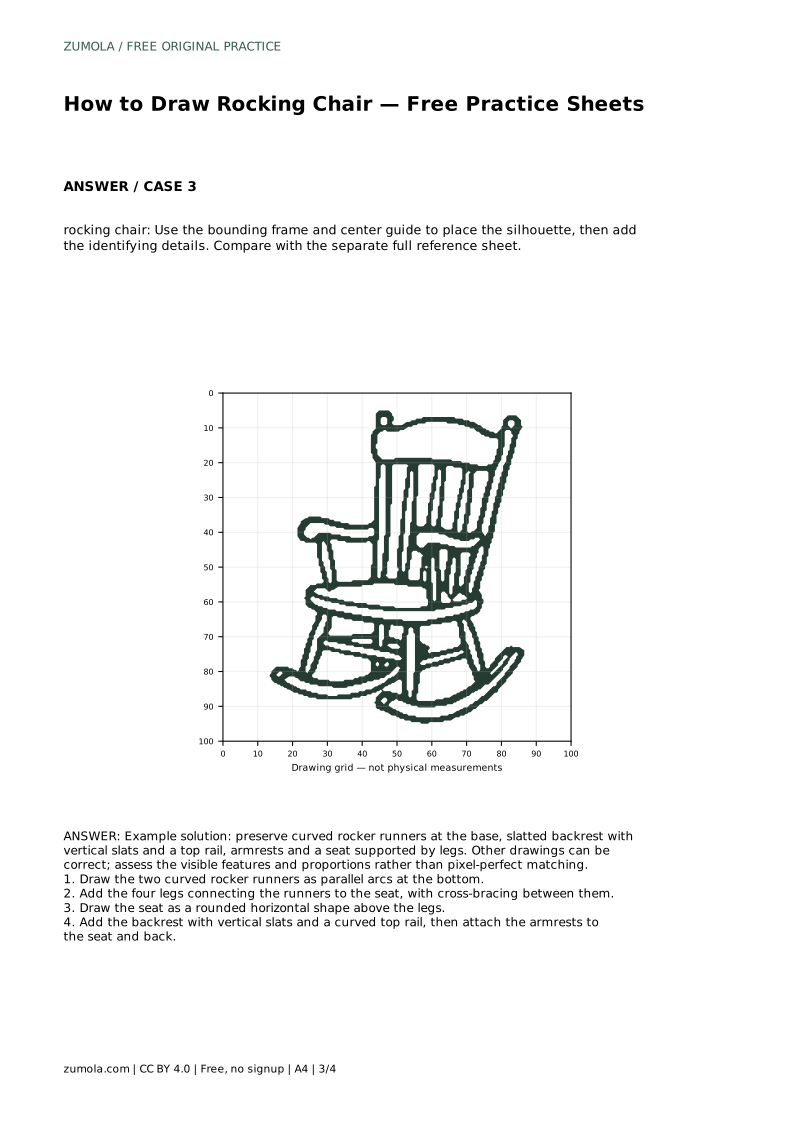
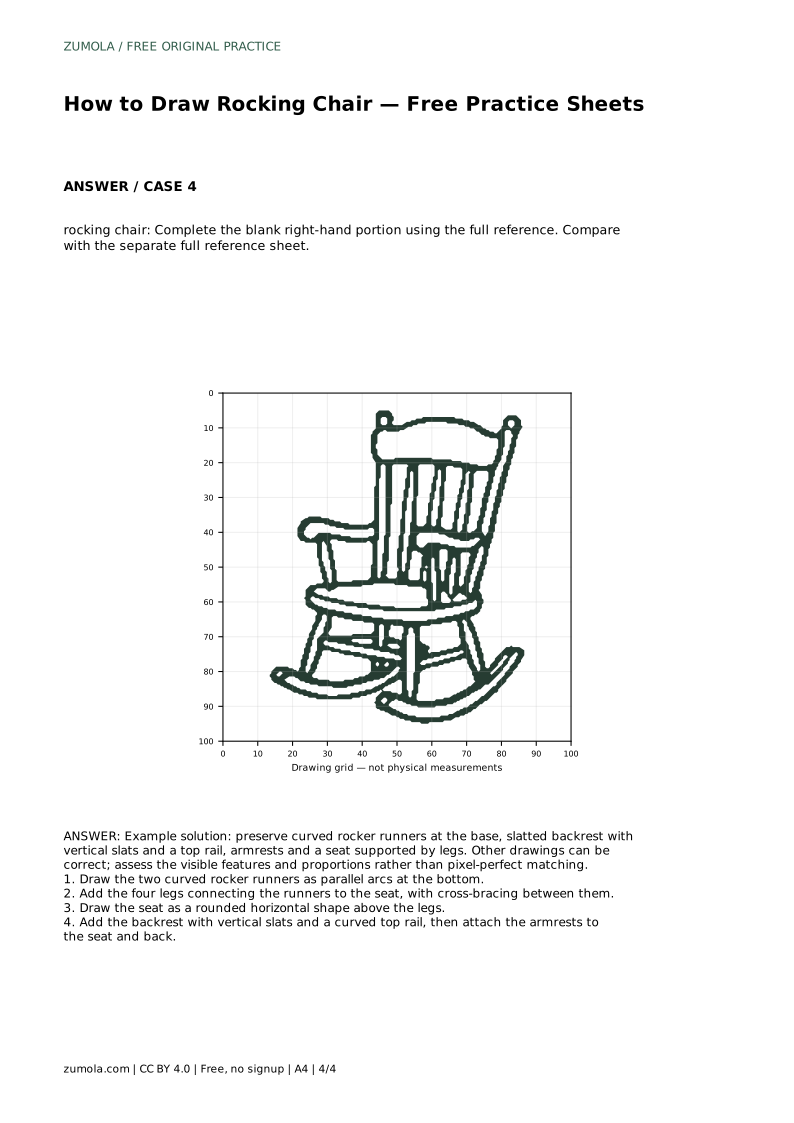
Reference diagrams
LETTER · Download PDF
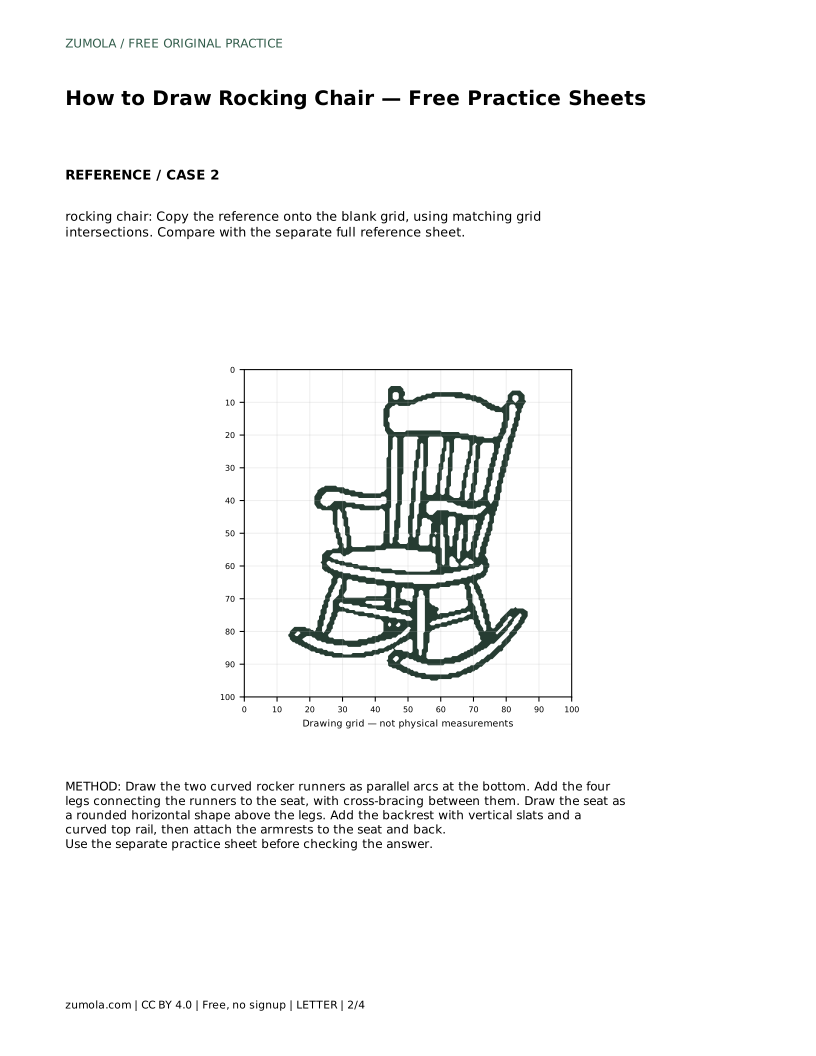
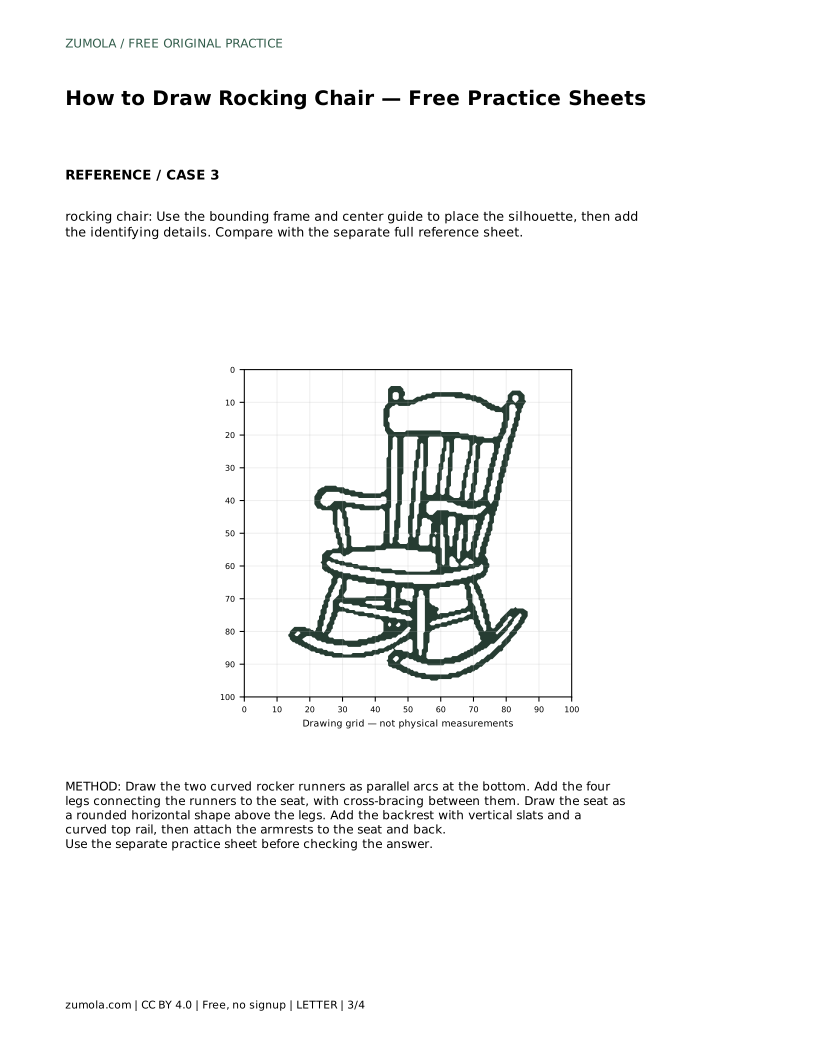
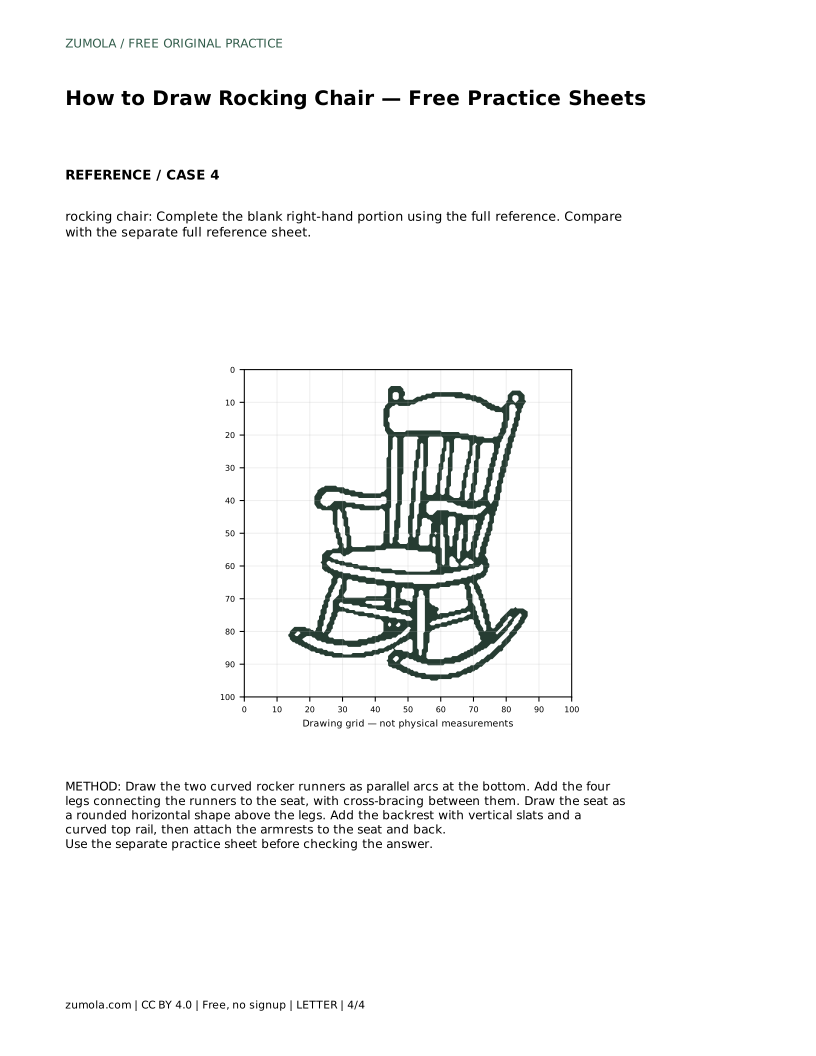
A4 · Download PDF
Free original resources
Learn to draw a rocking chair by building curved rocker runners, four legs, a seat, a slatted backrest and armrests in a clear, ordered sequence.
Four original cases, with reference diagrams, practice sheets and worked answers. Everything is free; no signup required.
LETTER · Download PDF
A4 · Download PDF
LETTER · Download PDF
A4 · Download PDF
LETTER · Download PDF
A4 · Download PDF
Use A4 or US Letter to match your printer. Use the stated values and conditions to solve each exercise; diagrams are not physical measuring rulers.
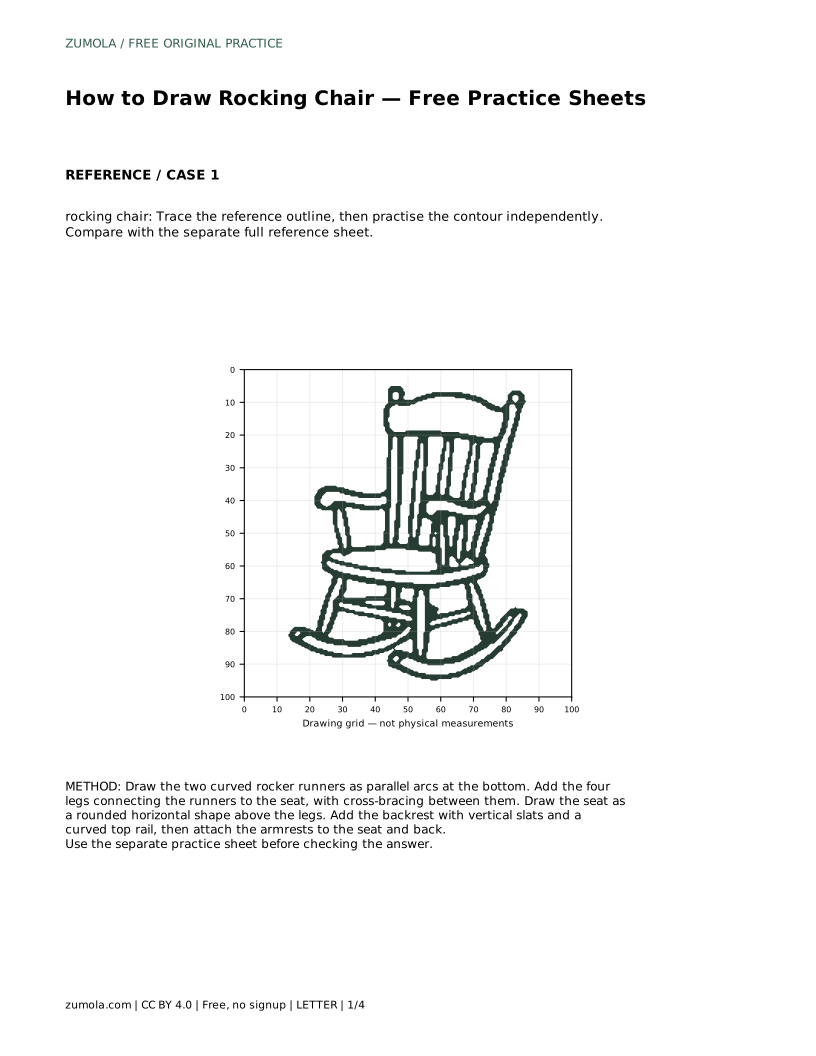
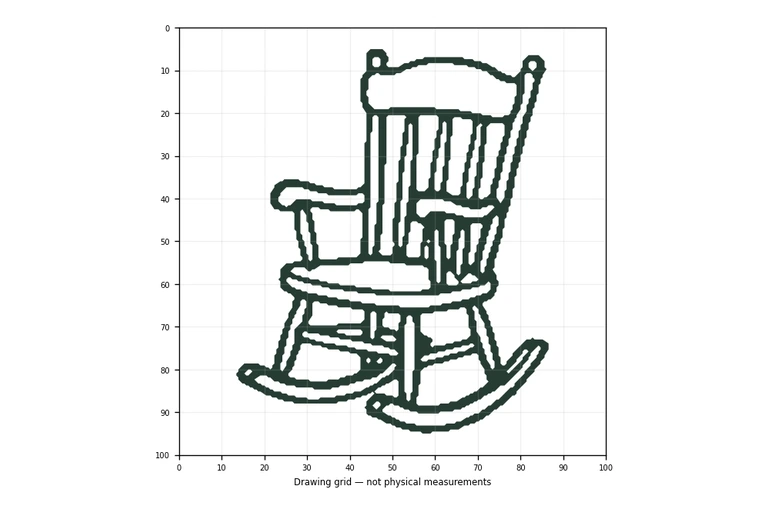
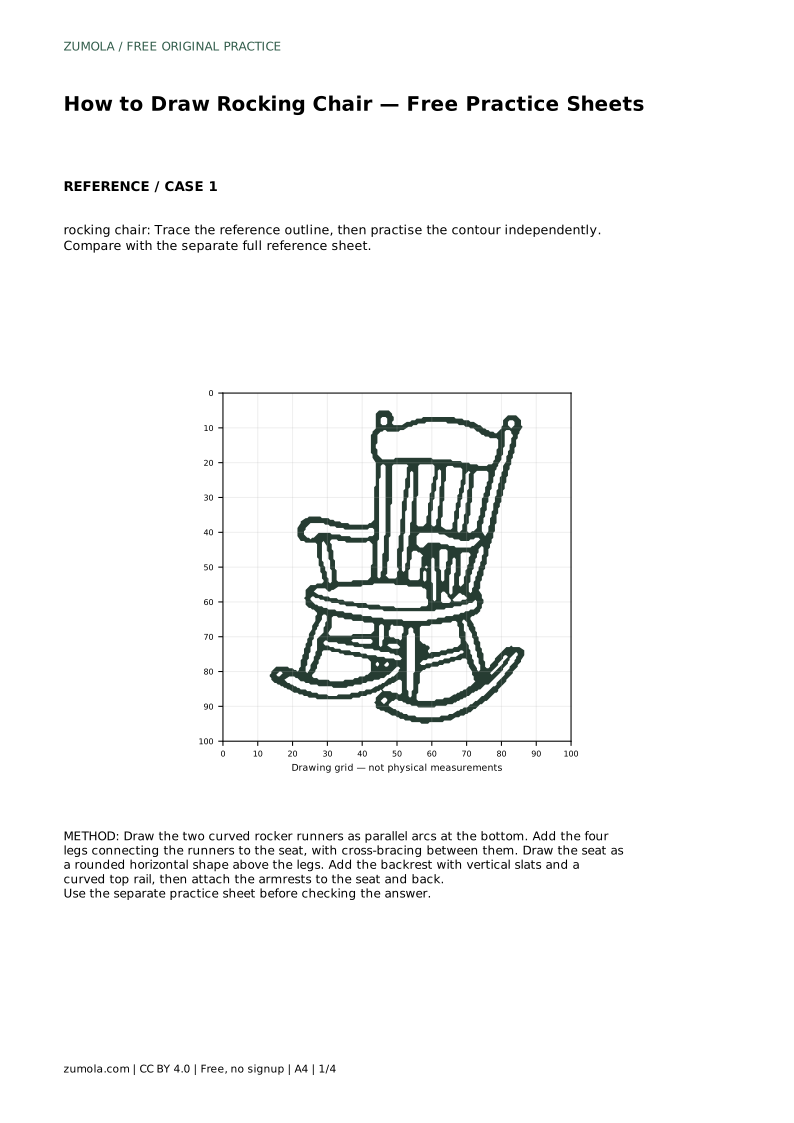
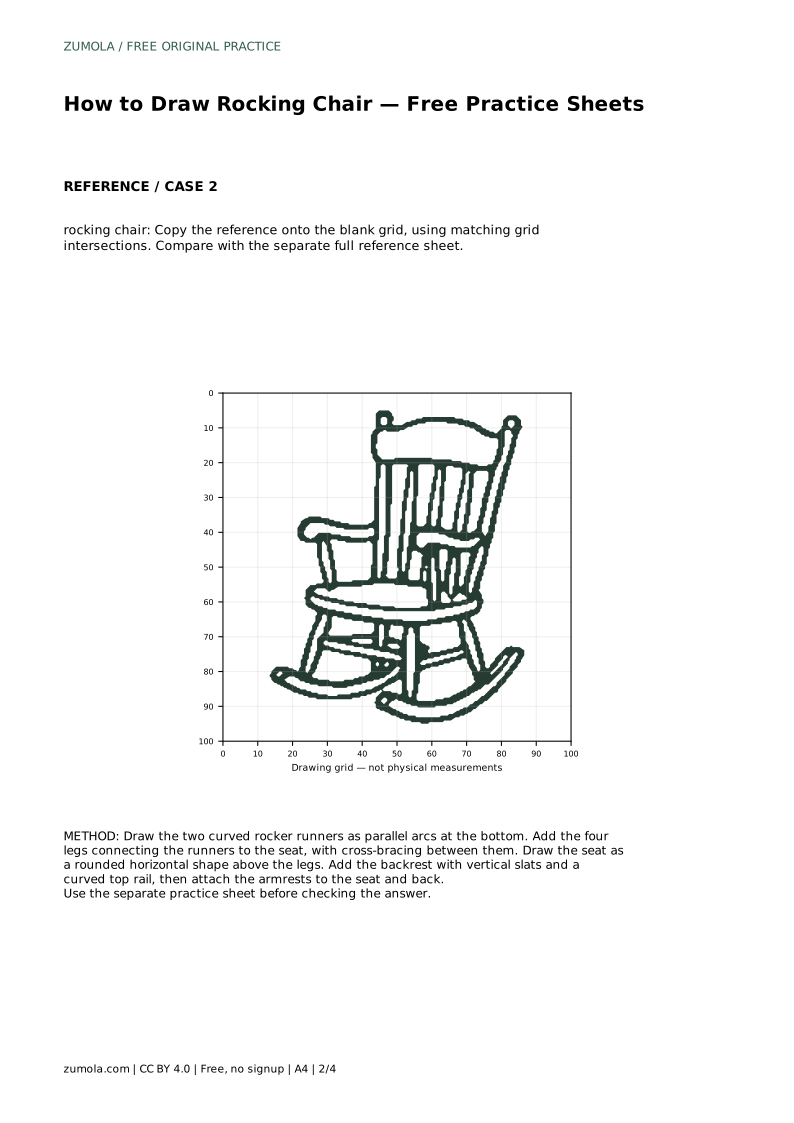
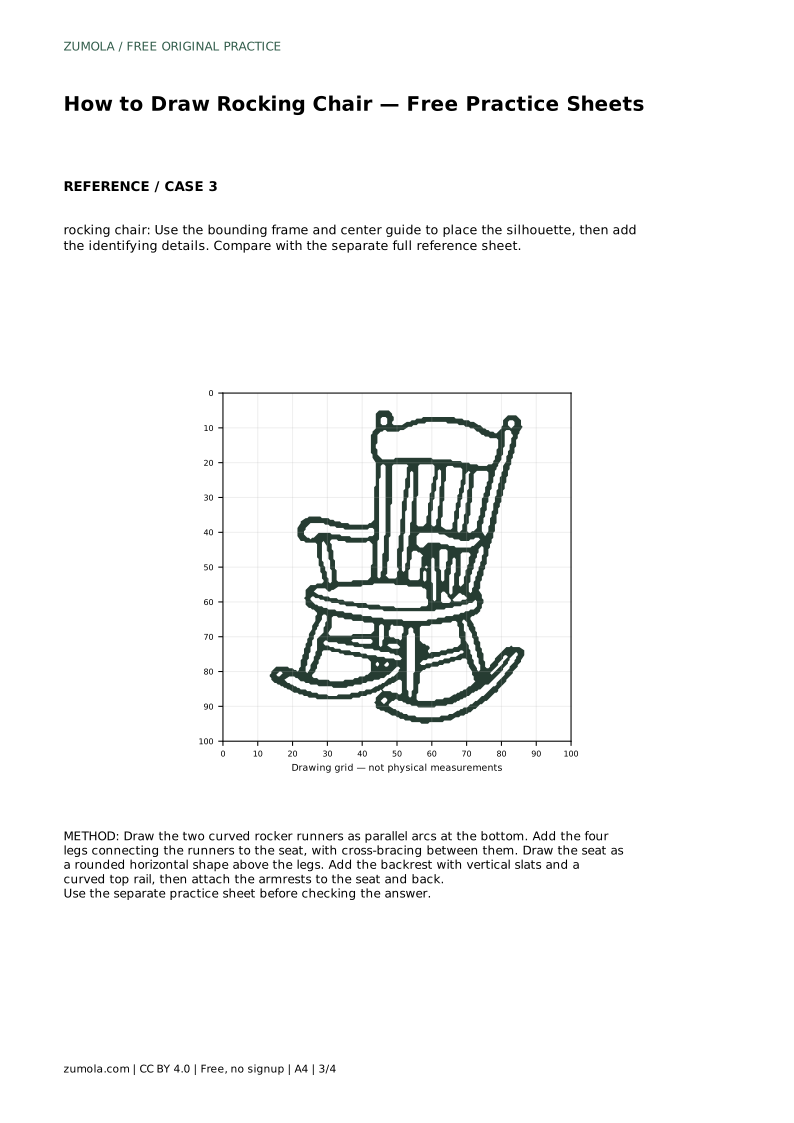
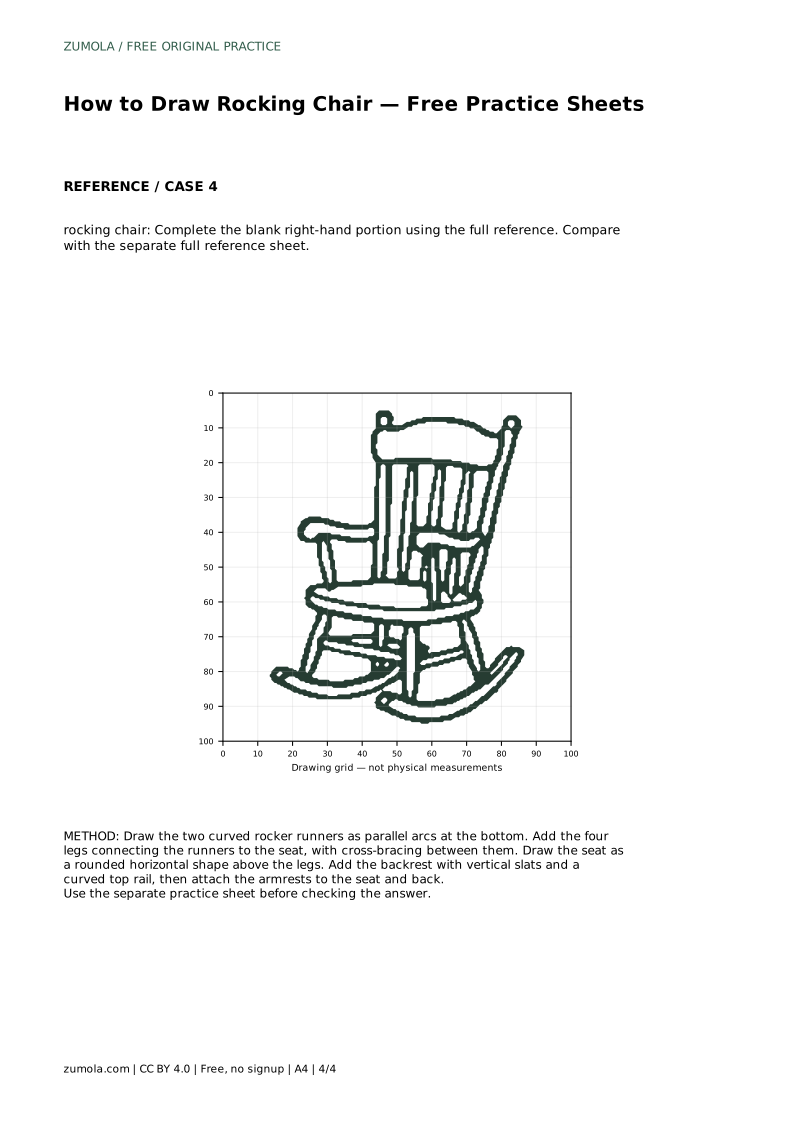
A rocking chair is easy to recognise but easy to draw out of balance. The curved runners at the base set the whole shape, so they come first. From there you build upward: legs, seat, backrest and armrests. This page explains a reliable order for drawing the chair and describes how the practice sheets support tracing, grid copying, guide placement and completing a partial drawing.
The rocker runners are the defining feature of the chair. Draw them as two parallel arcs at the bottom, curving in the same direction and keeping a consistent gap between them. If the arcs are uneven or cross each other, the chair will look unstable no matter how carefully the upper parts are drawn.
Once the runners are in place, add the four legs connecting the runners to the seat. Keep the legs roughly vertical and add cross-bracing between them so the base reads as a supported structure rather than floating parts. Then draw the seat as a rounded horizontal shape above the legs. Finish with the backrest, using vertical slats and a curved top rail, and attach the armrests to both the seat and the back.
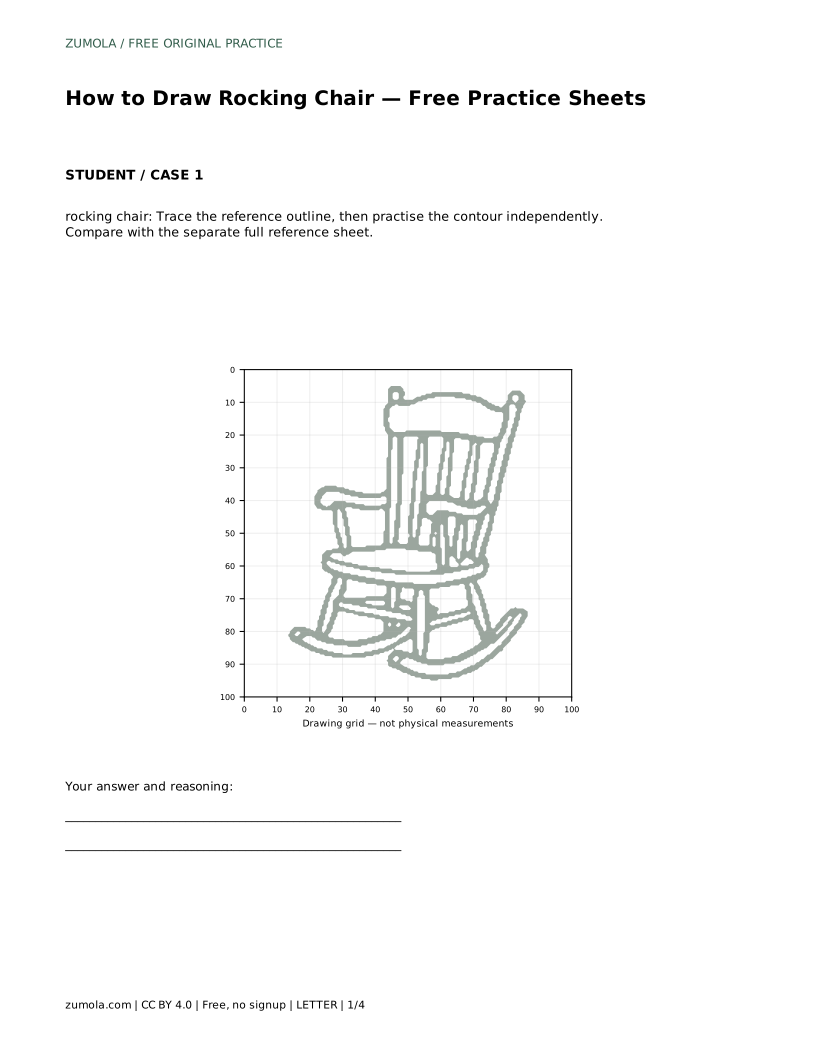
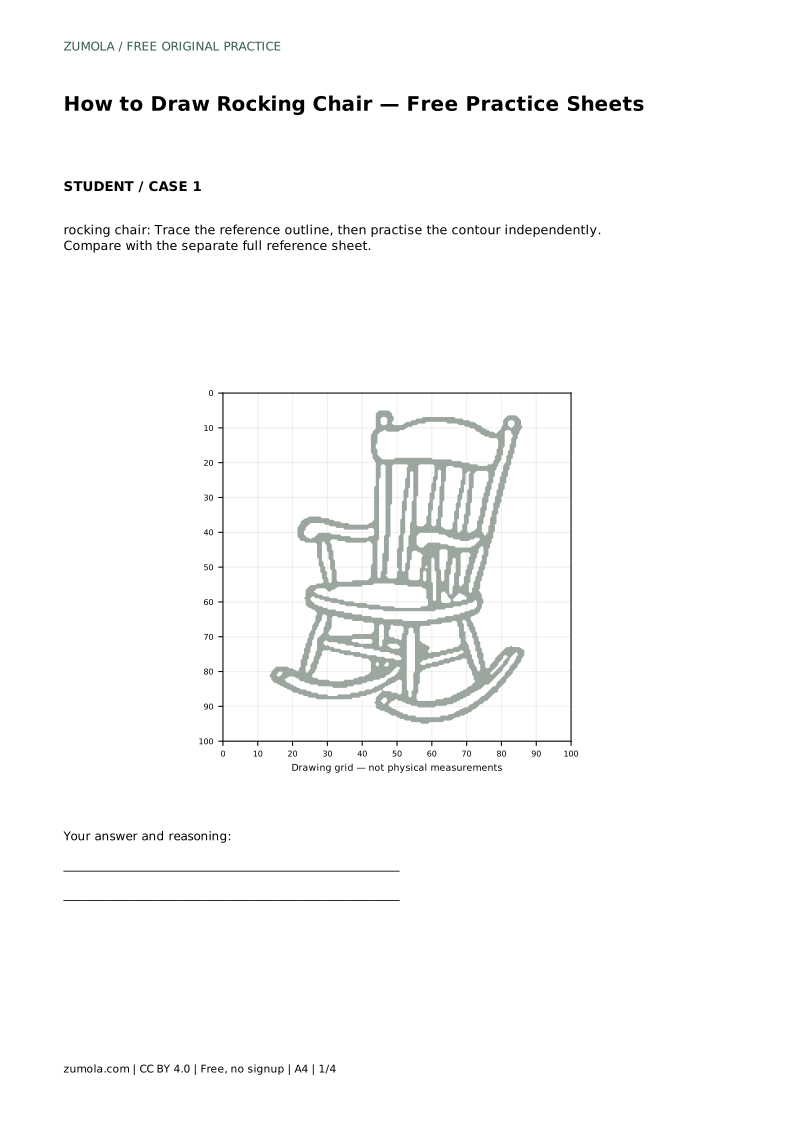
Each sheet format asks for the same chair but trains a different drawing skill. Tracing the reference outline helps you feel the curve of the runners and the spacing of the slats. Practising the contour independently afterwards tests whether you can reproduce those shapes without the guide.
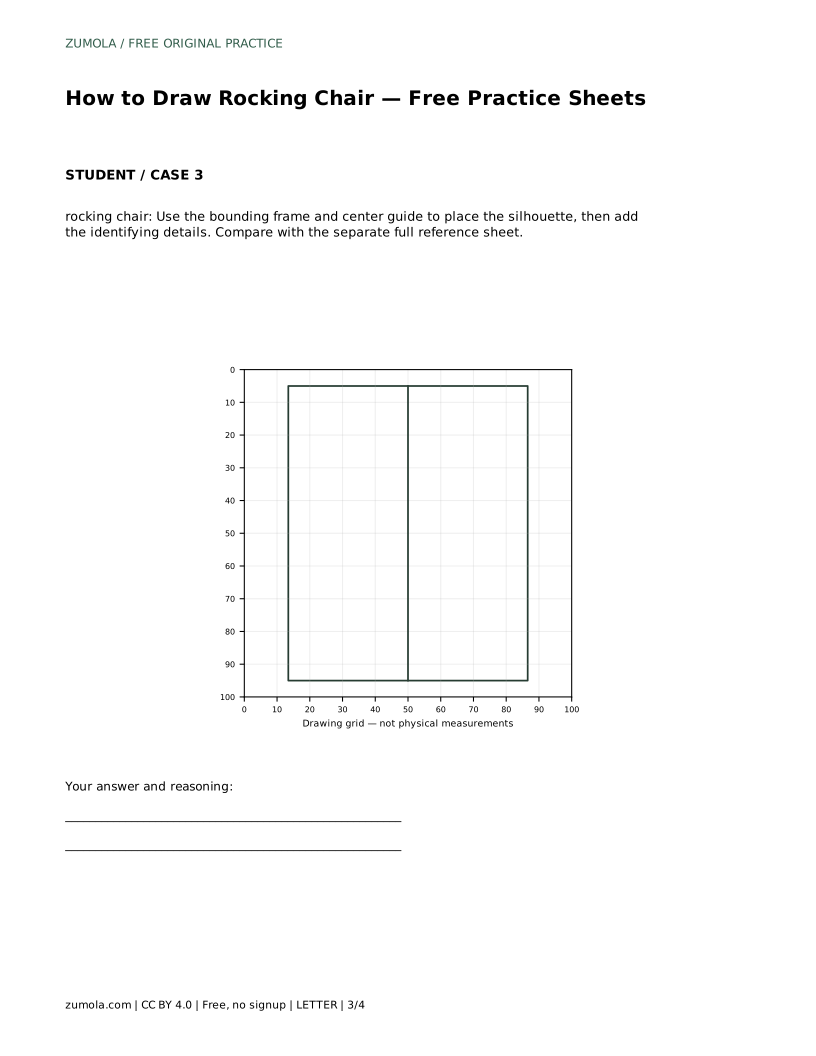
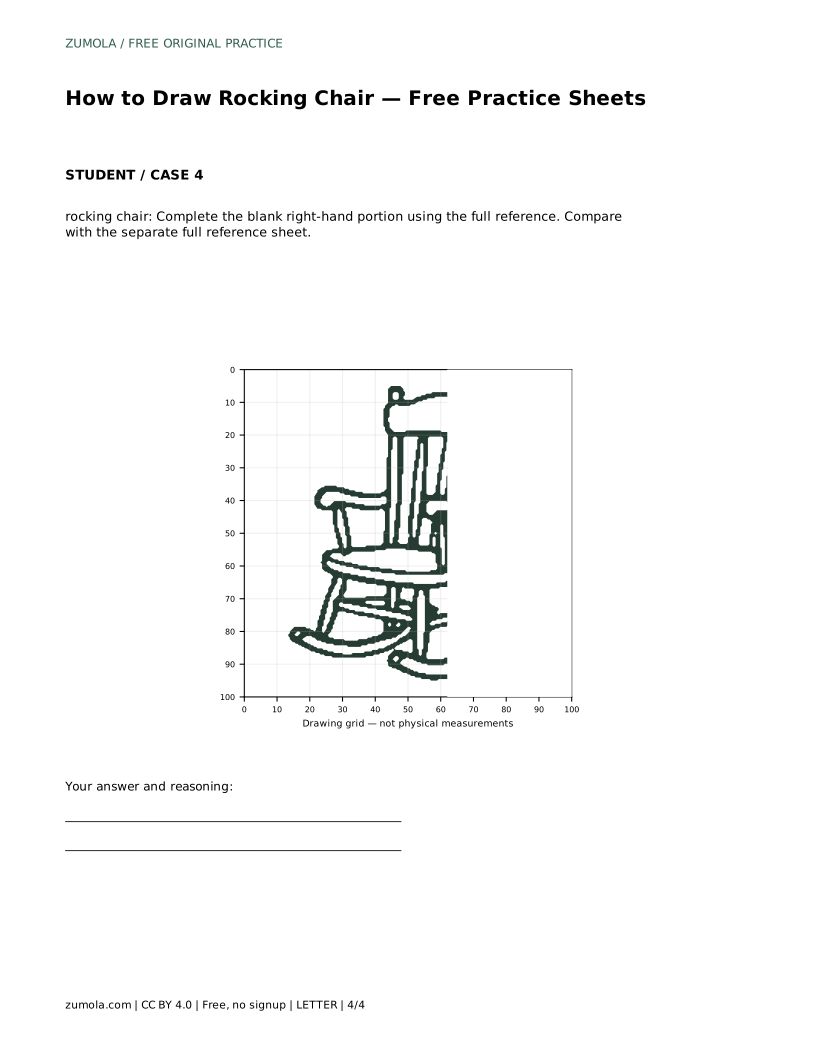
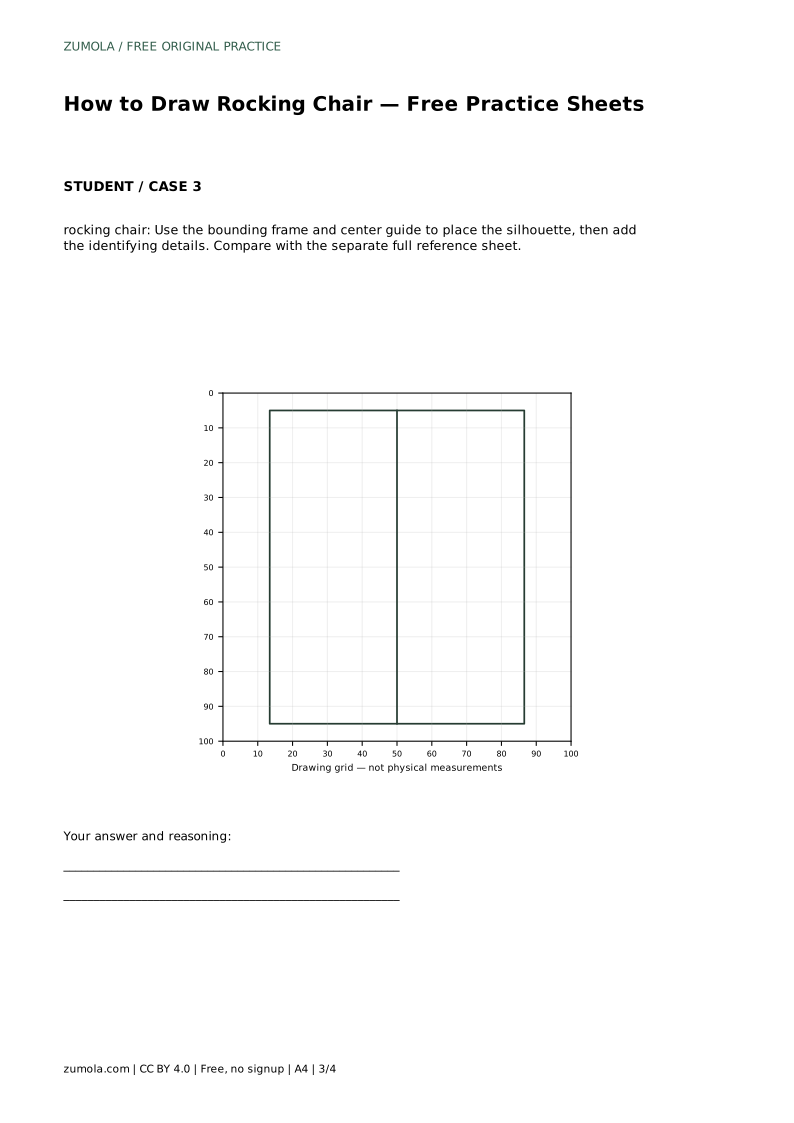
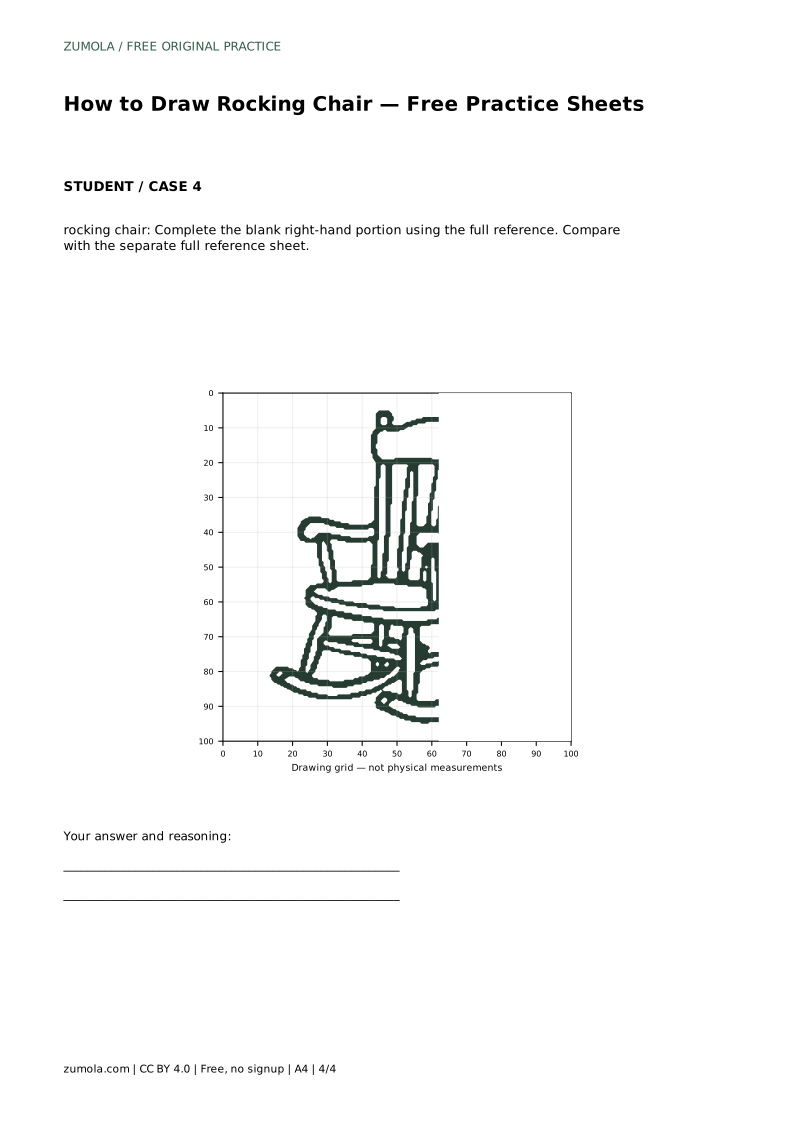
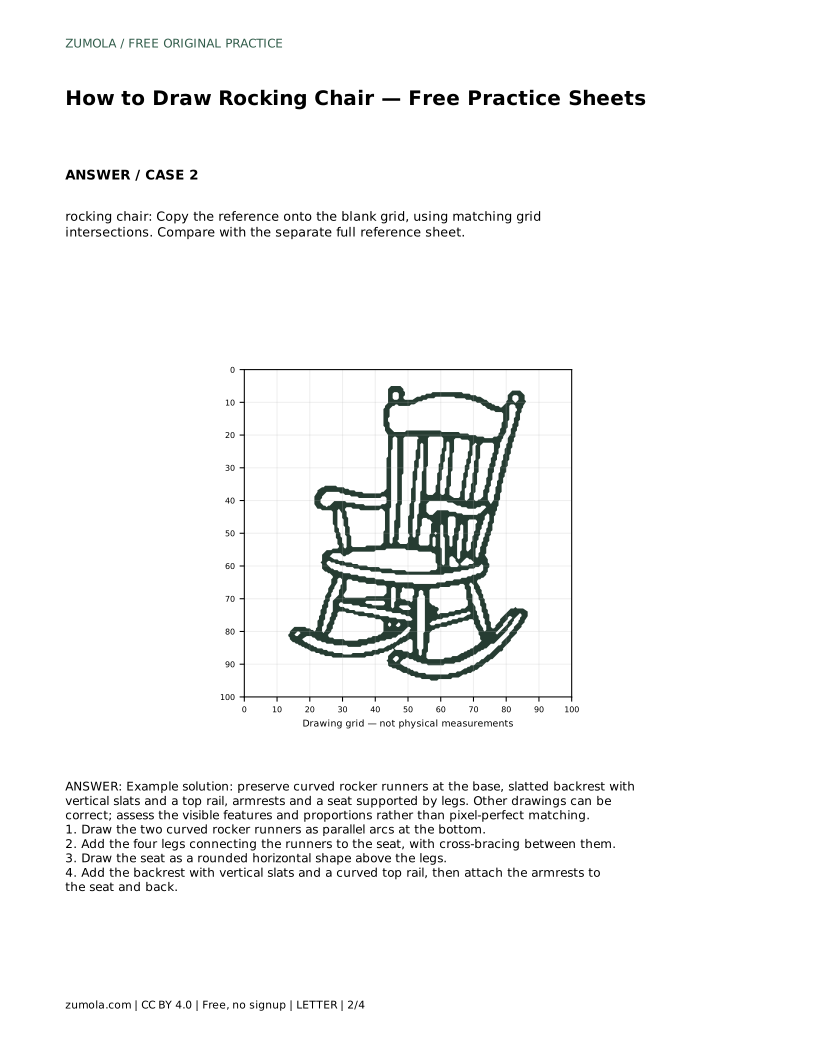
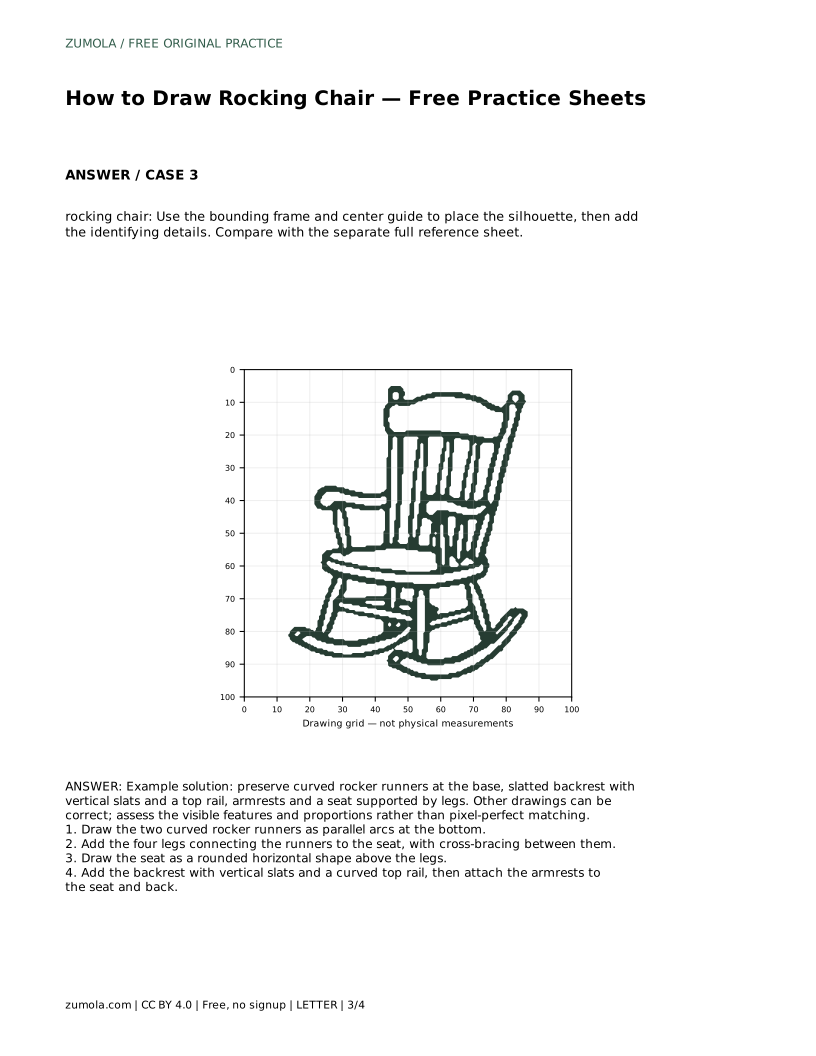
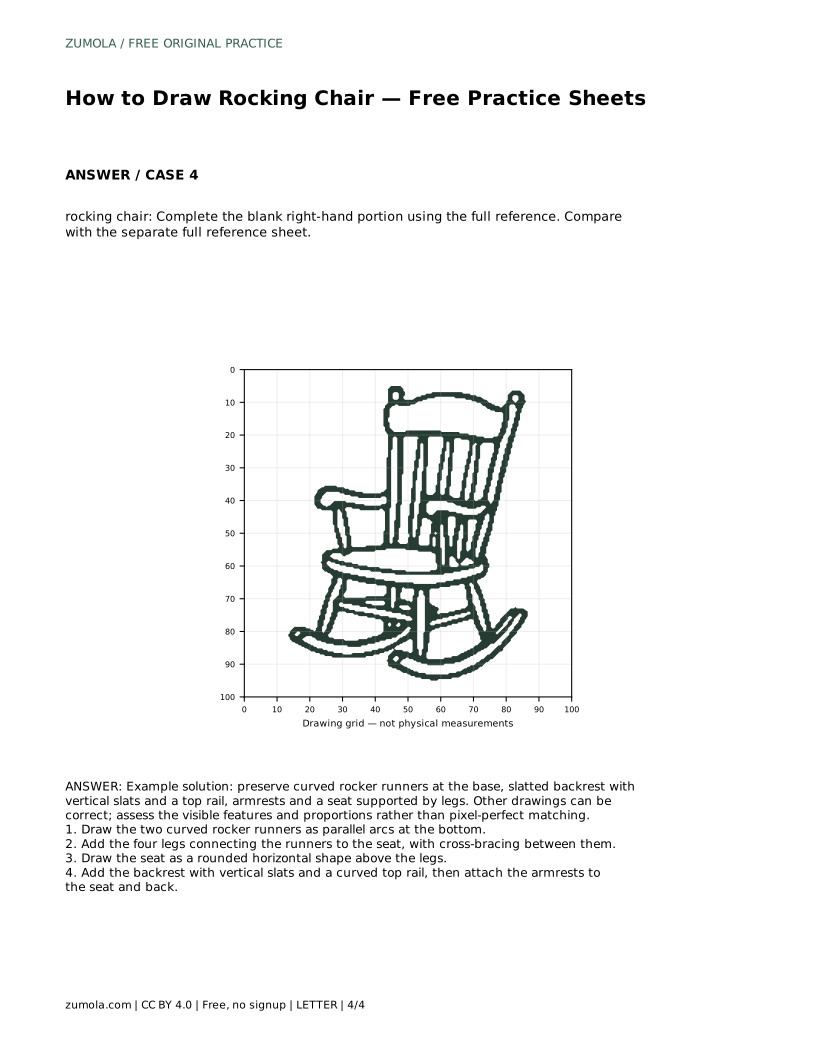
The blank grid version asks you to copy the reference onto matching grid intersections, which supports proportion and placement. The bounding frame and centre guide version helps you position the overall silhouette before adding identifying details. The partial sheet gives you the left side and asks you to complete the right-hand portion from the full reference. In every format, compare your finished drawing with the separate full reference sheet rather than judging it from memory.
A drawing of a rocking chair can be correct in more than one way. Line weight, slat count and the exact curve of the runners may vary while the chair still reads clearly. Assess the visible features and proportions instead of expecting a pixel-perfect match.
Check that both runners curve in the same direction, that the legs connect the runners to the seat, that the backrest has vertical slats and a top rail, and that the armrests join the seat and back. These structural relationships matter more than small differences in shape.
Most problems come from drawing the upper parts before the base is settled. If the chair leans or looks wobbly, redraw the runners first and rebuild the legs from them. If the backrest looks flat, check that the top rail curves and that the slats stay vertical. If the armrests float, trace them back to the seat and the backrest so they have clear attachment points.
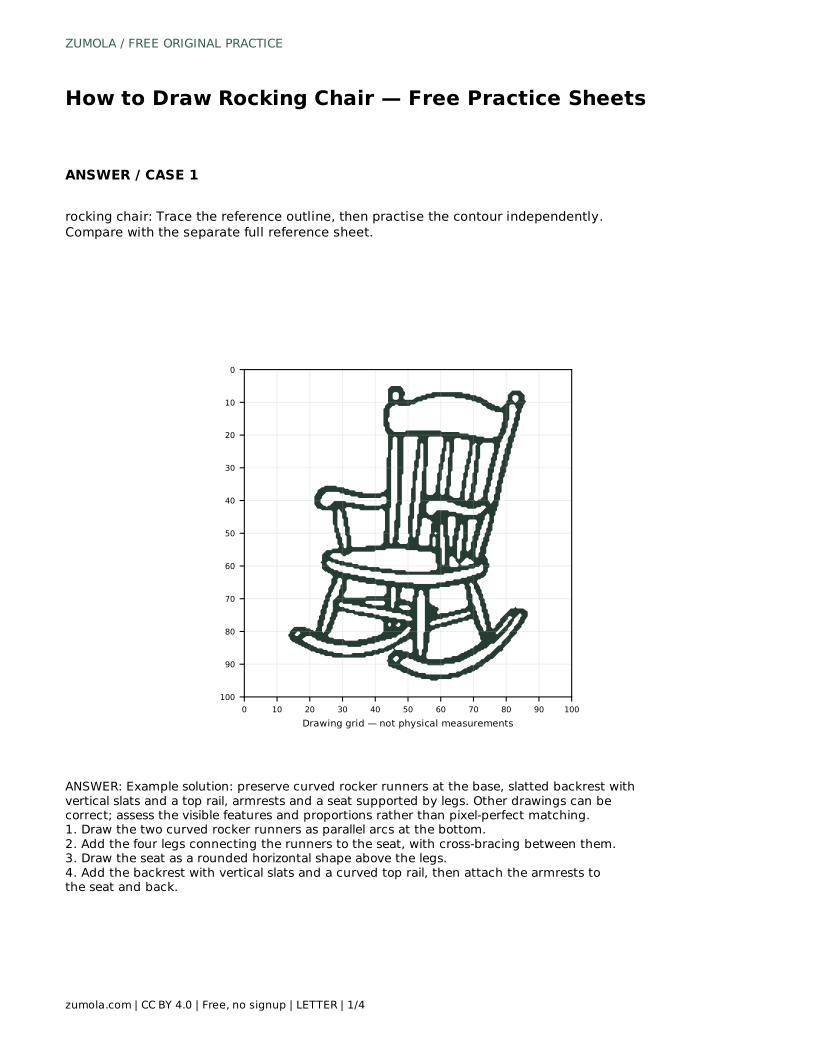
Prompt: rocking chair: Trace the reference outline, then practise the contour independently. Compare with the separate full reference sheet.
Answer: Example solution: preserve curved rocker runners at the base, slatted backrest with vertical slats and a top rail, armrests and a seat supported by legs. Other drawings can be correct; assess the visible features and proportions rather than pixel-perfect matching.
rocking chair: Trace the reference outline, then practise the contour independently. Compare with the separate full reference sheet.
Example solution: preserve curved rocker runners at the base, slatted backrest with vertical slats and a top rail, armrests and a seat supported by legs. Other drawings can be correct; assess the visible features and proportions rather than pixel-perfect matching. Draw the two curved rocker runners as parallel arcs at the bottom. Add the four legs connecting the runners to the seat, with cross-bracing between them. Draw the seat as a rounded horizontal shape above the legs. Add the backrest with vertical slats and a curved top rail, then attach the armrests to the seat and back.
The curved runners should be parallel and curve the same way, four legs should connect them to the seat, and the backrest should have vertical slats, a top rail and armrests attached to the seat and back.
No. Several drawings can be correct. Judge the visible features and proportions rather than pixel-perfect matching.
Start by tracing the reference outline to learn the curves, then practise the contour independently and compare with the full reference sheet.
All drawing practice · Free coordinate paper
Original resources · CC BY 4.0 · Free for personal and classroom use with attribution.