Reference diagrams
LETTER · Download PDF
A4 · Download PDF
Free original resources
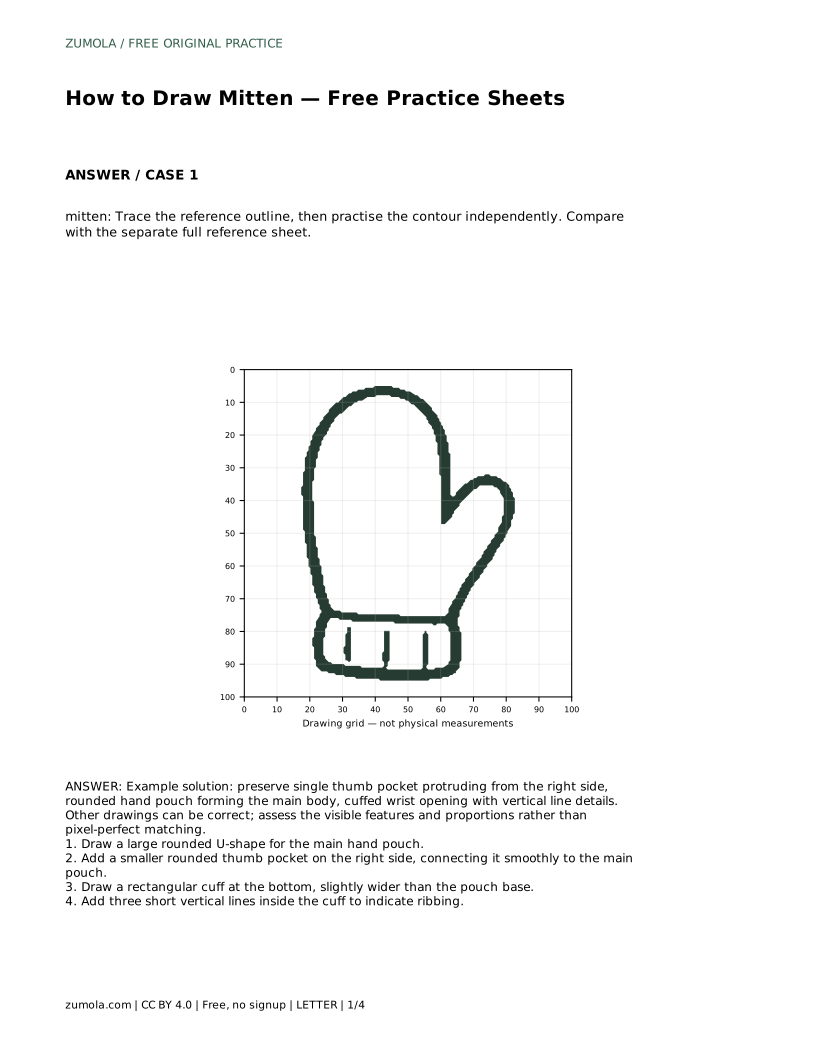
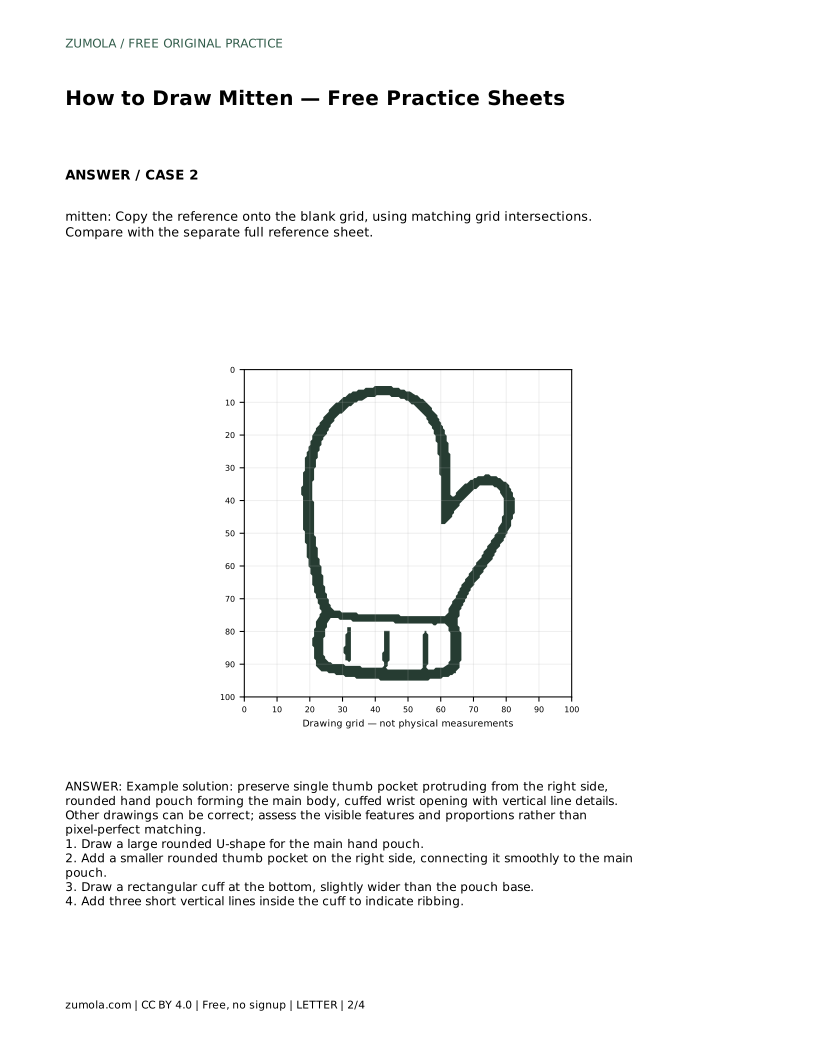
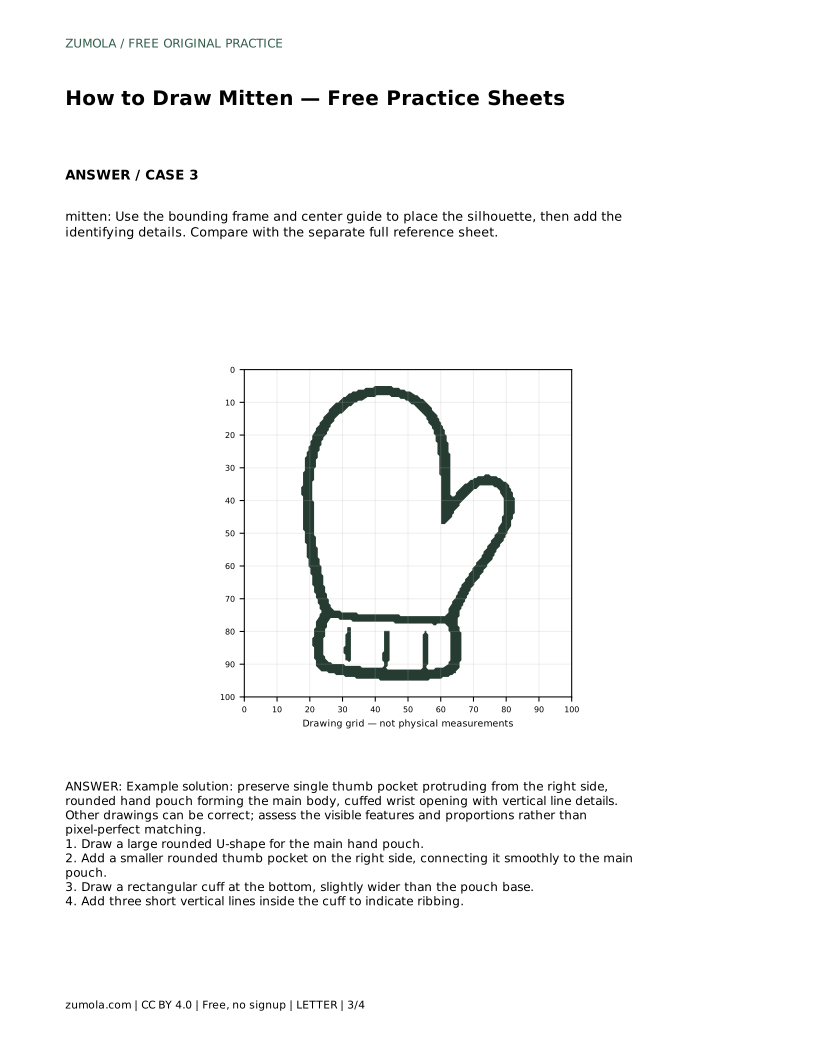
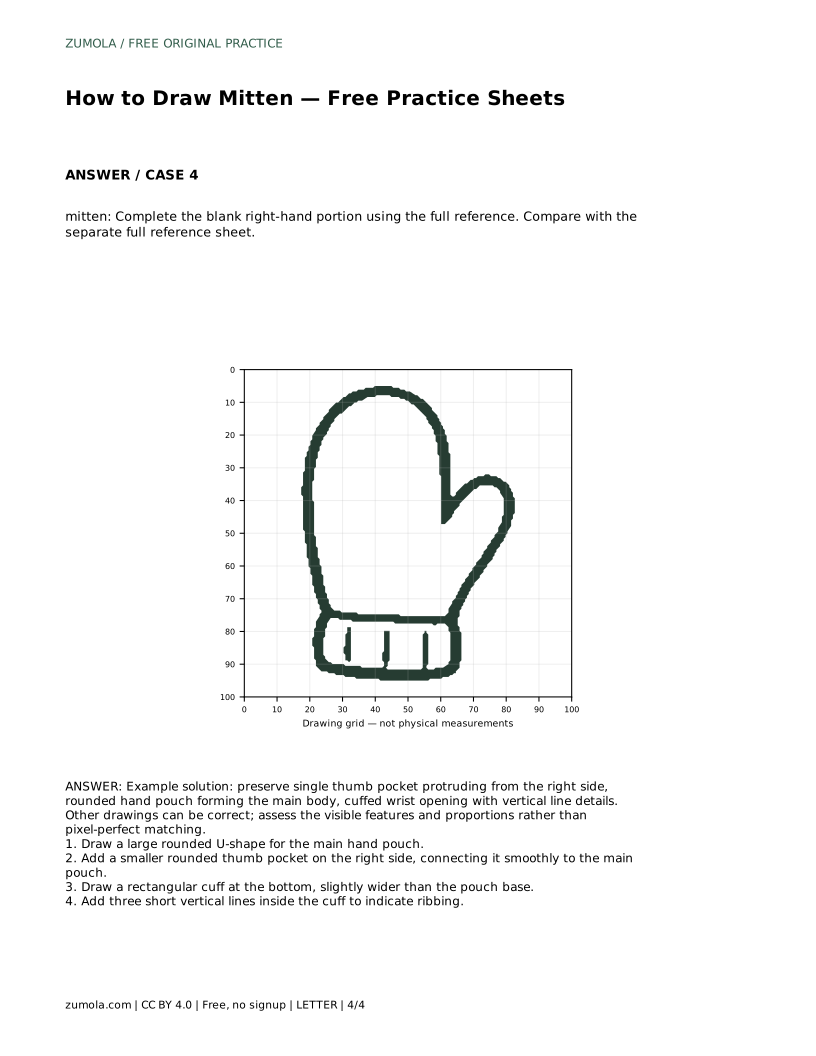
Learn to draw a mitten by building a rounded hand pouch, a single thumb pocket, and a ribbed cuff. Practice with tracing, grid, and frame sheets.
Four original cases, with reference diagrams, practice sheets and worked answers. Everything is free; no signup required.
LETTER · Download PDF
A4 · Download PDF
LETTER · Download PDF
A4 · Download PDF
LETTER · Download PDF
A4 · Download PDF
Use A4 or US Letter to match your printer. Use the stated values and conditions to solve each exercise; diagrams are not physical measuring rulers.
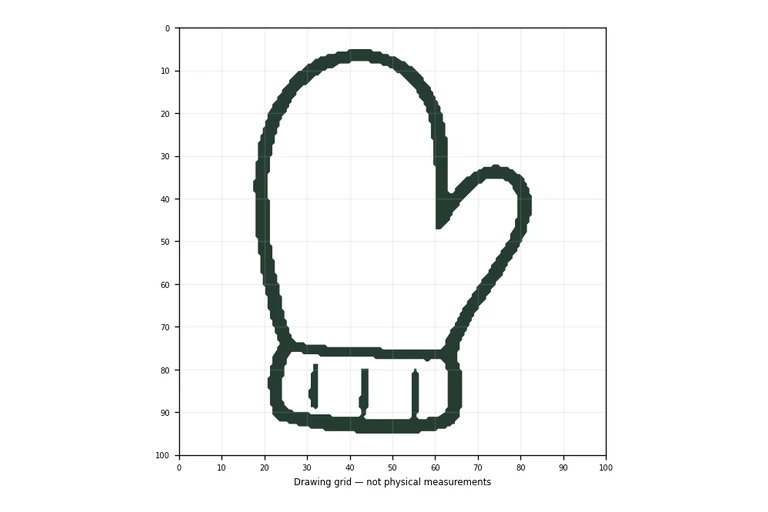
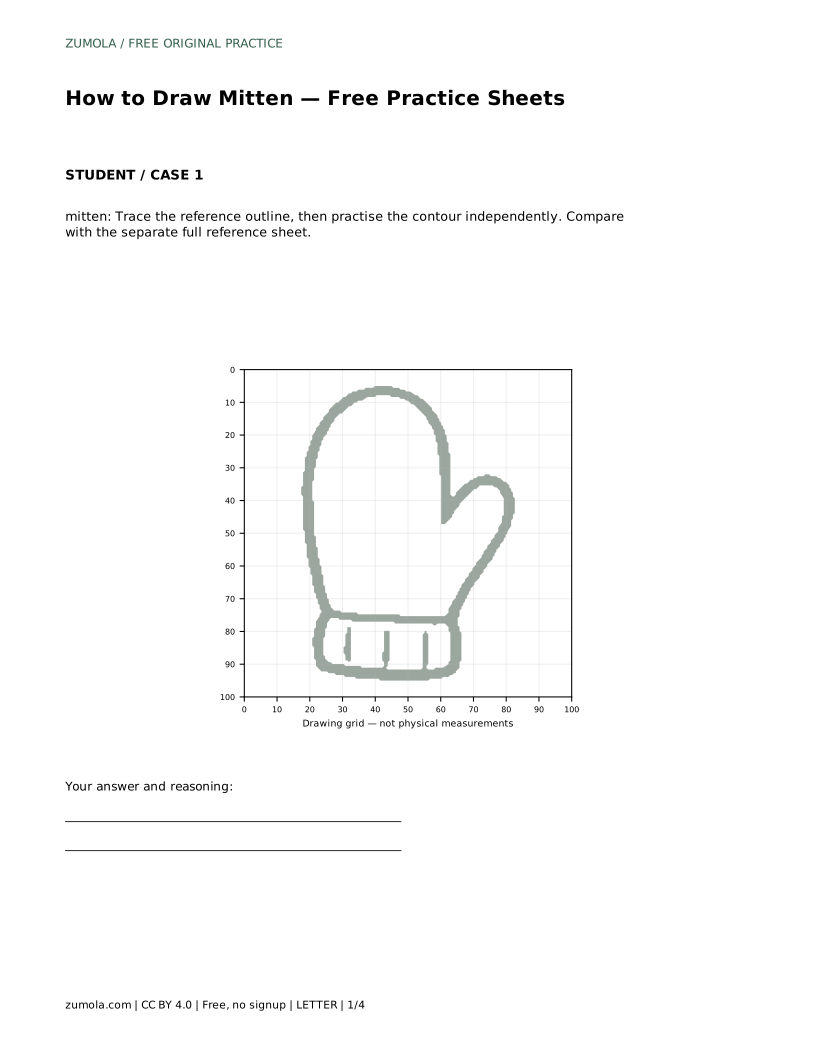
A mitten is a simple shape with a few identifying features: one rounded pouch for the hand, one smaller pocket for the thumb, and a cuff at the wrist. This page explains how to construct those parts in order, then how to check your drawing against a reference. The practice sheets support tracing, grid copying, frame placement, and completing a partially drawn mitten.
Start with the largest shape, because it controls the overall proportion. The hand pouch is a broad rounded U-shape, open at the bottom where the cuff will sit. Keep the sides gently curved rather than straight, and leave the bottom edge level so the cuff has a clean place to attach.
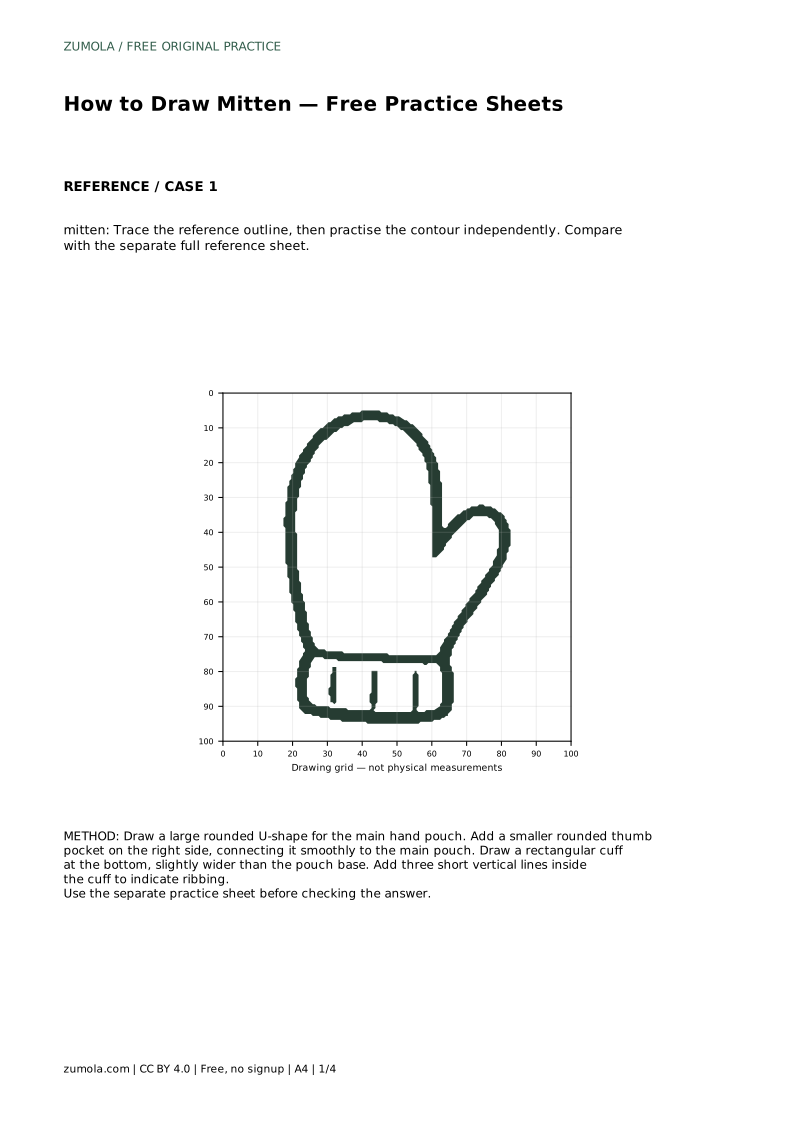
The thumb pocket is a smaller rounded shape joined to one side of the main pouch. In the reference used here, it protrudes from the right side. Attach it with a smooth join so the two shapes read as one garment rather than two separate blobs. The cuff is a rectangle across the bottom, slightly wider than the base of the pouch, with short vertical lines to suggest ribbing.
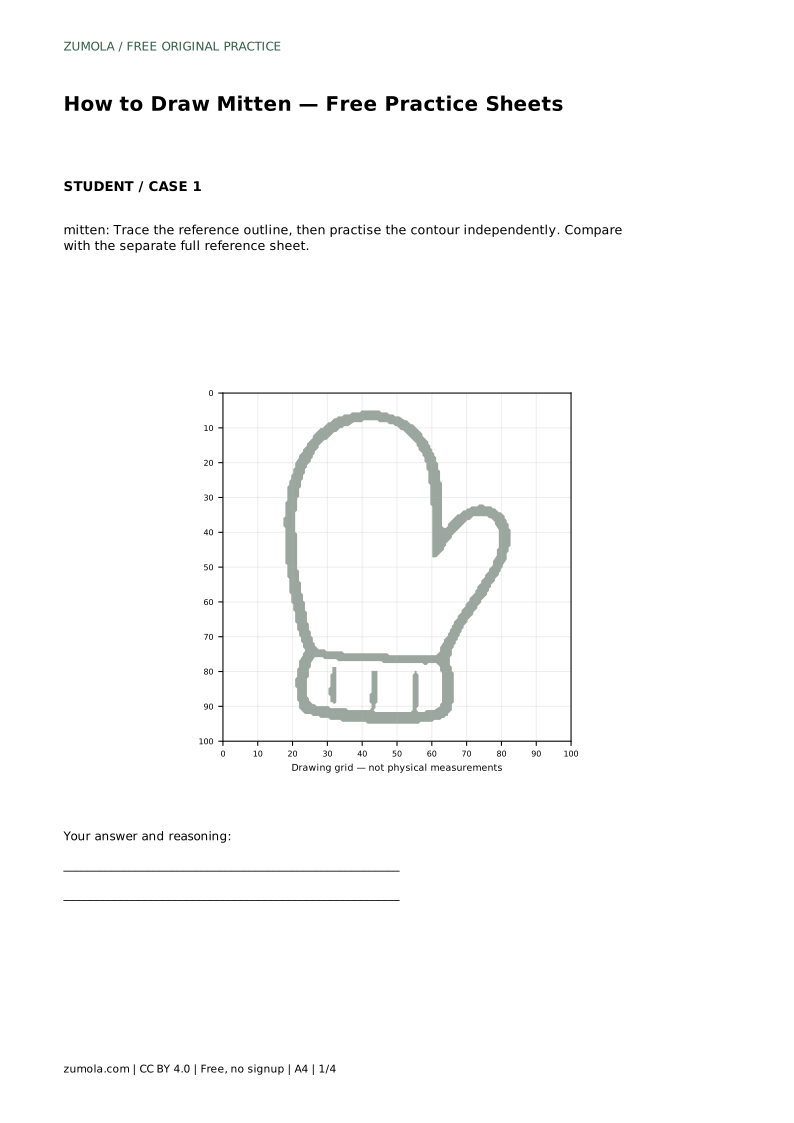
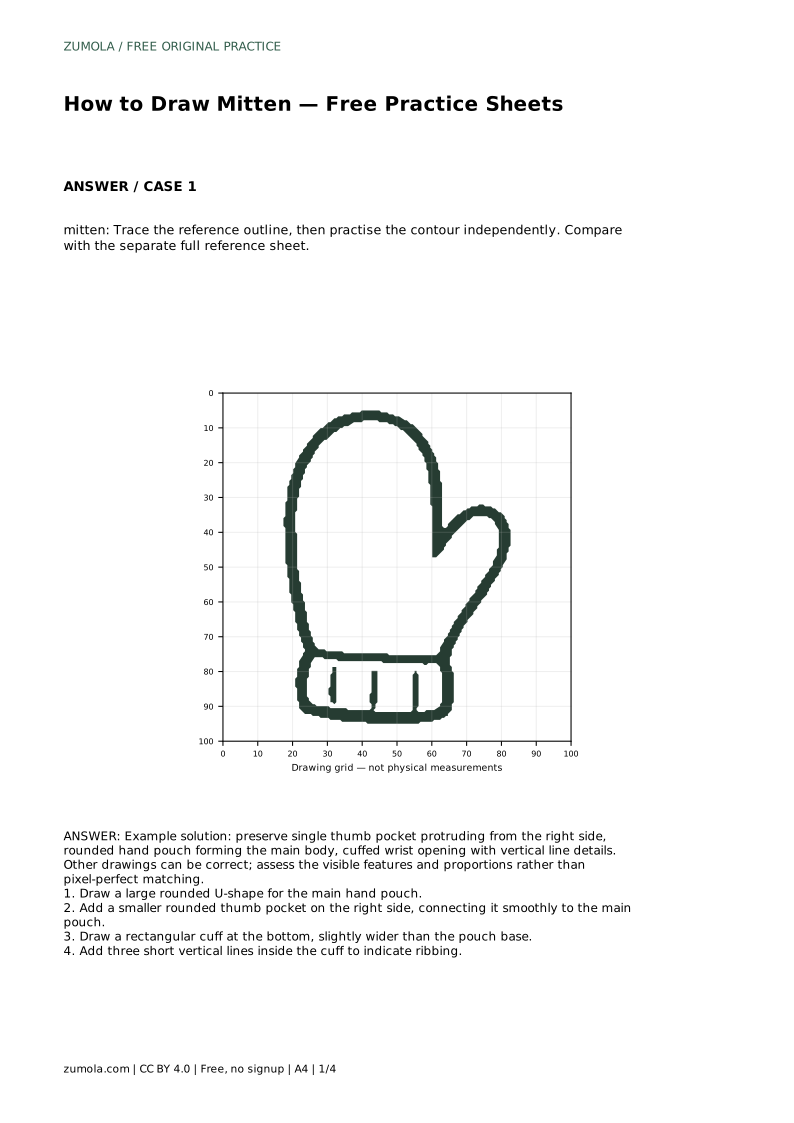
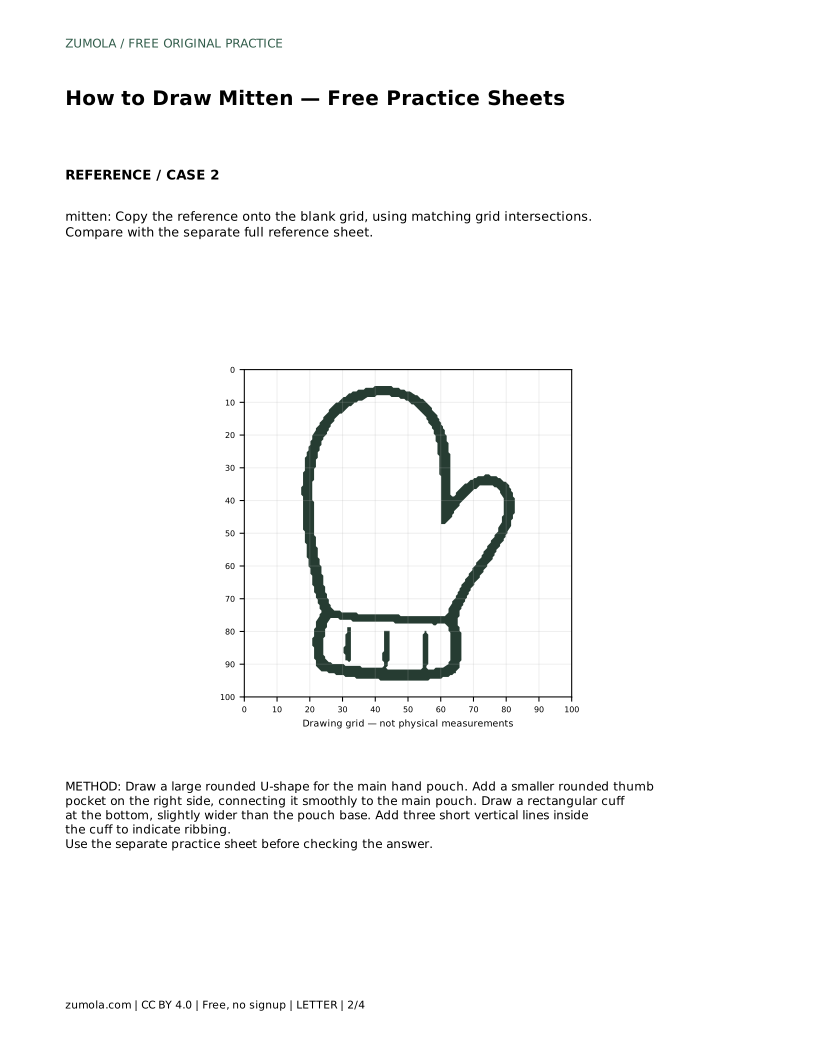
Tracing helps you feel the contour before you draw it freehand. Trace the reference outline once, then cover it and draw the same contour independently on blank paper. Compare your result with the separate full reference sheet, not with your traced line.
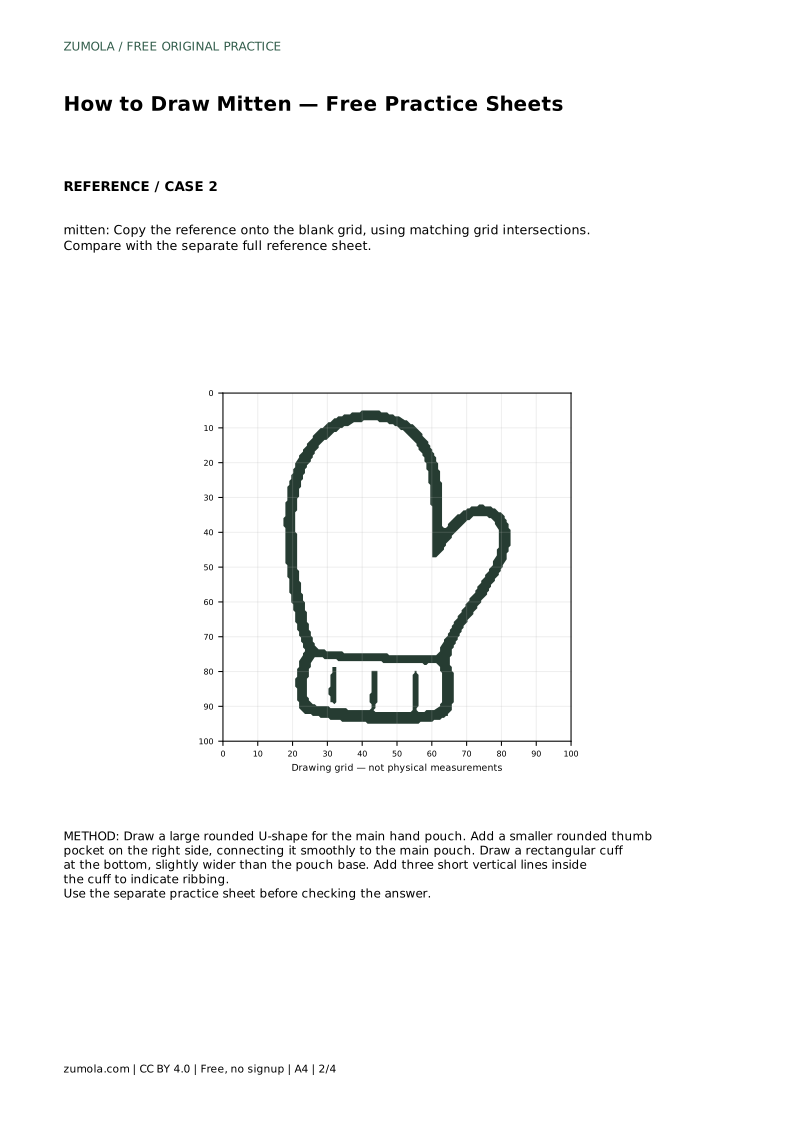
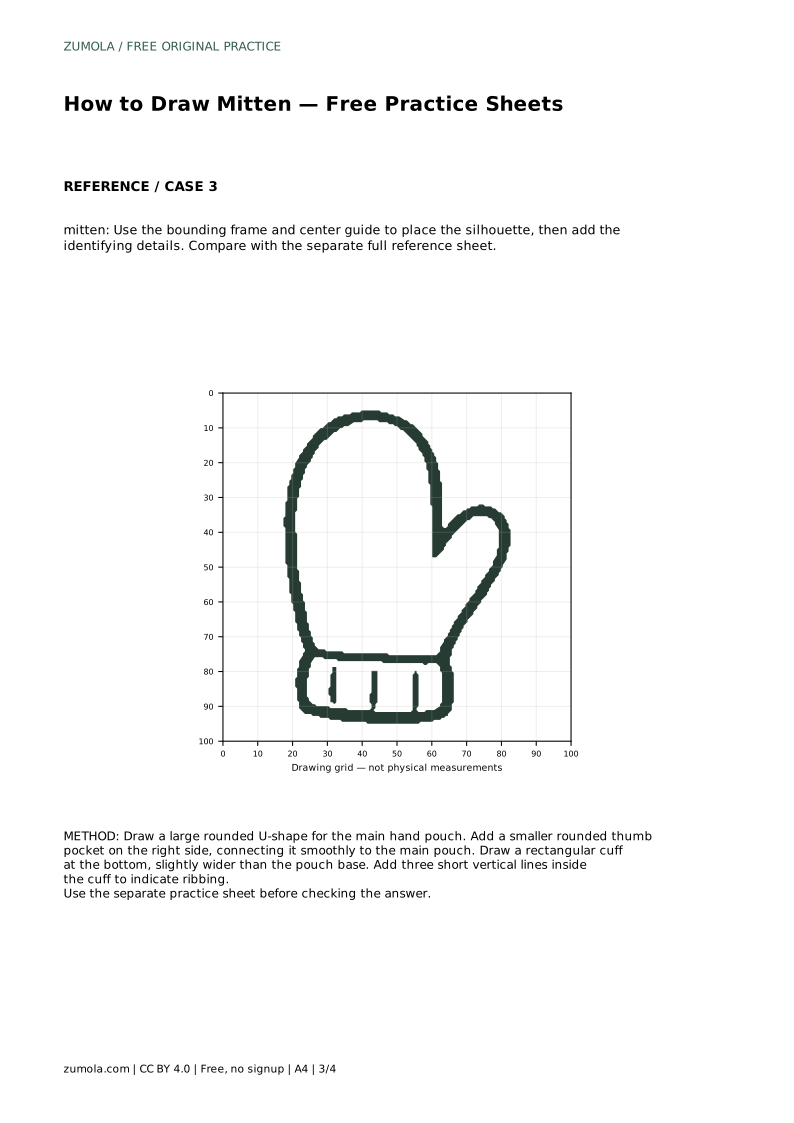
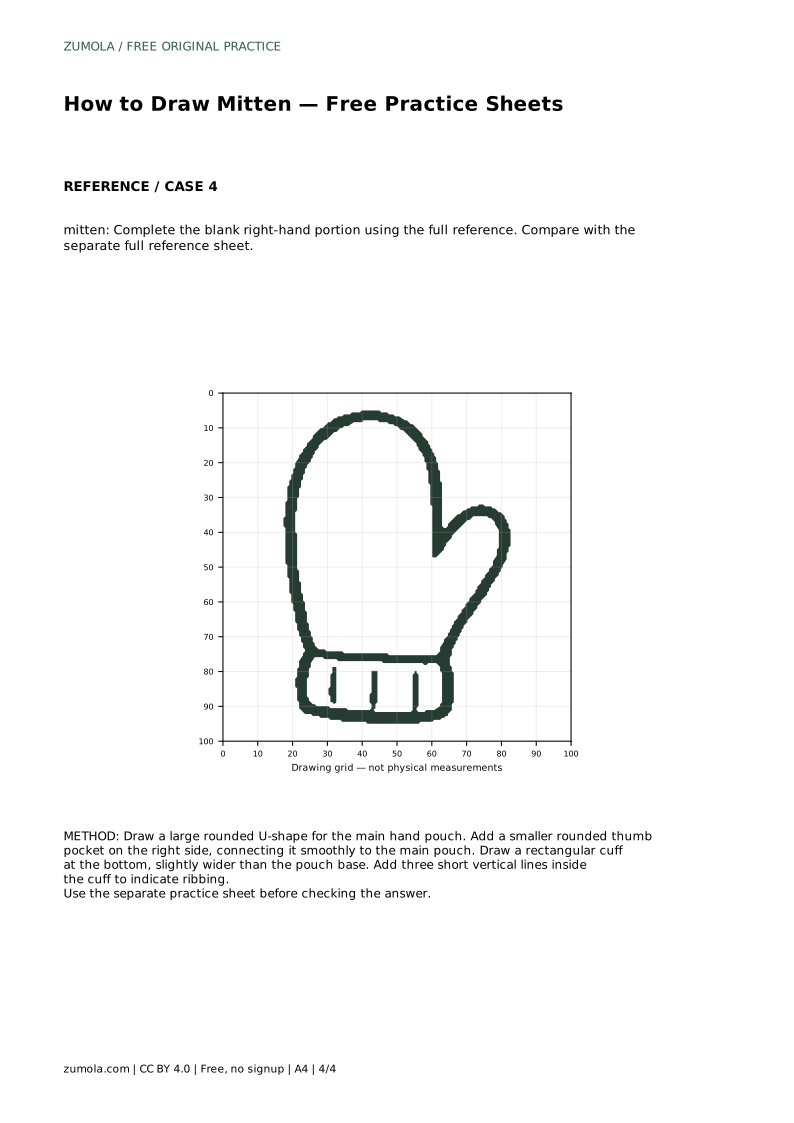
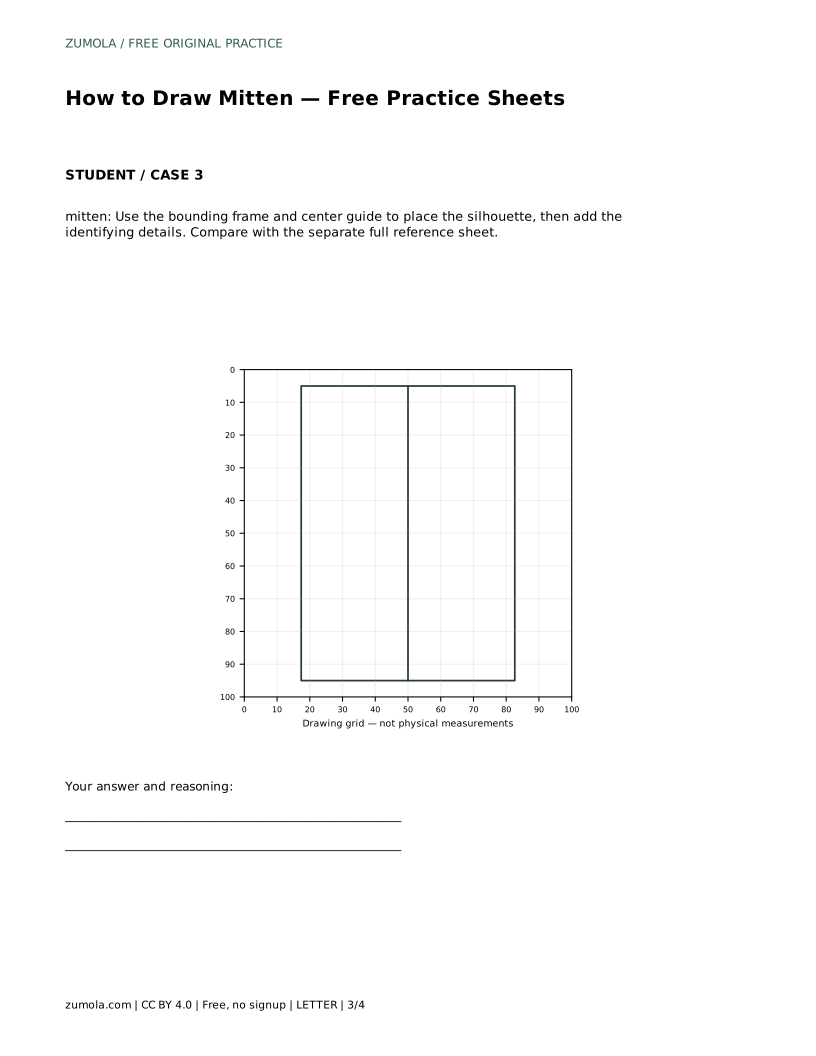
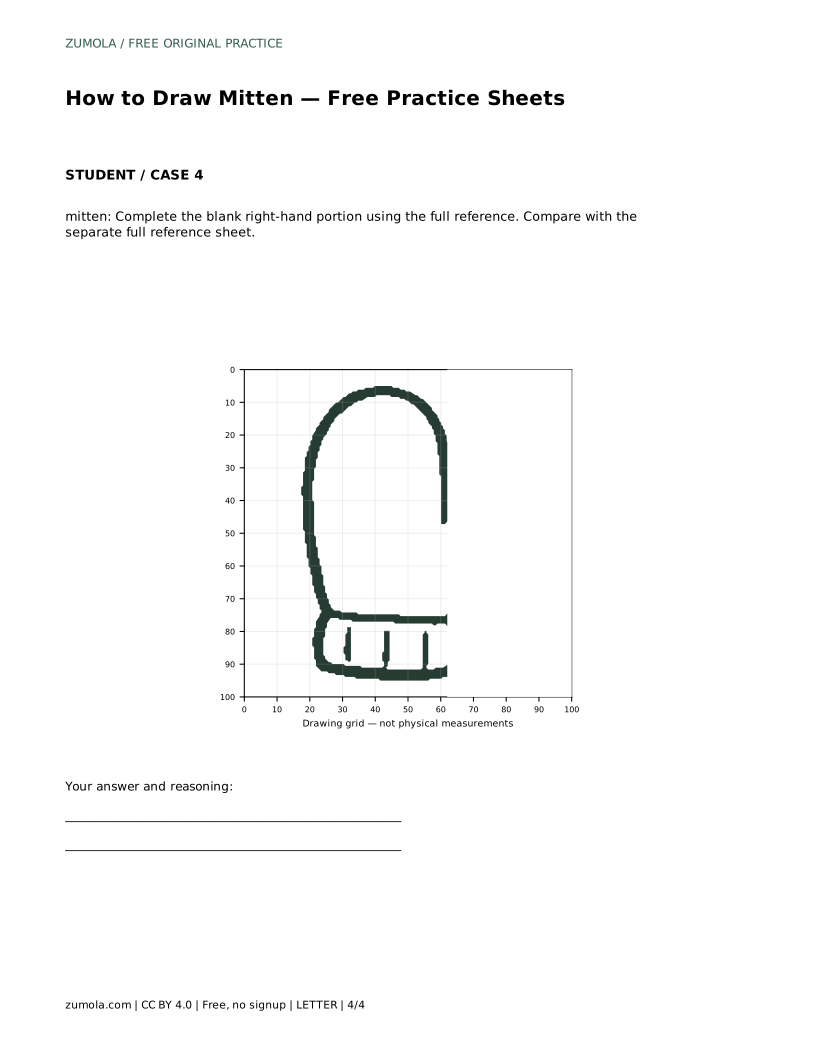
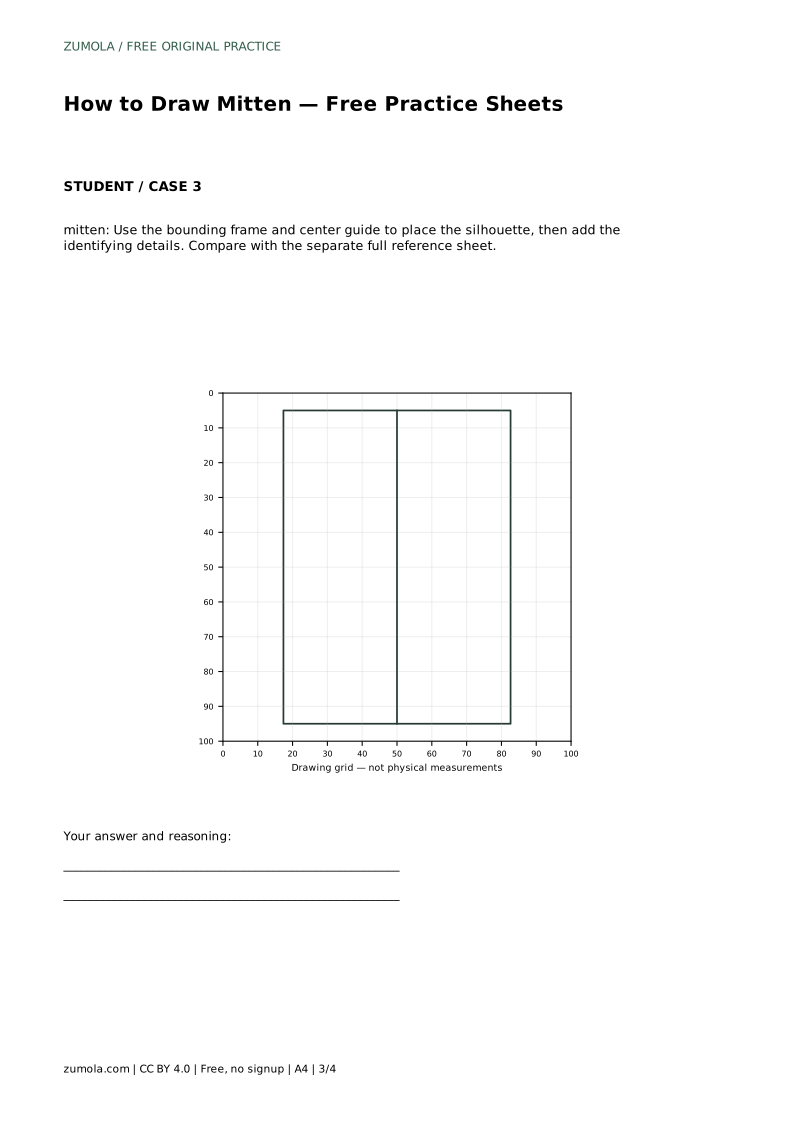
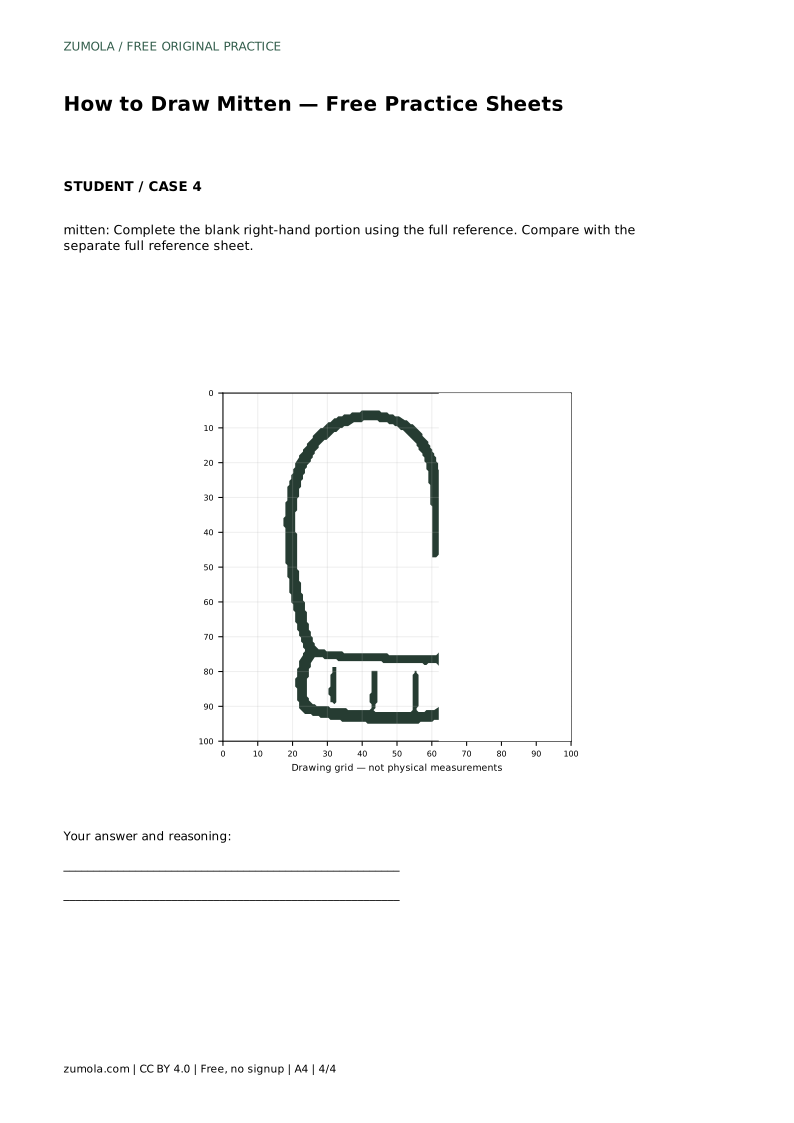
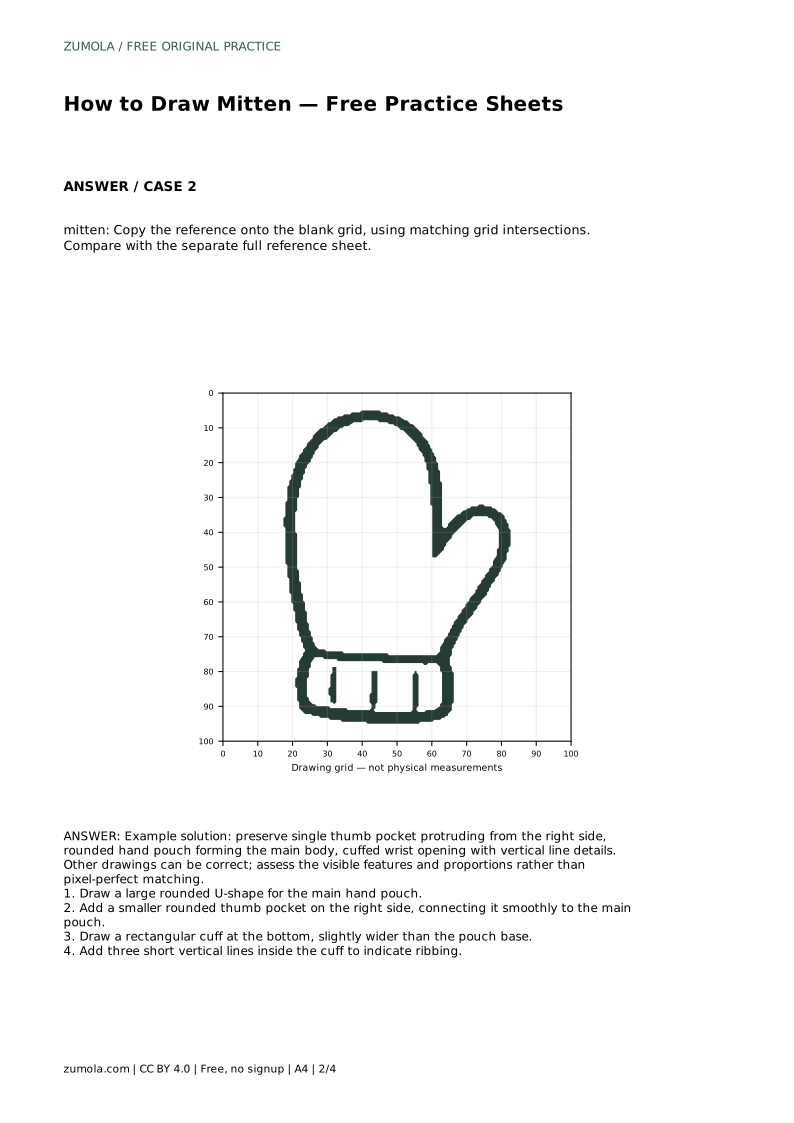
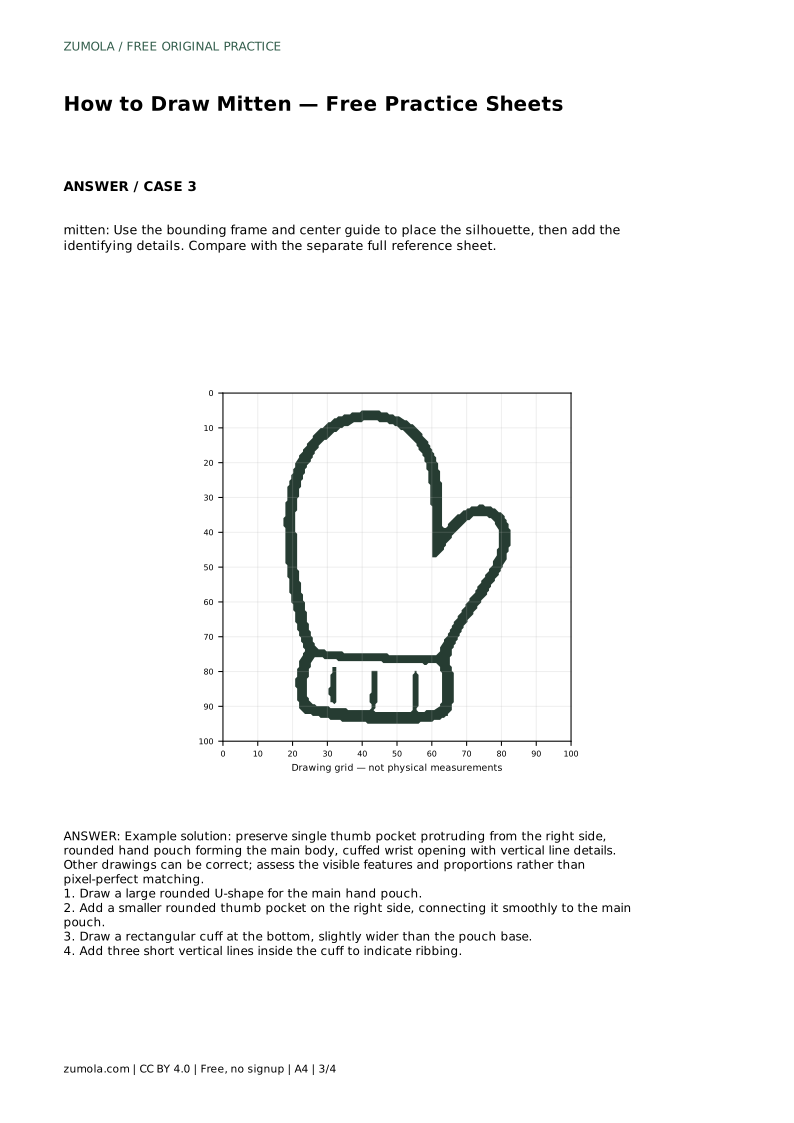
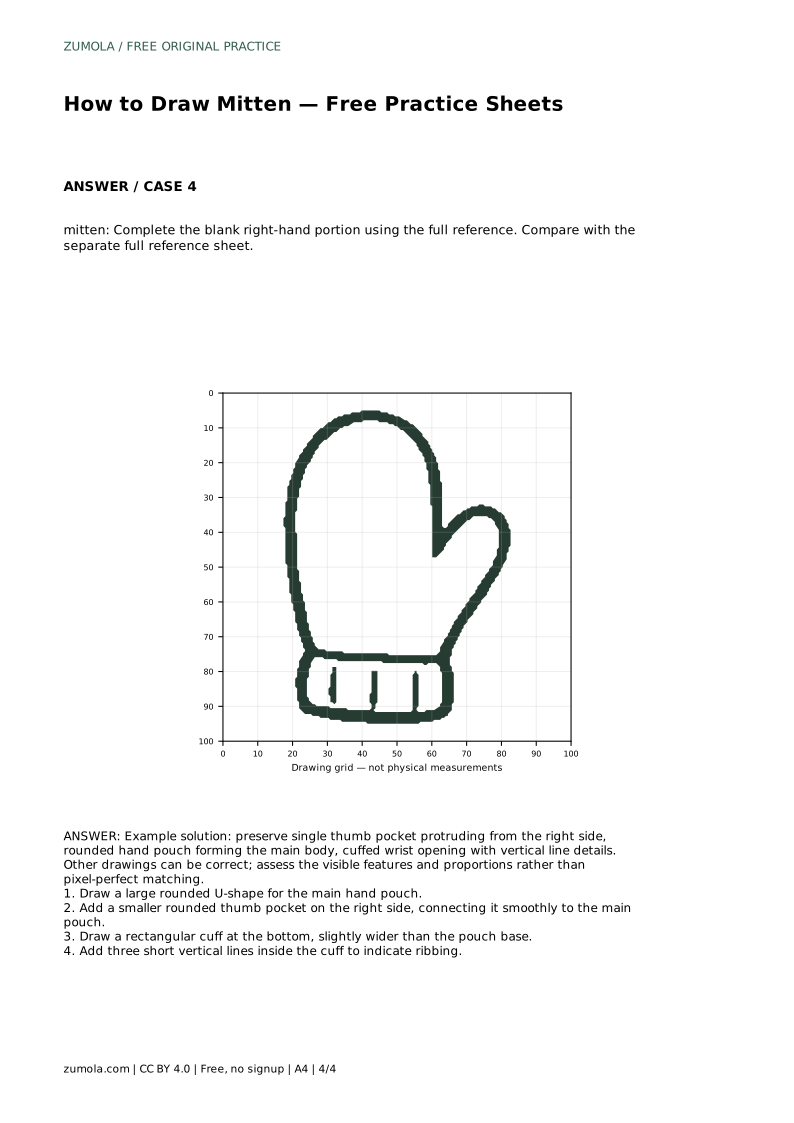
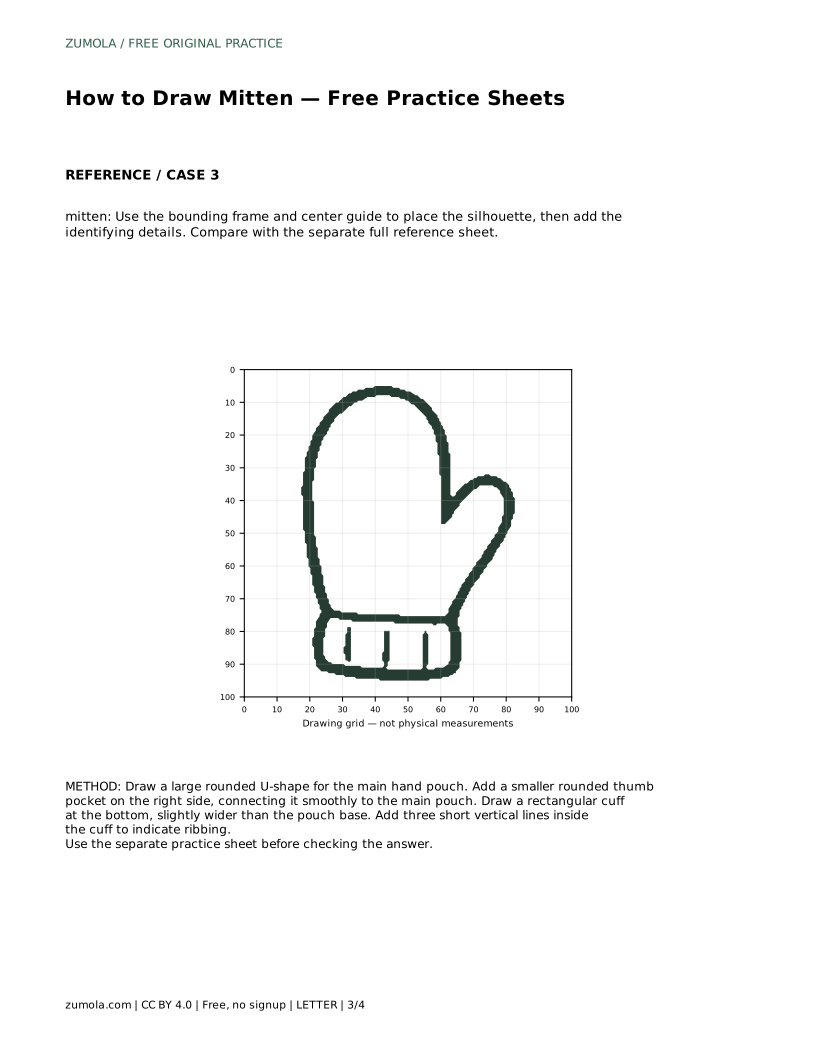
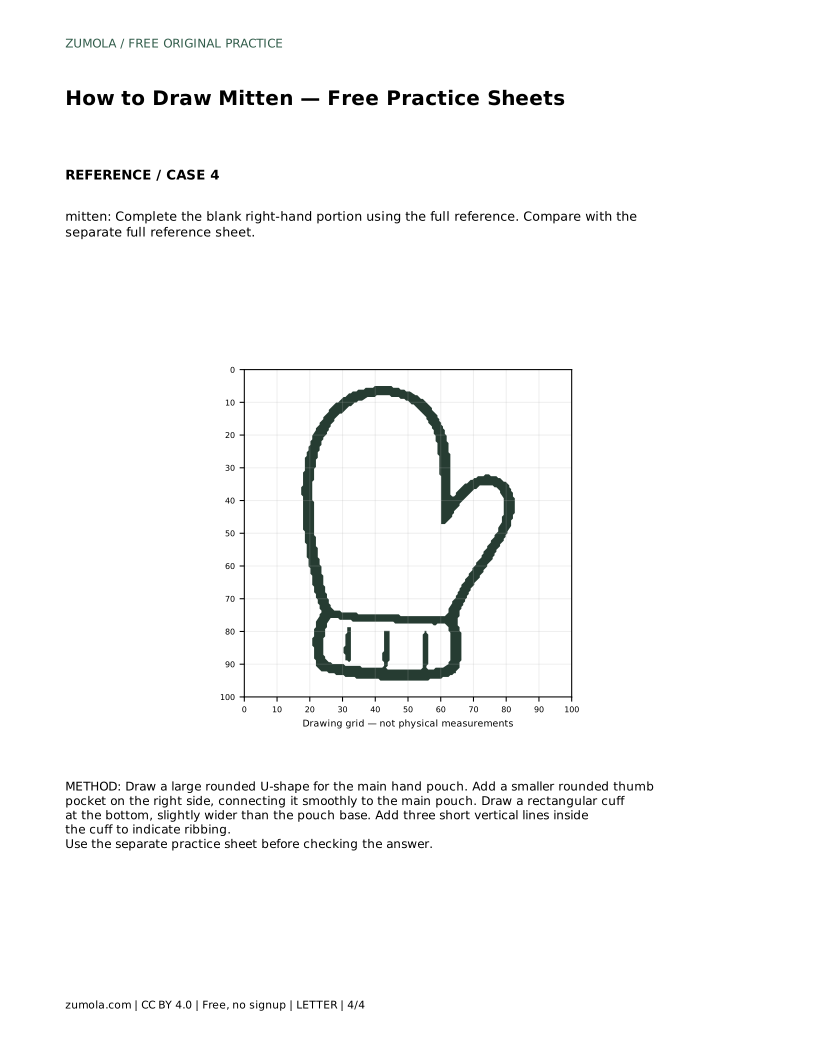
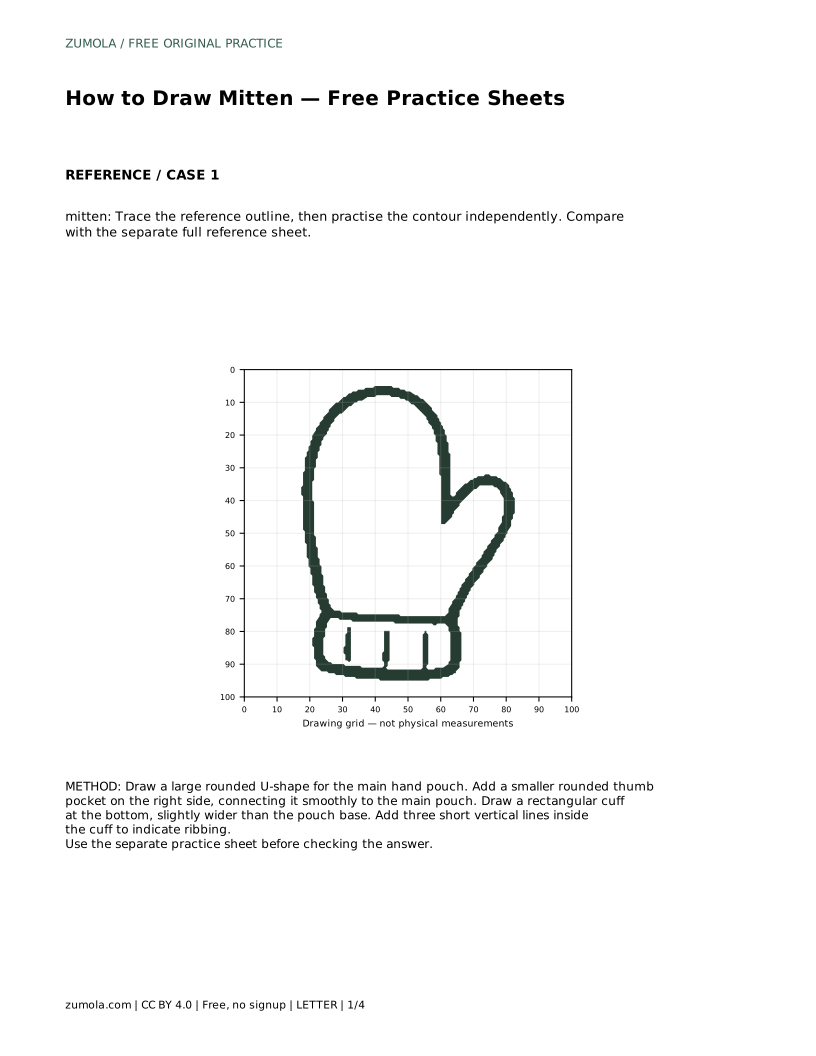
Grid copying trains placement. Match where the outline crosses grid intersections, then connect those points with curves. The bounding frame and center guide work differently: use them to position the silhouette inside a fixed area before adding the thumb pocket and cuff details. The partial sheet asks you to complete the blank right-hand portion, so study how the reference continues across the gap before drawing.
Drawings of the same mitten can differ and still be correct. Judge whether the visible features are present and reasonably proportioned: one thumb pocket on the correct side, a rounded main pouch, a cuff wider than the pouch base, and vertical ribbing lines inside the cuff. A thumb that is too small, placed on the wrong side, or merged into the pouch without a visible join changes the object's identity.
Proportion matters more than exact line placement. The pouch should be clearly larger than the thumb pocket, and the cuff should look like a band rather than a second pouch. If your first attempt looks uneven, redraw the largest shape first and rebuild the smaller parts around it.
mitten: Trace the reference outline, then practise the contour independently. Compare with the separate full reference sheet.
Example solution: preserve single thumb pocket protruding from the right side, rounded hand pouch forming the main body, cuffed wrist opening with vertical line details. Other drawings can be correct; assess the visible features and proportions rather than pixel-perfect matching. Draw a large rounded U-shape for the main hand pouch. Add a smaller rounded thumb pocket on the right side, connecting it smoothly to the main pouch. Draw a rectangular cuff at the bottom, slightly wider than the pouch base. Add three short vertical lines inside the cuff to indicate ribbing.
Match the reference you are copying. The sheets here show the thumb on the right; a mitten drawn with the thumb on the left can still be correct if that is what the reference shows.
Check the features and proportions rather than exact line placement. One thumb pocket, a rounded main pouch, a wider cuff, and vertical ribbing lines are the key visible features.
The grid sheet asks you to match grid intersections to place the outline. The frame sheet uses a bounding frame and center guide to position the silhouette before you add details.
All drawing practice · Free coordinate paper
Original resources · CC BY 4.0 · Free for personal and classroom use with attribution.