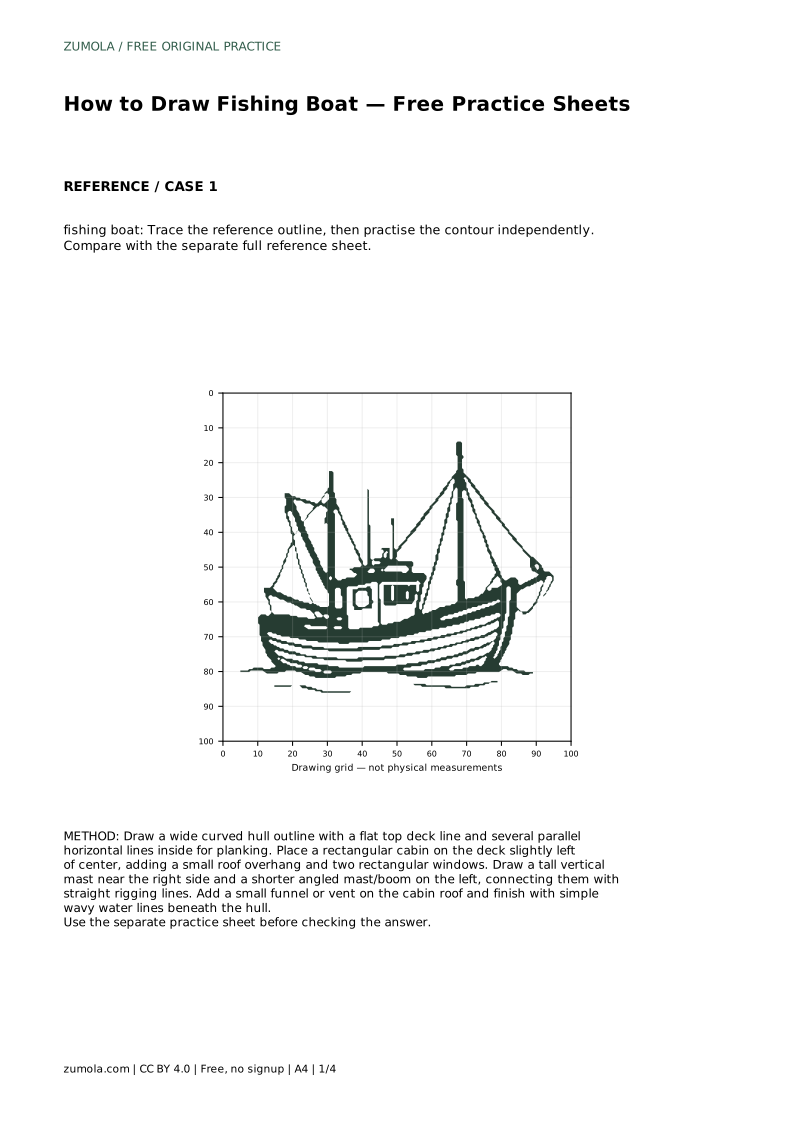
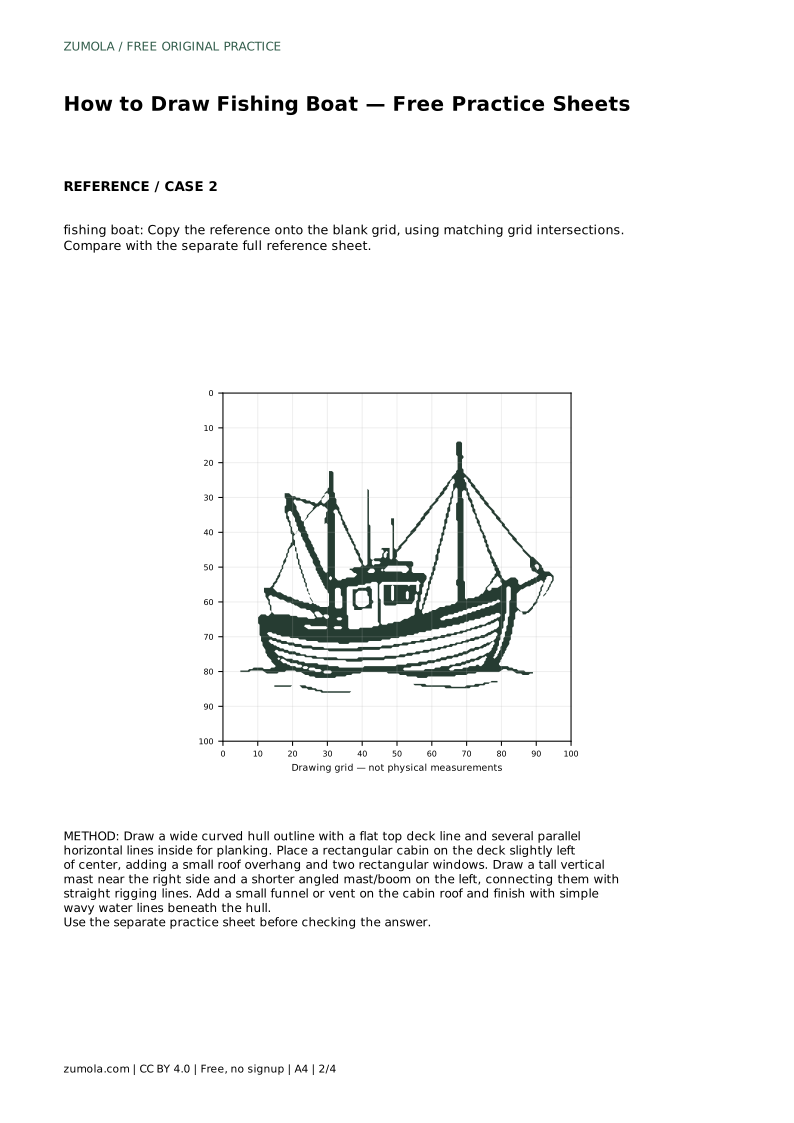
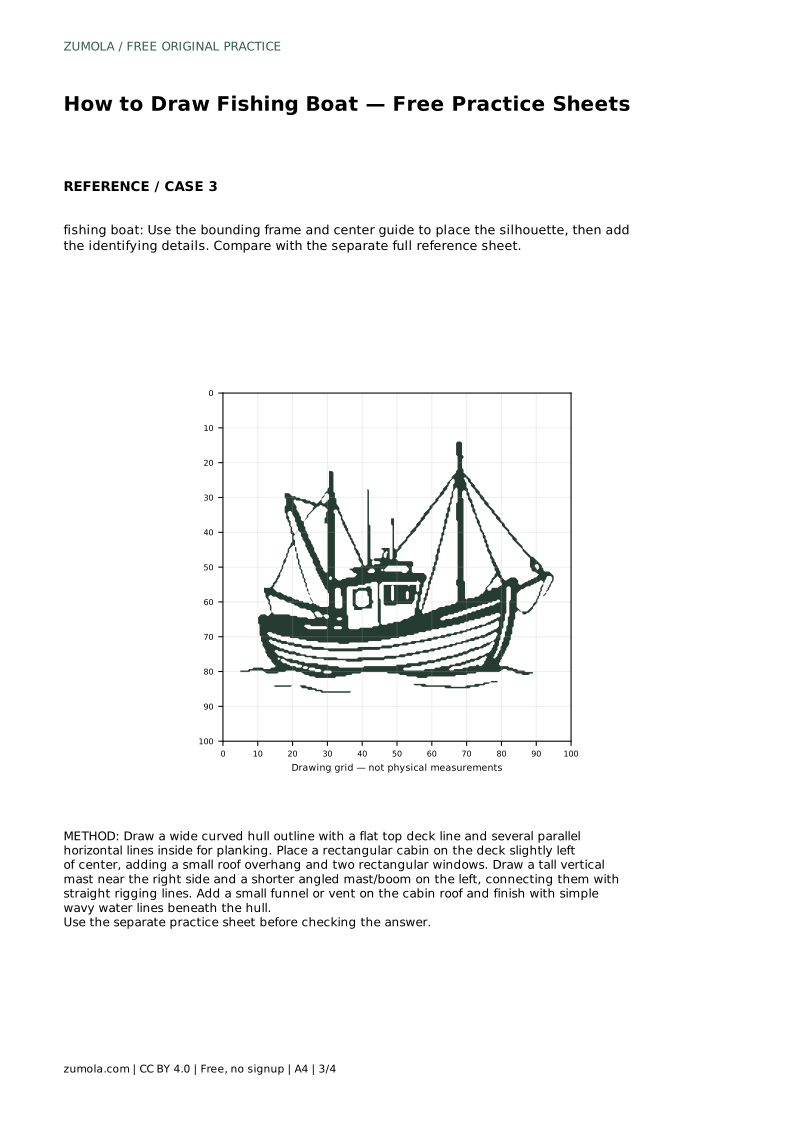
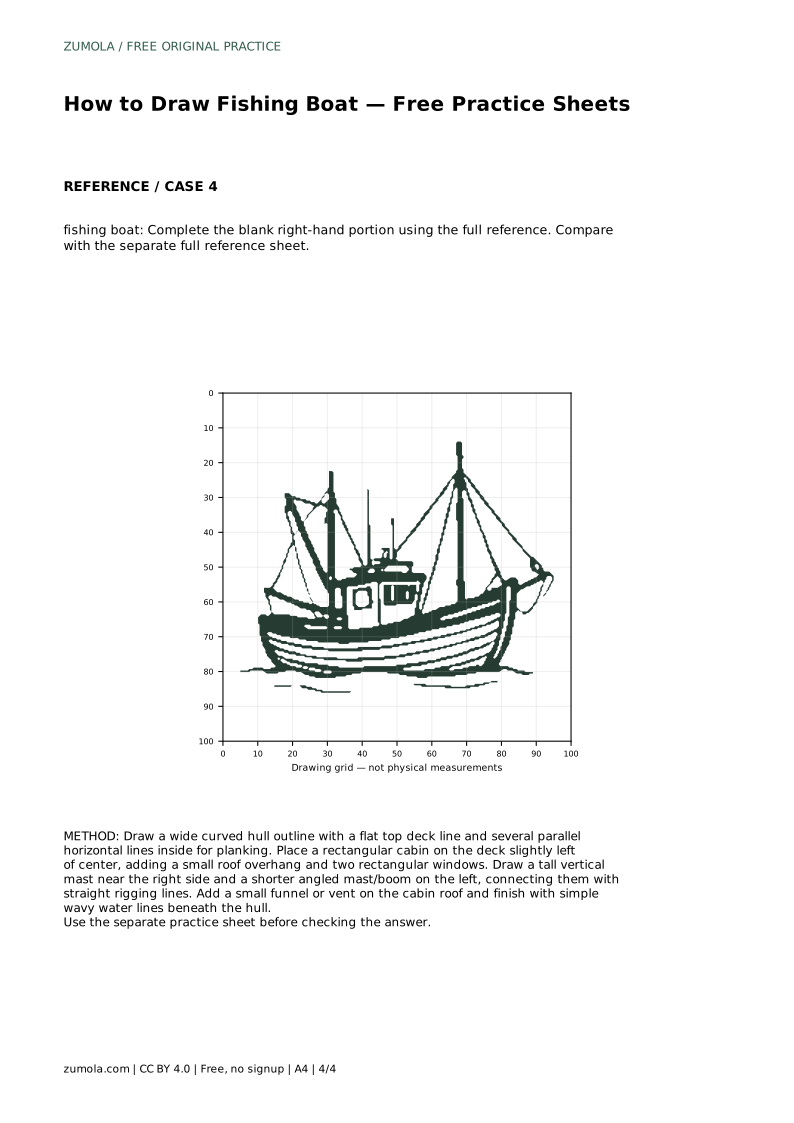
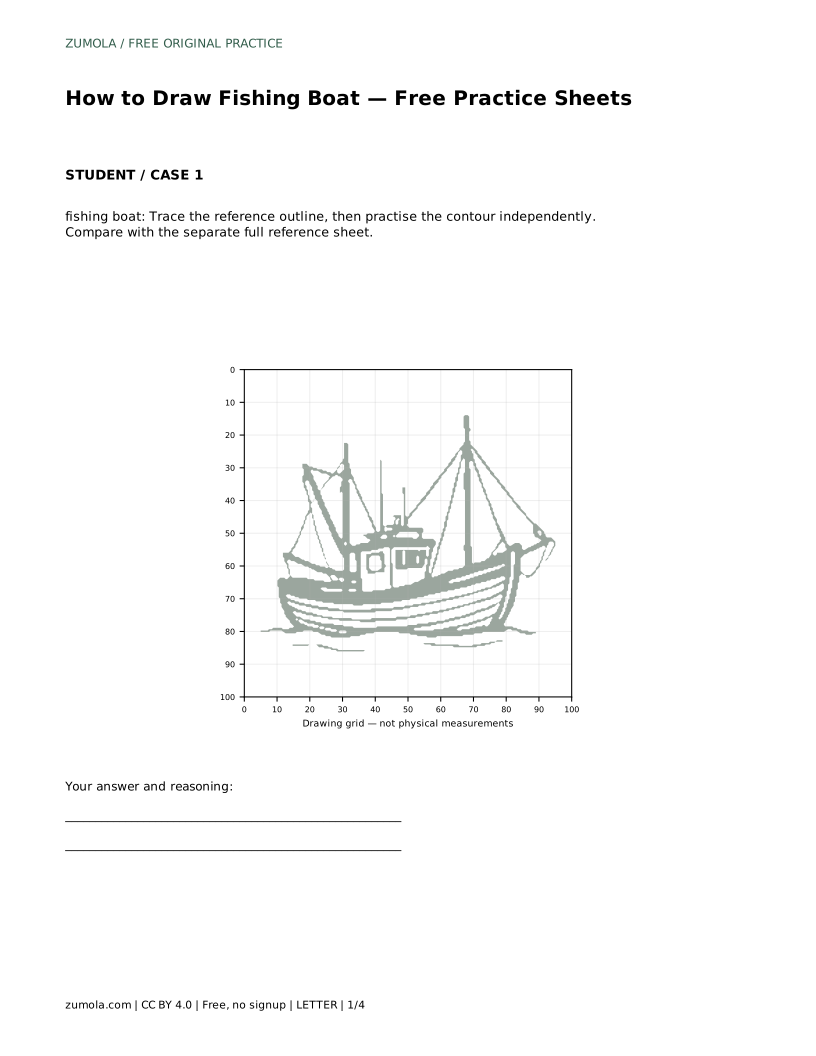
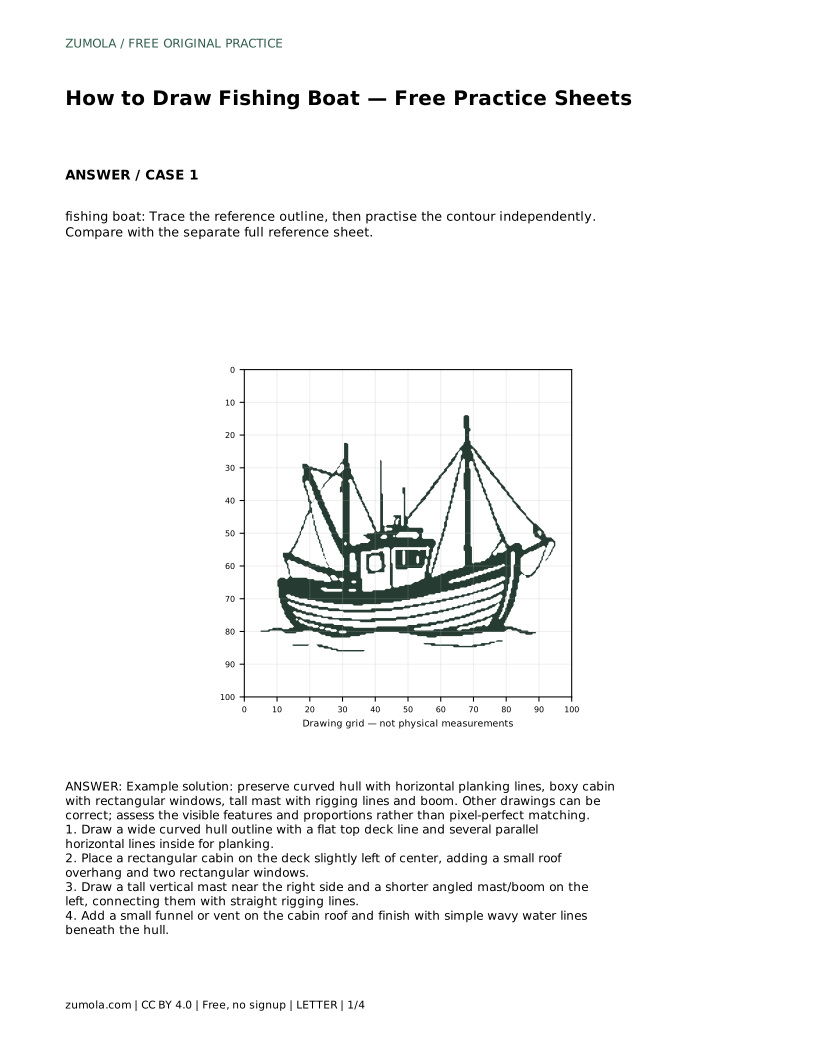
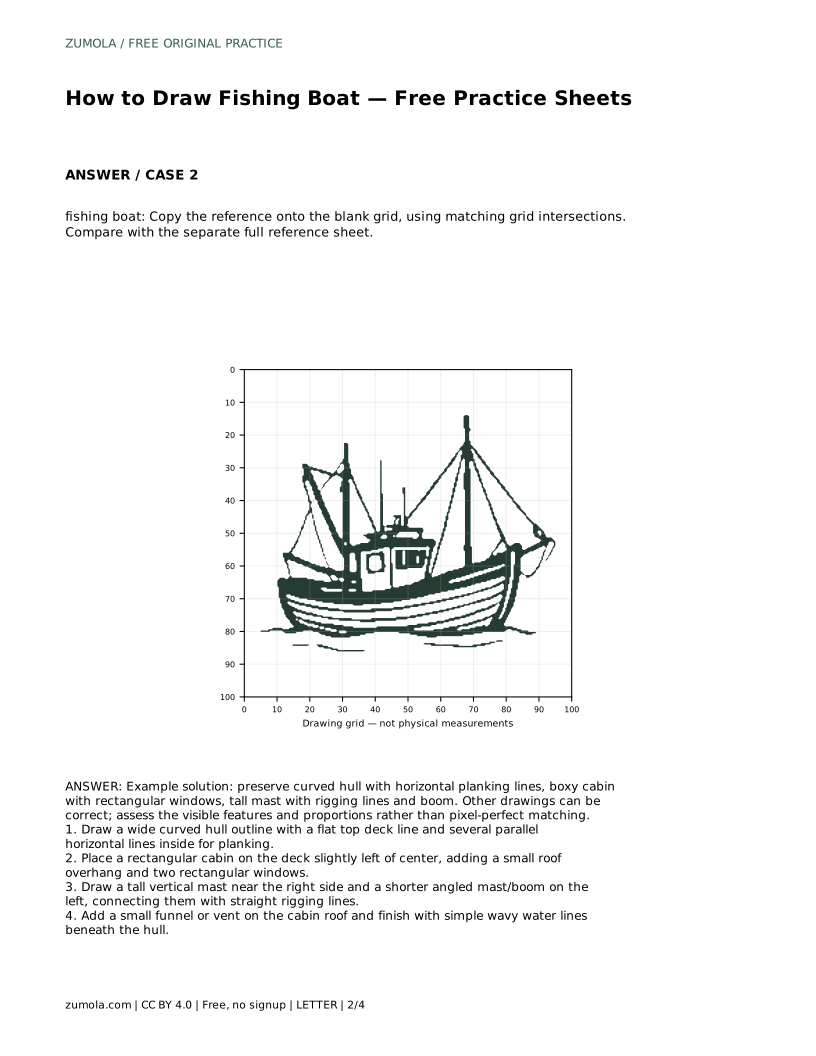
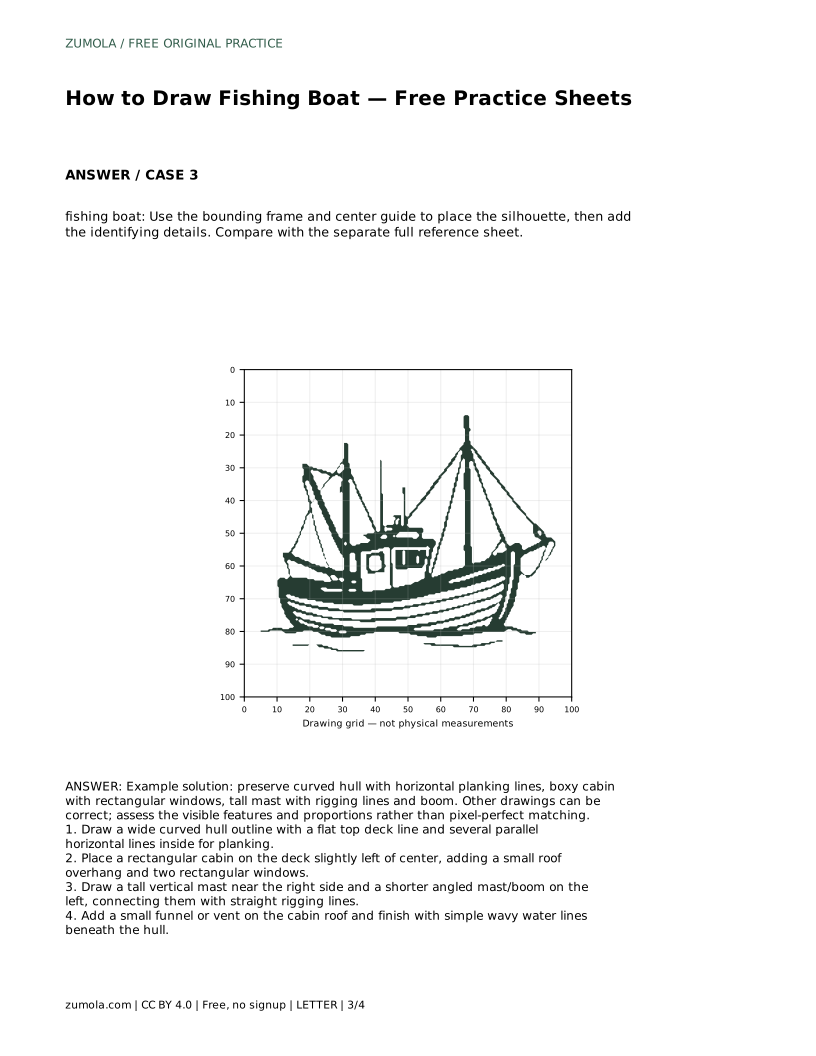
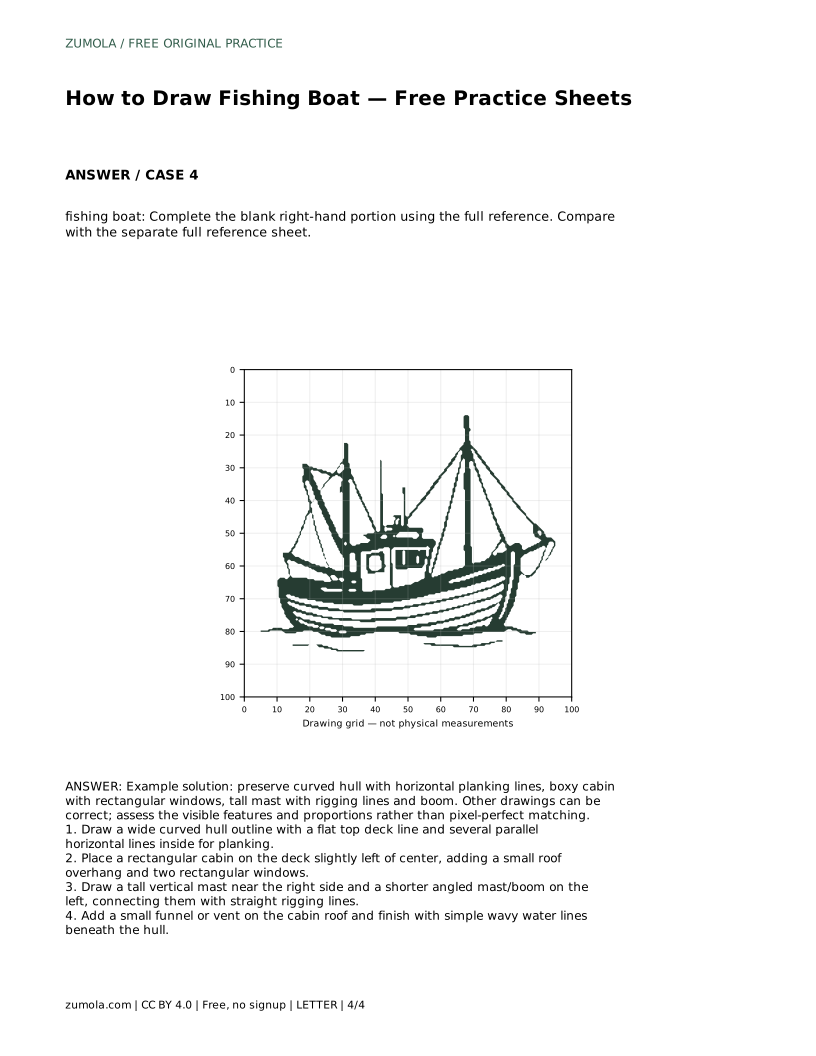
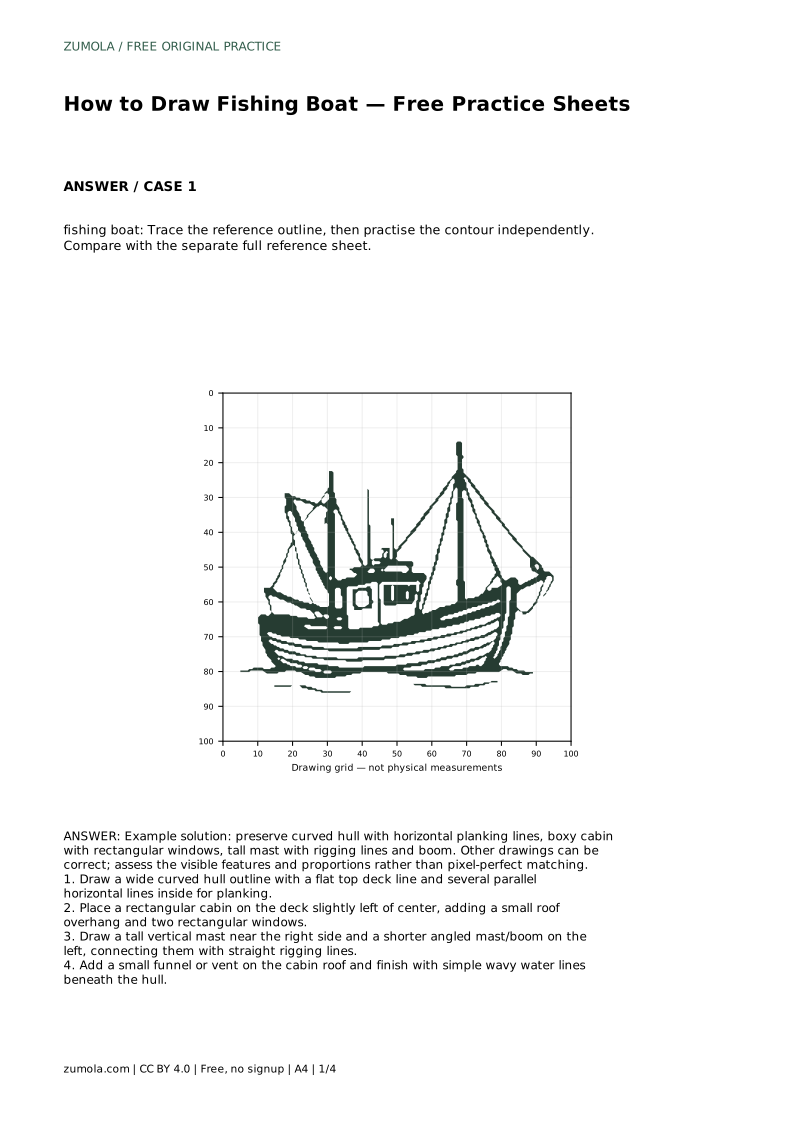
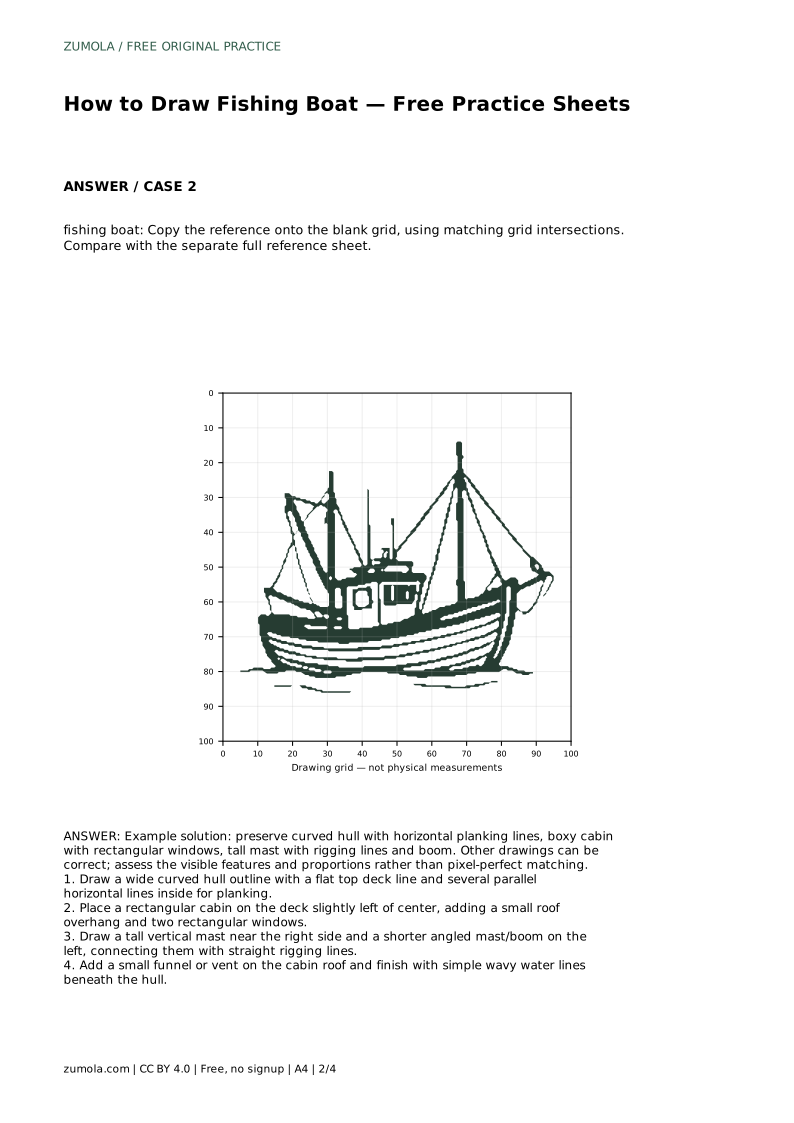
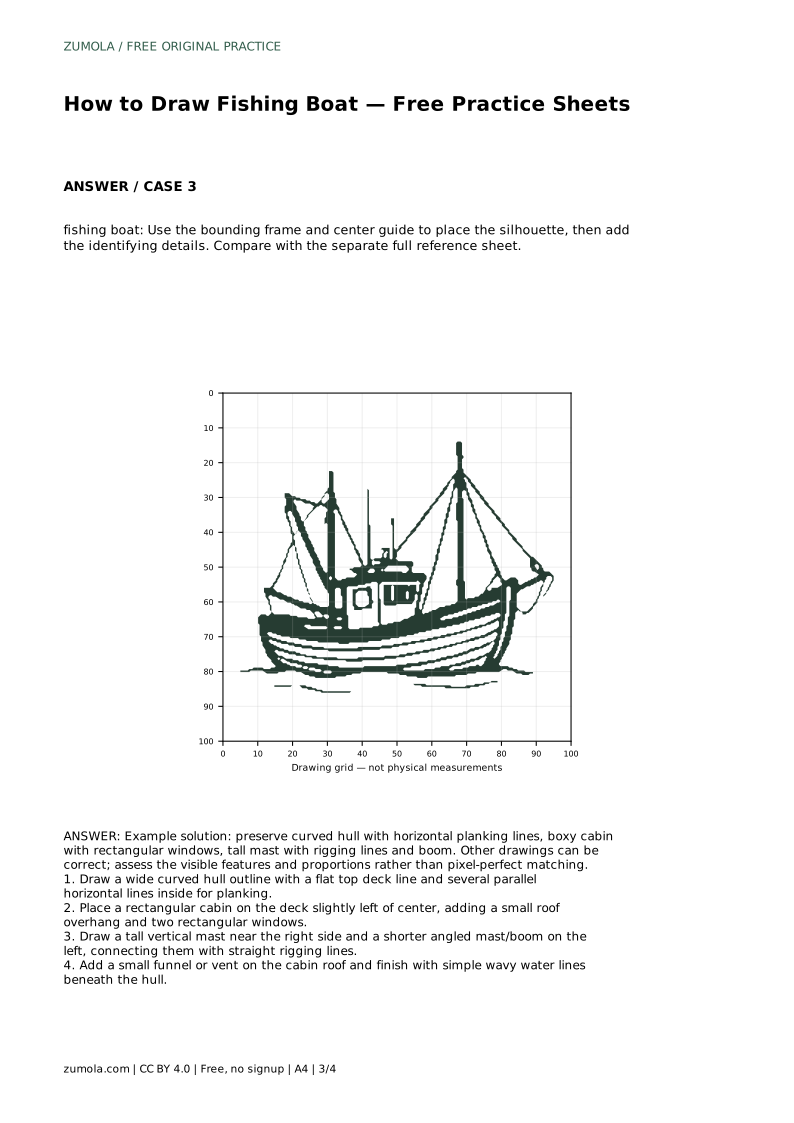
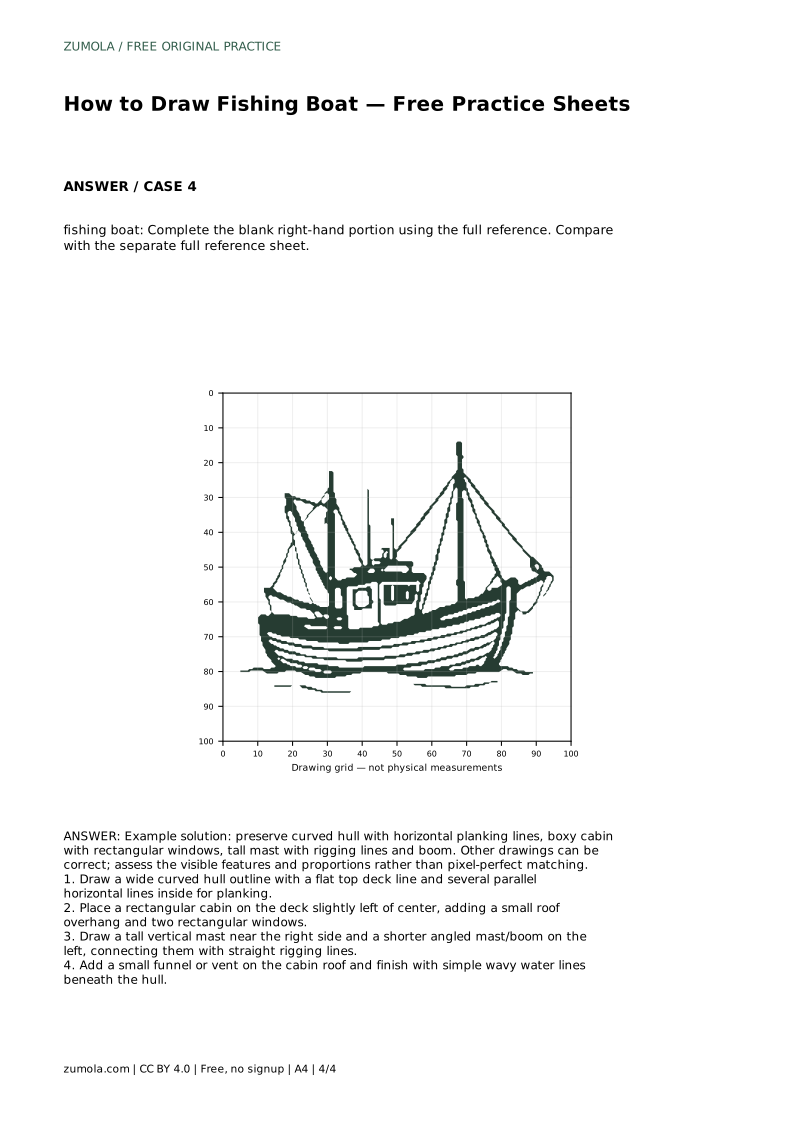
Reference diagrams
LETTER · Download PDF
A4 · Download PDF
Free original resources
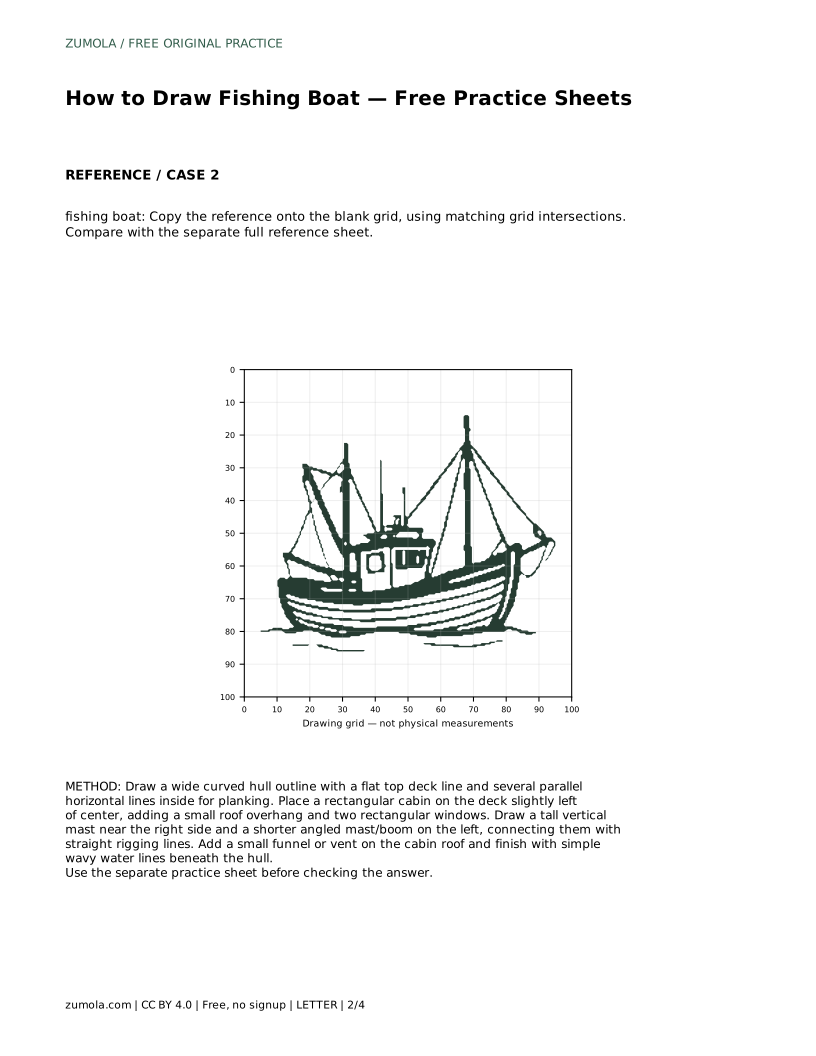
Learn to draw a fishing boat by tracing, gridding, or completing a partial outline. Practise the hull, cabin, mast, rigging, and water with a clear rubric.
Four original cases, with reference diagrams, practice sheets and worked answers. Everything is free; no signup required.
LETTER · Download PDF
A4 · Download PDF
LETTER · Download PDF
A4 · Download PDF
LETTER · Download PDF
A4 · Download PDF
Use A4 or US Letter to match your printer. Use the stated values and conditions to solve each exercise; diagrams are not physical measuring rulers.
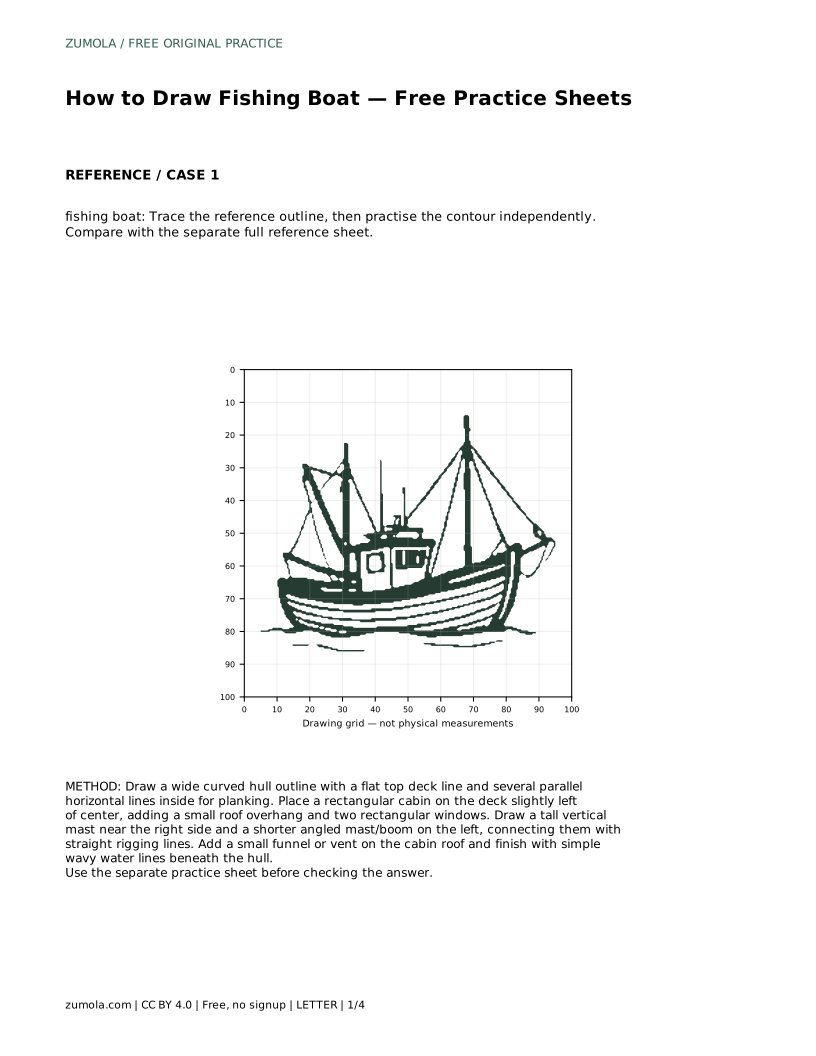
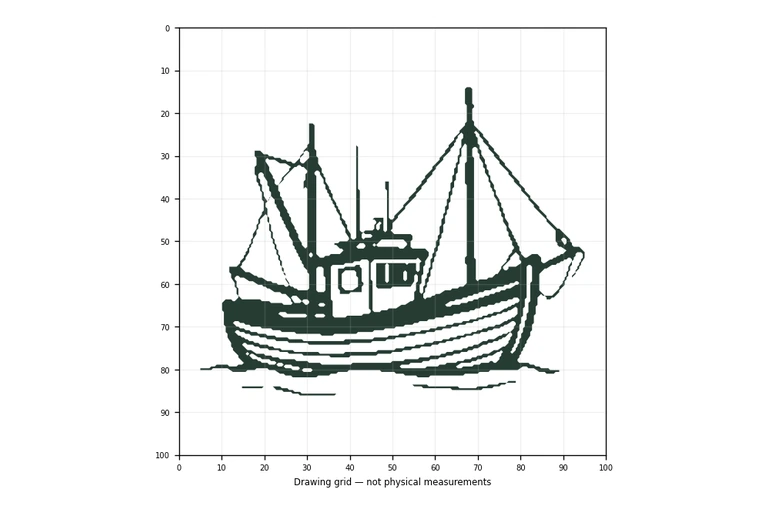
Drawing a fishing boat is mostly a matter of arranging a few strong shapes in the right order: a wide curved hull, a boxy cabin, a tall mast, and a set of straight rigging lines. This page explains how to practise that arrangement using the printable sheets, whether you trace the outline first, copy it onto a grid, or complete a partly drawn boat. The goal is a recognisable boat with sensible proportions, not a pixel-perfect copy.
The hull carries the whole drawing, so give it time. Begin with a wide curved outline that dips at the bottom and rises at both ends. Close the top with a flat deck line. Inside the hull, add several parallel horizontal lines for planking; keep the spacing even so the boat reads as constructed rather than striped at random.
Check the hull before moving on. It should look stable and broad enough to hold a cabin. If the curve is too shallow the boat looks like a box; if it is too deep the deck seems to float. Adjust the outline while it is still a single shape.
Set a rectangular cabin on the deck, slightly left of centre, with a small roof overhang and two rectangular windows. Keeping the cabin boxy makes it read clearly against the curved hull. Then draw a tall vertical mast near the right side and a shorter angled mast or boom on the left.
Connect the masts with straight rigging lines. These lines should look taut and purposeful, running between the mast tops and toward the deck. A small funnel or vent on the cabin roof adds a finishing detail without cluttering the silhouette.
Finish with simple wavy water lines beneath the hull. Keep them light and horizontal so they suggest the waterline without competing with the boat. When the drawing is complete, compare it with the separate full reference sheet and note which features are present and which proportions drifted.
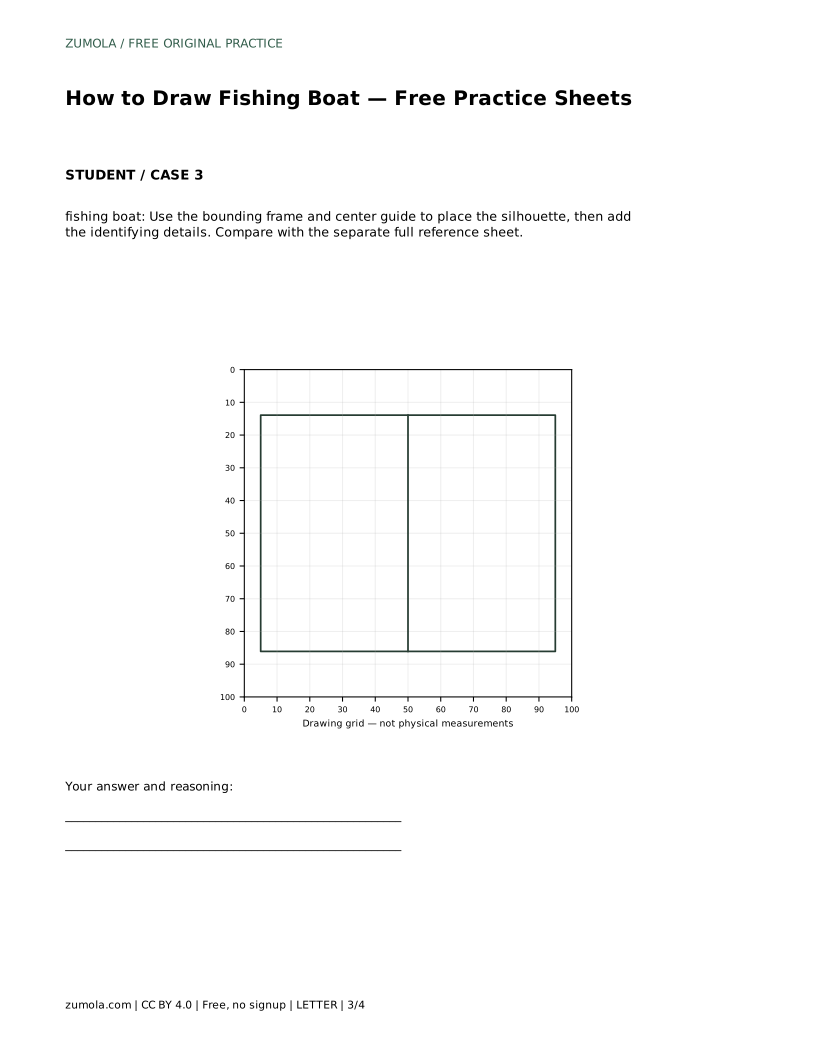
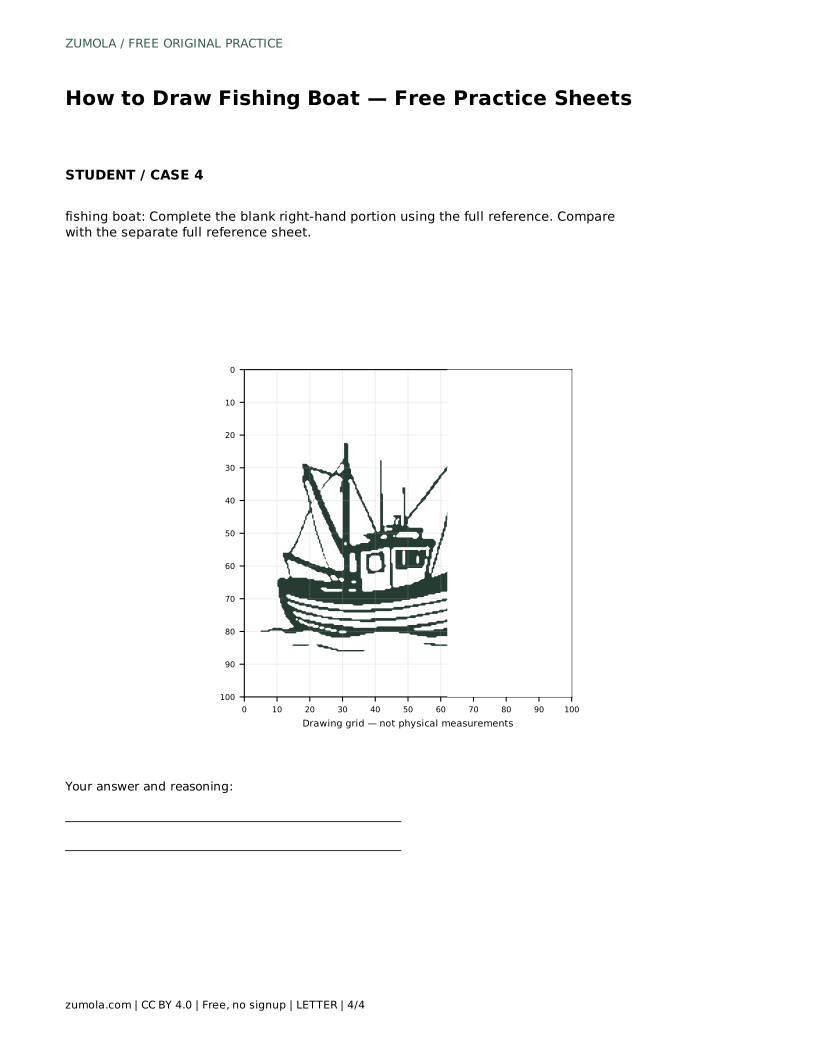
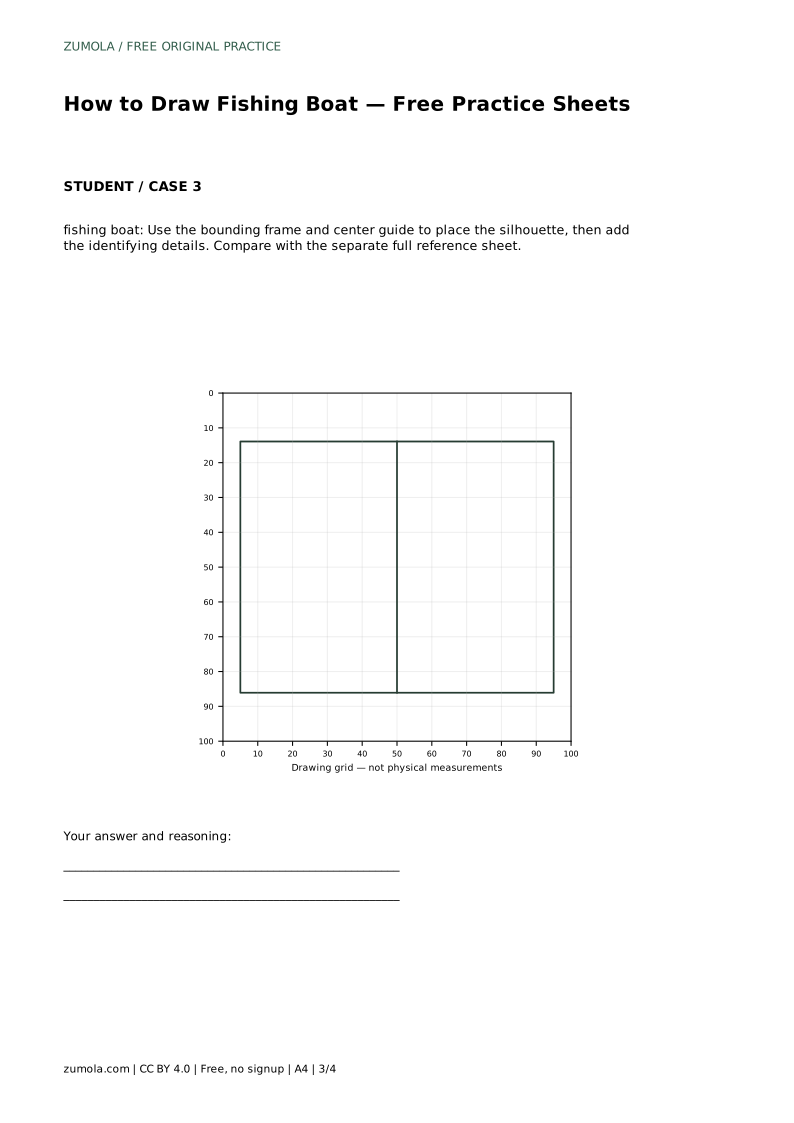
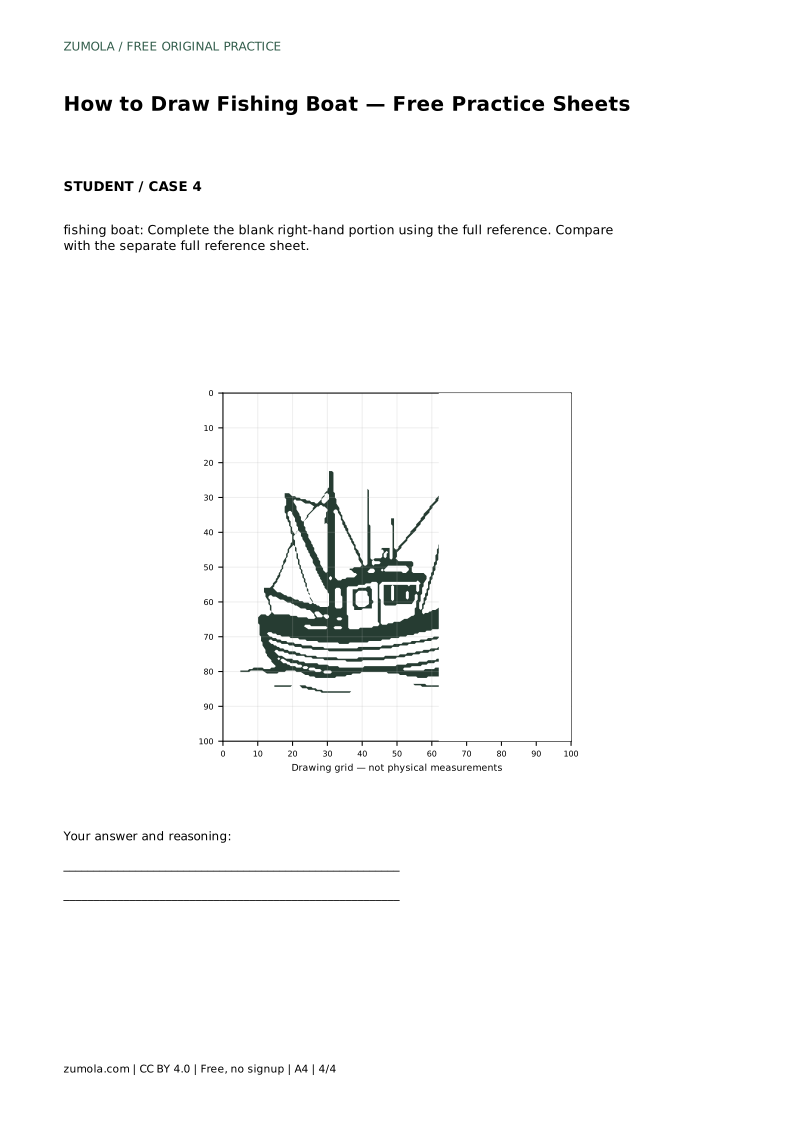
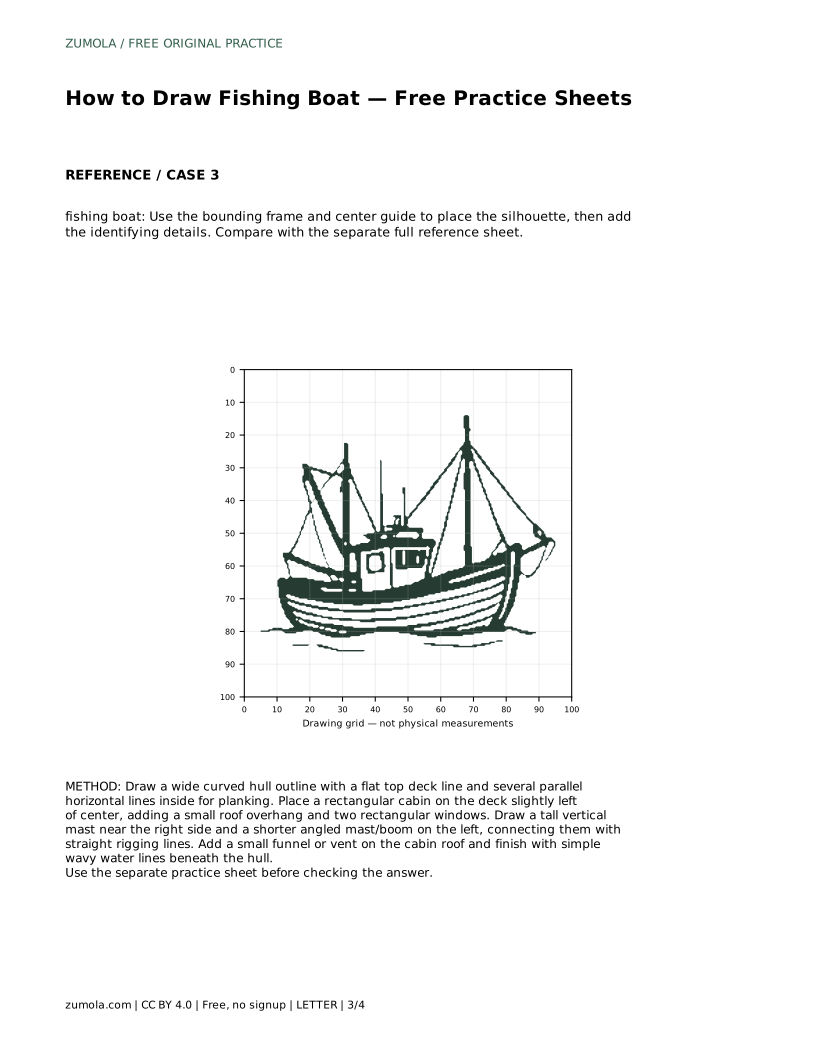
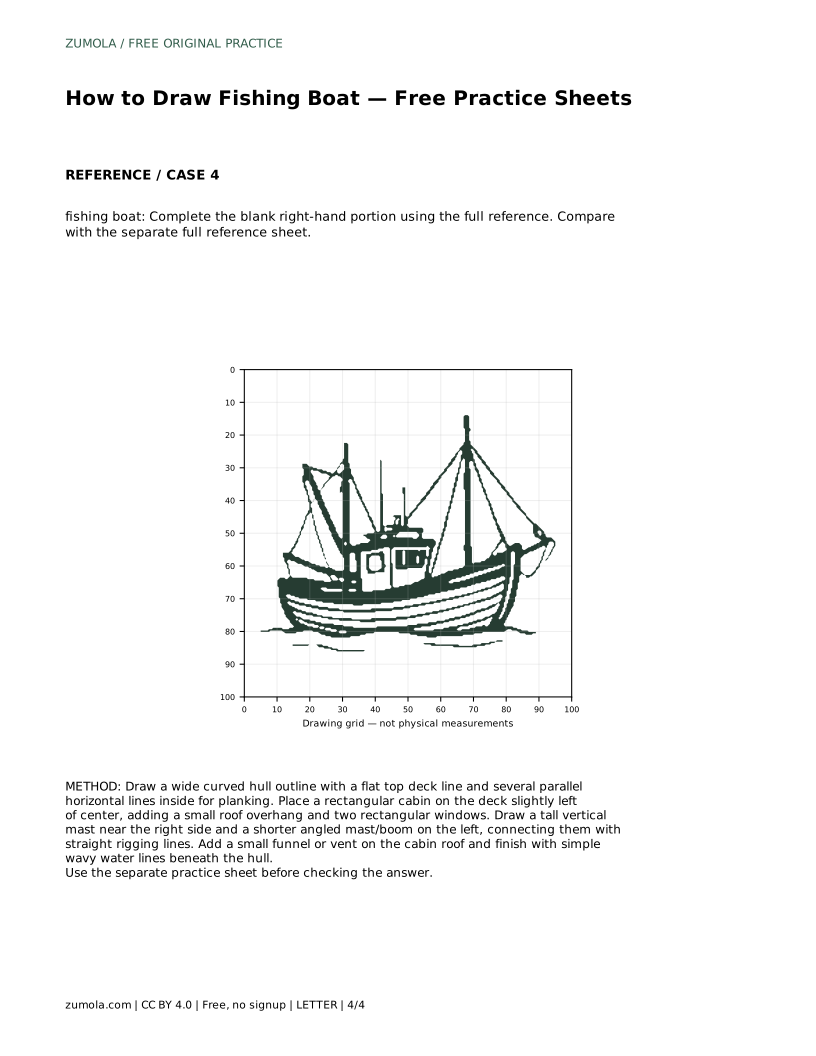
The practice sheets offer different routes to the same skill. Tracing the reference outline builds familiarity with the contour; copying onto a blank grid trains placement by intersections; using a bounding frame and centre guide trains overall silhouette; completing a blank right-hand portion trains inference from a partial view. Each route ends with the same comparison against the full reference.
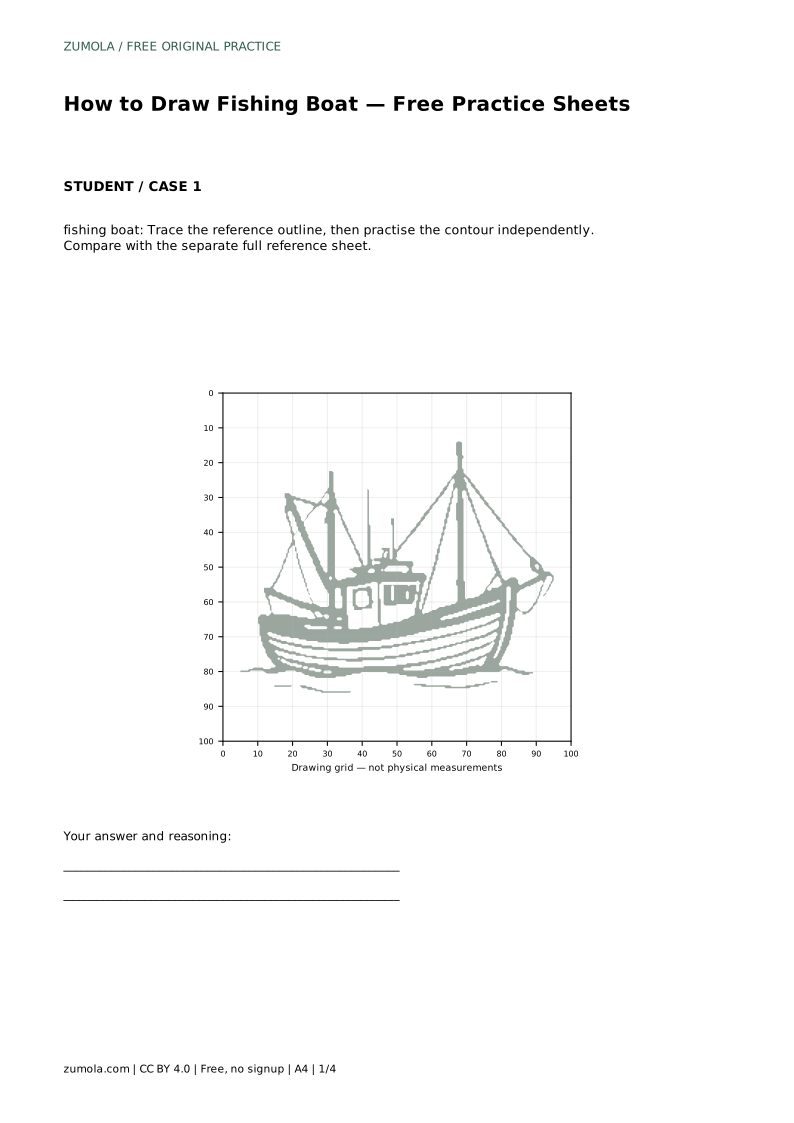
fishing boat: Trace the reference outline, then practise the contour independently. Compare with the separate full reference sheet.
Example solution: preserve curved hull with horizontal planking lines, boxy cabin with rectangular windows, tall mast with rigging lines and boom. Other drawings can be correct; assess the visible features and proportions rather than pixel-perfect matching. Draw a wide curved hull outline with a flat top deck line and several parallel horizontal lines inside for planking. Place a rectangular cabin on the deck slightly left of center, adding a small roof overhang and two rectangular windows. Draw a tall vertical mast near the right side and a shorter angled mast/boom on the left, connecting them with straight rigging lines. Add a small funnel or vent on the cabin roof and finish with simple wavy water lines beneath the hull.
No. Several drawings can be correct. Assess whether the curved hull, planking, boxy cabin with windows, tall mast, rigging, and boom are visible and sensibly proportioned.
Start with tracing if you are new to the shape, then move to the grid or bounding frame to practise placement without a guide outline.
There is no fixed number. A few evenly spaced parallel lines are enough to suggest planking; too many can make the hull look busy.
All drawing practice · Free coordinate paper
Original resources · CC BY 4.0 · Free for personal and classroom use with attribution.