Reference diagrams
LETTER · Download PDF
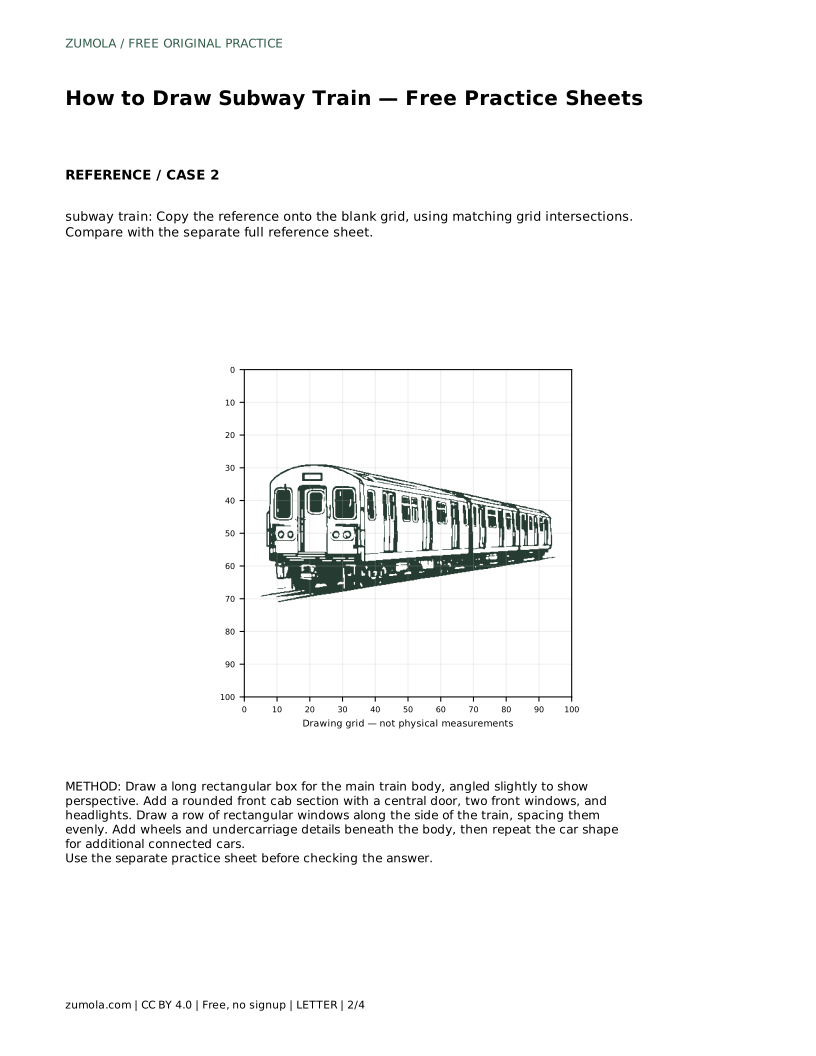
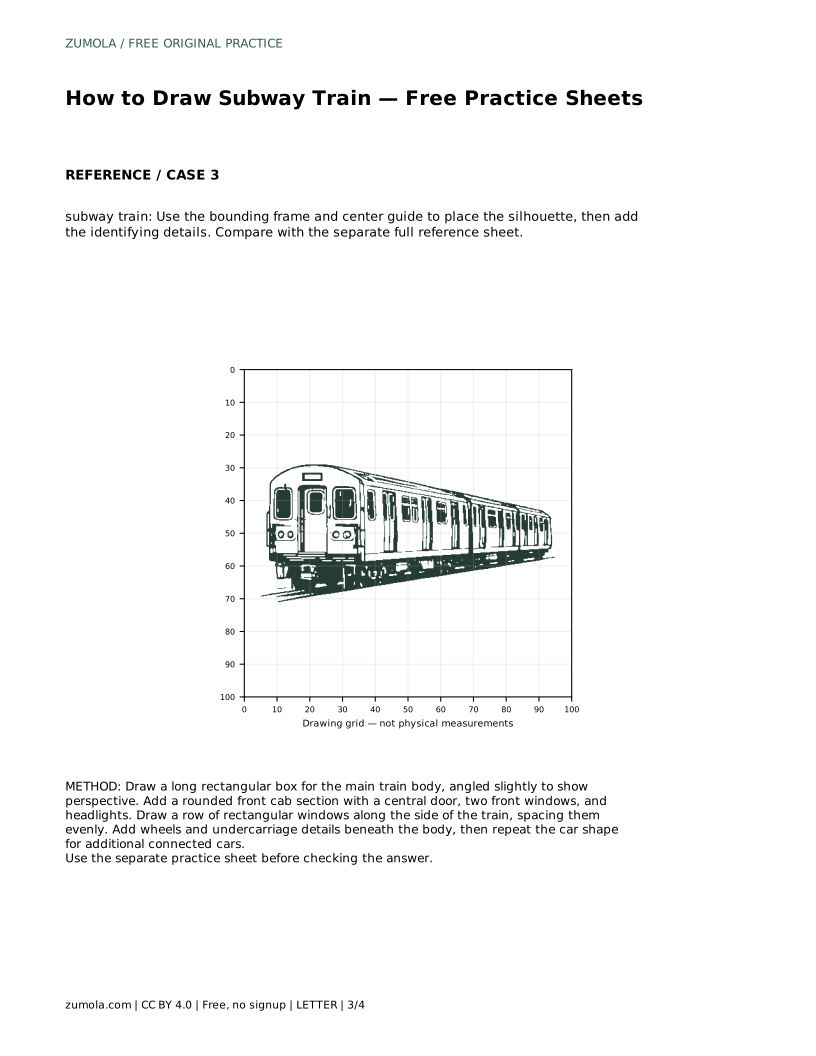
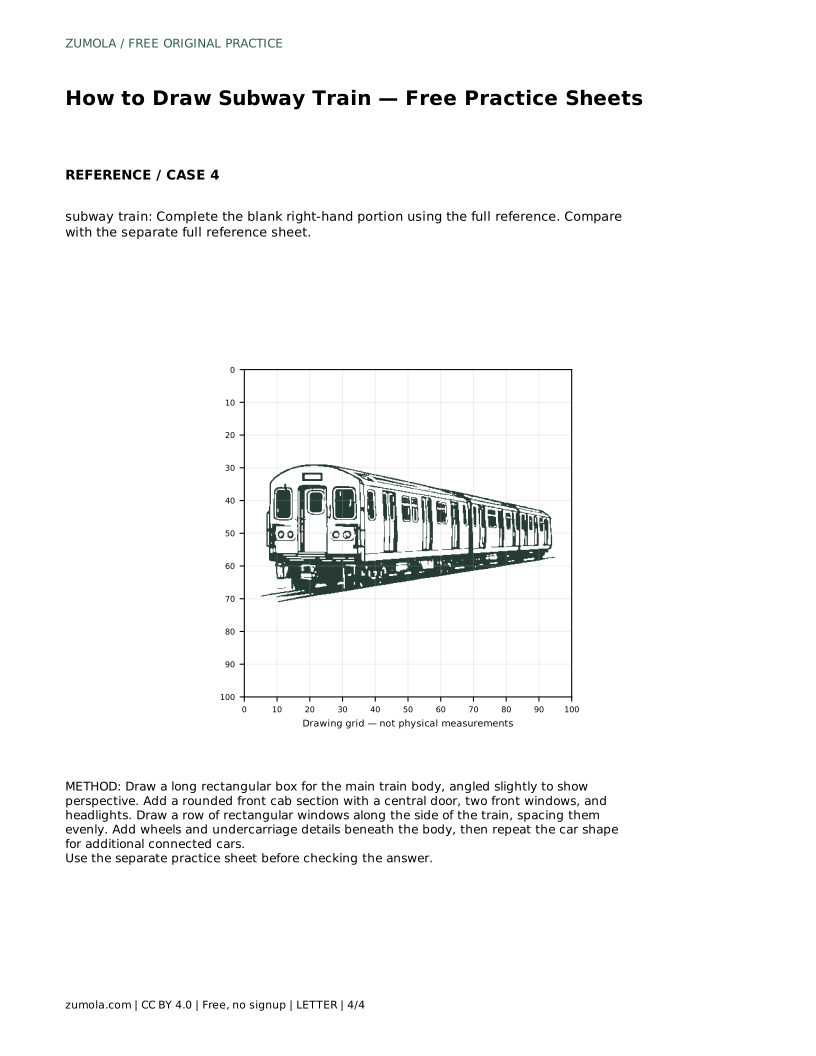
A4 · Download PDF
Free original resources
Learn to draw a subway train by building the car body, front cab, side windows, and wheels. Free printable practice sheets support tracing, grids, and guided placement.
Four original cases, with reference diagrams, practice sheets and worked answers. Everything is free; no signup required.
LETTER · Download PDF
A4 · Download PDF
LETTER · Download PDF
A4 · Download PDF
LETTER · Download PDF
A4 · Download PDF
Use A4 or US Letter to match your printer. Use the stated values and conditions to solve each exercise; diagrams are not physical measuring rulers.
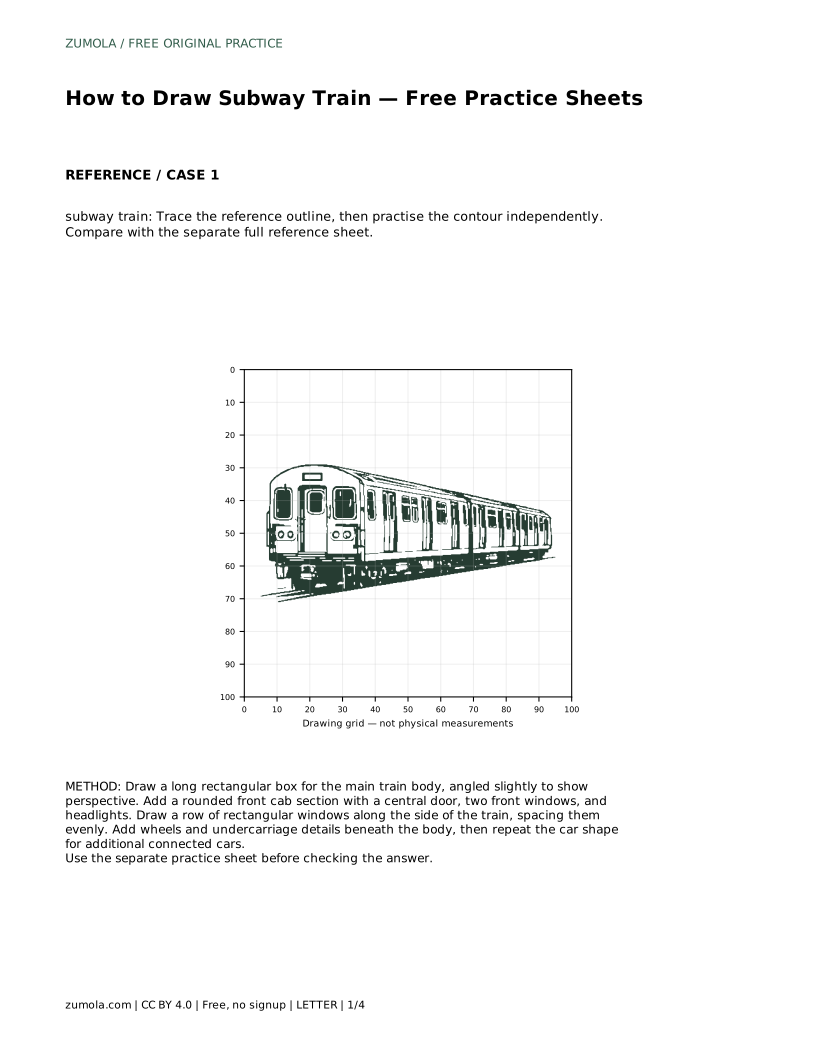
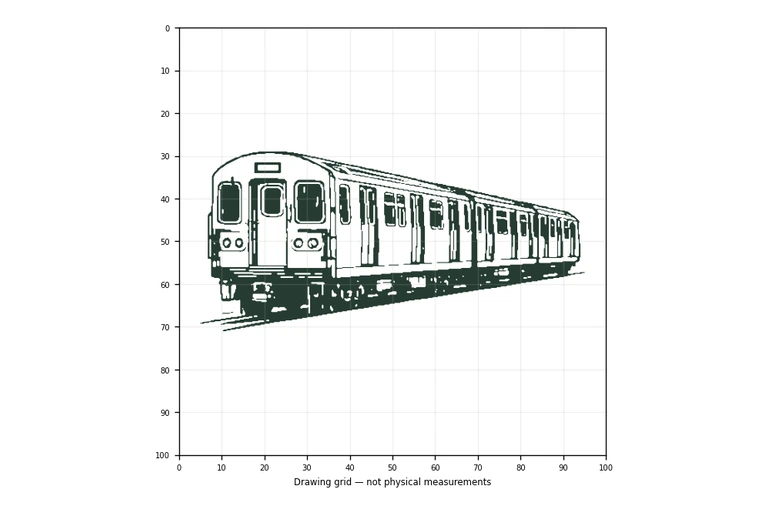
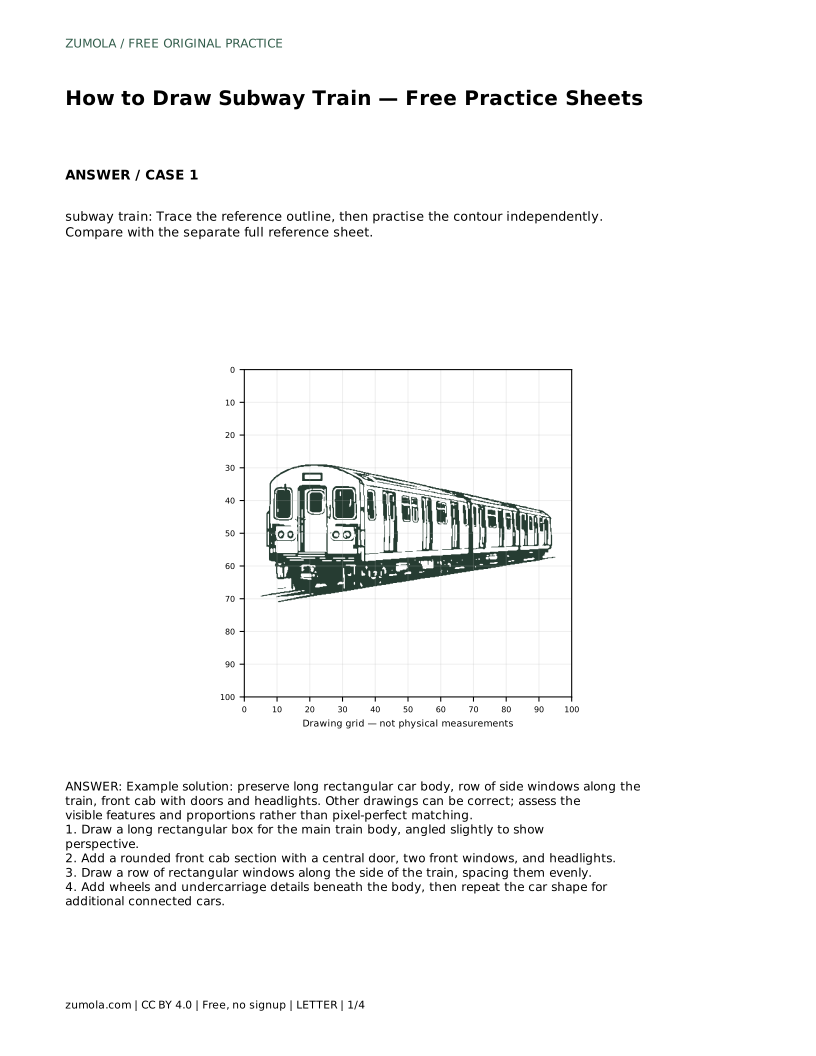
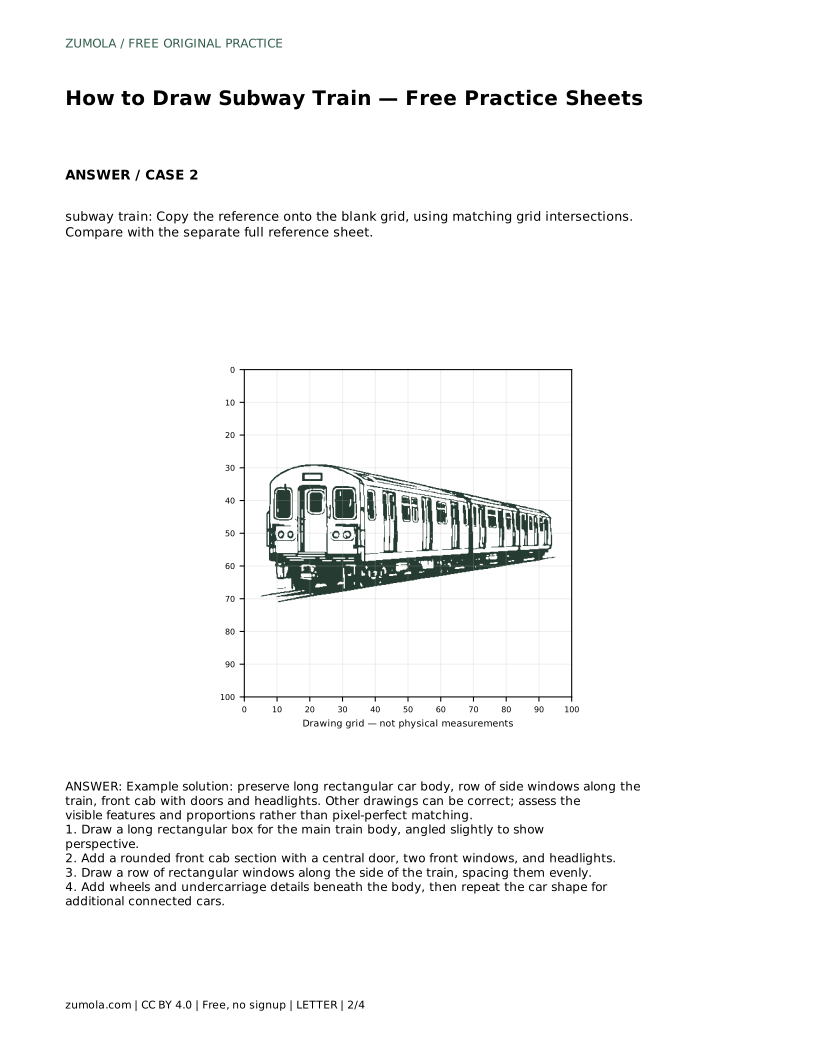
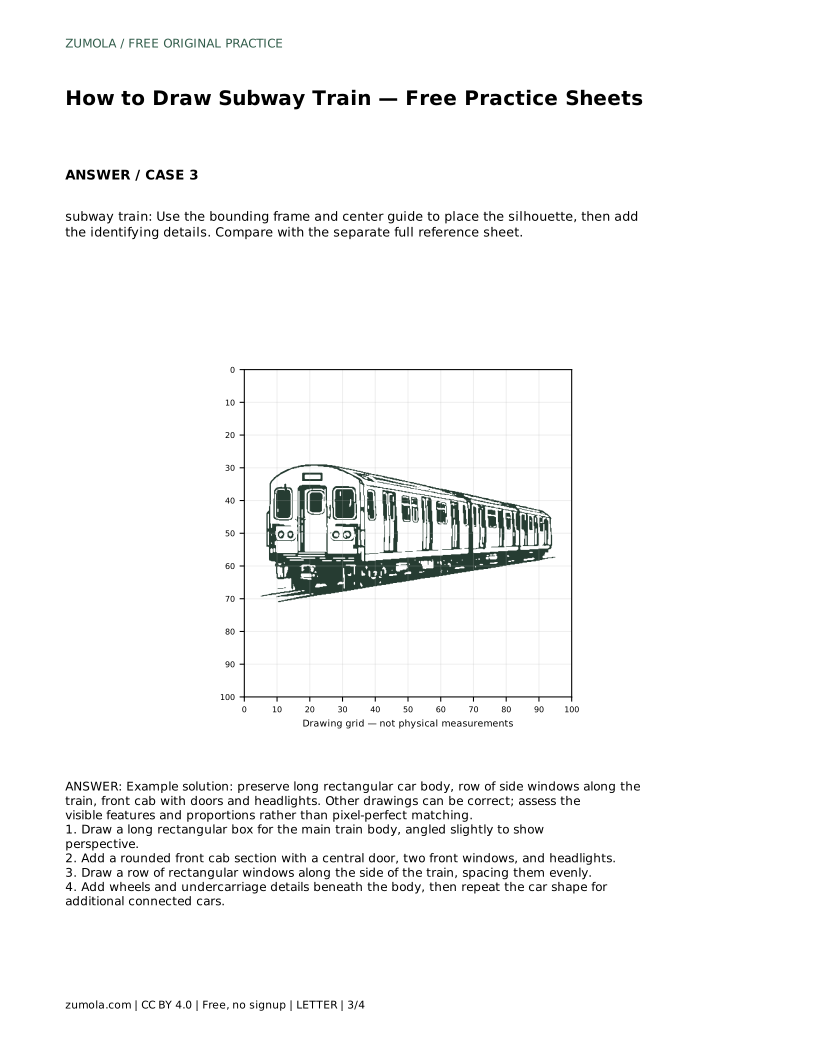
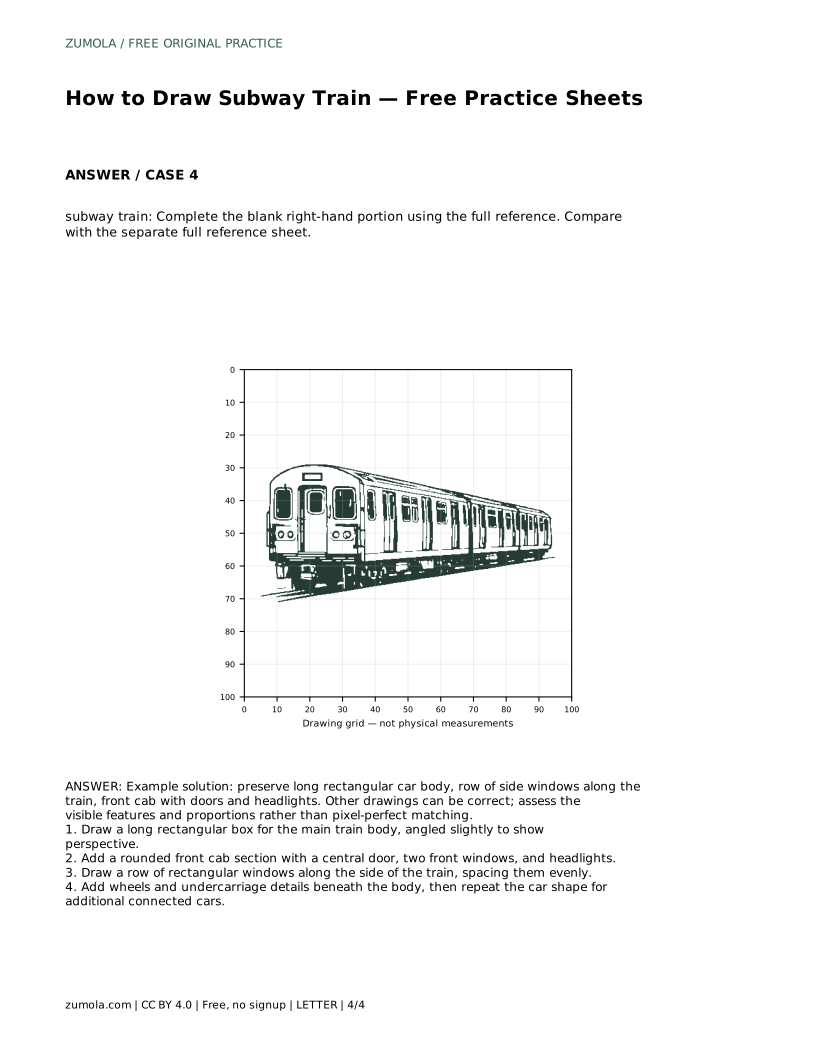
A subway train is a good subject for learning to combine long straight edges with a few rounded details. The key is to establish the car body first, then place the front cab, side windows, and wheels in a sensible order. This page explains a reliable drawing sequence and shows how the printable practice sheets let you trace, copy onto a grid, or complete a partially drawn reference.
Begin by drawing a long rectangular box for the main train body. Angle it slightly so the side recedes and the front is easier to read; a small angle suggests perspective without making the drawing complicated. Keep the top and bottom edges roughly parallel so the car looks solid rather than tapered.
At the front, add a rounded cab section. Place a central door, two front windows, and headlights on this cab. These features identify the drawing as a subway train rather than a generic box, so give them clear spacing and keep them proportionate to the cab.
Draw a row of rectangular windows along the side of the train, spacing them evenly. Even spacing matters more than an exact count; if the windows drift closer together, the car looks uneven. Keep the window tops aligned with each other and with the top edge of the body.
Beneath the body, add wheels and undercarriage details. Then repeat the car shape for additional connected cars if you want a longer train. Each added car should share the same height and window rhythm so the train reads as one connected vehicle.
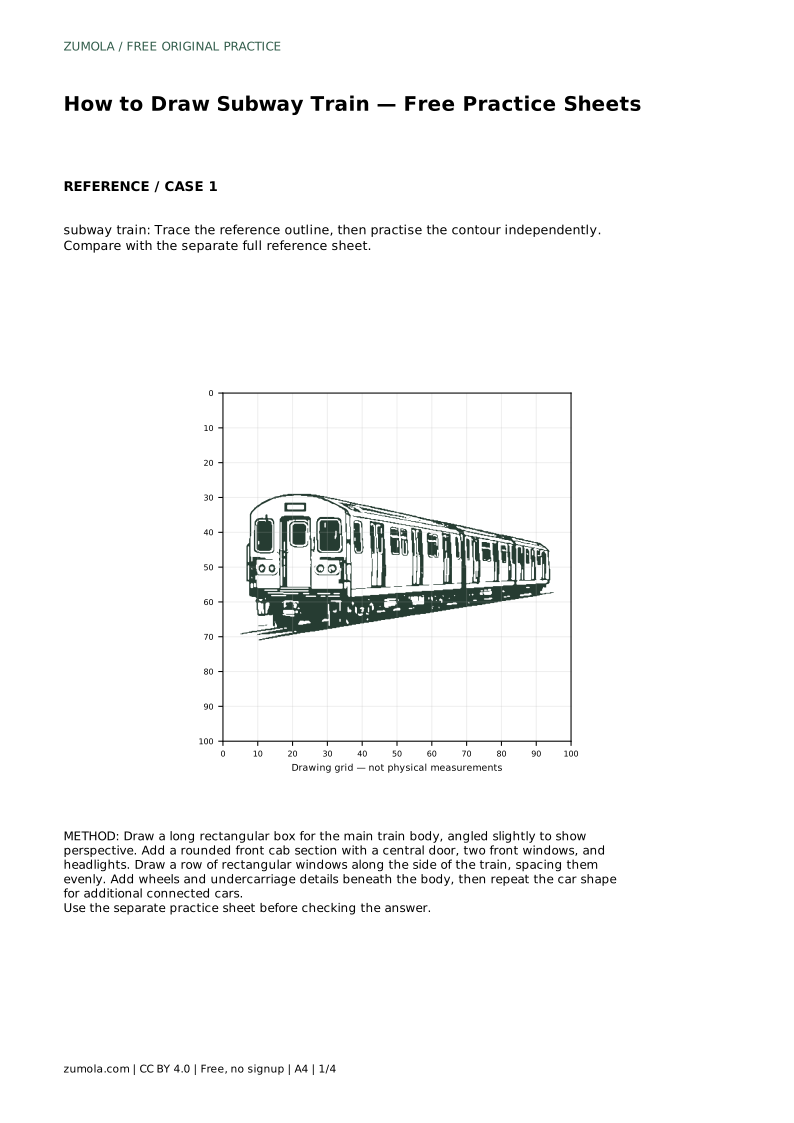
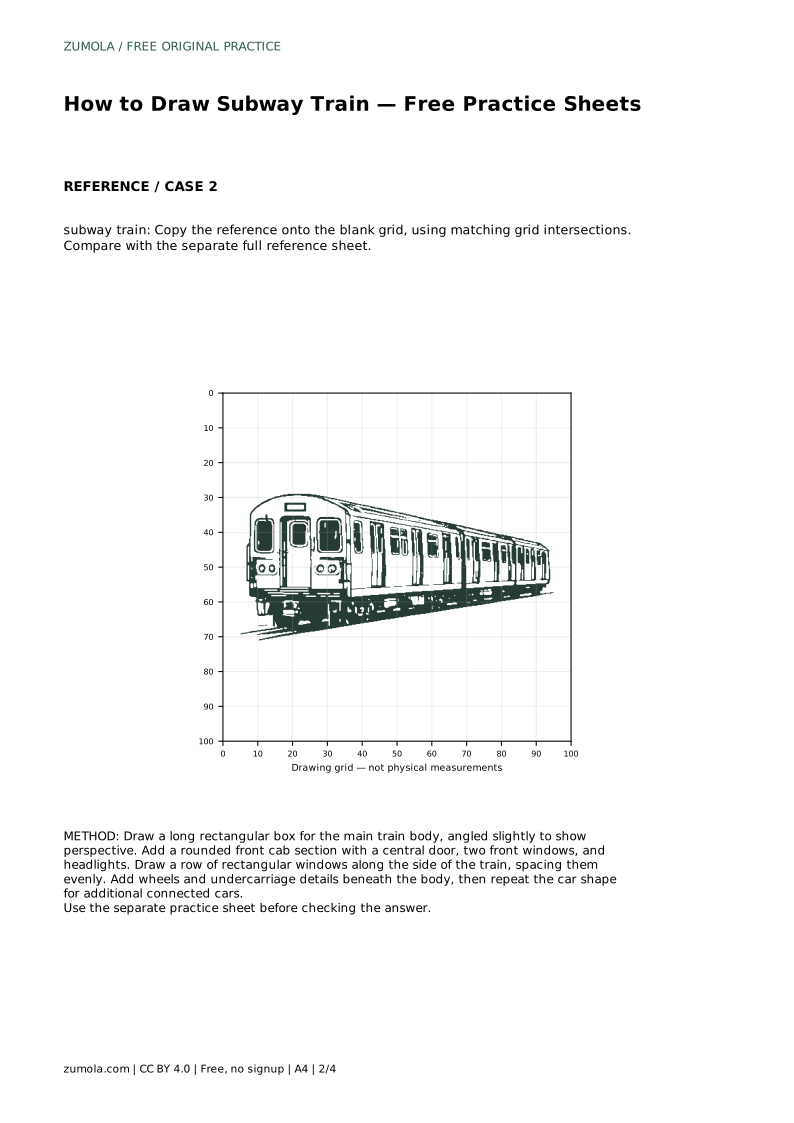
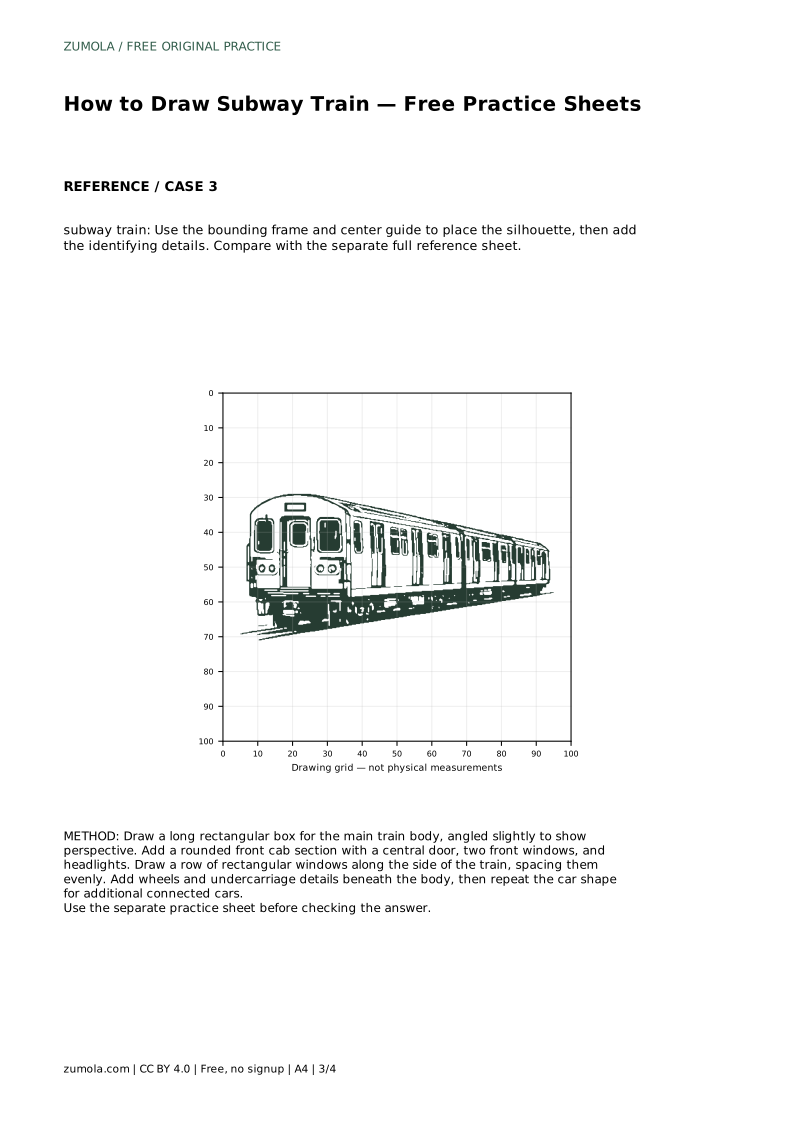
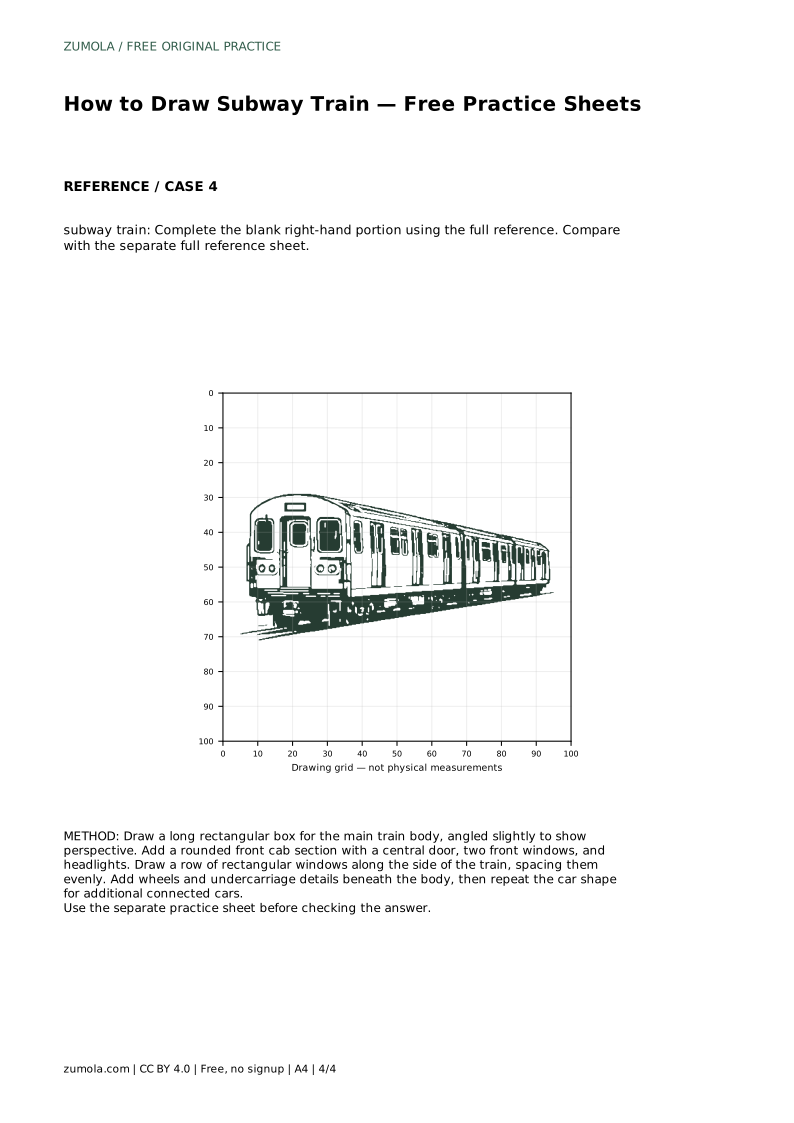
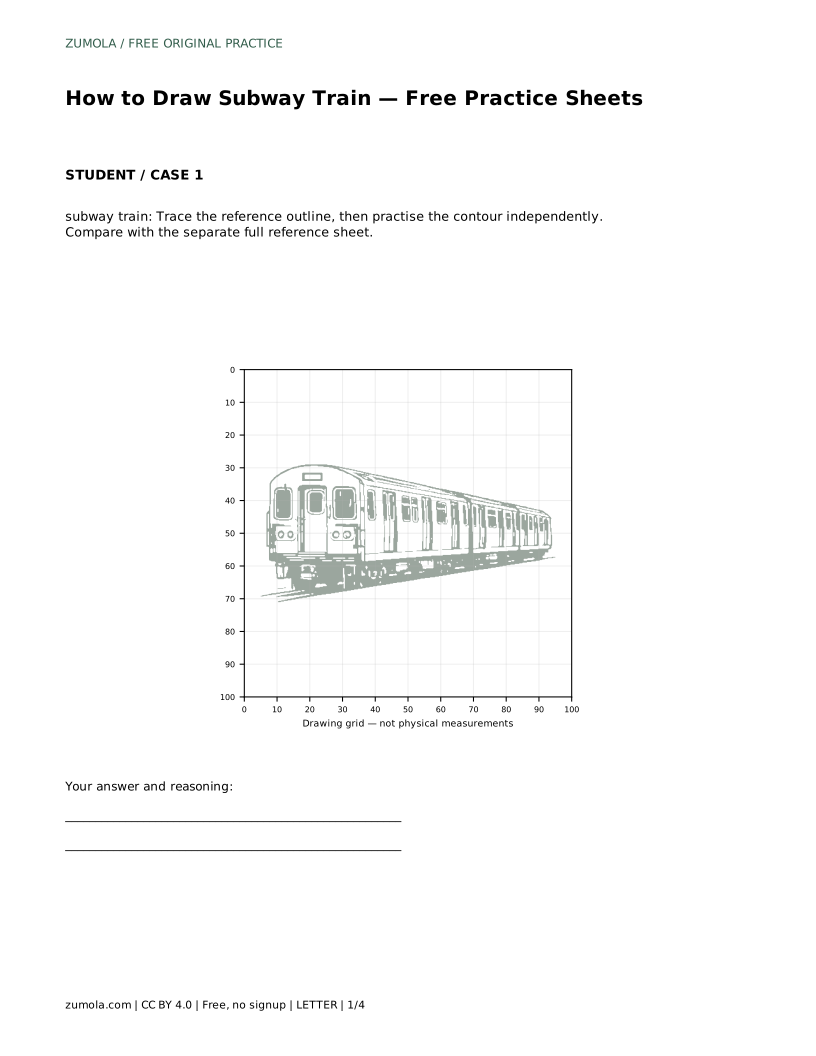
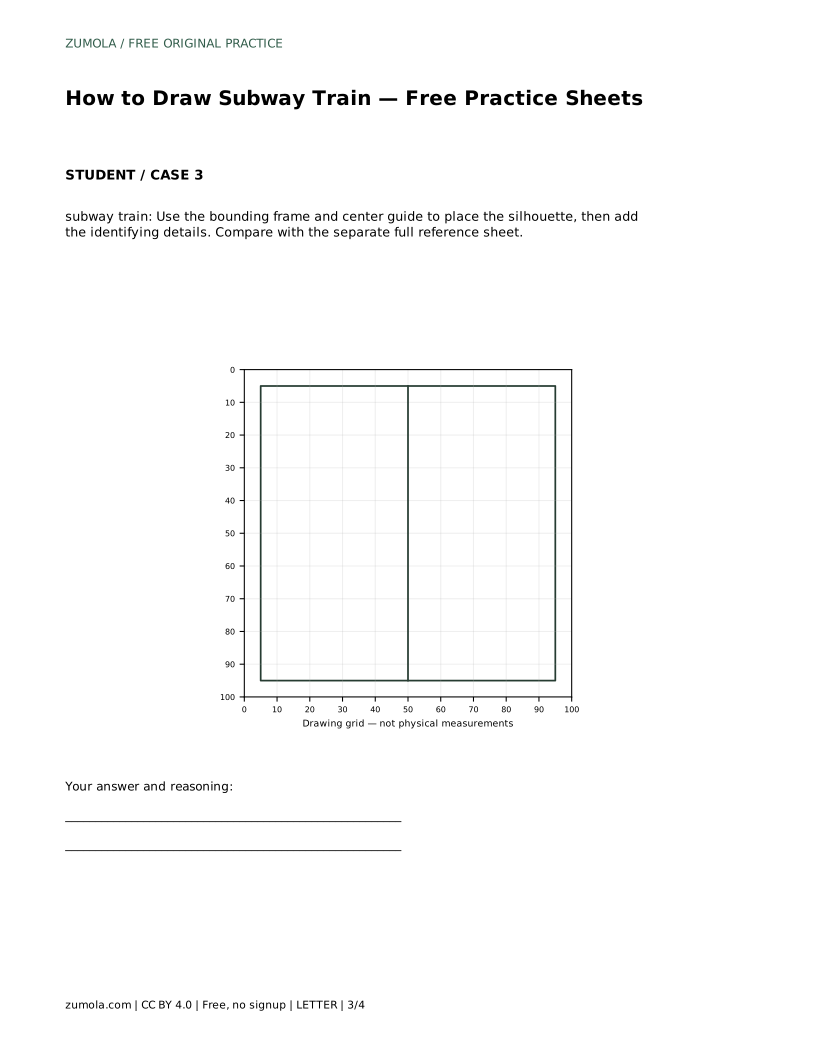
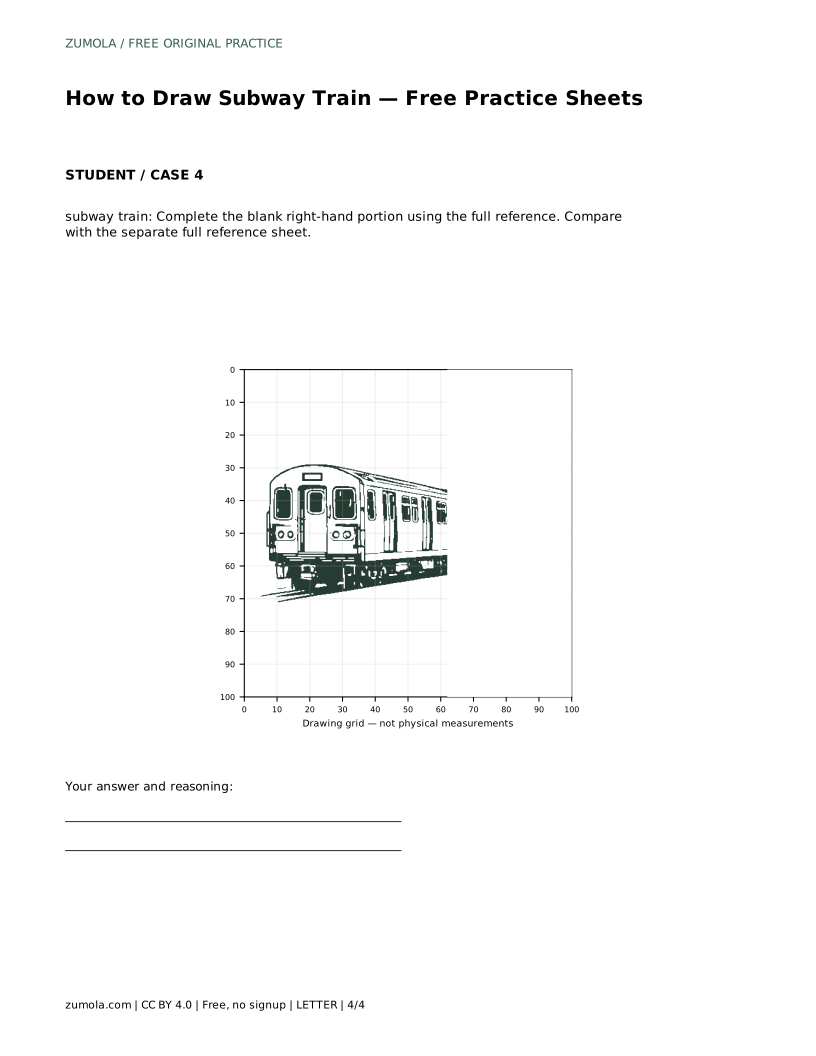
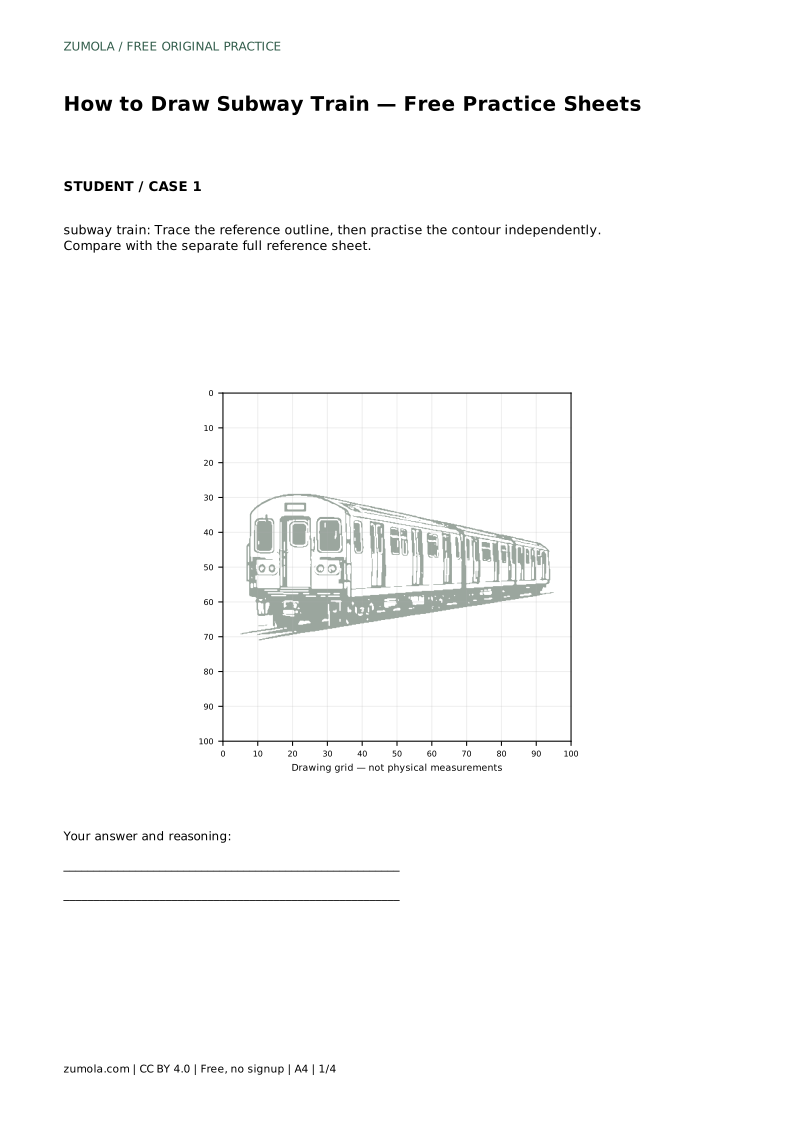
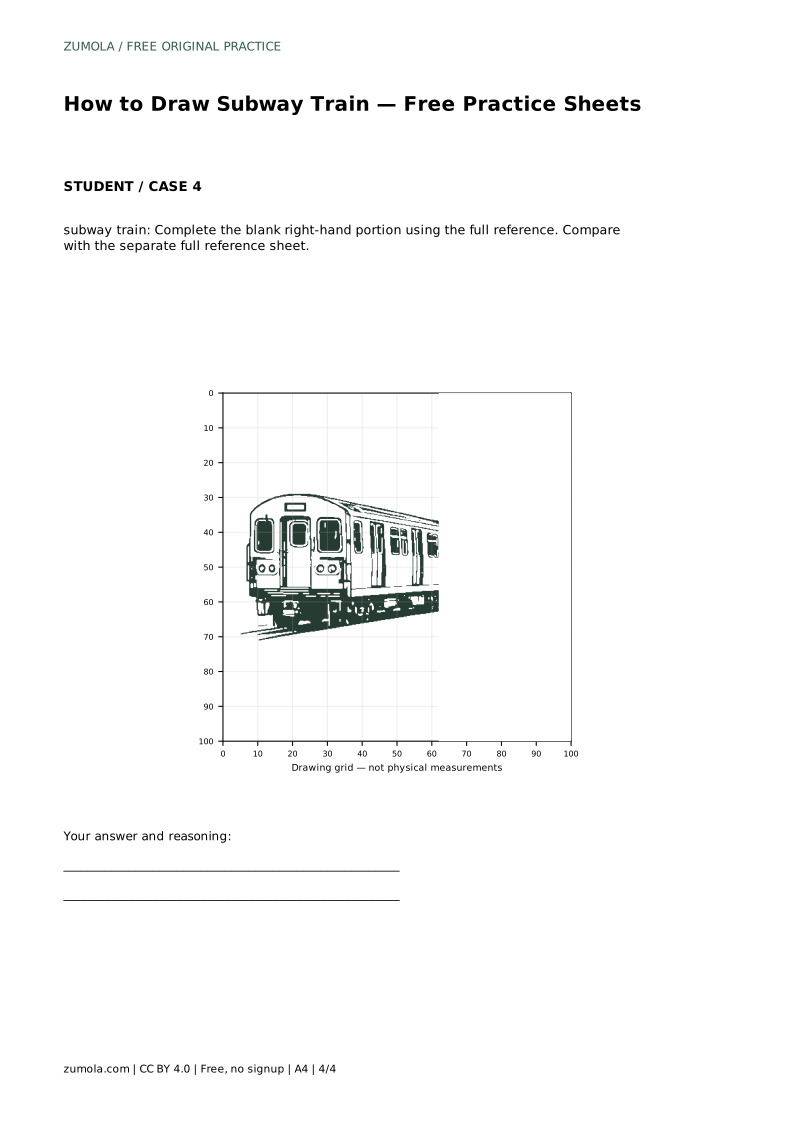
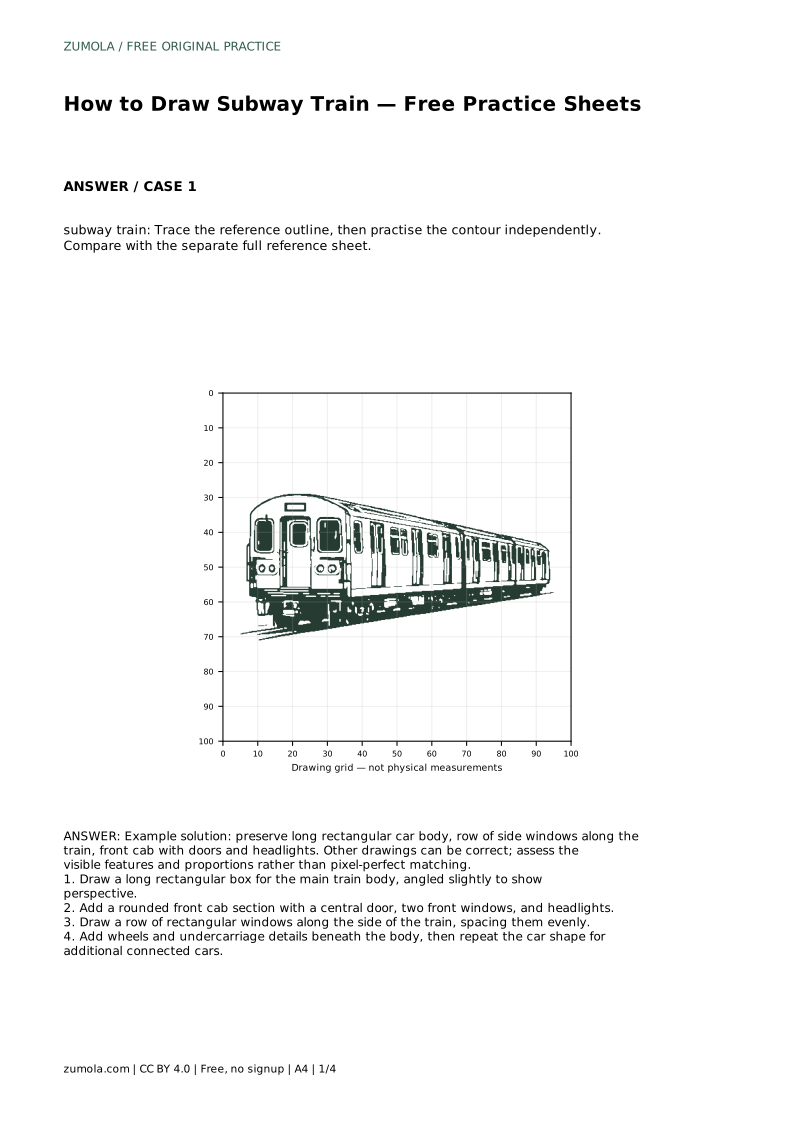
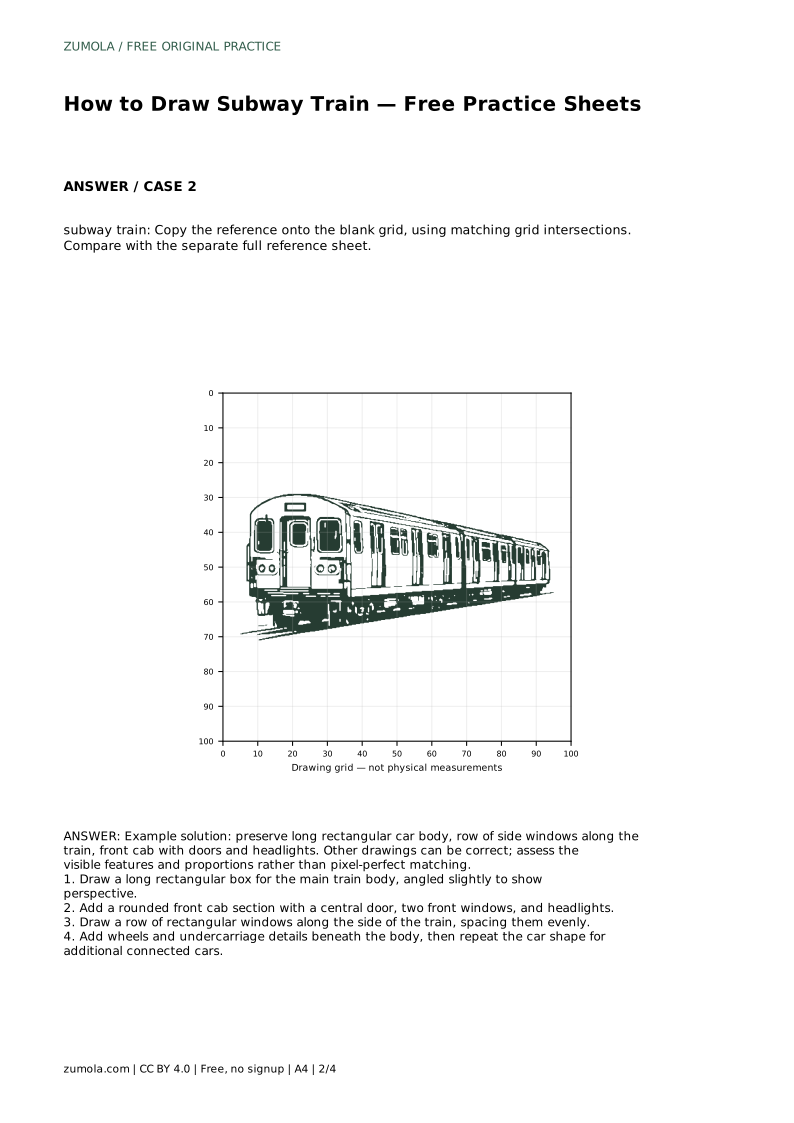
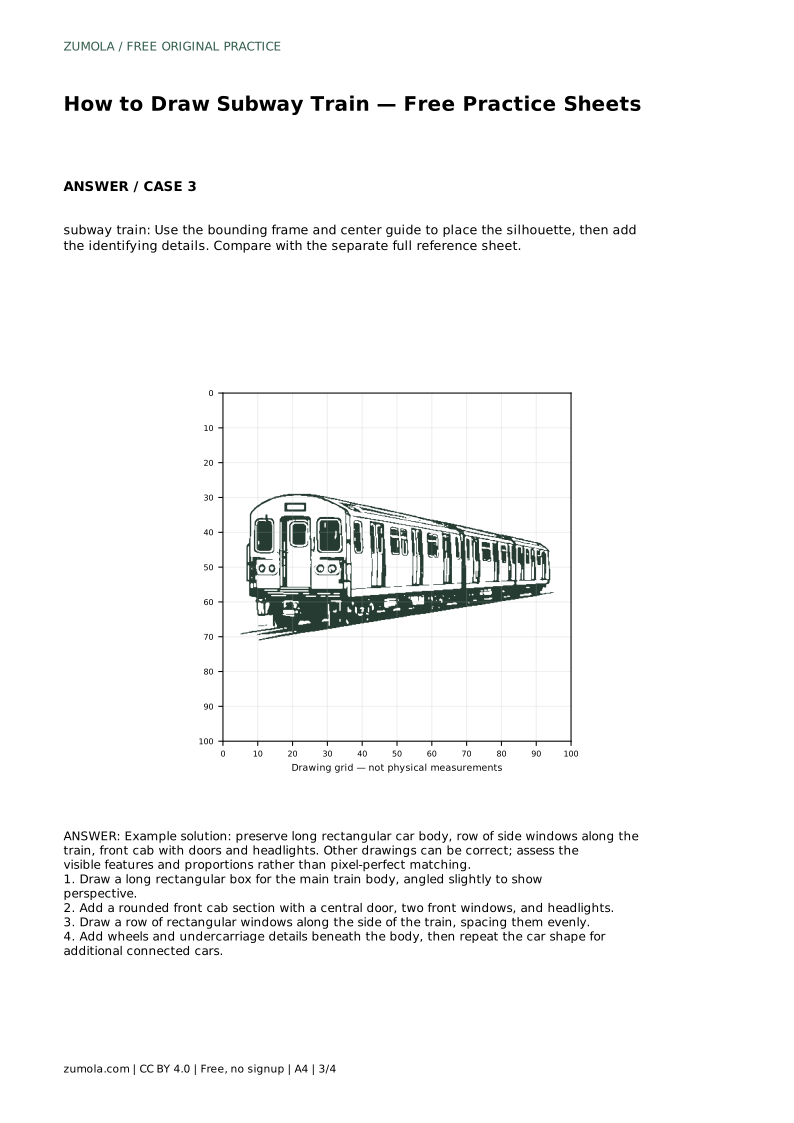
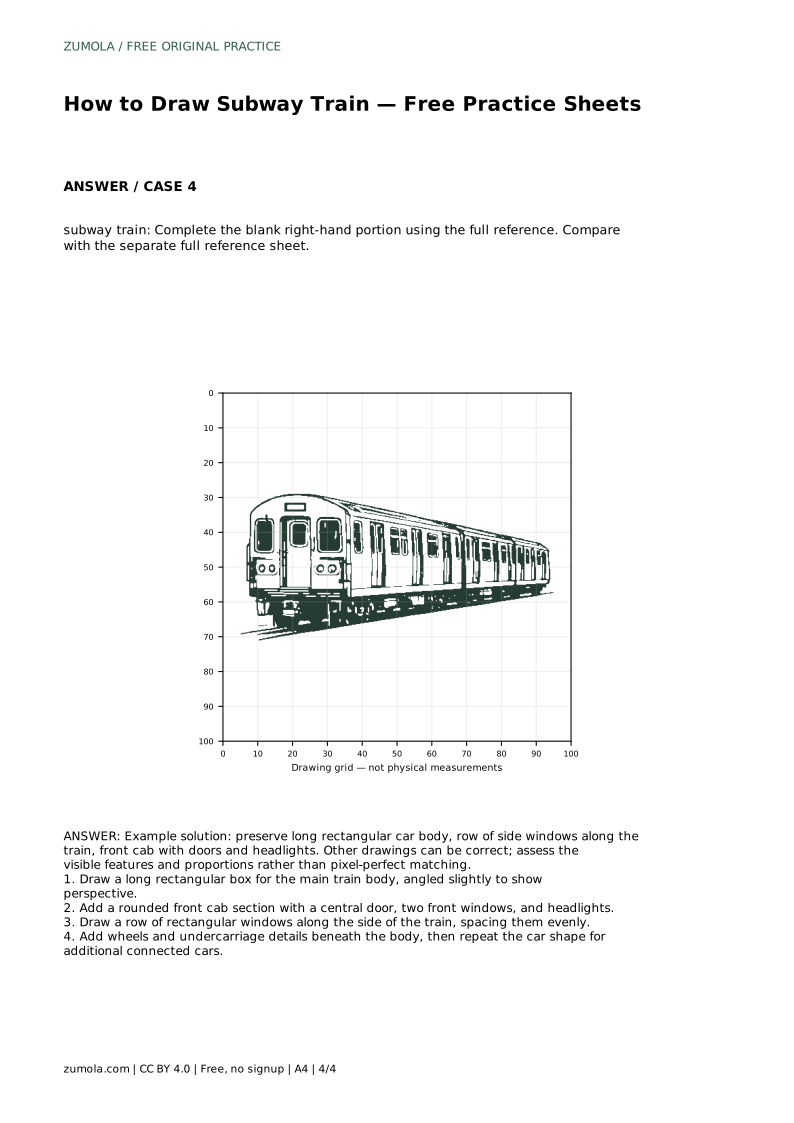
The sheets offer different levels of support. One asks you to trace the reference outline, then practise the contour independently. Another asks you to copy the reference onto a blank grid using matching grid intersections. A third uses a bounding frame and center guide to place the silhouette before adding identifying details. A fourth leaves the right-hand portion blank so you complete it from the full reference.
After each attempt, compare your drawing with the separate full reference sheet. Check the long rectangular car body, the row of side windows, and the front cab with doors and headlights. Other drawings can be correct; assess the visible features and proportions rather than pixel-perfect matching.
A useful check is to compare the length of the car body with its height. If the body looks too tall, the train reads as a bus or a boxcar. If it looks too short, the side windows become cramped. Adjust the body length before refining small details.
Also check that the front cab is not wider than the car body and that the headlights sit within the cab face. Wheels should sit below the body, not overlap the windows. These simple relationships keep the drawing coherent.
subway train: Trace the reference outline, then practise the contour independently. Compare with the separate full reference sheet.
Example solution: preserve long rectangular car body, row of side windows along the train, front cab with doors and headlights. Other drawings can be correct; assess the visible features and proportions rather than pixel-perfect matching. Draw a long rectangular box for the main train body, angled slightly to show perspective. Add a rounded front cab section with a central door, two front windows, and headlights. Draw a row of rectangular windows along the side of the train, spacing them evenly. Add wheels and undercarriage details beneath the body, then repeat the car shape for additional connected cars.
No. Preserve the long rectangular car body, the row of side windows, and the front cab with doors and headlights. Other drawings can be correct; assess visible features and proportions rather than pixel-perfect matching.
Start with the tracing sheet if you are new to the shape, then move to the grid or bounding-frame version to practise placing the silhouette without tracing.
One car is enough to learn the structure. Add connected cars only after the first car's body, windows, and wheels are evenly placed.
All drawing practice · Free coordinate paper
Original resources · CC BY 4.0 · Free for personal and classroom use with attribution.