Reference diagrams
LETTER · Download PDF
A4 · Download PDF
Free original resources
Learn to draw a jet ski by building the curved hull, pointed bow, raised steering column, handlebars, and seat. Practice with tracing, grid, and frame sheets.
Four original cases, with reference diagrams, practice sheets and worked answers. Everything is free; no signup required.
LETTER · Download PDF
A4 · Download PDF
LETTER · Download PDF
A4 · Download PDF
LETTER · Download PDF
A4 · Download PDF
Use A4 or US Letter to match your printer. Use the stated values and conditions to solve each exercise; diagrams are not physical measuring rulers.
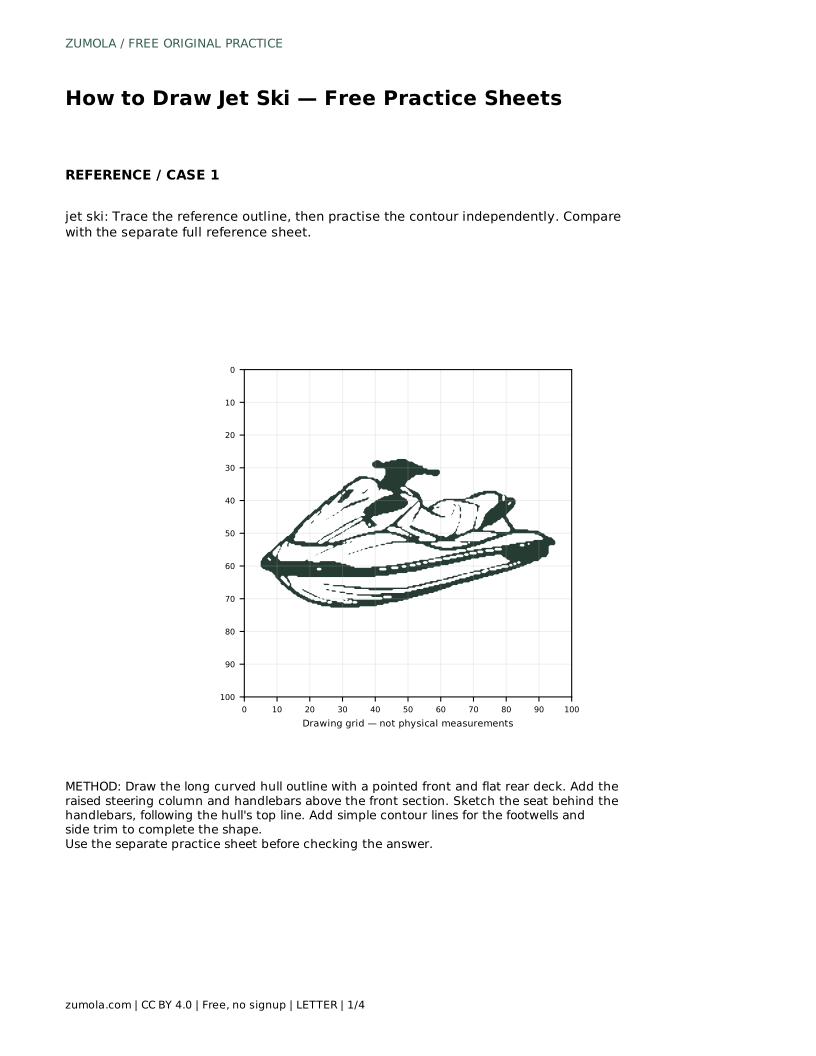
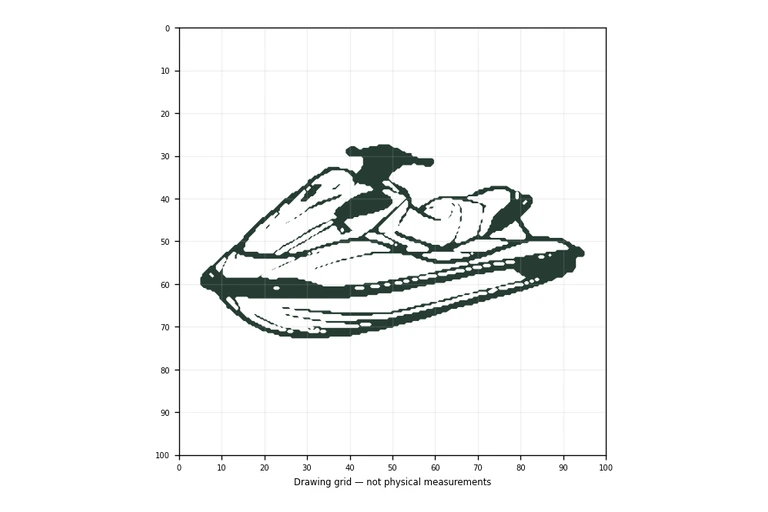
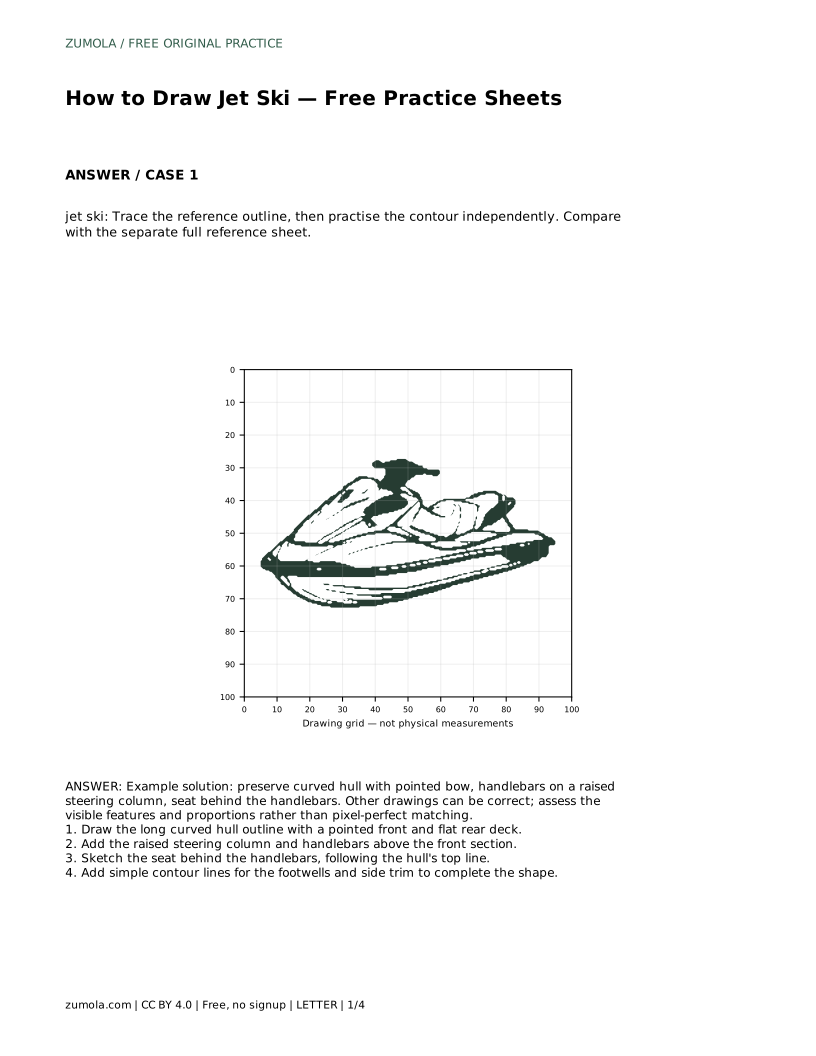
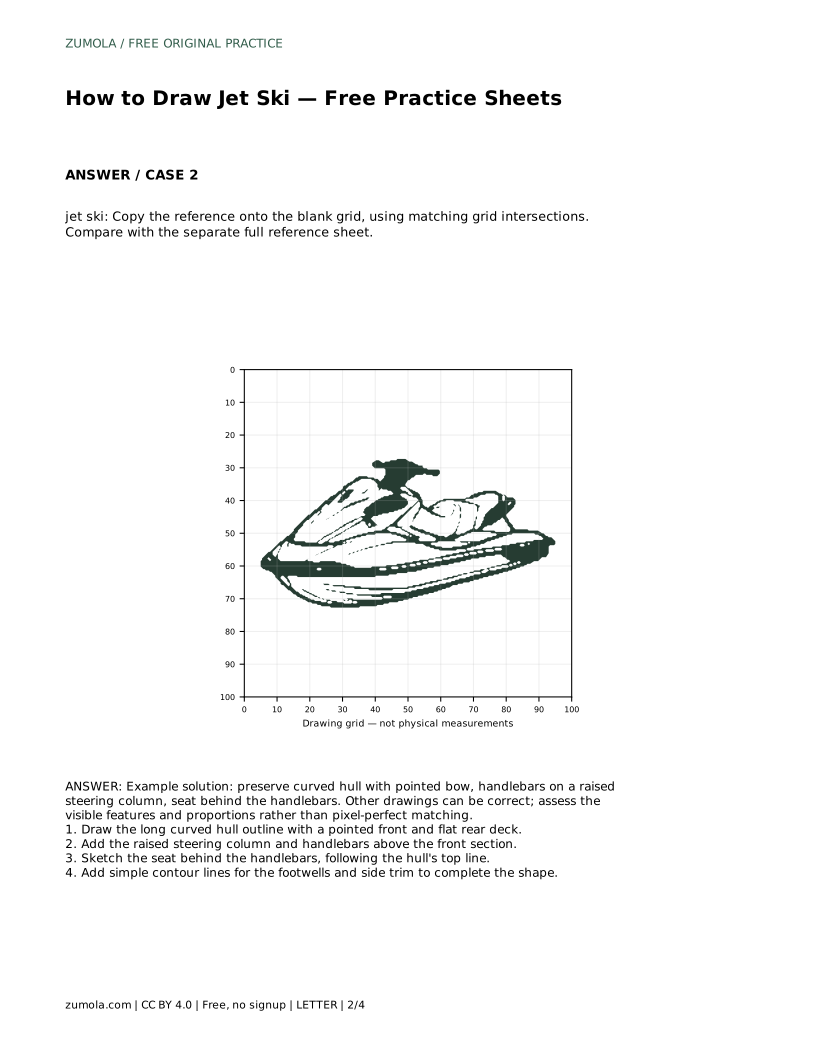
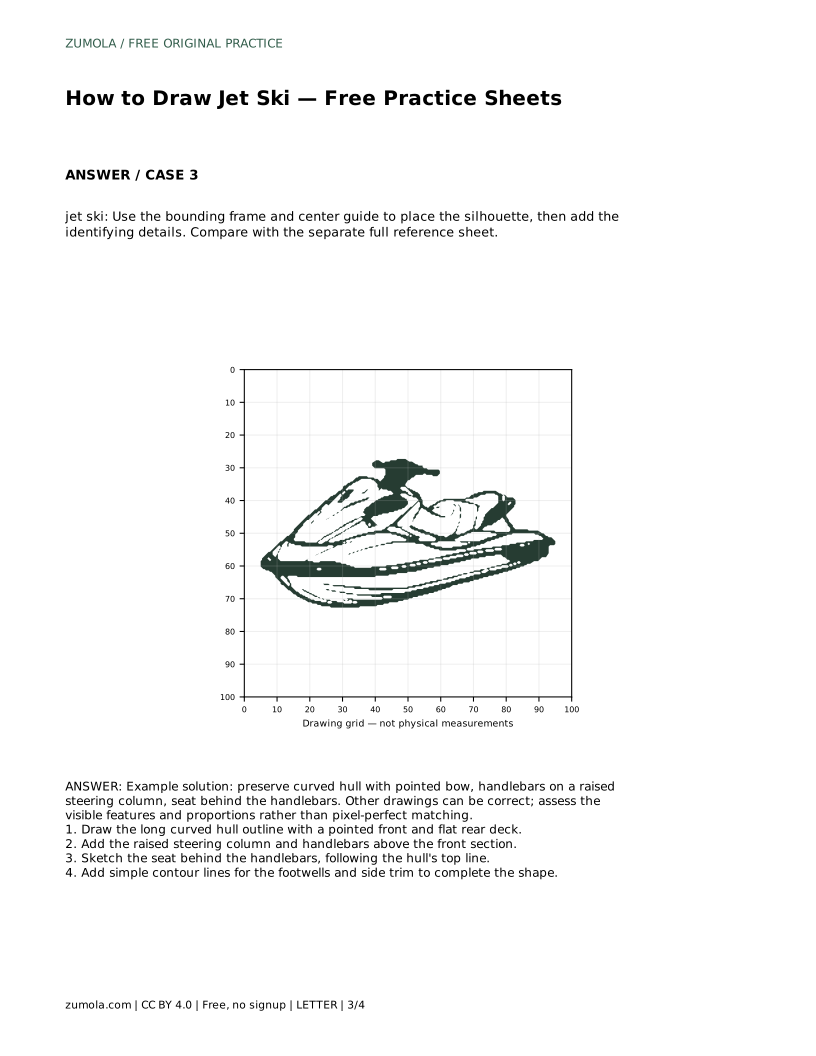
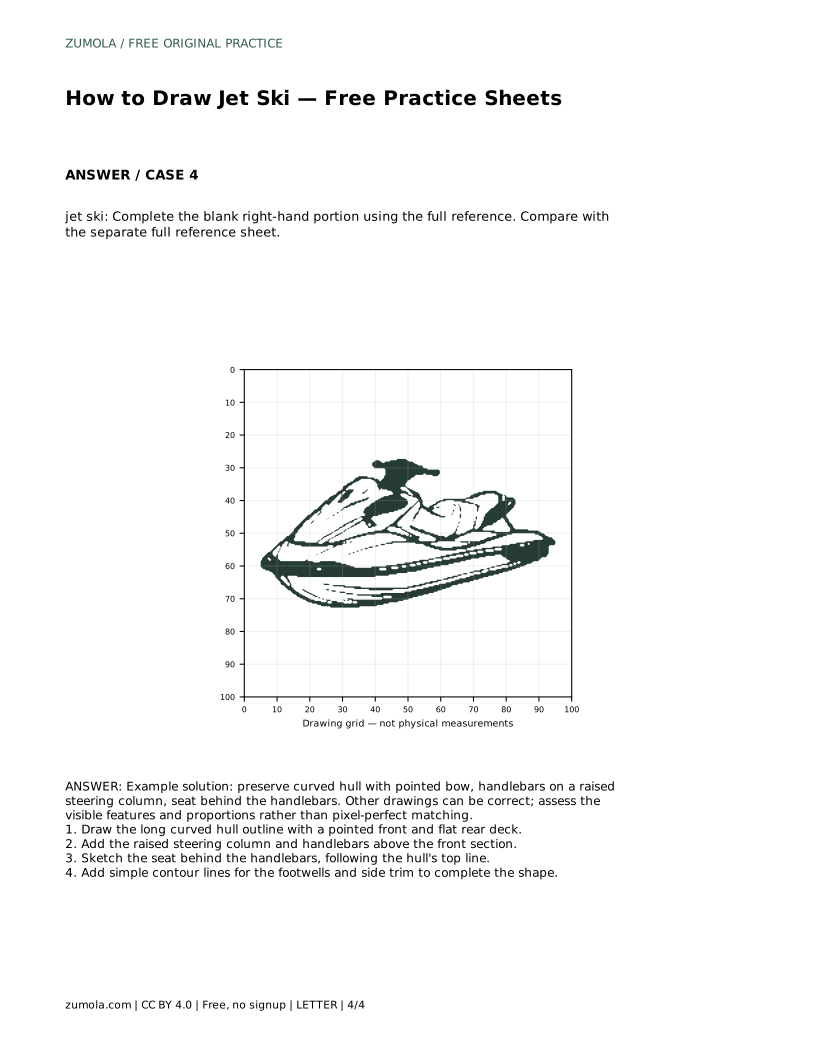
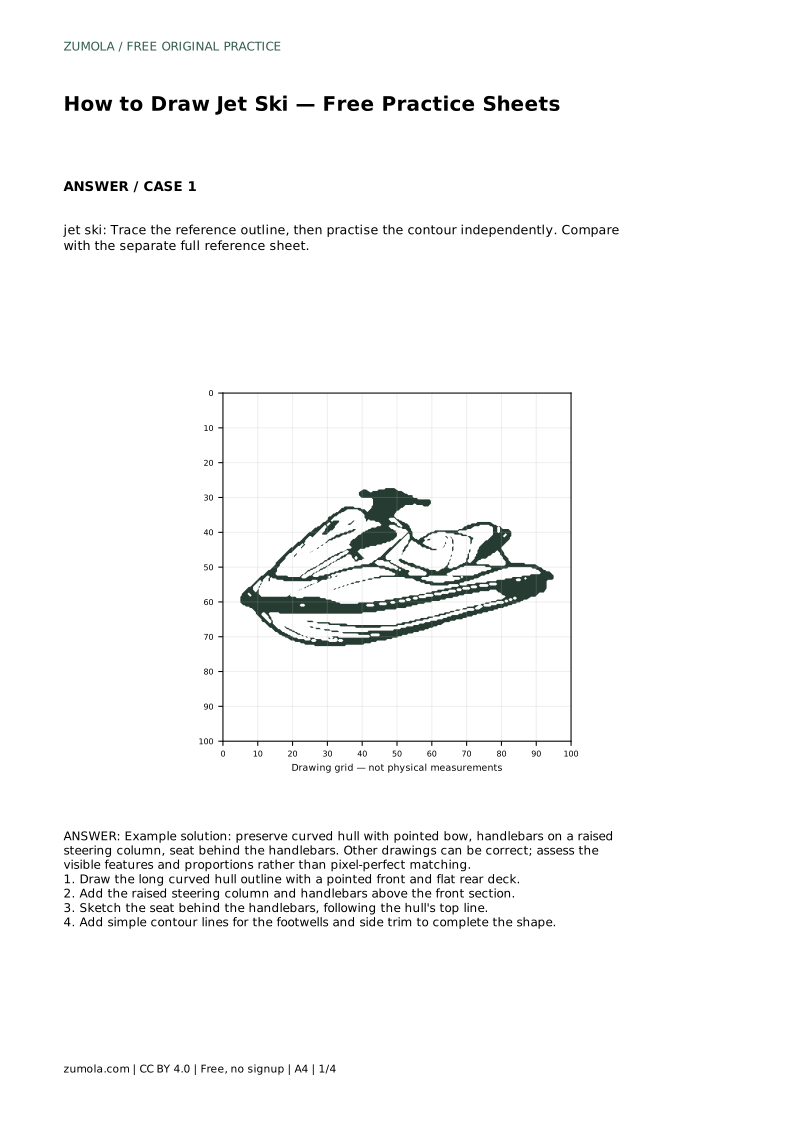
A jet ski is mostly one long curved shape with a few identifying parts stacked above it. This page shows how to build that shape in order: hull first, then steering column and handlebars, then the seat, then simple contour lines. The practice sheets let you trace the outline, copy it onto a grid, place it inside a bounding frame, or complete a partly blank drawing. Each method trains the same skill: keeping the hull curve and the position of the handlebars and seat consistent.
The hull carries the whole drawing. Treat it as a long, low shape that curves gently along the bottom, rises to a pointed bow at the front, and ends in a flatter rear deck. Draw the top line and the bottom line as separate curves, then close the shape at the bow and the rear. Keep the hull longer than it is tall; a jet ski reads as a stretched form, not a boxy one.
Once the hull is closed, check that the bow points clearly forward and the rear deck stays comparatively flat. If the hull looks like a symmetrical oval, the front and back have lost their different roles. Adjust the bow to a sharper point before adding anything above the deck.
The raised steering column sits above the front section of the hull, not at the very tip of the bow. Draw it as a short upright form rising from the deck, then place the handlebars across its top. Handlebars are wider than the column and usually angle slightly back toward the rider.
The seat belongs behind the handlebars, following the top line of the hull. Sketch it as a low, padded form rather than a tall block. Leave visible deck space between the handlebars and the seat so the layout stays readable. When these three parts are in place, the drawing already identifies itself as a jet ski.
Contour lines complete the shape without turning it into a diagram. Add a shallow line along each side of the deck to suggest the footwells where a rider stands. A simple line along the hull side can suggest trim or a rub rail. Keep these lines few and light; they describe the surface, not every mechanical part.
This is a drawing of a watercraft's visible form, not an anatomical or engineering study. You are not required to show the engine, the jet nozzle, or internal structure. The goal is a recognizable silhouette with the hull, steering column, handlebars, and seat in believable positions.
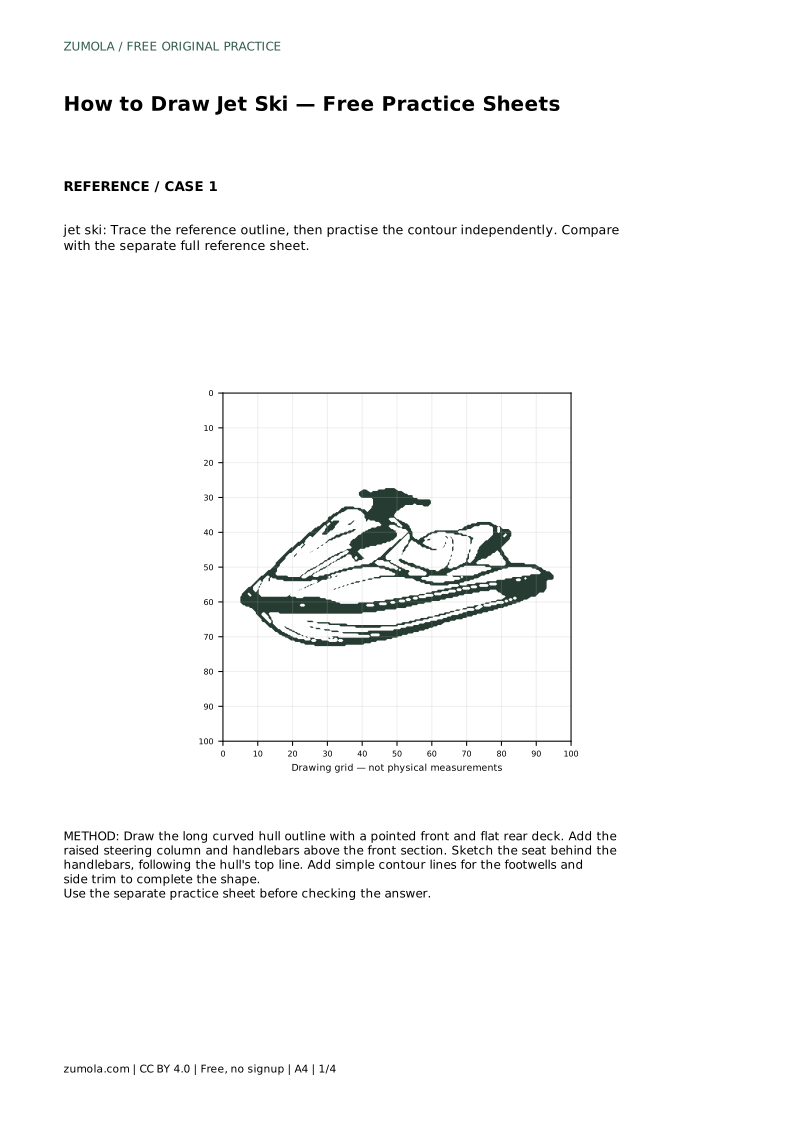
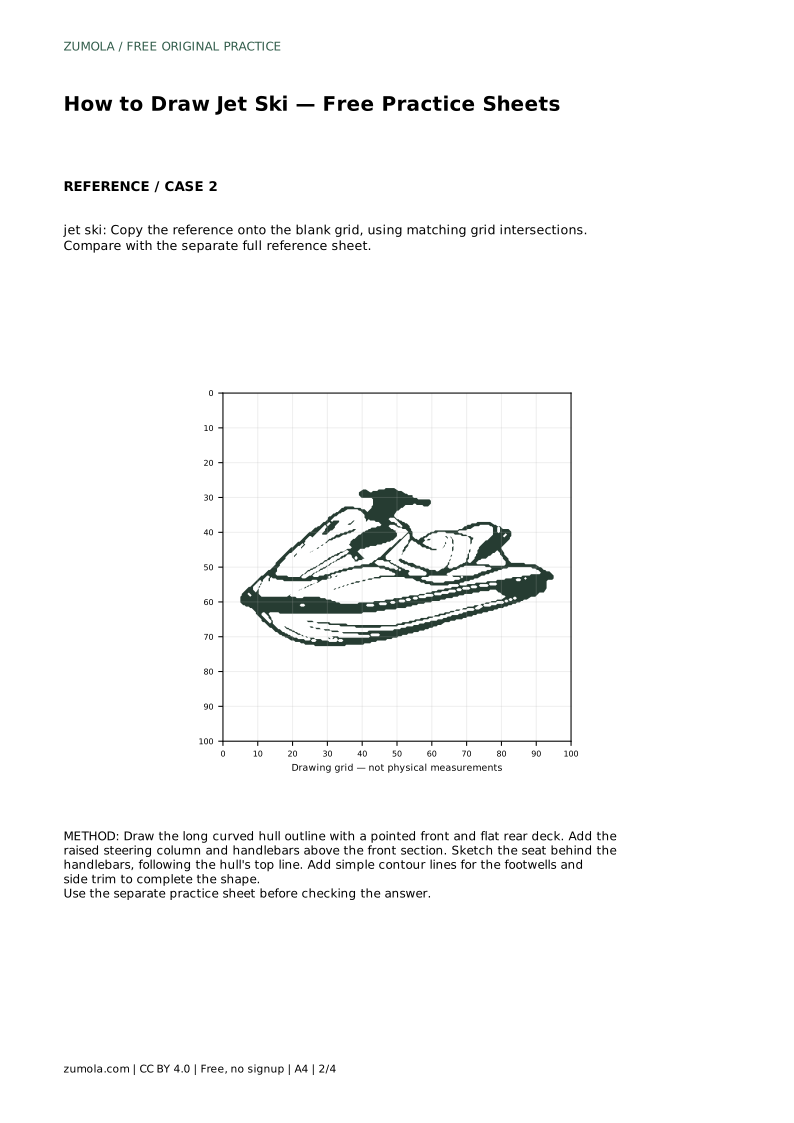
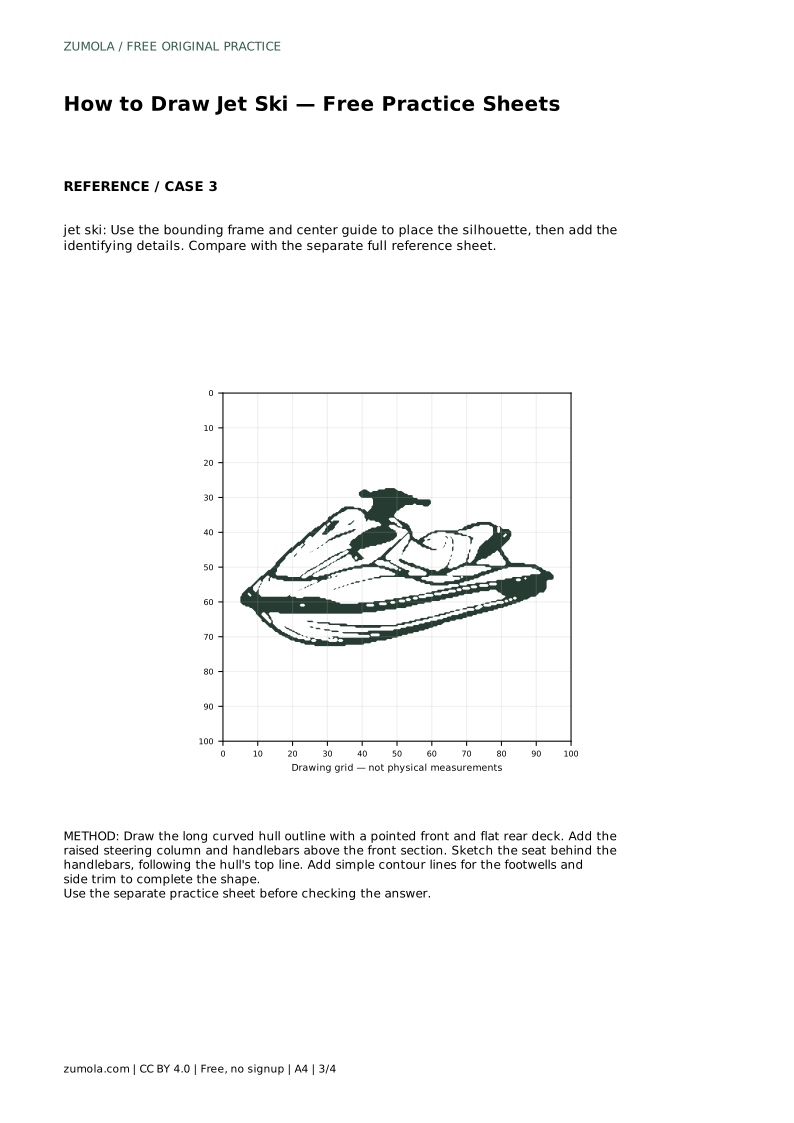
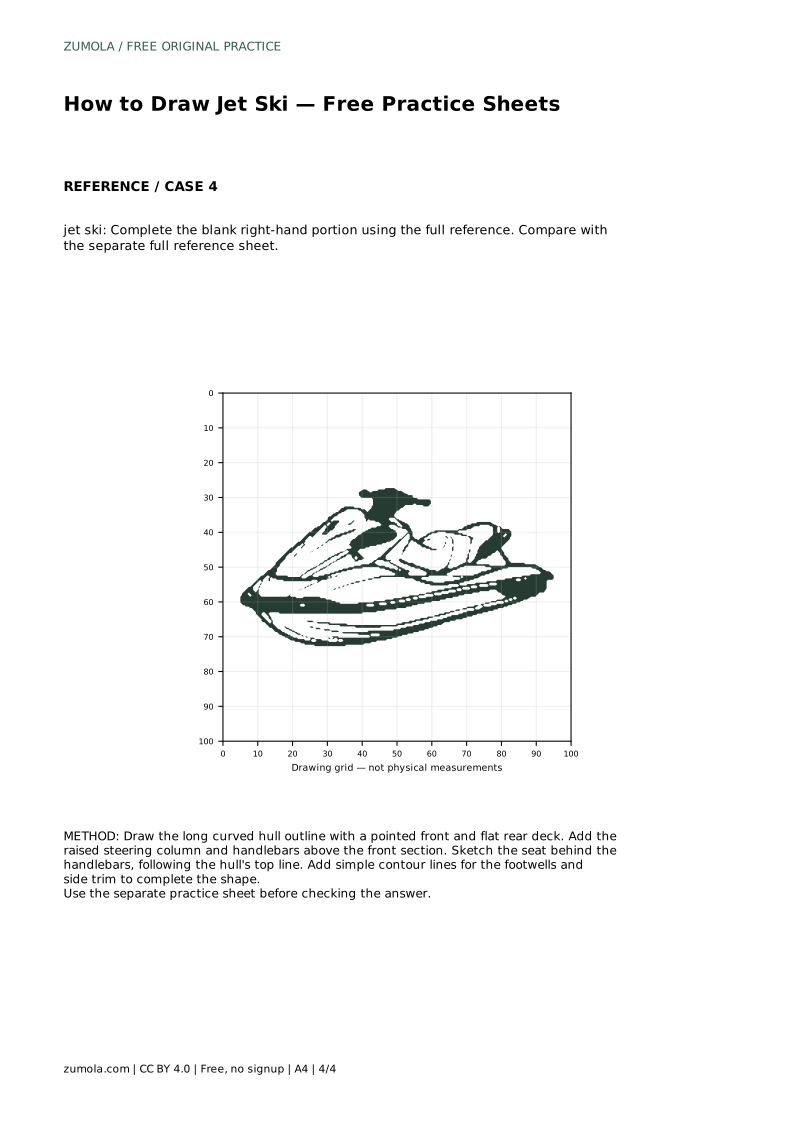
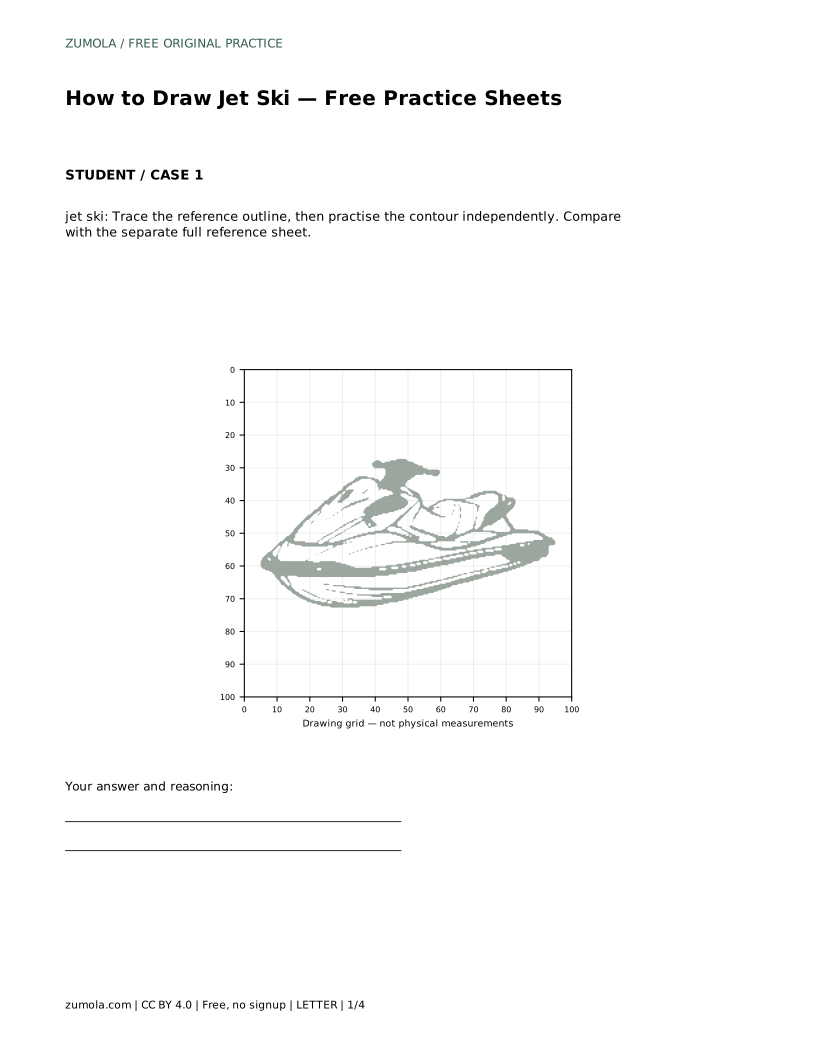
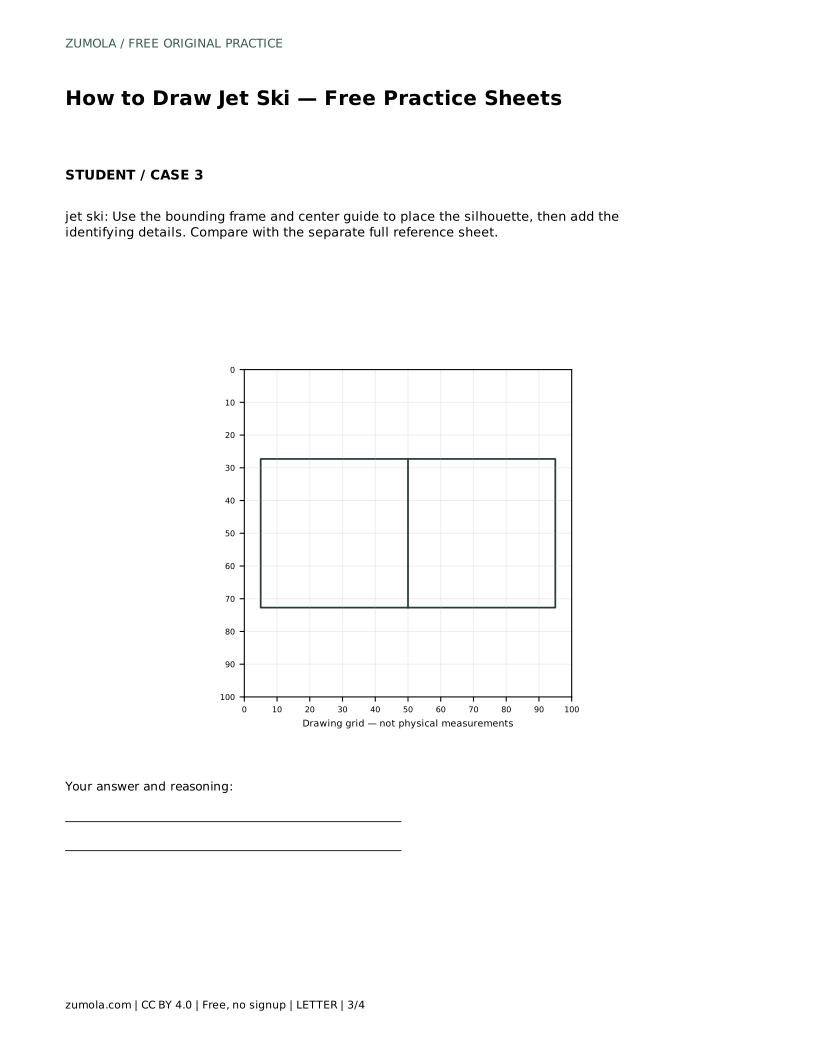
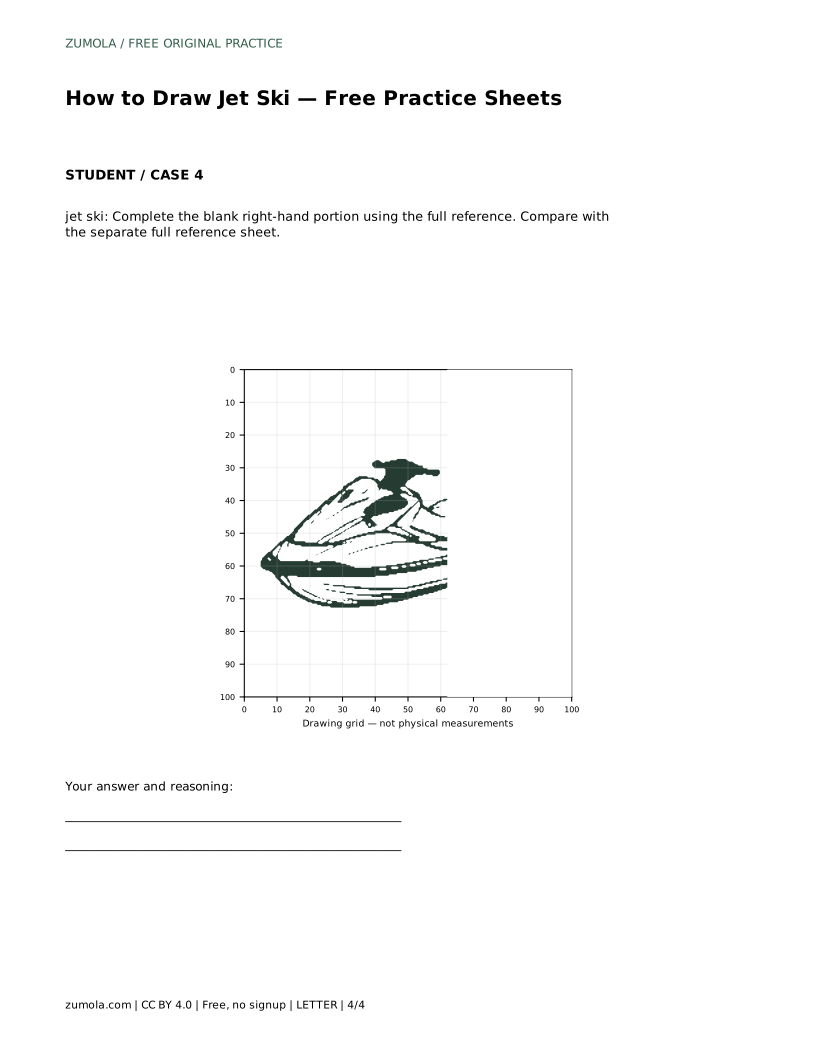
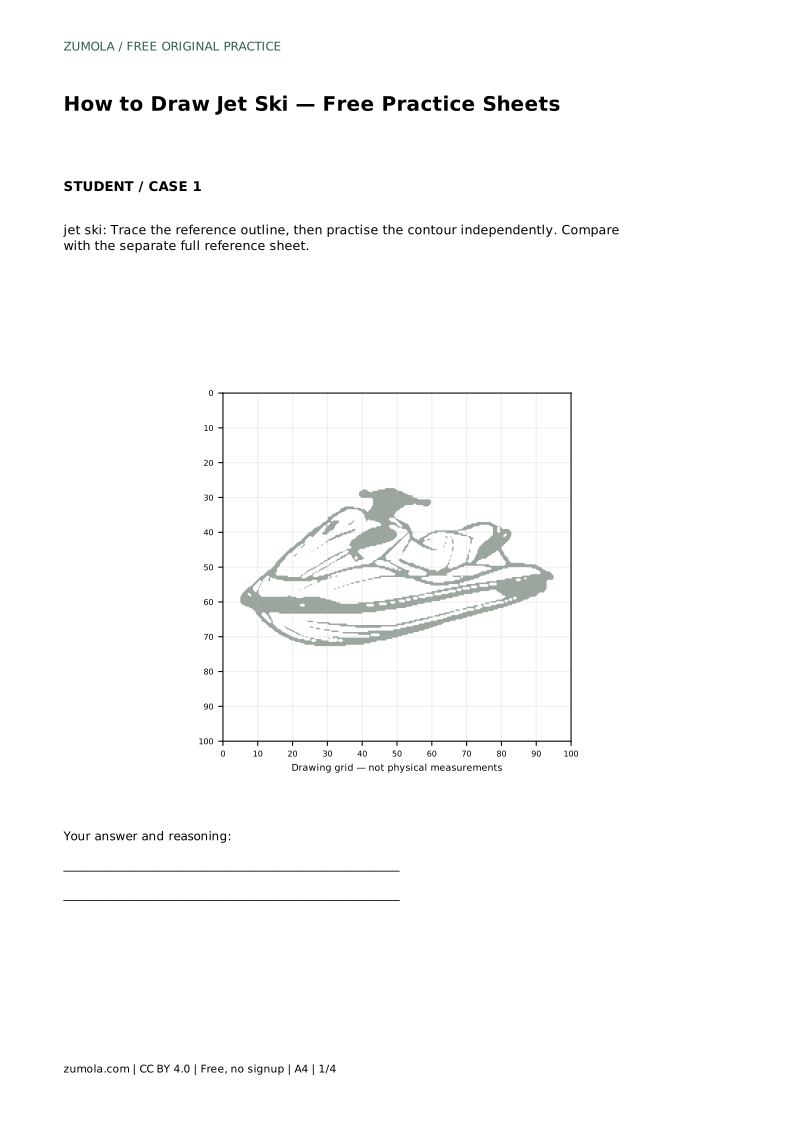
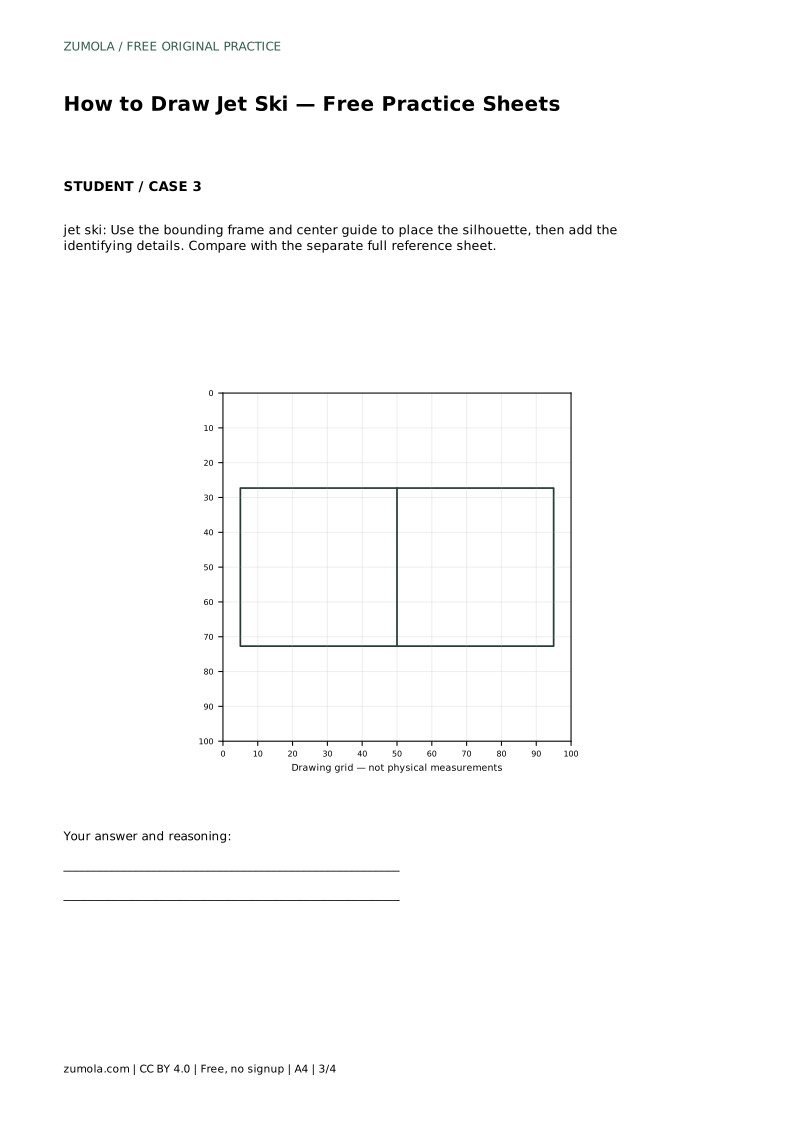
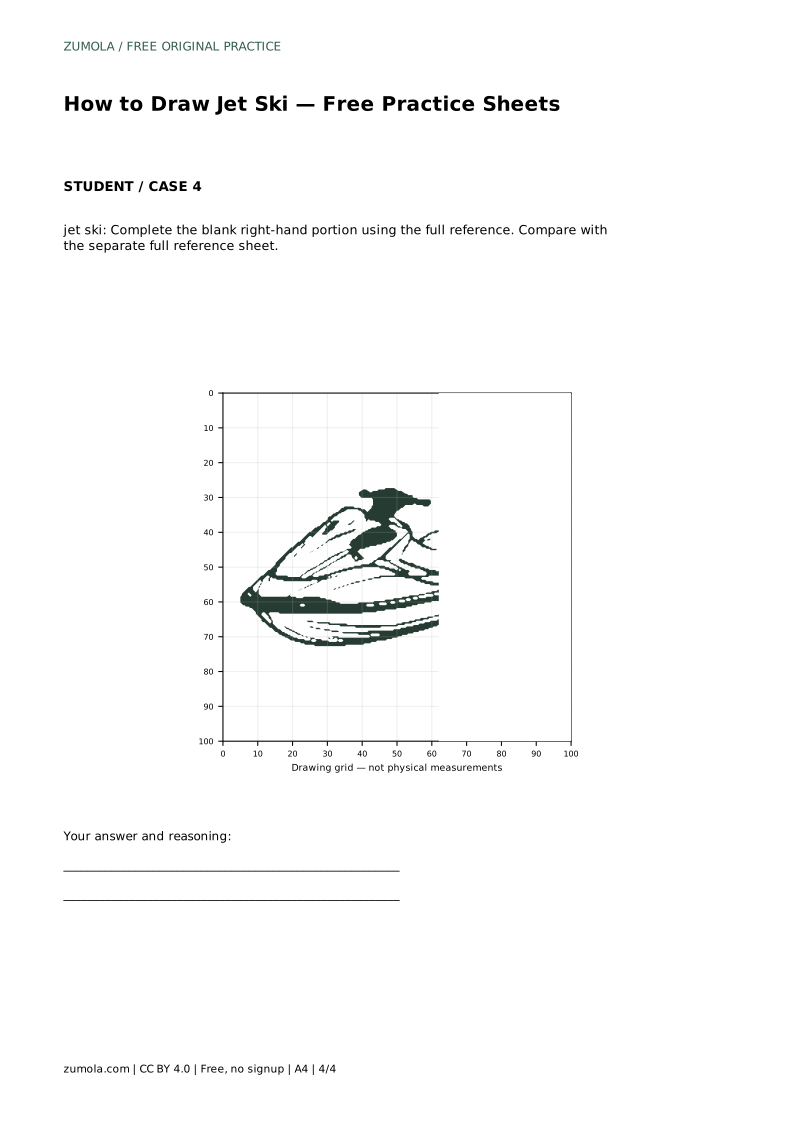
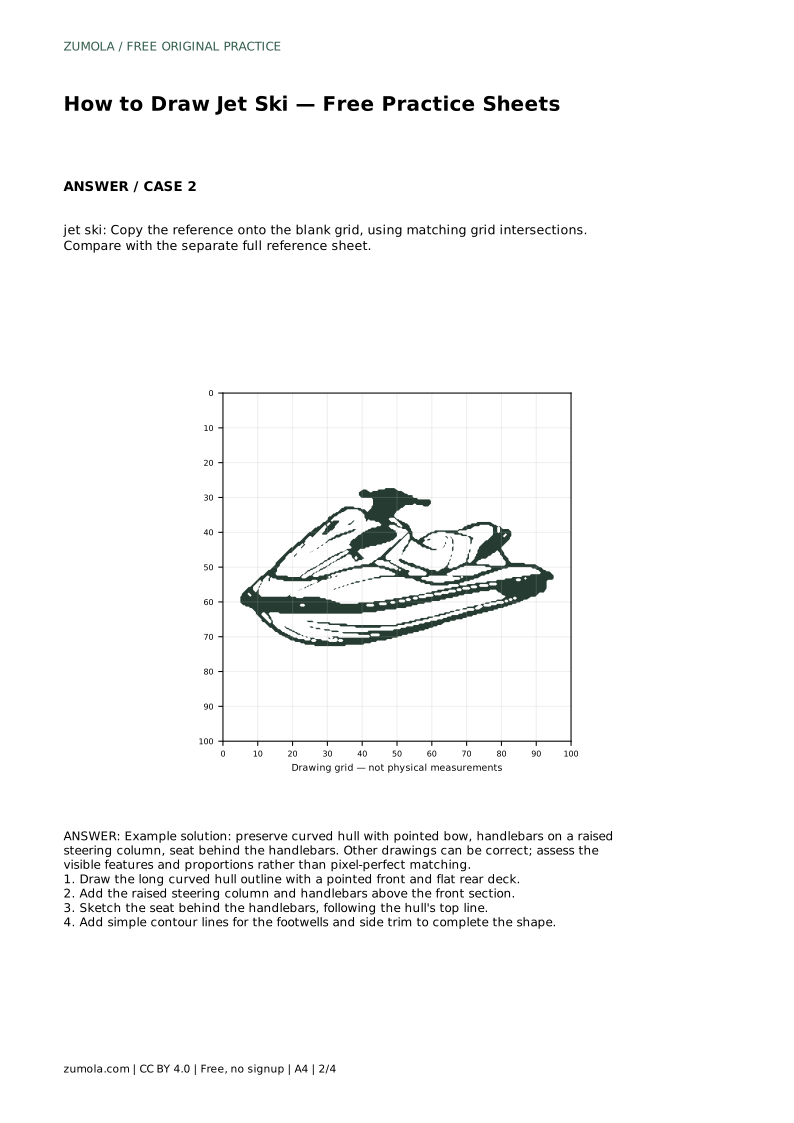
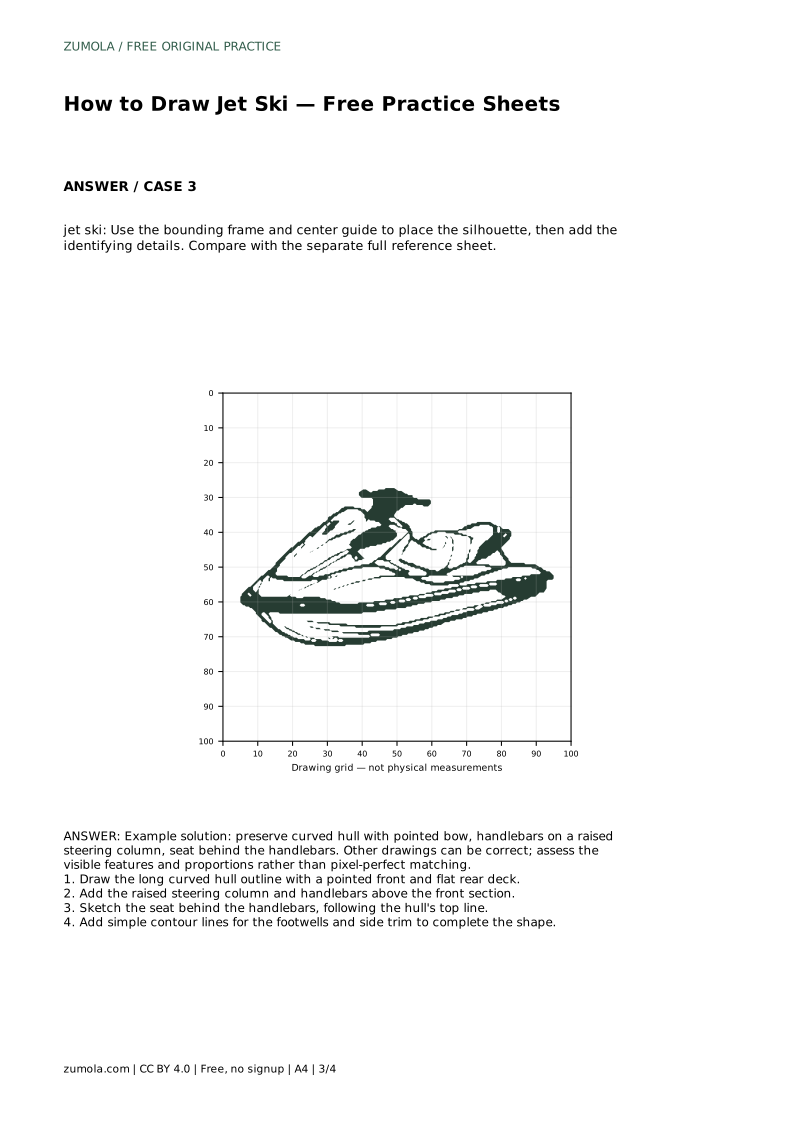
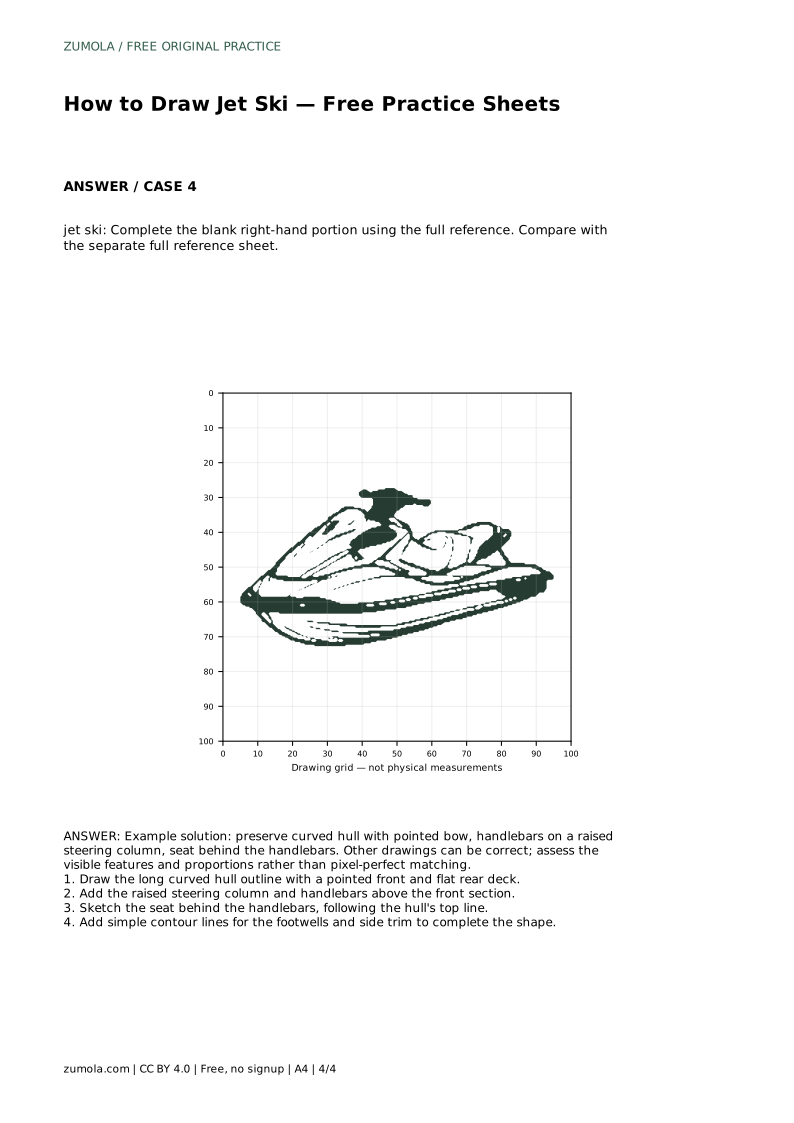
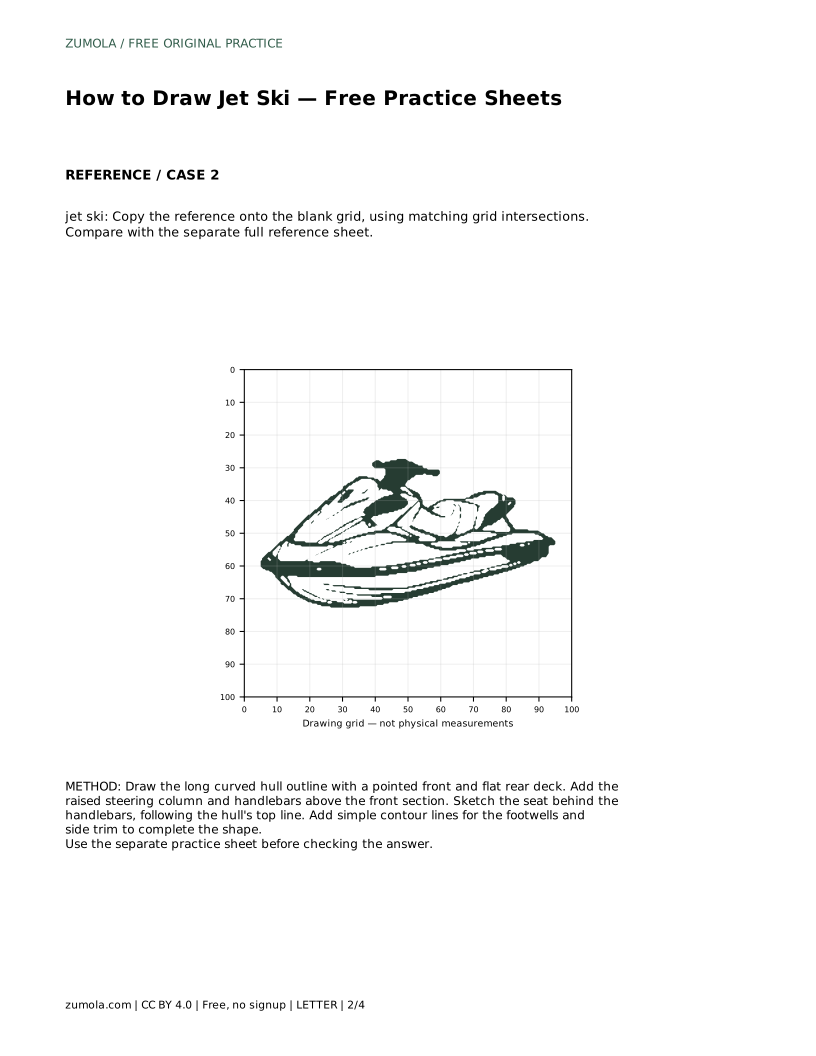
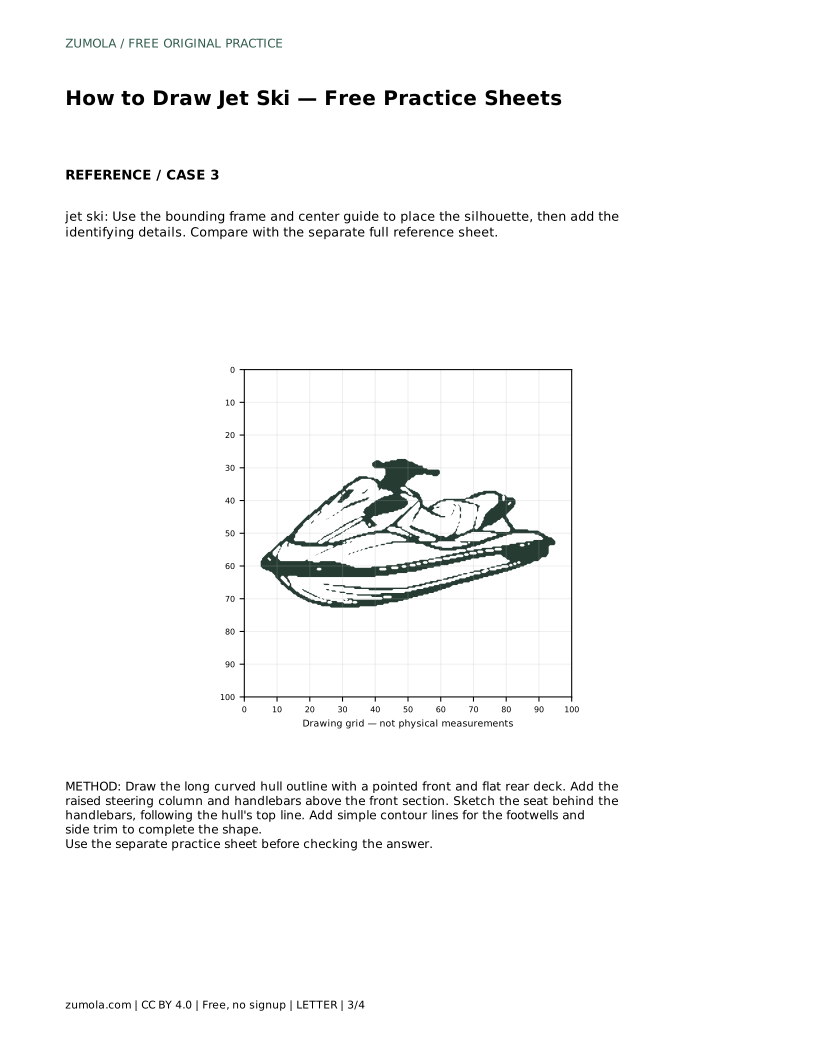
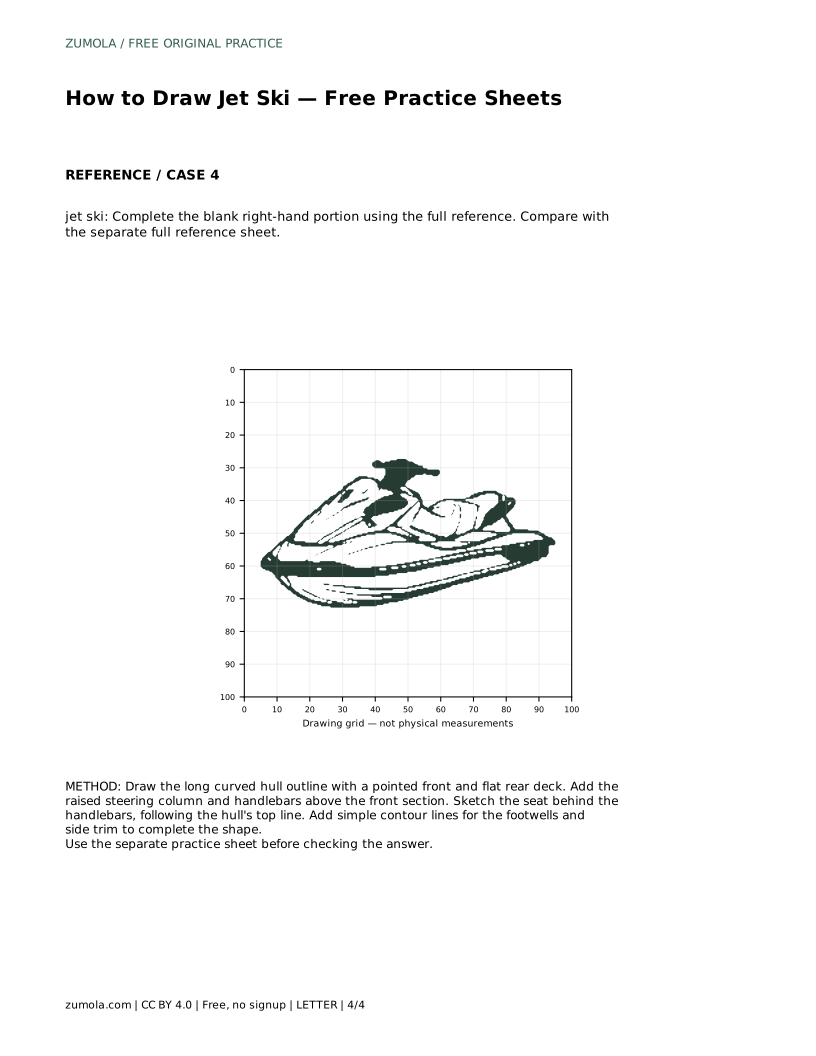
The tracing sheet asks you to follow the reference outline first, then repeat the contour without it. The grid sheet asks you to copy the reference onto a blank grid by matching intersections, which trains placement rather than memory. The bounding-frame sheet gives you a center guide so you can position the silhouette before adding details. The partial sheet leaves the right-hand portion blank so you complete it from the full reference.
Each variant tests a slightly different skill, so do not expect identical results. Use the full reference sheet as the comparison point after each attempt, and judge the visible features and proportions rather than pixel-perfect matching.
jet ski: Trace the reference outline, then practise the contour independently. Compare with the separate full reference sheet.
Example solution: preserve curved hull with pointed bow, handlebars on a raised steering column, seat behind the handlebars. Other drawings can be correct; assess the visible features and proportions rather than pixel-perfect matching. Draw the long curved hull outline with a pointed front and flat rear deck. Add the raised steering column and handlebars above the front section. Sketch the seat behind the handlebars, following the hull's top line. Add simple contour lines for the footwells and side trim to complete the shape.
No. Several drawings can be correct. Assess whether the curved hull, pointed bow, raised steering column with handlebars, and seat behind the handlebars are present and in believable proportion.
Start with the tracing sheet if you are new to the shape, since it lets you follow the outline before repeating it independently. Move to the grid, frame, or partial sheets once the basic contour feels familiar.
No. This exercise focuses on the visible outer form. The hull, steering column, handlebars, seat, footwells, and side trim are enough for a recognizable jet ski.
All drawing practice · Free coordinate paper
Original resources · CC BY 4.0 · Free for personal and classroom use with attribution.