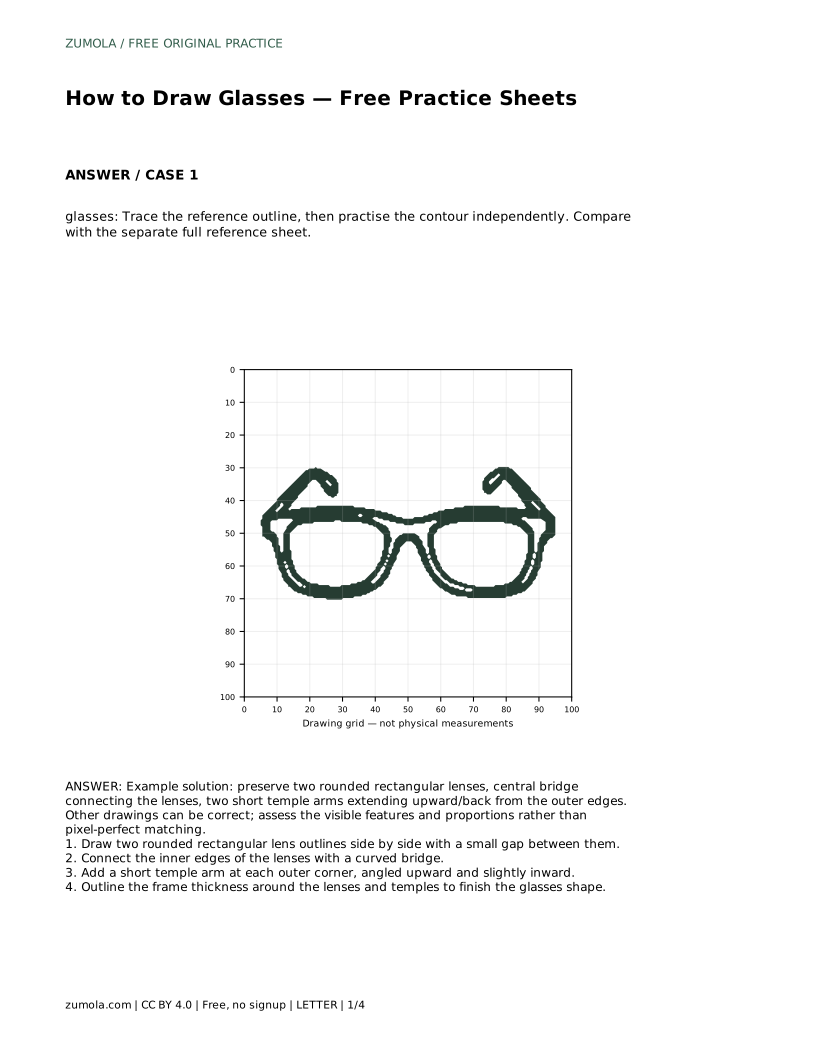
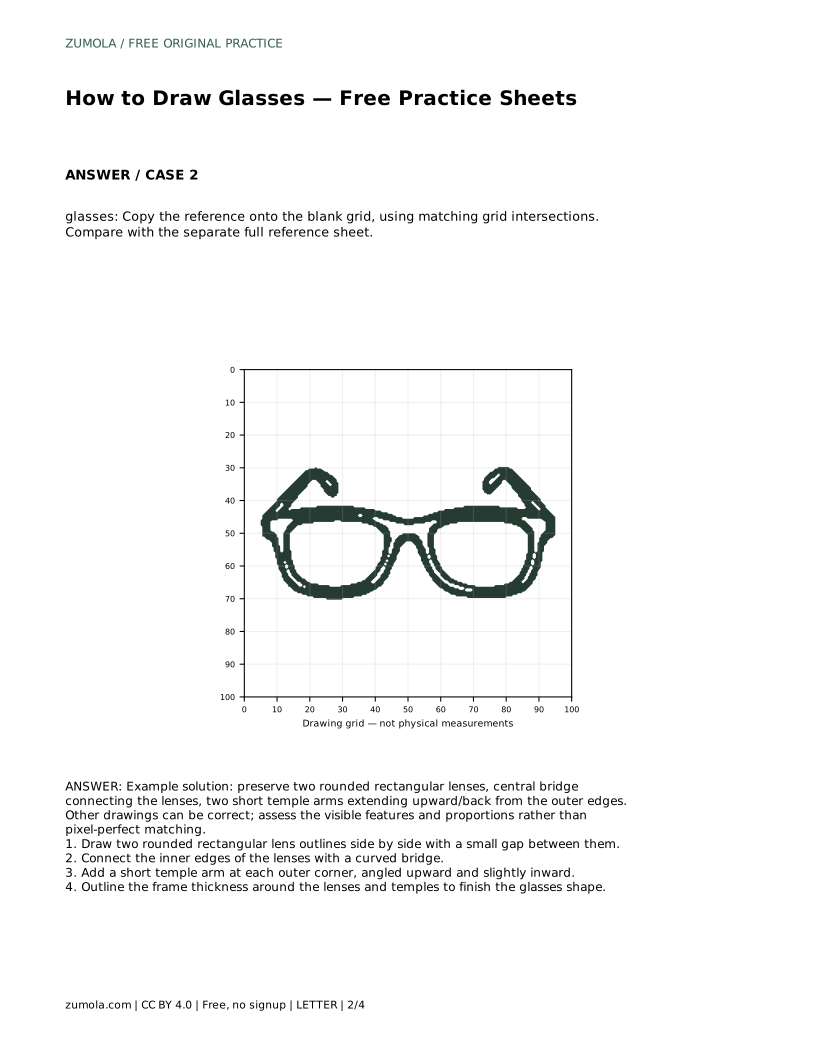
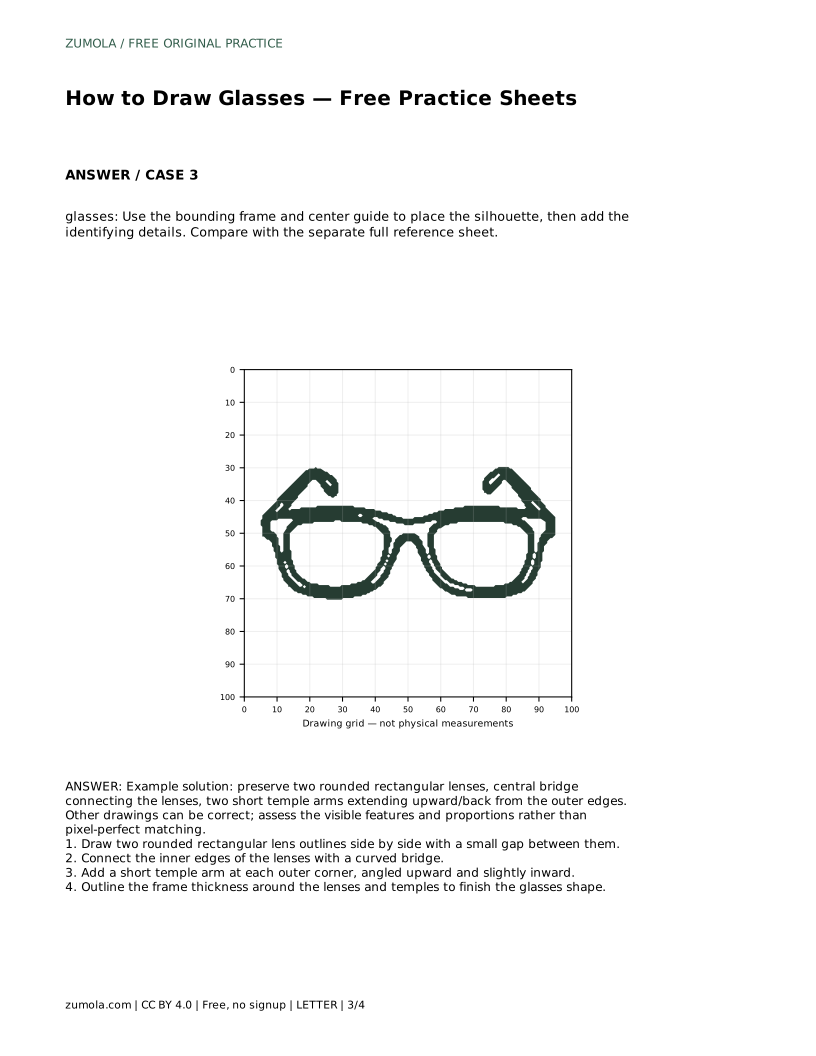
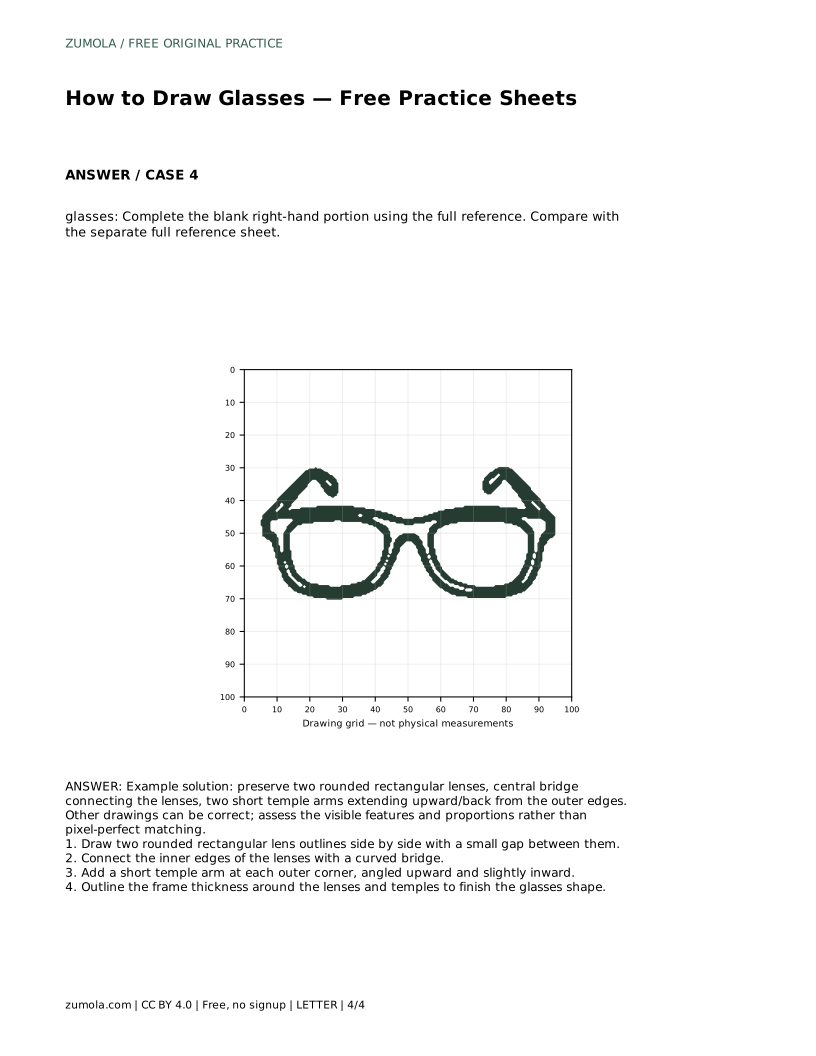
Reference diagrams
LETTER · Download PDF
A4 · Download PDF
Free original resources
Learn to draw glasses by placing two lenses, a bridge, and temple arms in proportion. Use tracing, grid, and completion sheets to practise the same contour.
Four original cases, with reference diagrams, practice sheets and worked answers. Everything is free; no signup required.
LETTER · Download PDF
A4 · Download PDF
LETTER · Download PDF
A4 · Download PDF
LETTER · Download PDF
A4 · Download PDF
Use A4 or US Letter to match your printer. Use the stated values and conditions to solve each exercise; diagrams are not physical measuring rulers.
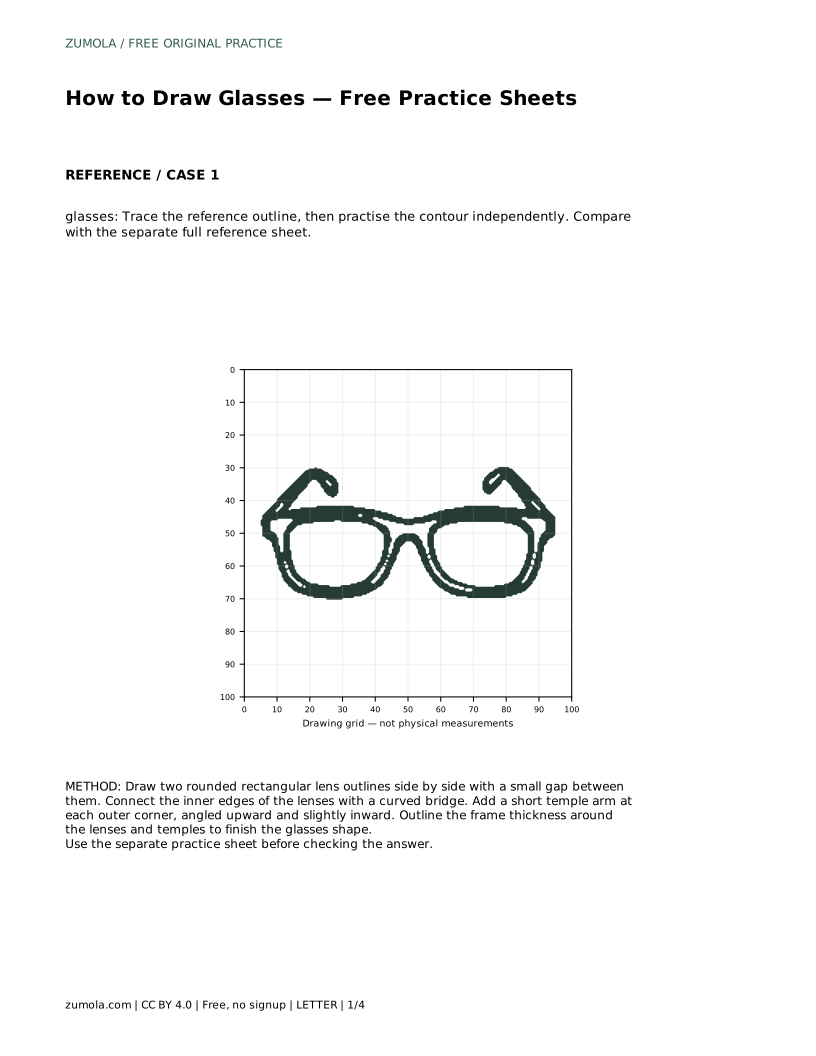
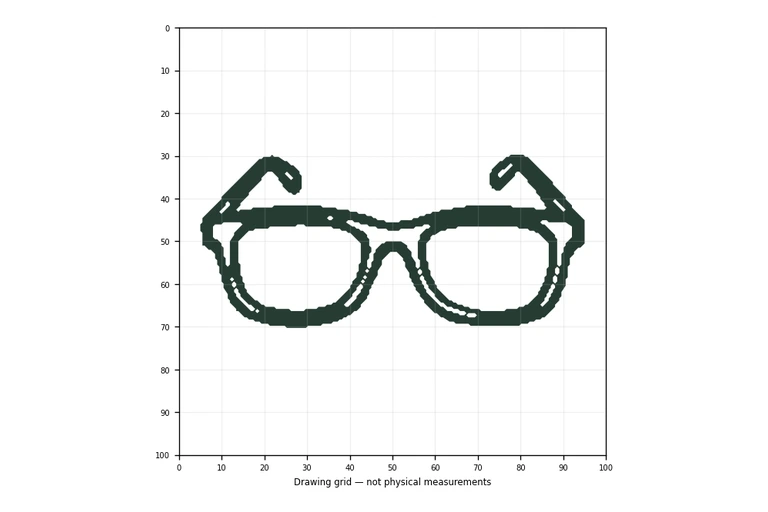
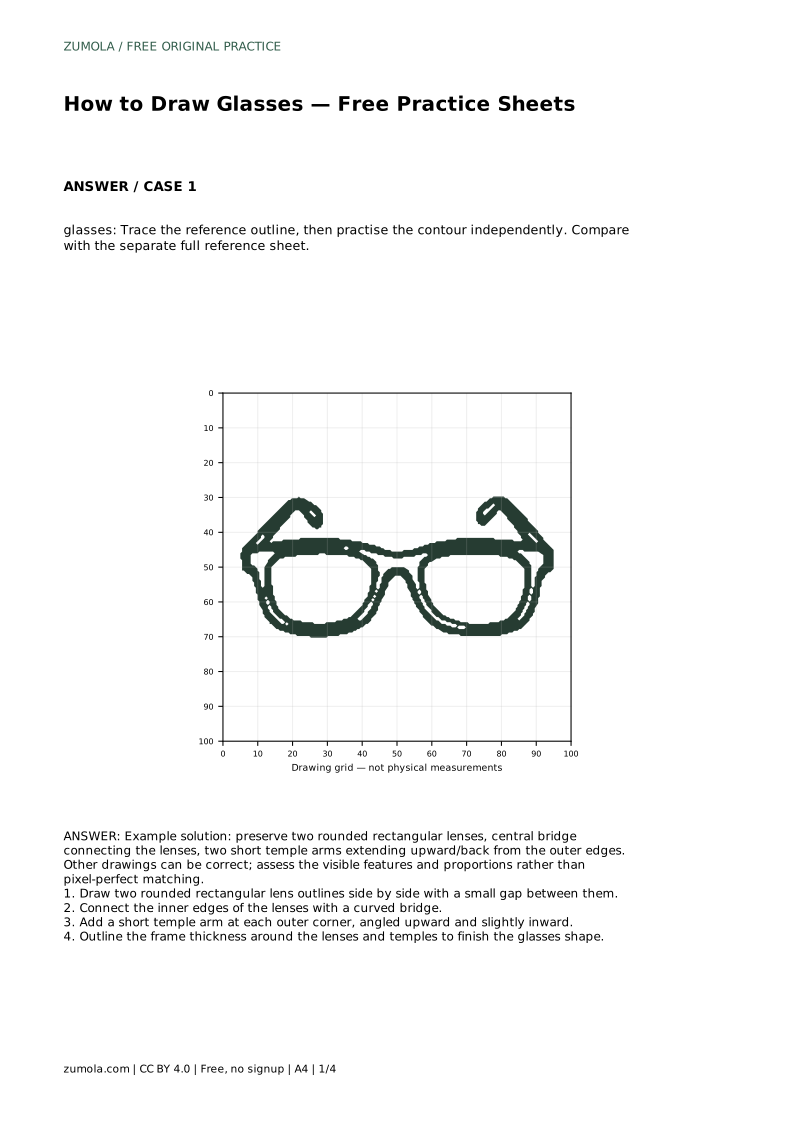
Glasses are a simple subject with a clear structure: two lenses, a bridge between them, and a temple arm at each outer edge. That makes them useful for practising placement and proportion. This guide explains how to build the shape step by step, then how to use tracing, grid, and partial-reference sheets to strengthen the same skill. Any drawing that keeps the visible features and sensible proportions can be correct.
Start with the lenses, because they set the overall width. Draw two rounded rectangular outlines side by side, leaving a small gap between them. Keep both lenses similar in size and height so the pair reads as one object rather than two separate shapes.
Next, connect the inner edges with a curved bridge. The bridge should sit between the lenses, not overlap them. Then add a short temple arm at each outer corner, angled upward and slightly inward. Finally, outline the frame thickness around the lenses and along the temples so the glasses look like a solid frame rather than thin lines.
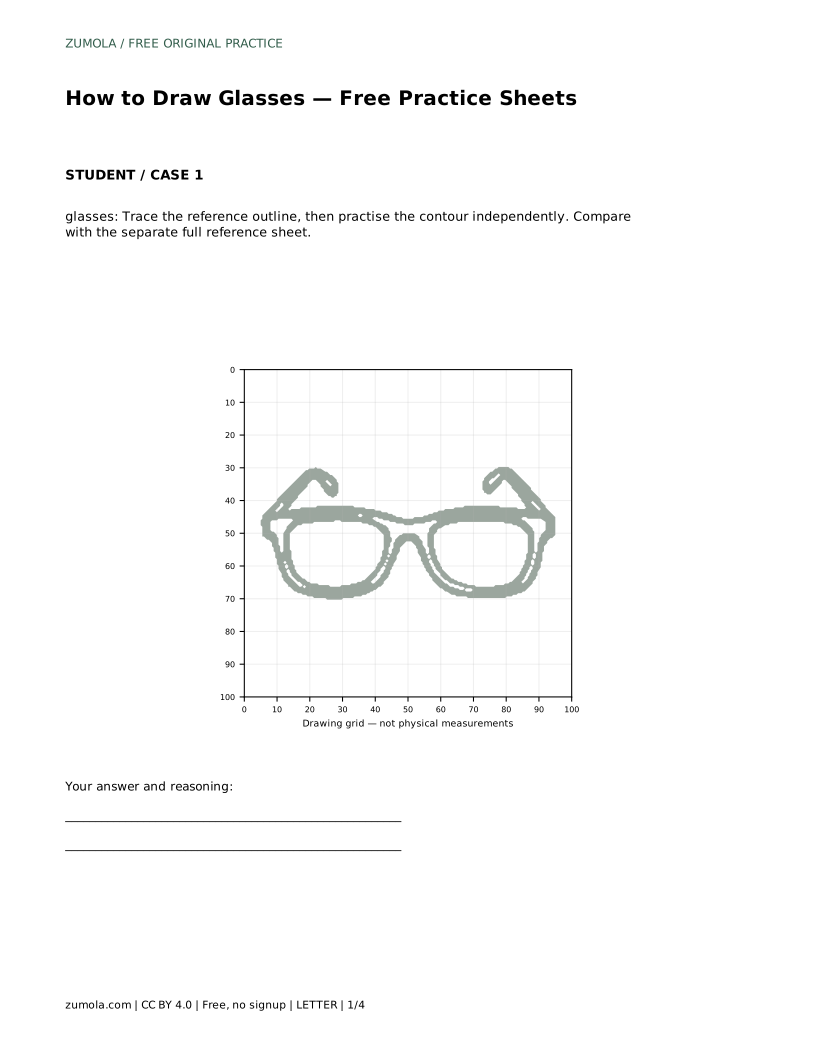
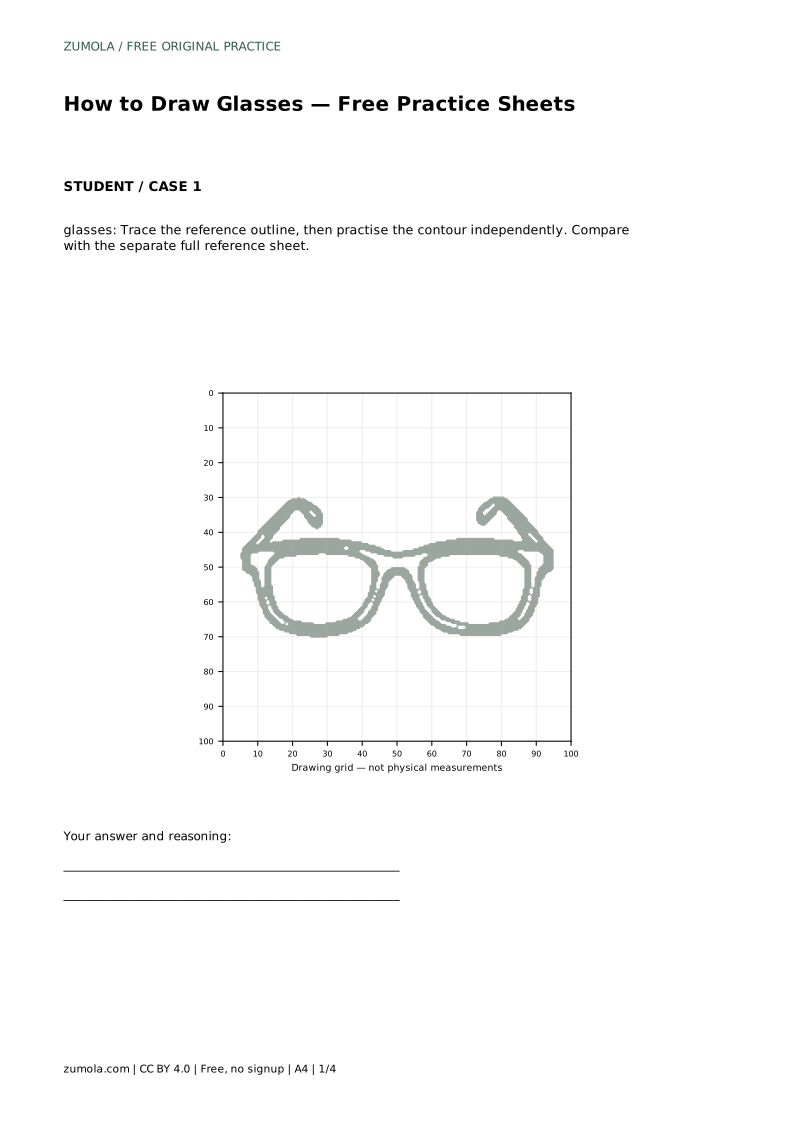
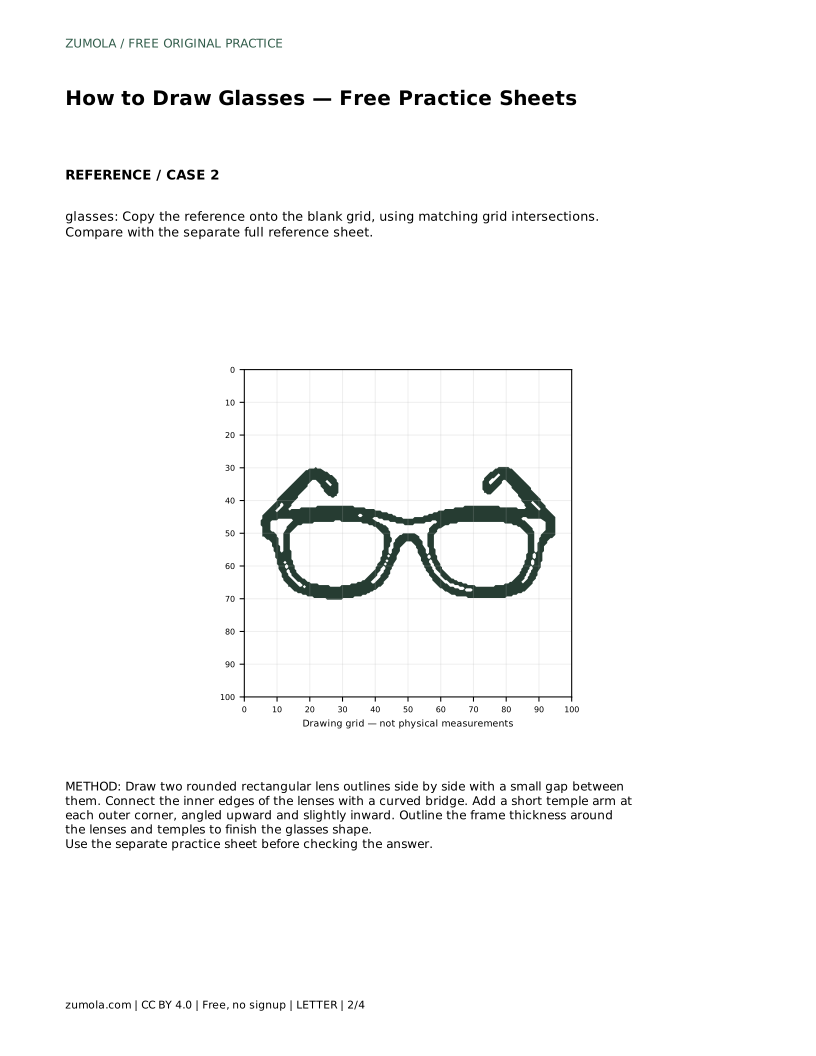
The tracing sheet asks you to follow the reference outline first, then repeat the contour without it. Compare your free drawing with the separate full reference sheet, not with your traced line. This separates copying from recalling the shape.
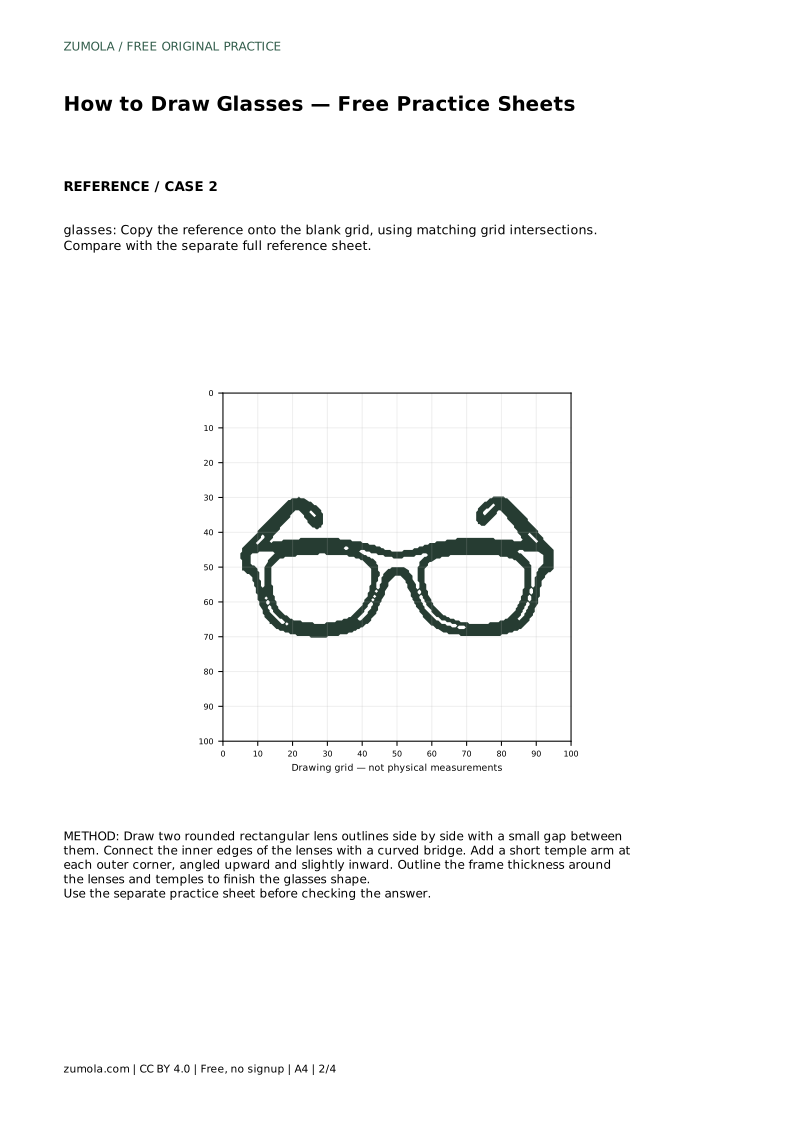
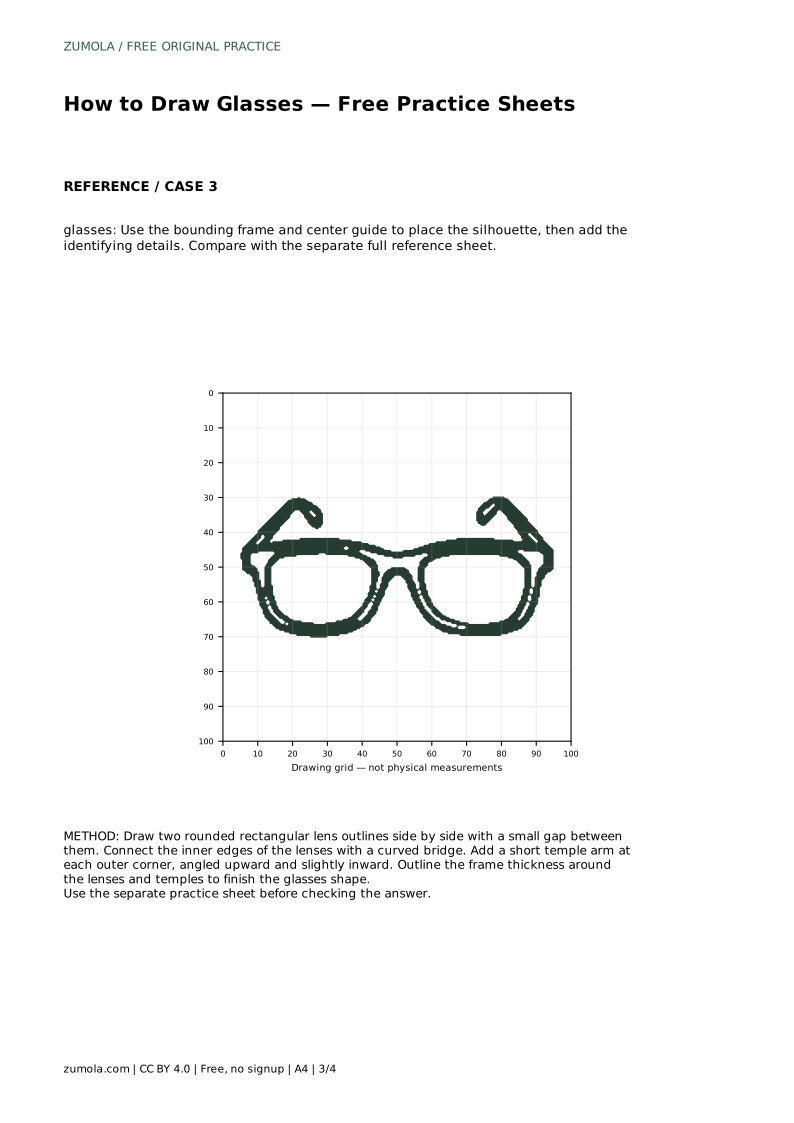
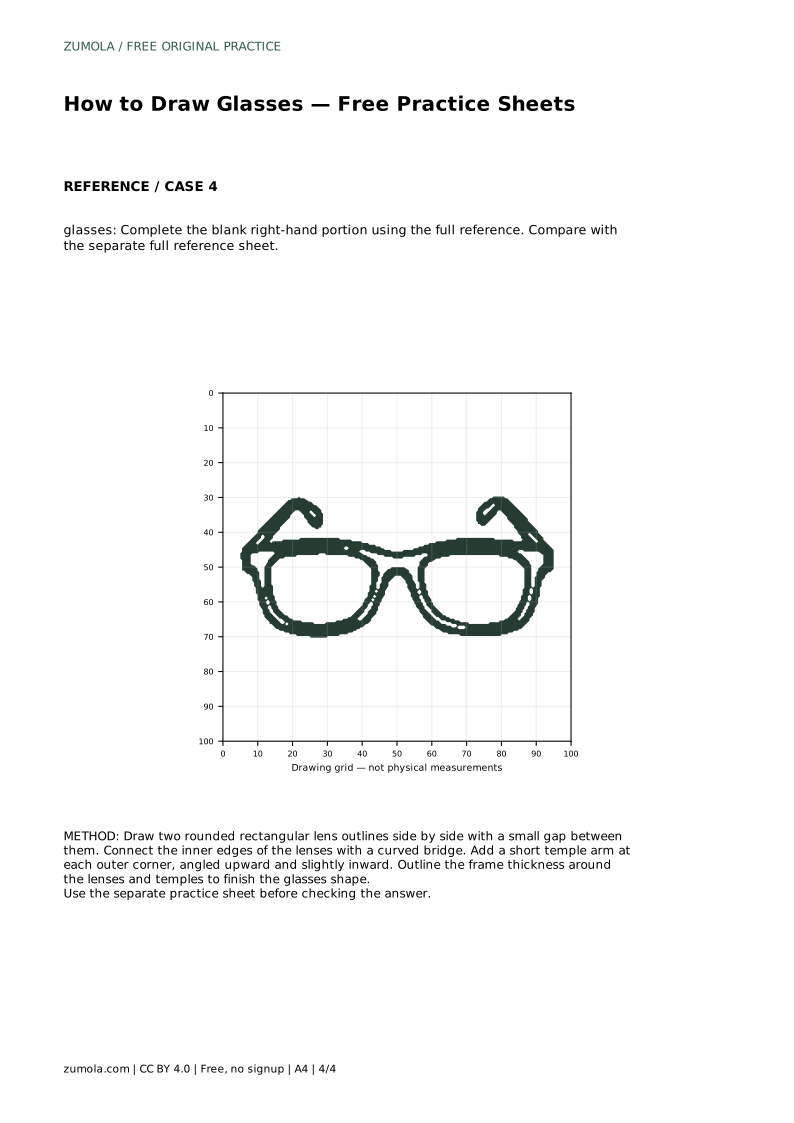
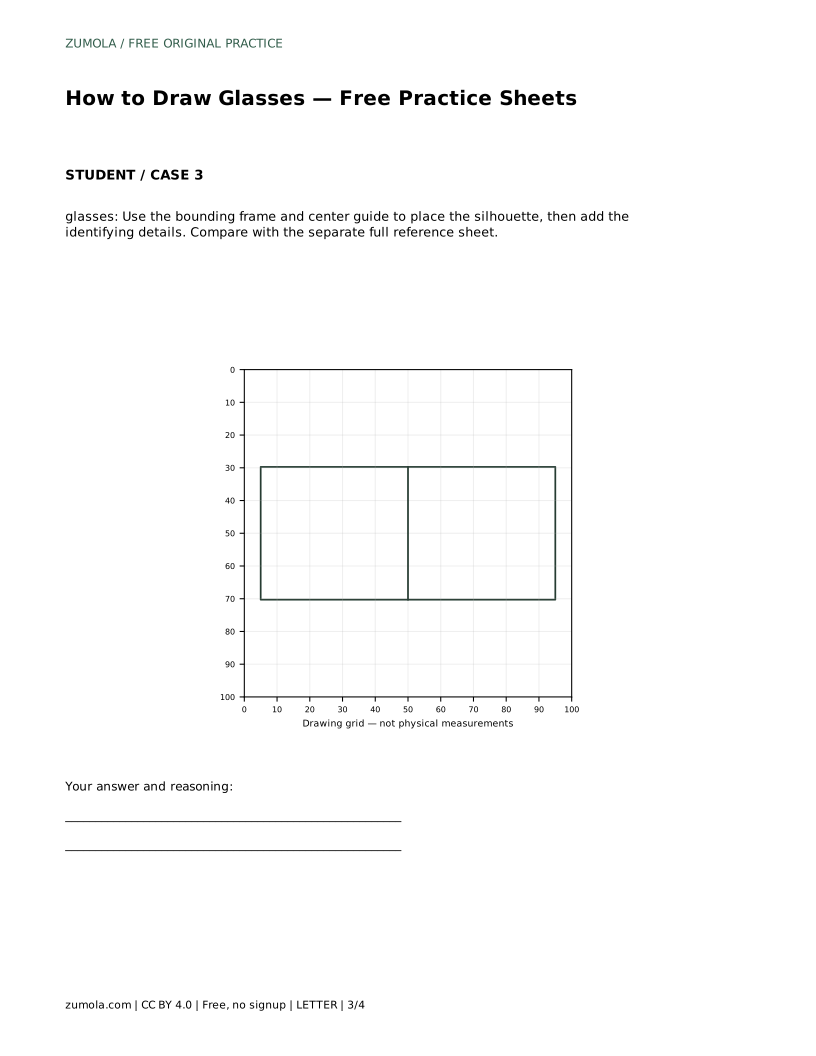
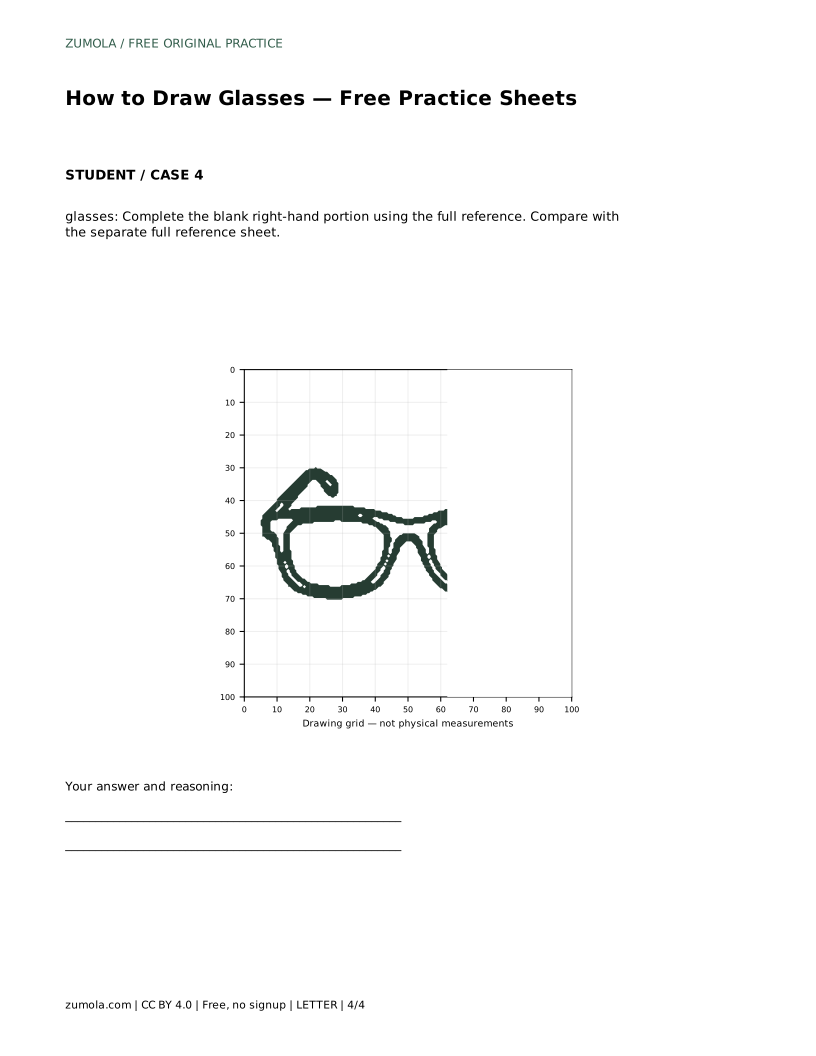
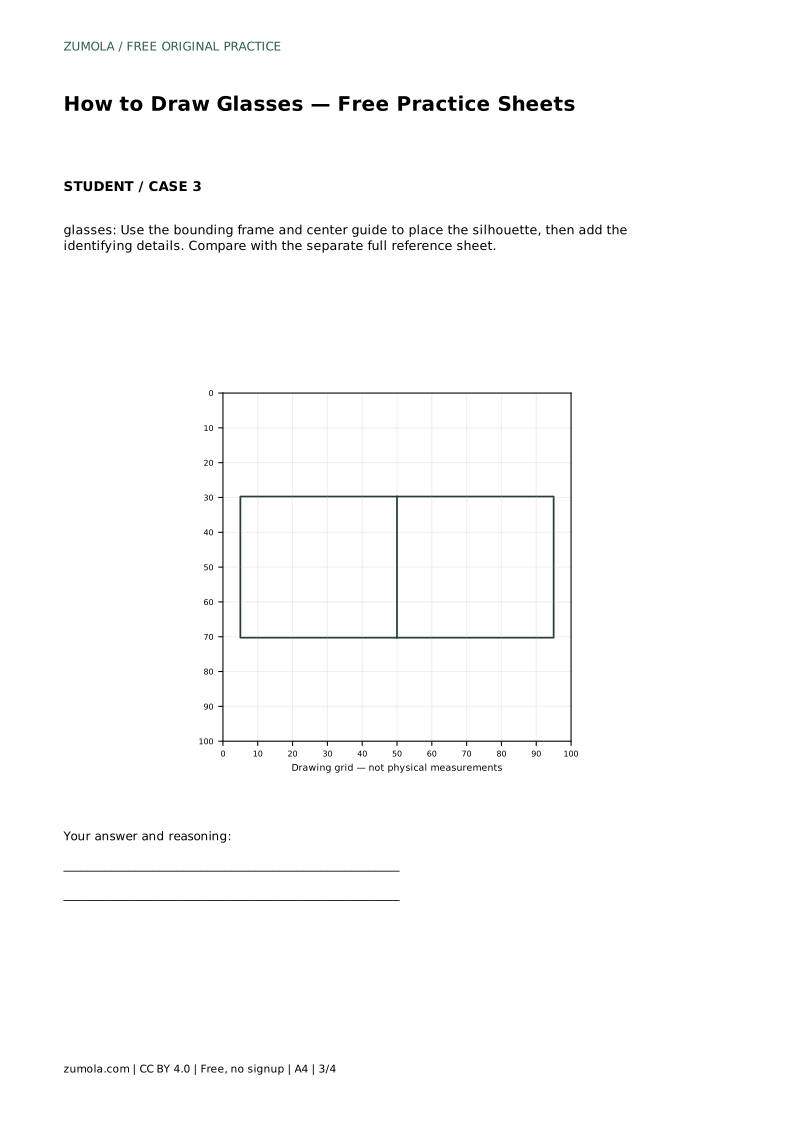
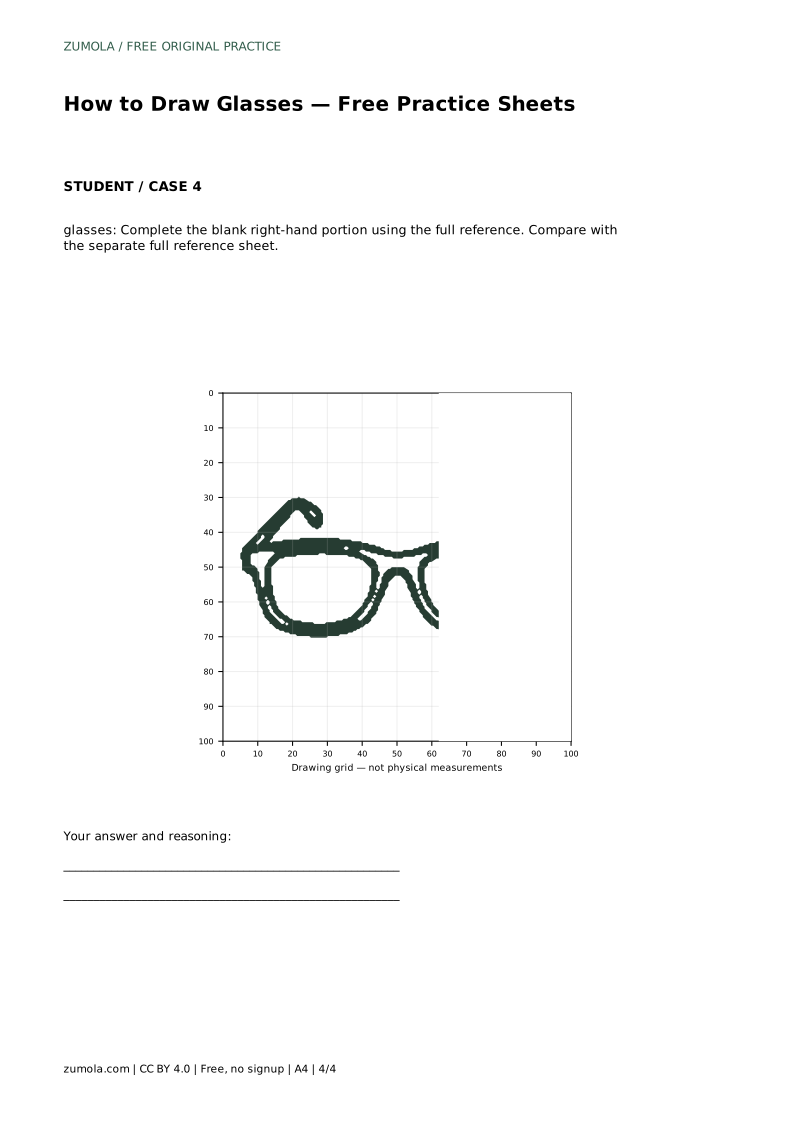
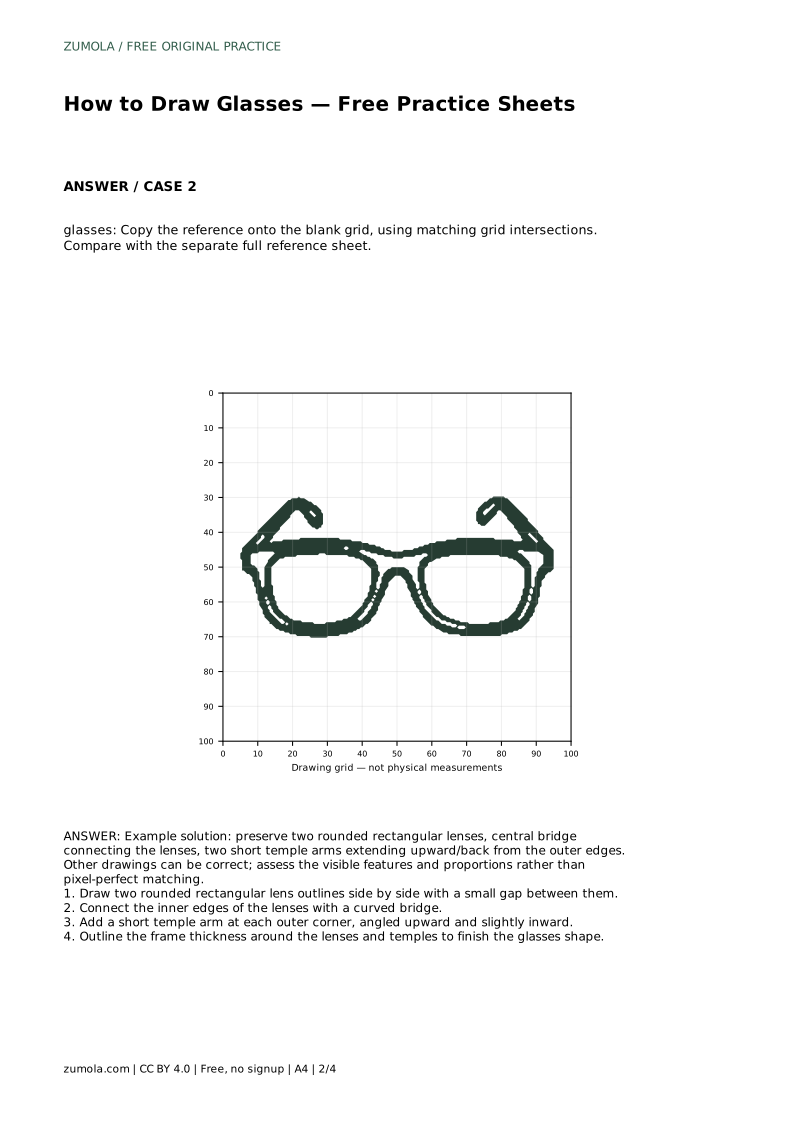
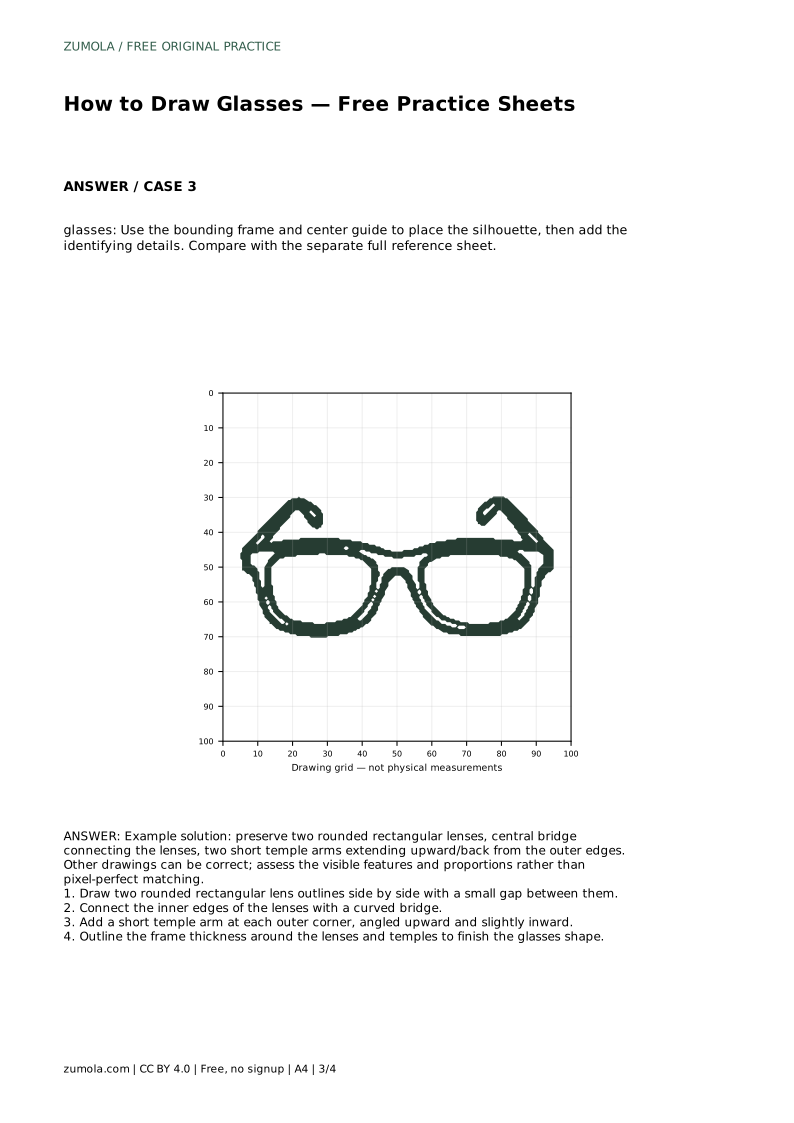
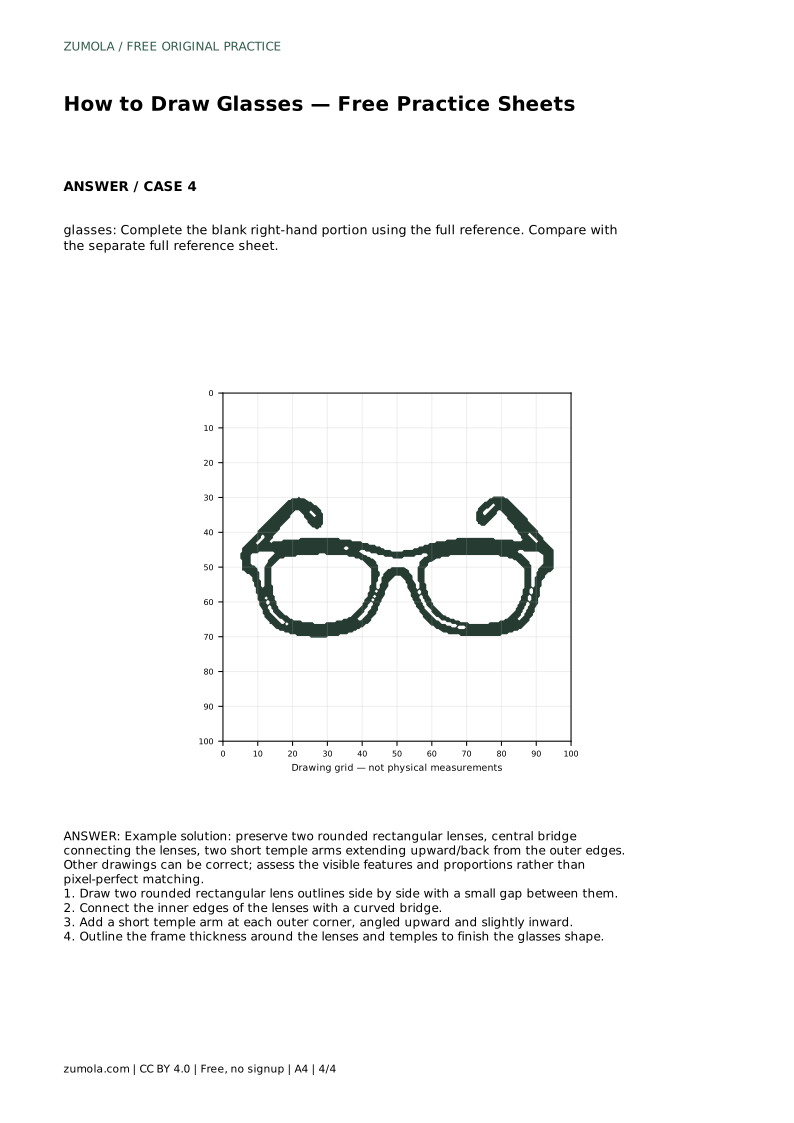
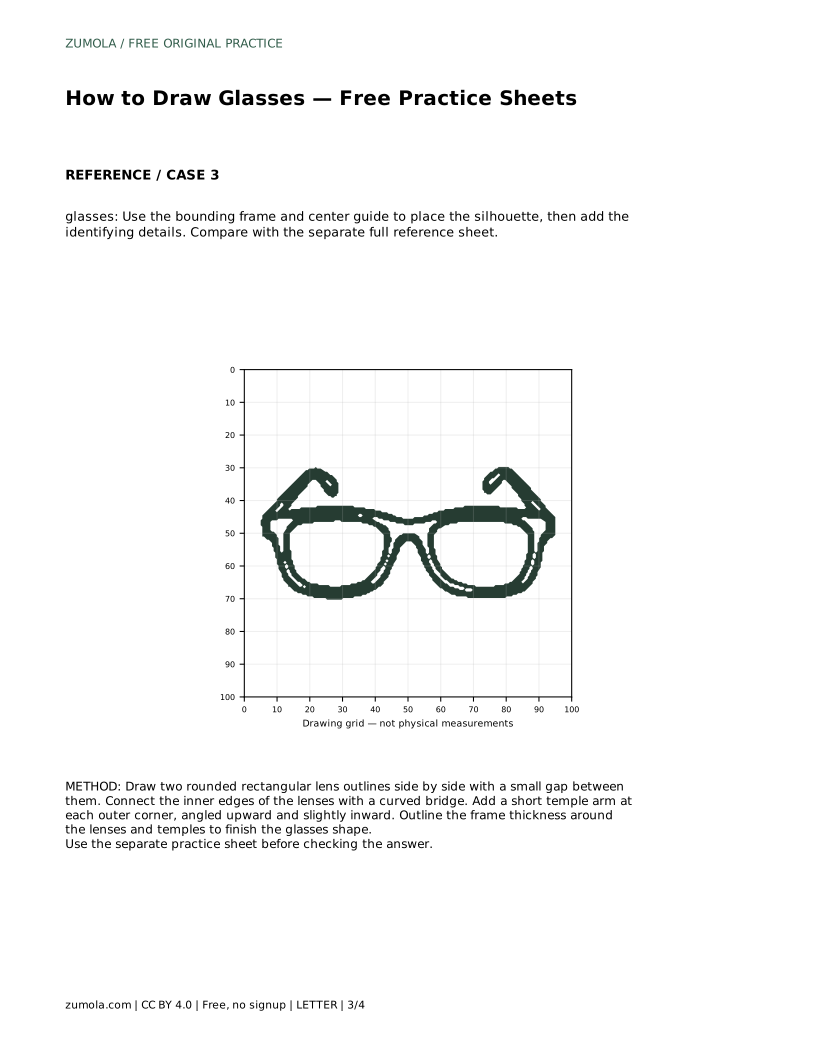
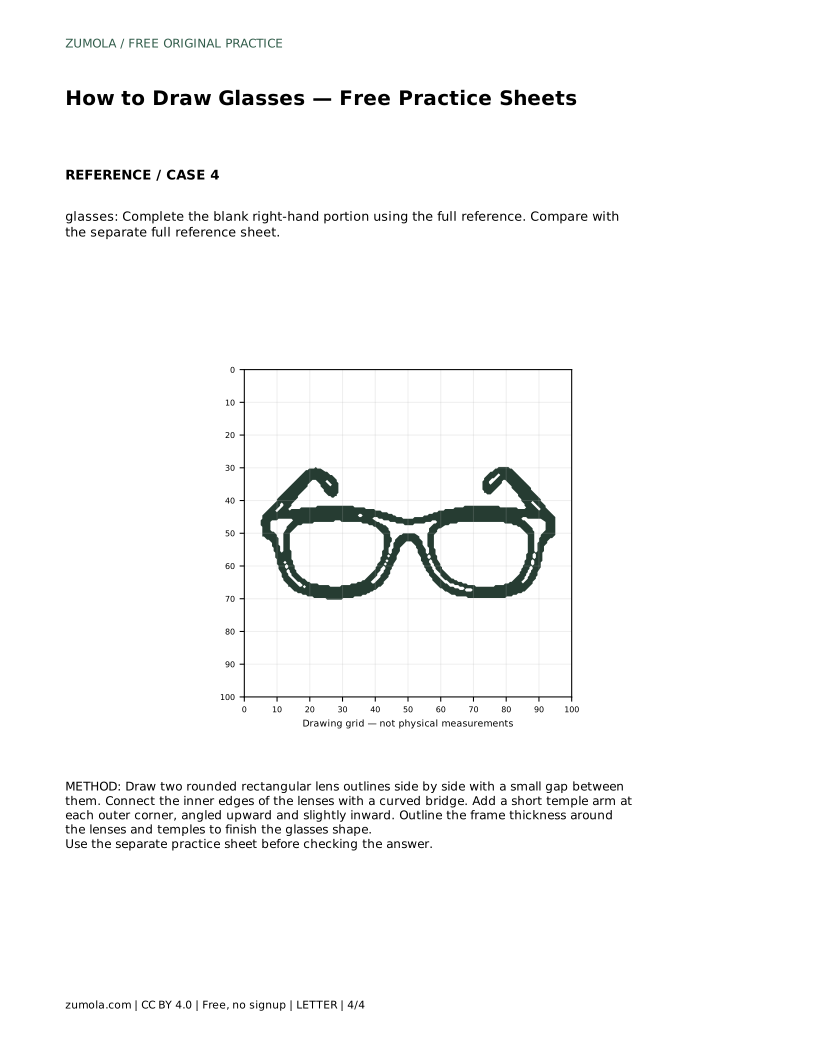
The grid sheet asks you to copy the reference onto a blank grid using matching intersections. Treat each intersection as a placement clue: note where a lens corner or temple tip falls, then draw between those points. The bounding-frame sheet gives you an outer limit and a centre guide, so you can place the silhouette before adding details. The completion sheet gives you the left portion and asks you to finish the right side from the full reference. In every case, compare with the full reference sheet afterward.
A useful check is relative size: the two lenses should look like a matched pair, the gap between them should be narrower than either lens, and the bridge should span that gap cleanly. Temple arms should begin at the outer corners and stay short in this front-facing view.
Because drawings can vary, judge your work against visible features and proportions. A slightly wider lens or a softer curve can still be correct. What matters is that a viewer can identify two lenses, a central bridge, and two temple arms in a believable arrangement.
Draw light construction lines first, then darken the final frame outline once the placement looks right. If a lens looks too tall, adjust the opposite lens to match rather than redrawing only one side. Keep the frame thickness even around the lenses so the glasses read as a single object.
When comparing with the reference, look at the whole shape before correcting small details. Fixing the lens pair and bridge first usually solves most proportion problems.
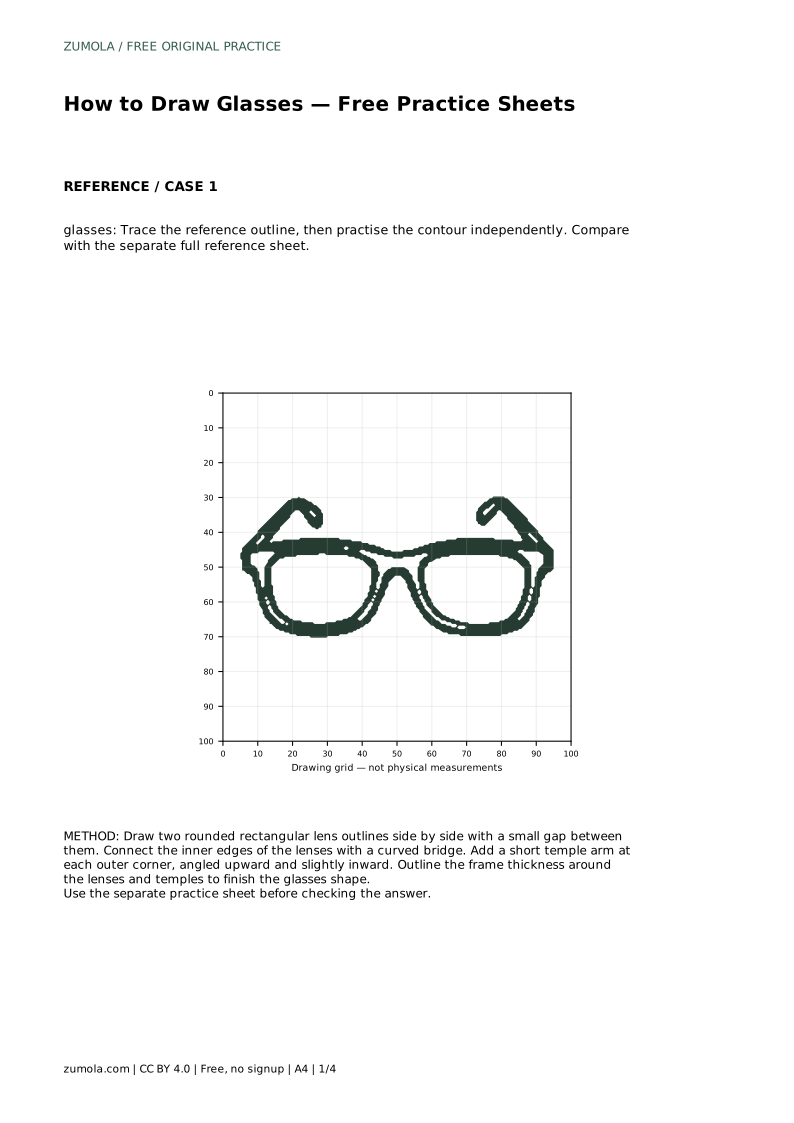
glasses: Trace the reference outline, then practise the contour independently. Compare with the separate full reference sheet.
Example solution: preserve two rounded rectangular lenses, central bridge connecting the lenses, two short temple arms extending upward/back from the outer edges. Other drawings can be correct; assess the visible features and proportions rather than pixel-perfect matching. Draw two rounded rectangular lens outlines side by side with a small gap between them. Connect the inner edges of the lenses with a curved bridge. Add a short temple arm at each outer corner, angled upward and slightly inward. Outline the frame thickness around the lenses and temples to finish the glasses shape.
They should look like a matched pair. Small differences are acceptable, but a clear mismatch in height or width makes the glasses look uneven.
At the outer corners of the lenses, angled upward and slightly inward in this front-facing view.
Compare with the full reference sheet and check the visible features: two lenses, a central bridge, and two temple arms, with sensible proportions.
All drawing practice · Free coordinate paper
Original resources · CC BY 4.0 · Free for personal and classroom use with attribution.