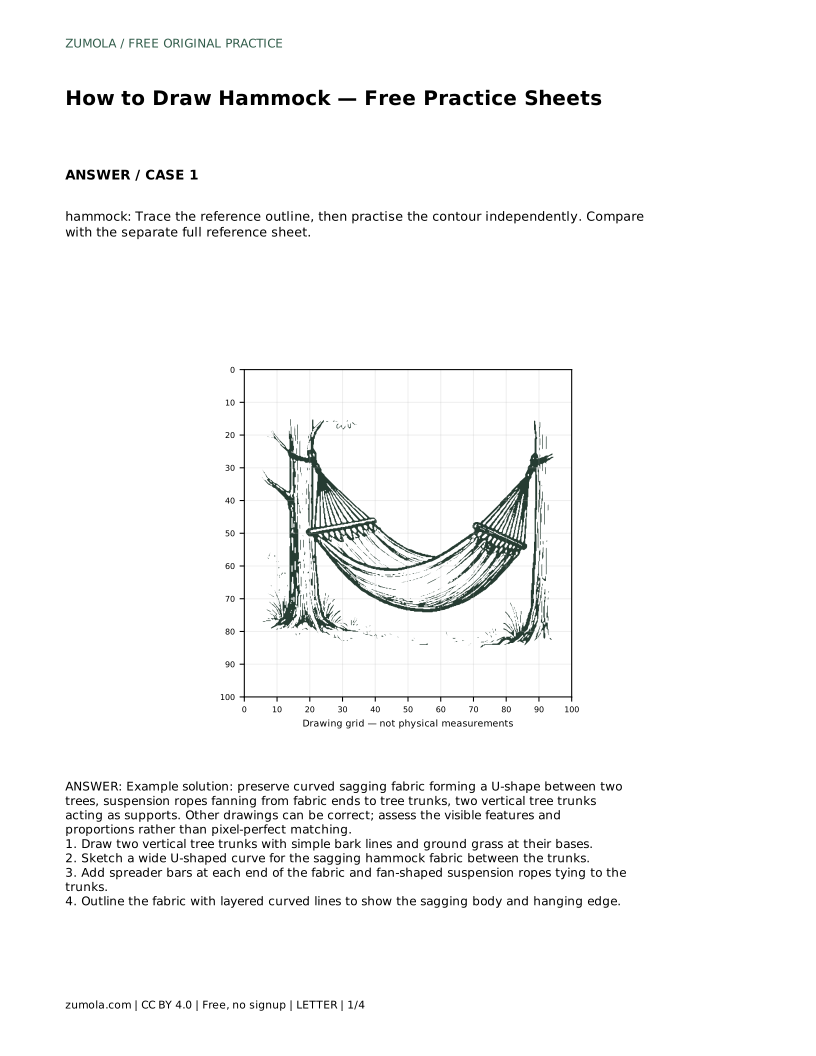
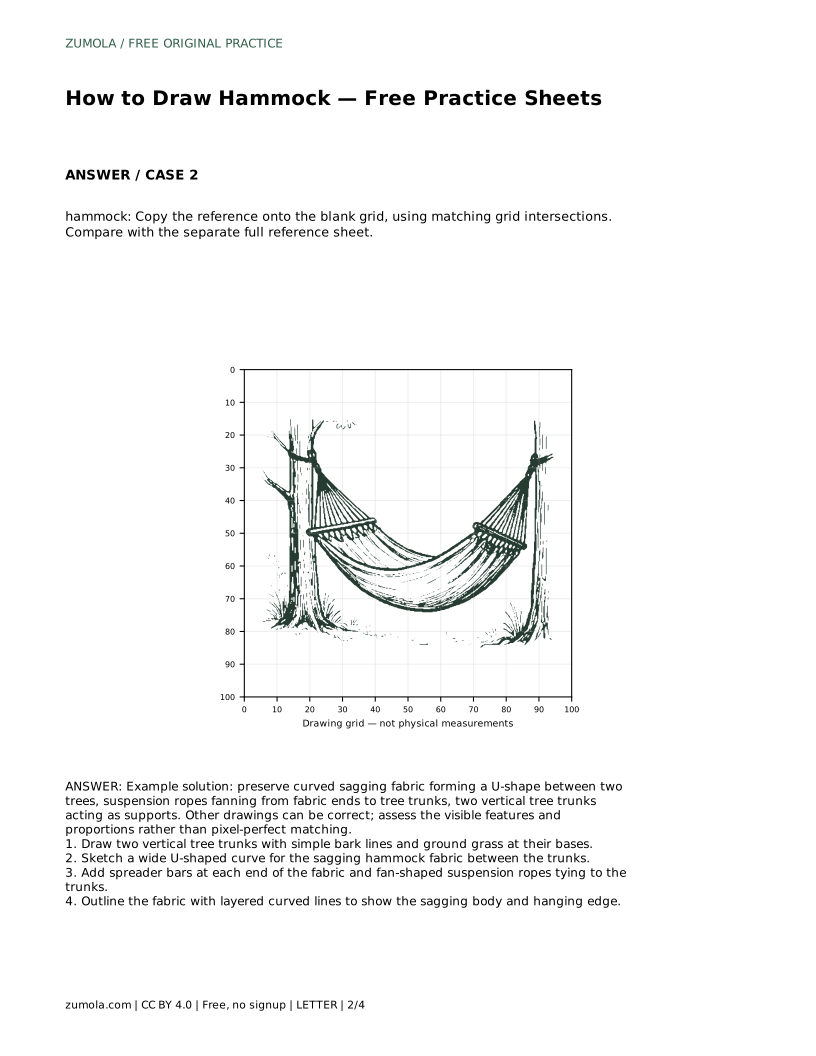
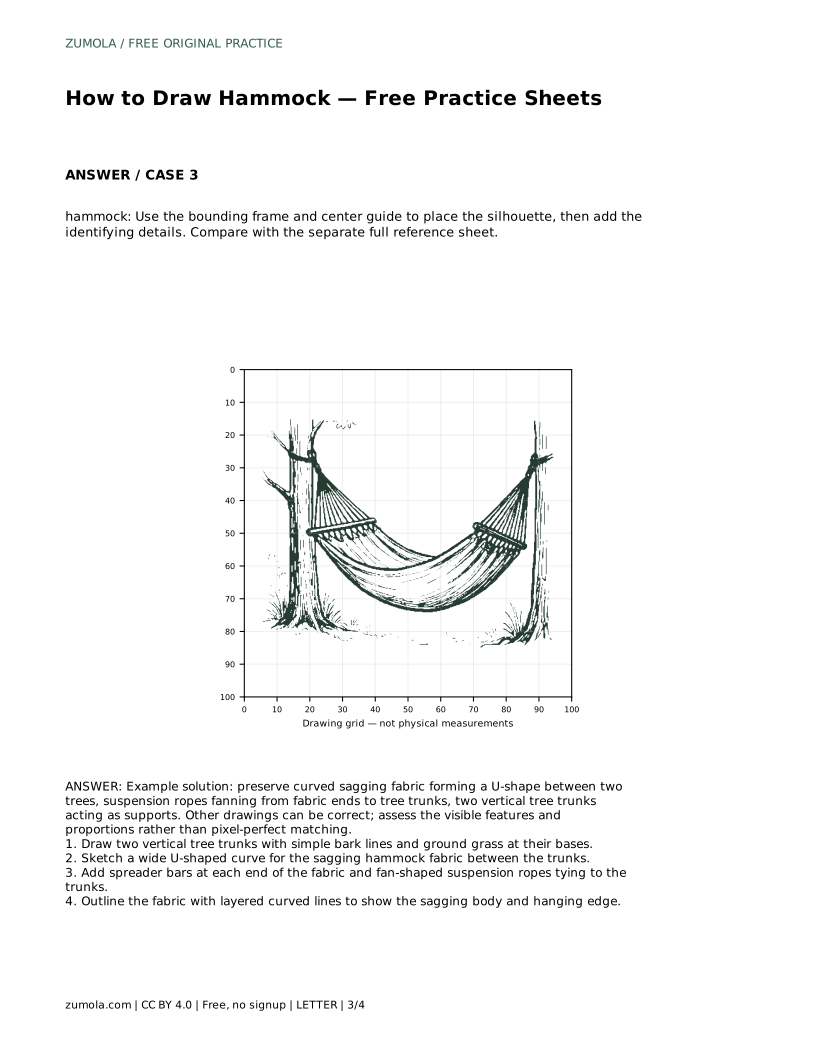
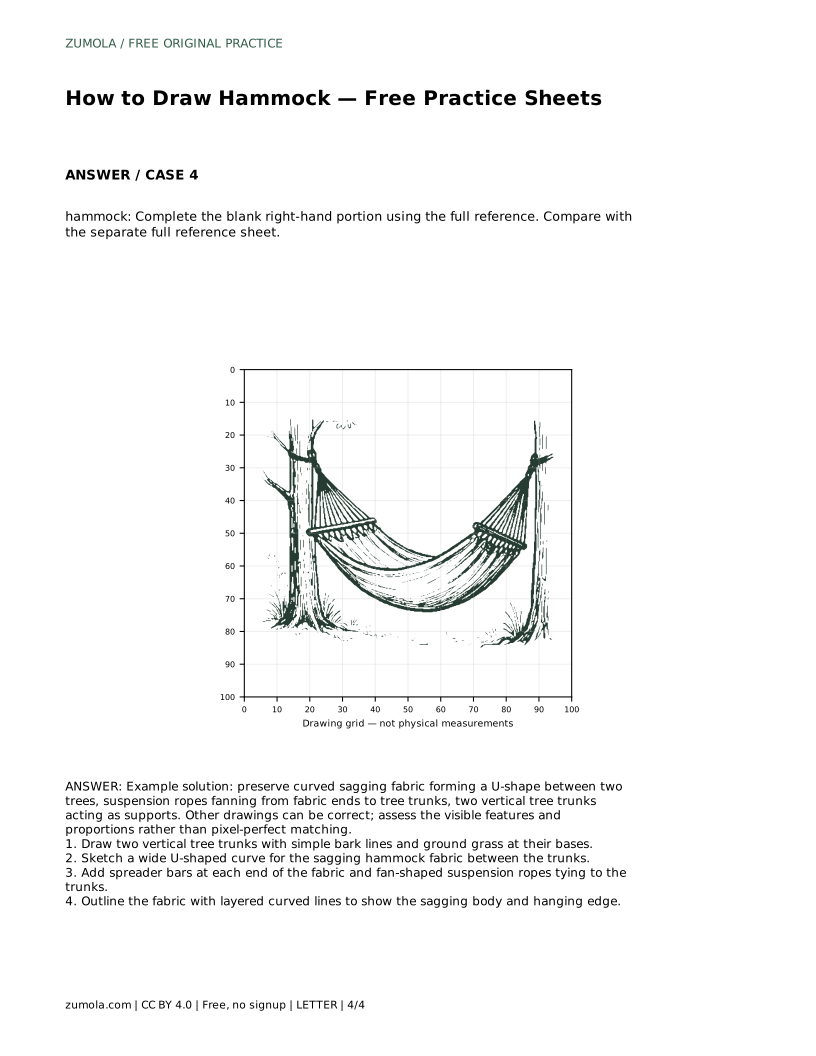
Reference diagrams
LETTER · Download PDF
A4 · Download PDF
Free original resources
Learn to draw a hammock with sagging fabric, spreader bars, and fanning ropes between two trees. Free practice sheets support tracing, grids, and independent drawing.
Four original cases, with reference diagrams, practice sheets and worked answers. Everything is free; no signup required.
LETTER · Download PDF
A4 · Download PDF
LETTER · Download PDF
A4 · Download PDF
LETTER · Download PDF
A4 · Download PDF
Use A4 or US Letter to match your printer. Use the stated values and conditions to solve each exercise; diagrams are not physical measuring rulers.
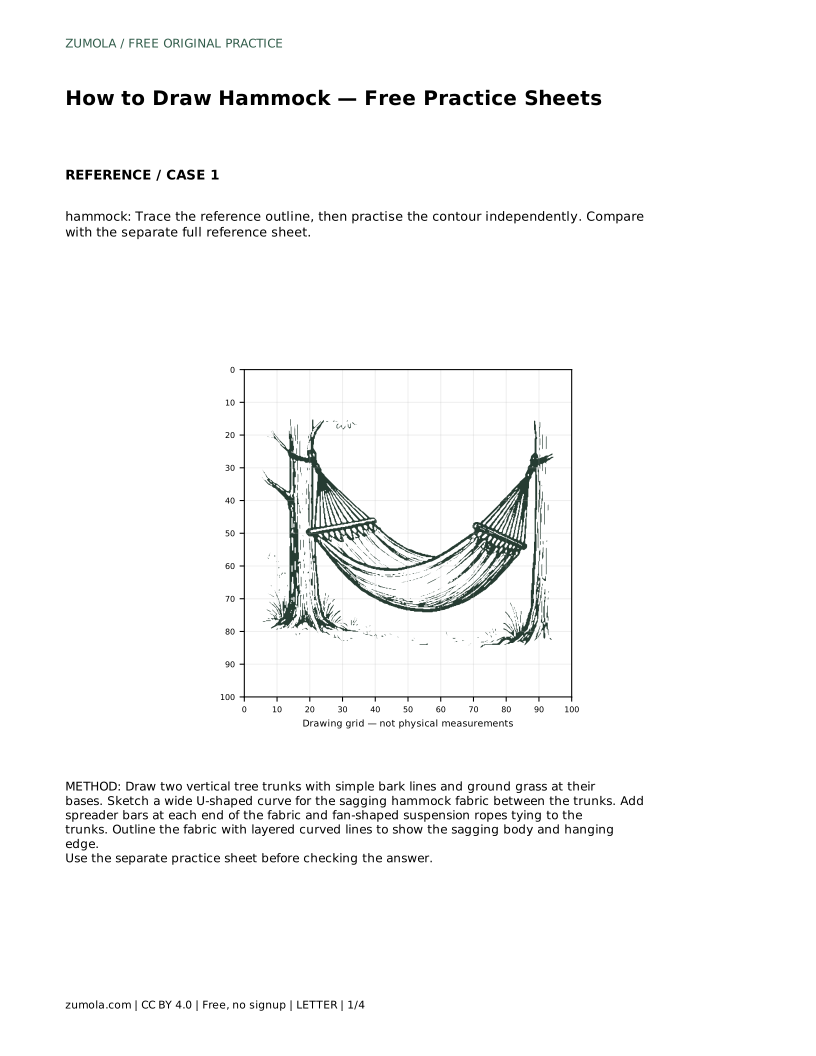
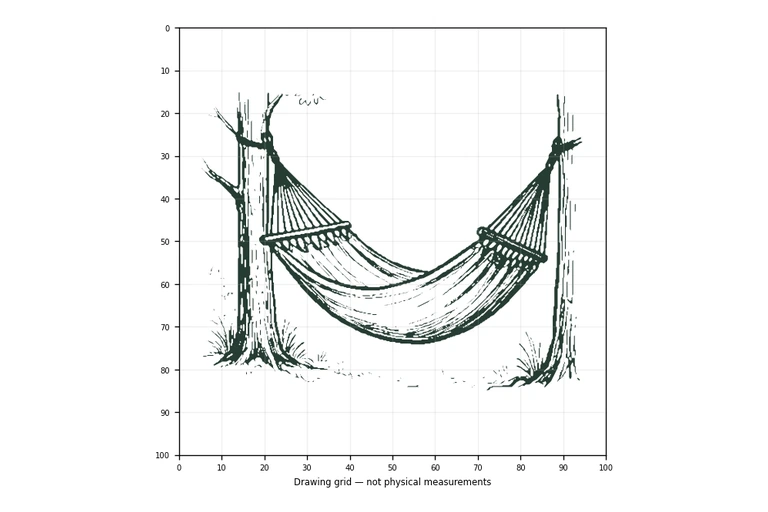
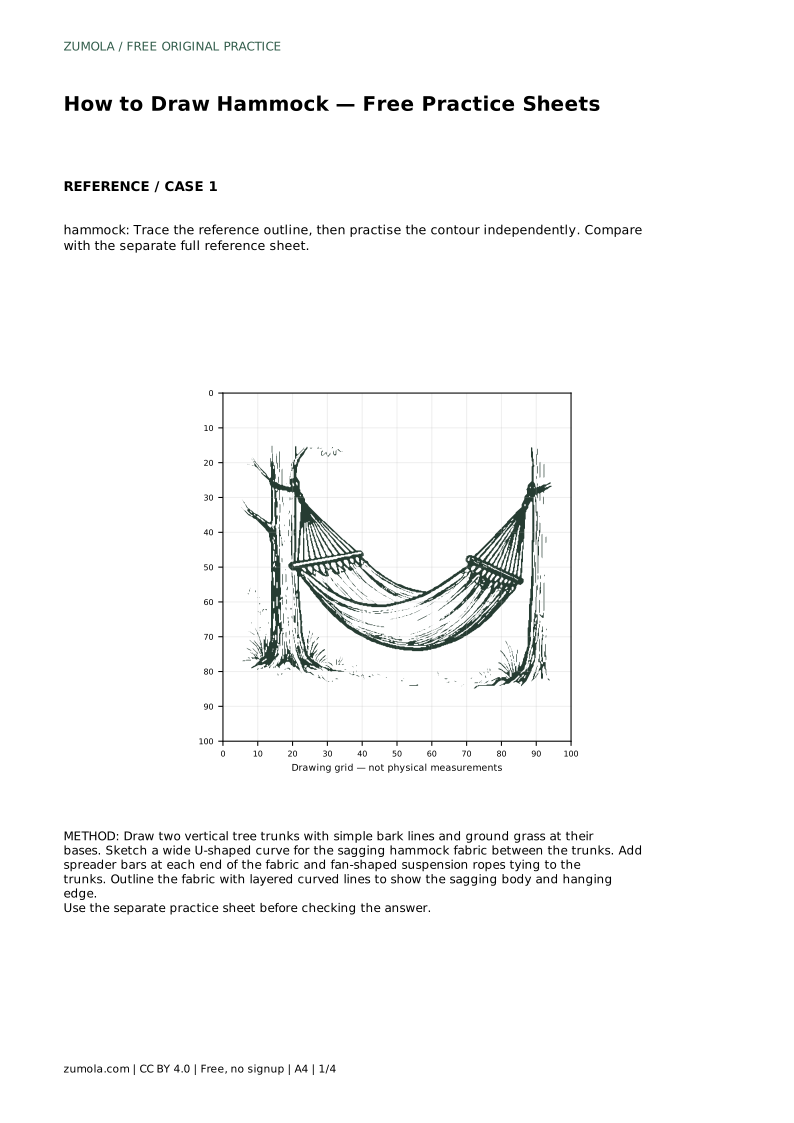
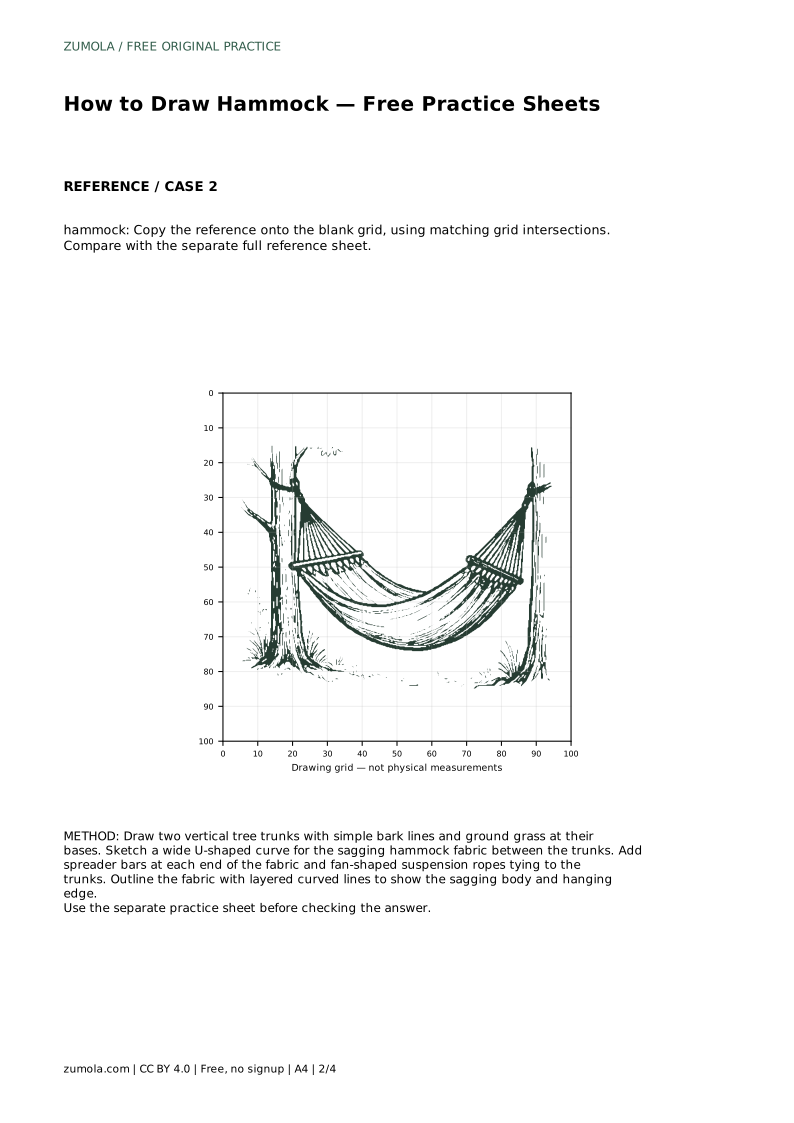
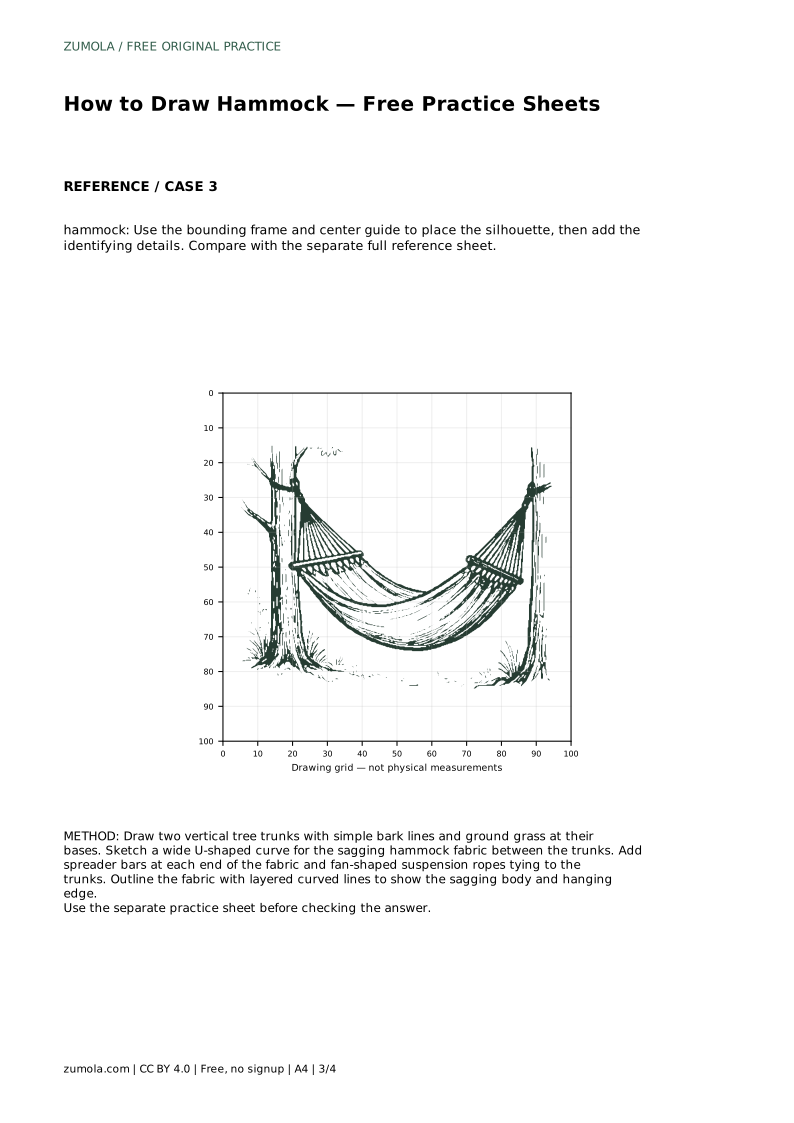
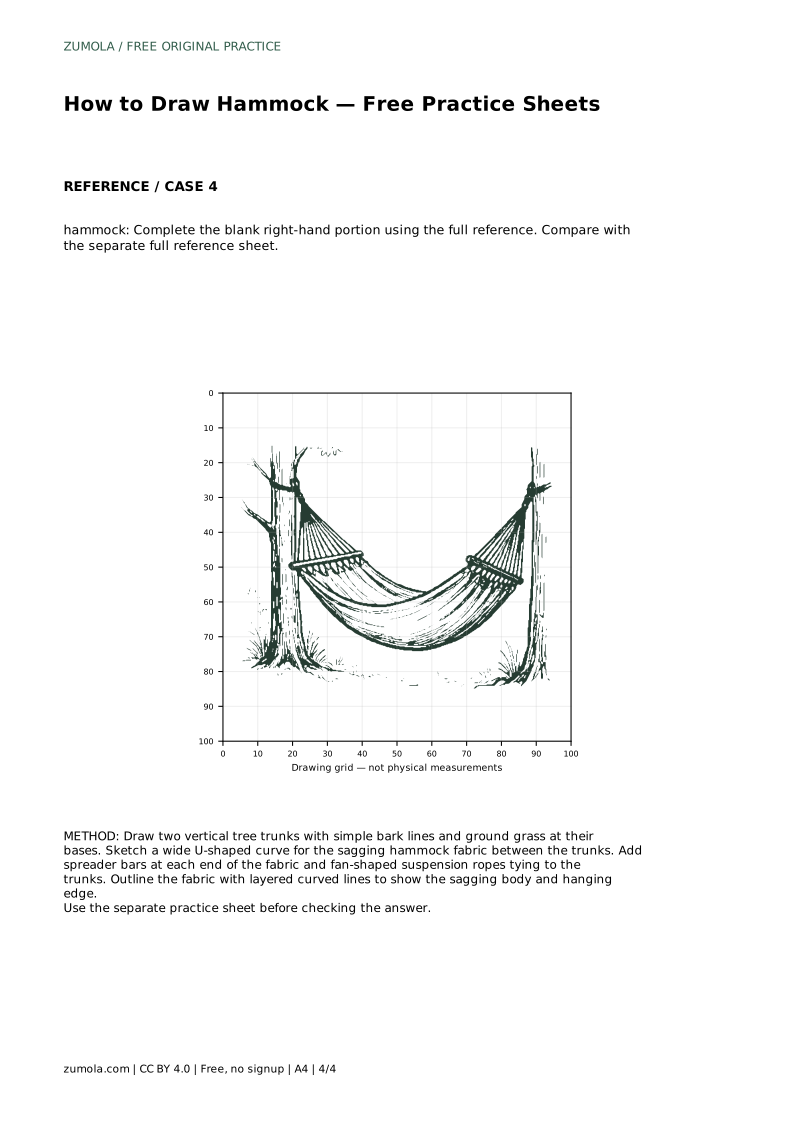
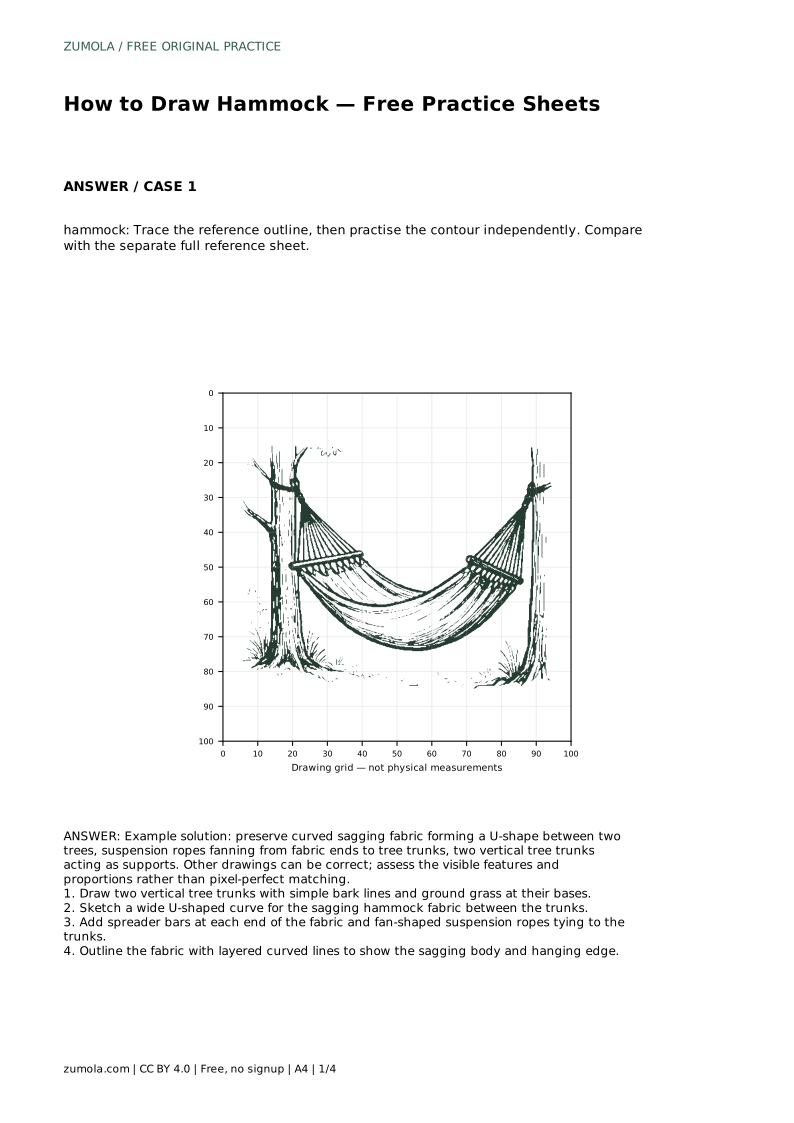
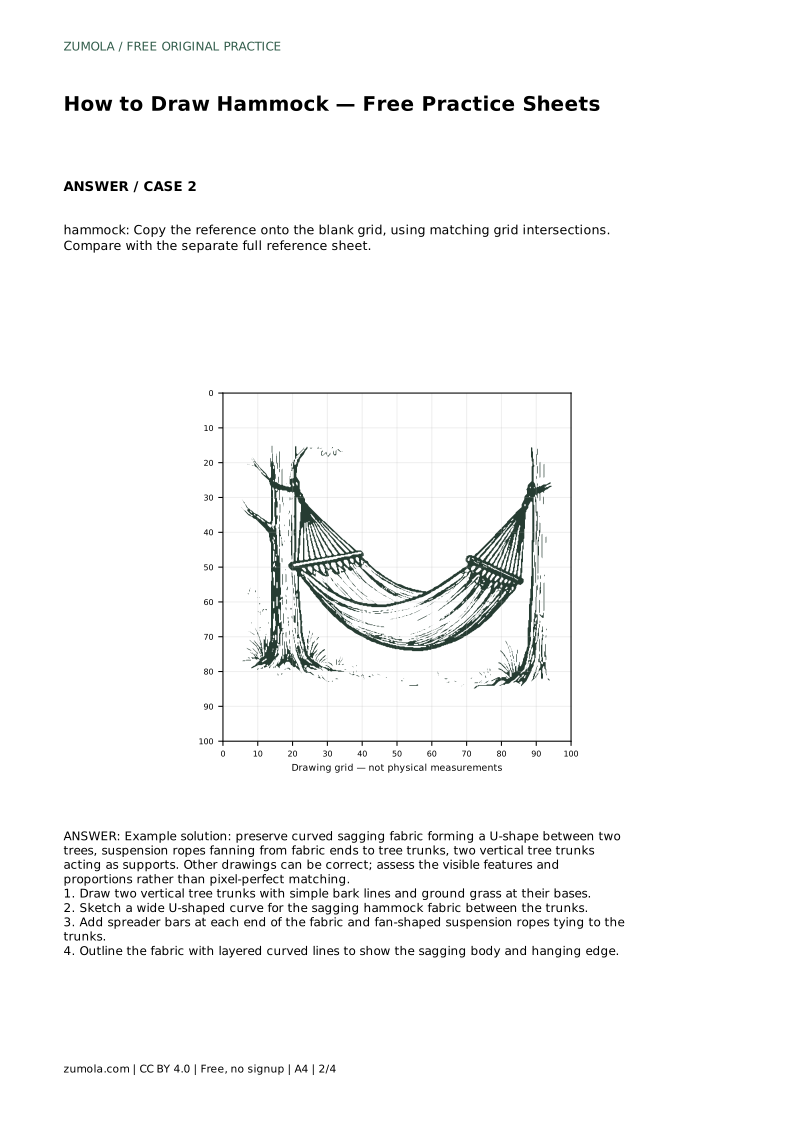
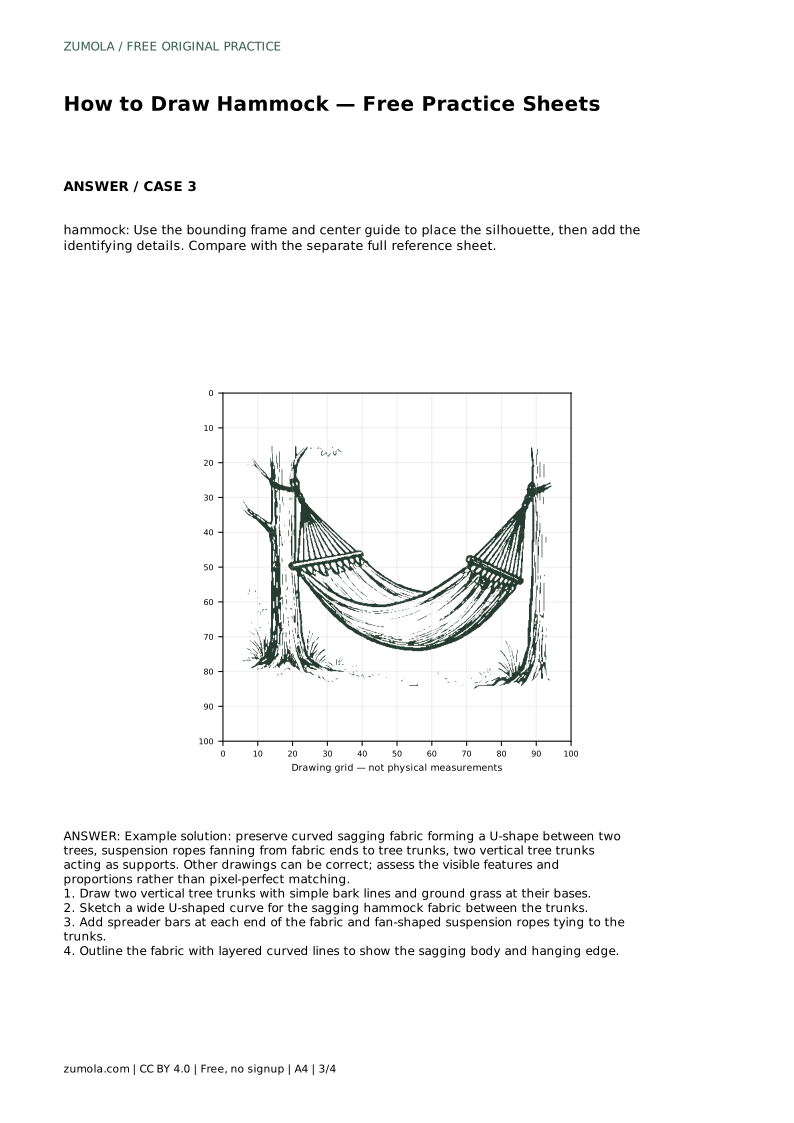
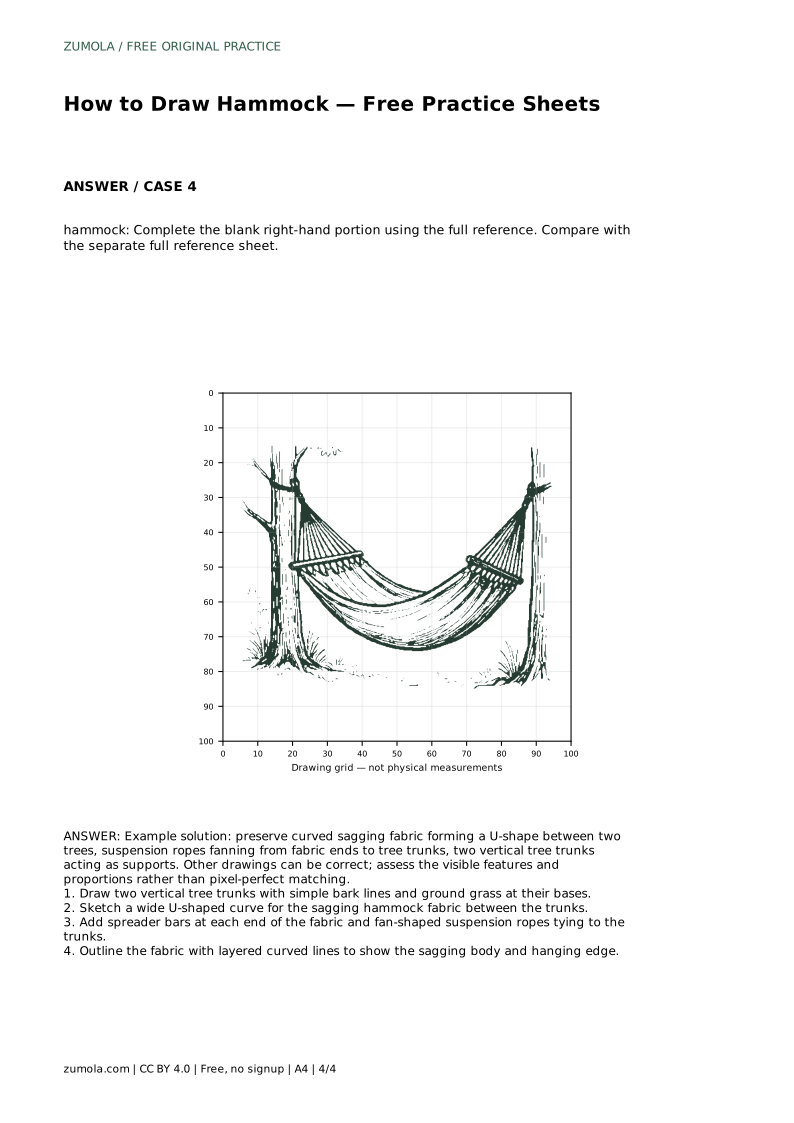
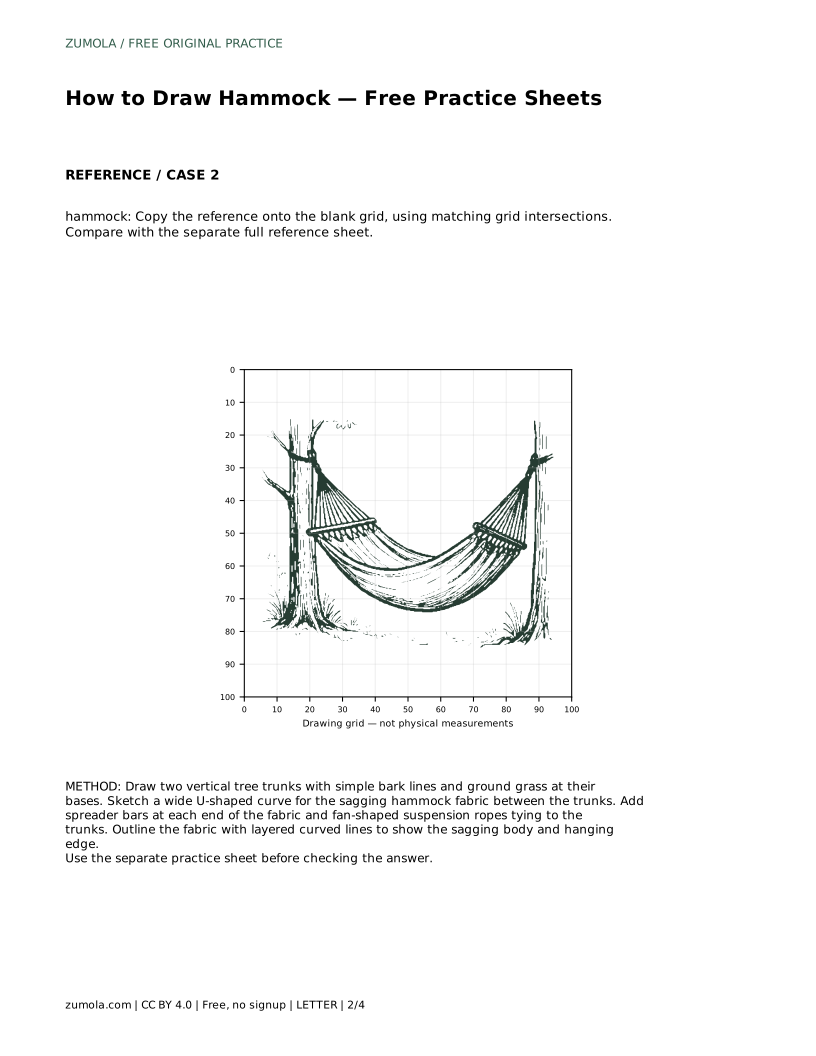
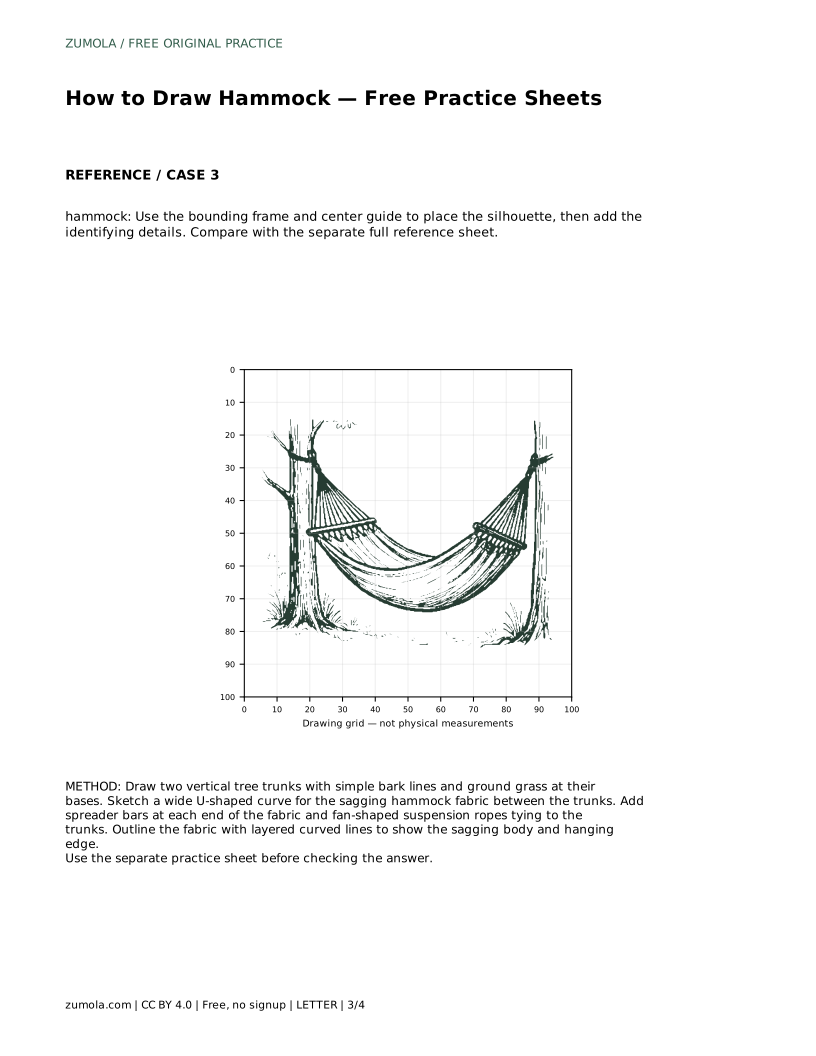
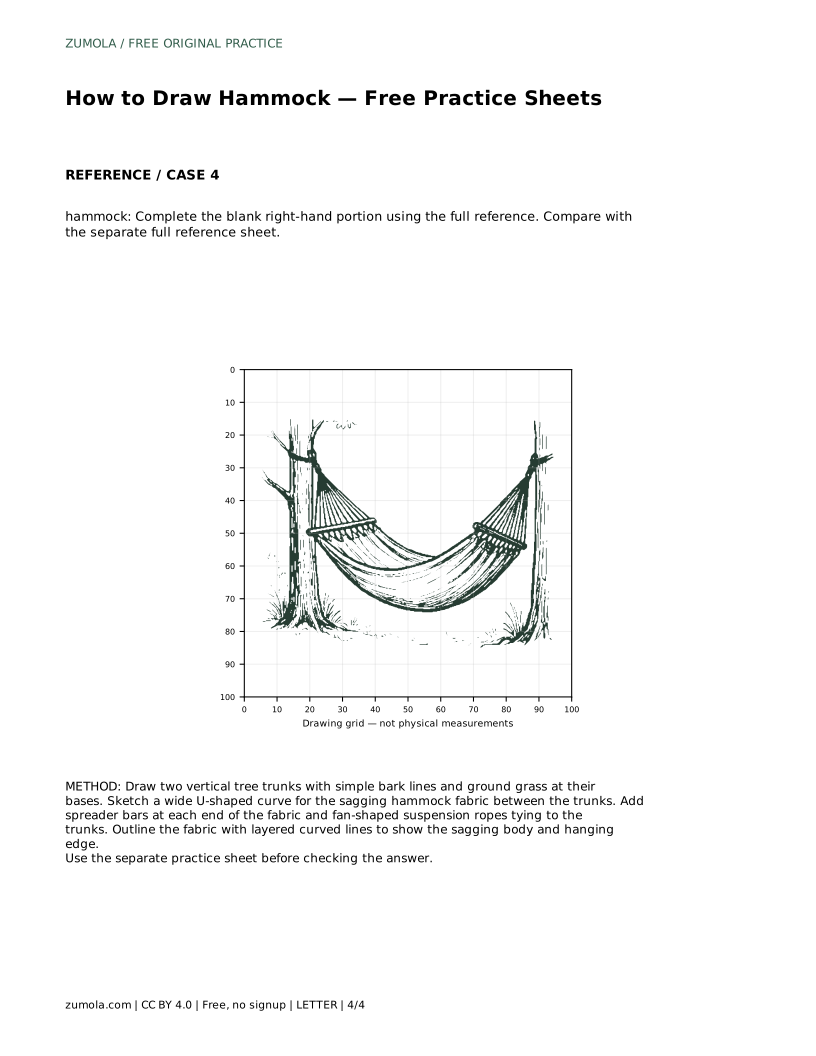
Drawing a hammock is a study in curves and suspension: the fabric sags into a U-shape, ropes fan out to two supports, and the whole scene needs a believable sense of weight. This guide breaks the drawing into clear steps, from tree trunks to layered fabric folds. Use the free practice sheets to trace, copy onto a grid, or complete a partial outline, then compare your work with the full reference sheet. The goal is not pixel-perfect matching but capturing the visible features and proportions that make a hammock read clearly.
Begin by drawing two vertical tree trunks. Keep them roughly parallel and spaced wide enough for the hammock to hang between them. Add simple bark lines and a few grass strokes at the bases to ground the scene. The trunks act as the visual anchors, so their height and spacing set the scale for everything else.
Next, sketch a wide U-shaped curve between the trunks. This curve represents the sagging fabric. The lowest point should sit roughly midway between the trees, and the curve should rise toward each trunk. Avoid making the U too shallow or too deep; a gentle, even sag looks natural. This single curve is the backbone of the drawing.
At each end of the fabric, draw a short spreader bar. These bars keep the hammock fabric open and give the ends a defined edge. Place them where the fabric meets the suspension ropes, angled slightly to follow the curve of the fabric.
From each spreader bar, draw several ropes that fan out toward the tree trunk. The ropes should converge at a single attachment point on the trunk, creating a fan shape. Keep the rope lines straight but slightly varied in length to suggest tension. This fanning pattern is a key identifying feature of a hammock drawing.
Outline the fabric with layered curved lines to show the sagging body and hanging edge. Start with the main U-curve, then add a second curve slightly above it to suggest the fabric's thickness. Add a few gentle folds along the lower edge where the fabric gathers. These lines should follow the same sag, not cross it randomly.
Keep the fabric lines smooth and continuous. The goal is to show a soft, weighted material, not a rigid shape. If you are using a grid or tracing sheet, compare your curves with the reference at each intersection to check the sag's depth and the spreader bar placement.
Once the main lines are in place, step back and check the overall proportions. The hammock should occupy the space between the trunks without touching them. The suspension ropes should look taut, and the fabric should appear to hang from the spreader bars. Compare your drawing with the separate full reference sheet, focusing on the U-shape's depth, the fan of ropes, and the relative size of the trees.
Remember that other drawings can be correct. Assess the visible features and proportions rather than pixel-perfect matching. If your hammock reads clearly as a sagging fabric suspended between two trees, you have succeeded.
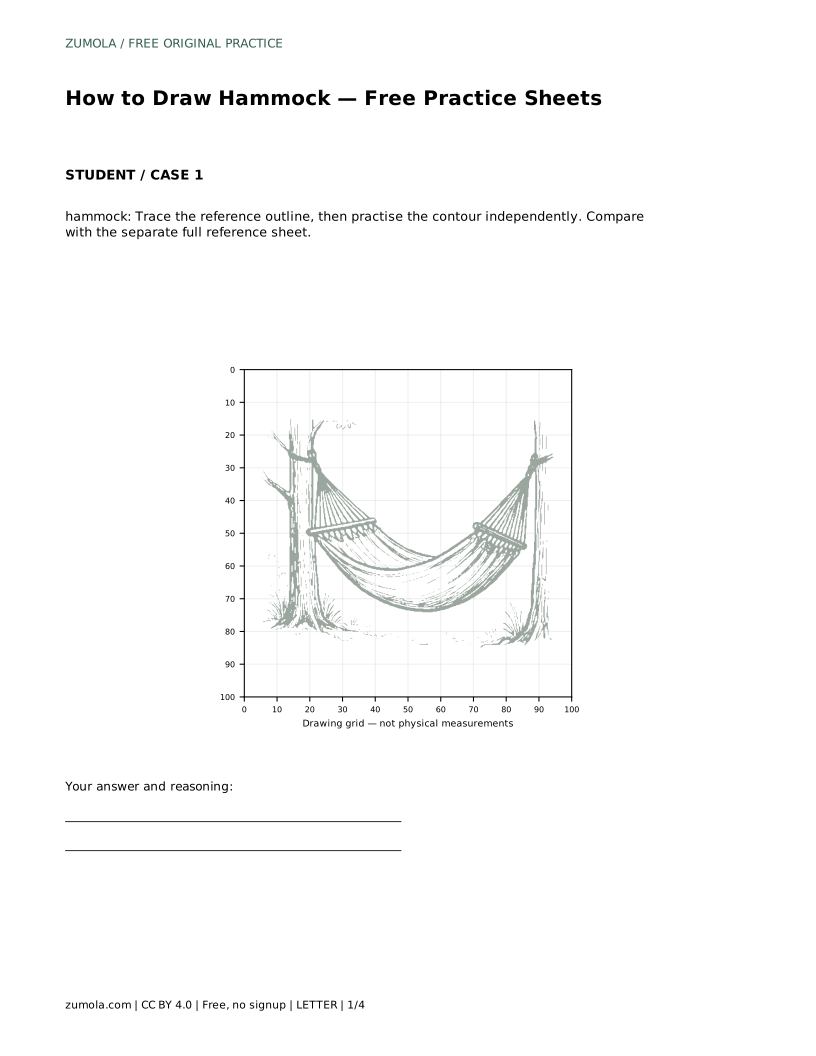
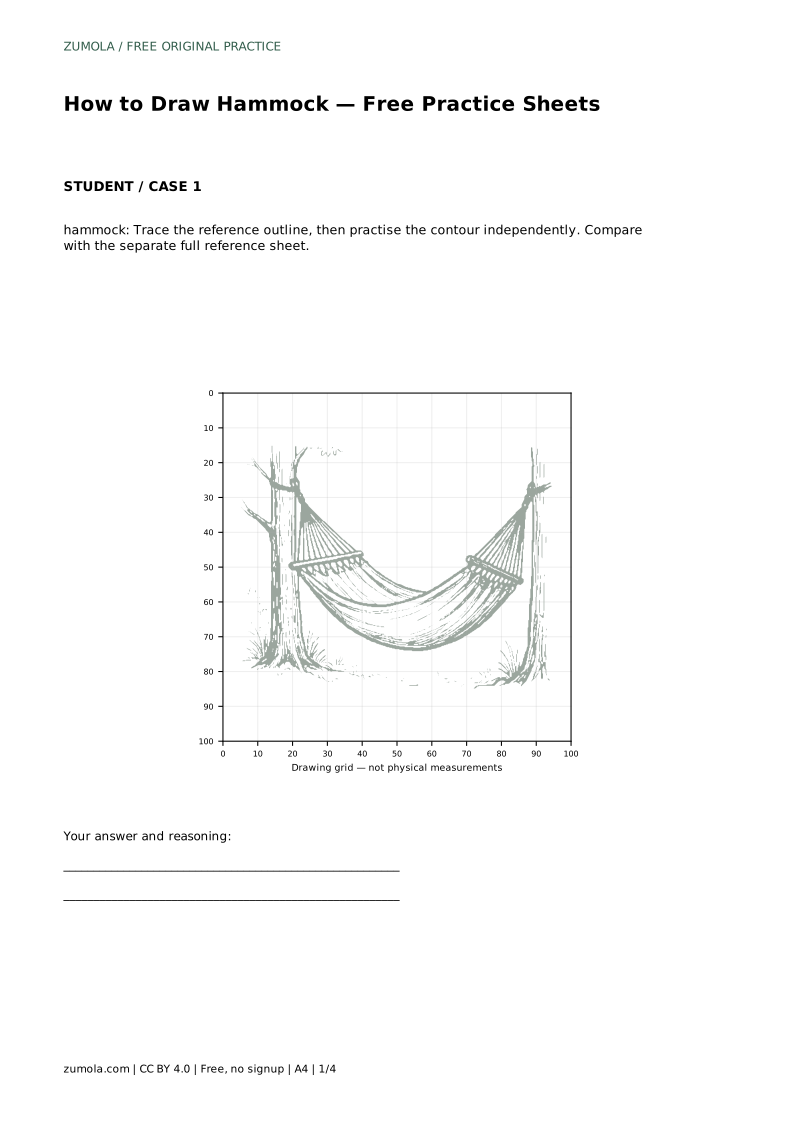
hammock: Trace the reference outline, then practise the contour independently. Compare with the separate full reference sheet.
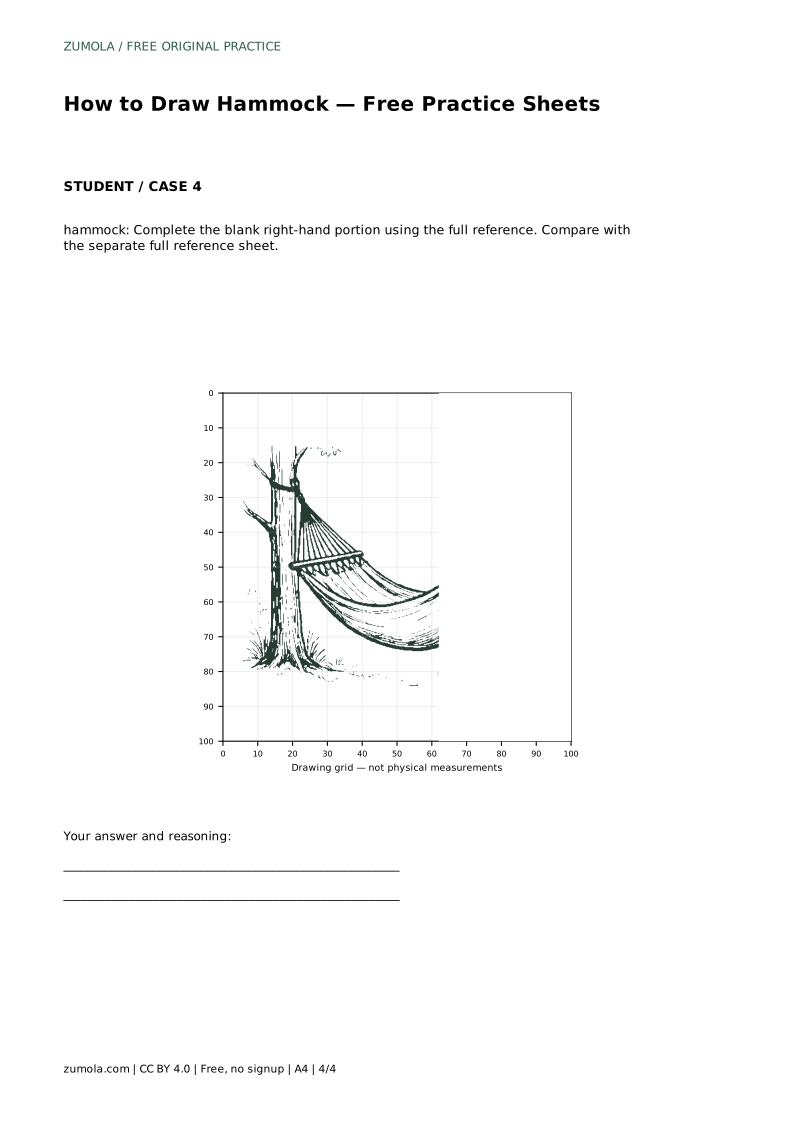
Example solution: preserve curved sagging fabric forming a U-shape between two trees, suspension ropes fanning from fabric ends to tree trunks, two vertical tree trunks acting as supports. Other drawings can be correct; assess the visible features and proportions rather than pixel-perfect matching. Draw two vertical tree trunks with simple bark lines and ground grass at their bases. Sketch a wide U-shaped curve for the sagging hammock fabric between the trunks. Add spreader bars at each end of the fabric and fan-shaped suspension ropes tying to the trunks. Outline the fabric with layered curved lines to show the sagging body and hanging edge.
Yes, starting with the two vertical trunks establishes the spacing and scale for the hammock. The sag and ropes are then drawn relative to those supports.
A gentle, even sag works best. The lowest point should sit roughly halfway between the trunks, and the curve should rise smoothly toward each spreader bar without becoming too deep or too flat.
Yes. The sheets support tracing, grid copying, and completing a partial outline. You can also draw independently and then compare your work with the full reference sheet.
All drawing practice · Free coordinate paper
Original resources · CC BY 4.0 · Free for personal and classroom use with attribution.