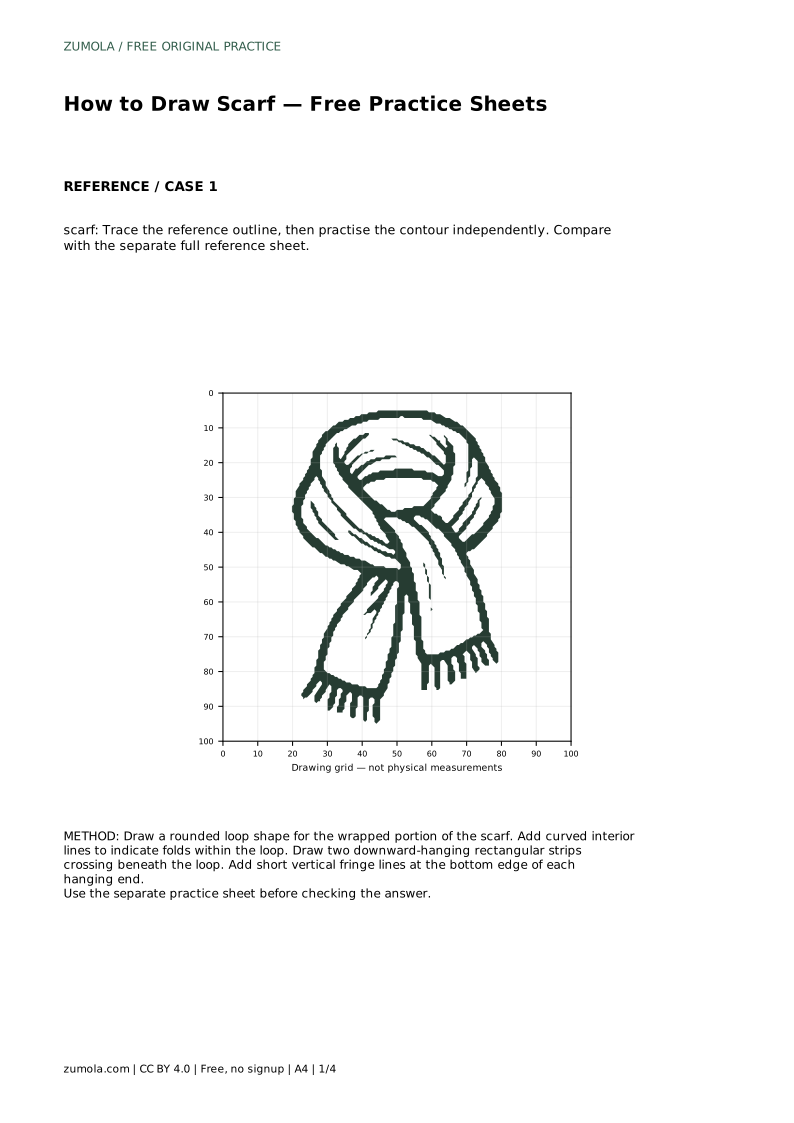
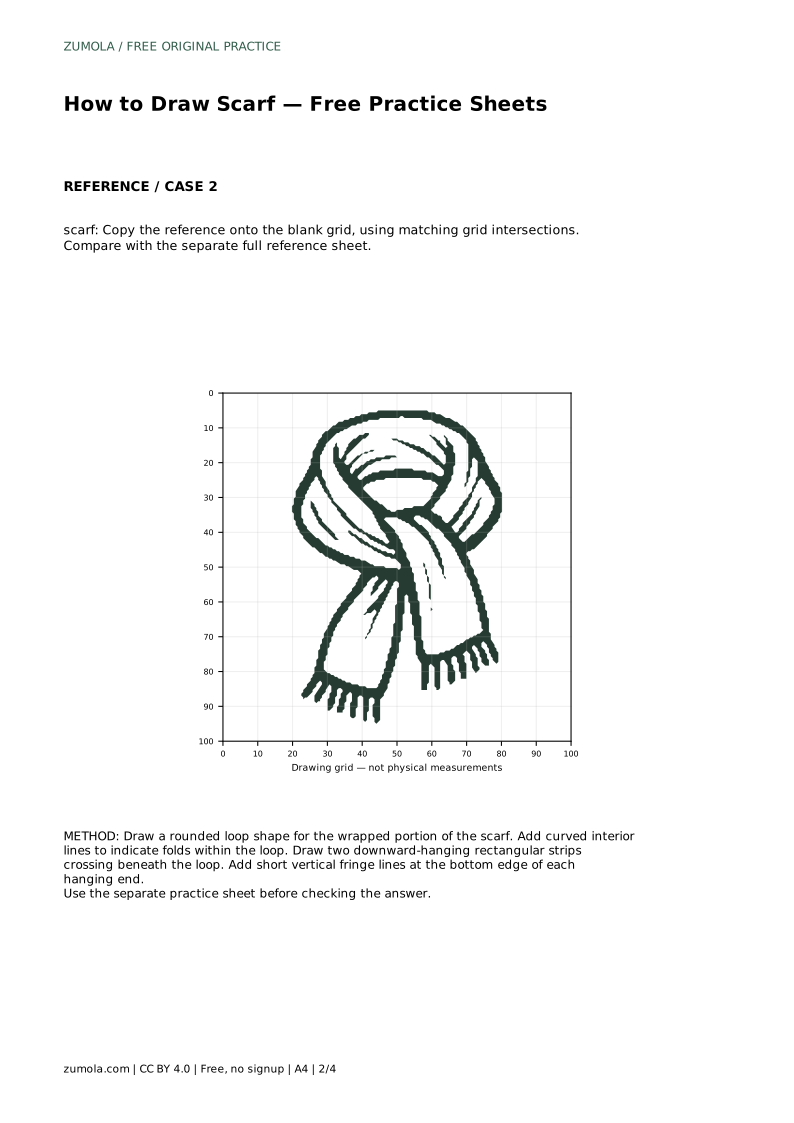
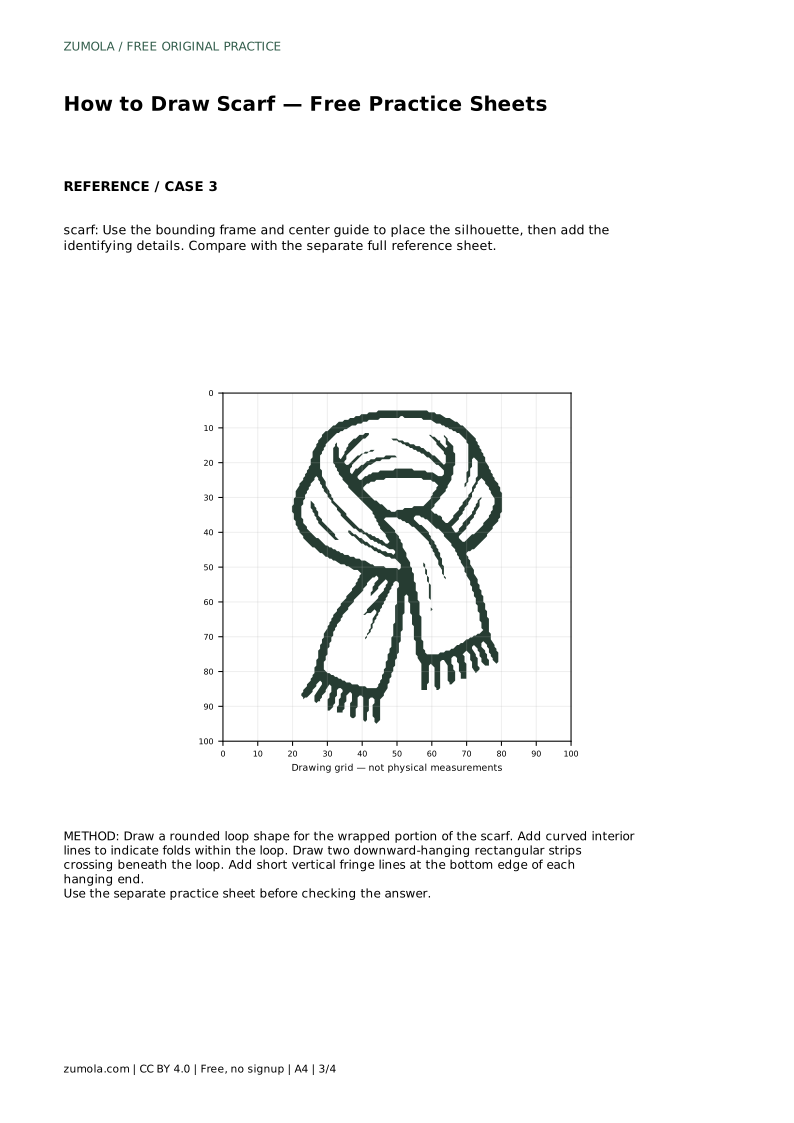
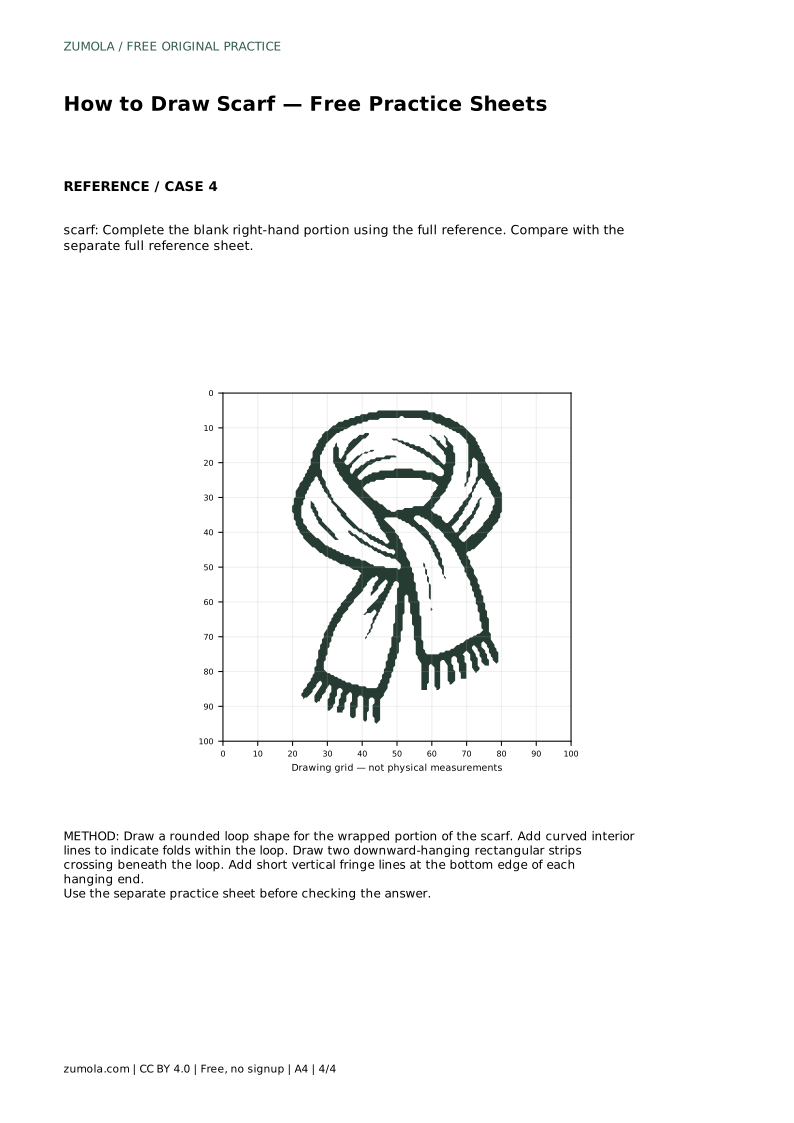
Reference diagrams
LETTER · Download PDF
A4 · Download PDF
Free original resources
Learn to draw a draped scarf with a loop, hanging ends and fringe. Trace, grid-copy and complete-the-picture practice sheets build contour and proportion skills.
Four original cases, with reference diagrams, practice sheets and worked answers. Everything is free; no signup required.
LETTER · Download PDF
A4 · Download PDF
LETTER · Download PDF
A4 · Download PDF
LETTER · Download PDF
A4 · Download PDF
Use A4 or US Letter to match your printer. Use the stated values and conditions to solve each exercise; diagrams are not physical measuring rulers.
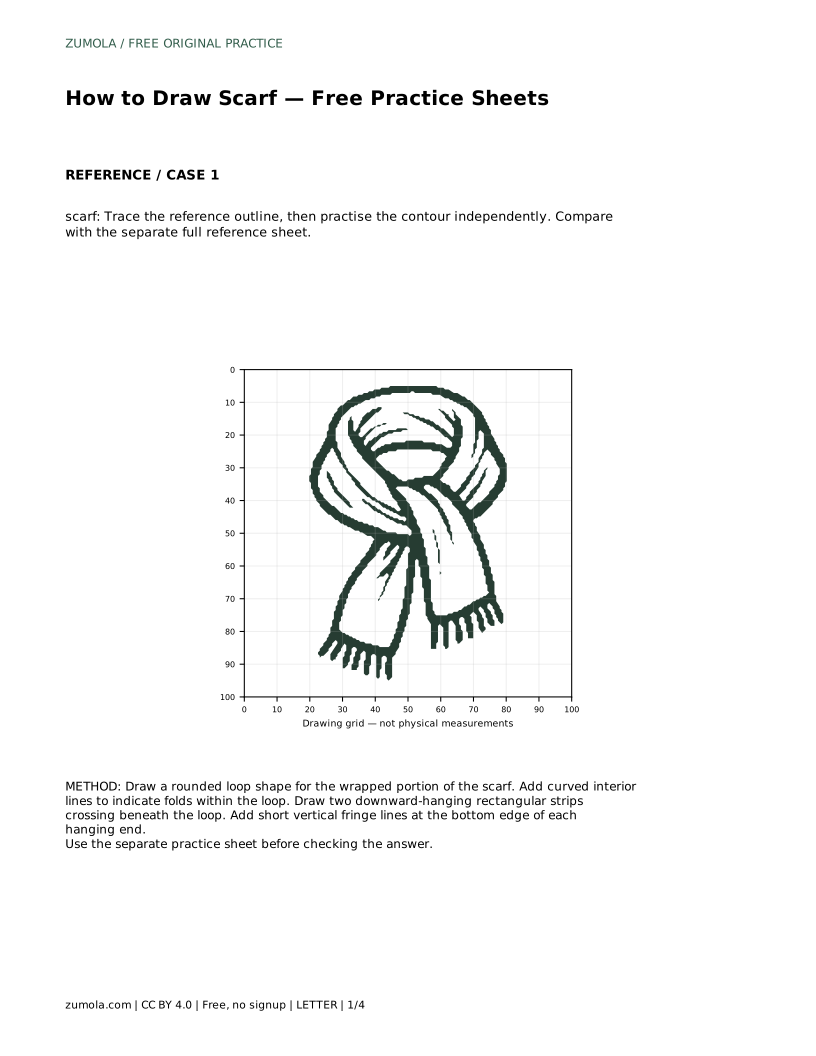
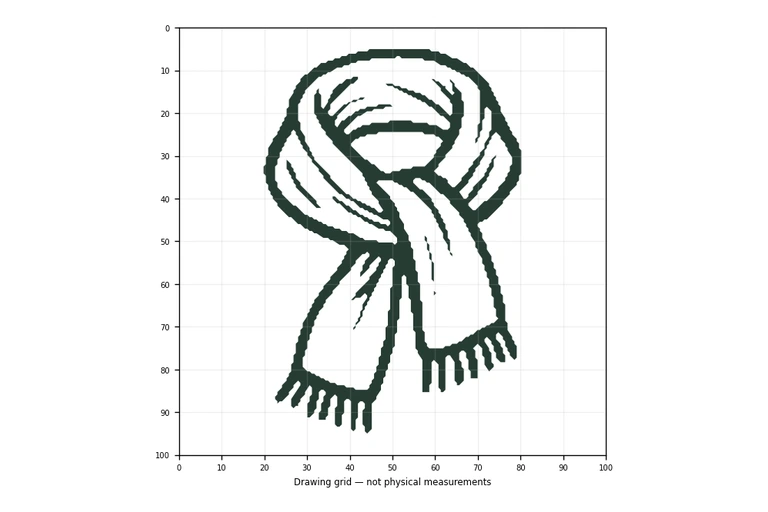
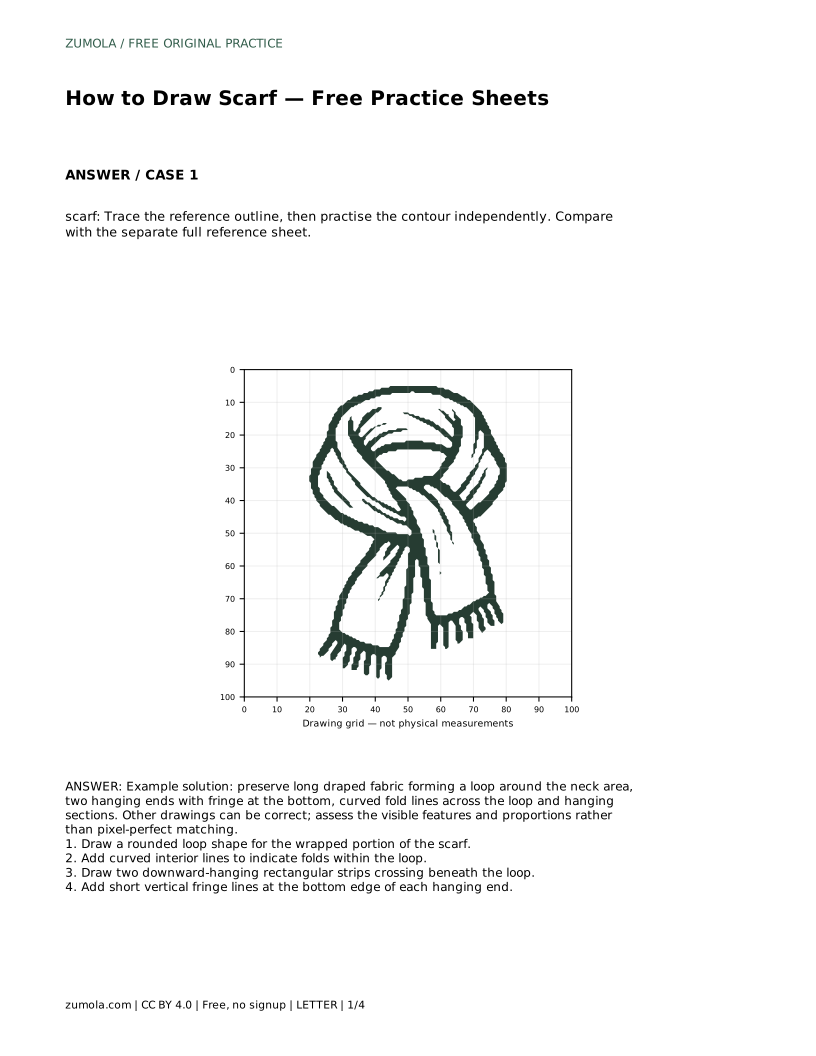
A scarf is a forgiving subject for beginners because its shape comes from fabric, not rigid anatomy. The key is to see it as a loop of cloth with two hanging ends, softened by curved fold lines and finished with short fringe. This page explains how to build that shape step by step, then use tracing, grid-copy and partial-completion sheets to practise the same contour independently.
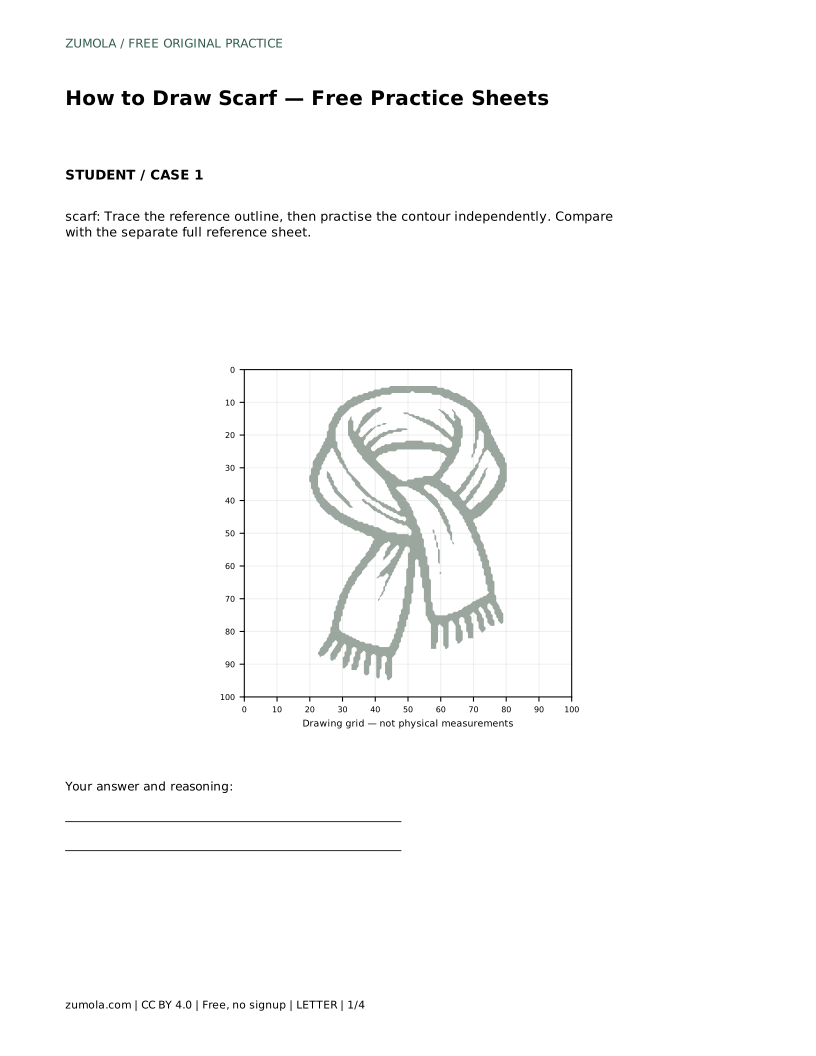
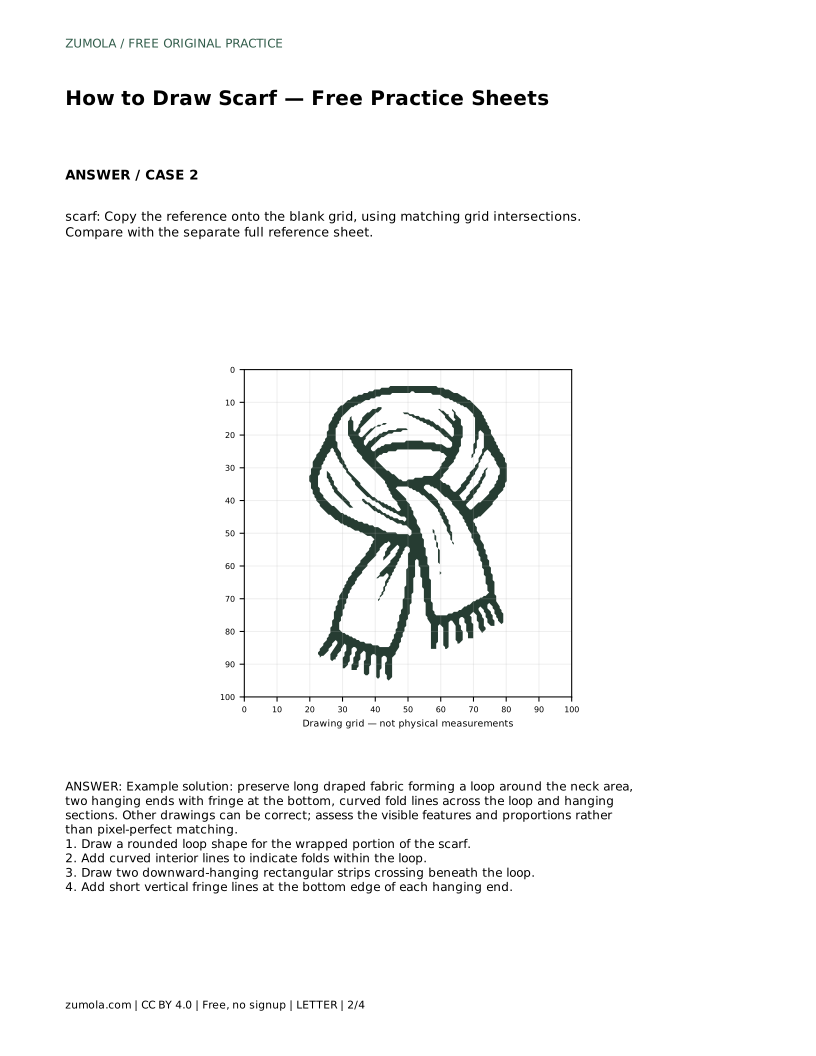
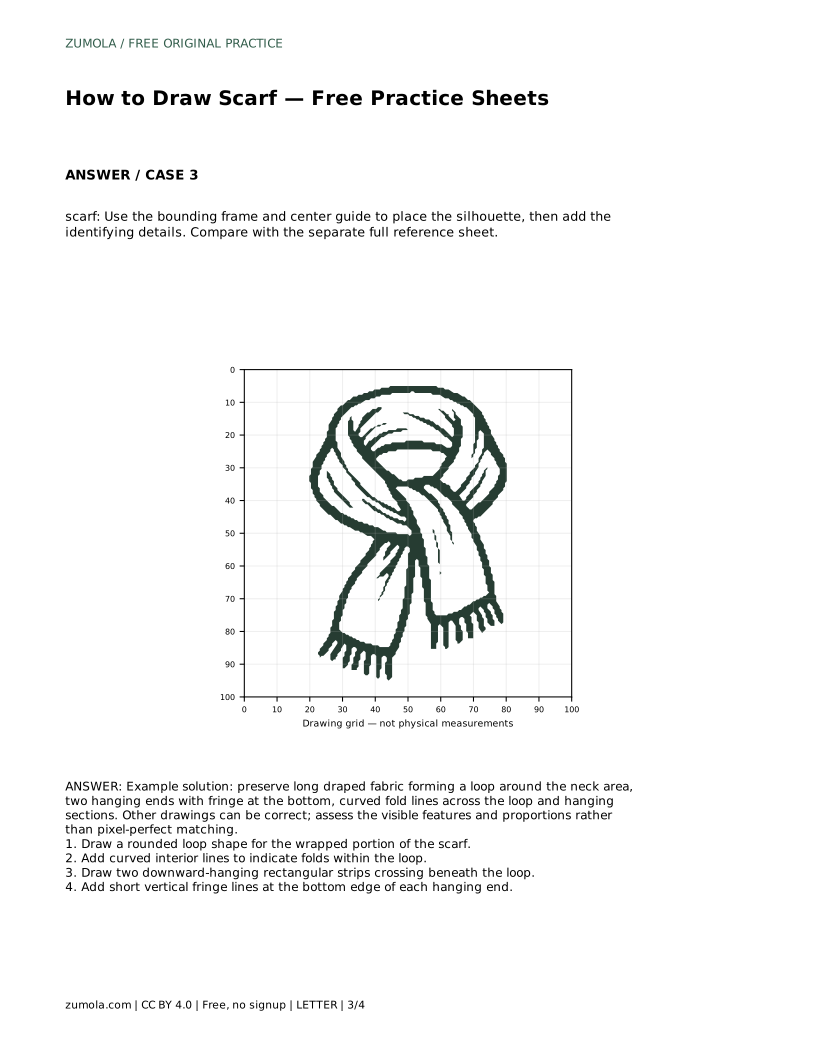
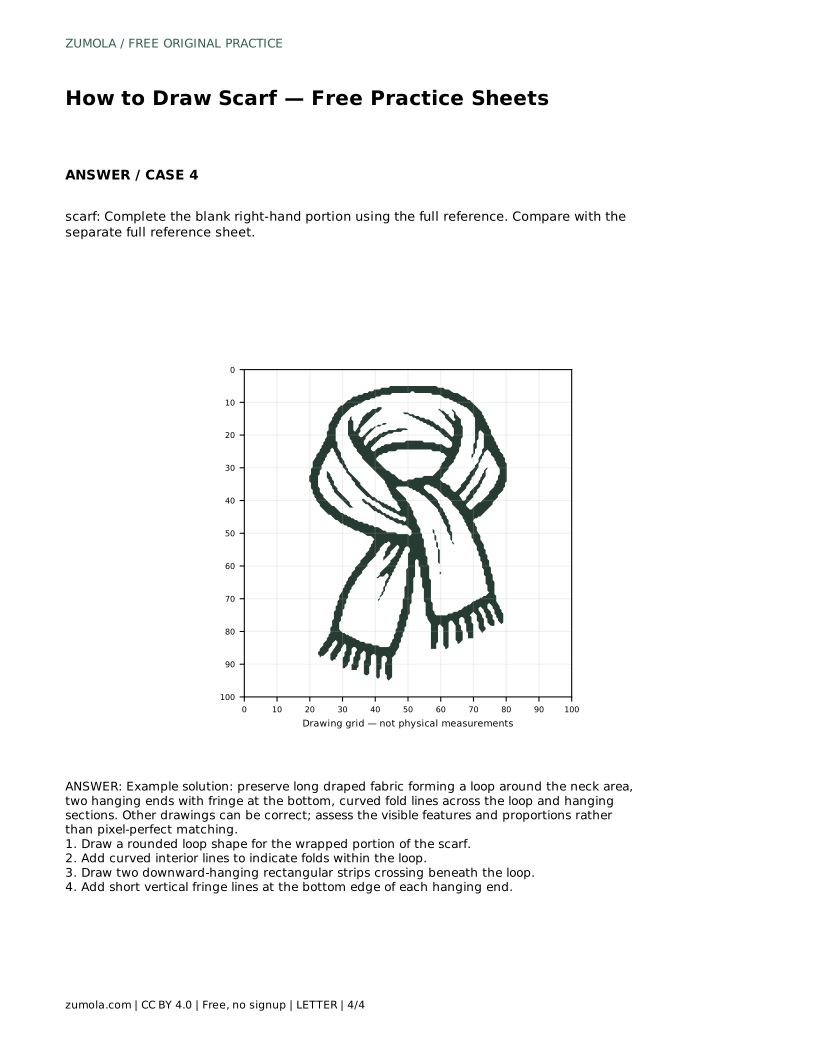
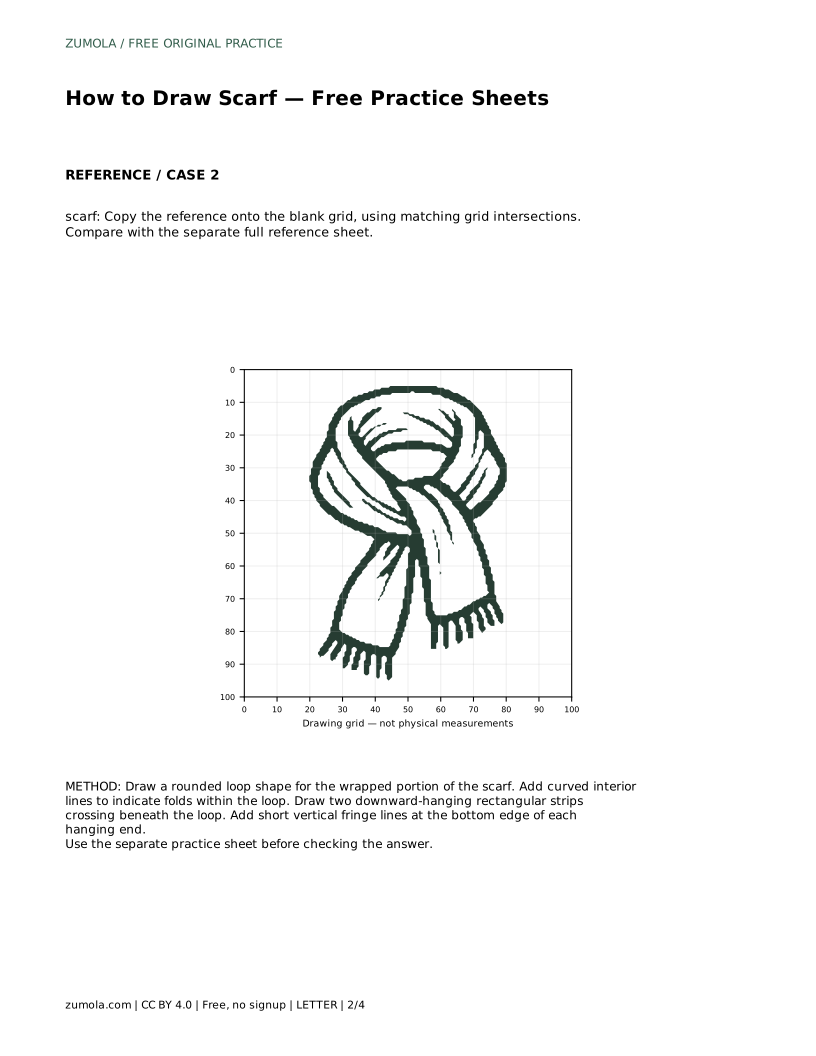
Before drawing, break the scarf into a wrapped loop, two hanging strips and fringe. The loop sits around the neck area and reads as a rounded, slightly flattened ring. The hanging strips fall downward from beneath the loop, often crossing or overlapping. Fringe appears as short vertical lines along the bottom edge of each strip.
Treat fold lines as gentle curves that follow the fabric's direction, not as straight creases. A few well-placed curves suggest softness; too many lines make the cloth look stiff or busy.
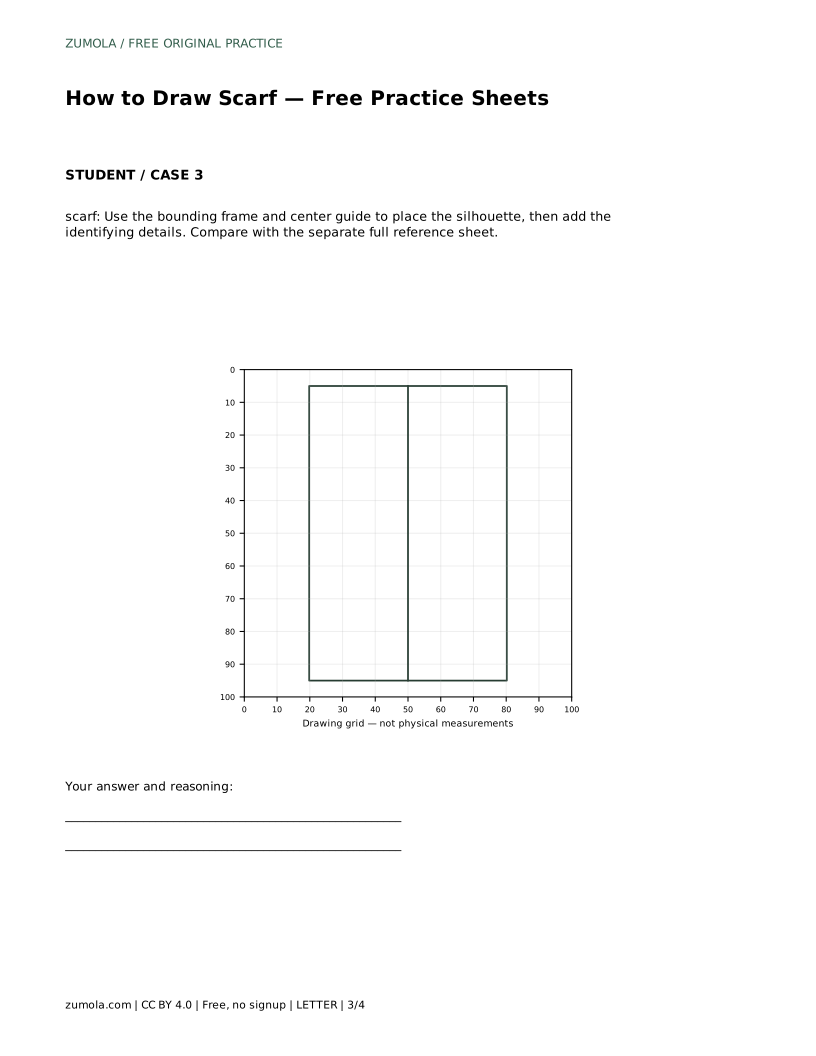
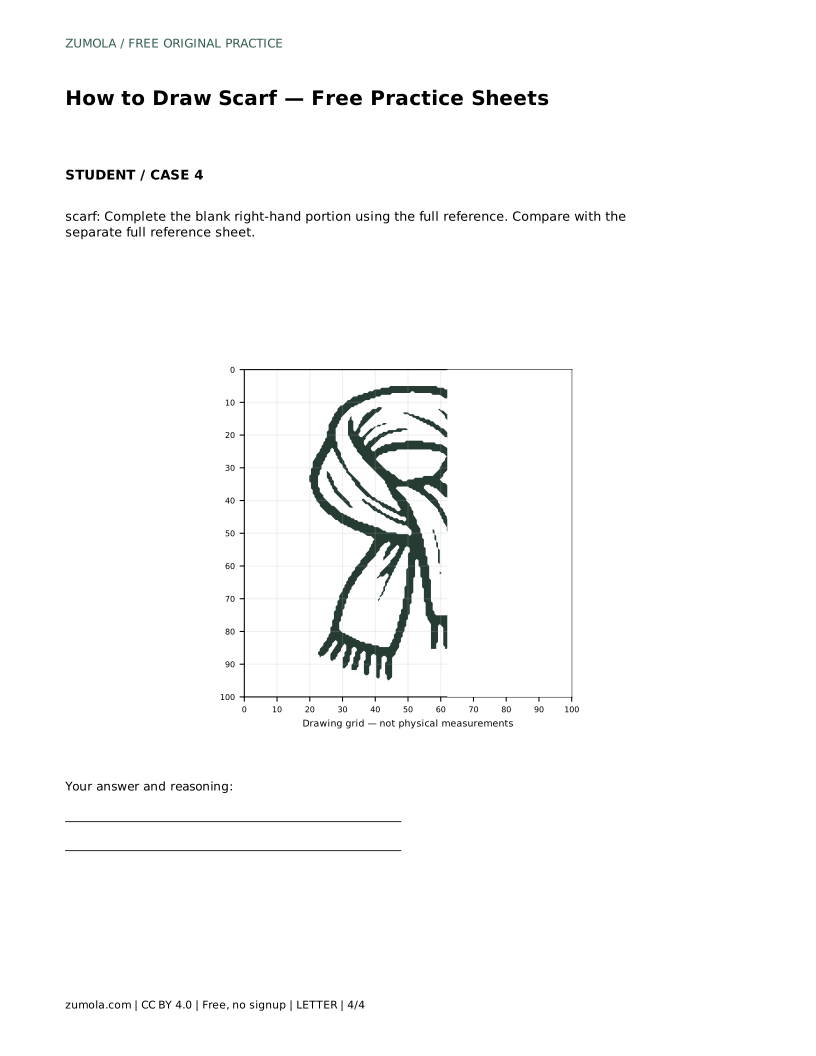
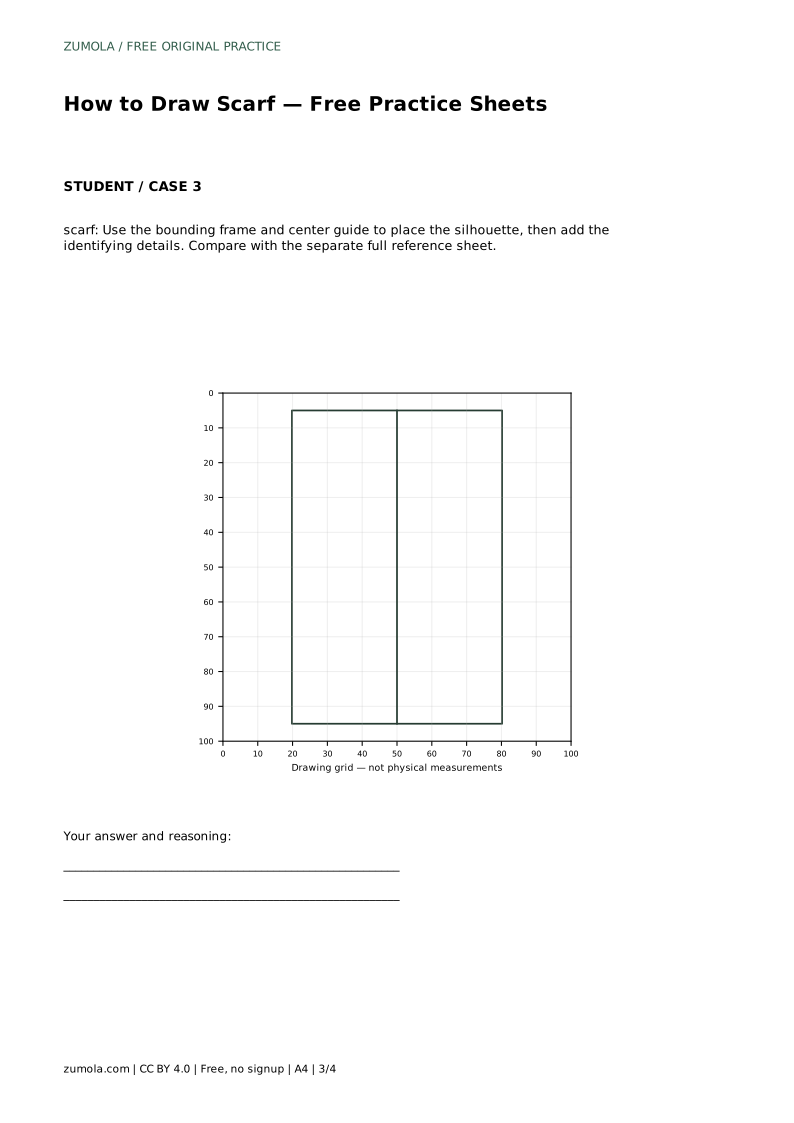
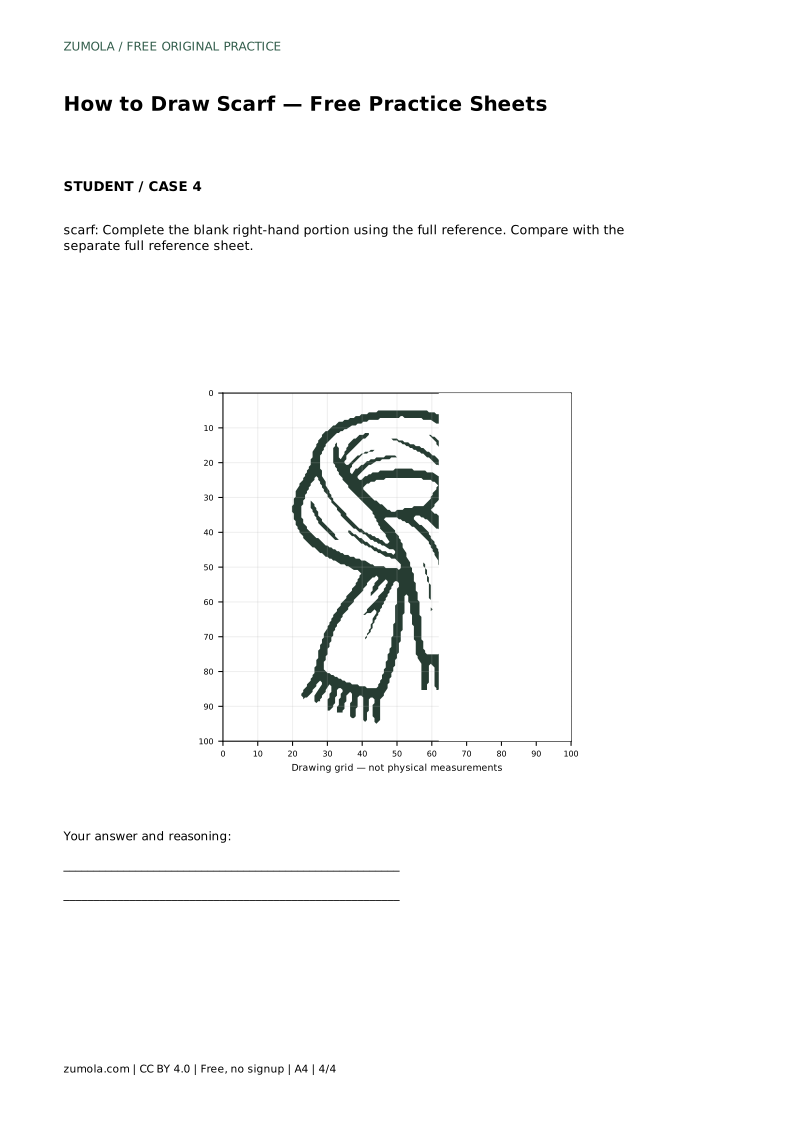
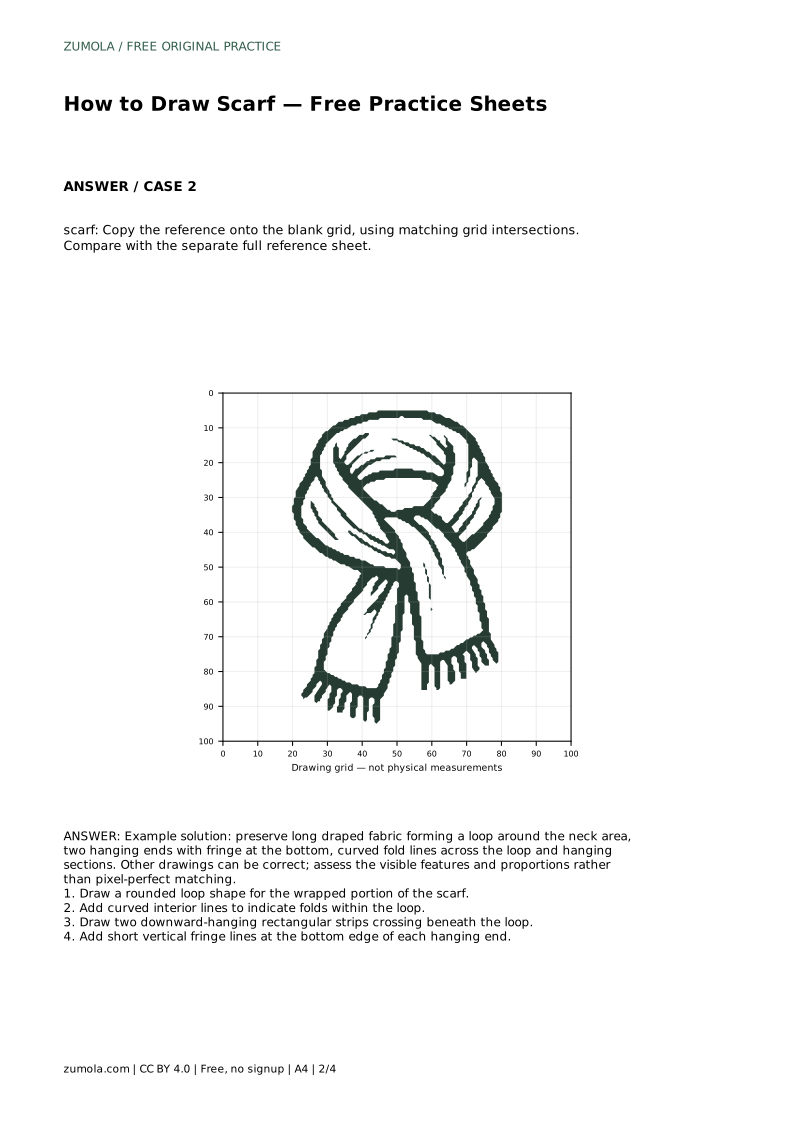
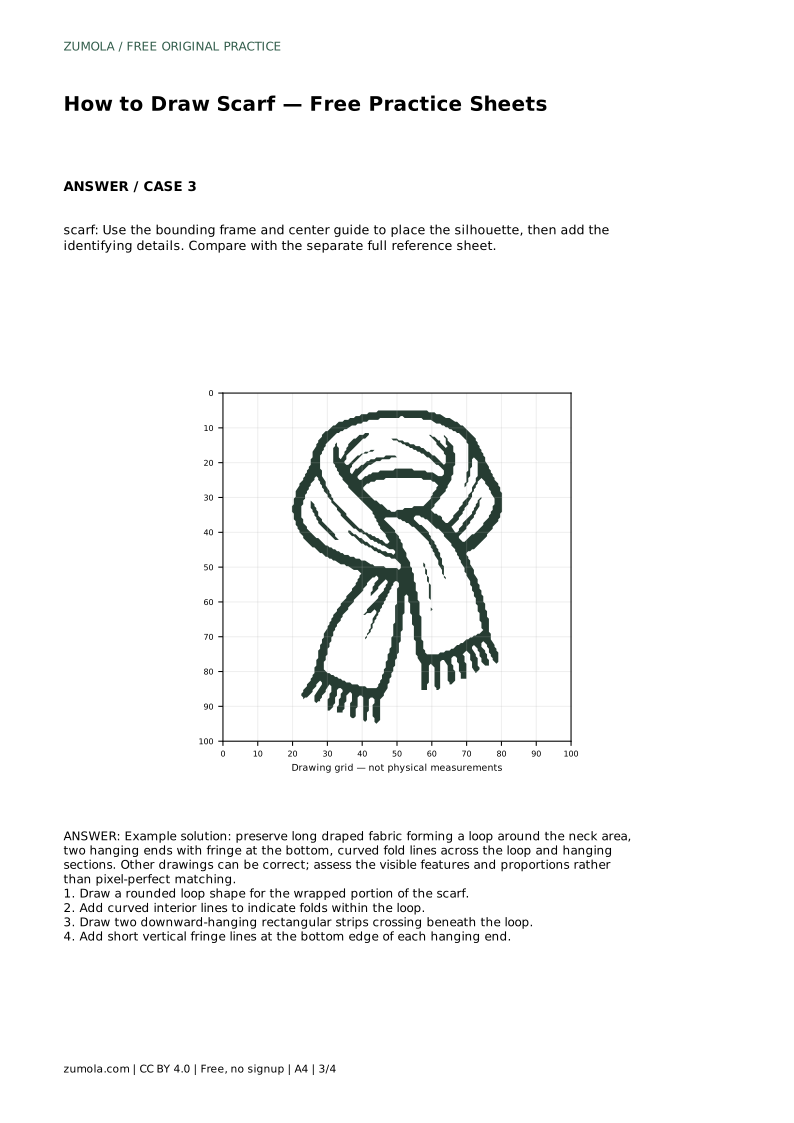
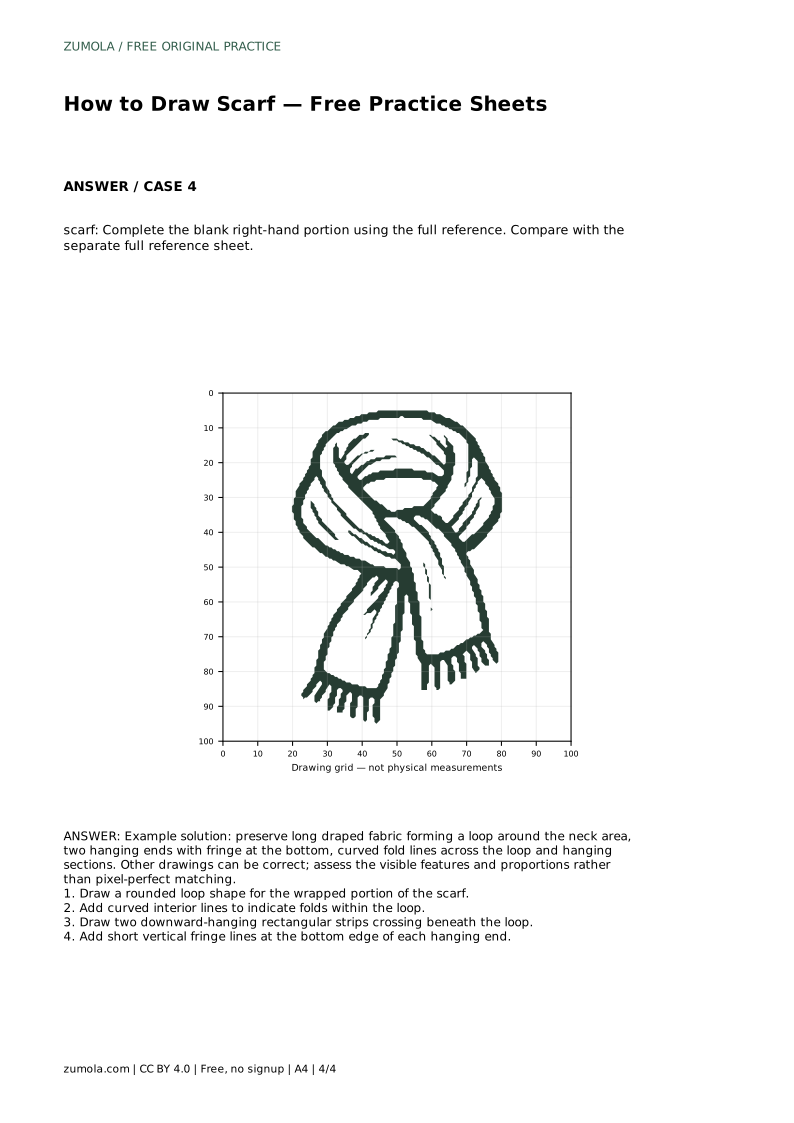
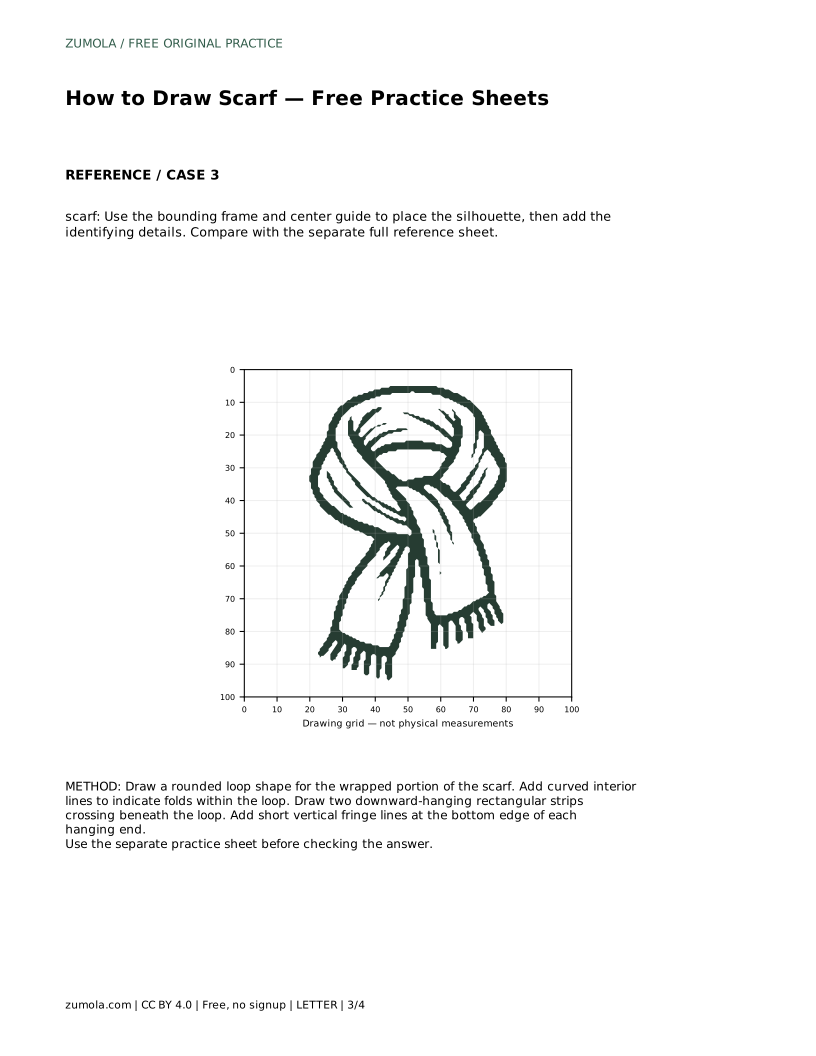
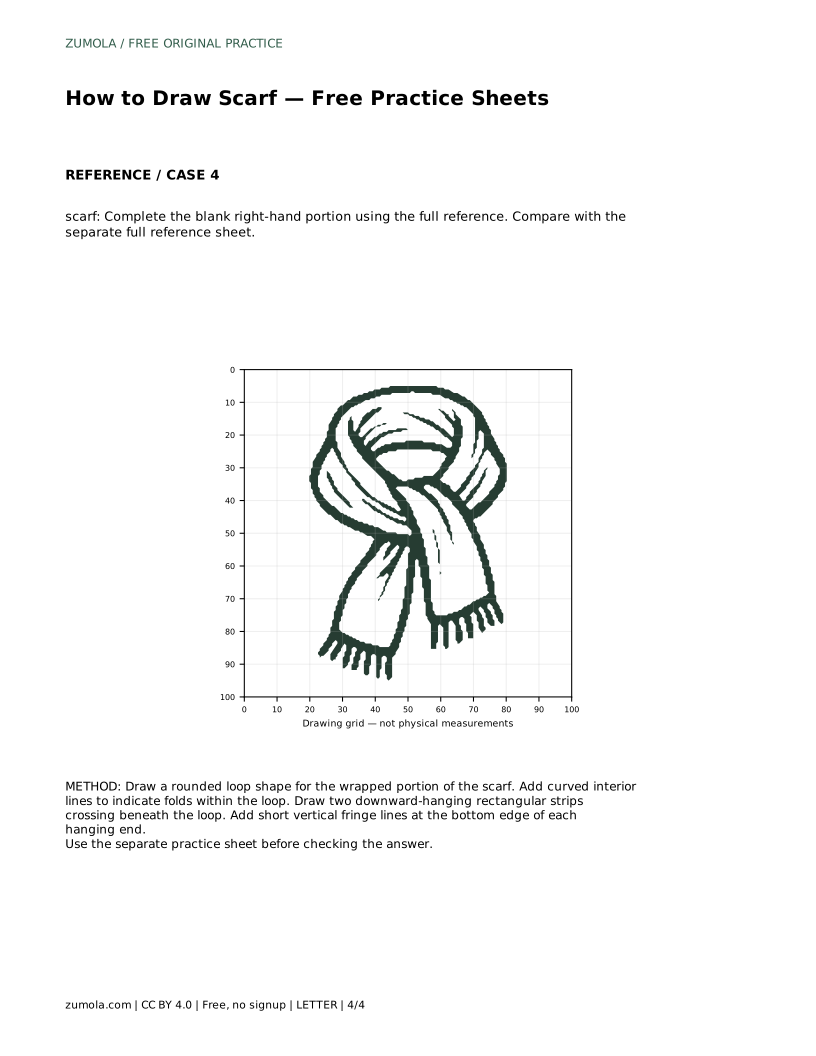
Start with the trace sheet: follow the reference outline, then redraw the contour on your own beside it. Next, copy the reference onto the blank grid, matching grid intersections so proportions stay consistent. Then use the bounding frame and center guide to place the silhouette before adding details. Finally, complete the blank right-hand portion using the full reference.
Each sheet targets a different skill, so compare your result with the separate full reference sheet rather than expecting an identical copy. Check that the loop, hanging ends, fold curves and fringe are all present and in sensible proportion.
Ask whether the loop looks wide enough for a neck and whether the hanging ends are long enough to balance it. Fold lines should curve with the fabric, and fringe should sit at the bottom edge only. Small differences in width or drape are fine; the goal is a readable scarf, not a pixel-perfect match.
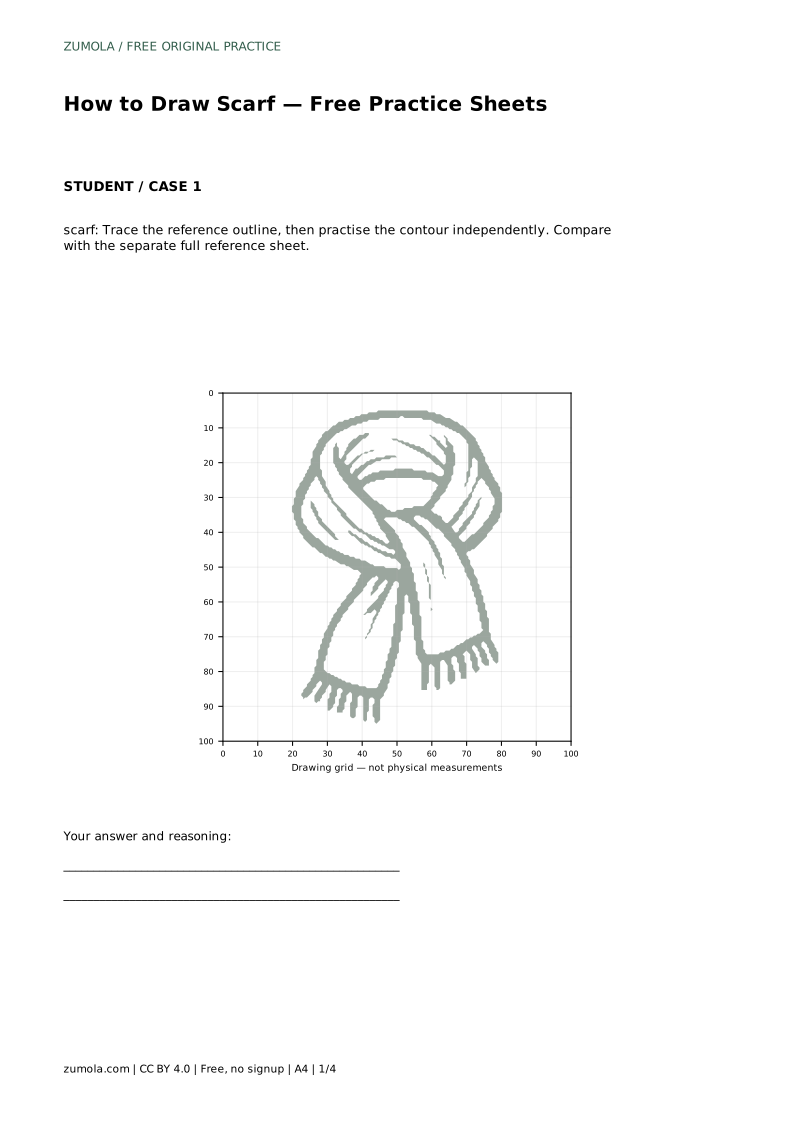
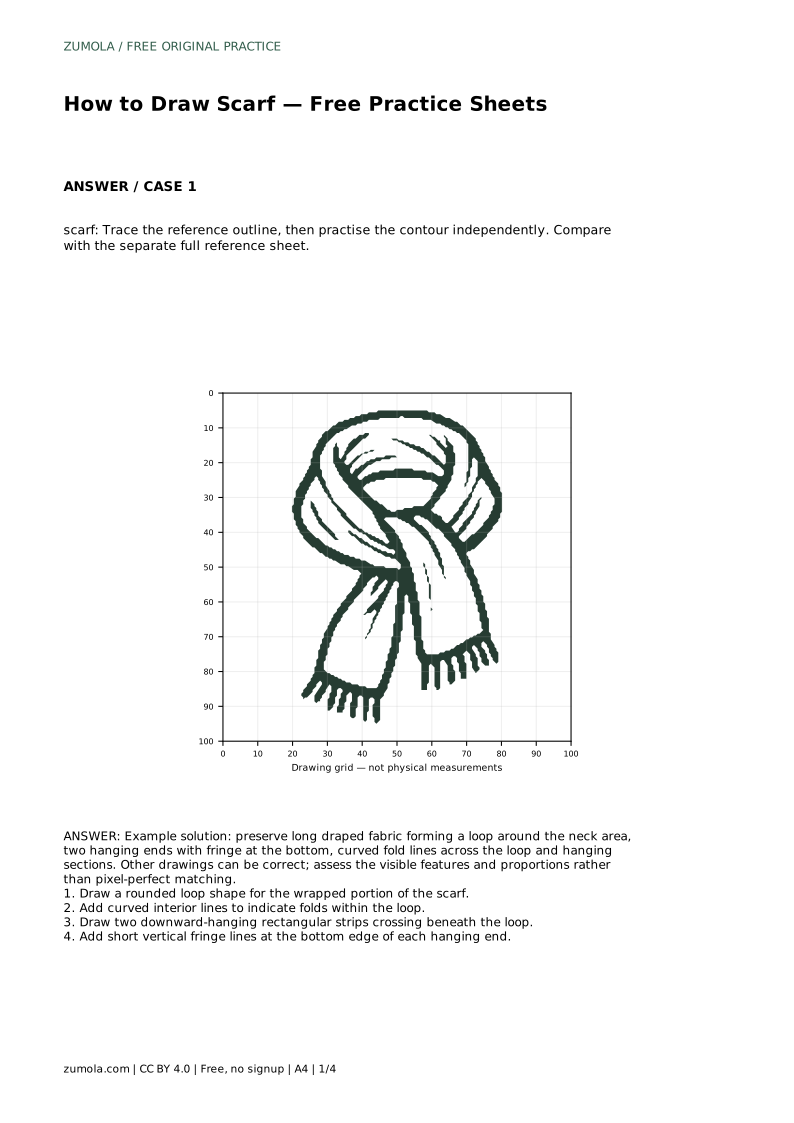
scarf: Trace the reference outline, then practise the contour independently. Compare with the separate full reference sheet.
Example solution: preserve long draped fabric forming a loop around the neck area, two hanging ends with fringe at the bottom, curved fold lines across the loop and hanging sections. Other drawings can be correct; assess the visible features and proportions rather than pixel-perfect matching. Draw a rounded loop shape for the wrapped portion of the scarf. Add curved interior lines to indicate folds within the loop. Draw two downward-hanging rectangular strips crossing beneath the loop. Add short vertical fringe lines at the bottom edge of each hanging end.
No. Several drawings can be correct. Assess the visible features and proportions rather than pixel-perfect matching.
Trace first, then redraw independently, then grid-copy, then use the frame and center guide, and finish with the partial-completion sheet.
Only a few gentle curves are needed to suggest soft fabric; too many lines make the cloth look stiff.
All drawing practice · Free coordinate paper
Original resources · CC BY 4.0 · Free for personal and classroom use with attribution.