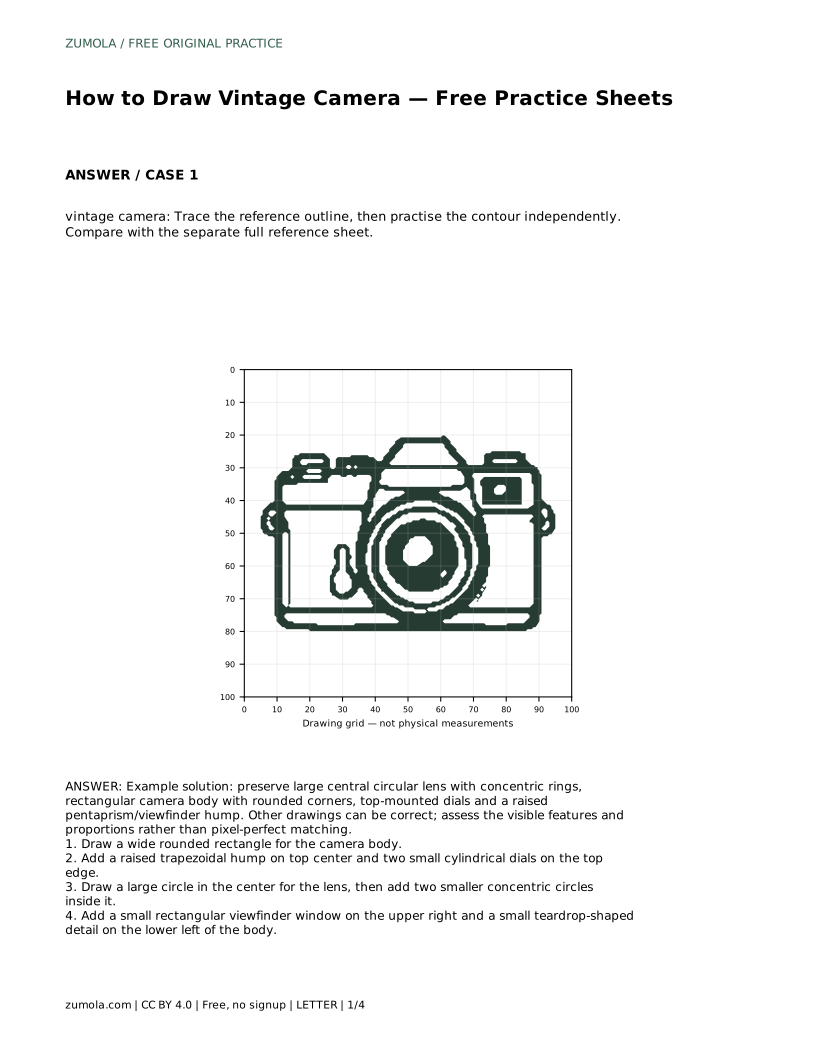
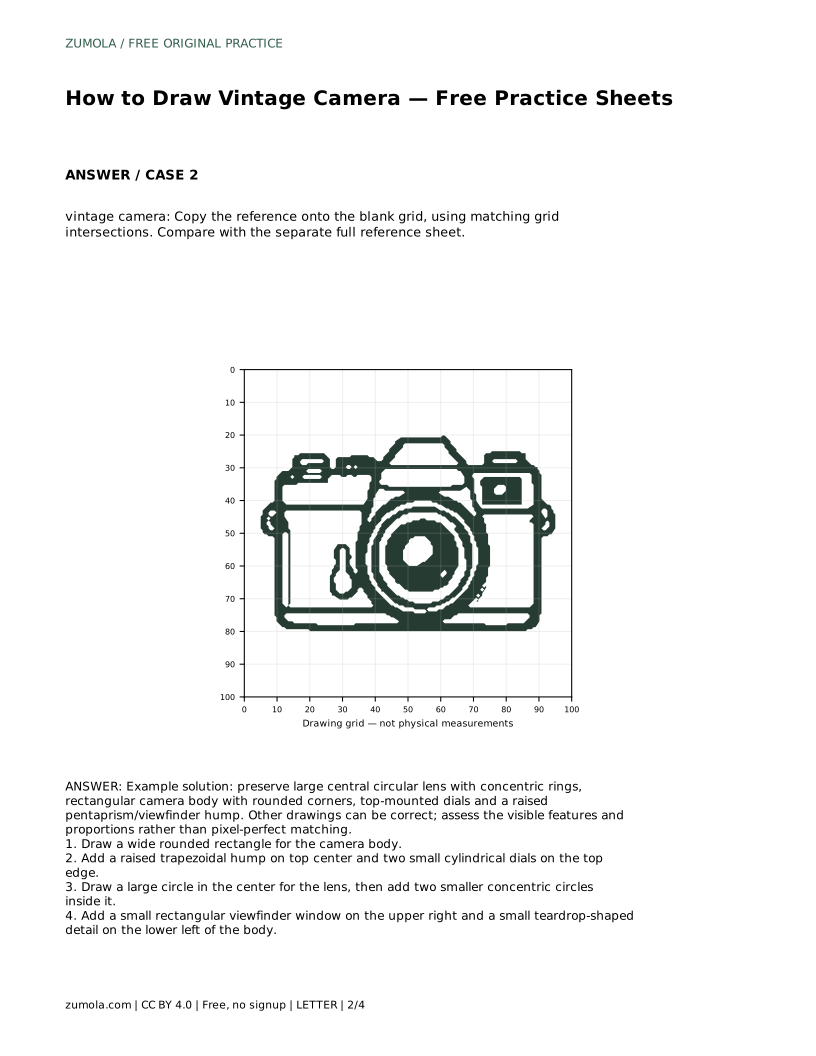
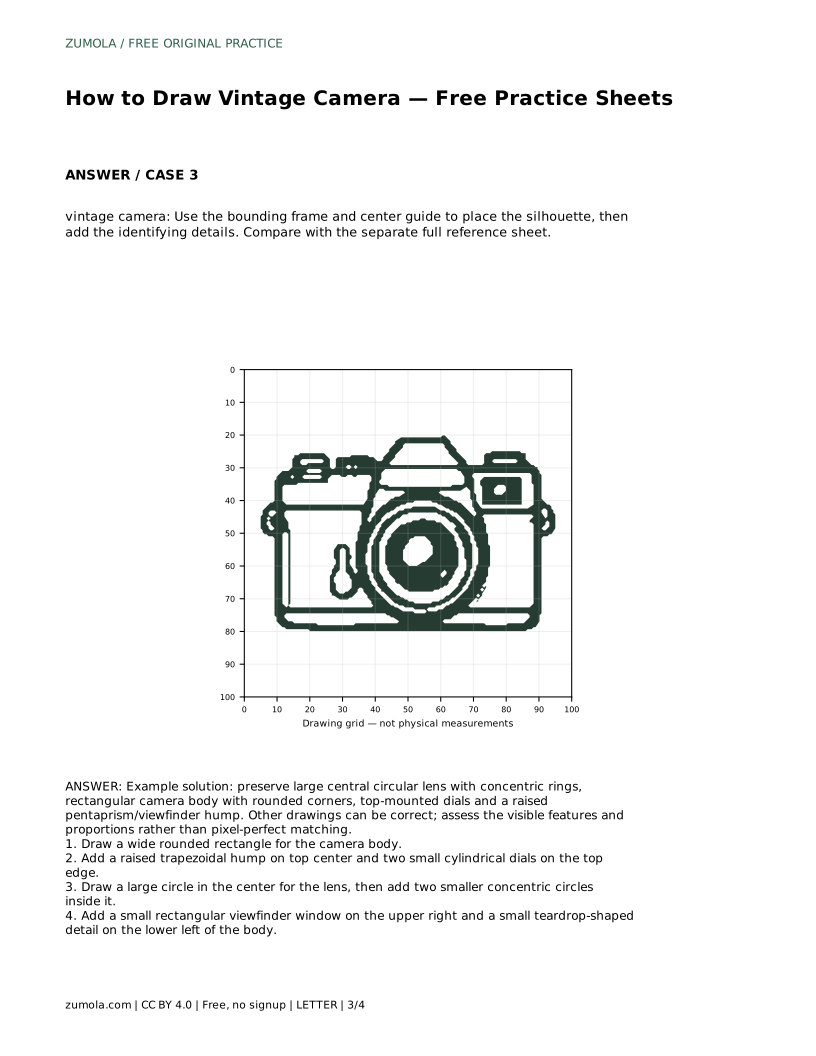
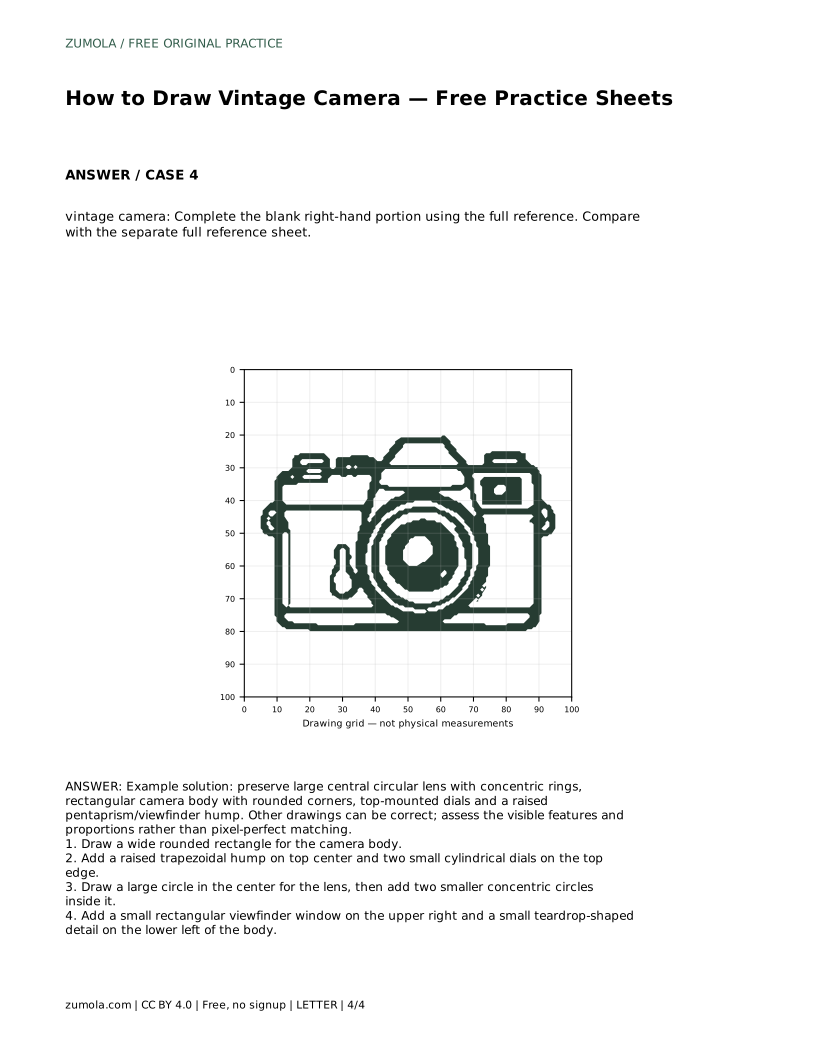
Reference diagrams
LETTER · Download PDF
A4 · Download PDF
Free original resources
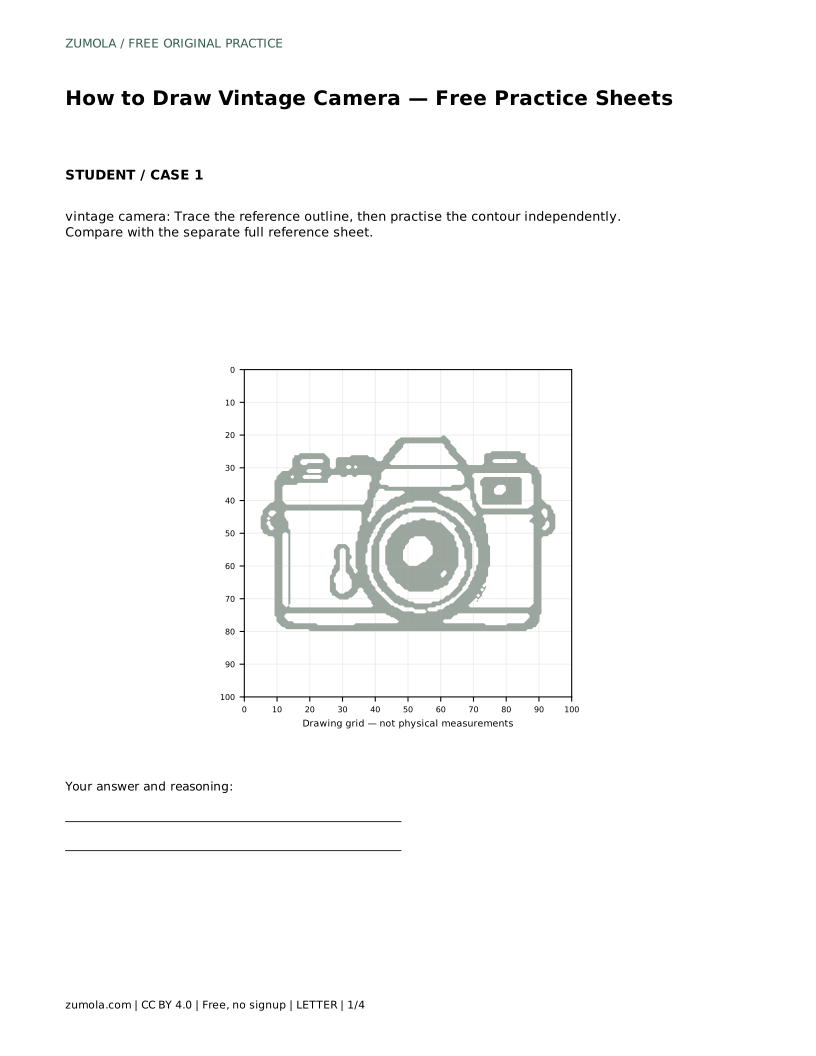
Learn to draw a vintage camera by placing the body, lens rings, viewfinder hump, and dials. Trace, grid, and complete-the-drawing practice sheets support each step.
Four original cases, with reference diagrams, practice sheets and worked answers. Everything is free; no signup required.
LETTER · Download PDF
A4 · Download PDF
LETTER · Download PDF
A4 · Download PDF
LETTER · Download PDF
A4 · Download PDF
Use A4 or US Letter to match your printer. Use the stated values and conditions to solve each exercise; diagrams are not physical measuring rulers.
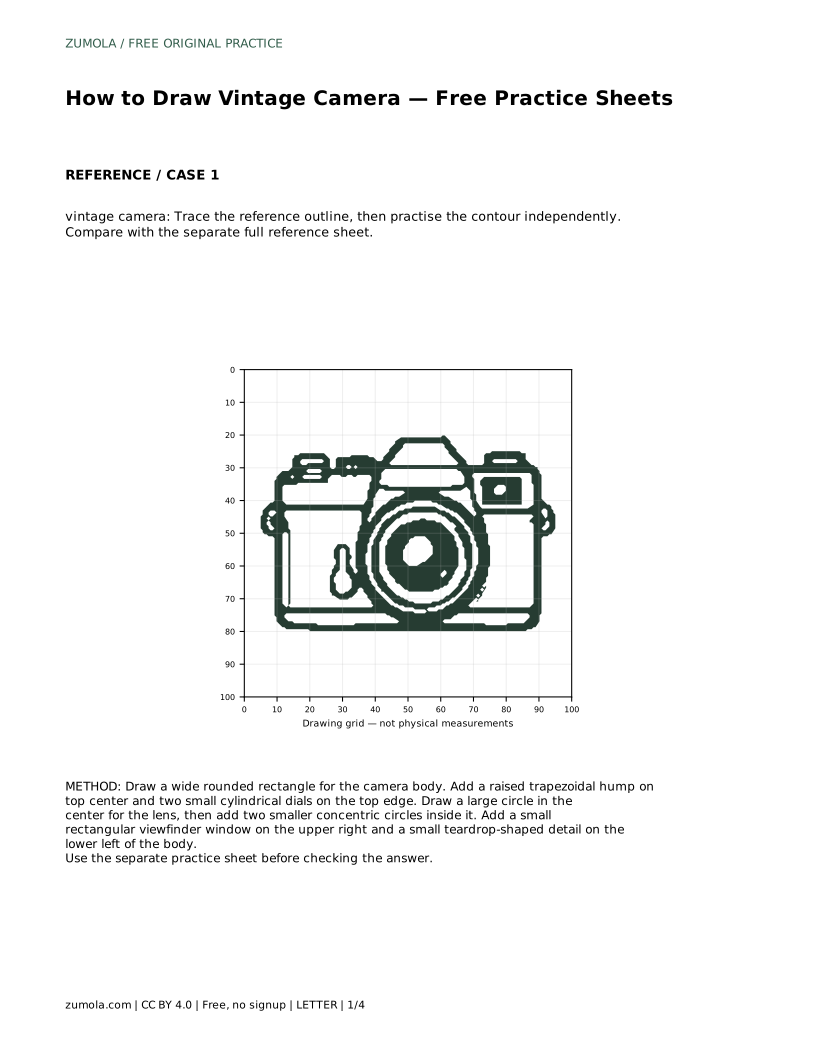
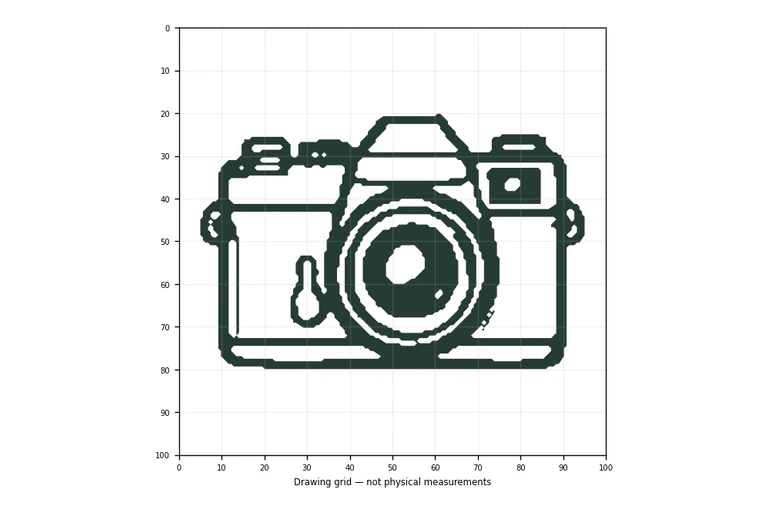
A vintage camera is a rewarding drawing subject because its shape is built from clear, repeatable parts: a wide body, a large central lens, a raised viewfinder hump, and small top controls. This page explains how to place those parts in proportion and how to use the practice sheets to build confidence. The goal is not a pixel-perfect copy but a drawing that keeps the camera's identifying features readable.
Begin by deciding how wide the camera body will be. A vintage camera body is usually wider than it is tall, with softly rounded corners rather than sharp ones. Draw that wide rounded rectangle first, keeping it level. Everything else is positioned relative to this body, so give it a little space on the page for the hump above and the lens in front.
Next, add the raised hump on the top center. Treat it as a trapezoid sitting on the body's top edge, narrower at the top than at the base. Then place the large lens circle in the middle of the body. Check that the circle sits roughly centered and that its diameter leaves a visible border of body around it. These three shapes, body, hump, and lens, carry most of the camera's character.
Inside the large lens circle, draw two smaller concentric circles. Keep their centers aligned with the outer circle so the rings look like nested lenses rather than off-center loops. The spacing between rings can vary, but each ring should close cleanly. If a ring looks wobbly, redraw it lightly before committing to a darker line.
Small details finish the drawing. Place a small rectangular viewfinder window on the upper right of the body, and a small teardrop-shaped detail on the lower left. Add the two cylindrical dials along the top edge beside the hump. Keep these details modest in size; oversized dials or windows can make the camera look unbalanced. Compare your drawing with the full reference sheet to see which features read clearly and which need adjusting.
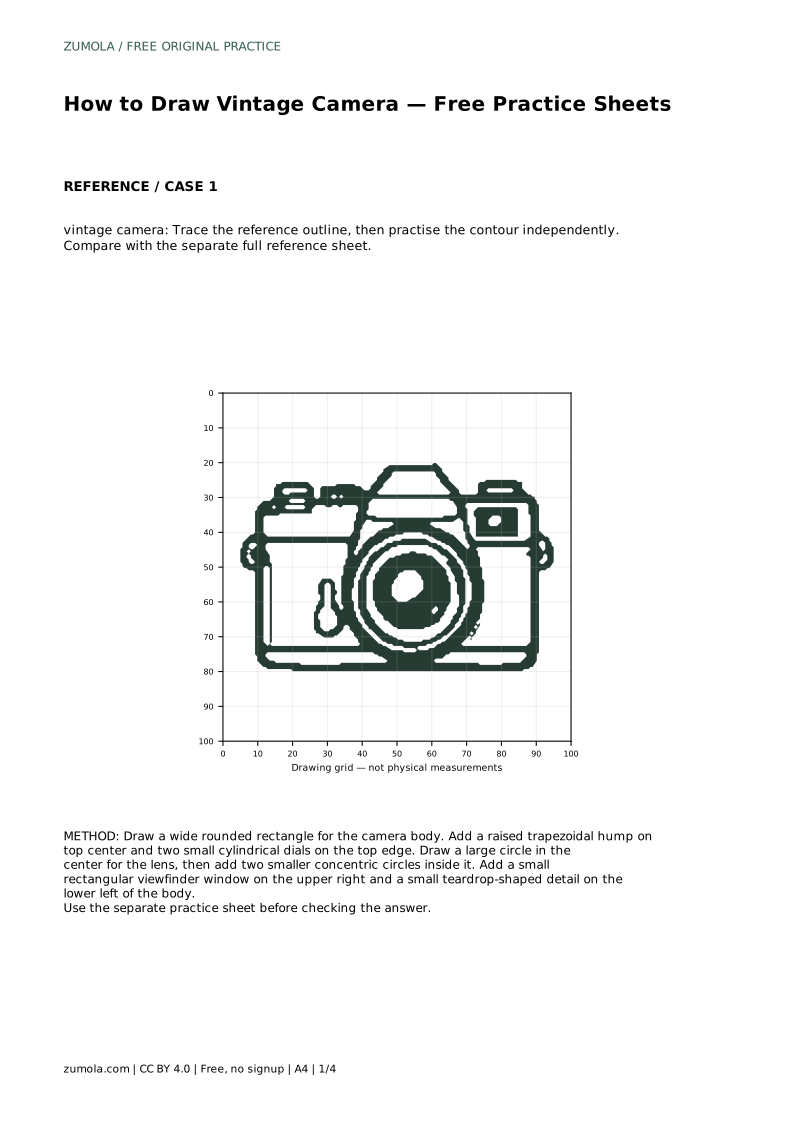
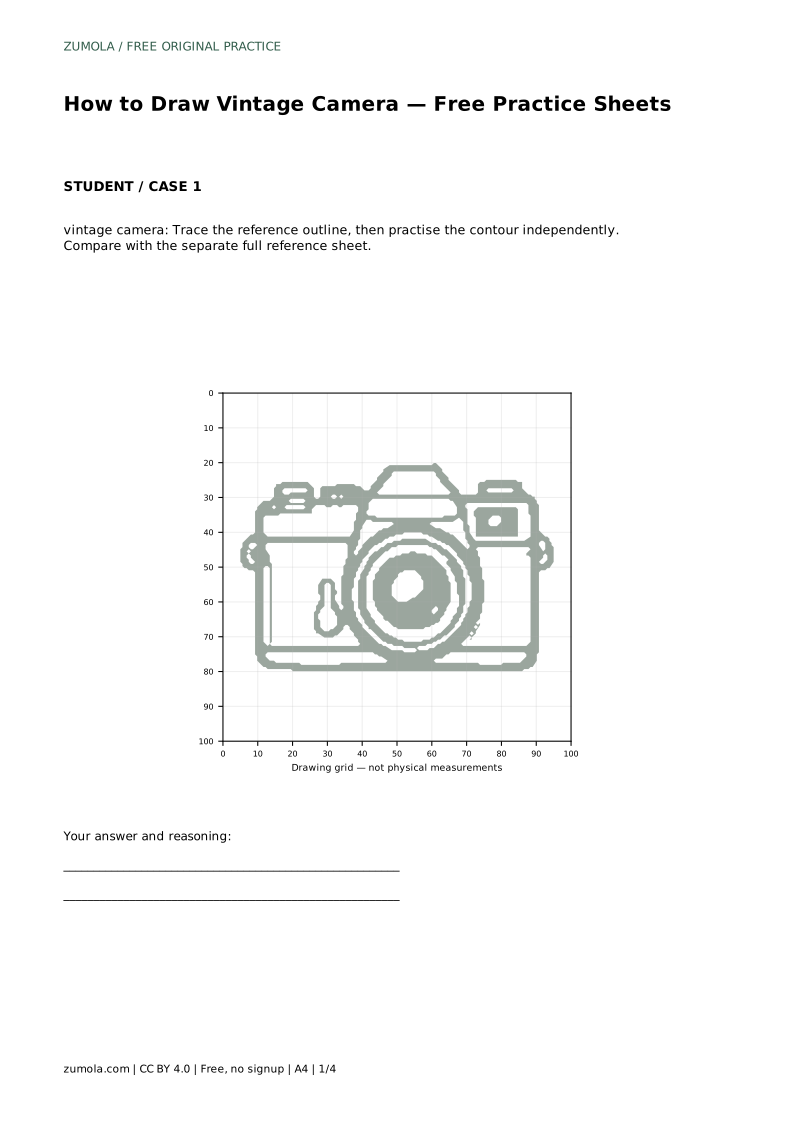
The trace sheet asks you to follow the reference outline first, then practise the contour independently. Tracing builds the hand's memory for the body curve and lens circle; the independent pass tests whether you can reproduce them without the guide.
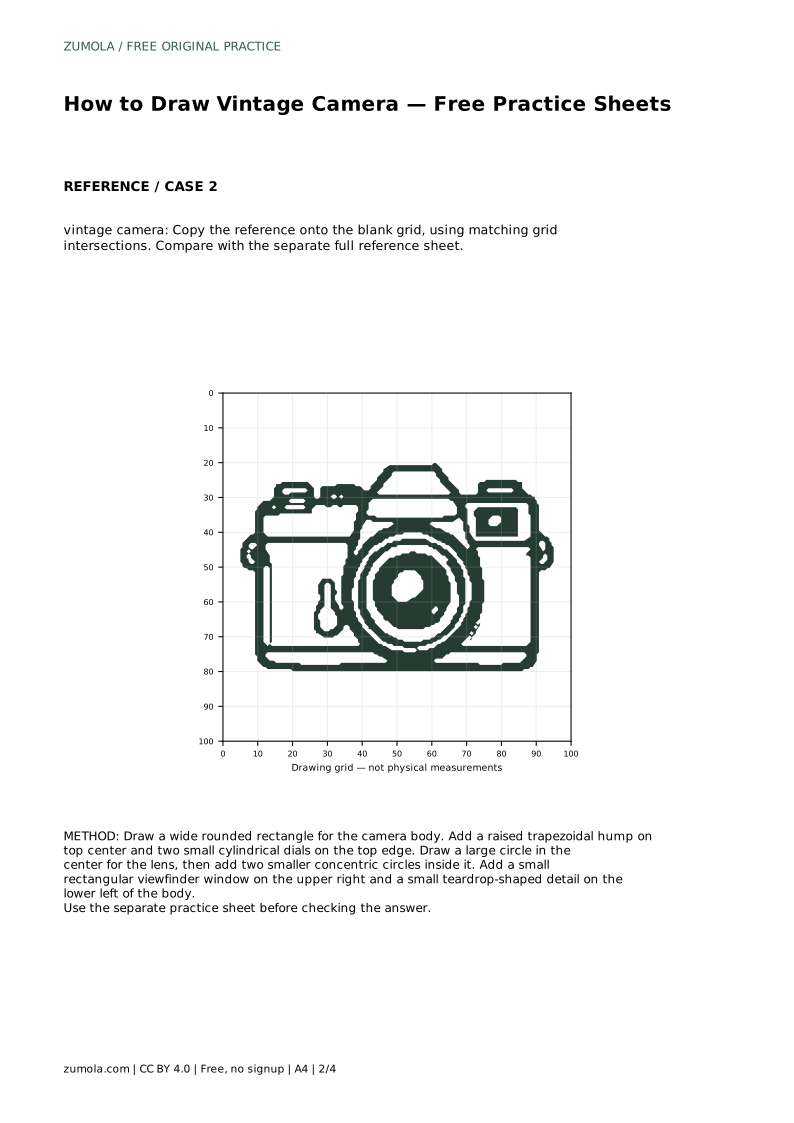
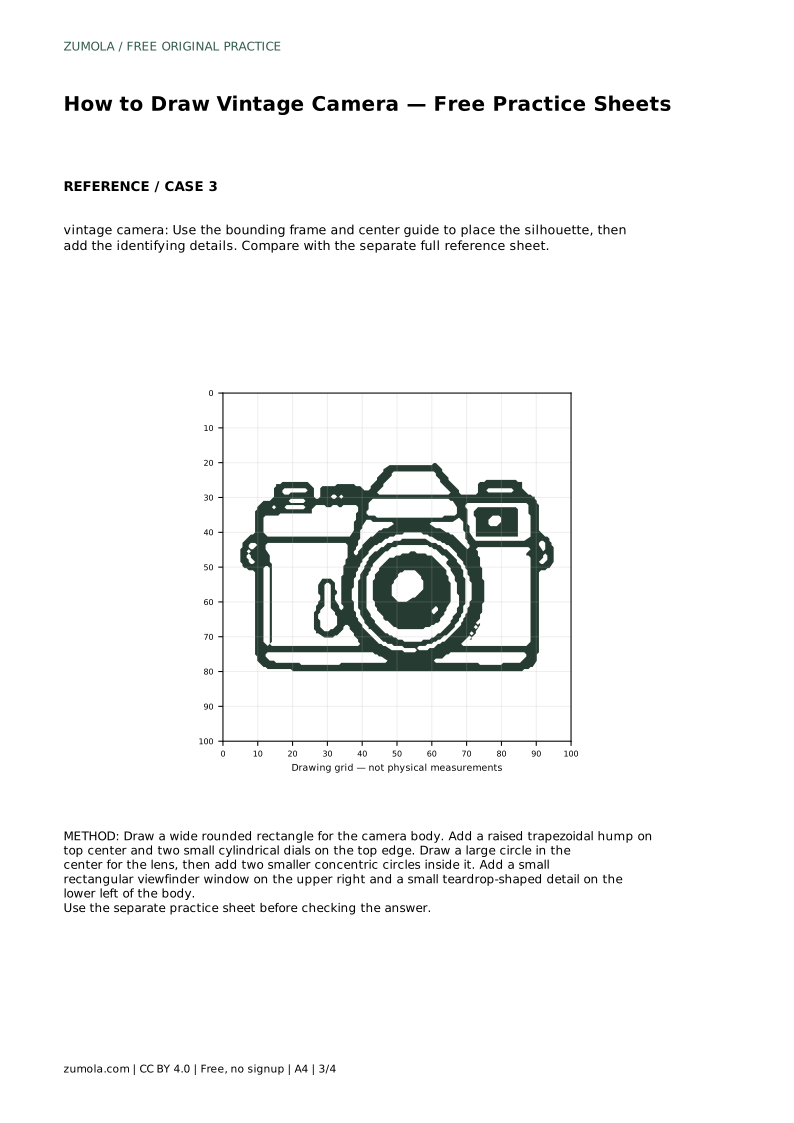
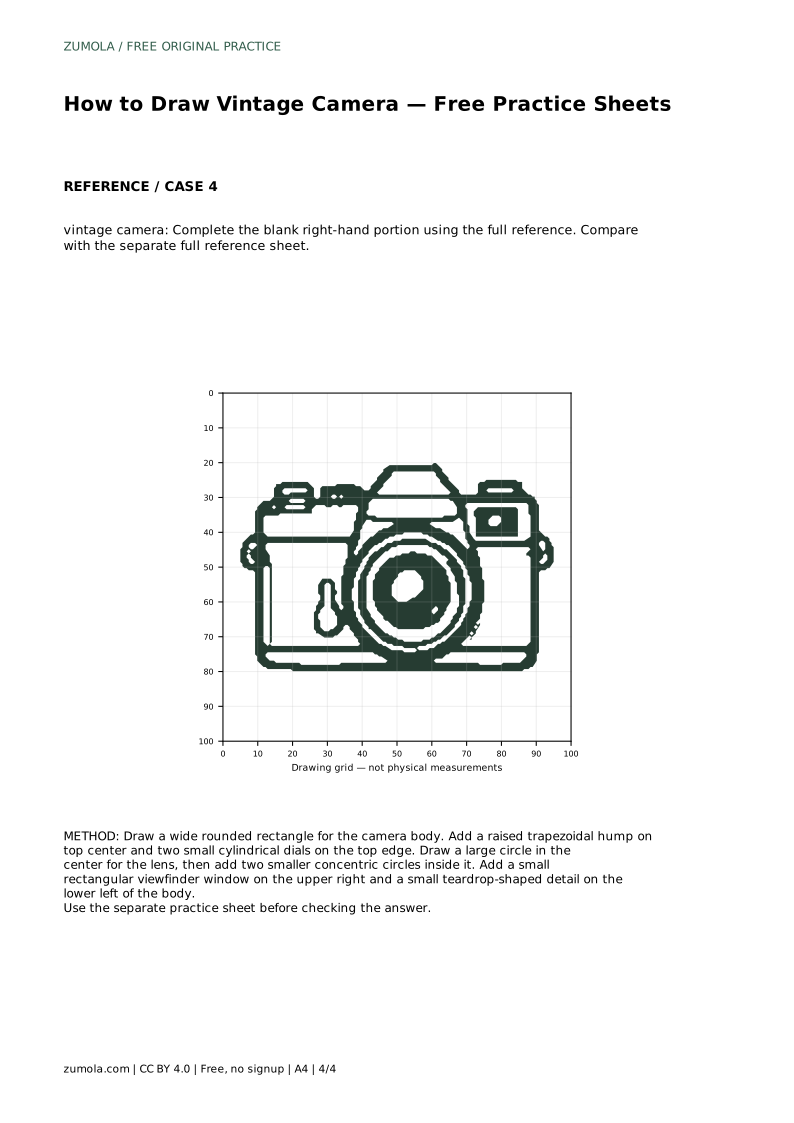
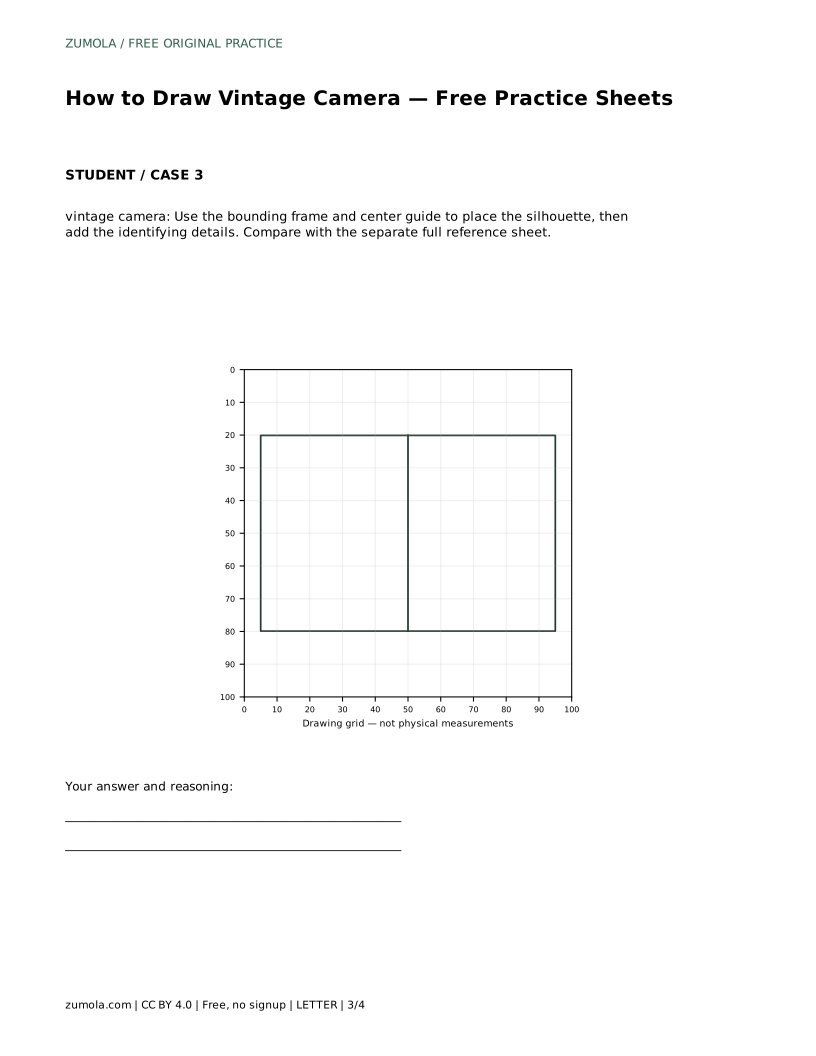
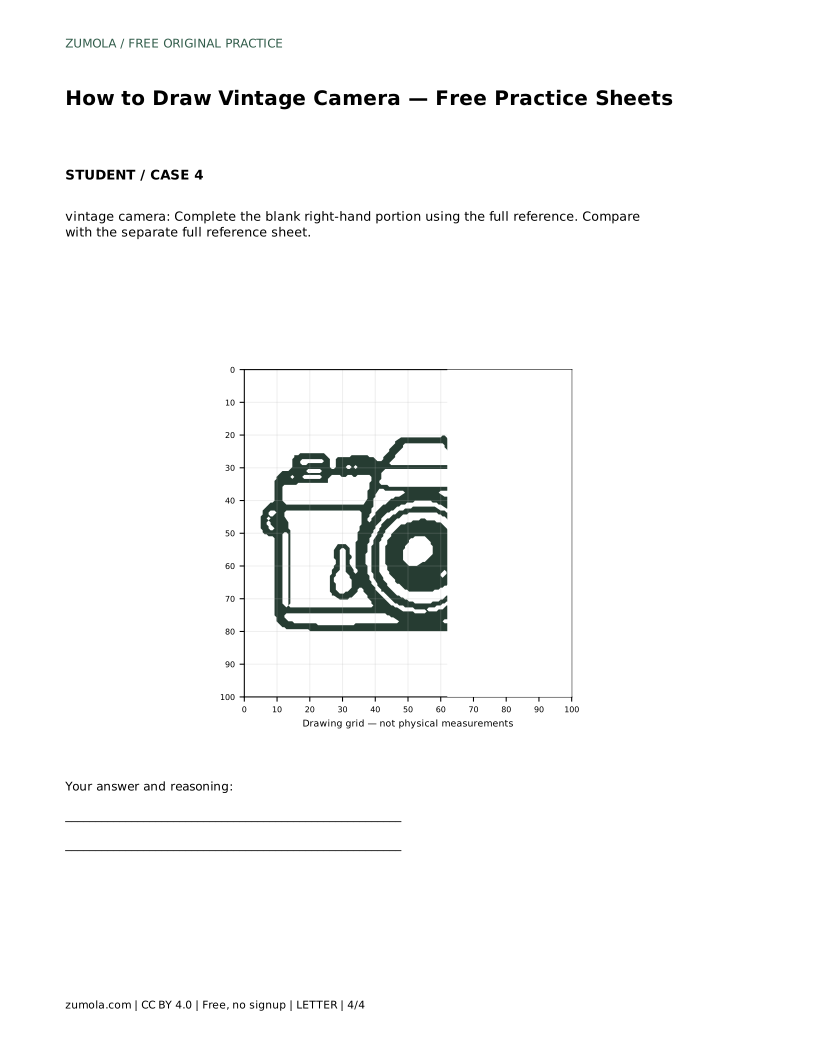
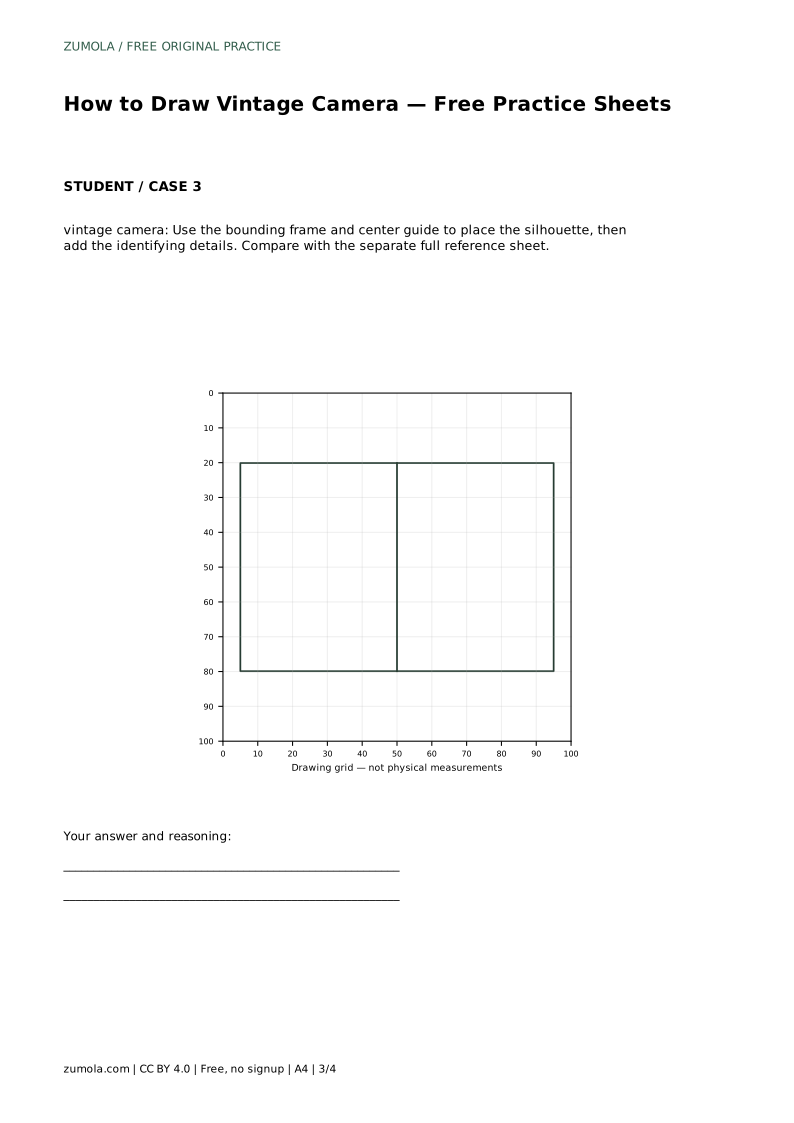
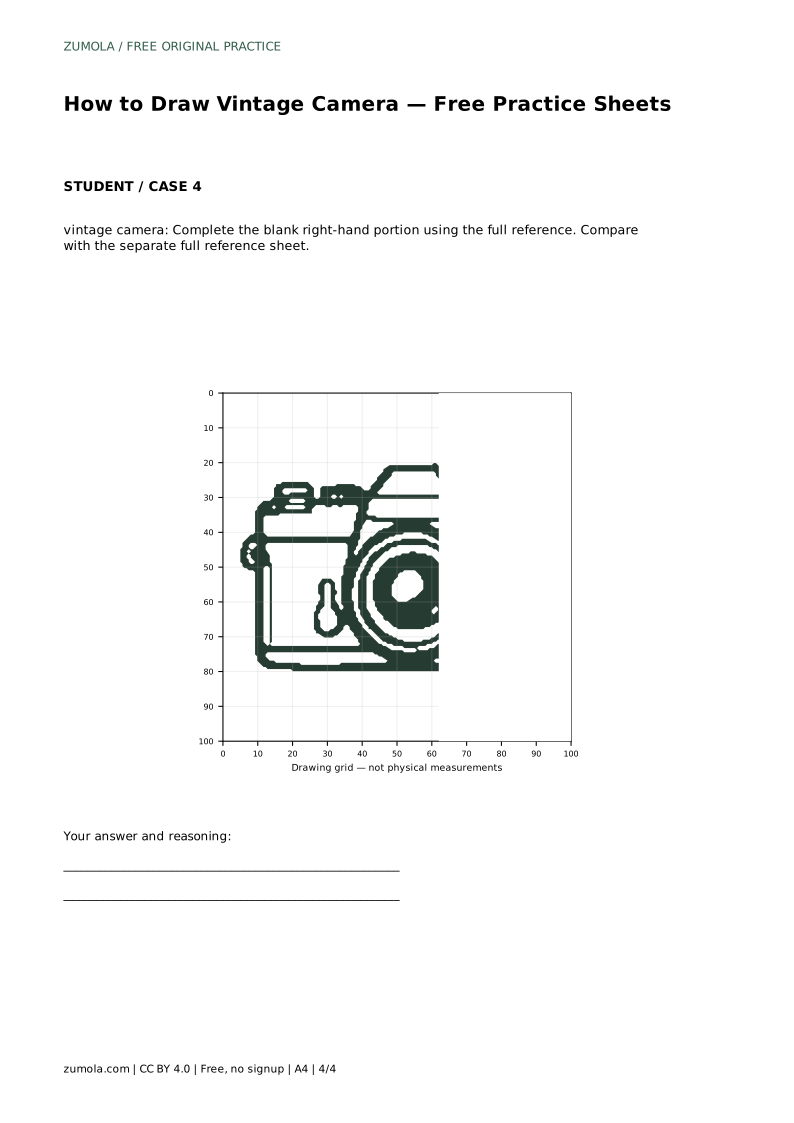
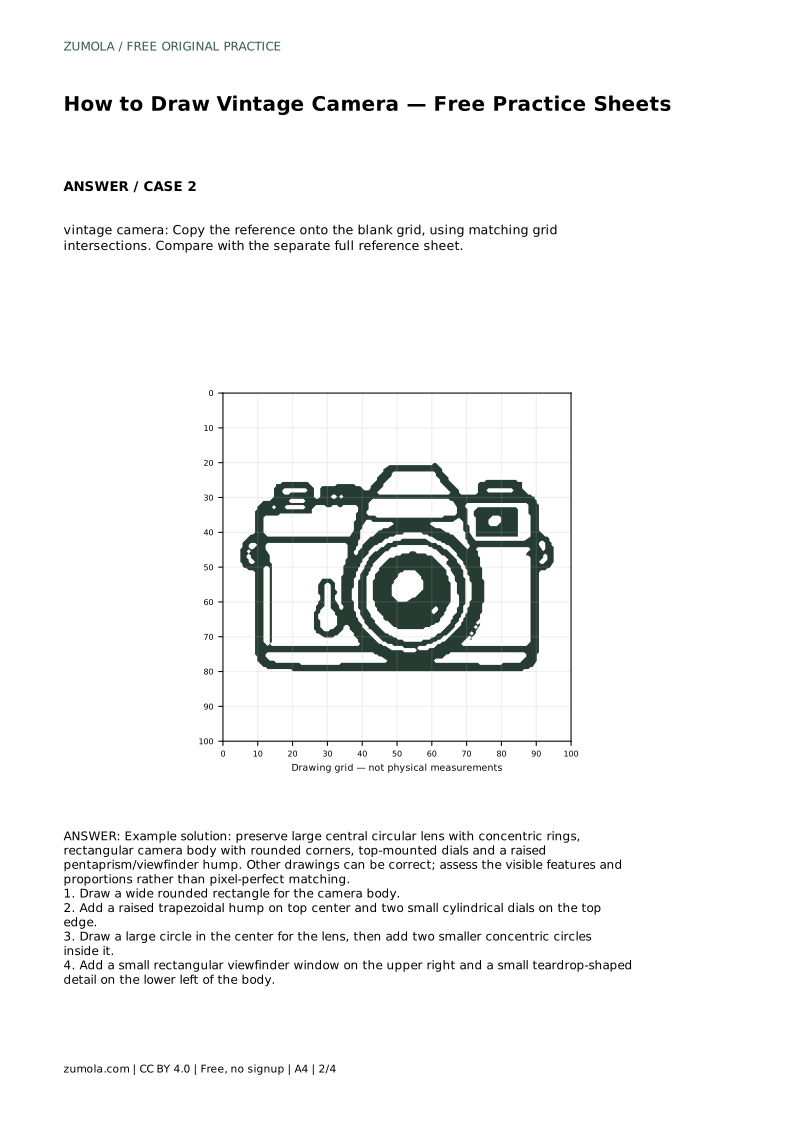
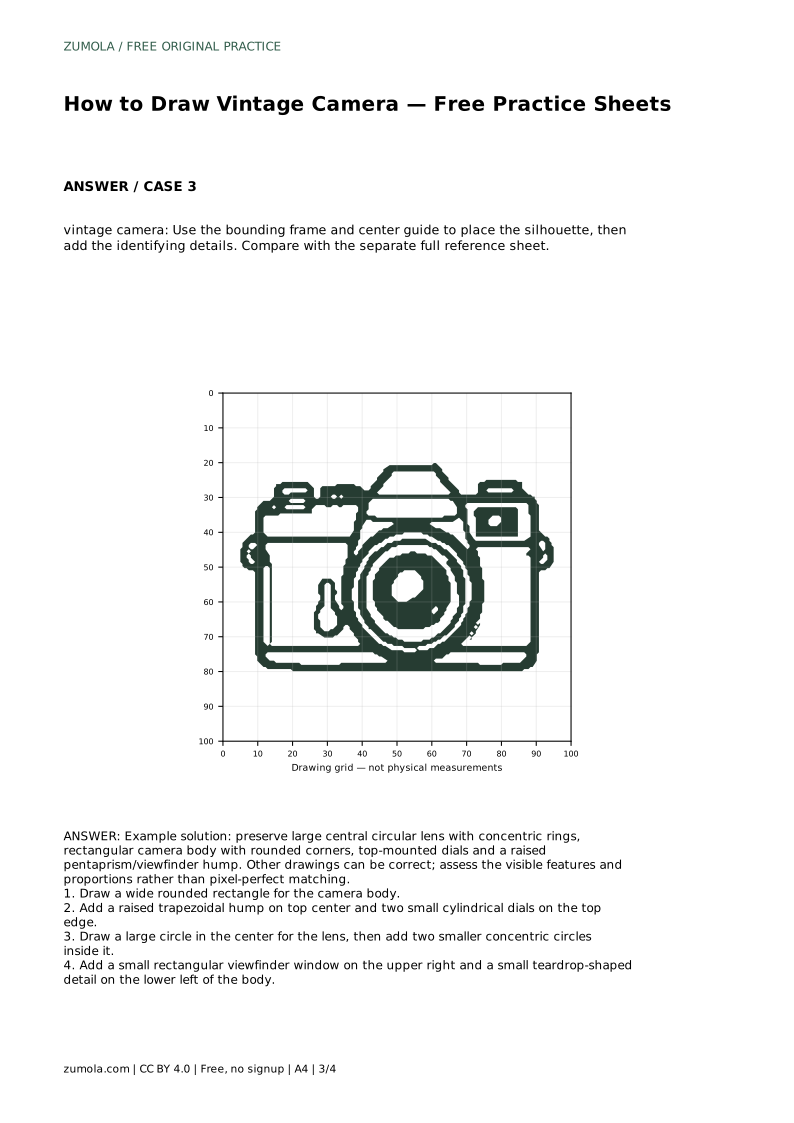
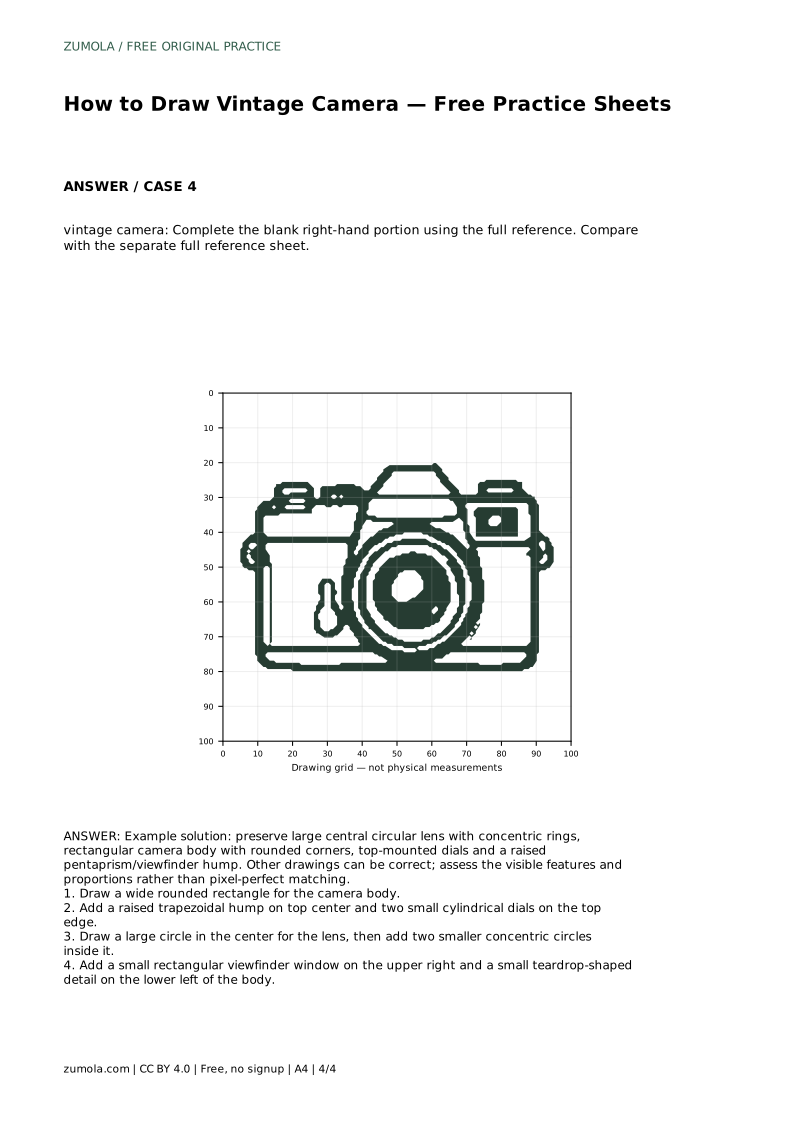
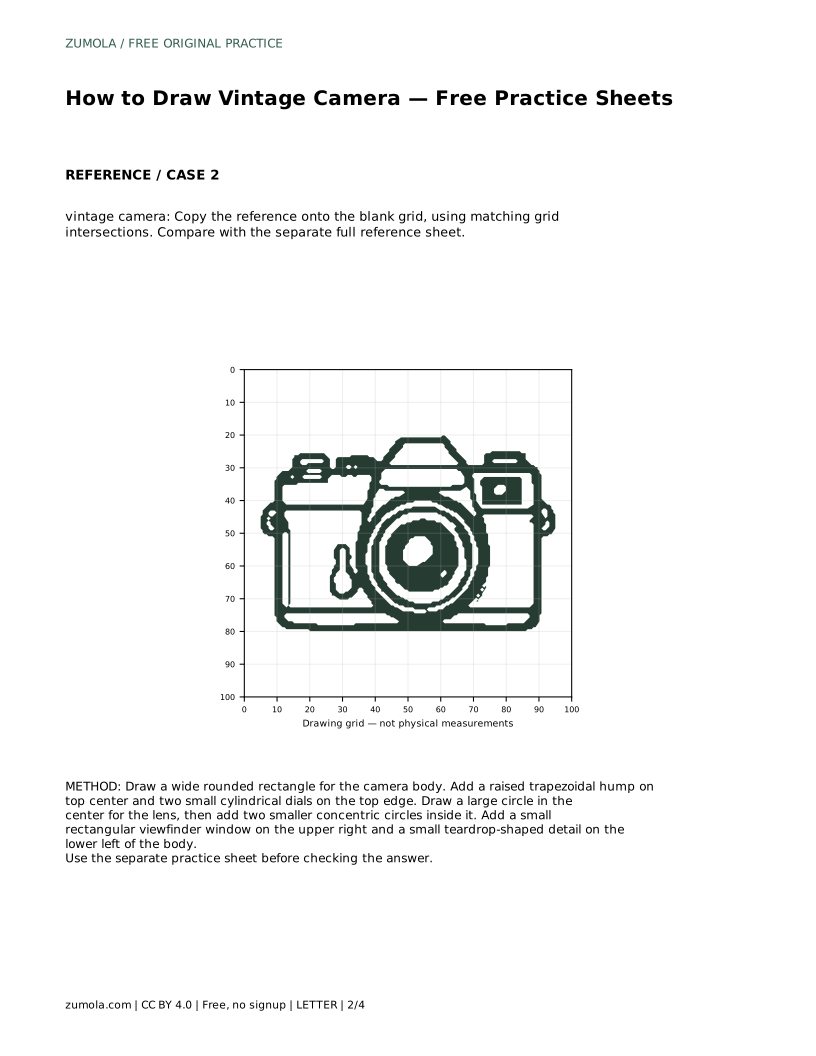
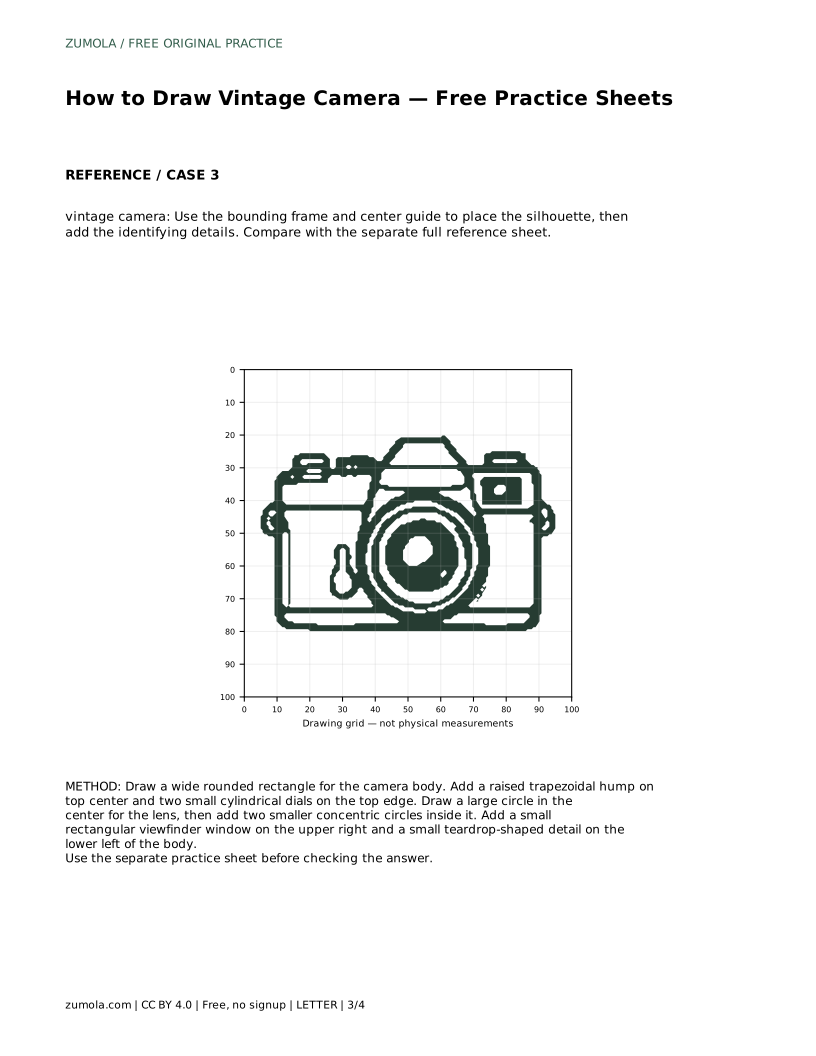
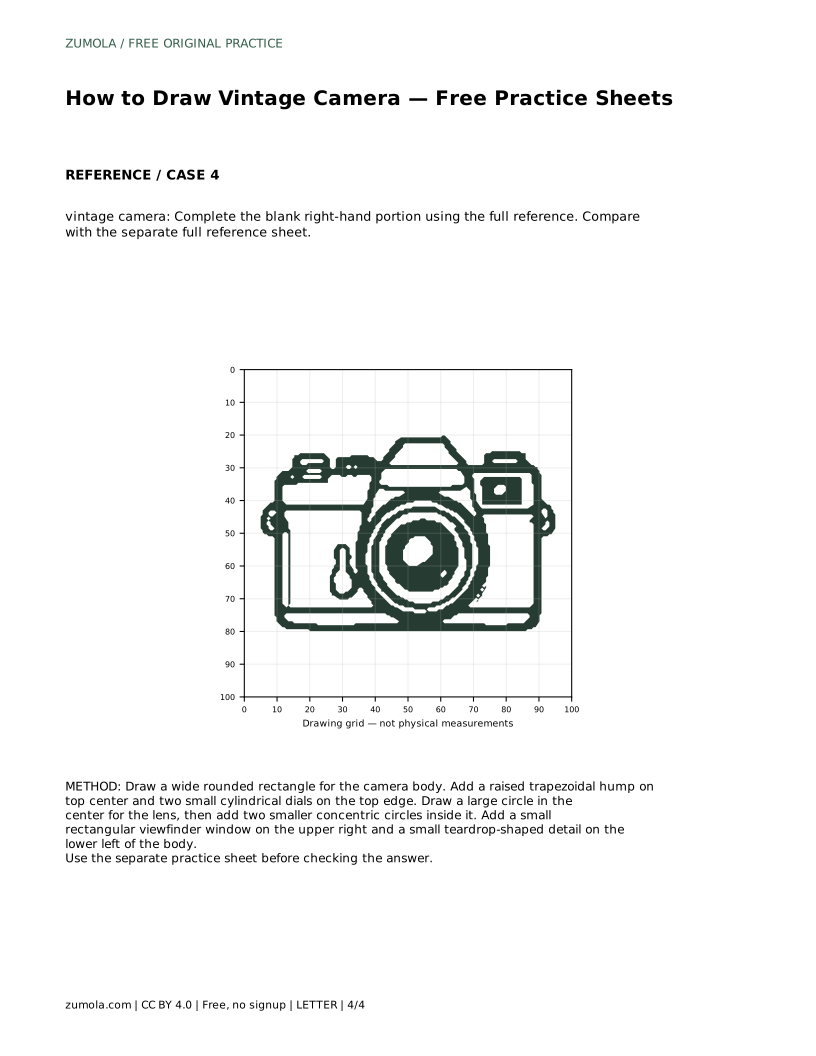
The grid sheet asks you to copy the reference onto a blank grid using matching intersections. Use the grid to judge where the lens center sits and how far the hump rises above the body. The bounding-frame sheet gives a center guide for placing the silhouette before adding details. The complete-the-drawing sheet provides the left portion and asks you to finish the right side from the full reference. In every format, compare with the separate full reference sheet at the end rather than during the first pass.
Camera drawings have many valid outcomes. A slightly wider body or a larger lens can still be correct if the parts stay in proportion and the identifying features remain visible. Assess the large central lens with concentric rings, the rounded rectangular body, the top-mounted dials, and the raised hump. If those read clearly, the drawing succeeds even when it differs from the reference.
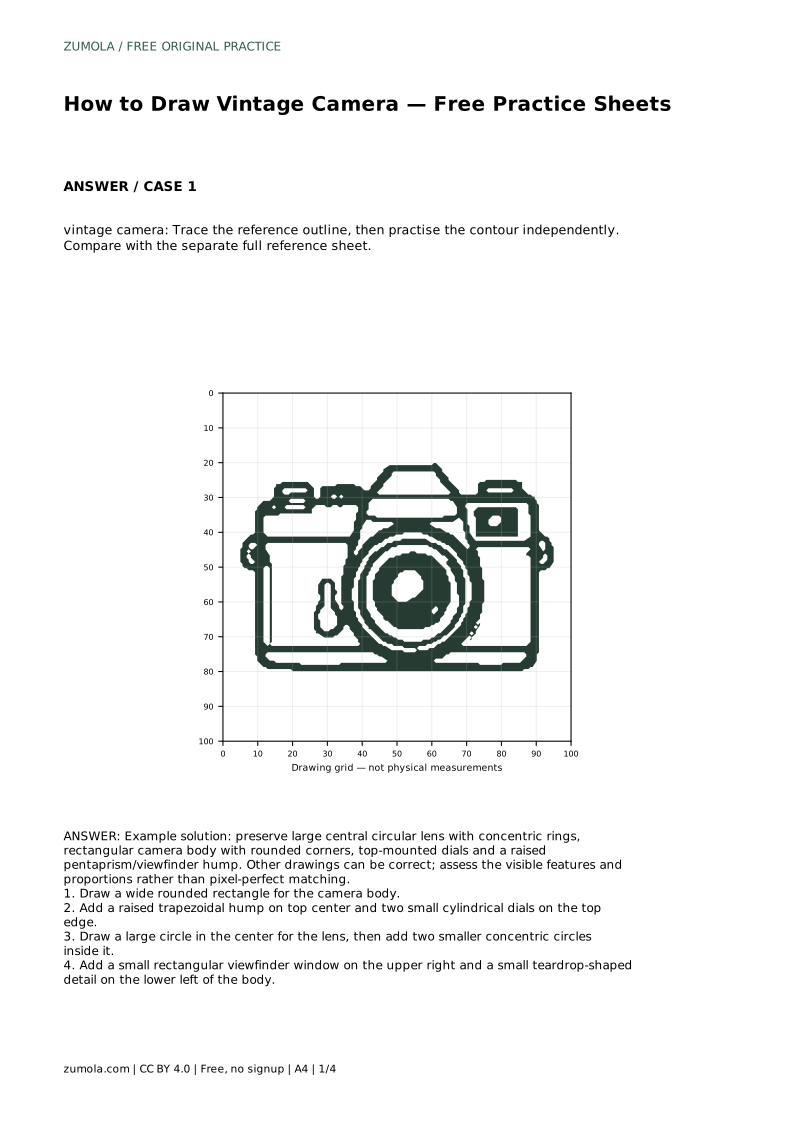
vintage camera: Trace the reference outline, then practise the contour independently. Compare with the separate full reference sheet.
Example solution: preserve large central circular lens with concentric rings, rectangular camera body with rounded corners, top-mounted dials and a raised pentaprism/viewfinder hump. Other drawings can be correct; assess the visible features and proportions rather than pixel-perfect matching. Draw a wide rounded rectangle for the camera body. Add a raised trapezoidal hump on top center and two small cylindrical dials on the top edge. Draw a large circle in the center for the lens, then add two smaller concentric circles inside it. Add a small rectangular viewfinder window on the upper right and a small teardrop-shaped detail on the lower left of the body.
No. Other drawings can be correct. Assess the visible features and proportions rather than pixel-perfect matching.
Start with the trace sheet to learn the outline, then move to the grid or bounding-frame sheet to practise placement without tracing.
Large enough to dominate the body's center while leaving a clear border of body around it. The concentric rings should fit comfortably inside.
All drawing practice · Free coordinate paper
Original resources · CC BY 4.0 · Free for personal and classroom use with attribution.