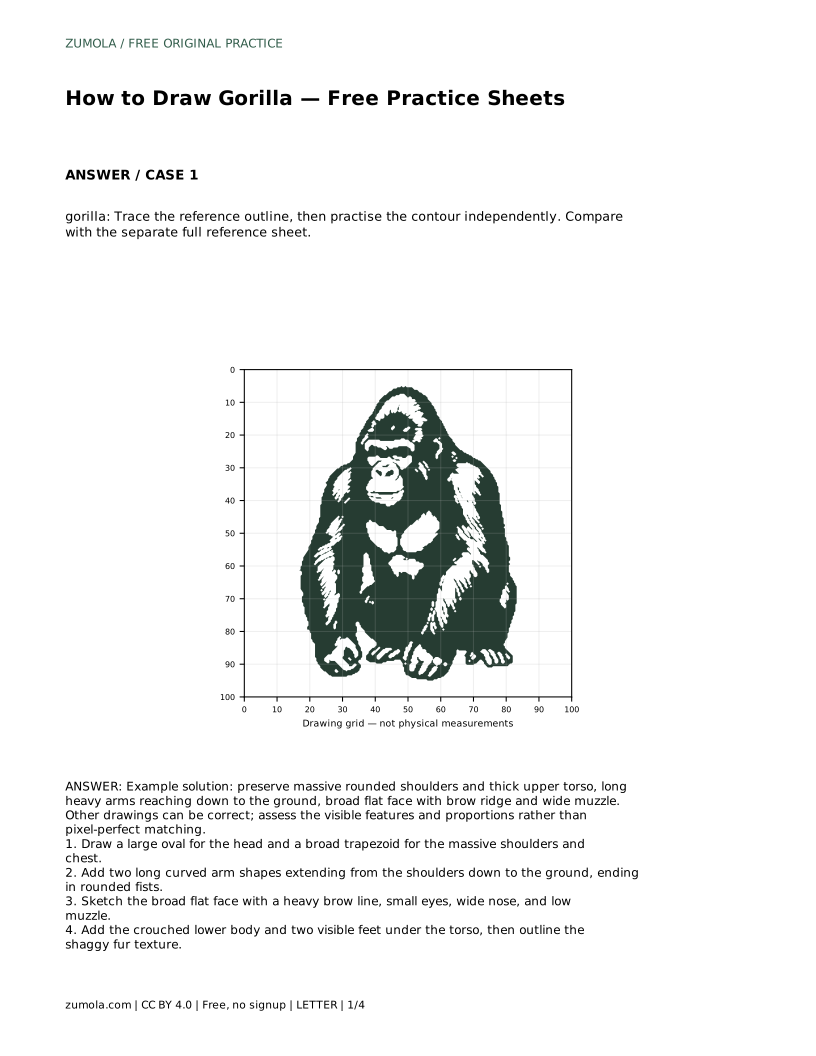
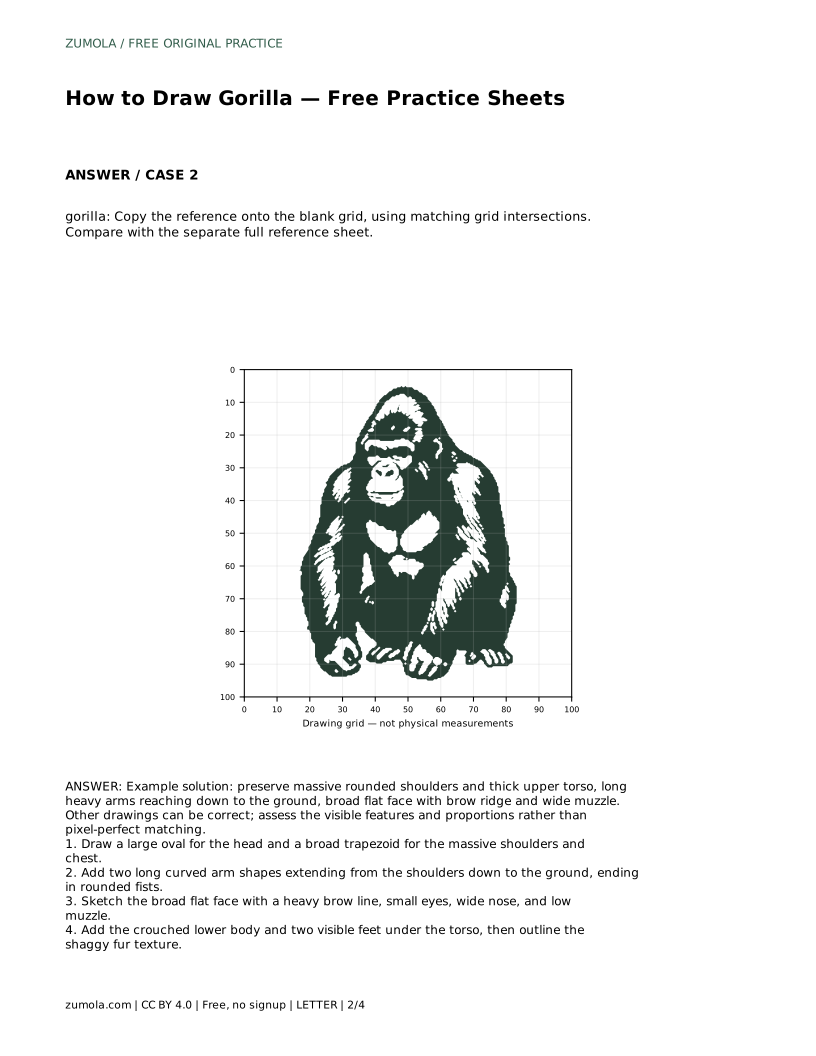
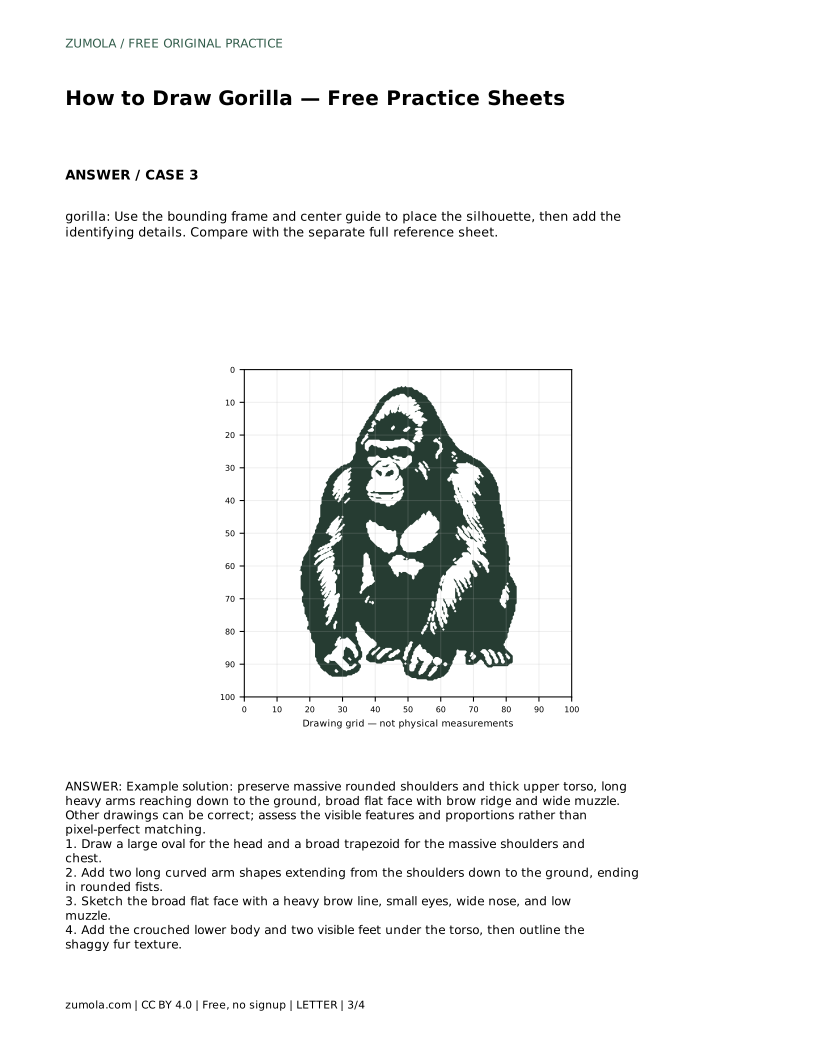
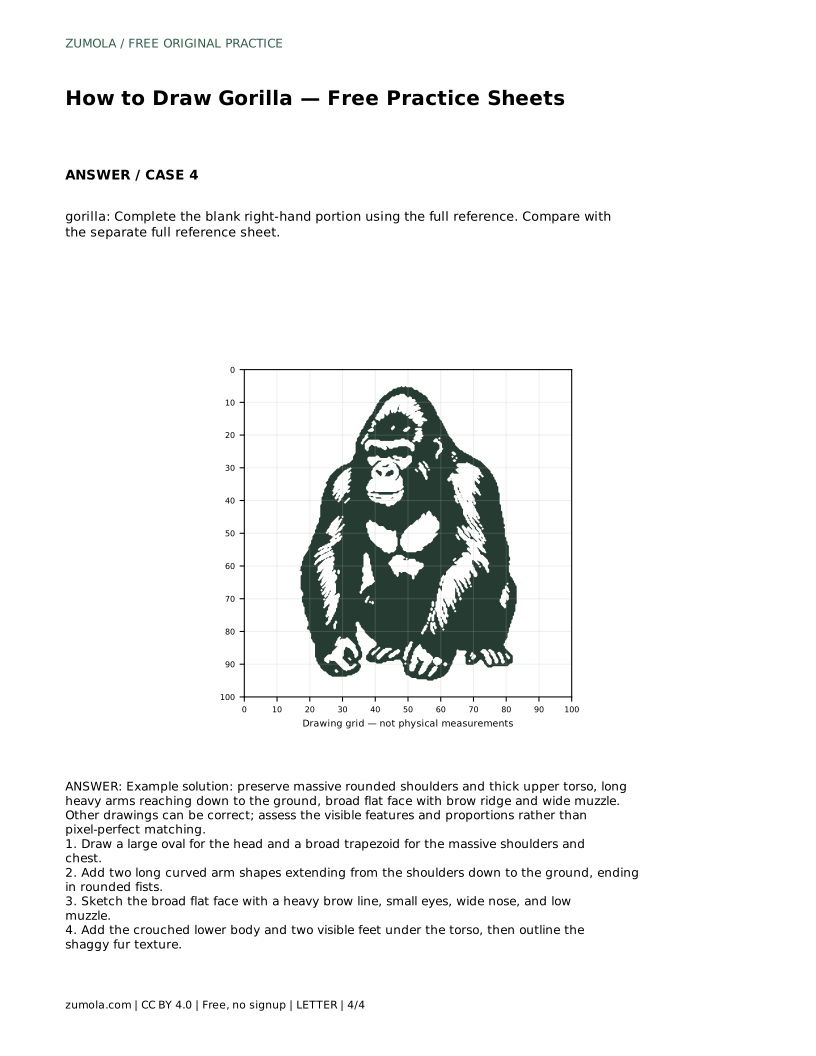
Reference diagrams
LETTER · Download PDF
A4 · Download PDF
Free original resources
Learn to draw a gorilla with pencil by building its massive shoulders, long arms, and broad face. Use trace, grid, and frame sheets to practice proportions.
Four original cases, with reference diagrams, practice sheets and worked answers. Everything is free; no signup required.
LETTER · Download PDF
A4 · Download PDF
LETTER · Download PDF
A4 · Download PDF
LETTER · Download PDF
A4 · Download PDF
Use A4 or US Letter to match your printer. Use the stated values and conditions to solve each exercise; diagrams are not physical measuring rulers.
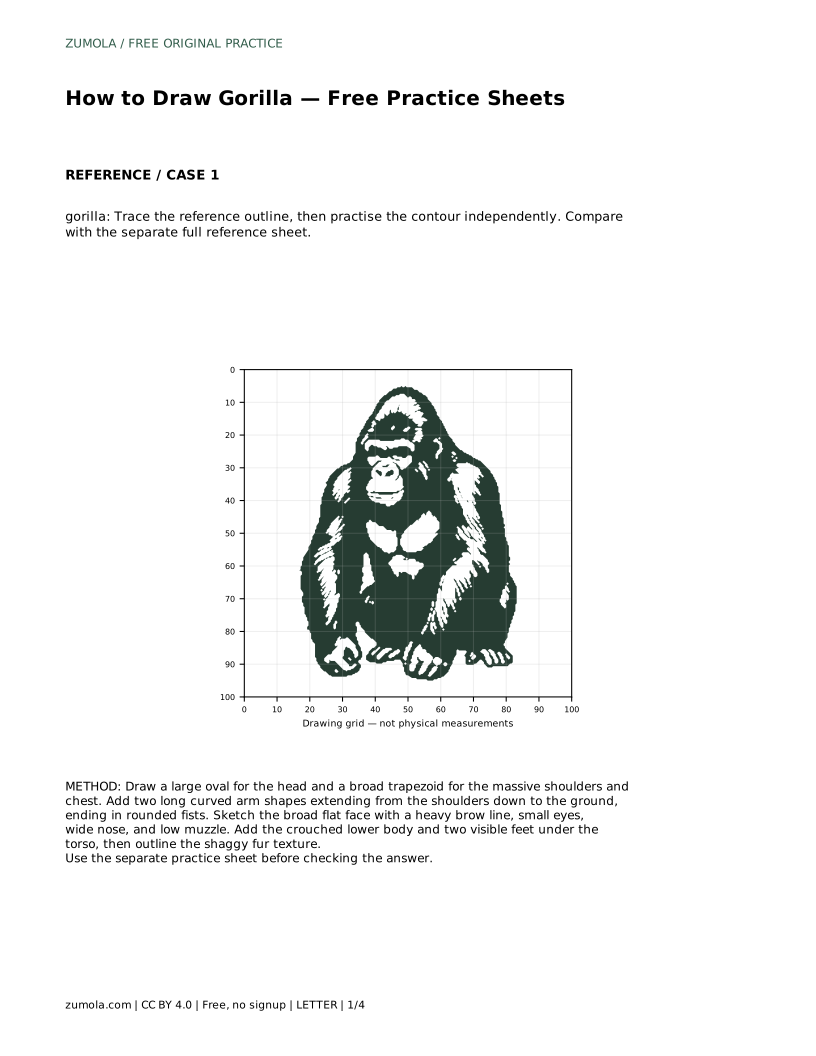
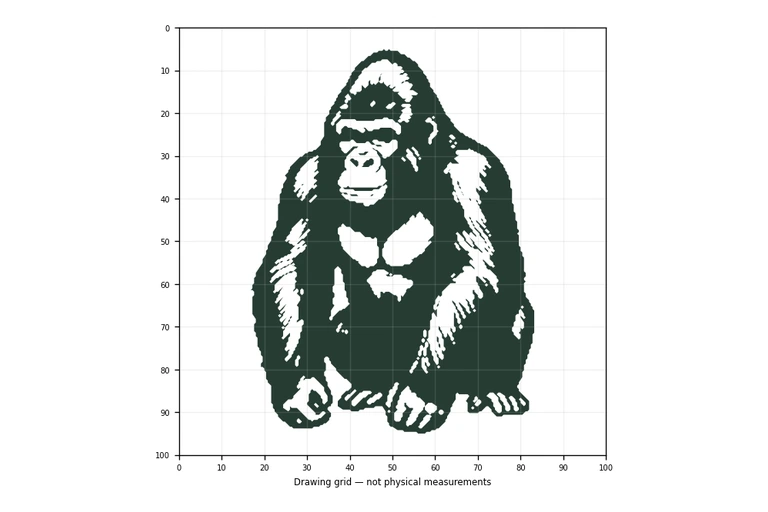
Drawing a gorilla in pencil is mostly about proportion and weight: a broad chest, heavy shoulders, long arms that reach the ground, and a wide, low face. This page explains a reliable order for constructing those features and gives you practice routines for tracing, grid copying, and completing a partial drawing. The goal is not a pixel-perfect copy but a drawing that clearly reads as a gorilla, with the right masses in the right places.
Start with the biggest shapes before any fur or facial detail. A gorilla’s silhouette is dominated by a large head, a broad trapezoid for the shoulders and chest, and two long curved arms that hang down to the ground. Treat these as simple geometric masses first; they set the weight and stance. Only after the masses look balanced should you add the face, hands, feet, and shaggy outline.
The face sits low on the head. Place a heavy brow line above small eyes, then a wide nose and a low muzzle. Keep the muzzle broad rather than pointed. The lower body is crouched and partly hidden under the torso, with two visible feet. Fur is added last as an outline texture, not as individual hairs everywhere.
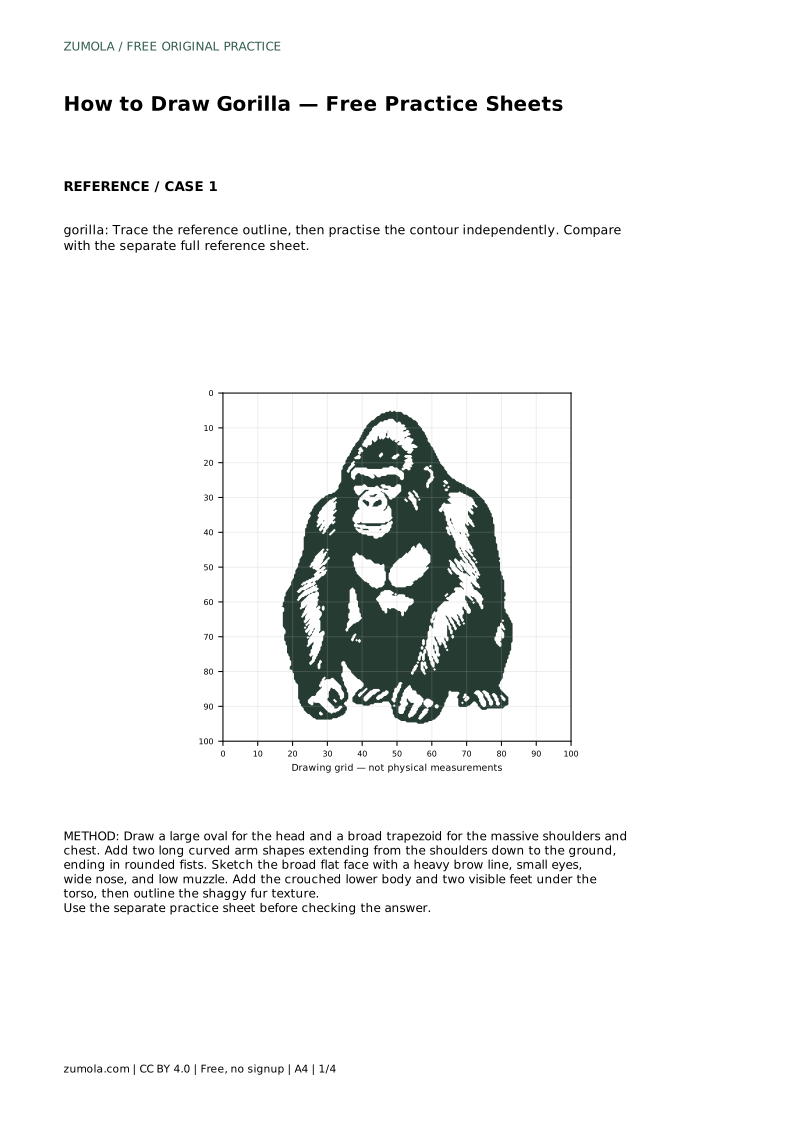
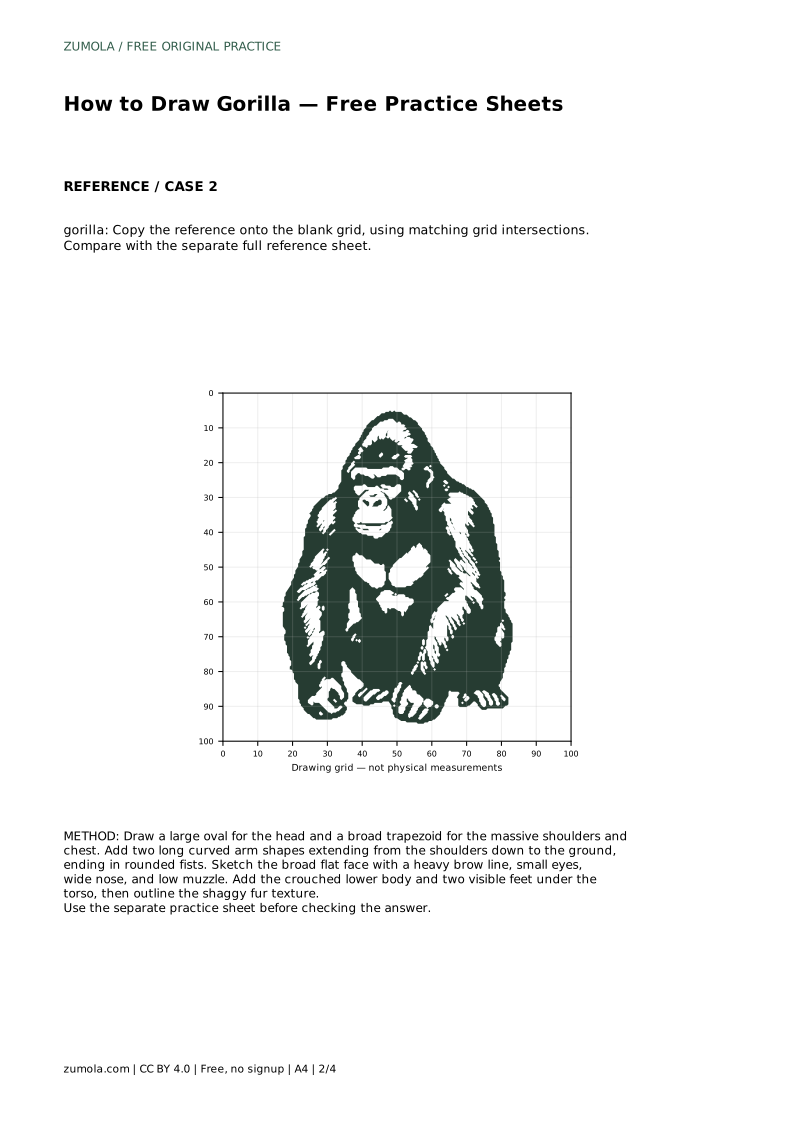
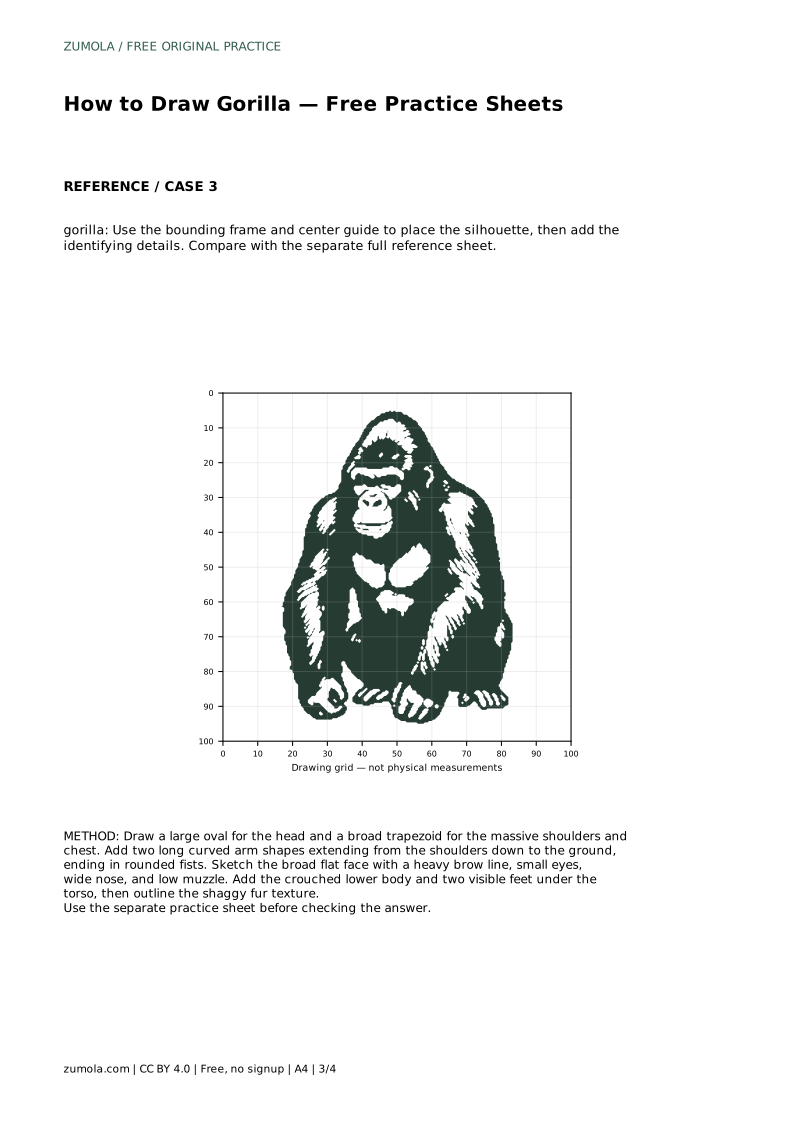
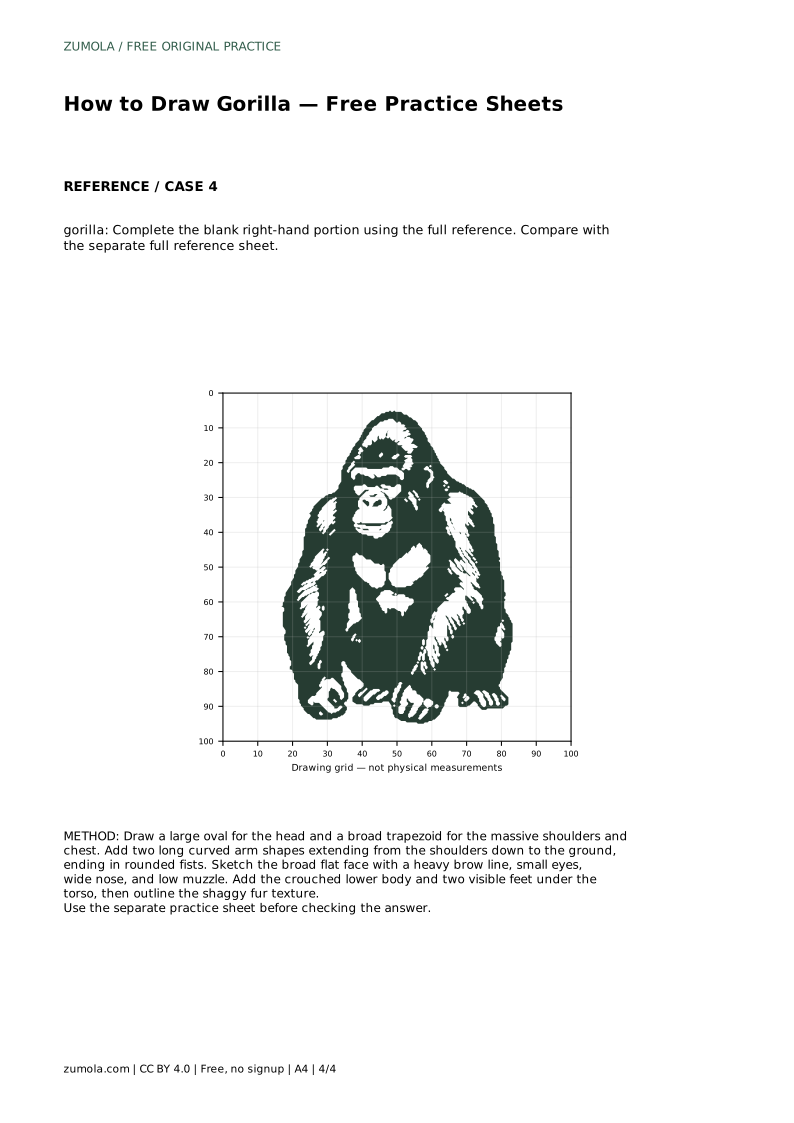
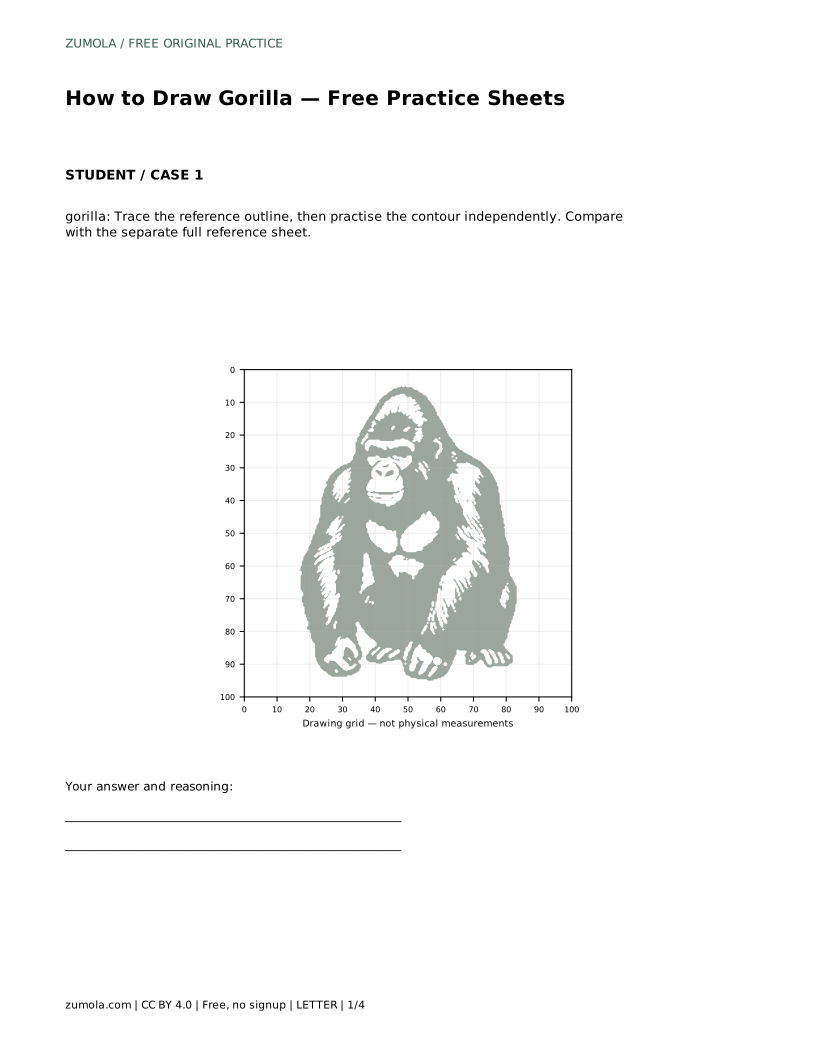
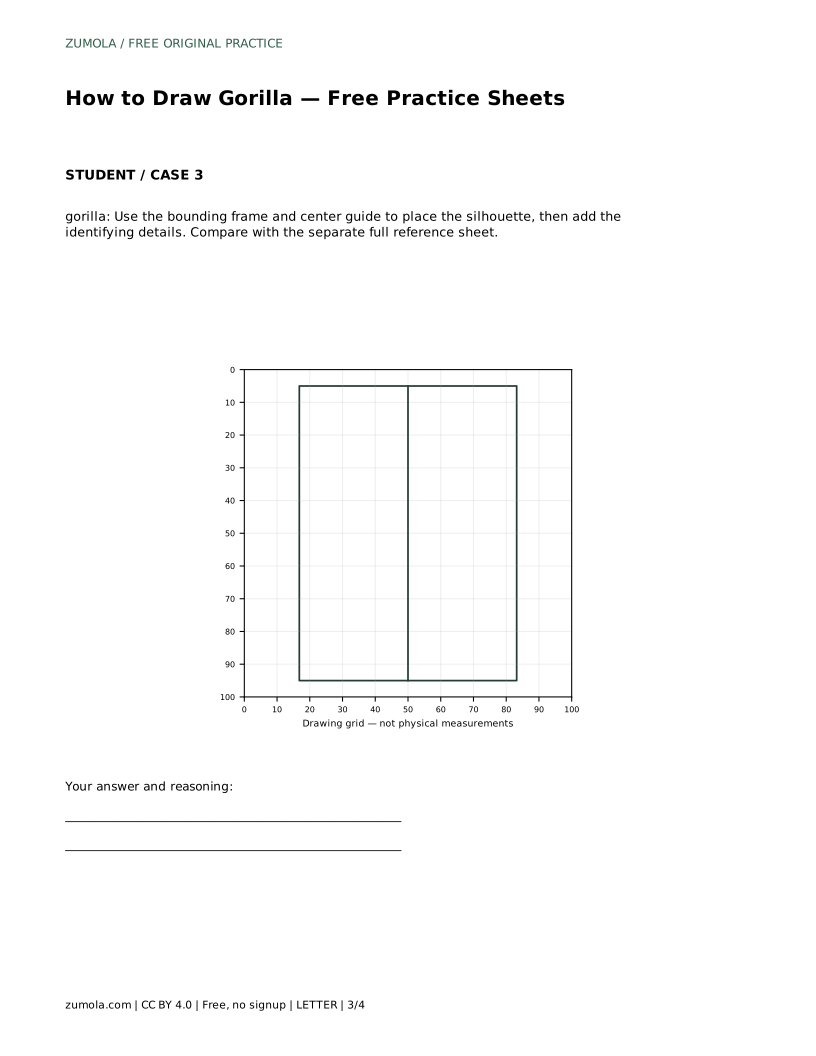
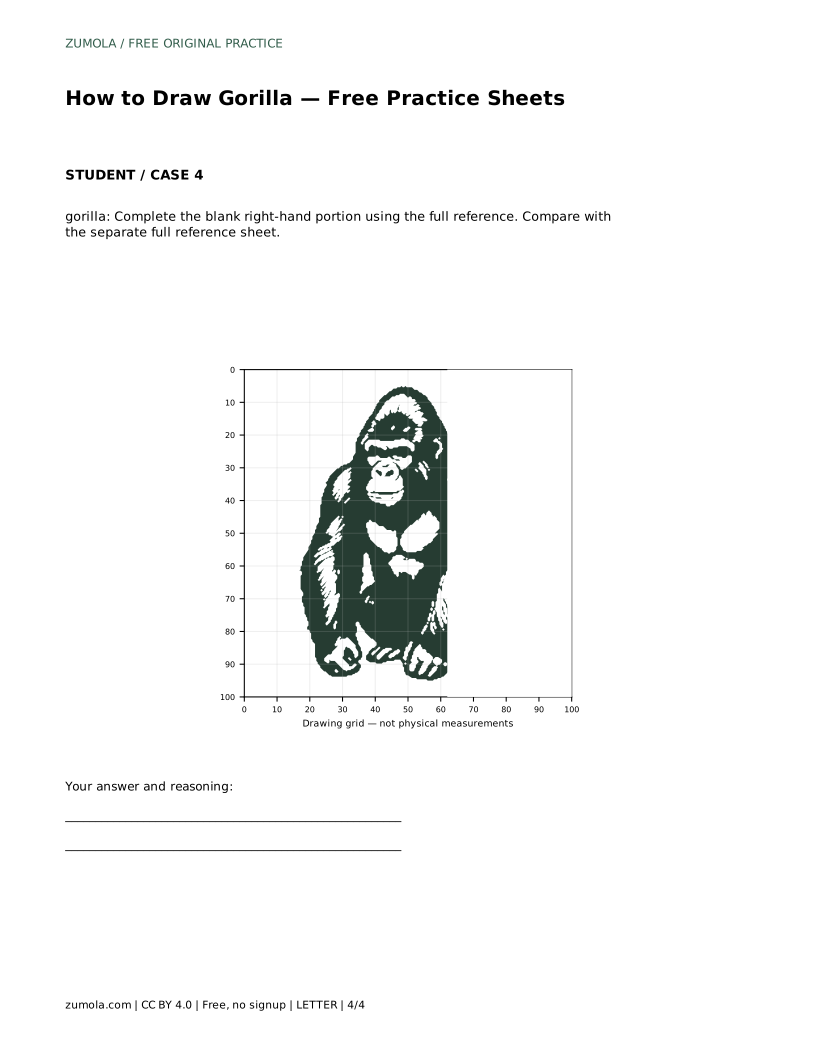
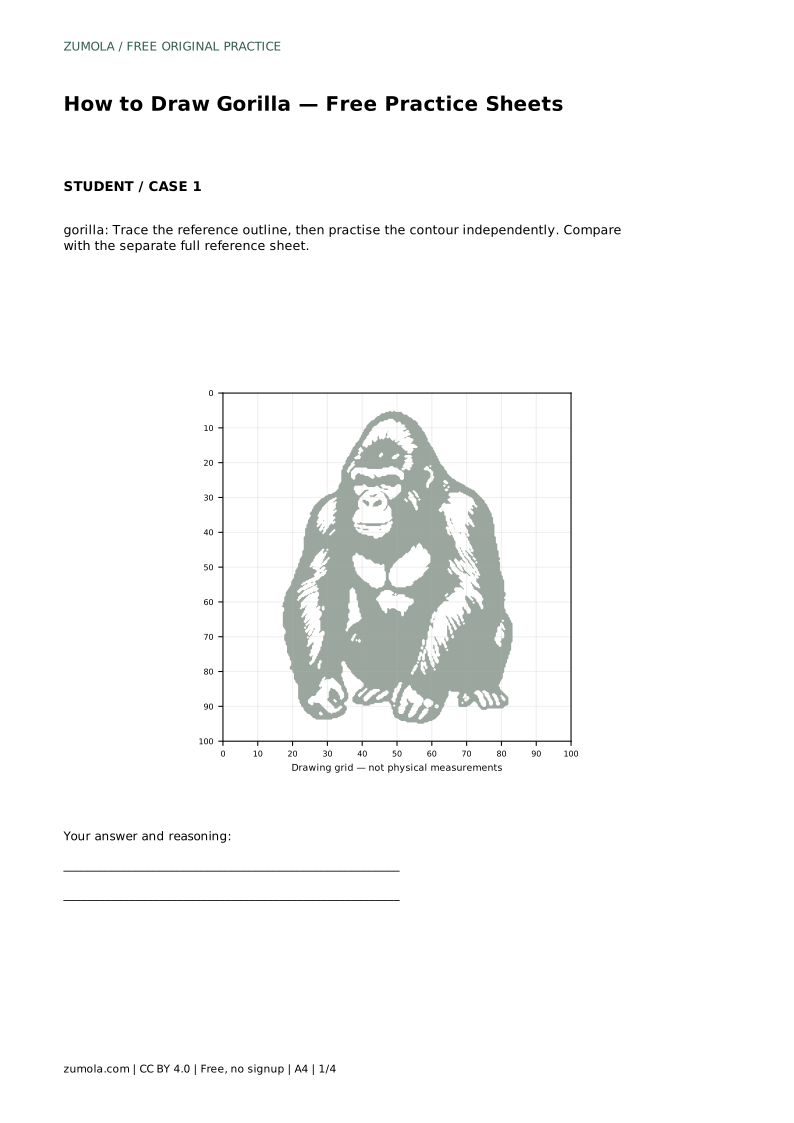
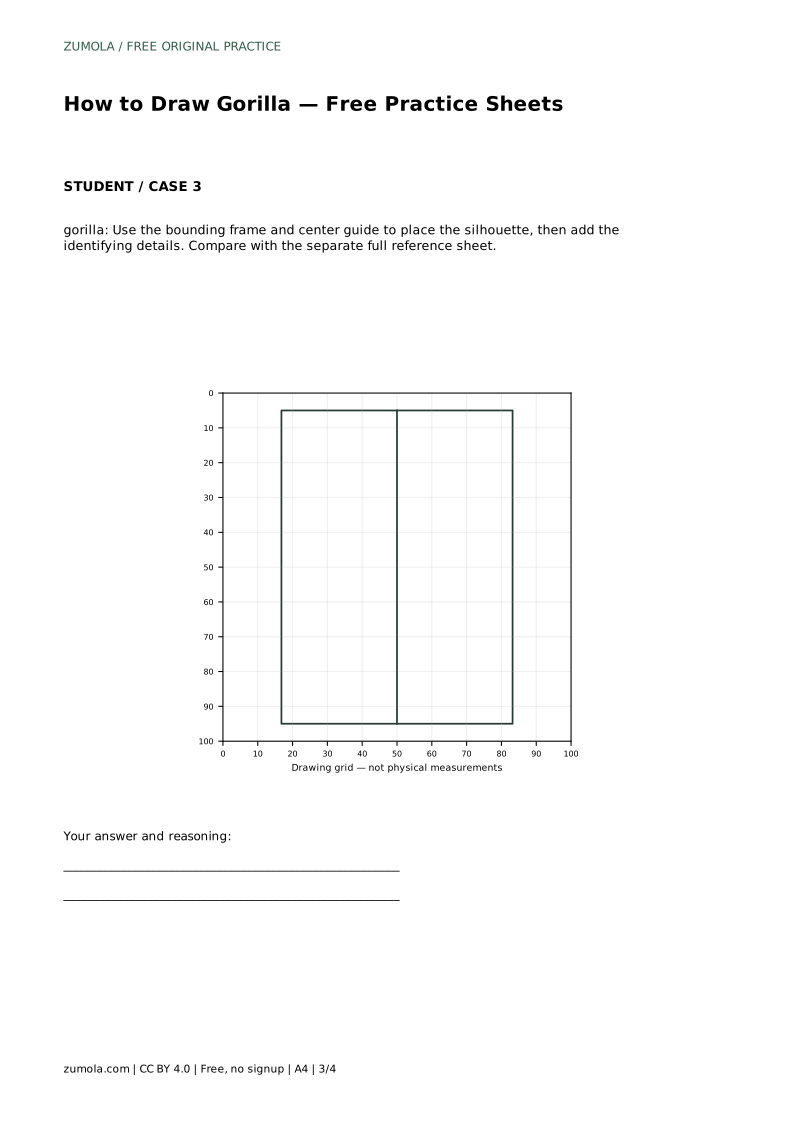
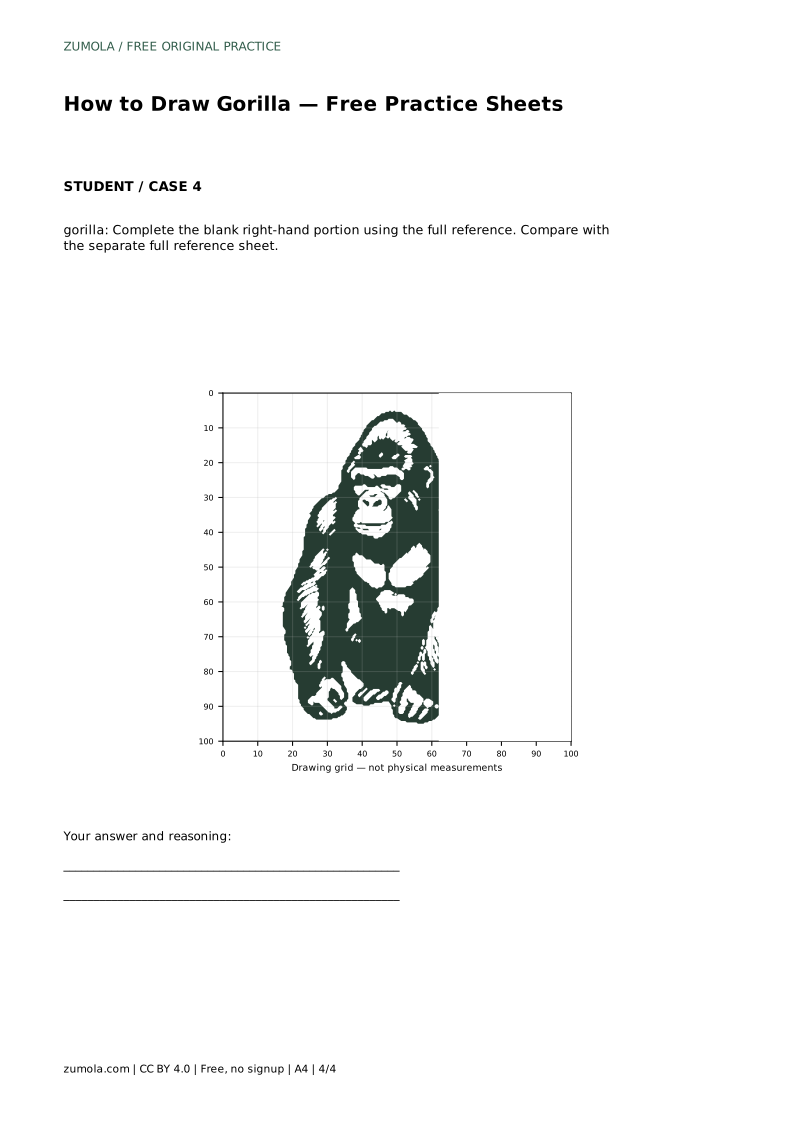
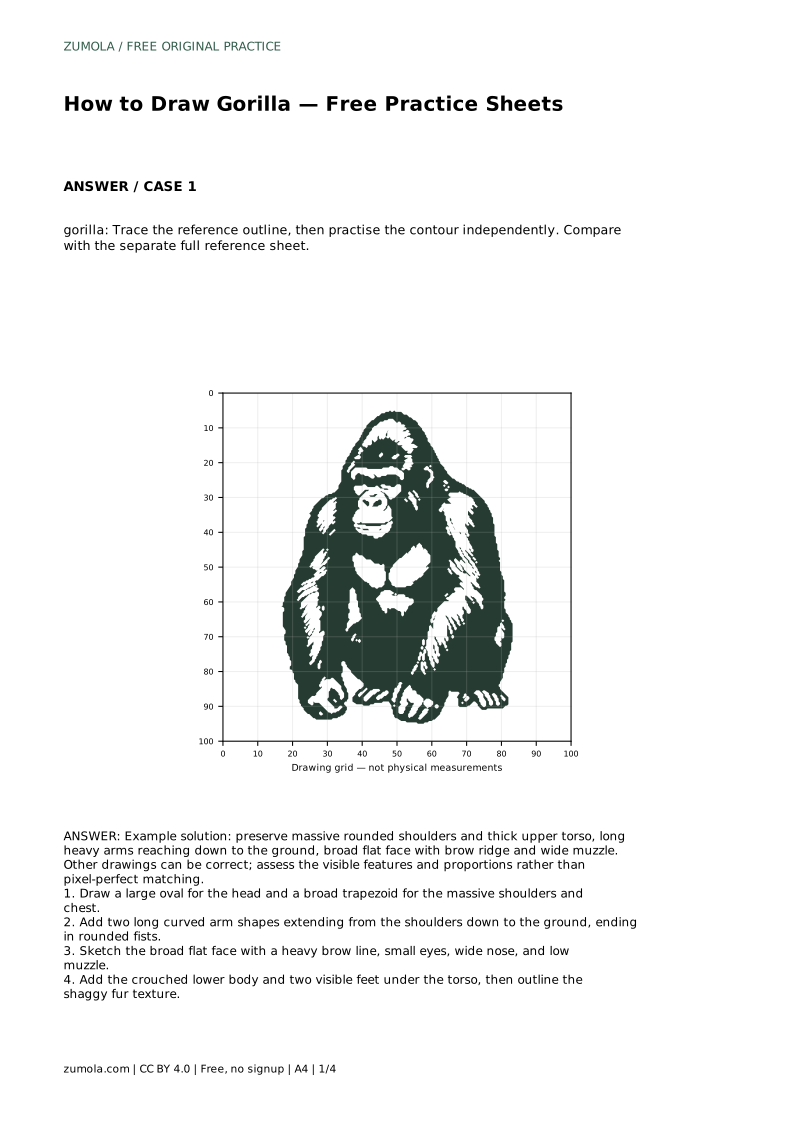
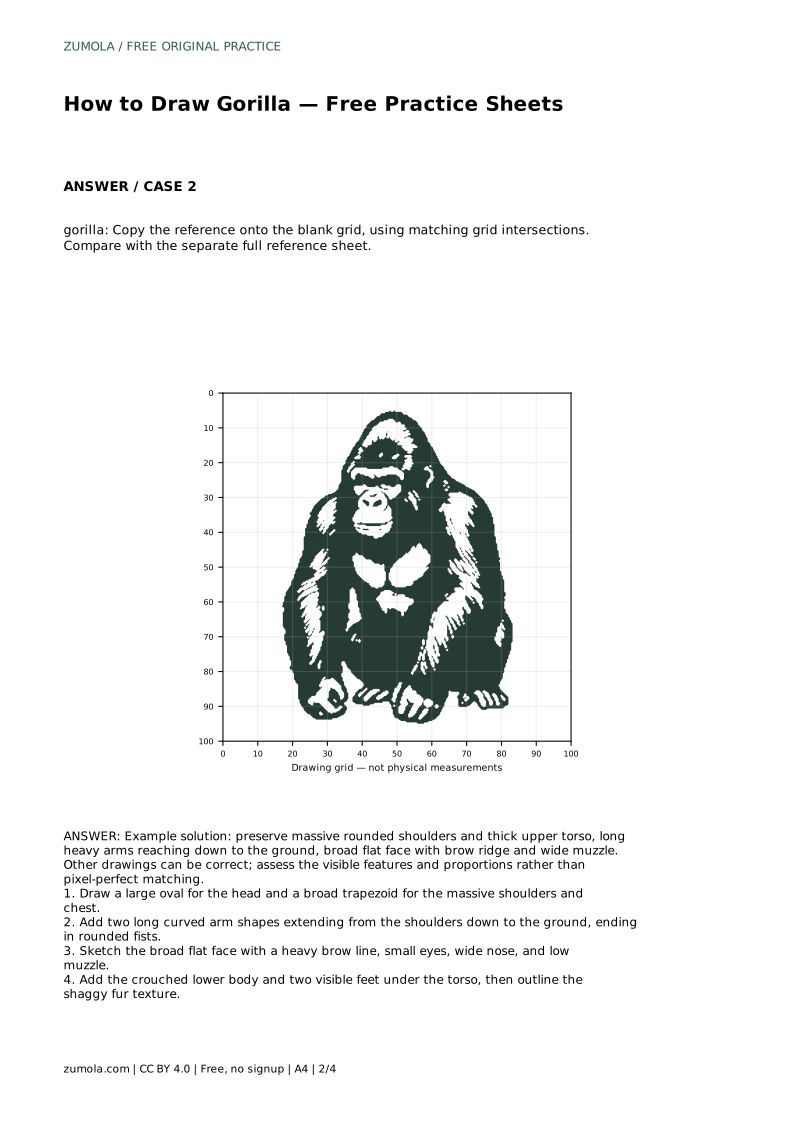
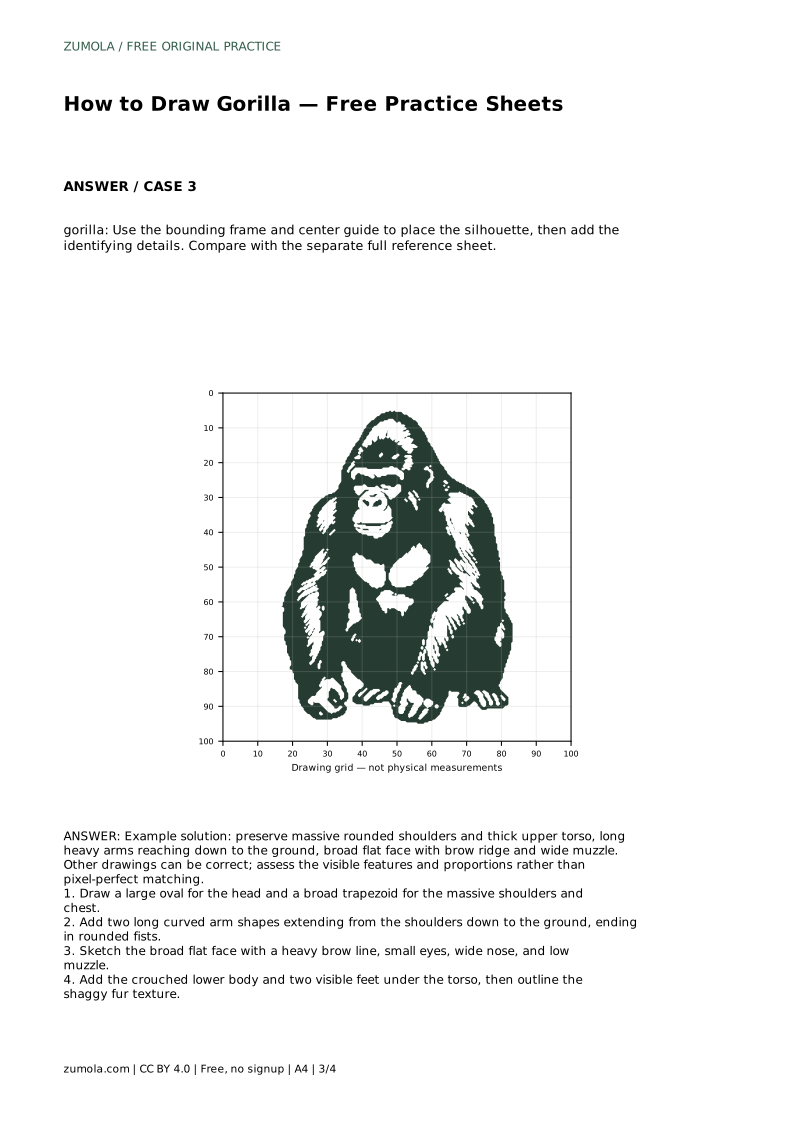
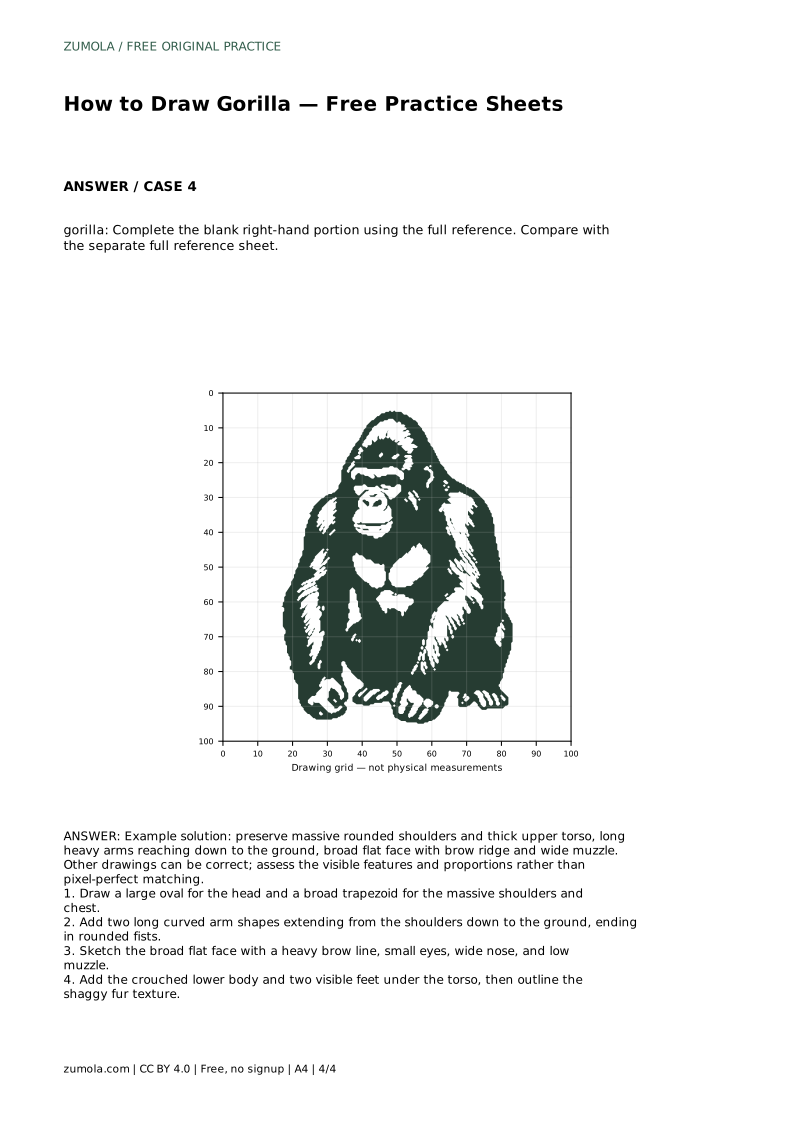
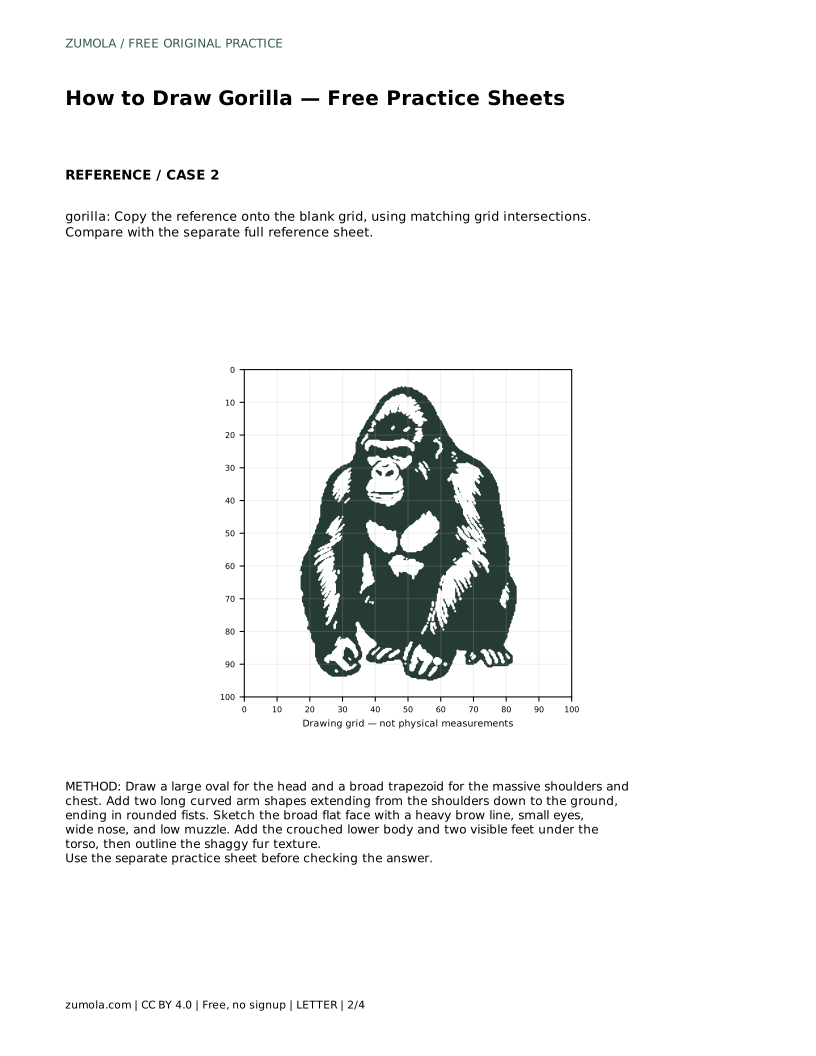
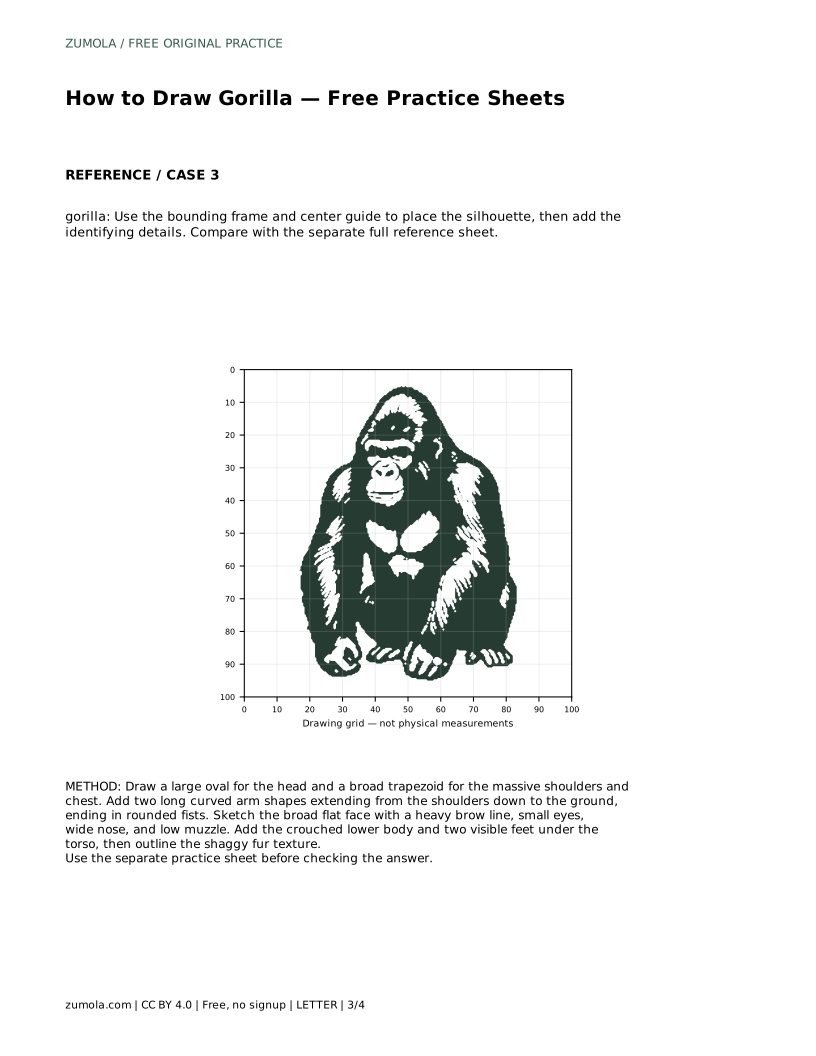
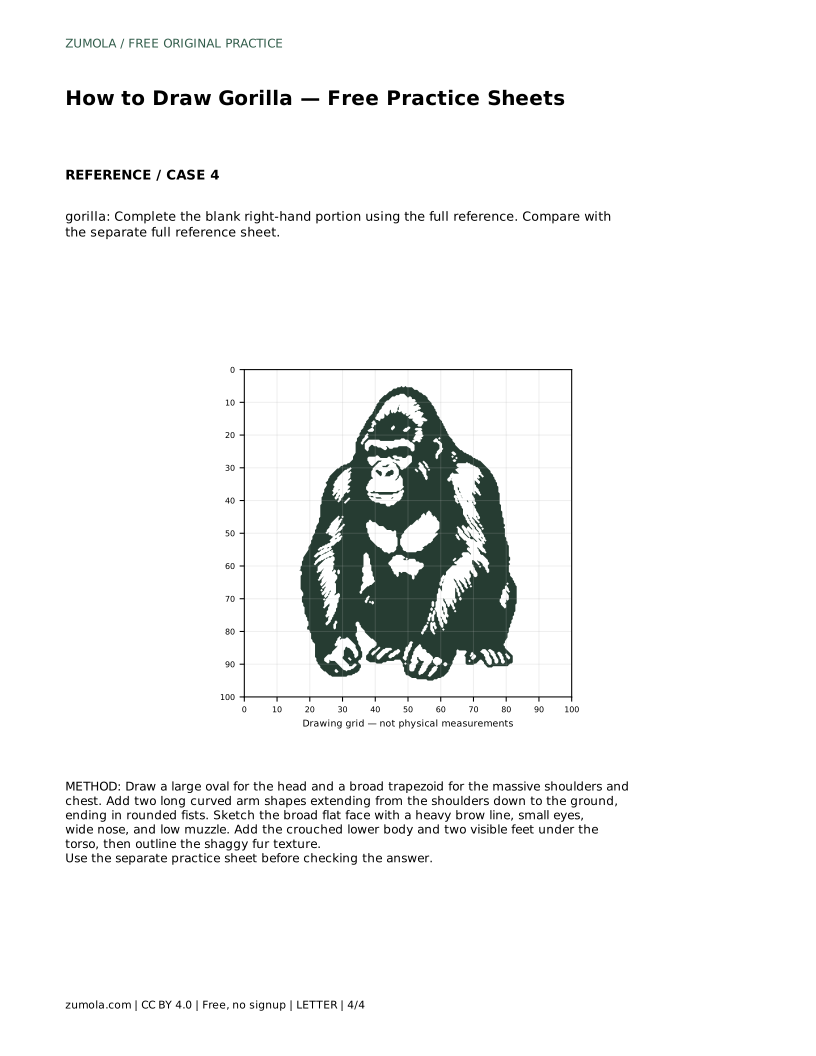
The trace sheet asks you to follow the reference outline first, then draw the contour independently on blank space. Compare your independent drawing with the separate full reference sheet, not with your traced line. The grid sheet asks you to copy the reference onto a blank grid by matching intersections; use the grid to check where the shoulder edge, arm curve, and face features fall. The bounding-frame sheet gives you a center guide to place the silhouette before adding identifying details. The partial sheet gives you the left side and asks you to complete the right-hand portion using the full reference.
In every routine, compare proportions rather than exact line placement. A correct drawing can have slightly different fur edges or fist shapes as long as the massive rounded shoulders, thick upper torso, long heavy arms reaching the ground, broad flat face with brow ridge, and wide muzzle are visible.
Use a feature checklist instead of expecting an exact match. Ask whether the shoulders read as massive and rounded, whether the upper torso is thick, whether the arms are long and heavy enough to reach the ground, and whether the face is broad and flat with a brow ridge and wide muzzle. If one feature is weak, adjust that mass before adding more fur.
Pencil control matters less than placement. Keep your light construction lines visible until the masses are correct, then darken the final contour. Avoid overworking the fur; a few shaggy outline breaks along the shoulders and arms suggest texture without hiding the underlying shape.
gorilla: Trace the reference outline, then practise the contour independently. Compare with the separate full reference sheet.
Example solution: preserve massive rounded shoulders and thick upper torso, long heavy arms reaching down to the ground, broad flat face with brow ridge and wide muzzle. Other drawings can be correct; assess the visible features and proportions rather than pixel-perfect matching. Draw a large oval for the head and a broad trapezoid for the massive shoulders and chest. Add two long curved arm shapes extending from the shoulders down to the ground, ending in rounded fists. Sketch the broad flat face with a heavy brow line, small eyes, wide nose, and low muzzle. Add the crouched lower body and two visible feet under the torso, then outline the shaggy fur texture.
No. Use the reference to check proportions and visible features. Different fur edges or fist shapes can still be correct if the massive shoulders, long arms, broad face, and wide muzzle are clear.
Start with the head oval and broad shoulder trapezoid, then add the long arms to the ground, then the face, lower body, feet, and finally the shaggy fur outline.
Copy the reference onto the blank grid by matching where lines cross grid intersections. Check the shoulder edge, arm curve, and face features against those intersections before adding detail.
All drawing practice · Free coordinate paper
Original resources · CC BY 4.0 · Free for personal and classroom use with attribution.