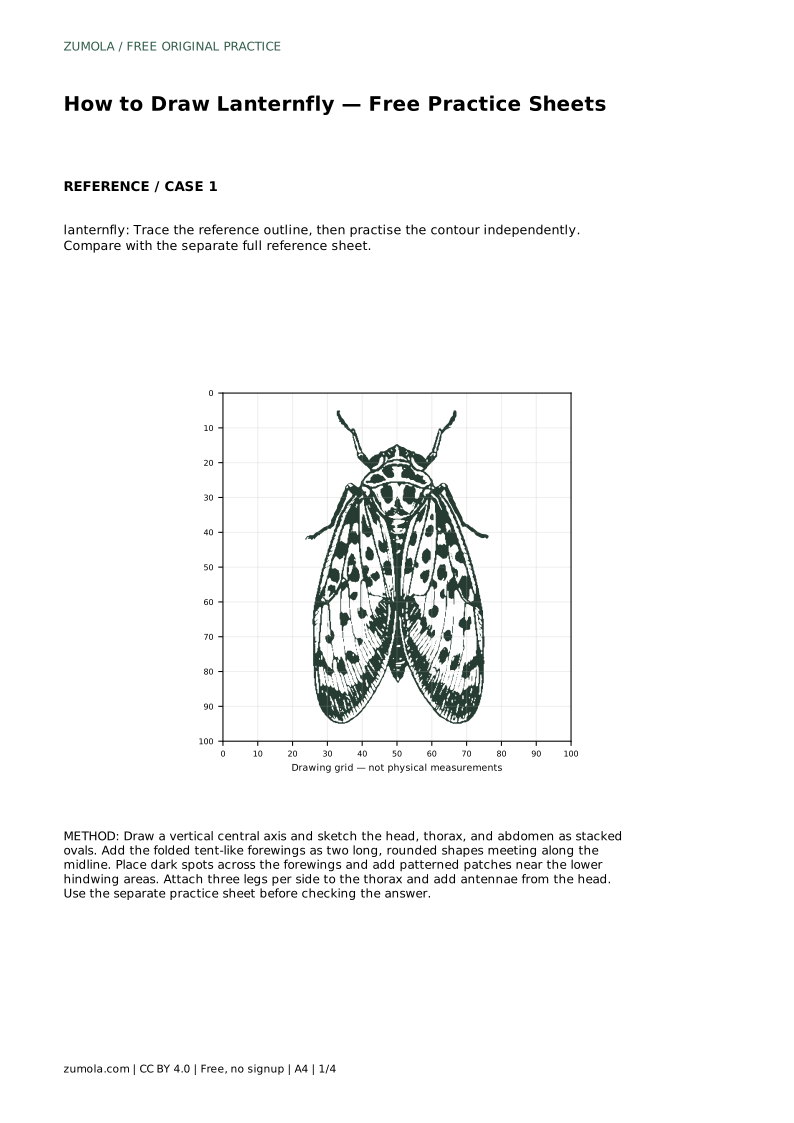
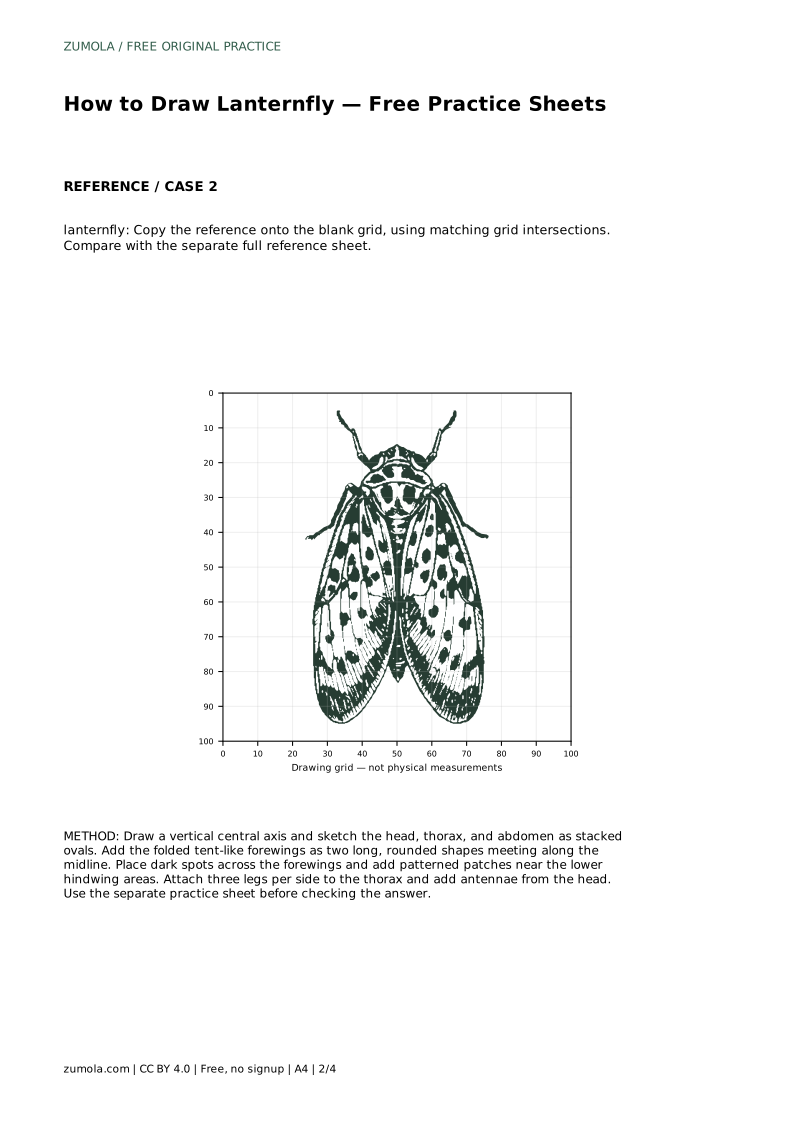
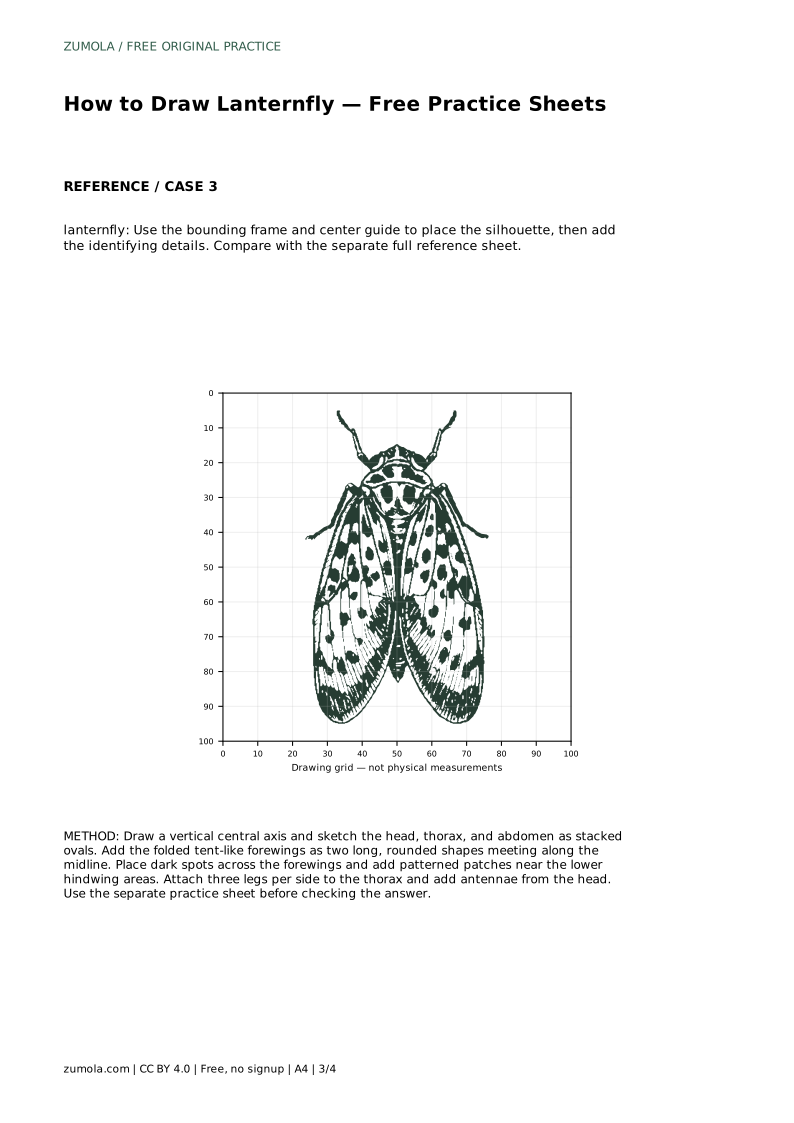
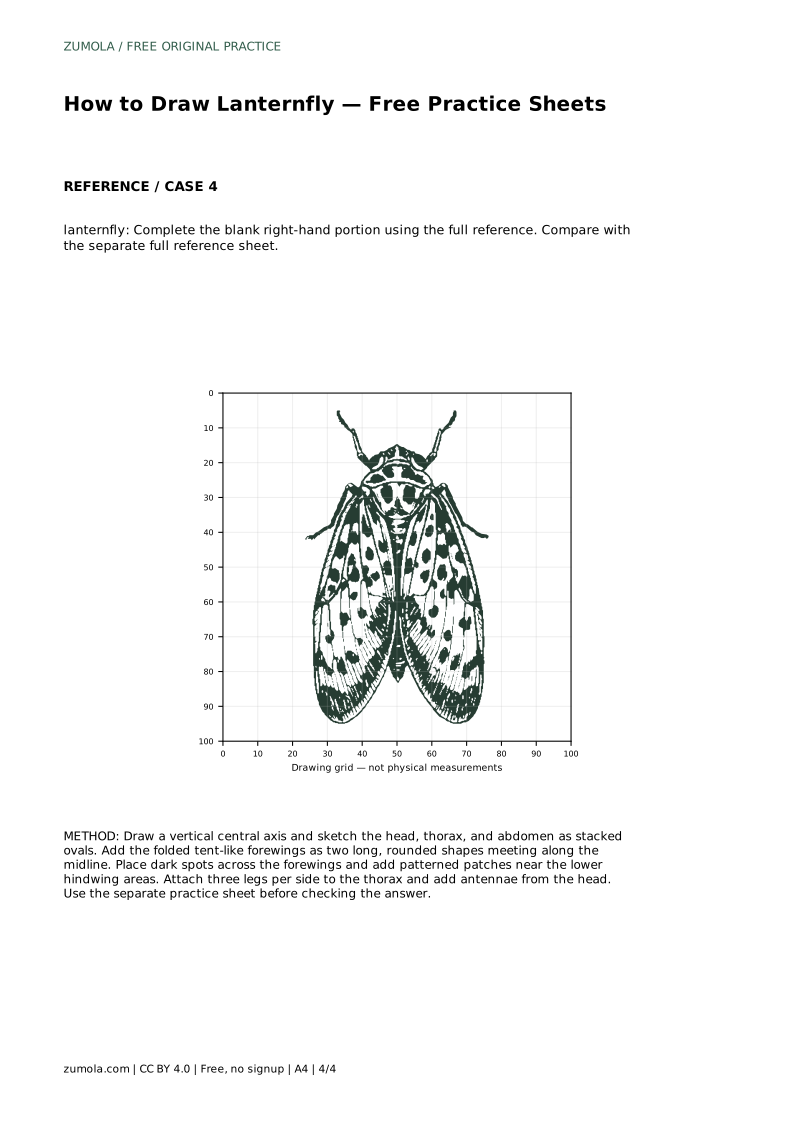
Reference diagrams
LETTER · Download PDF
A4 · Download PDF
Free original resources
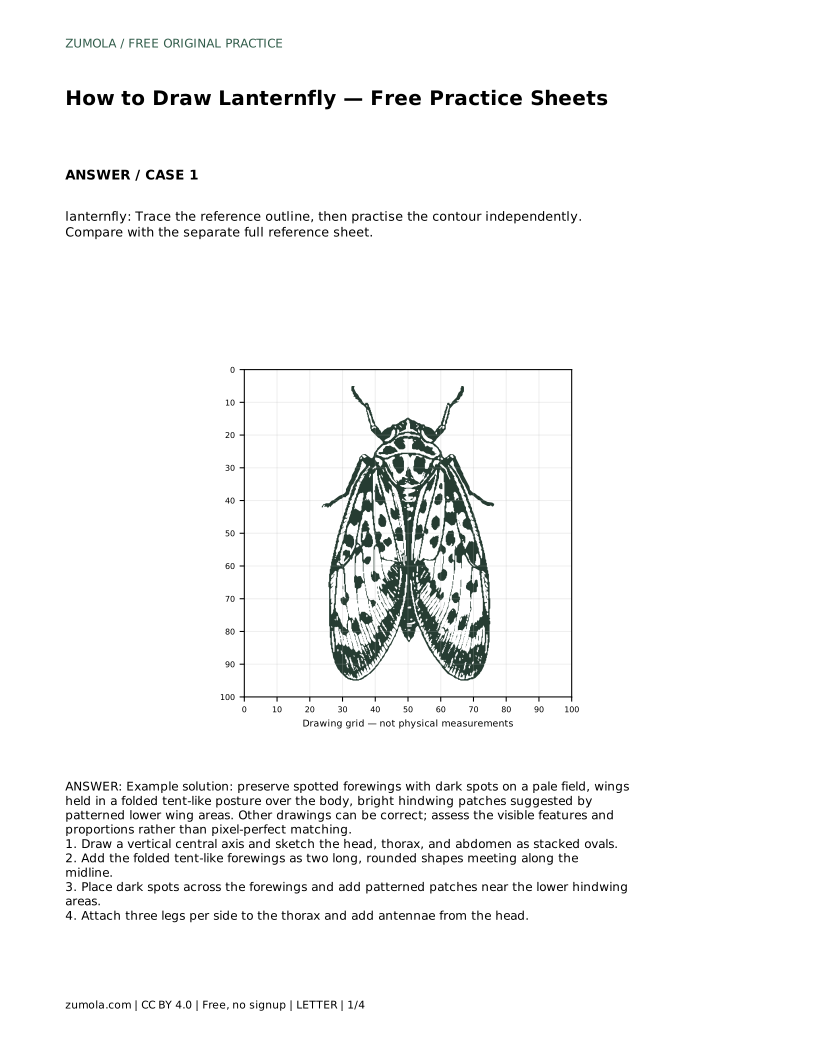
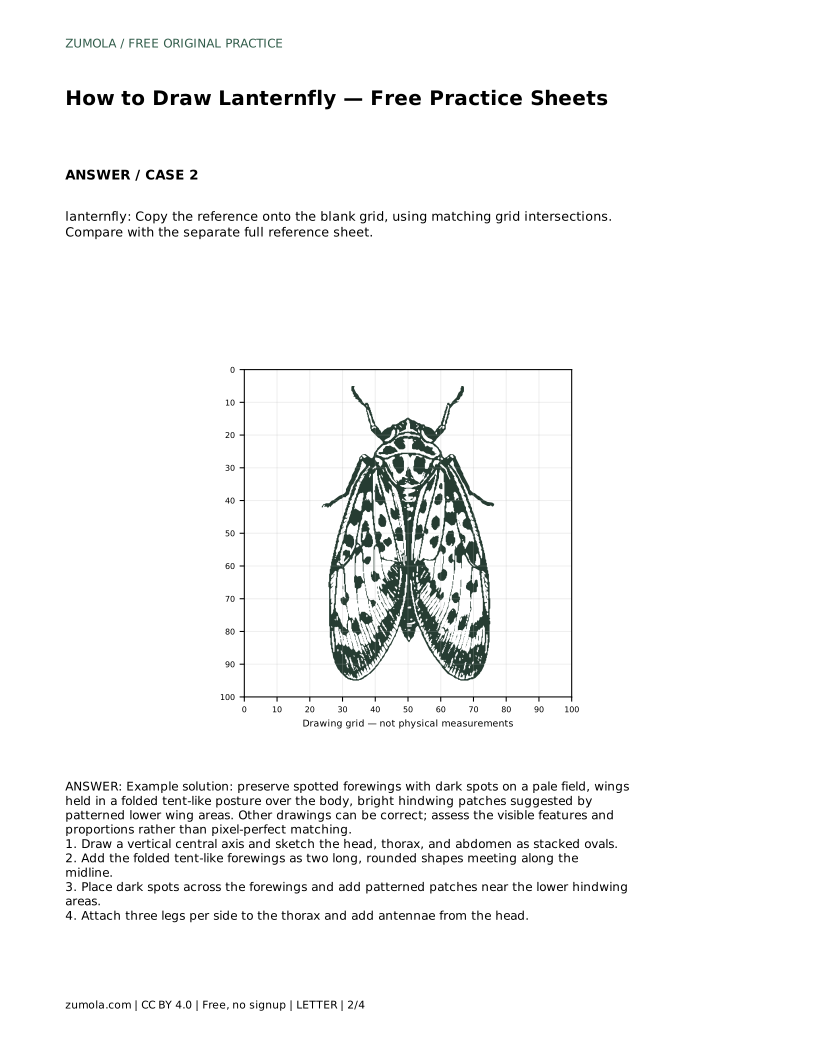
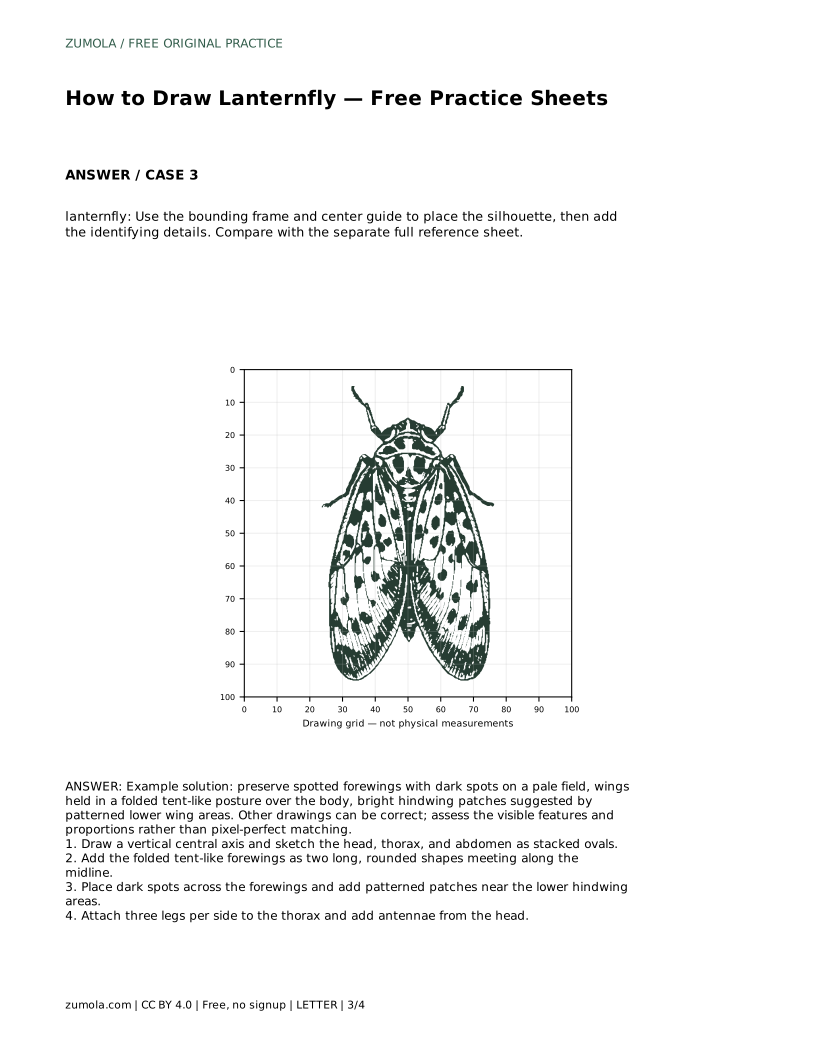
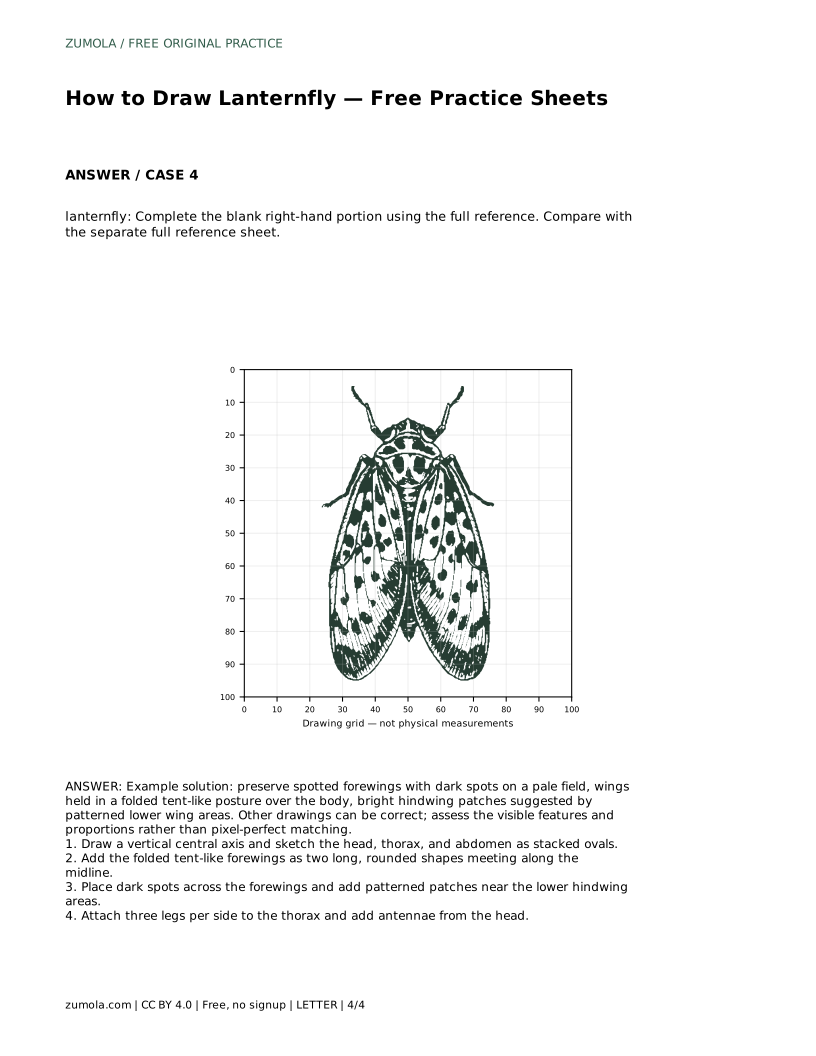
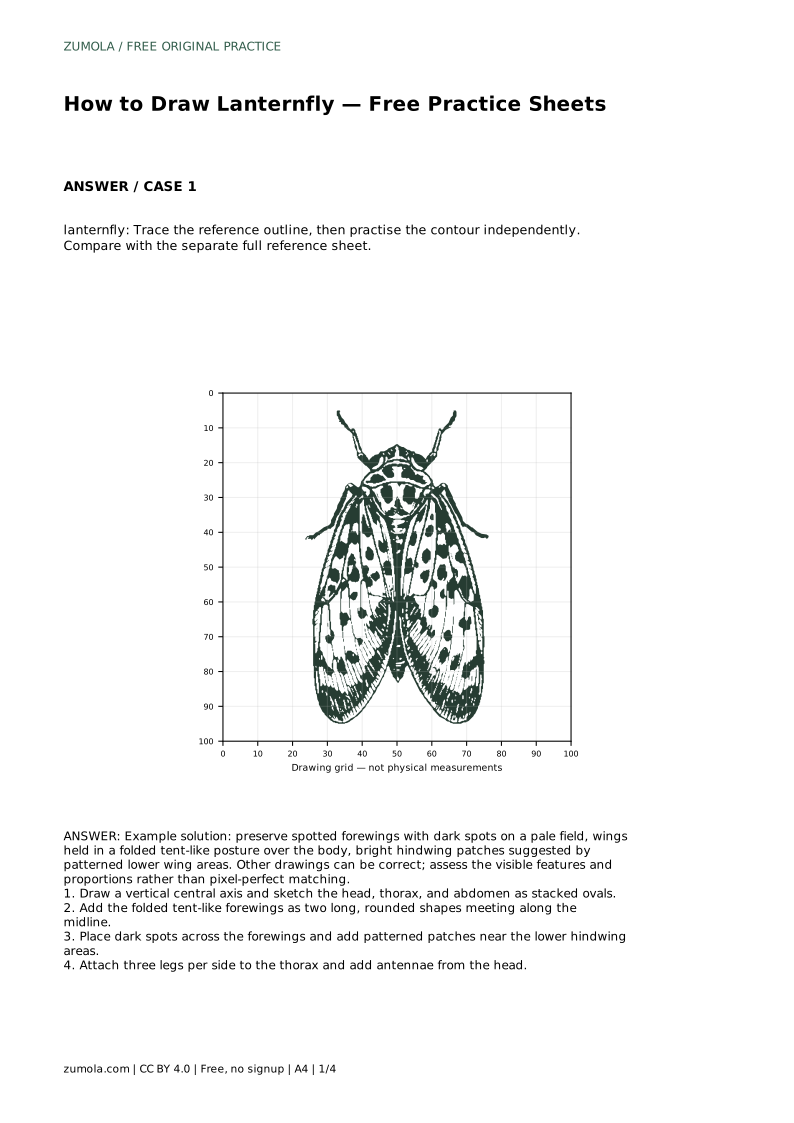
Learn to draw a lanternfly by building a central axis, folded tent-like forewings, dark spots on a pale field, patterned hindwing patches, legs, and antennae.
Four original cases, with reference diagrams, practice sheets and worked answers. Everything is free; no signup required.
LETTER · Download PDF
A4 · Download PDF
LETTER · Download PDF
A4 · Download PDF
LETTER · Download PDF
A4 · Download PDF
Use A4 or US Letter to match your printer. Use the stated values and conditions to solve each exercise; diagrams are not physical measuring rulers.
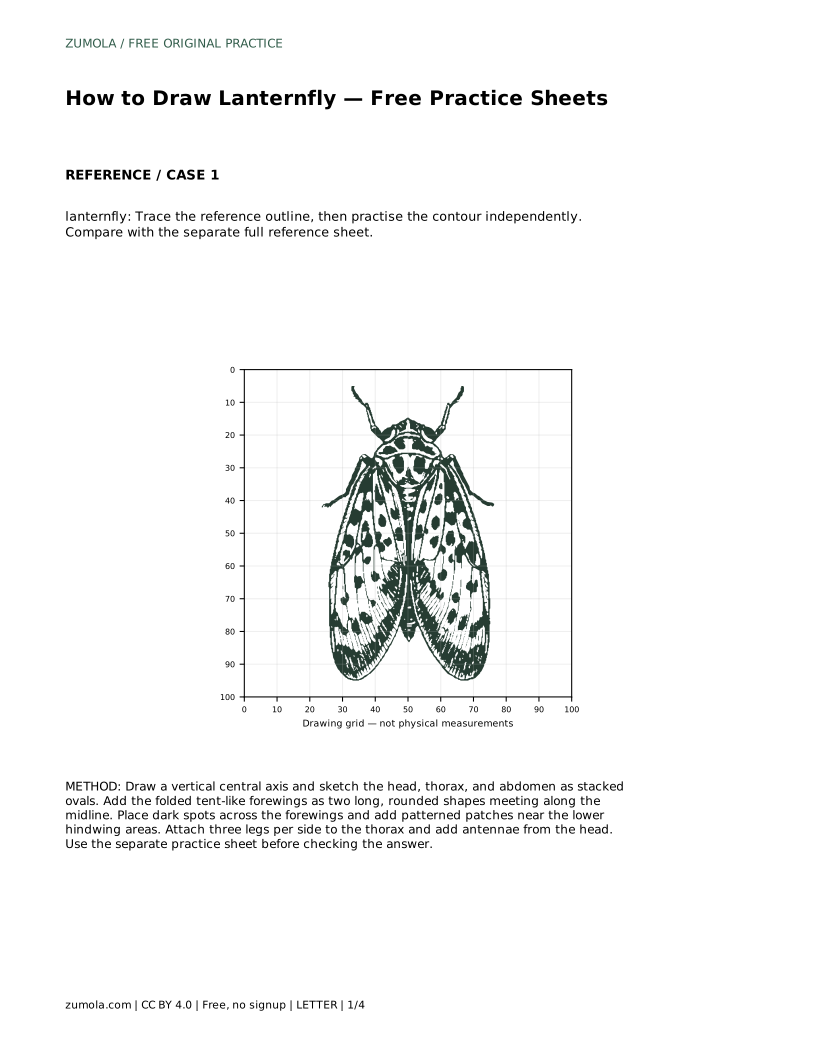
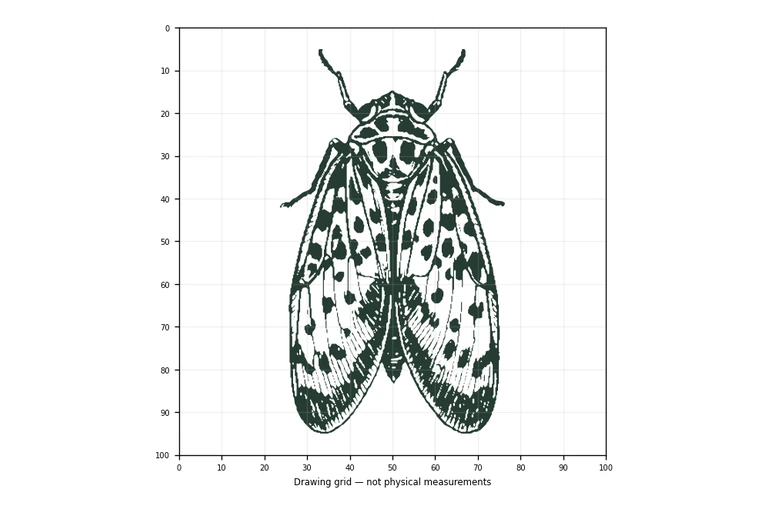
A lanternfly drawing is easiest to build in layers: first the body axis, then the folded wings, then the markings that make the insect recognizable. This page explains a practical order for sketching the head, thorax, and abdomen, shaping the tent-like forewings, and placing spots and patterned patches. The goal is a clear, well-proportioned drawing, not a pixel-perfect copy. Different drawings can be correct when the visible features and proportions hold together.
Begin with a light vertical line down the center of the page. This axis keeps the insect symmetrical and gives you a reference for the folded wings, which meet along the midline. Sketch the head as a small oval at the top, the thorax as a slightly wider oval below it, and the abdomen as a longer oval beneath the thorax. Keep the ovals stacked and centered on the axis.
Work lightly at this stage. The body shapes will be partly covered by the wings, so they only need to be clear enough to guide the wing placement and leg attachment. Check that the head is the smallest of the three shapes and that the abdomen extends farthest down the page.
Lanternflies rest with the forewings held in a folded, tent-like posture over the body. Draw two long, rounded wing shapes that meet along the central axis and slope outward and downward, like a shallow roof. The wings should cover most of the thorax and abdomen from above.
Keep the two forewings similar in size and angle. A common problem is making one wing noticeably longer or wider, which breaks the folded symmetry. Compare the left and right wing outlines against the axis before adding any markings.
The forewings carry dark spots on a pale field. Place spots across both forewings in a scattered but balanced arrangement, varying their size slightly. Near the lower hindwing areas, suggest the bright patterned patches with clustered shapes rather than a single flat block of color.
Attach three legs per side to the thorax, angling them outward and down. Add antennae from the head, keeping them thin and paired. These details complete the insect's silhouette and make the drawing read as a lanternfly rather than a generic winged shape.
When the drawing is complete, compare it with the separate full reference sheet. Check the folded posture, the spotted forewings, the patterned lower wing areas, and the leg count. Adjust proportions where the drawing drifts from the reference.
Because art has multiple valid outcomes, judge the drawing by whether the identifying features are visible and the proportions are coherent, not by exact matching. A slightly different spot pattern or wing curve can still be a correct lanternfly drawing.
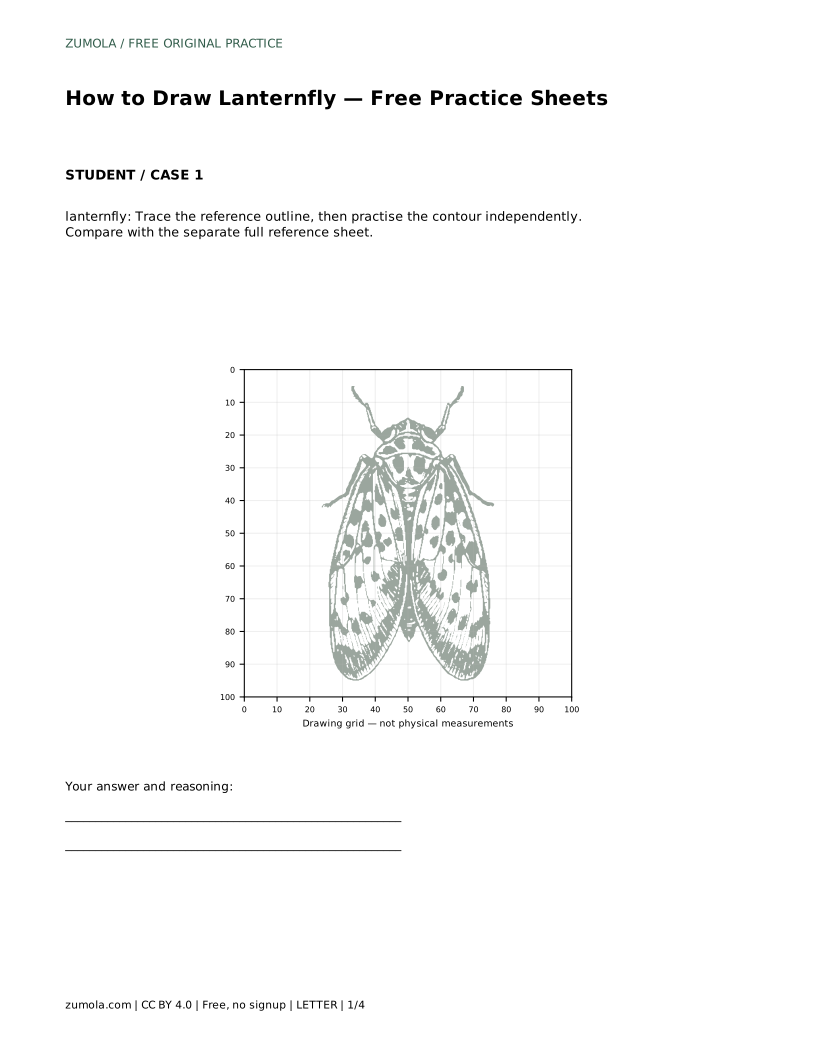
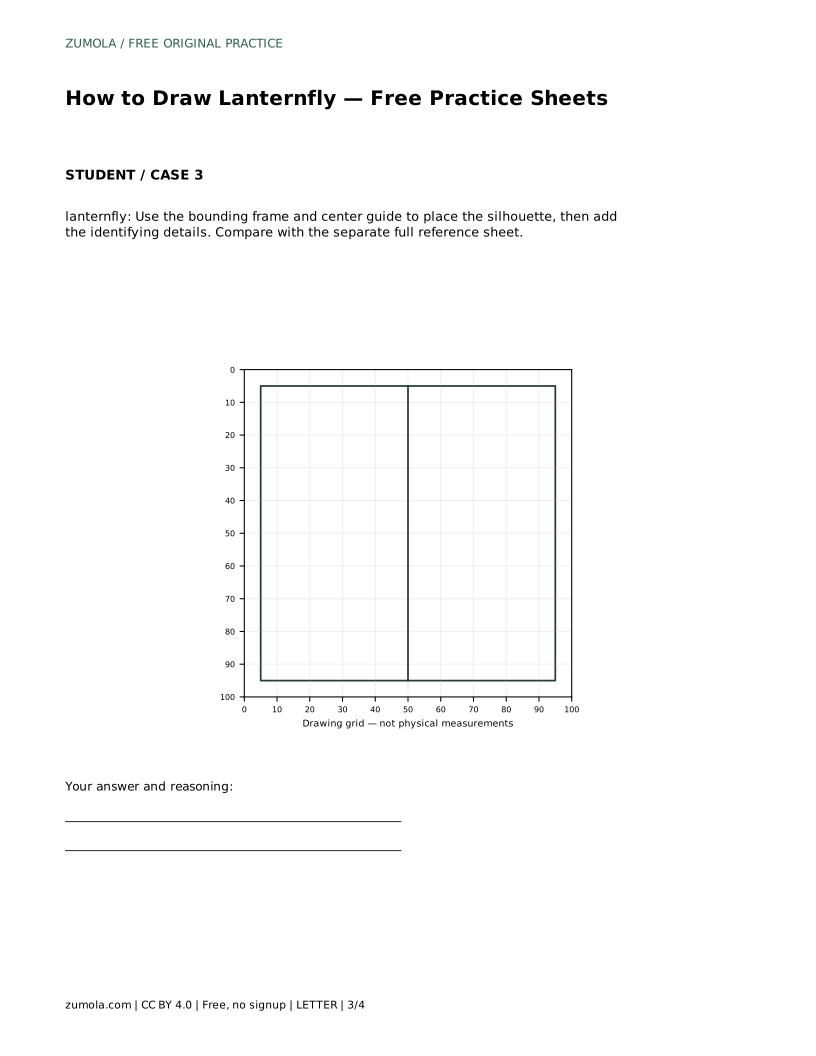
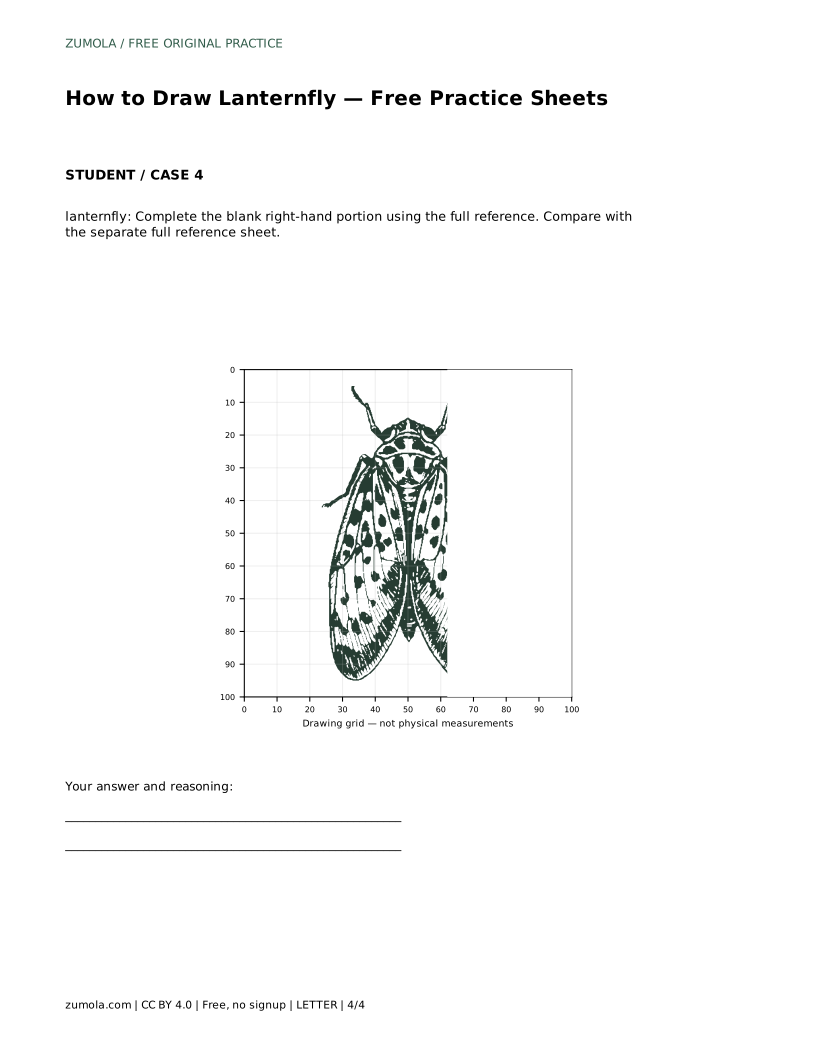
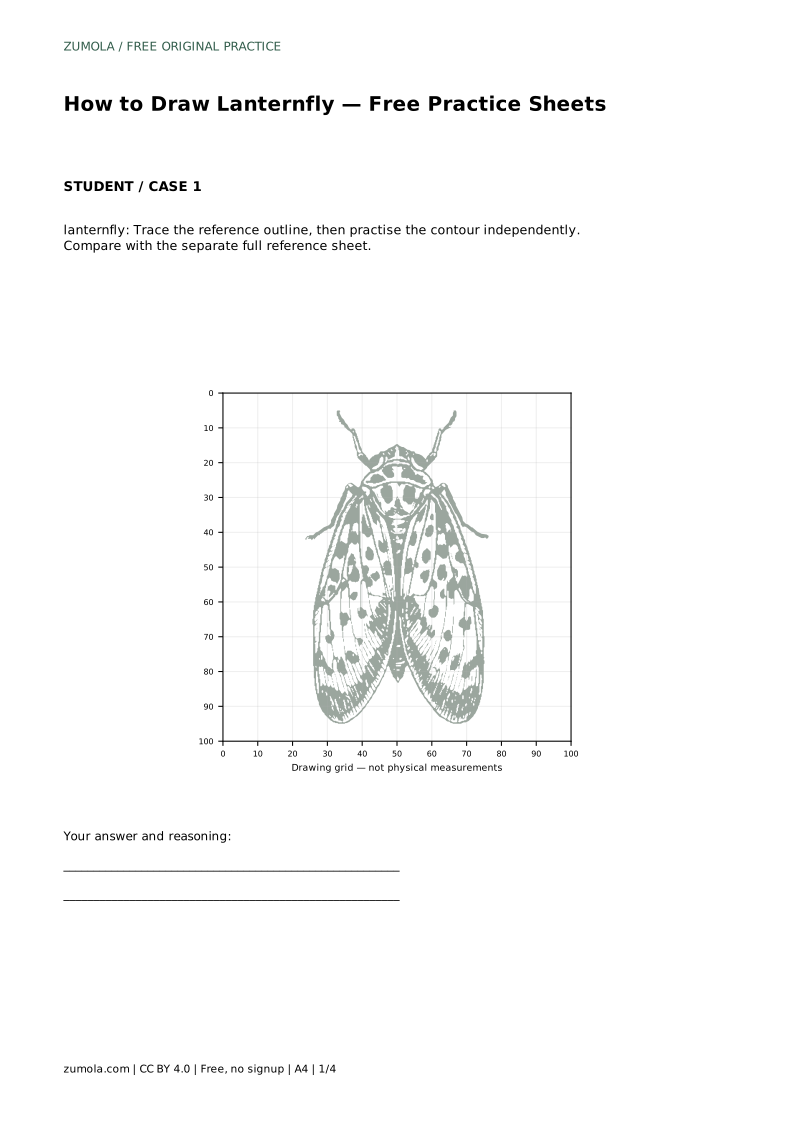
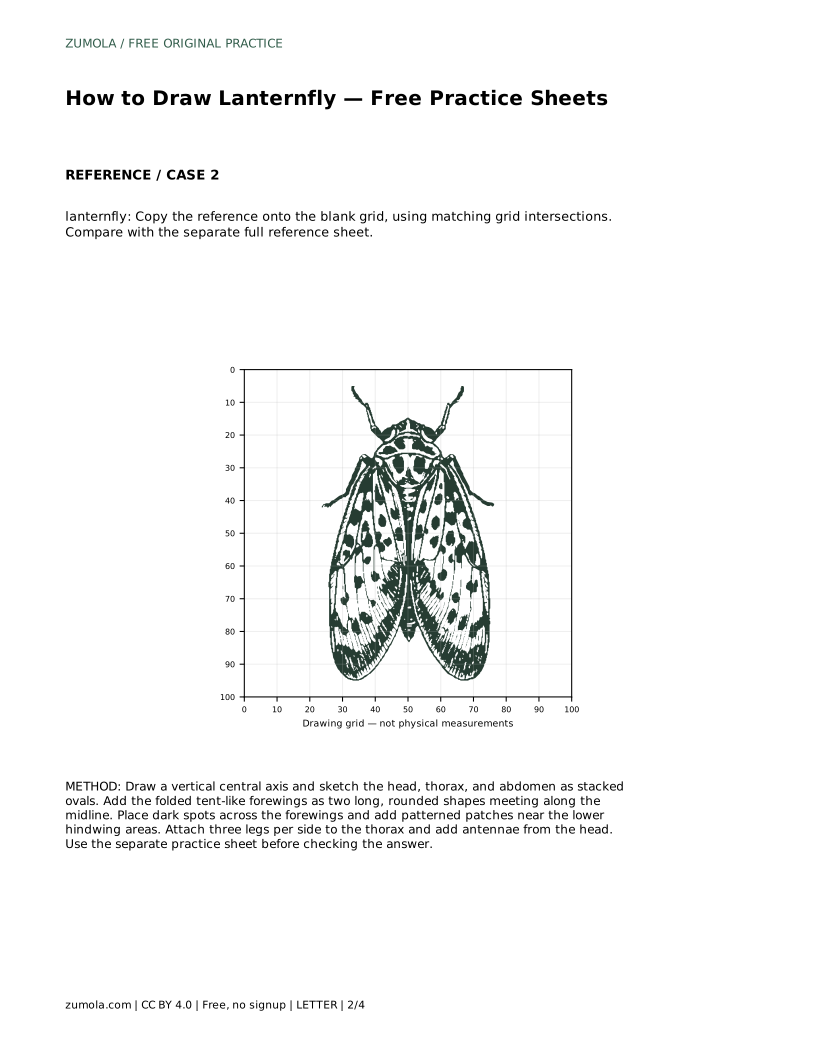
Once the basic drawing is clear, try the tracing exercise: trace the reference outline, then practise the contour independently. The grid and bounding-frame exercises change how you place the silhouette, but the same feature checklist applies. Use the full reference sheet to compare each attempt.
lanternfly: Trace the reference outline, then practise the contour independently. Compare with the separate full reference sheet.
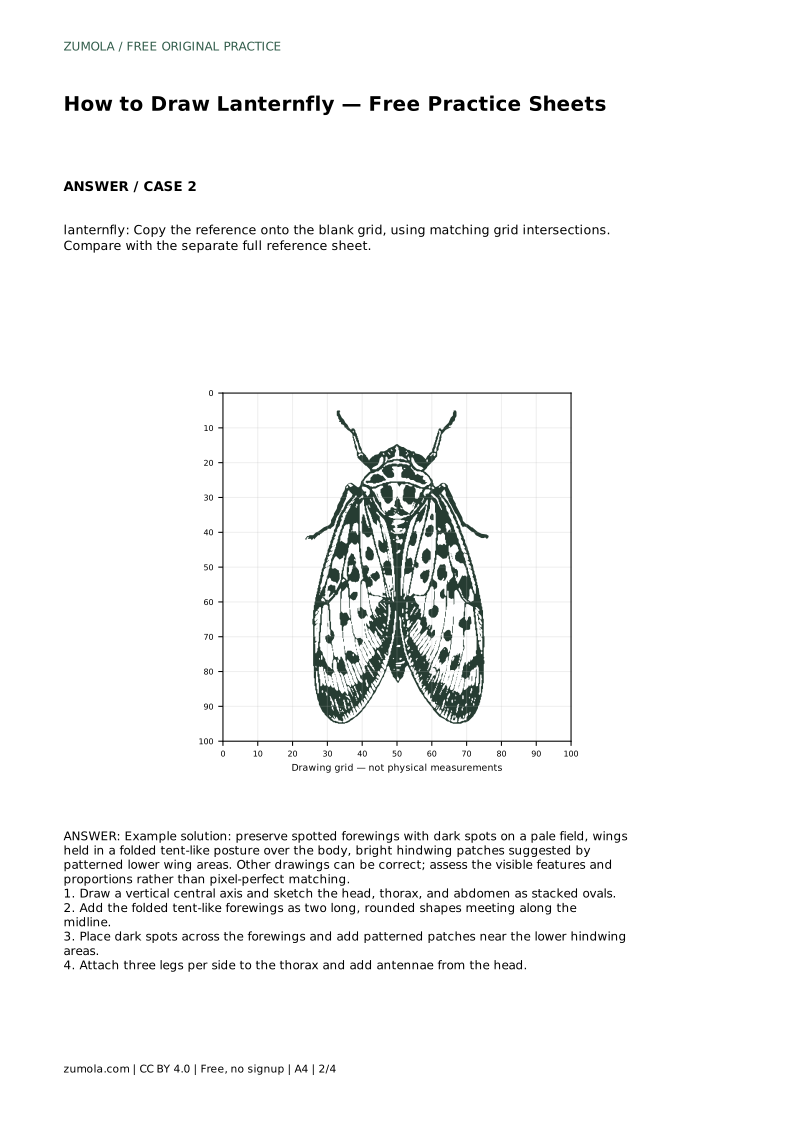
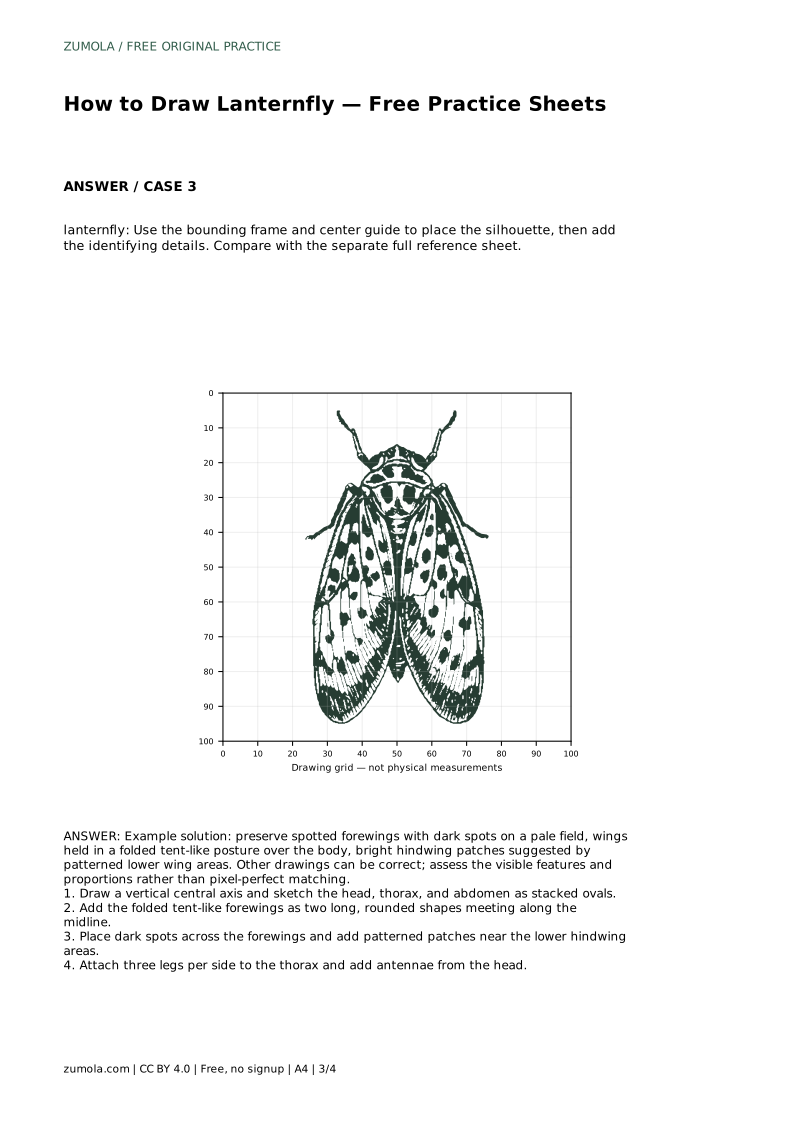
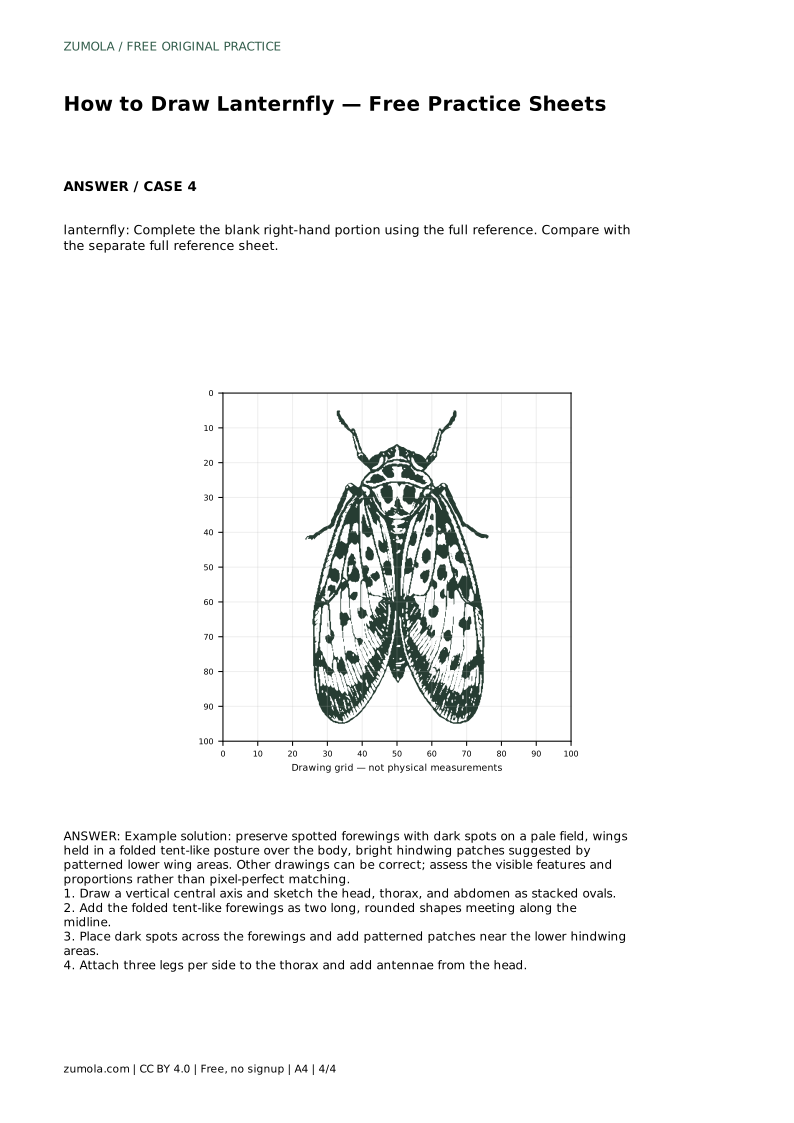
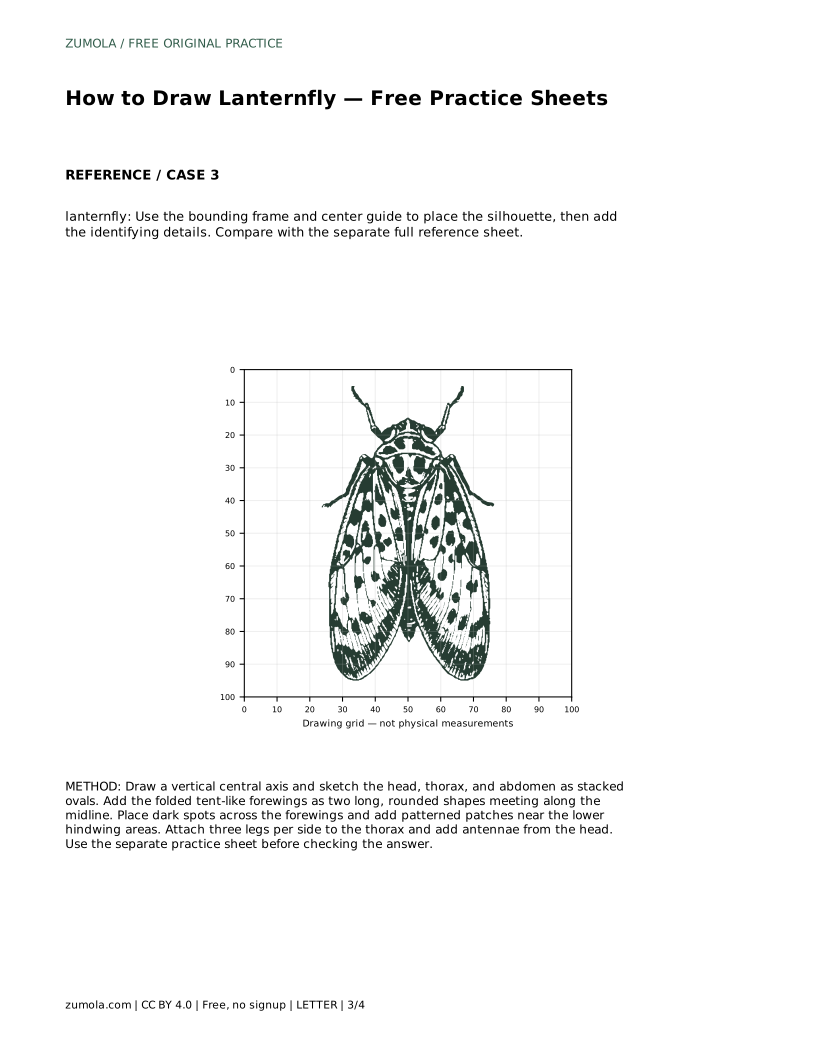
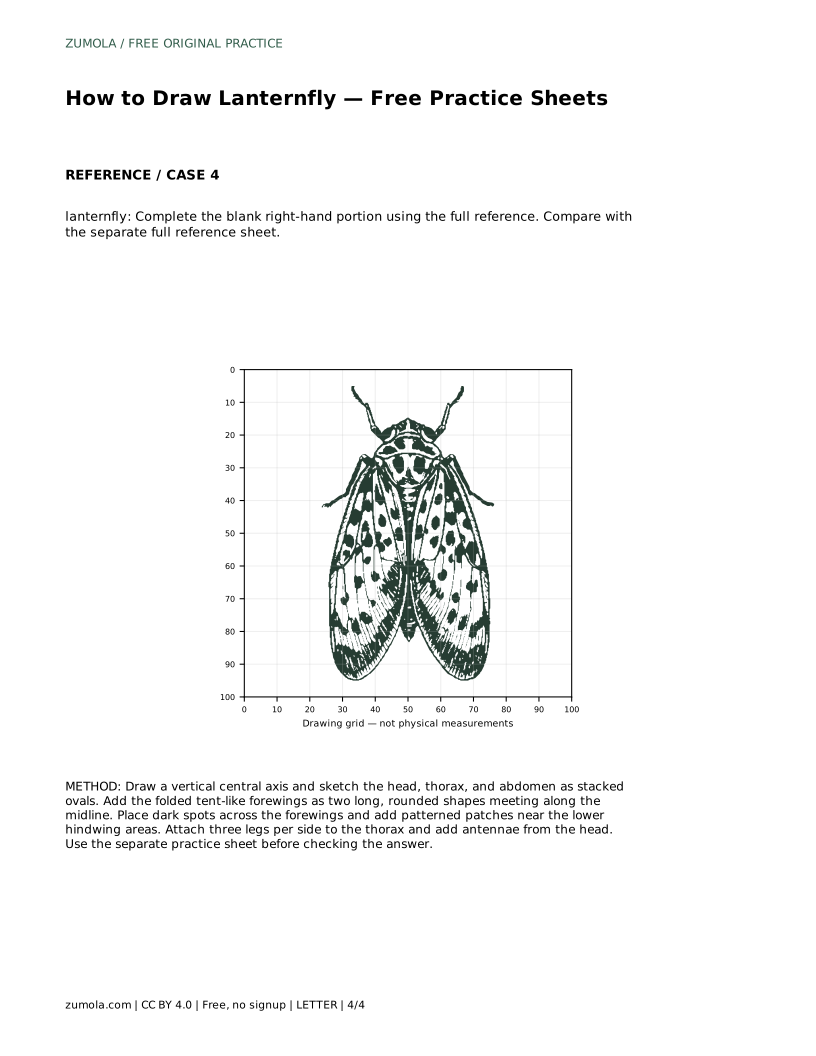
Example solution: preserve spotted forewings with dark spots on a pale field, wings held in a folded tent-like posture over the body, bright hindwing patches suggested by patterned lower wing areas. Other drawings can be correct; assess the visible features and proportions rather than pixel-perfect matching. Draw a vertical central axis and sketch the head, thorax, and abdomen as stacked ovals. Add the folded tent-like forewings as two long, rounded shapes meeting along the midline. Place dark spots across the forewings and add patterned patches near the lower hindwing areas. Attach three legs per side to the thorax and add antennae from the head.
Show three legs on each side, attached to the thorax, for six legs total.
Place dark spots across the pale forewings in a scattered, balanced arrangement, with patterned patches near the lower hindwing areas.
No. Art has multiple valid outcomes. Check that the folded posture, spotted forewings, patterned patches, legs, and antennae are visible and proportionate.
All drawing practice · Free coordinate paper
Original resources · CC BY 4.0 · Free for personal and classroom use with attribution.