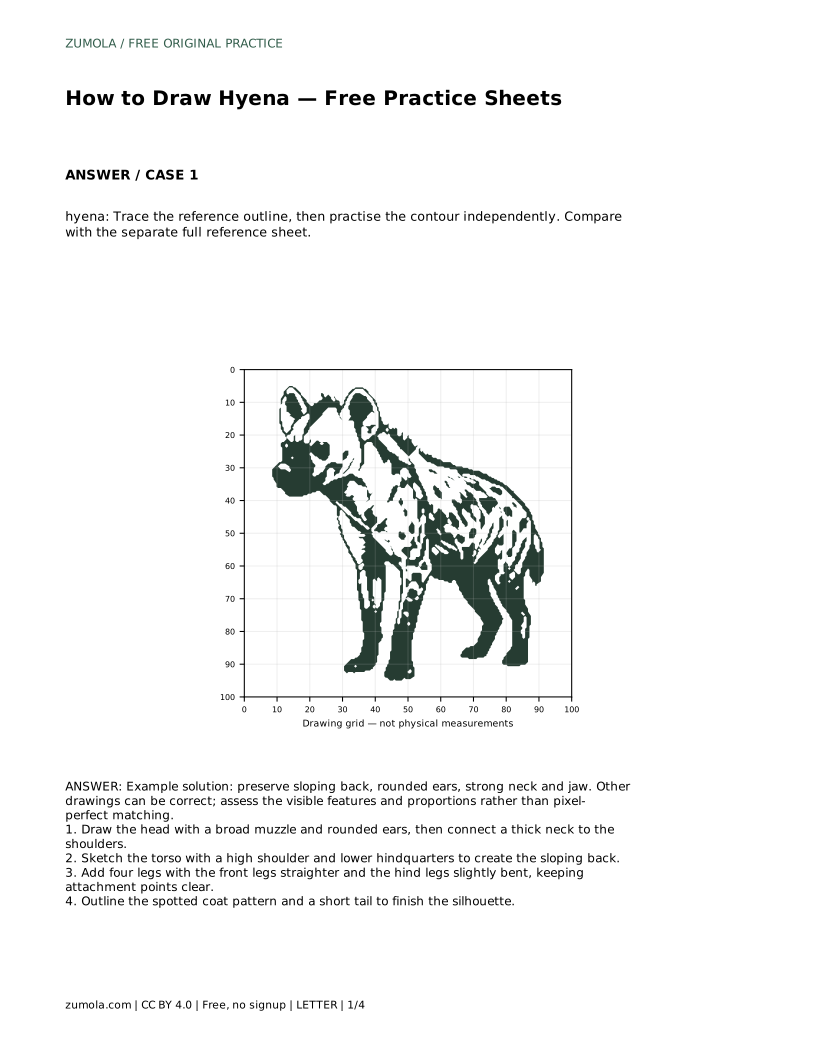
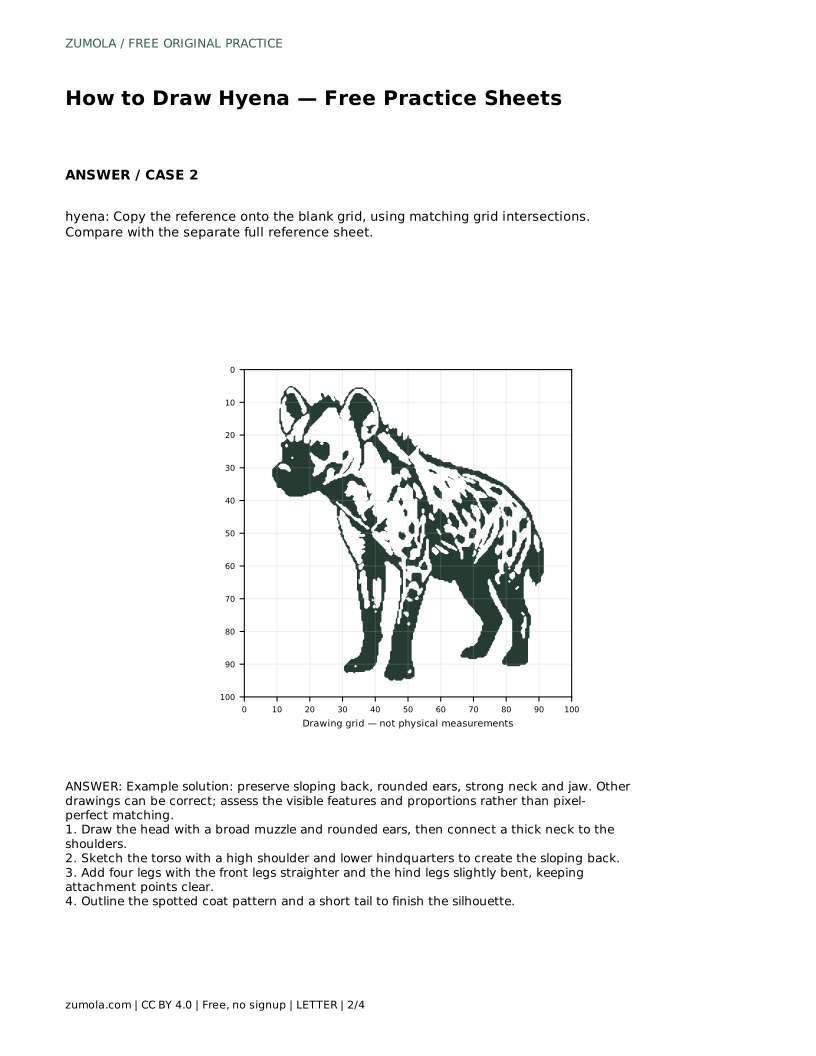
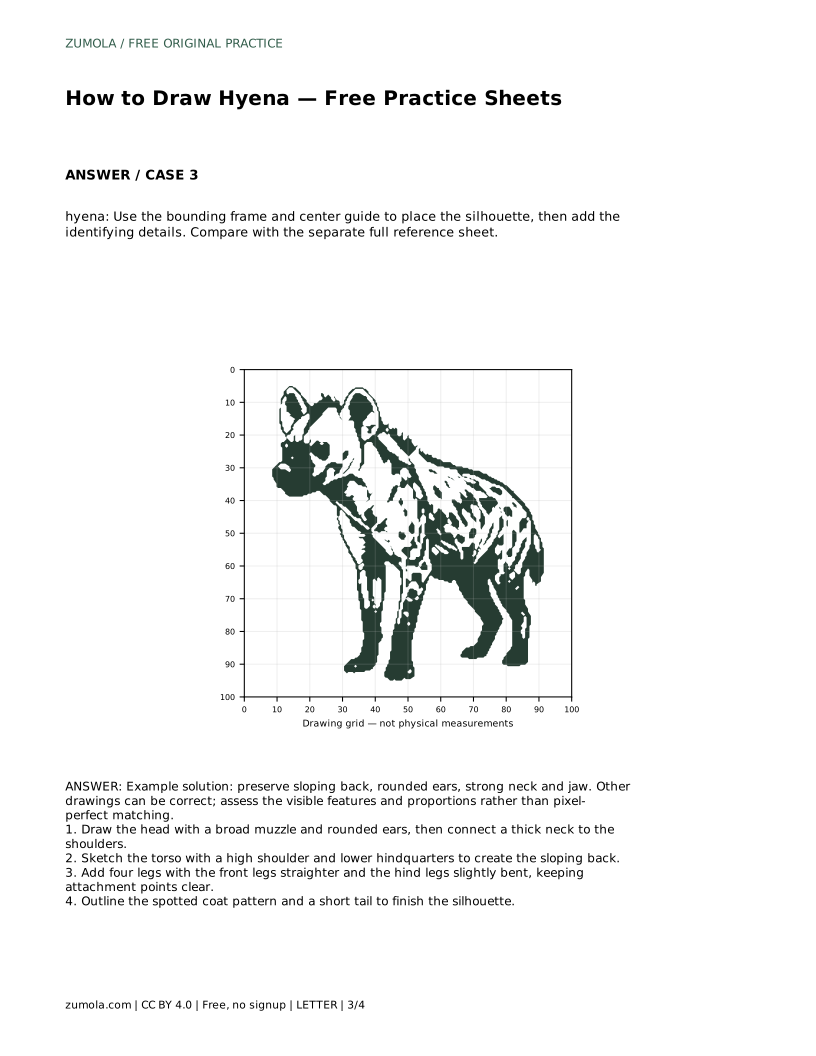
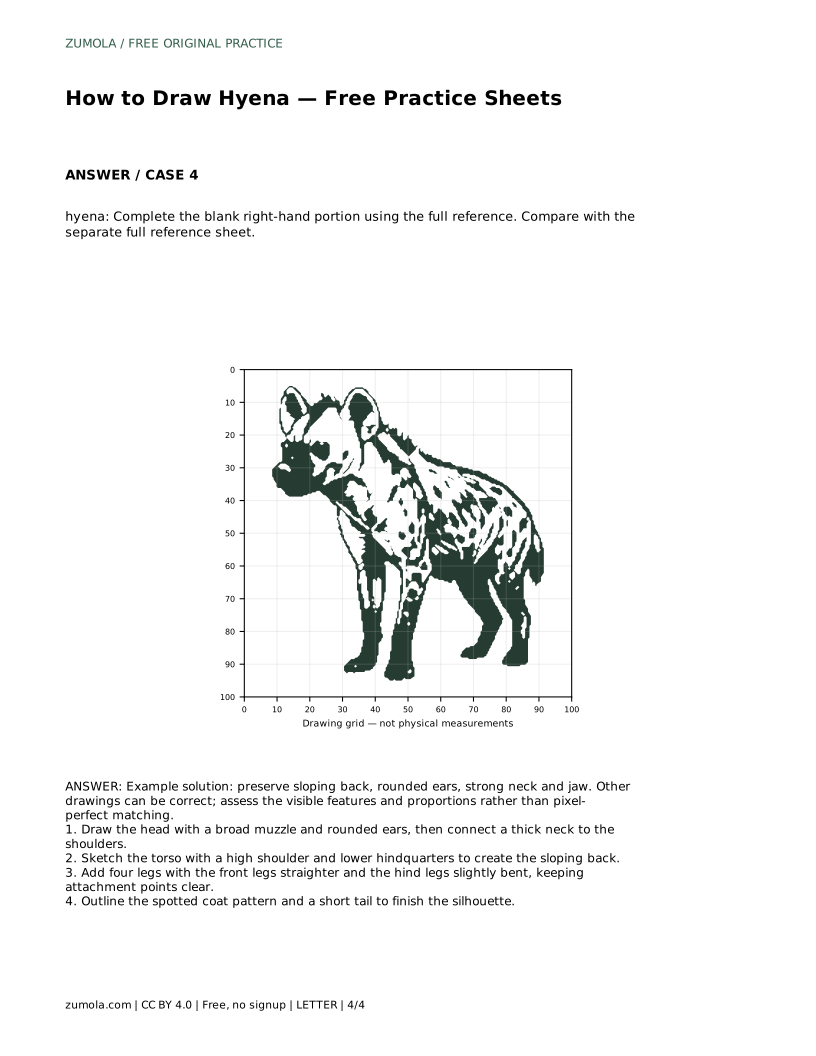
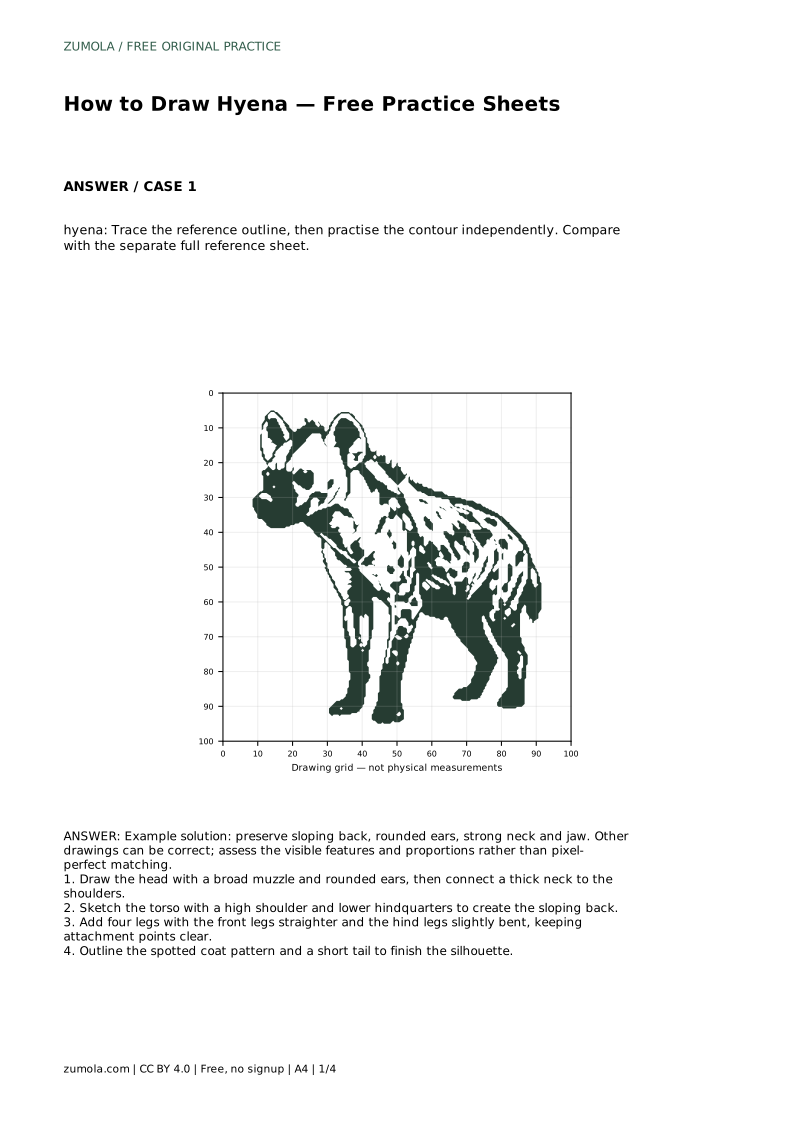
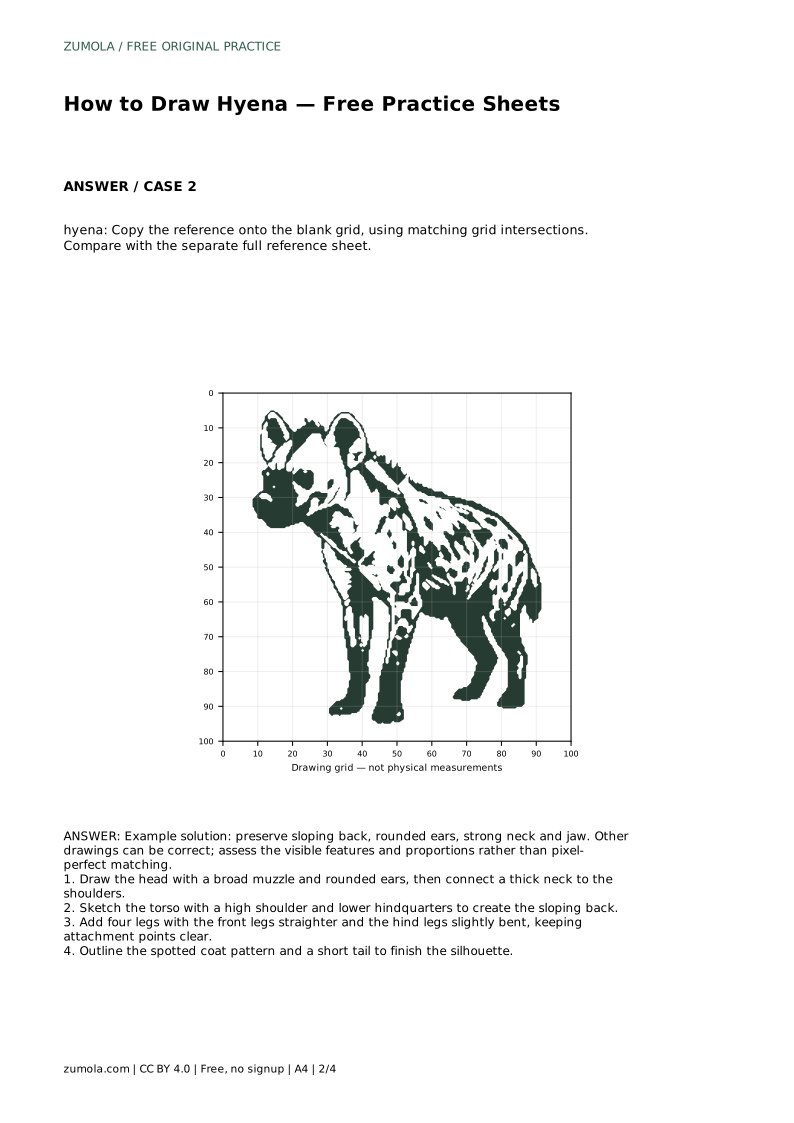
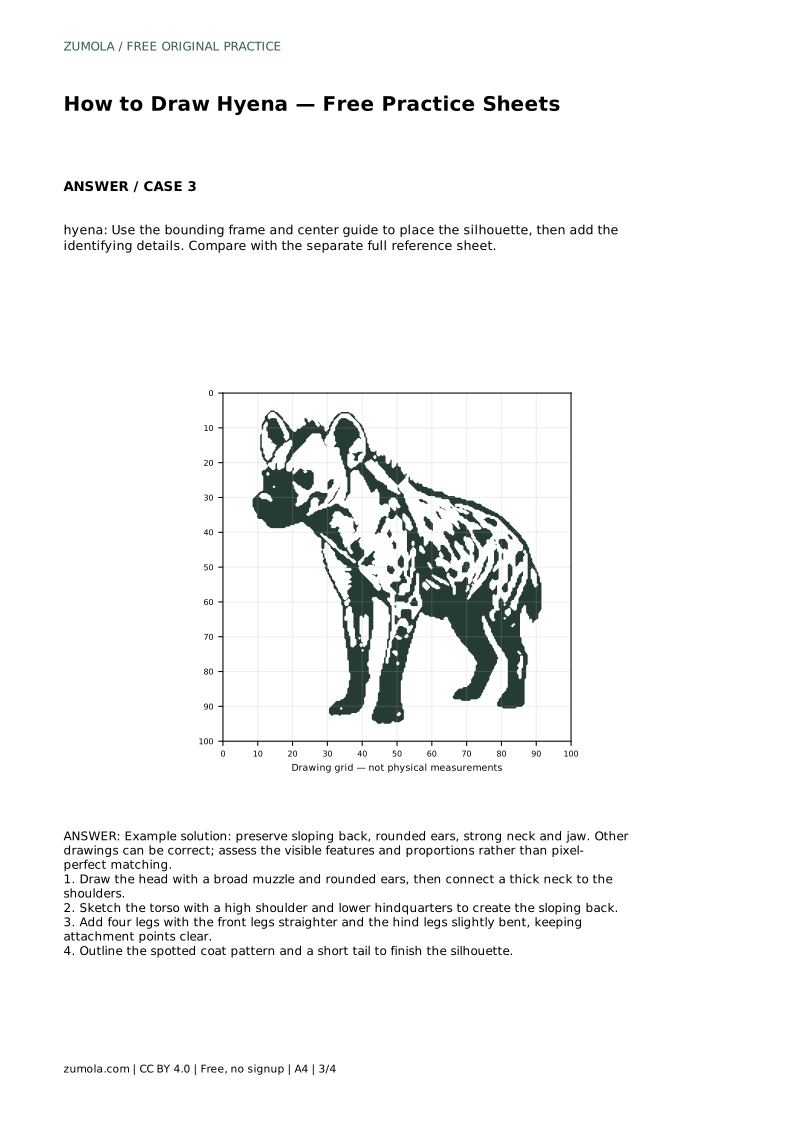
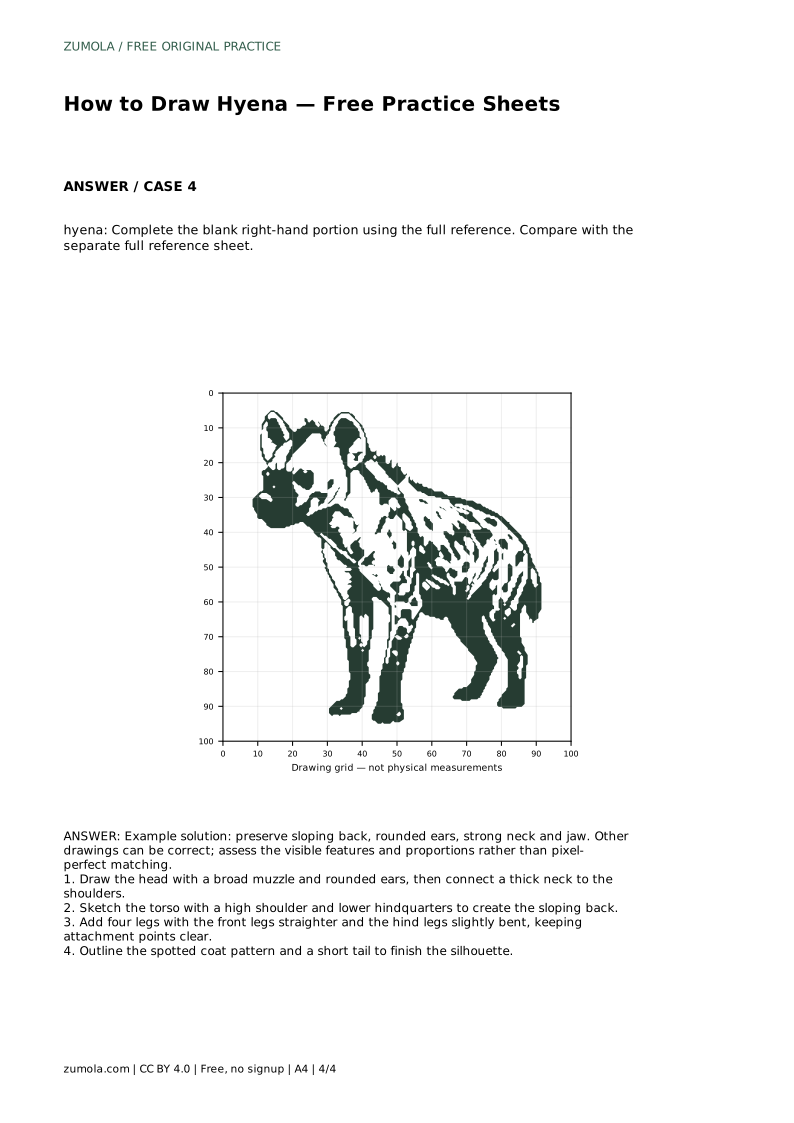
Reference diagrams
LETTER · Download PDF
A4 · Download PDF
Free original resources
Learn to draw a hyena by building its sloping back, rounded ears, broad muzzle, and spotted coat. Free practice sheets support tracing, grids, and guided placement.
Four original cases, with reference diagrams, practice sheets and worked answers. Everything is free; no signup required.
LETTER · Download PDF
A4 · Download PDF
LETTER · Download PDF
A4 · Download PDF
LETTER · Download PDF
A4 · Download PDF
Use A4 or US Letter to match your printer. Use the stated values and conditions to solve each exercise; diagrams are not physical measuring rulers.
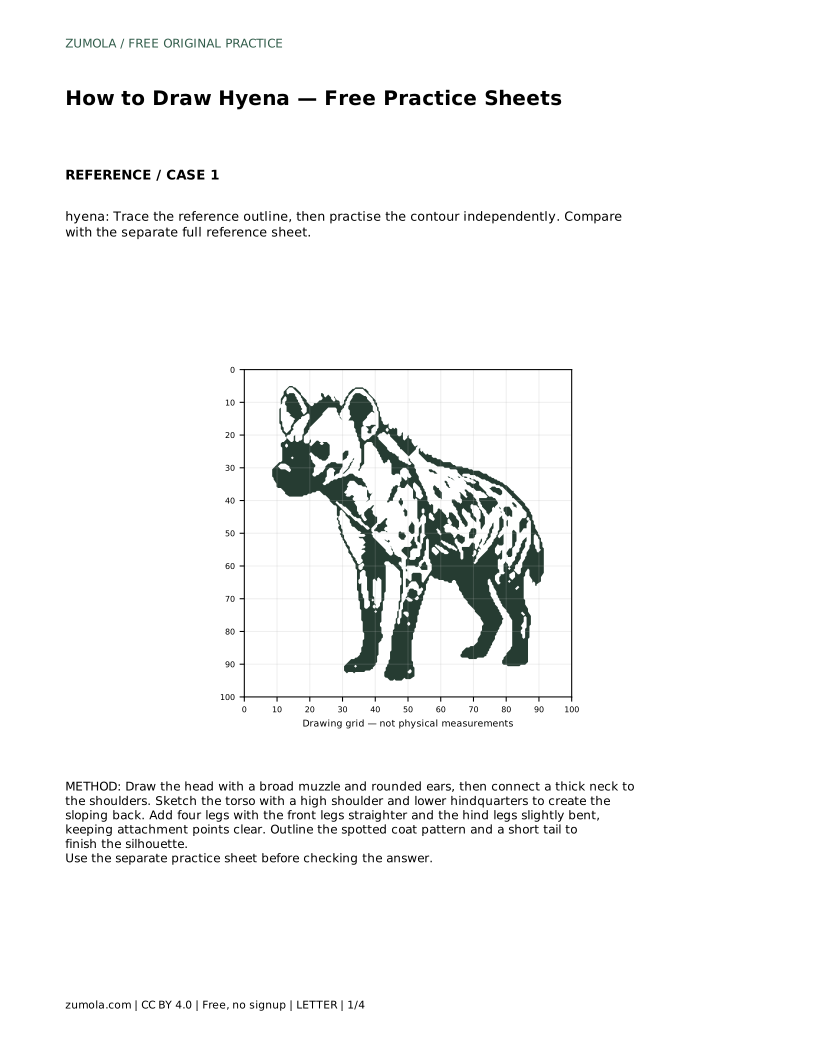
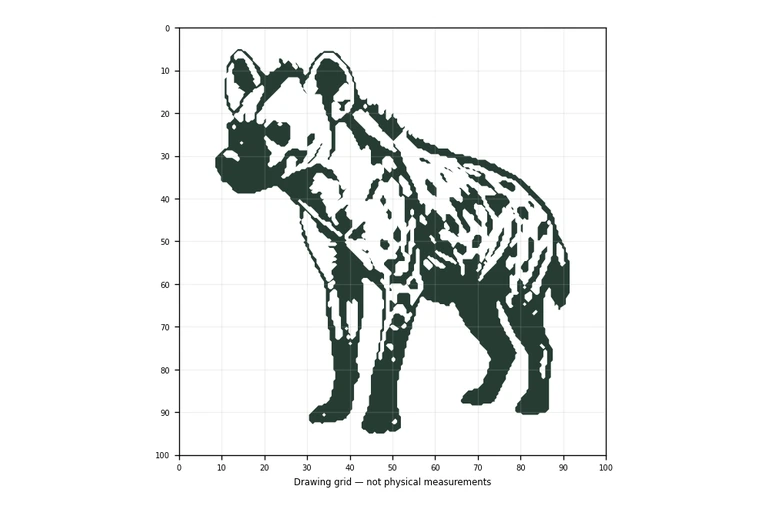
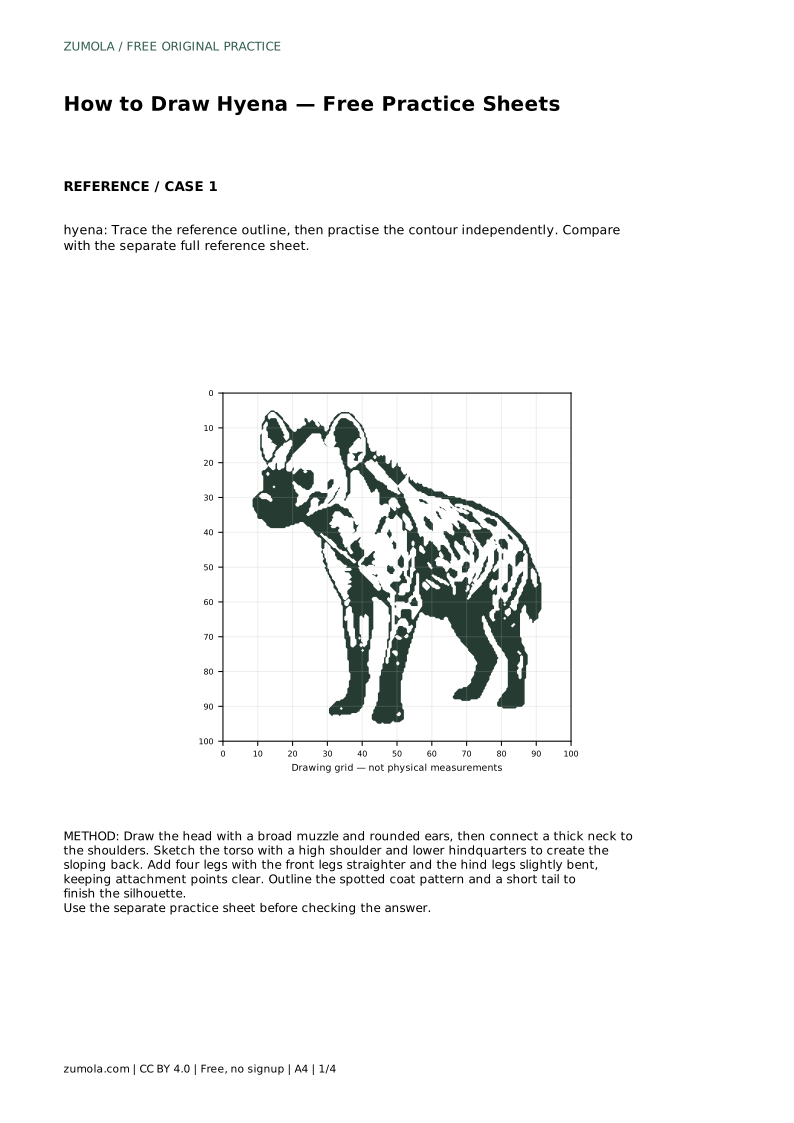
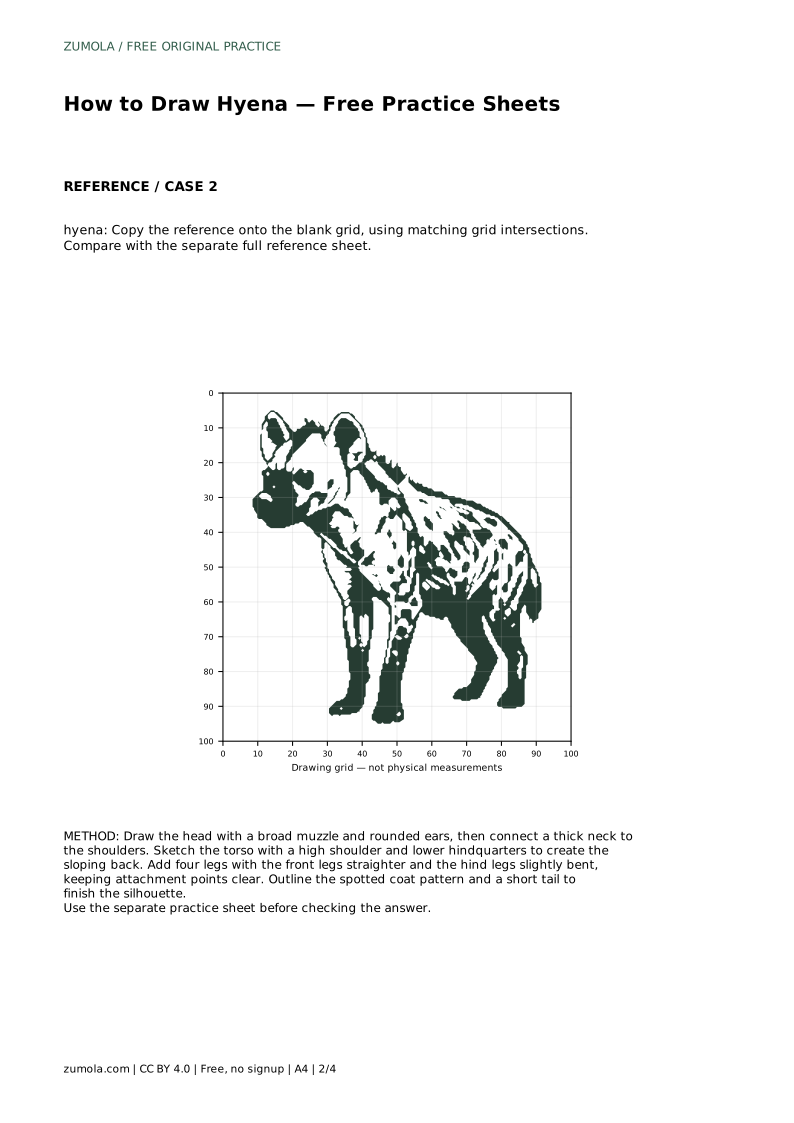
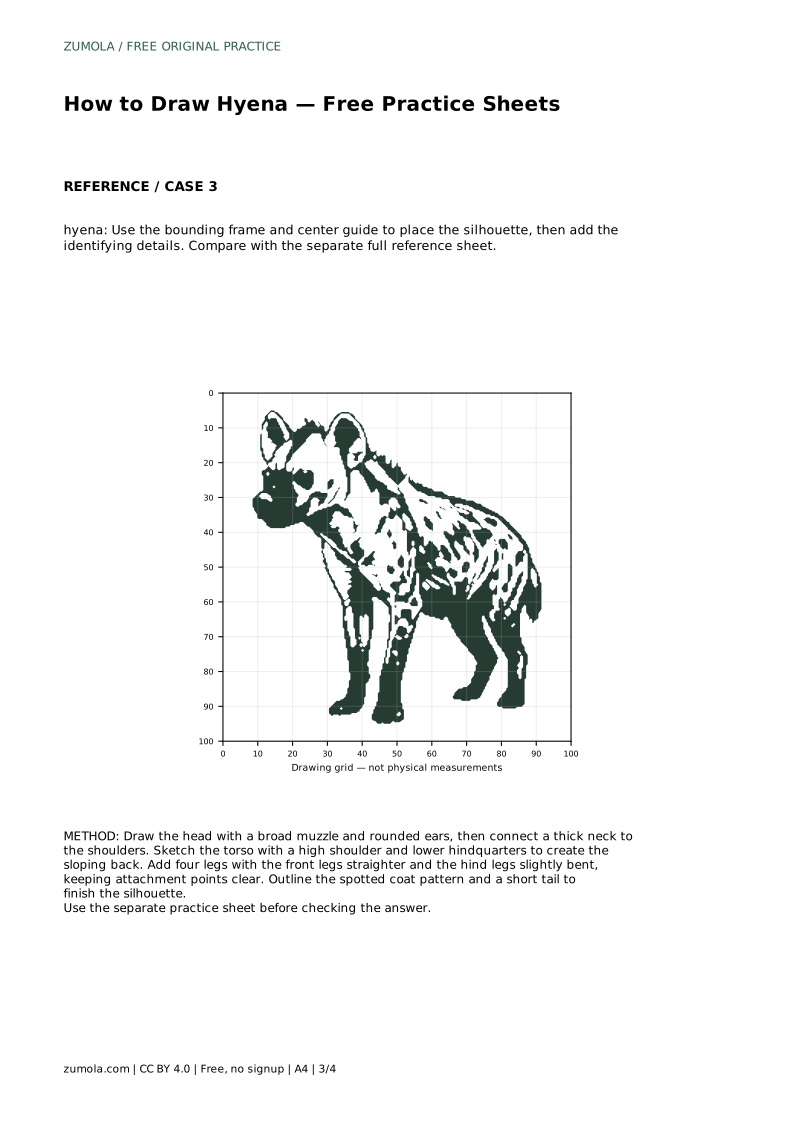
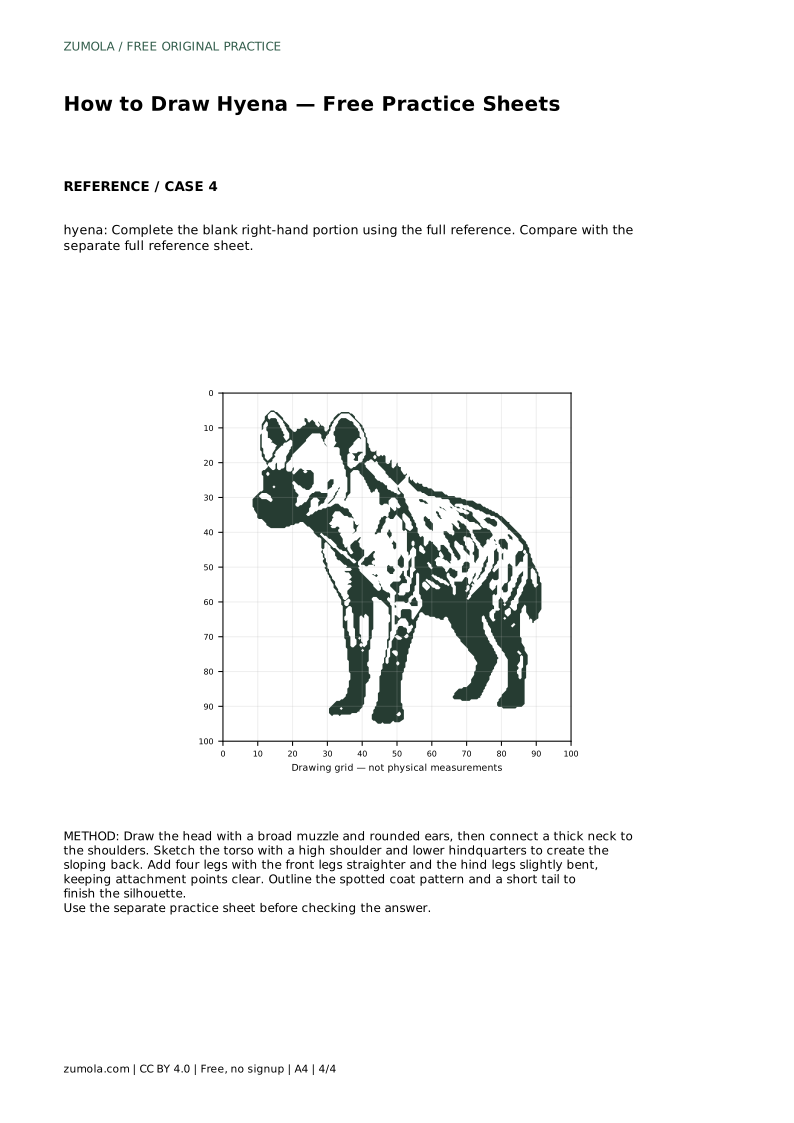
A hyena drawing depends less on perfect lines than on a few clear shapes: a high shoulder, lower hindquarters, a thick neck, rounded ears, and a broad muzzle. This page explains how to build those features in order, then how to use tracing, grid, frame, and partial-reference practice sheets to test what you have learned. Each sheet asks you to compare your work with a separate full reference, so you can judge proportions and visible features rather than chase an exact copy.
Start with the head because it carries the most identifying detail. Draw a broad muzzle that tapers toward the nose, then add rounded ears rather than sharp points. Connect the head to the shoulders with a thick neck; this mass helps the animal read as sturdy rather than delicate.
Next, sketch the torso. Place the shoulder line higher than the hindquarters so the back slopes downward toward the rear. Keep the chest deep and the belly line relatively level. Add four legs with clear attachment points: front legs are straighter, while hind legs bend slightly at the joints. Finish the silhouette with a short tail and a spotted coat pattern.
Treat the spots as a pattern, not a count. Vary their size and spacing loosely across the body, and leave the face and lower legs clearer if you prefer. The goal is a recognizable hyena, not a pixel-perfect duplicate.
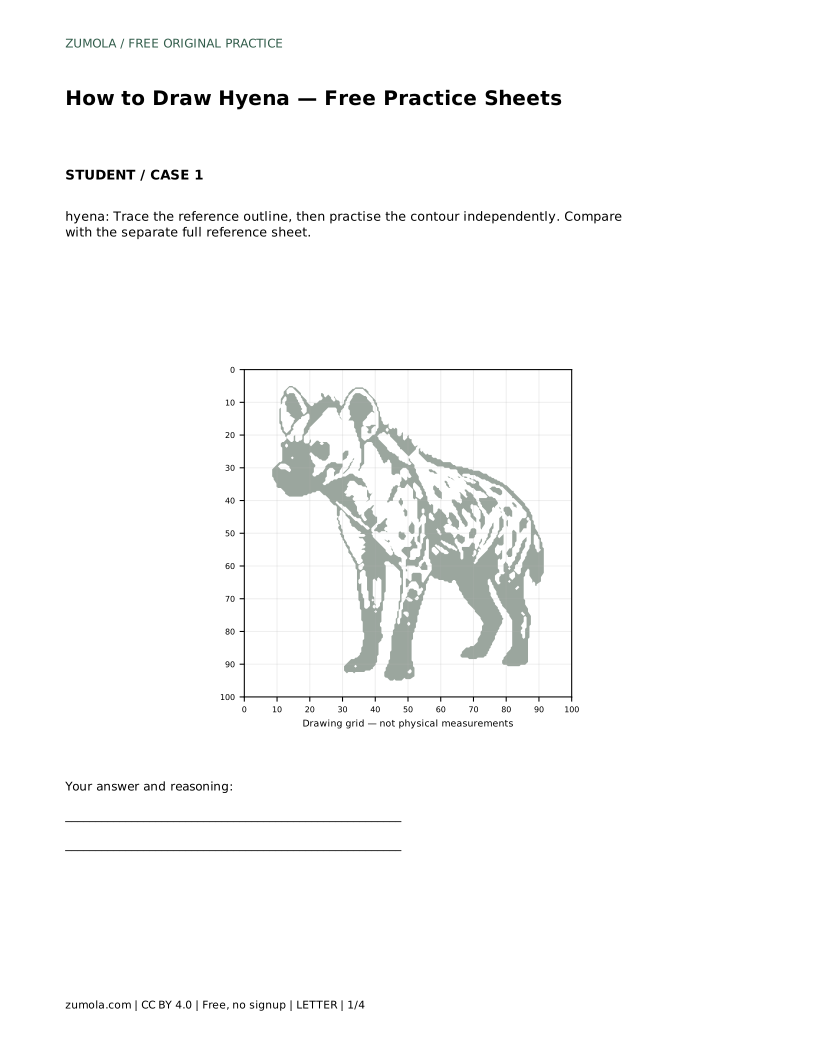
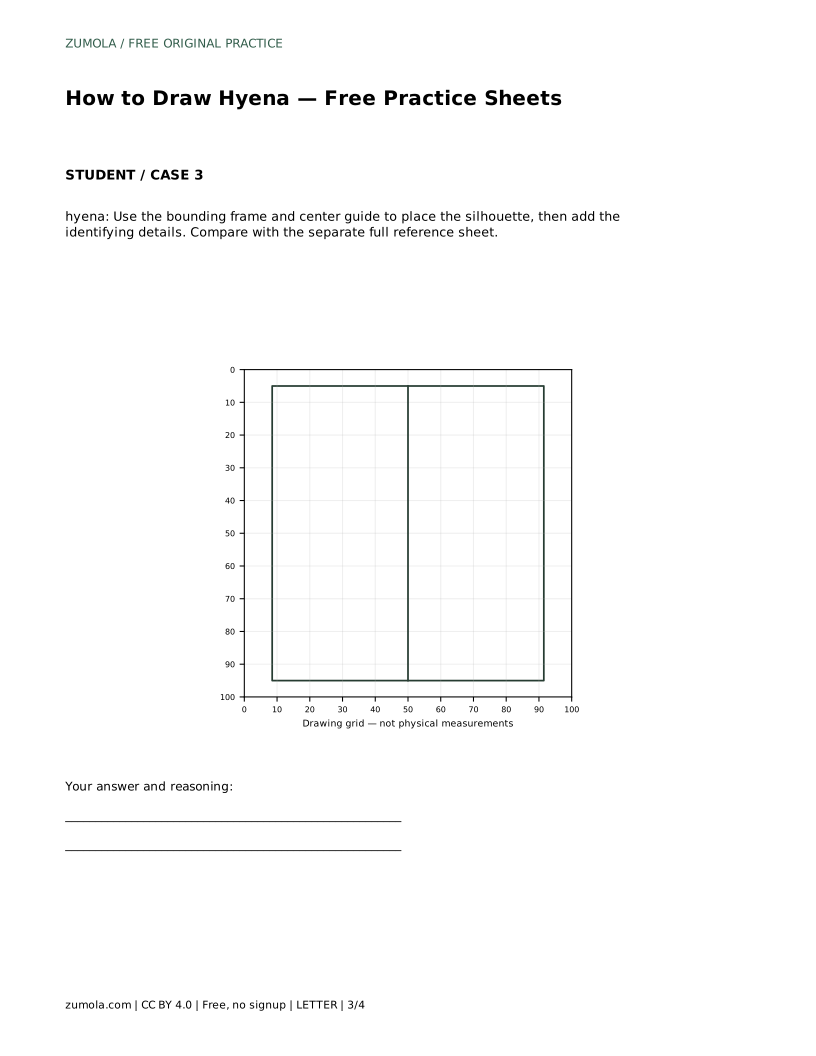
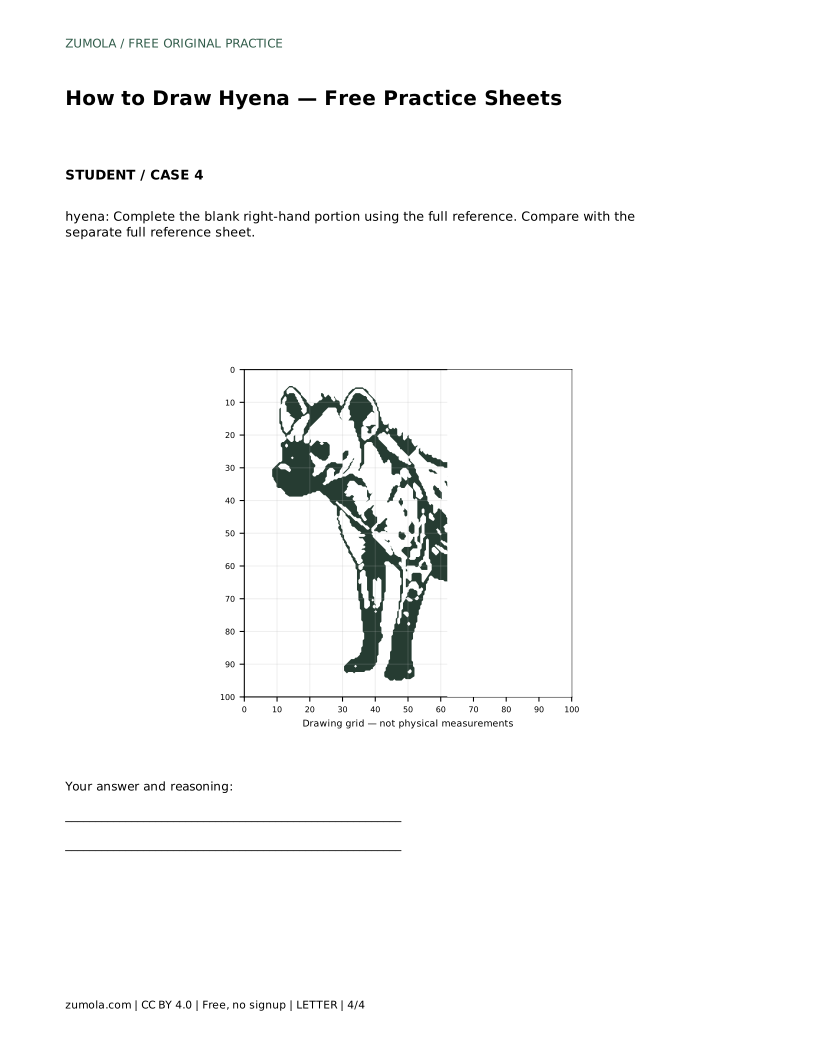
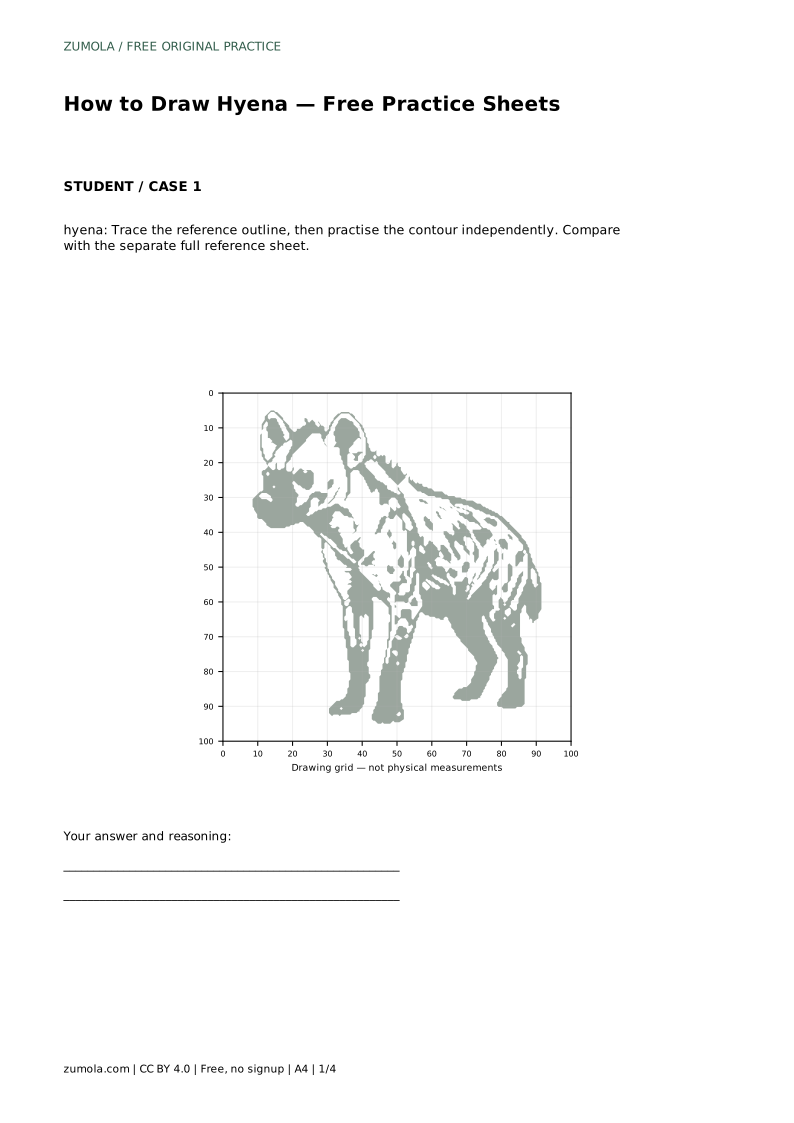
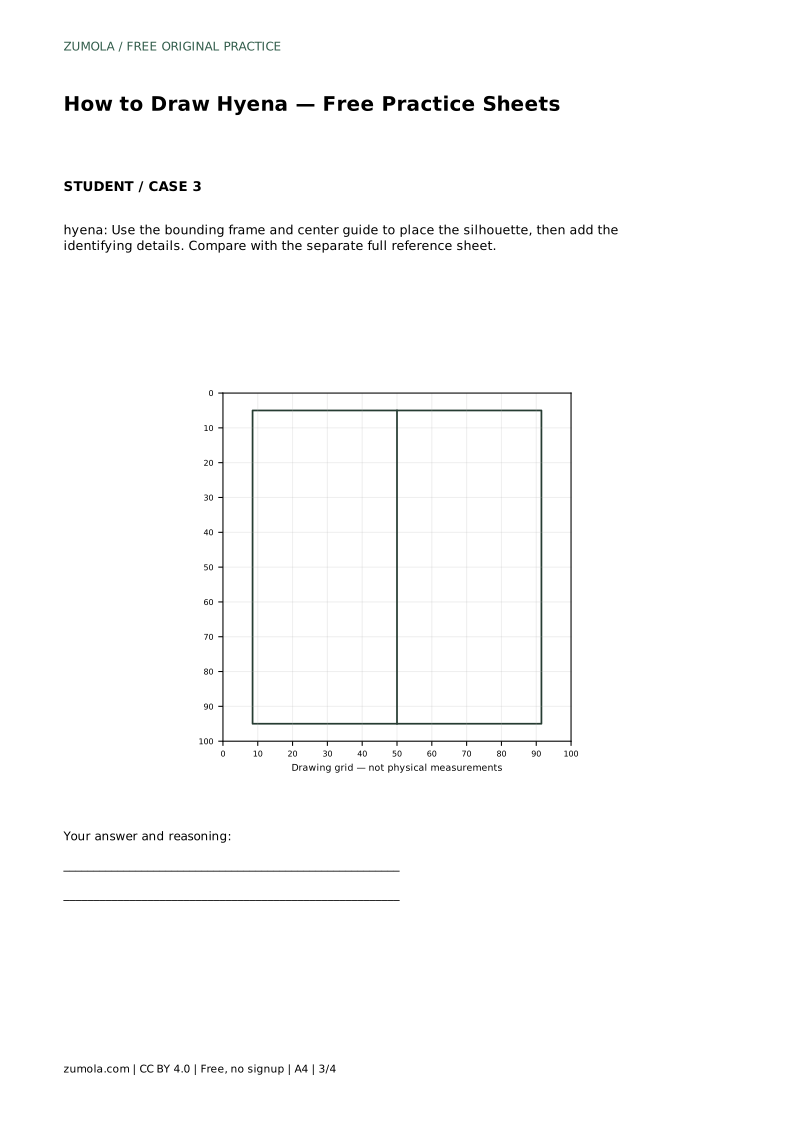
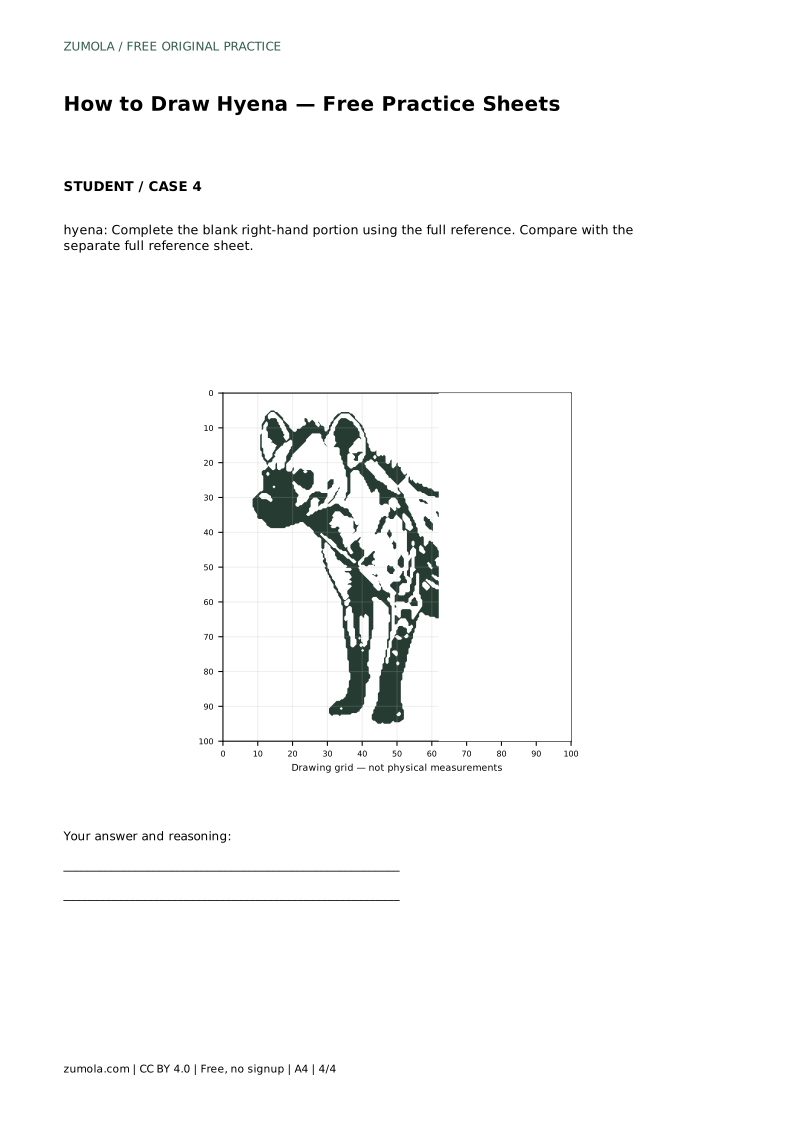
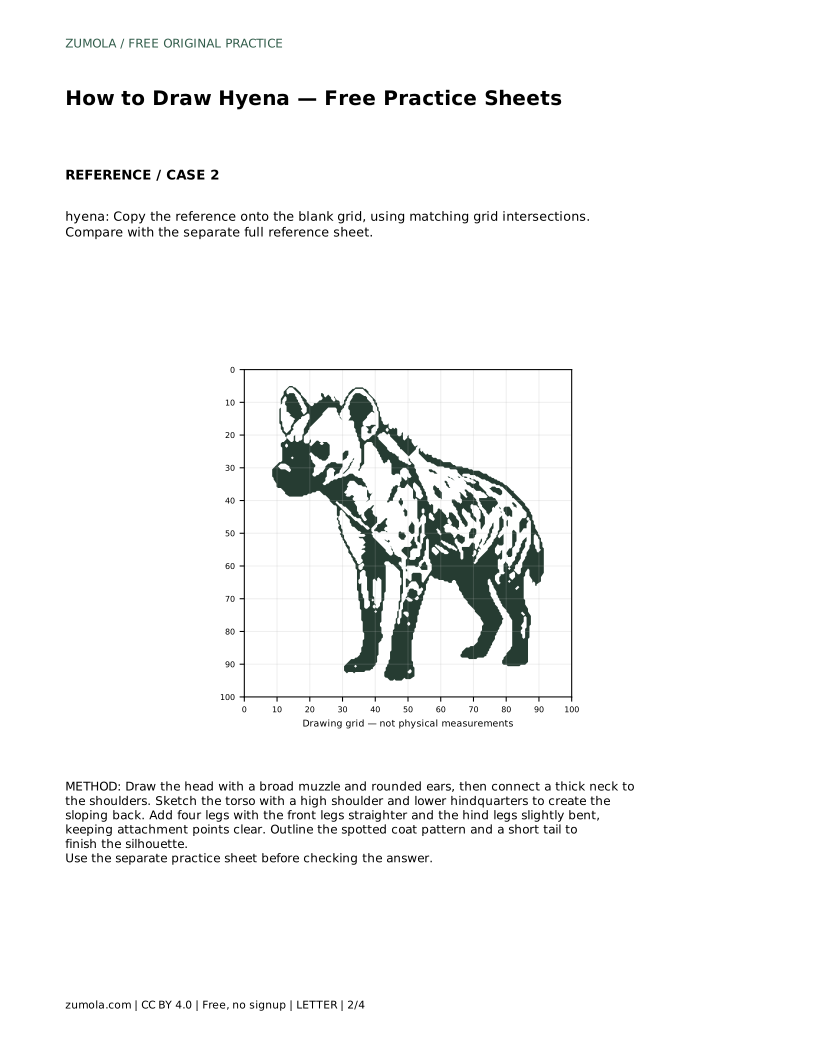
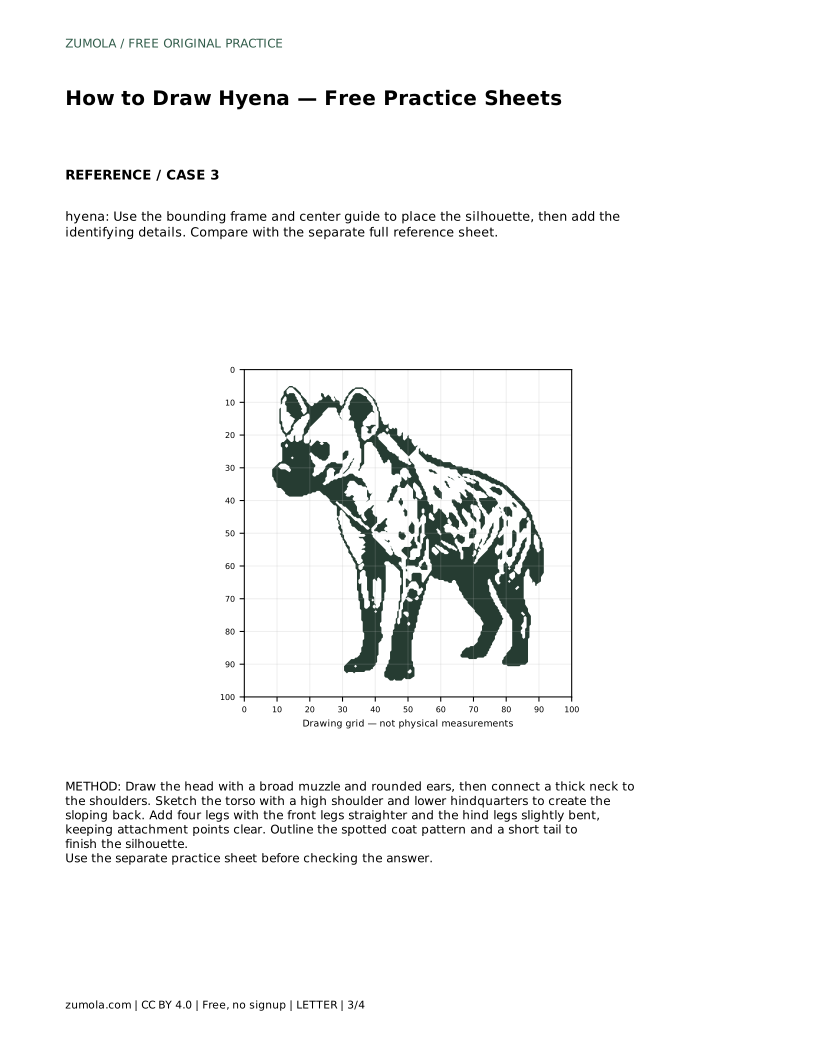
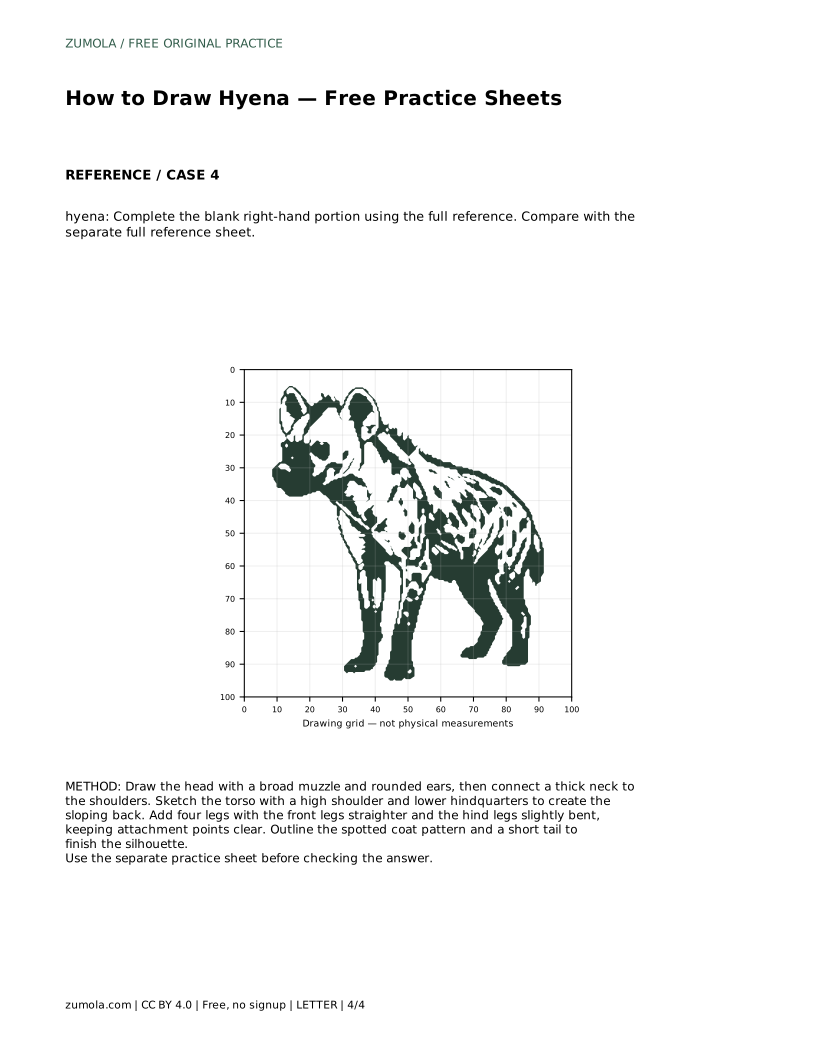
The tracing sheet asks you to follow the reference outline first, then draw the contour independently beside it. This separates hand guidance from recall. The grid sheet asks you to copy the reference onto a blank grid using matching intersections, which trains placement and scale. The frame-and-center-guide sheet helps you position the whole silhouette before adding details. The partial-reference sheet gives you the full reference while you complete a blank right-hand portion, so you practise finishing a drawing from an established start.
After each attempt, compare your sheet with the separate full reference. Check the slope of the back, the ear shape, the neck thickness, and whether all four legs attach clearly. A difference in line quality is fine; a missing or misplaced feature is the useful signal.
Because drawings have many valid outcomes, assess visible features and proportions instead of exact matching. A strong attempt keeps the sloping back, rounded ears, strong neck and jaw, clear leg attachments, and a readable spotted pattern. Line confidence and personal styling can vary without making the drawing wrong.
hyena: Trace the reference outline, then practise the contour independently. Compare with the separate full reference sheet.
Example solution: preserve sloping back, rounded ears, strong neck and jaw. Other drawings can be correct; assess the visible features and proportions rather than pixel-perfect matching. Draw the head with a broad muzzle and rounded ears, then connect a thick neck to the shoulders. Sketch the torso with a high shoulder and lower hindquarters to create the sloping back. Add four legs with the front legs straighter and the hind legs slightly bent, keeping attachment points clear. Outline the spotted coat pattern and a short tail to finish the silhouette.
No. Compare visible features and proportions, such as the sloping back, rounded ears, thick neck, and clear leg attachments. Other drawings can be correct.
Start with the tracing sheet to learn the outline, then move to the grid or frame sheet to practise placement without direct tracing.
Place your drawing beside the full reference and compare one feature at a time: head shape, back slope, leg attachment, tail, and spot pattern.
All drawing practice · Free coordinate paper
Original resources · CC BY 4.0 · Free for personal and classroom use with attribution.