Reference diagrams
LETTER · Download PDF
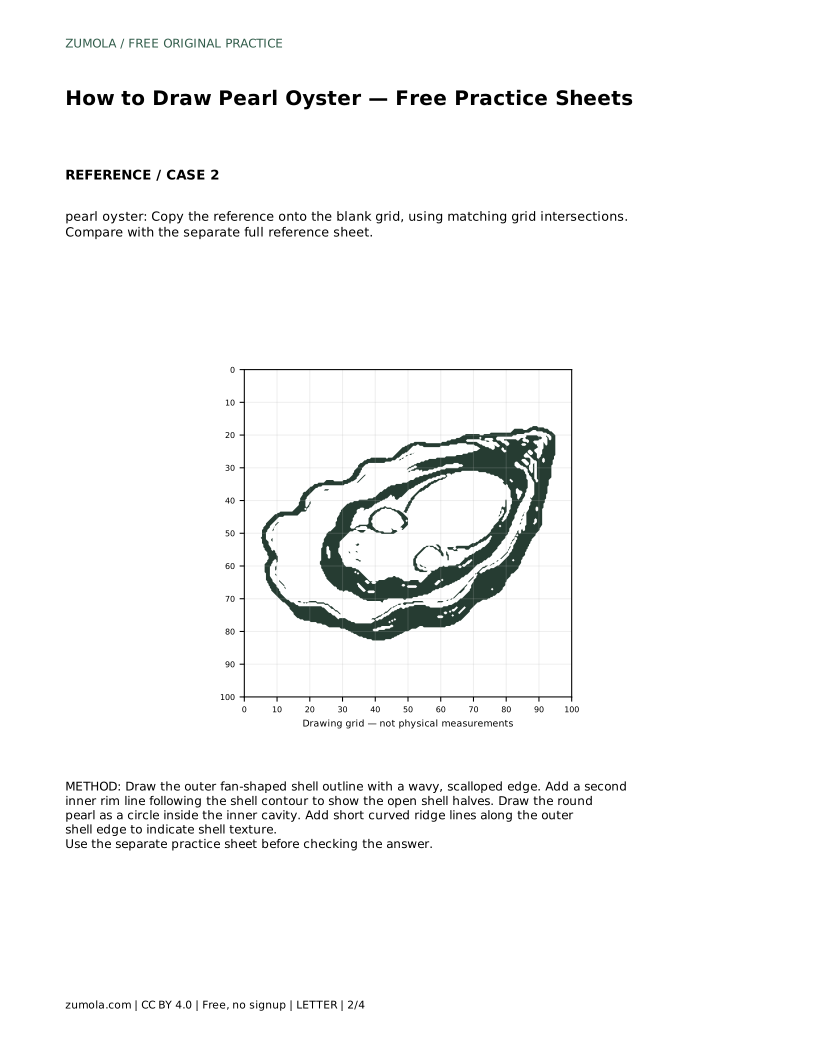
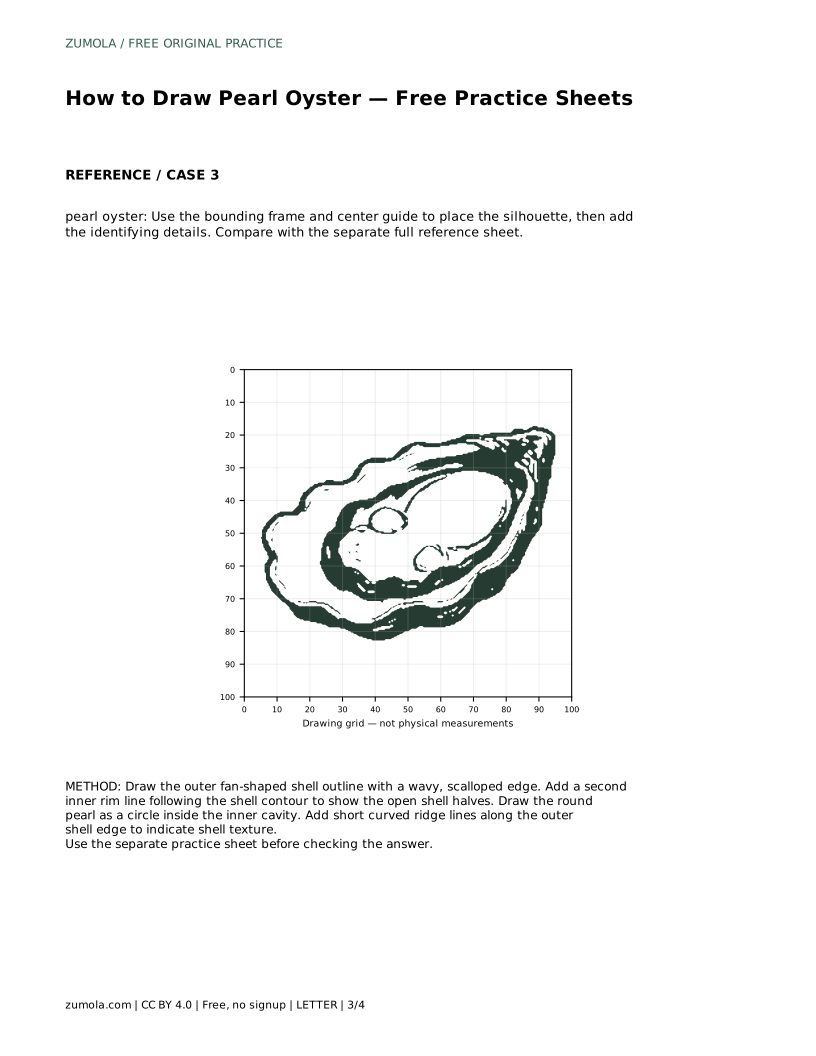
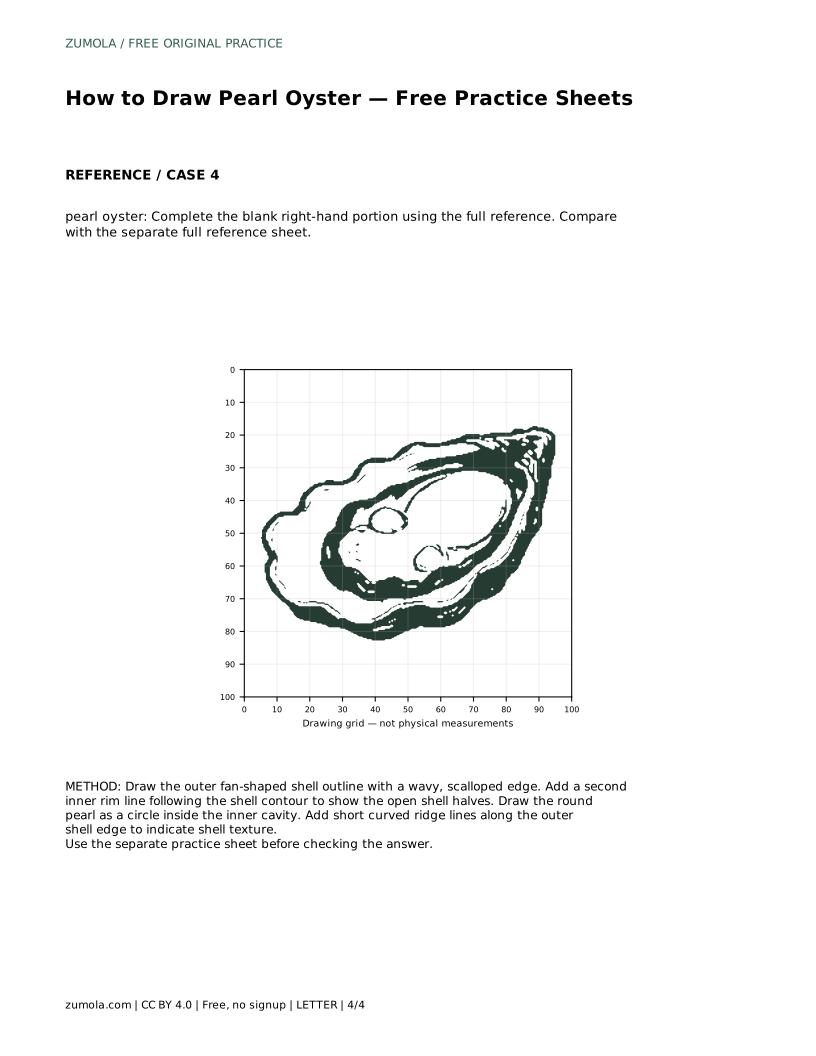
A4 · Download PDF
Free original resources
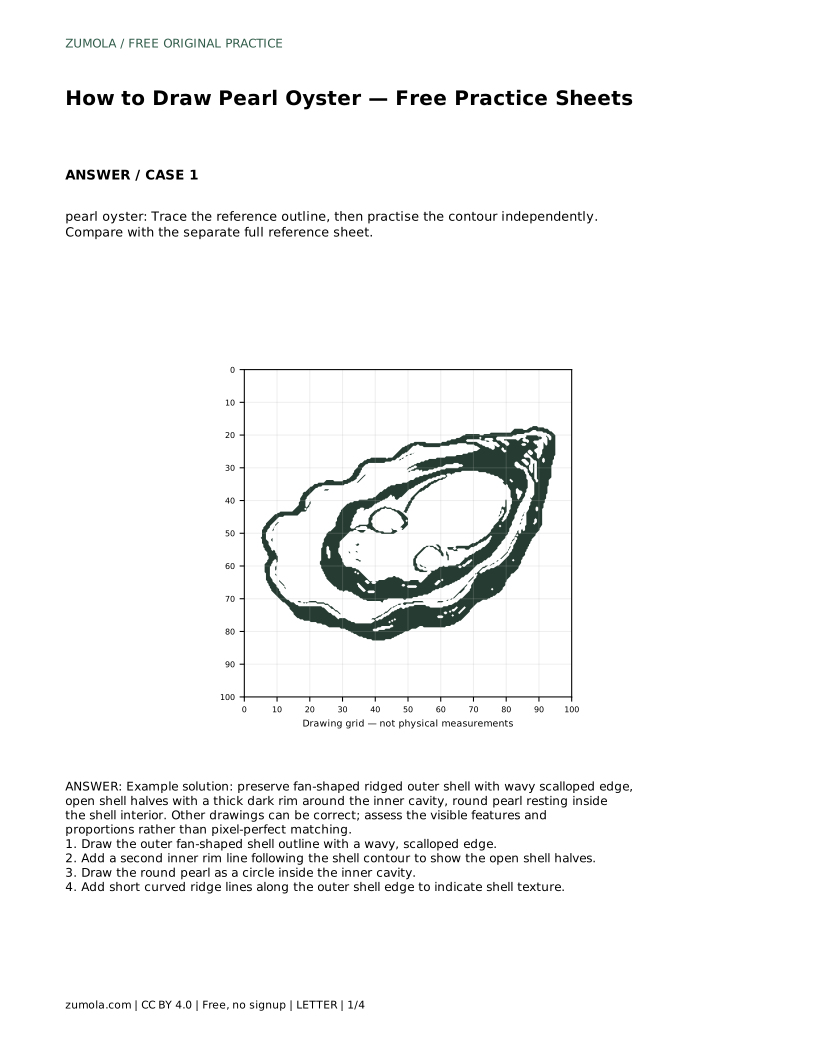
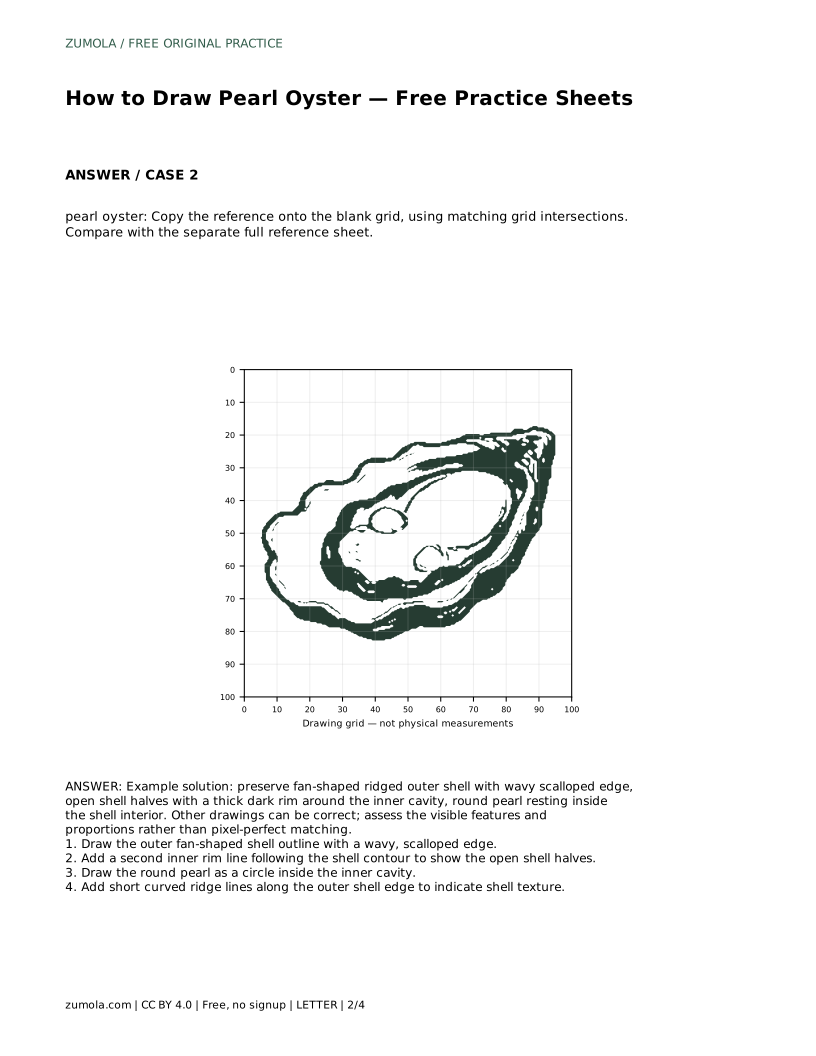
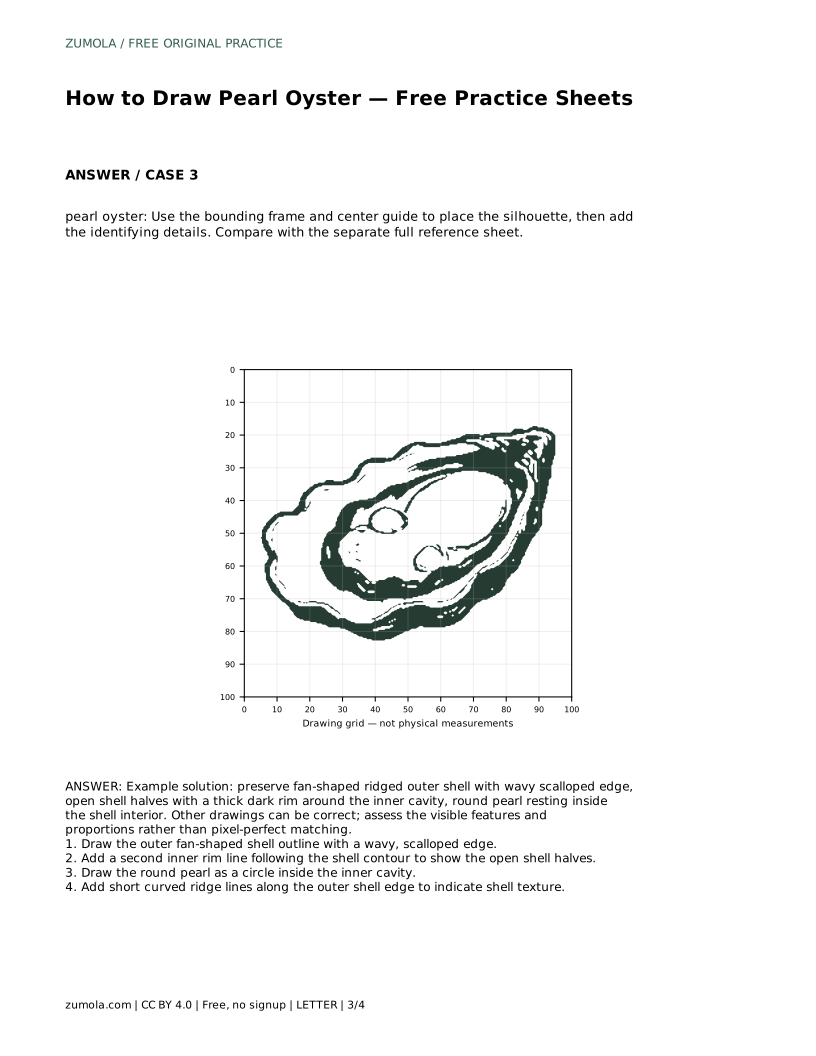
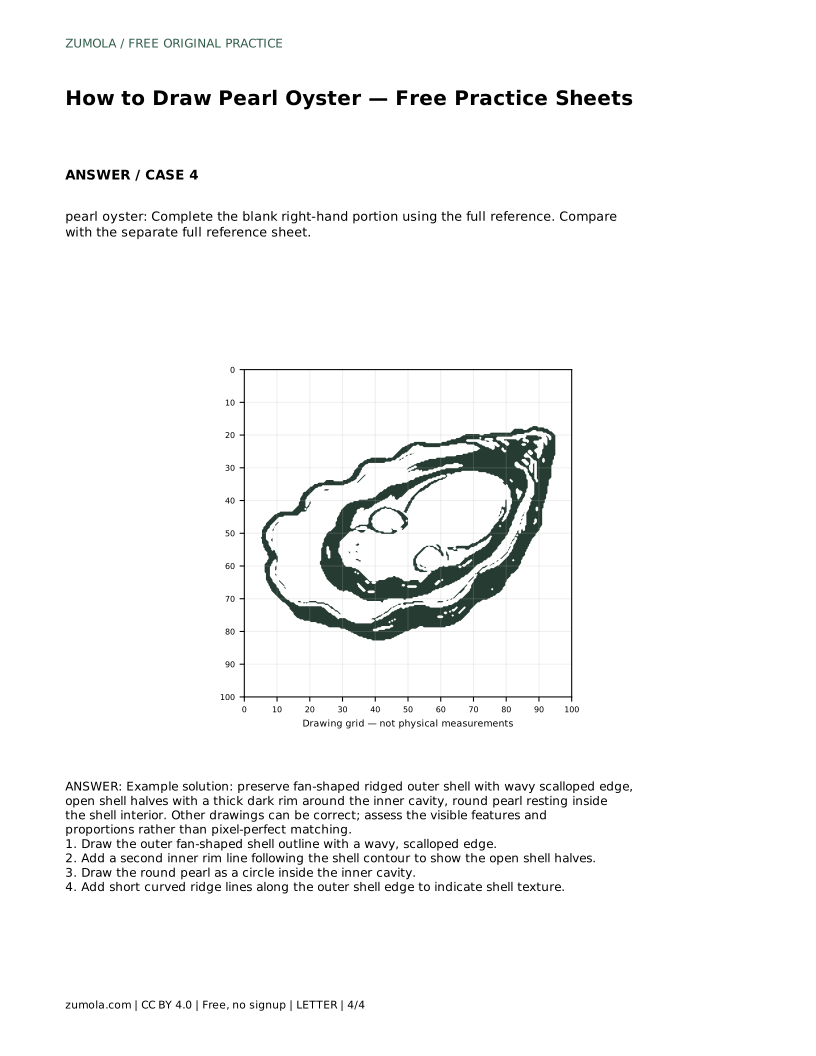
Learn to draw a pearl oyster with a fan-shaped ridged shell, wavy scalloped edge, open halves, dark inner rim, and a round pearl. Includes practice guidance and a rubric.
Four original cases, with reference diagrams, practice sheets and worked answers. Everything is free; no signup required.
LETTER · Download PDF
A4 · Download PDF
LETTER · Download PDF
A4 · Download PDF
LETTER · Download PDF
A4 · Download PDF
Use A4 or US Letter to match your printer. Use the stated values and conditions to solve each exercise; diagrams are not physical measuring rulers.
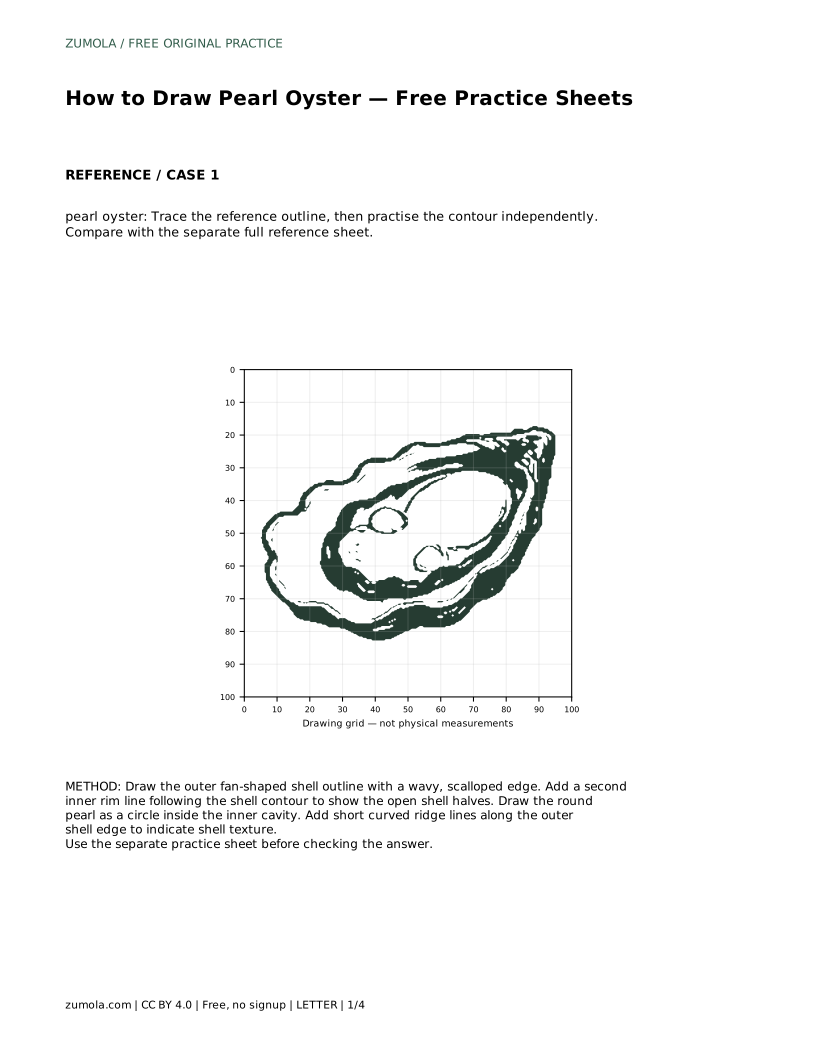
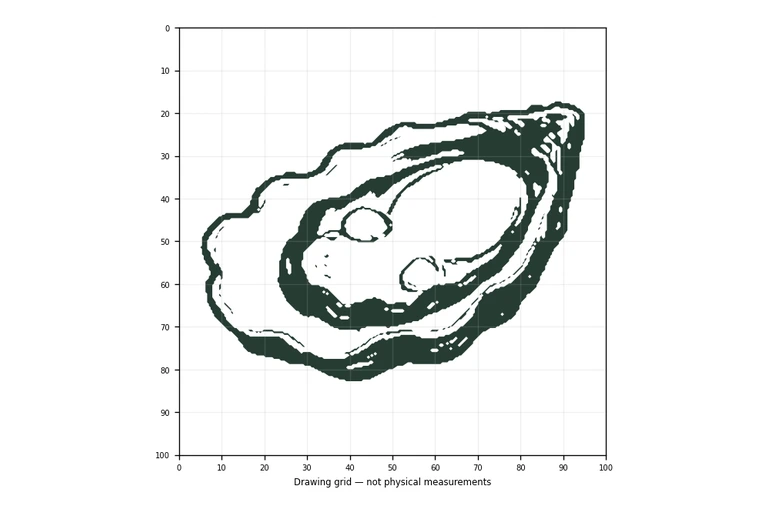
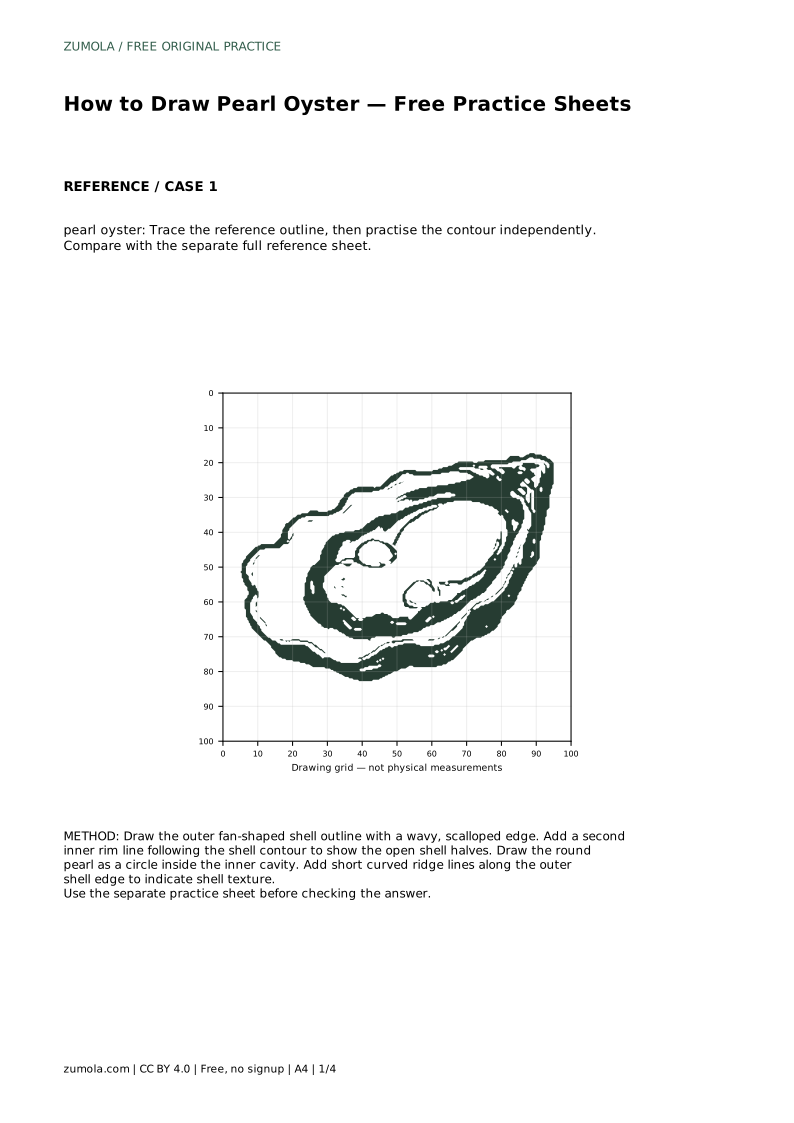
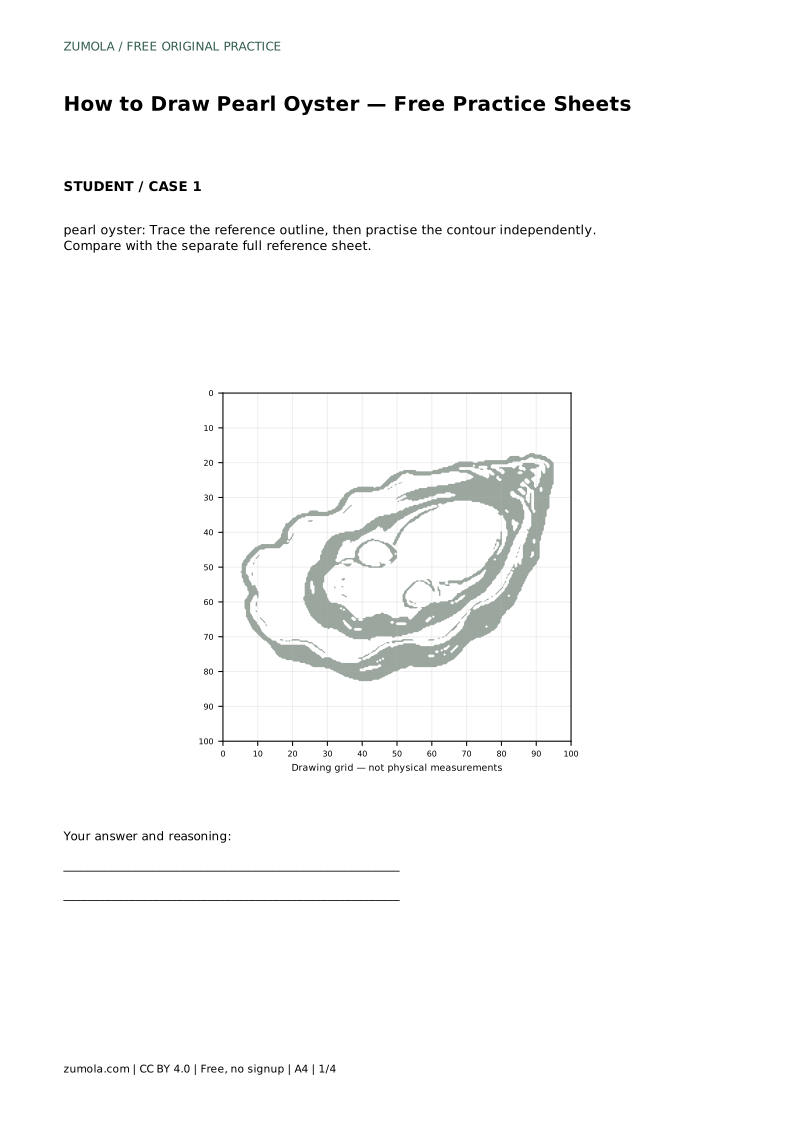
Drawing a pearl oyster is mostly a problem of shape and layering. The outer shell is broad and fan-like with a wavy edge; the open halves create a second contour inside the first; and the pearl sits as a simple circle within the cavity. This page explains how to trace a reference outline, then practise the contour independently, and how to judge your drawing by visible features rather than exact matching.
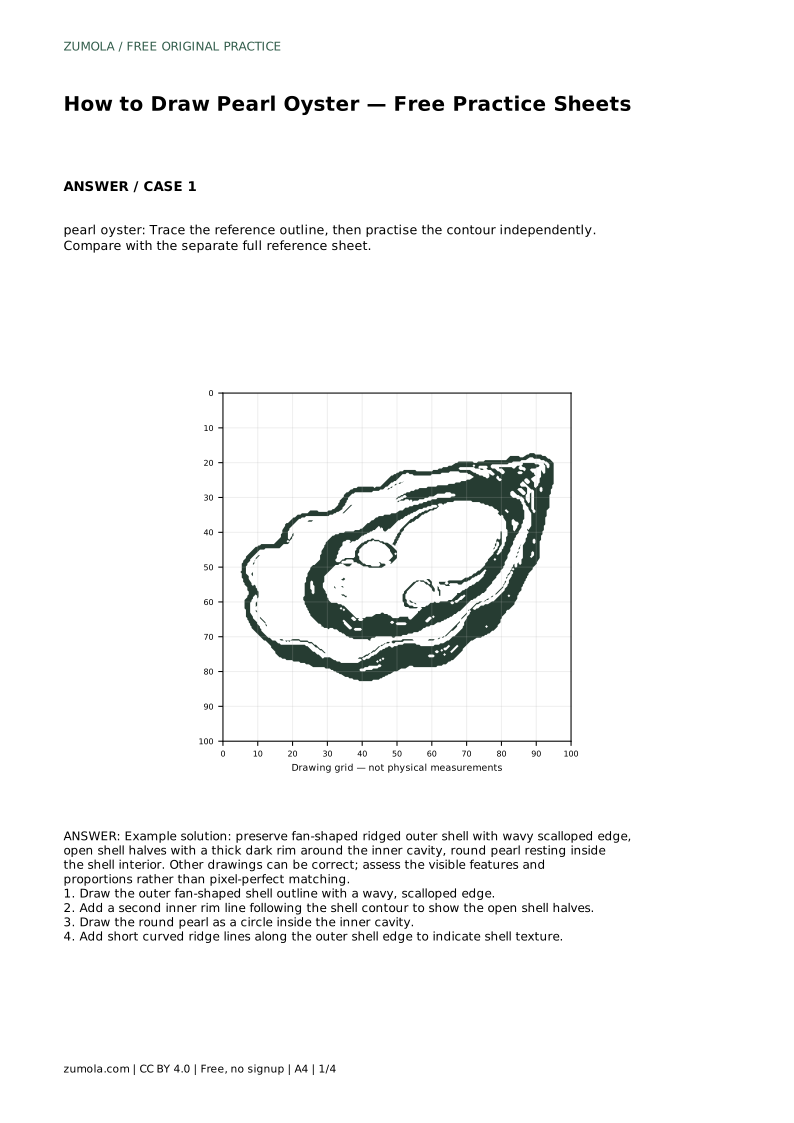
Before drawing, look at the reference and separate it into layers. The outermost layer is the fan-shaped shell silhouette with a wavy, scalloped edge. The middle layer is the inner rim line that follows the shell contour and shows the open shell halves. The innermost layer is the round pearl resting inside the cavity.
Treating these as layers keeps the drawing organised. Draw the silhouette first, then the rim, then the pearl. Texture ridges come last because they sit on top of the outer shell and should not disturb the main contours.
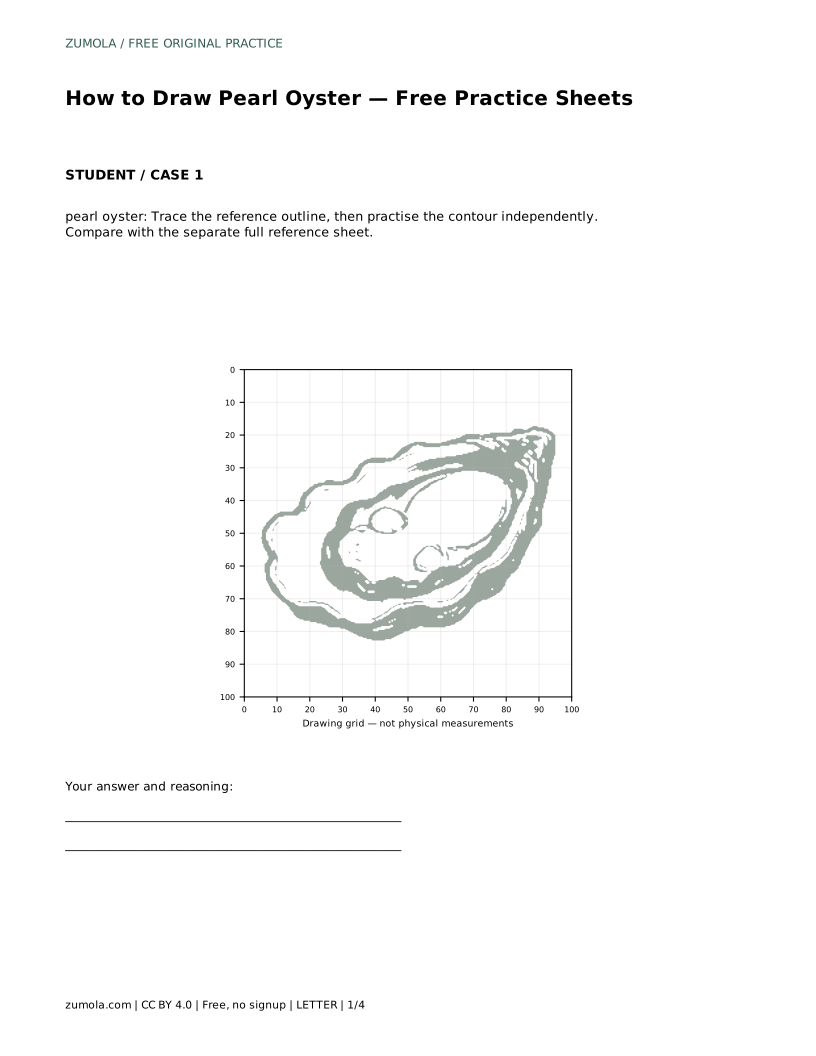
Tracing builds familiarity with the contour. Place your line carefully along the reference outline, keeping the scalloped edge wavy rather than smoothing it into a plain curve. Follow the inner rim as a separate line that echoes the outer shape.
Then set the traced sheet aside and draw the same contour on a blank sheet. Compare your independent drawing with the separate full reference sheet. Differences in proportion are normal; check whether the fan shape, wavy edge, open halves, dark rim, and round pearl are all present and clearly readable.
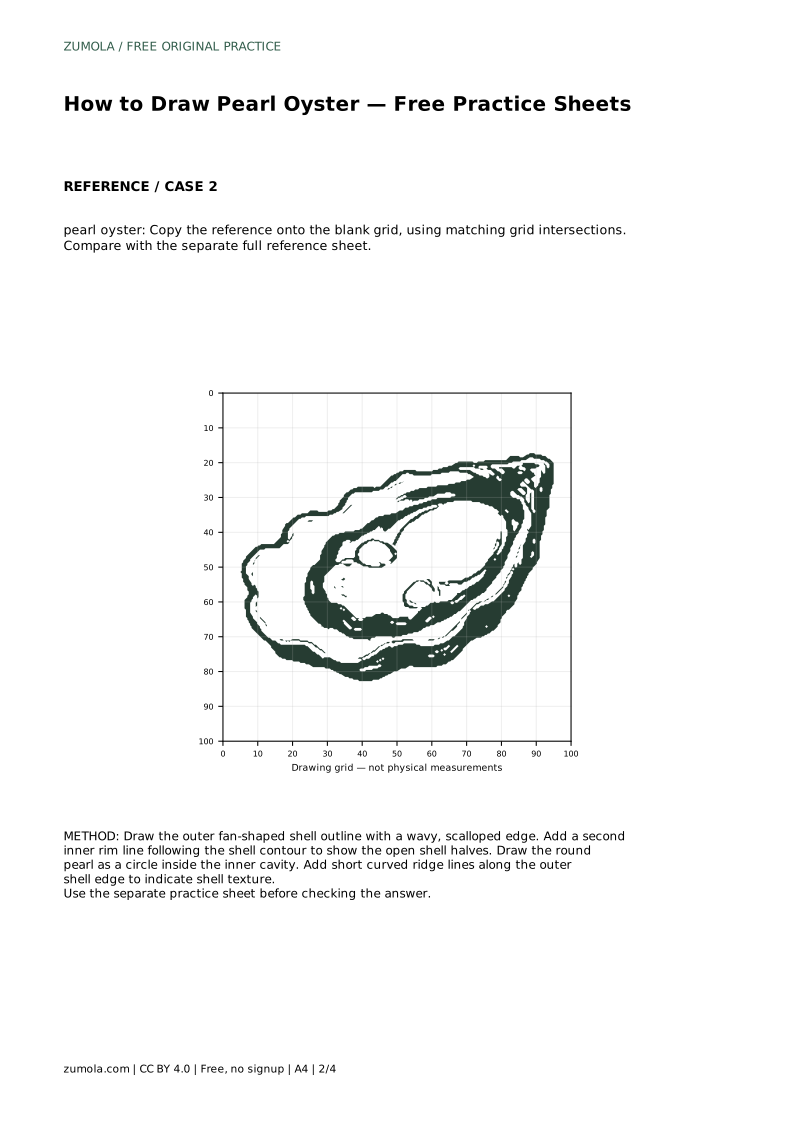
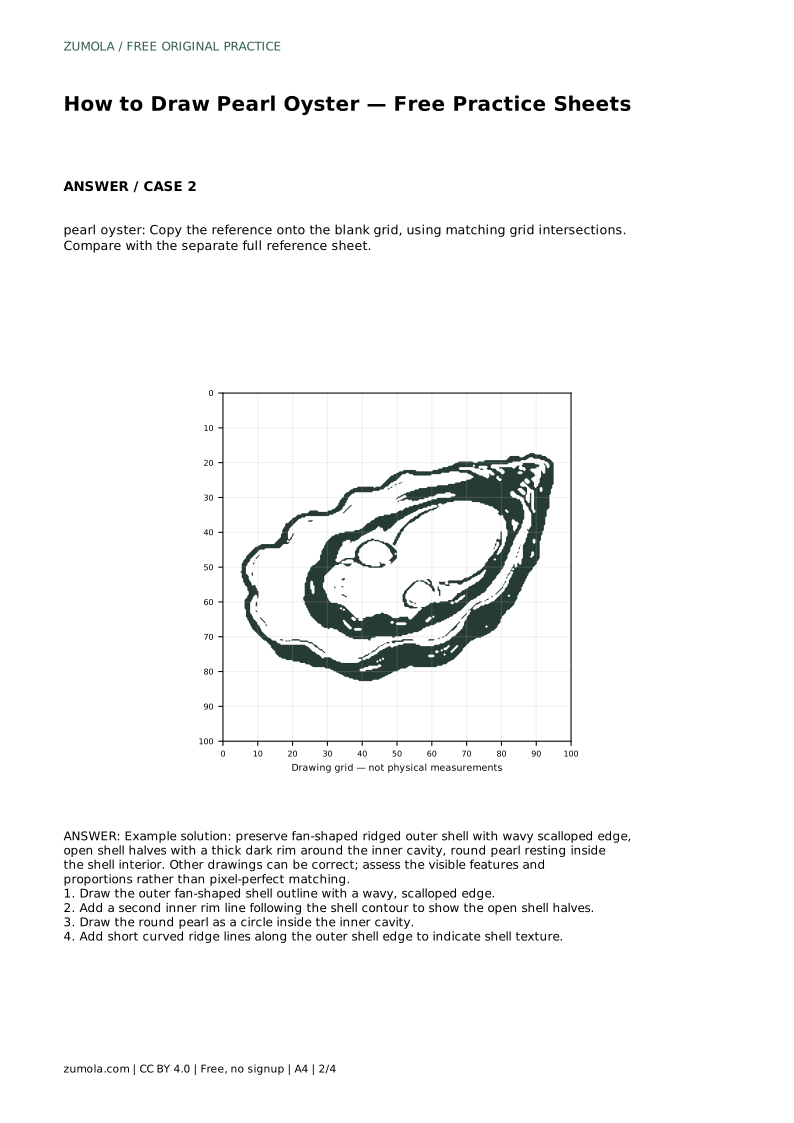
A grid helps with placement. Copy the reference onto the blank grid, matching grid intersections so the silhouette lands in the same relative position. Use the intersections as checkpoints for the widest part of the fan and the deepest point of the cavity.
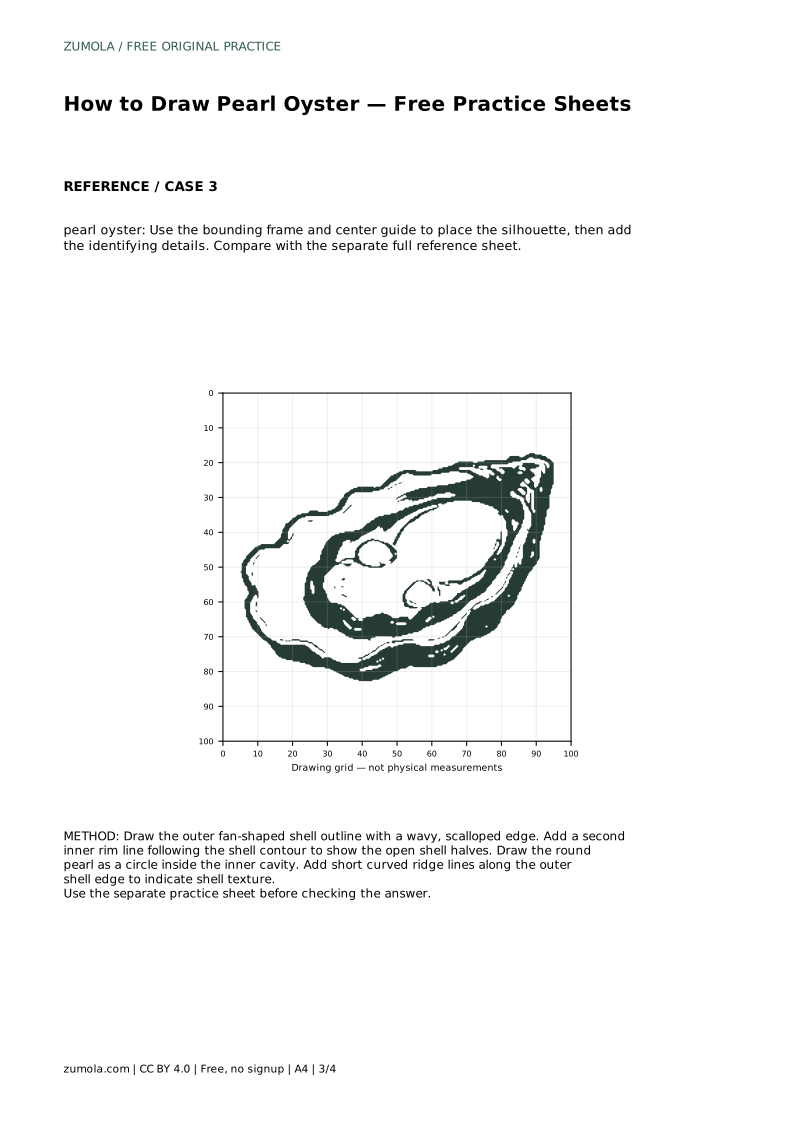
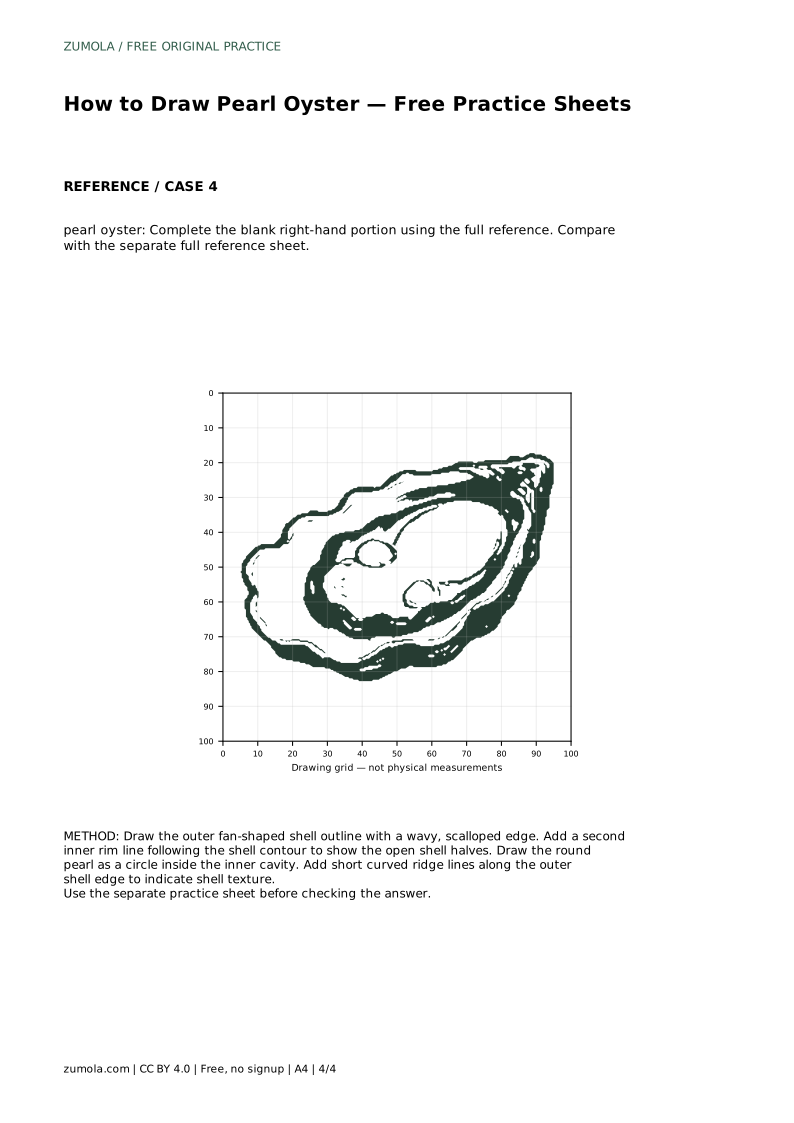
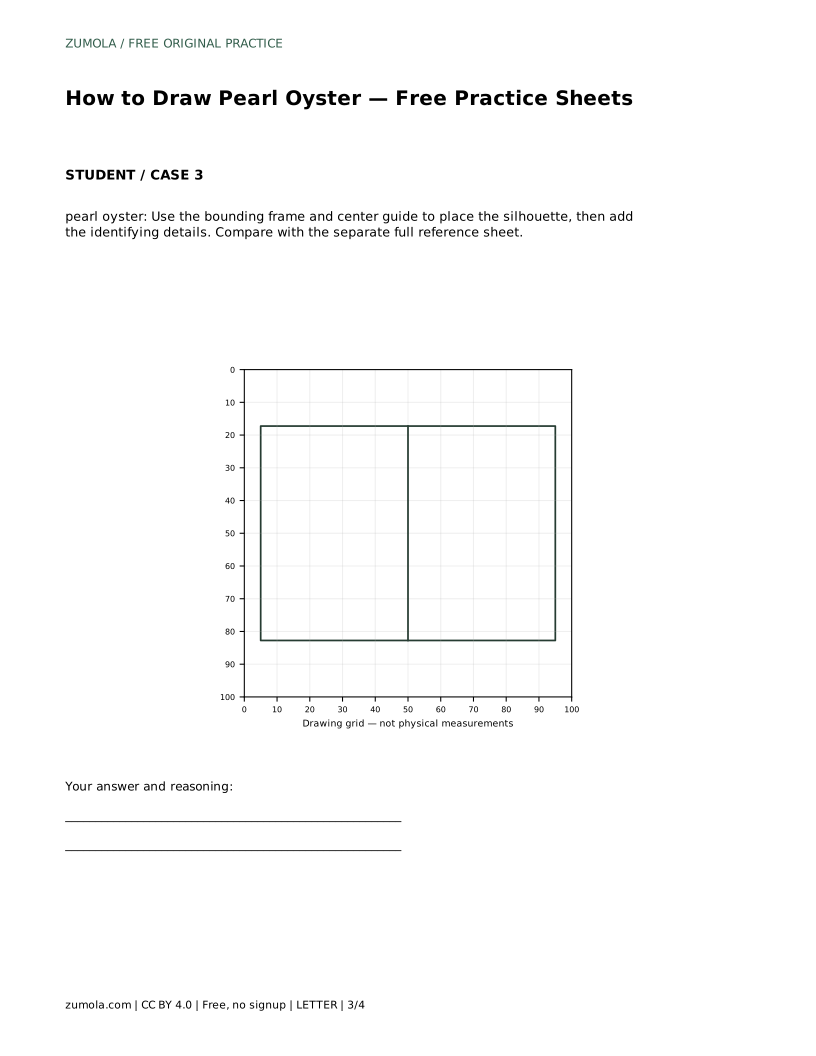
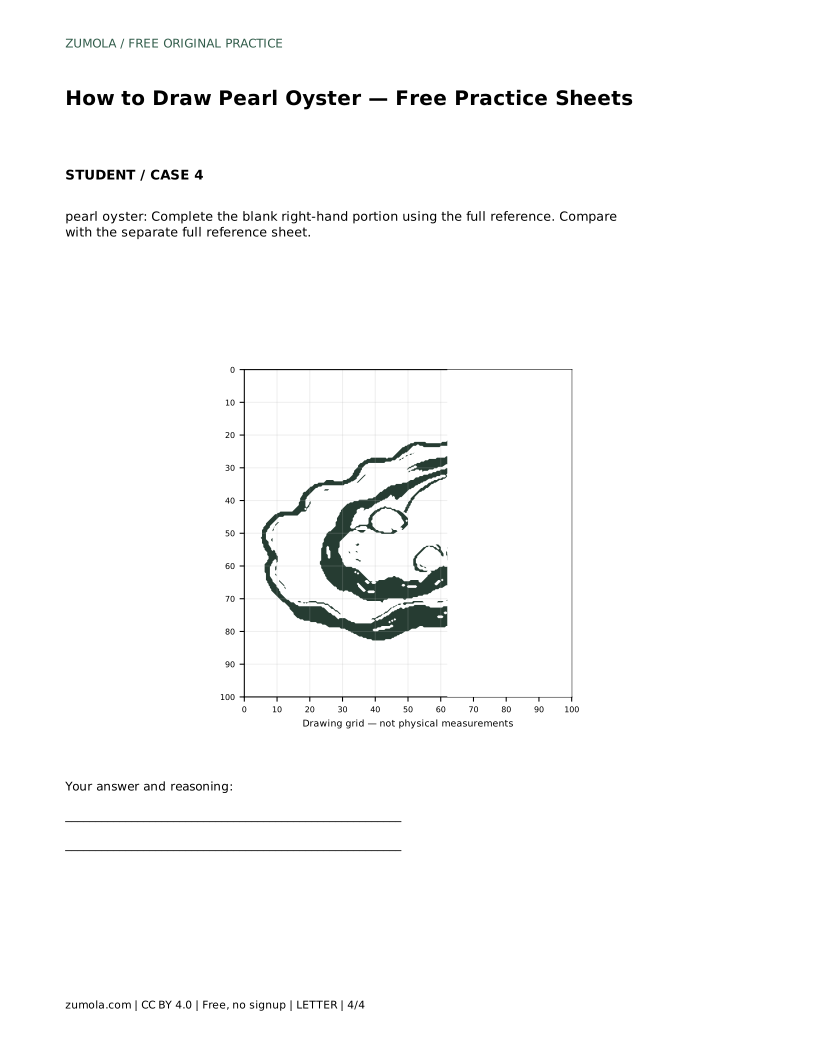
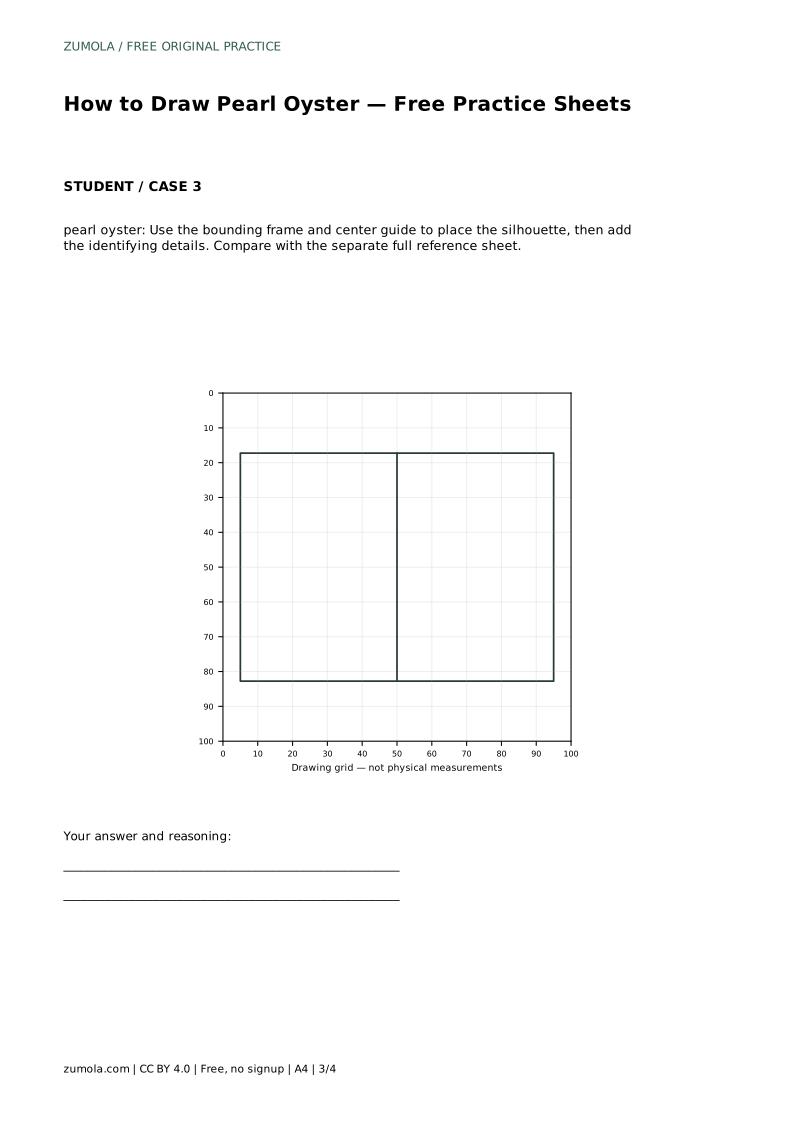
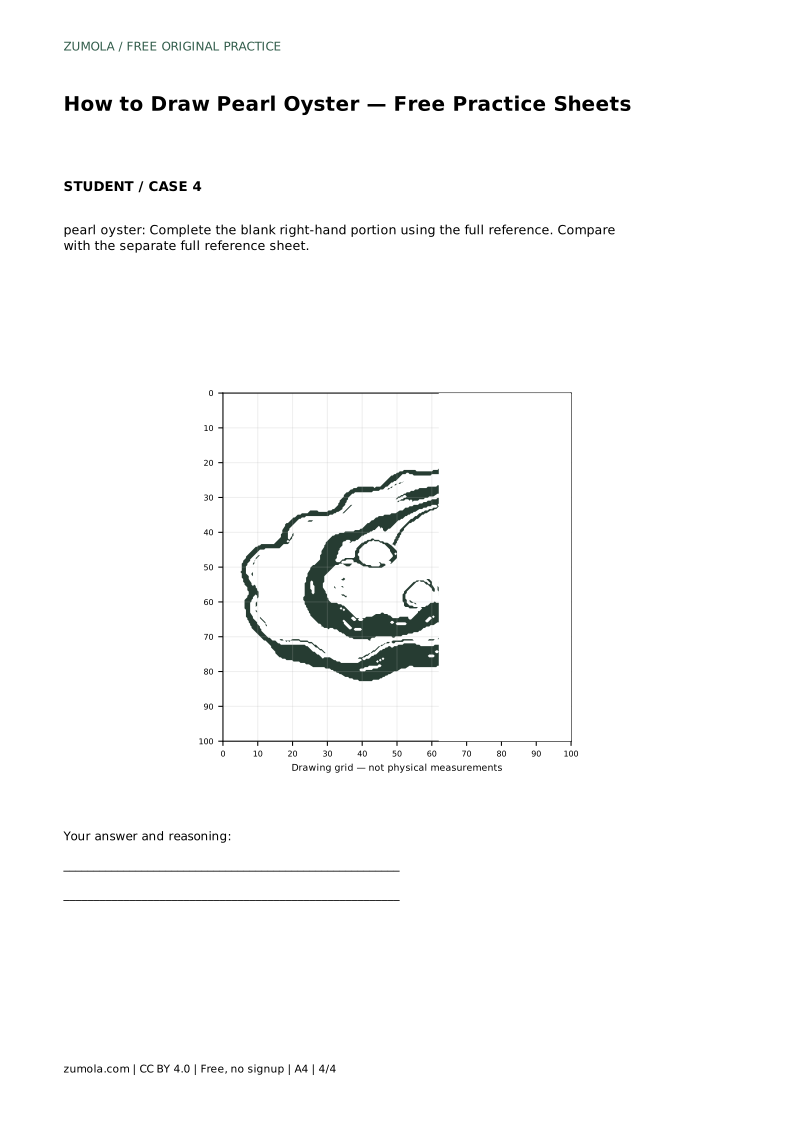
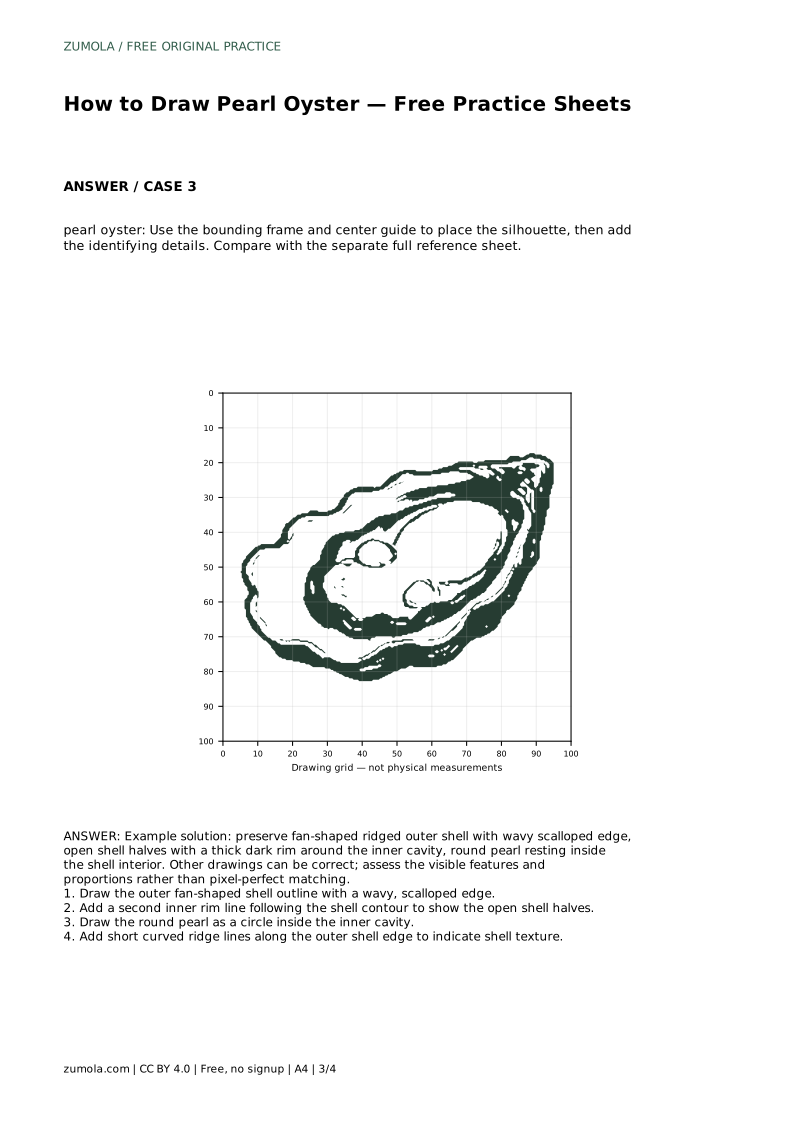
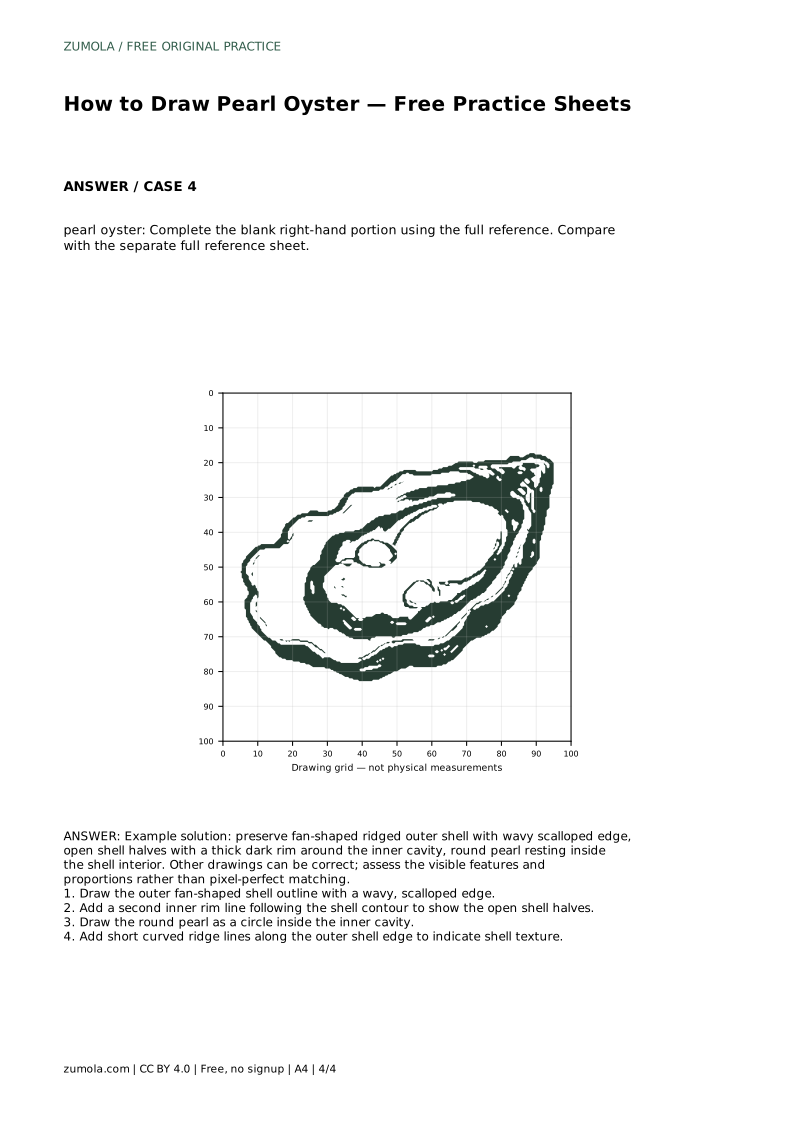
A bounding frame with a centre guide works differently: place the silhouette inside the frame first, using the centre guide to balance the shell, then add the identifying details. A partial-reference exercise asks you to complete the blank right-hand portion using the full reference, which tests whether you can continue a contour accurately.
Shell texture is suggested by short curved ridge lines along the outer edge, following the fan's direction. Keep them short and spaced; long lines crossing the cavity confuse the open-shell structure. The dark rim should stay thick and continuous around the inner cavity.
The pearl is a circle, not an oval, unless your reference clearly shows perspective. Place it fully inside the cavity so it reads as resting in the shell rather than floating outside it.
Art has multiple valid outcomes, so judge by features and proportions rather than pixel-perfect matching. A correct drawing preserves the fan-shaped ridged outer shell with a wavy scalloped edge, open shell halves with a thick dark rim around the inner cavity, and a round pearl resting inside the shell interior. Other drawings can be correct; assess the visible features and proportions.
Prompt: pearl oyster: Trace the reference outline, then practise the contour independently. Compare with the separate full reference sheet.
Example solution: preserve fan-shaped ridged outer shell with wavy scalloped edge, open shell halves with a thick dark rim around the inner cavity, round pearl resting inside the shell interior. Other drawings can be correct; assess the visible features and proportions rather than pixel-perfect matching.
pearl oyster: Trace the reference outline, then practise the contour independently. Compare with the separate full reference sheet.
Example solution: preserve fan-shaped ridged outer shell with wavy scalloped edge, open shell halves with a thick dark rim around the inner cavity, round pearl resting inside the shell interior. Other drawings can be correct; assess the visible features and proportions rather than pixel-perfect matching. Draw the outer fan-shaped shell outline with a wavy, scalloped edge. Add a second inner rim line following the shell contour to show the open shell halves. Draw the round pearl as a circle inside the inner cavity. Add short curved ridge lines along the outer shell edge to indicate shell texture.
No. Art has multiple valid outcomes. Check that the fan shape, wavy edge, open halves, dark rim, and round pearl are present and proportionate.
Outer silhouette first, then the inner rim, then the pearl, then short ridge lines for texture.
Match grid intersections to place the silhouette, then add details and compare with the full reference sheet.
All drawing practice · Free coordinate paper
Original resources · CC BY 4.0 · Free for personal and classroom use with attribution.