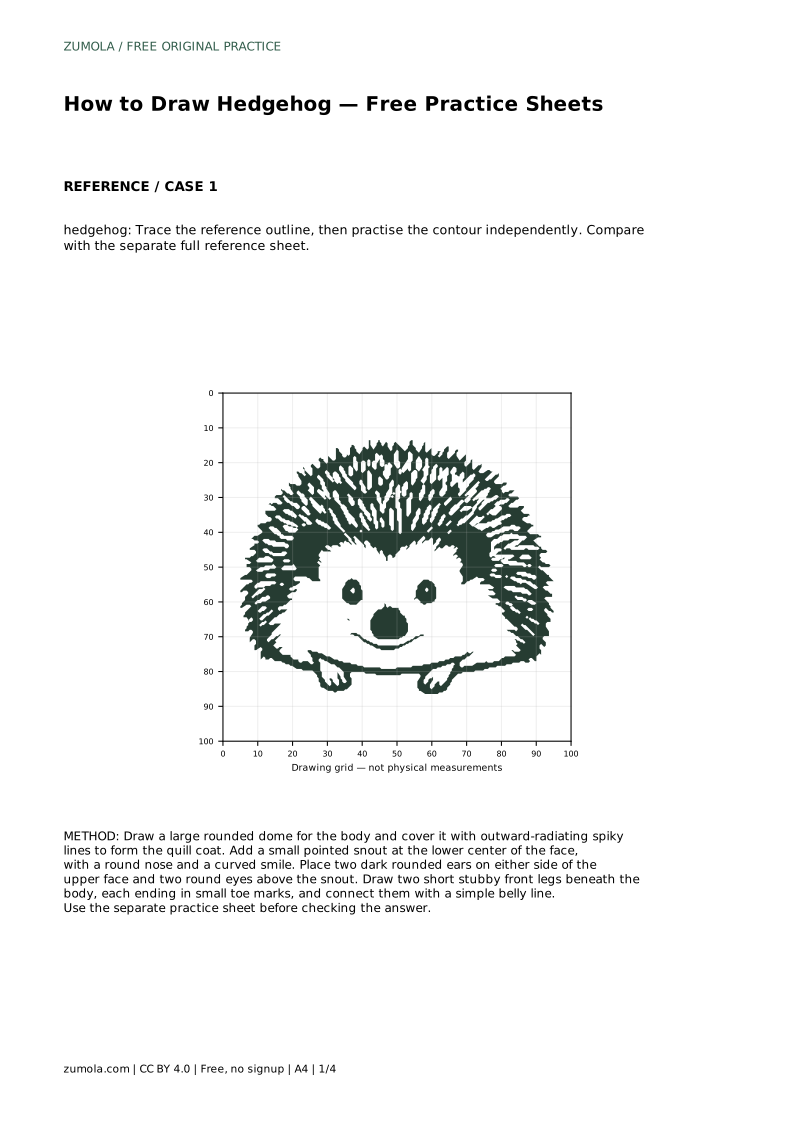
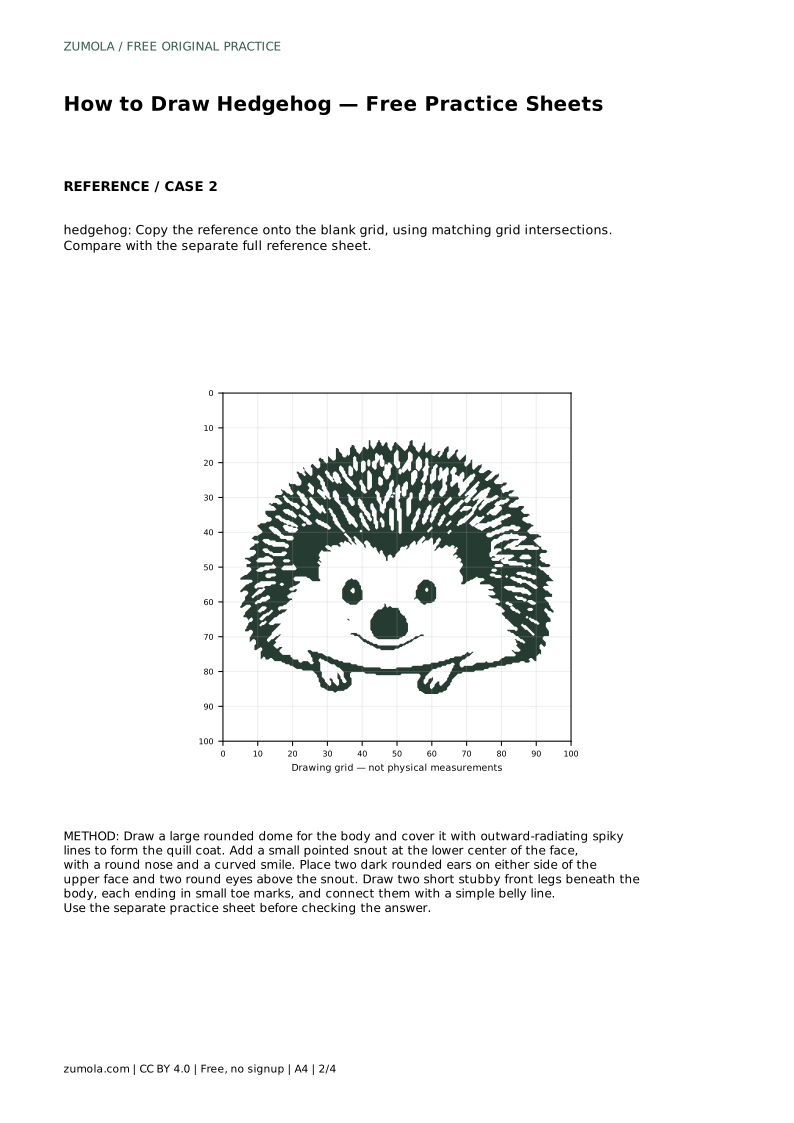
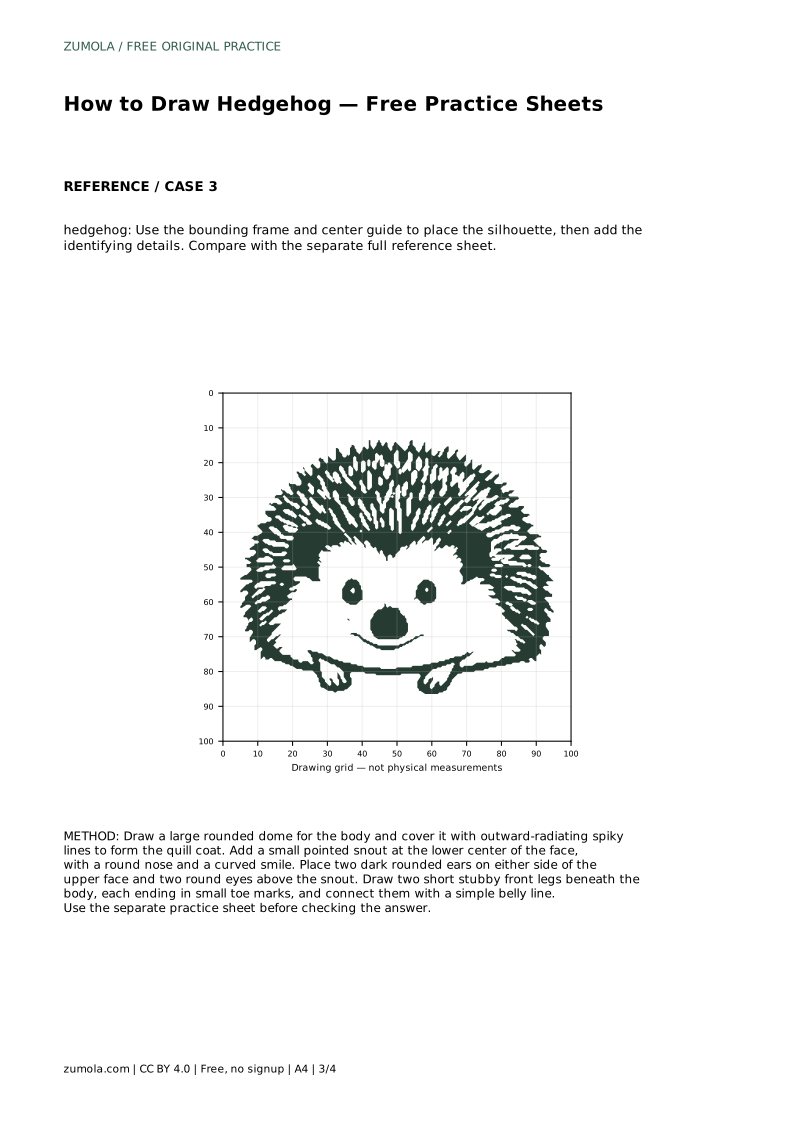
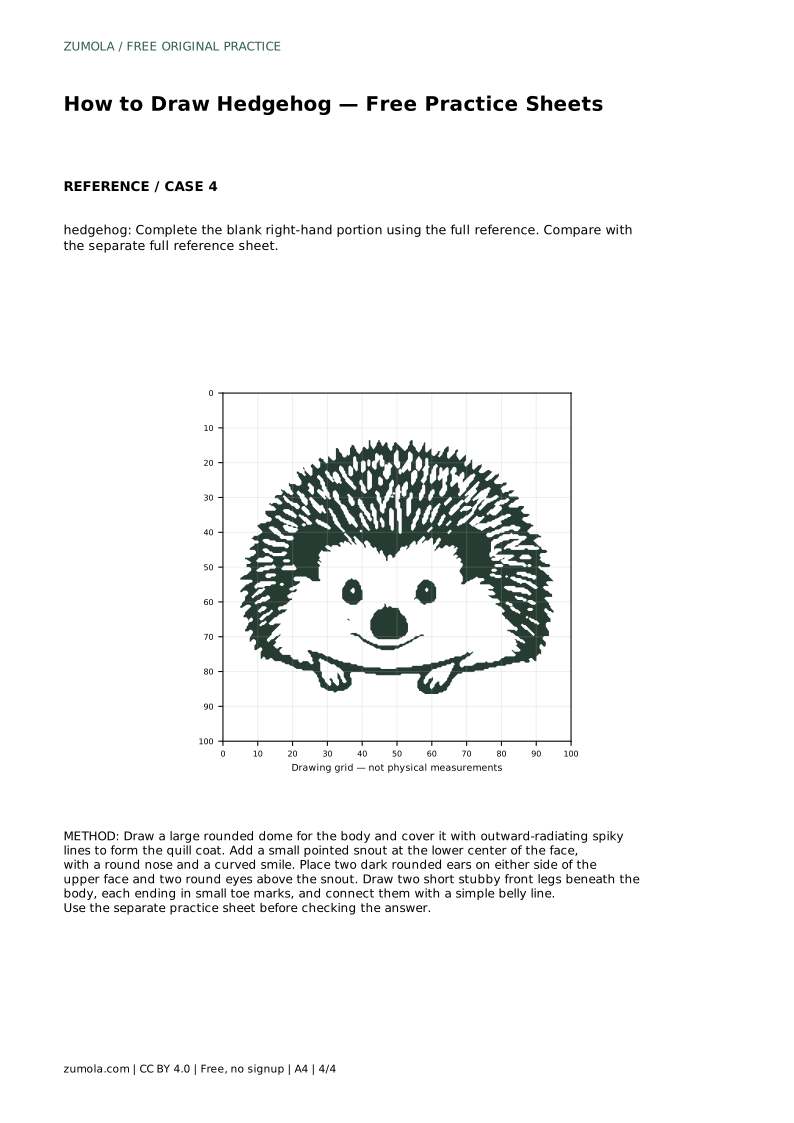
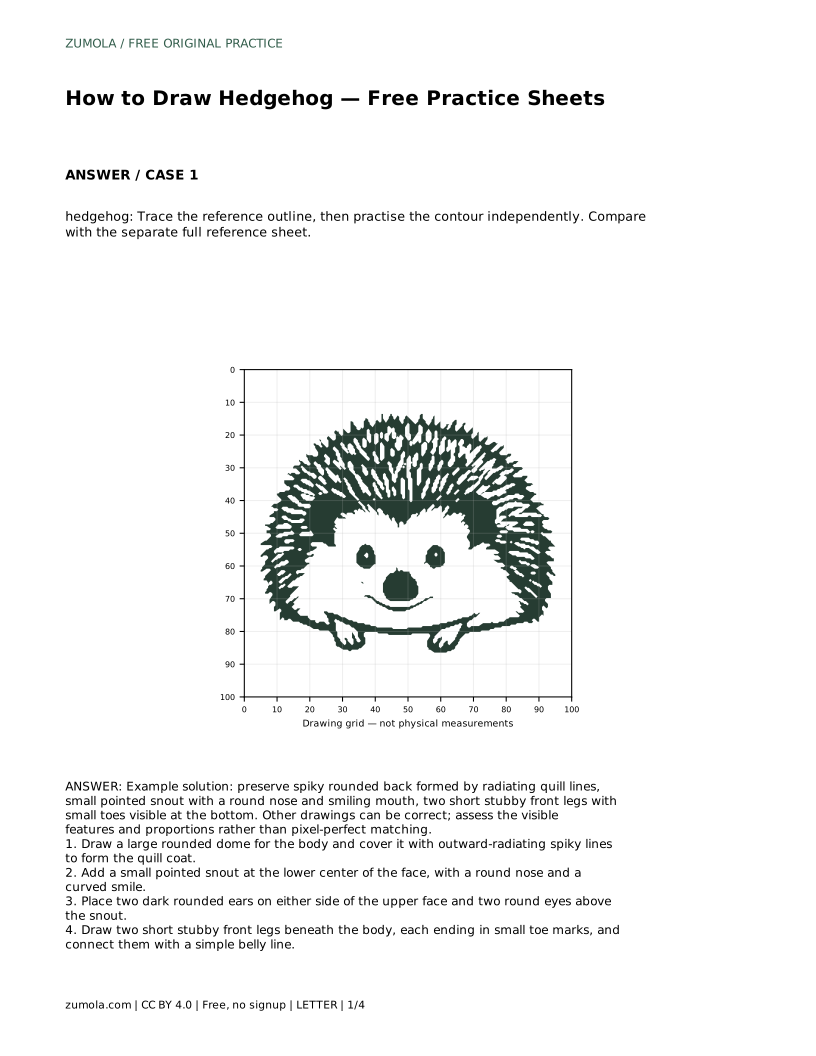
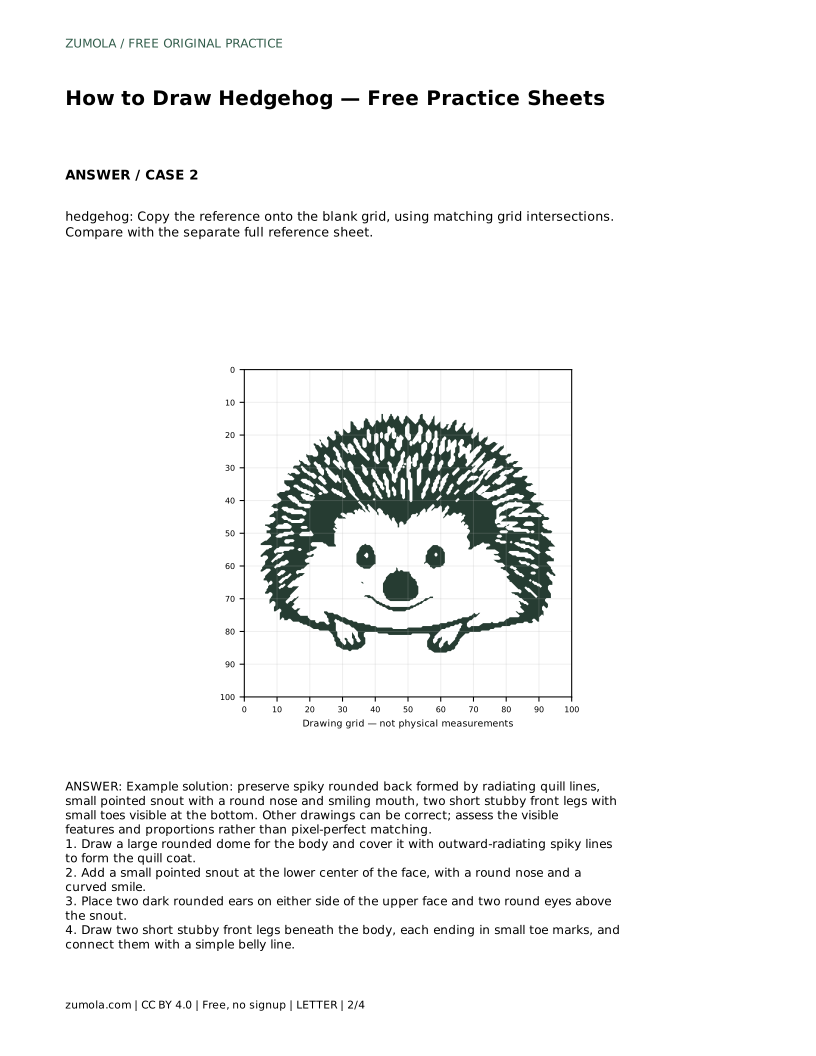
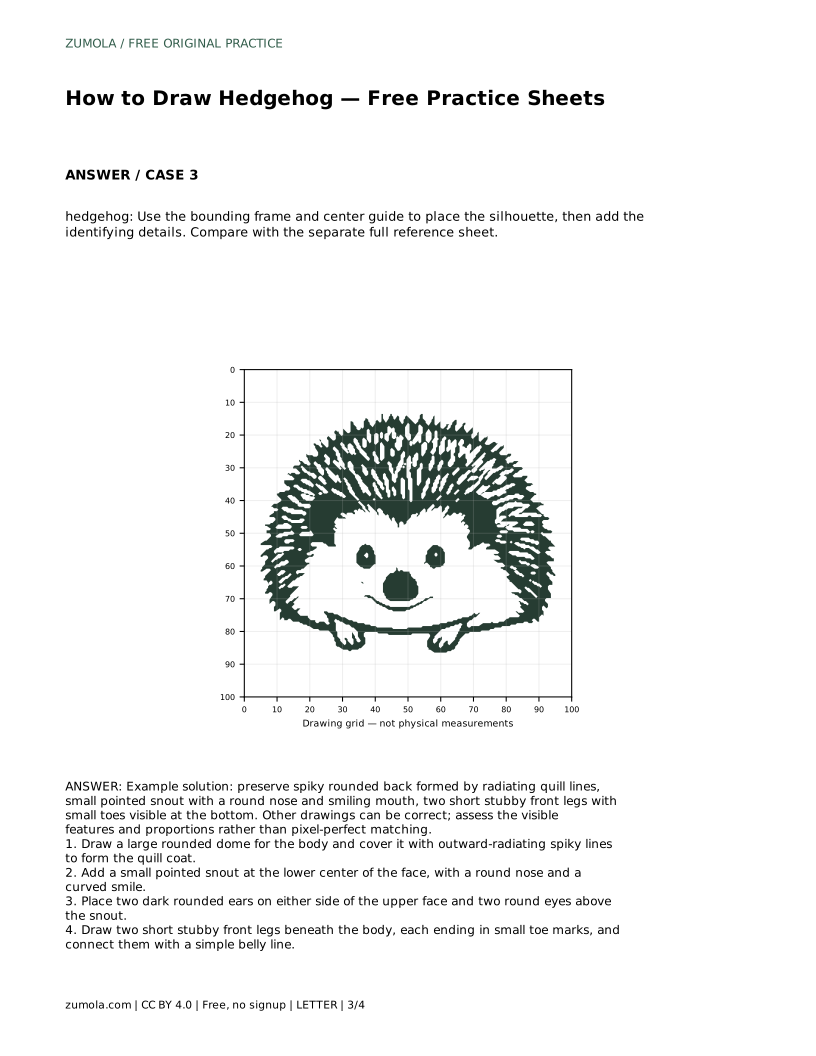
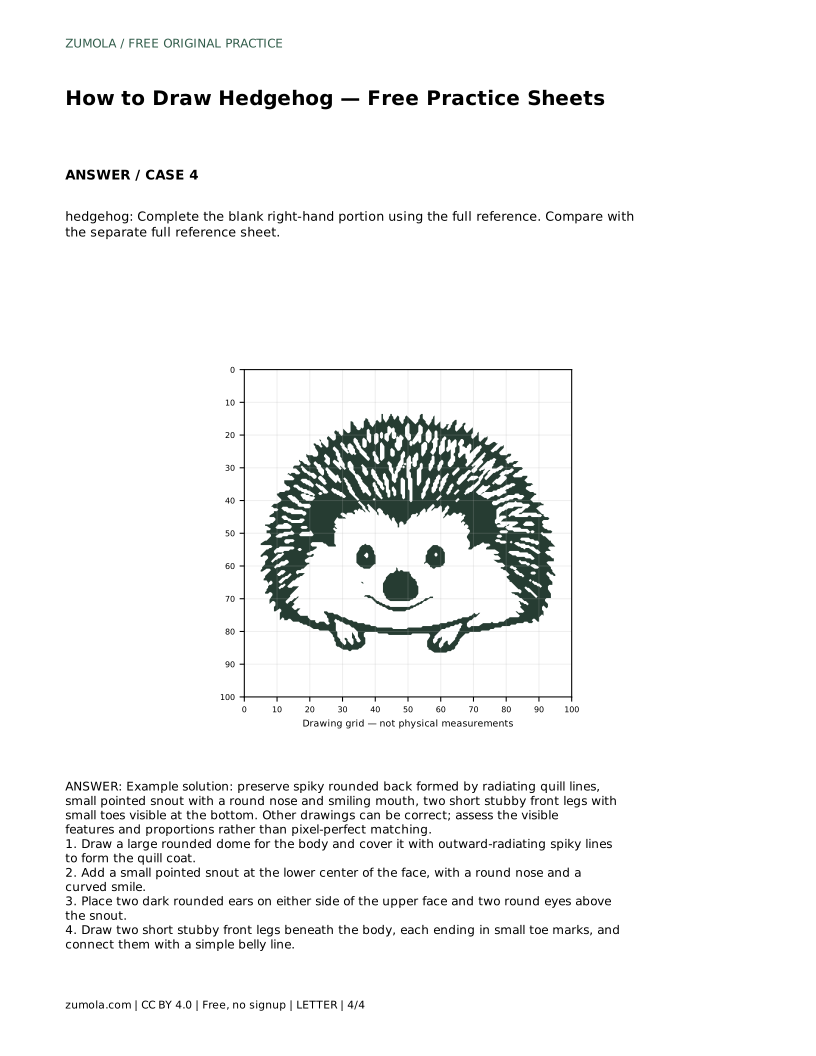
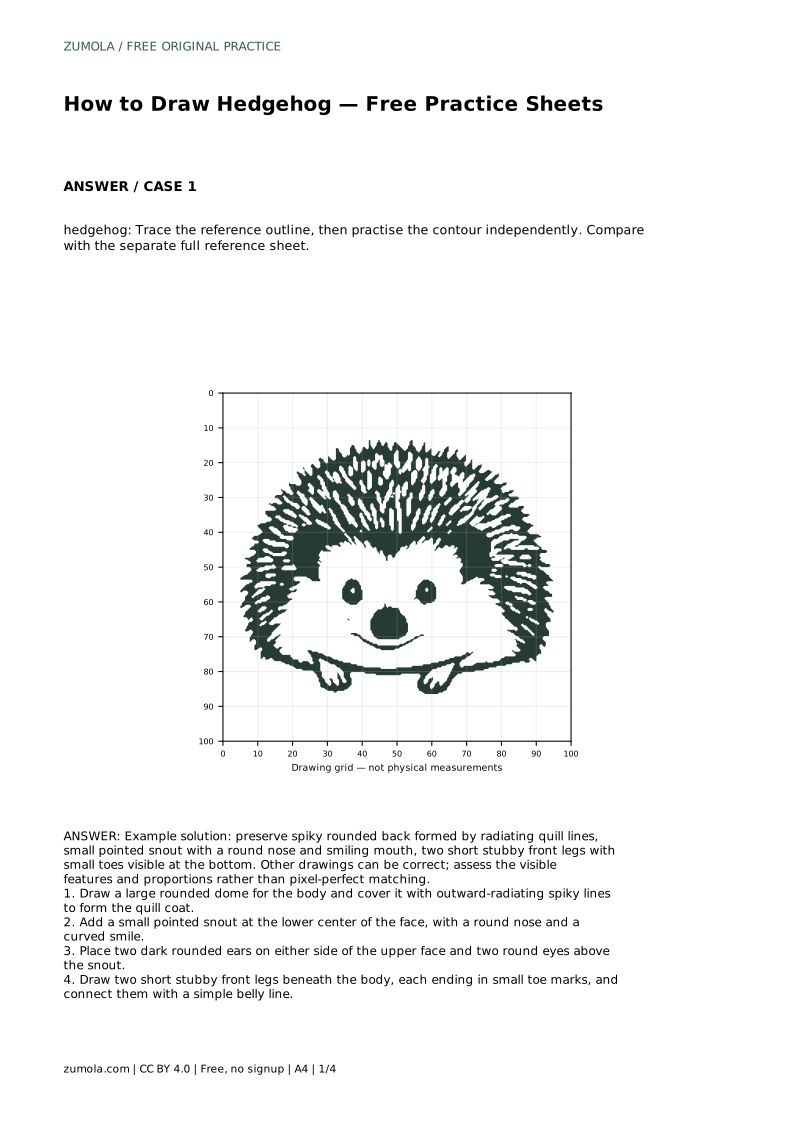
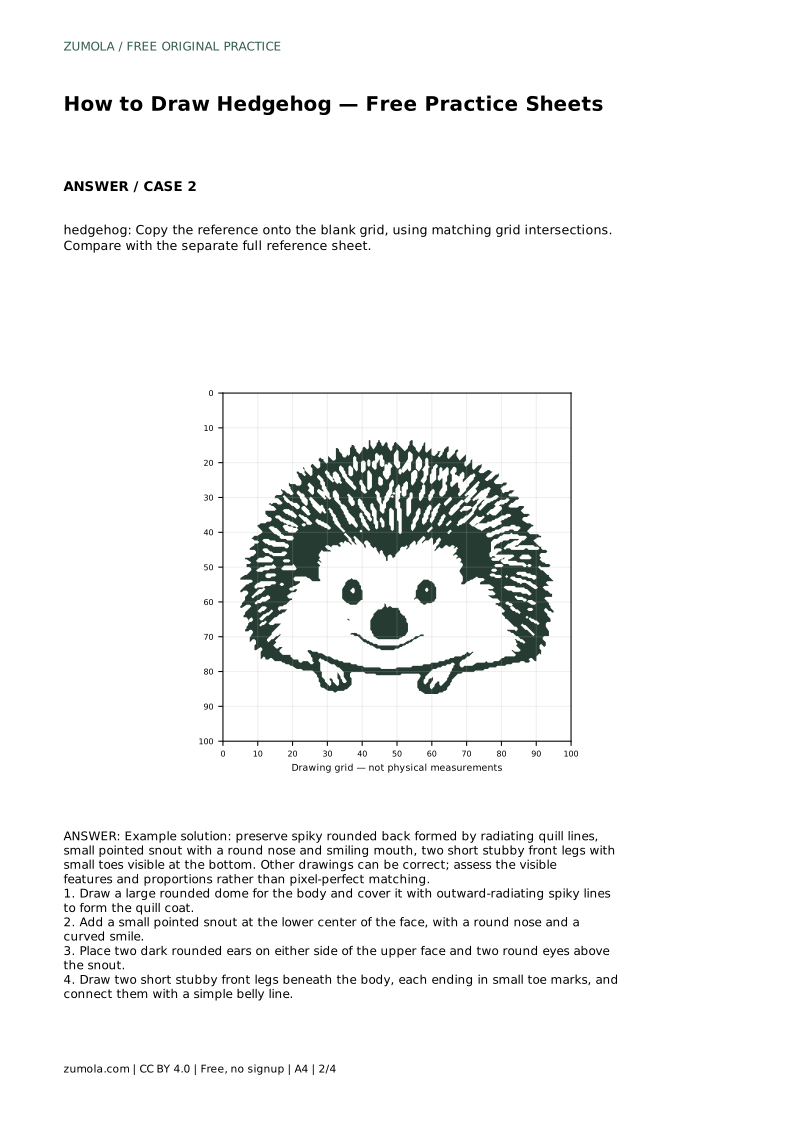
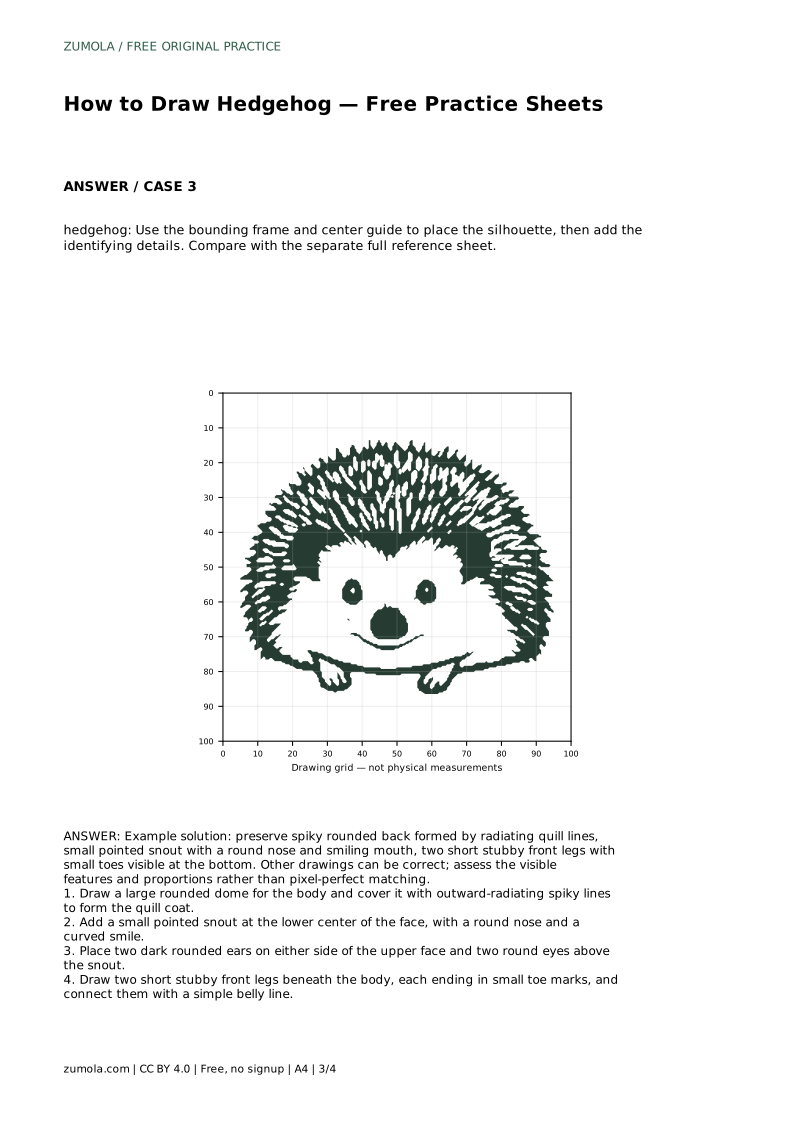
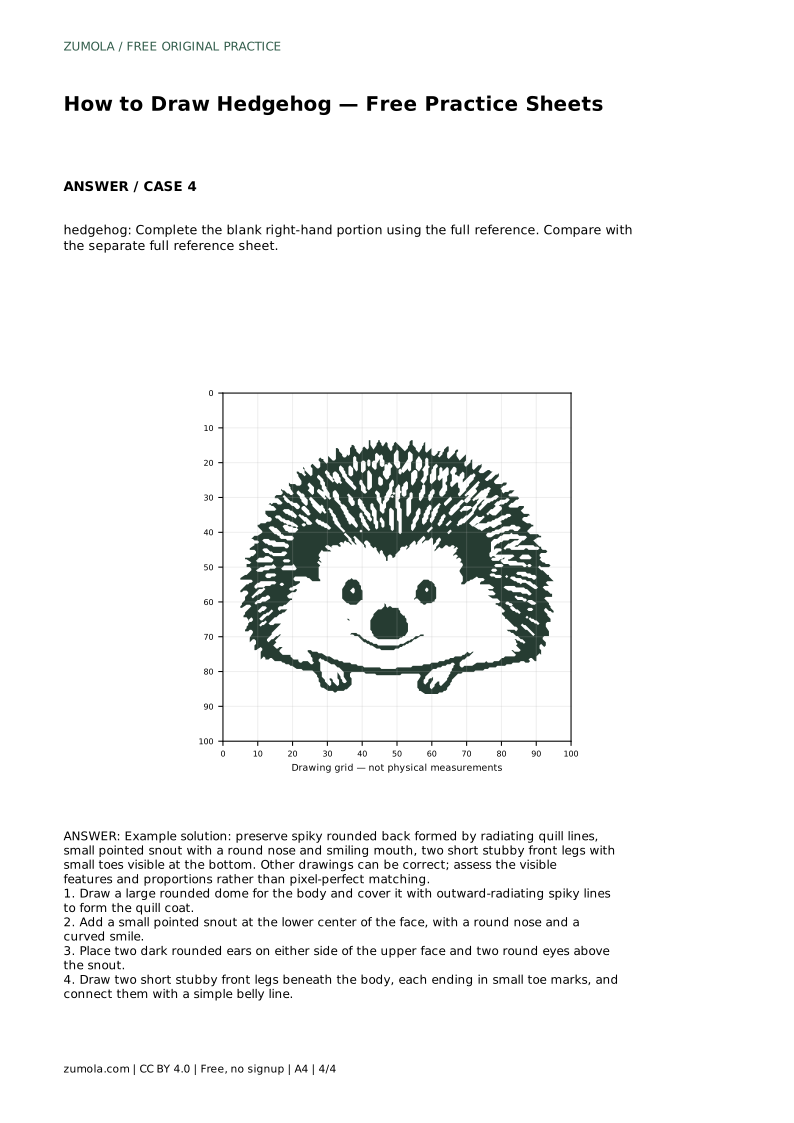
Reference diagrams
LETTER · Download PDF
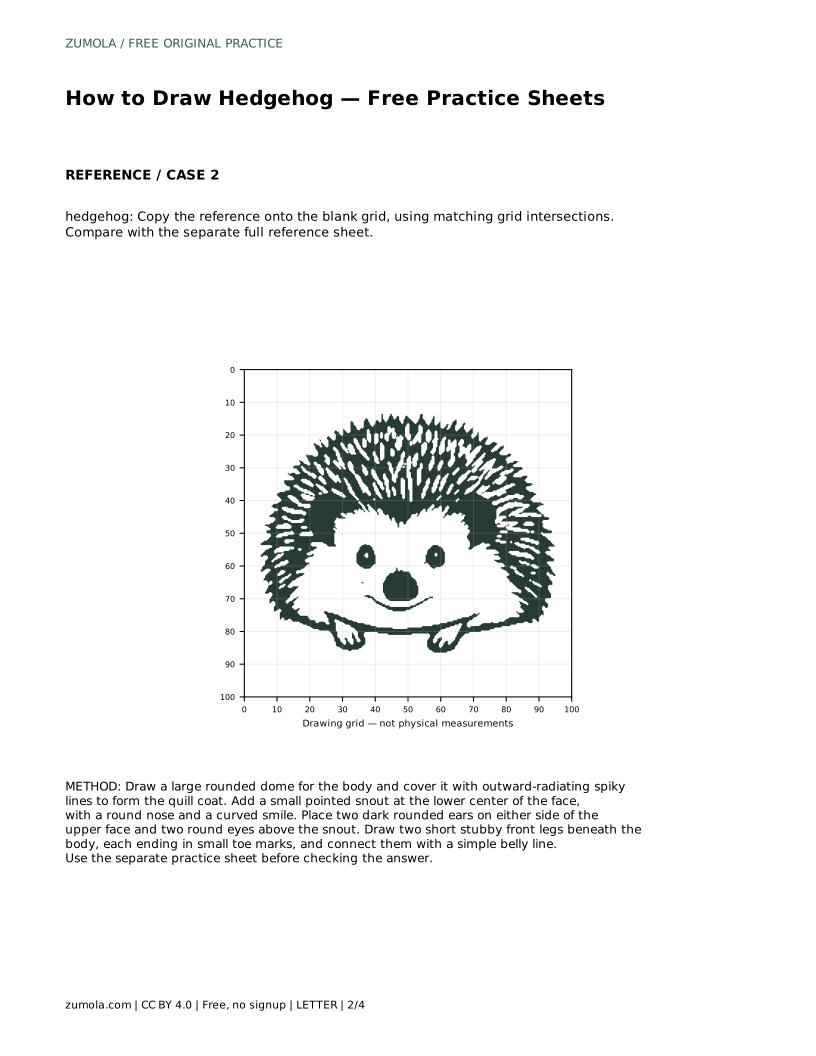
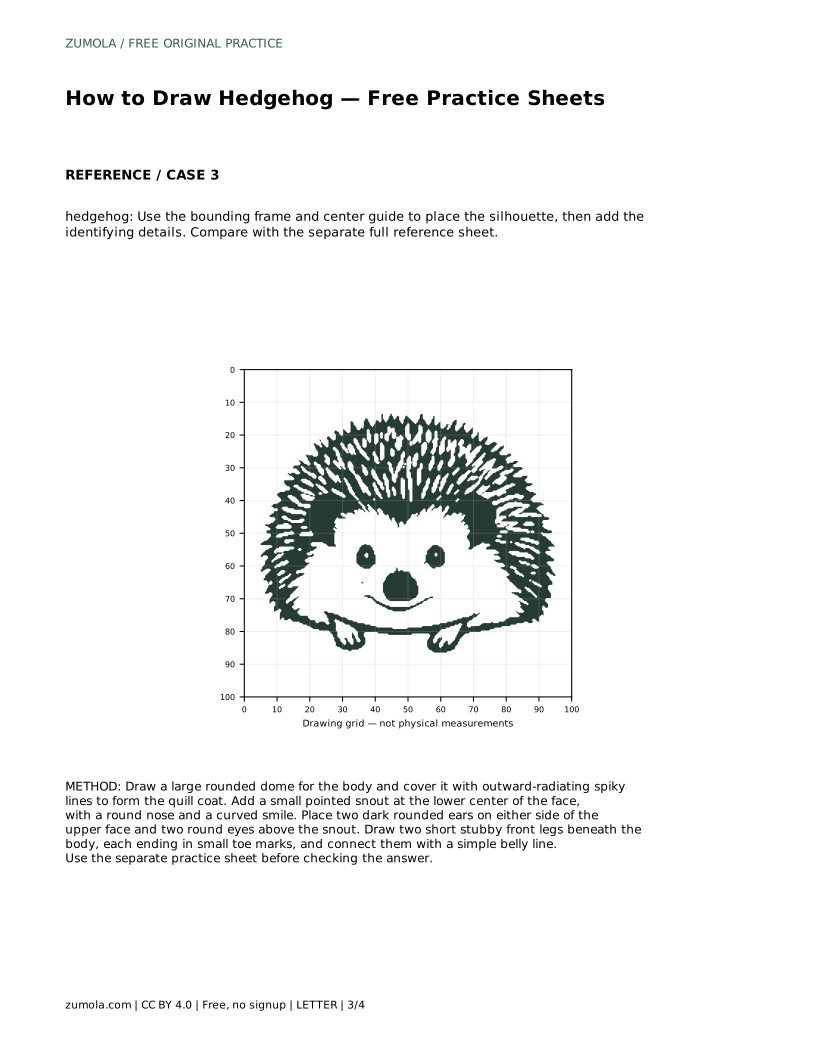
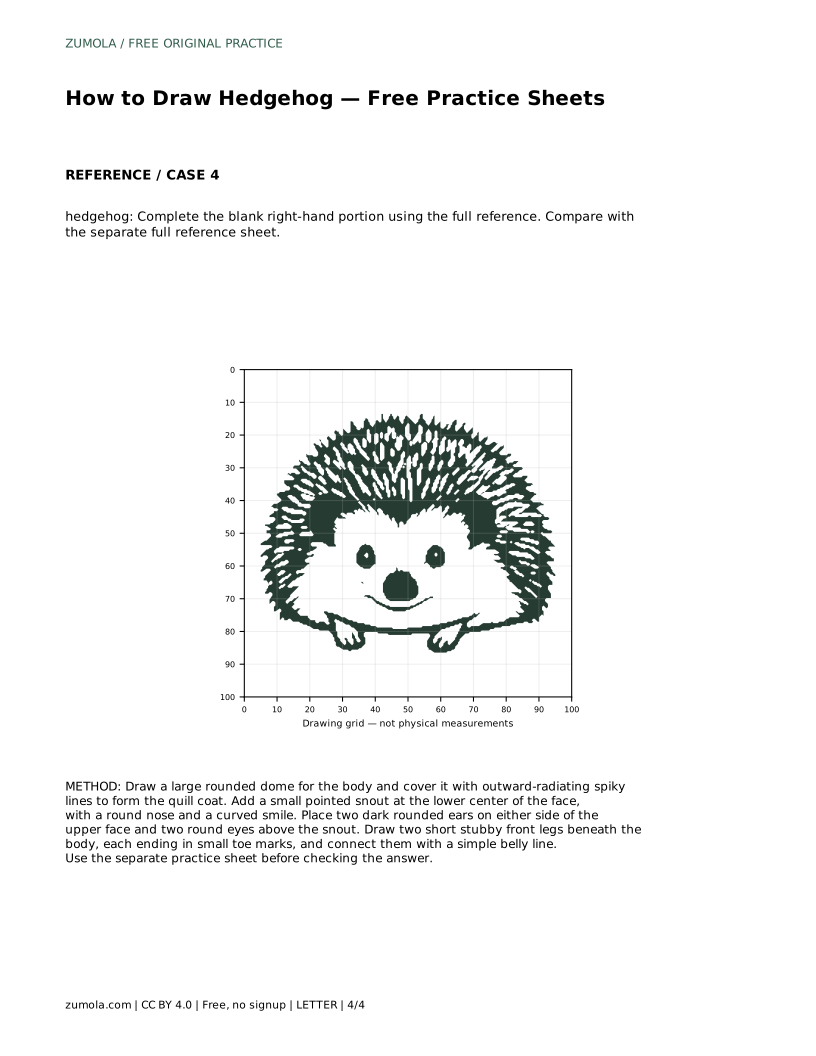
A4 · Download PDF
Free original resources
Learn an easy hedgehog drawing by building a rounded quill body, pointed snout, ears, eyes, and stubby legs. Includes practice-sheet guidance and a fair rubric.
Four original cases, with reference diagrams, practice sheets and worked answers. Everything is free; no signup required.
LETTER · Download PDF
A4 · Download PDF
LETTER · Download PDF
A4 · Download PDF
LETTER · Download PDF
A4 · Download PDF
Use A4 or US Letter to match your printer. Use the stated values and conditions to solve each exercise; diagrams are not physical measuring rulers.
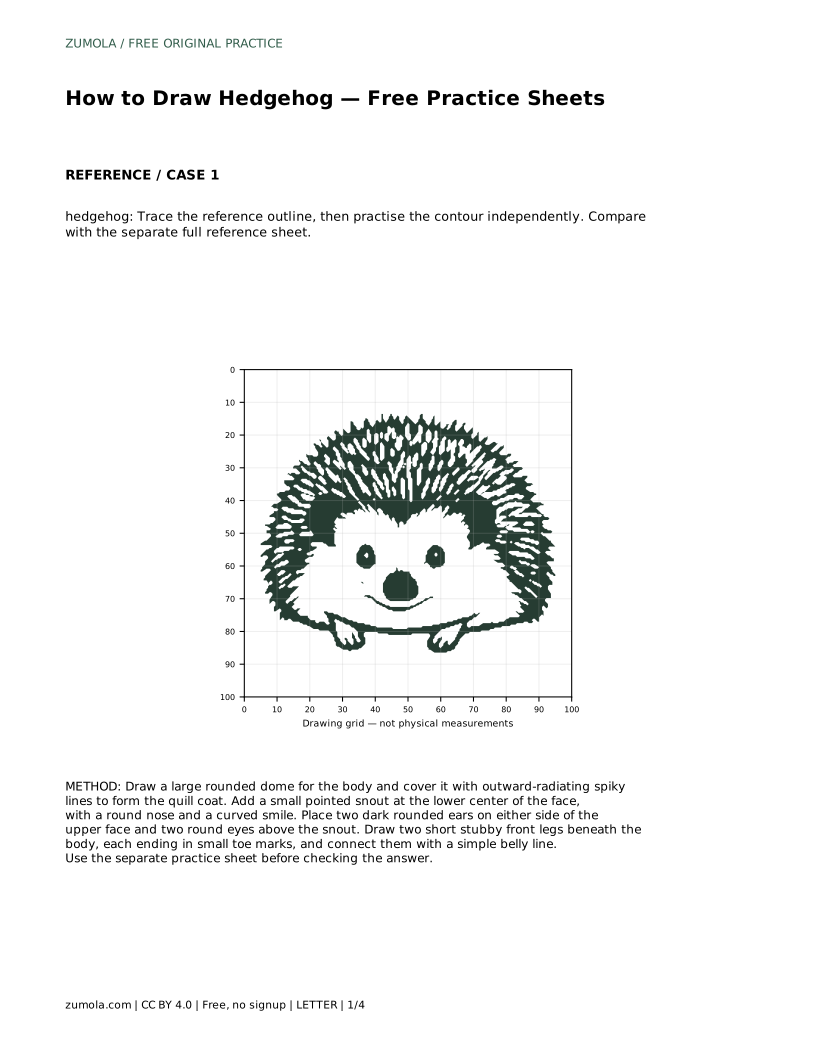
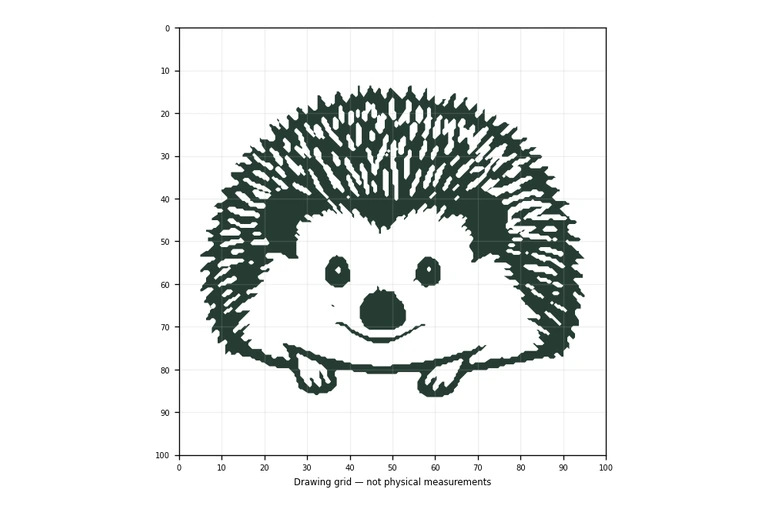
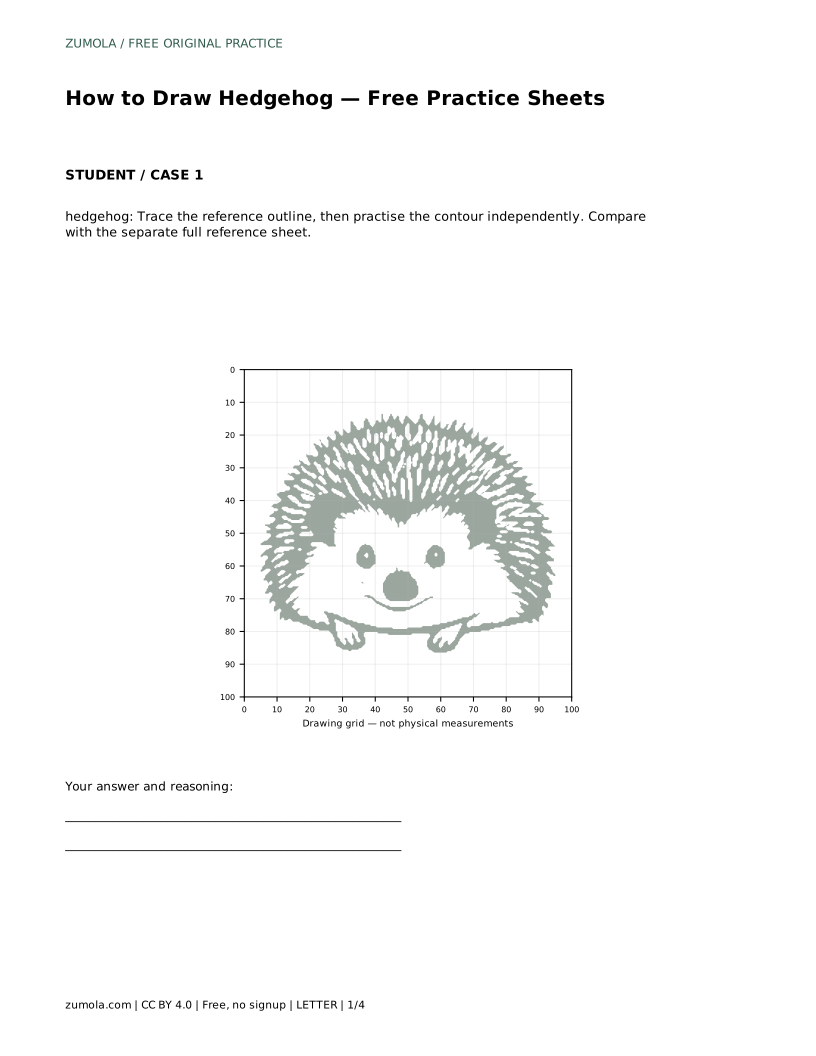
A hedgehog drawing is mostly a study in two shapes: a broad rounded dome for the quill coat and a small pointed face tucked into the lower front. Once those proportions sit correctly, the identifying details are simple. This page explains how to build the hedgehog in order, how to use trace, grid, frame, and partial-reference practice sheets, and how to judge your own drawing by visible features rather than exact matching.
Start with the largest shape. Draw a wide rounded dome that will become the quill coat. Keep the top curve generous and the sides fairly steep so the body reads as a compact, low animal rather than a tall blob. The dome should occupy most of the drawing area, because the face and legs are small compared with the quill mass.
Next, cover the dome with outward-radiating spiky lines. Each line should begin inside the dome and end just beyond its edge, so the outline becomes a series of soft points. Vary the length slightly and keep the direction radiating away from the body center. Avoid drawing quills as a separate hat sitting on top of the body; they are the body surface.
The snout sits at the lower center of the face, projecting slightly forward from the dome. Make it small and pointed, then add a round nose at the tip and a curved smile beneath it. Two round eyes sit above the snout, and two dark rounded ears sit on either side of the upper face, partly overlapping the quill edge.
Beneath the body, draw two short stubby front legs. Each leg should end in small toe marks, and a simple belly line connects the legs to the lower body. Keep the legs short; long legs change the silhouette and make the animal look unlike a hedgehog. The face, ears, and legs together should stay small relative to the quill dome.
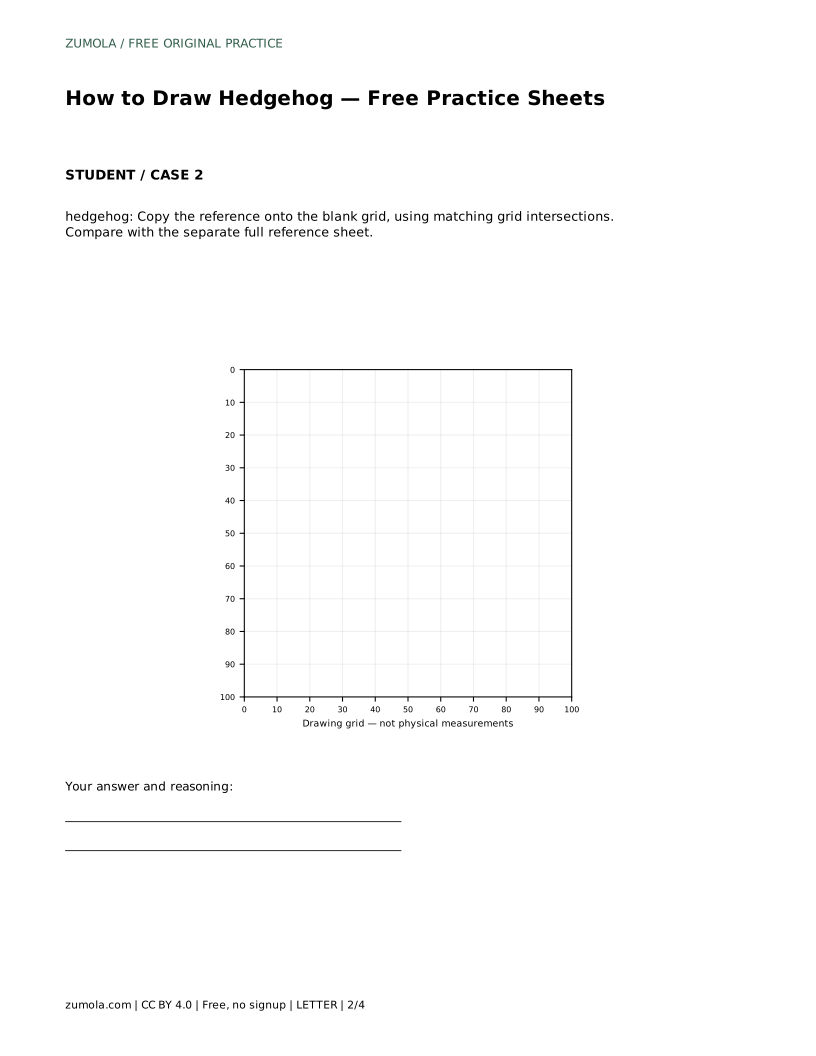
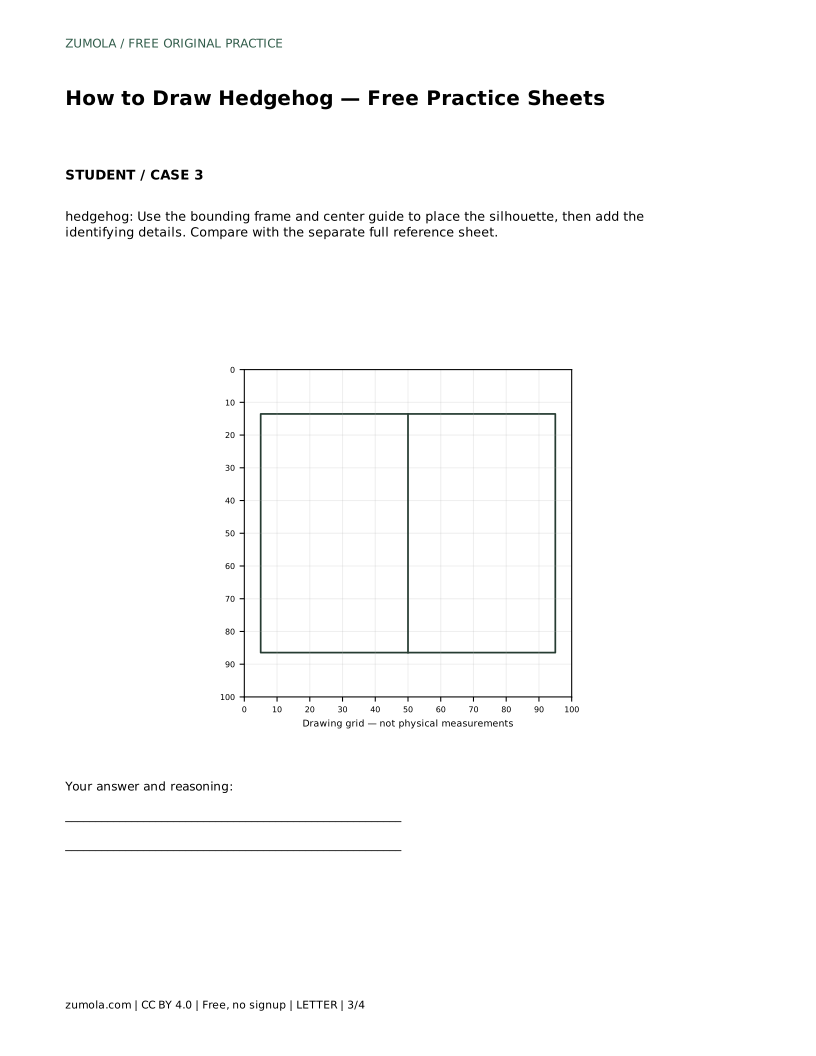
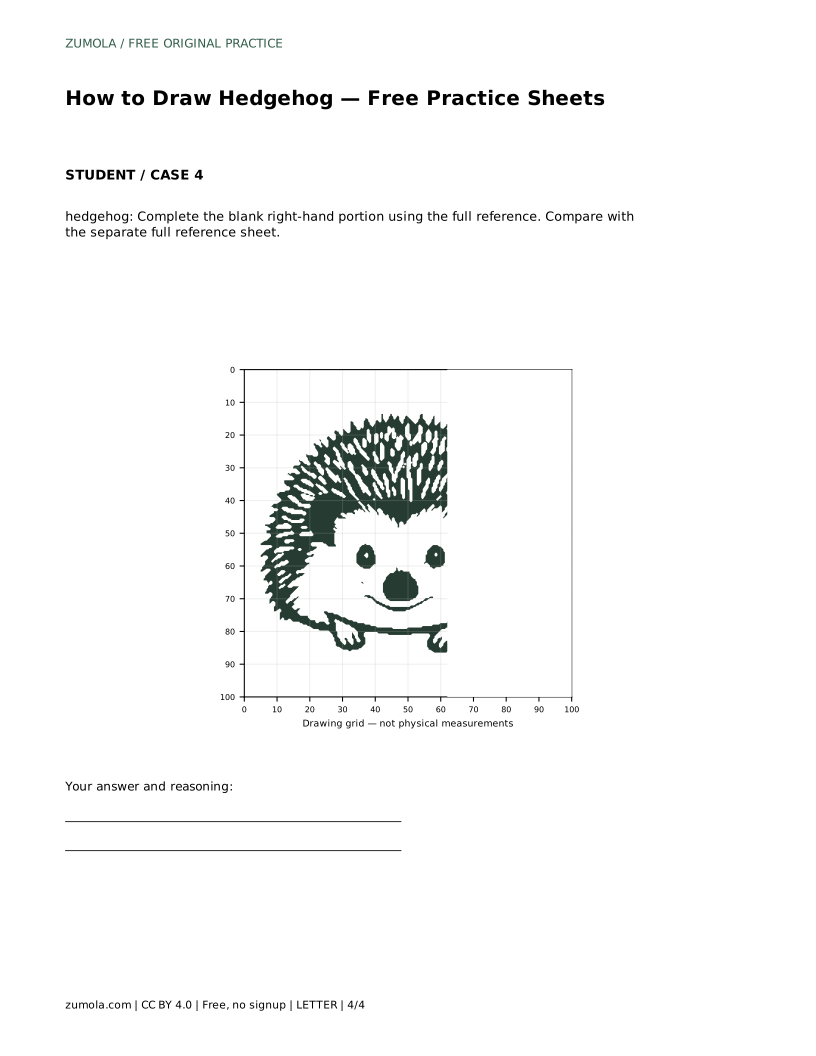
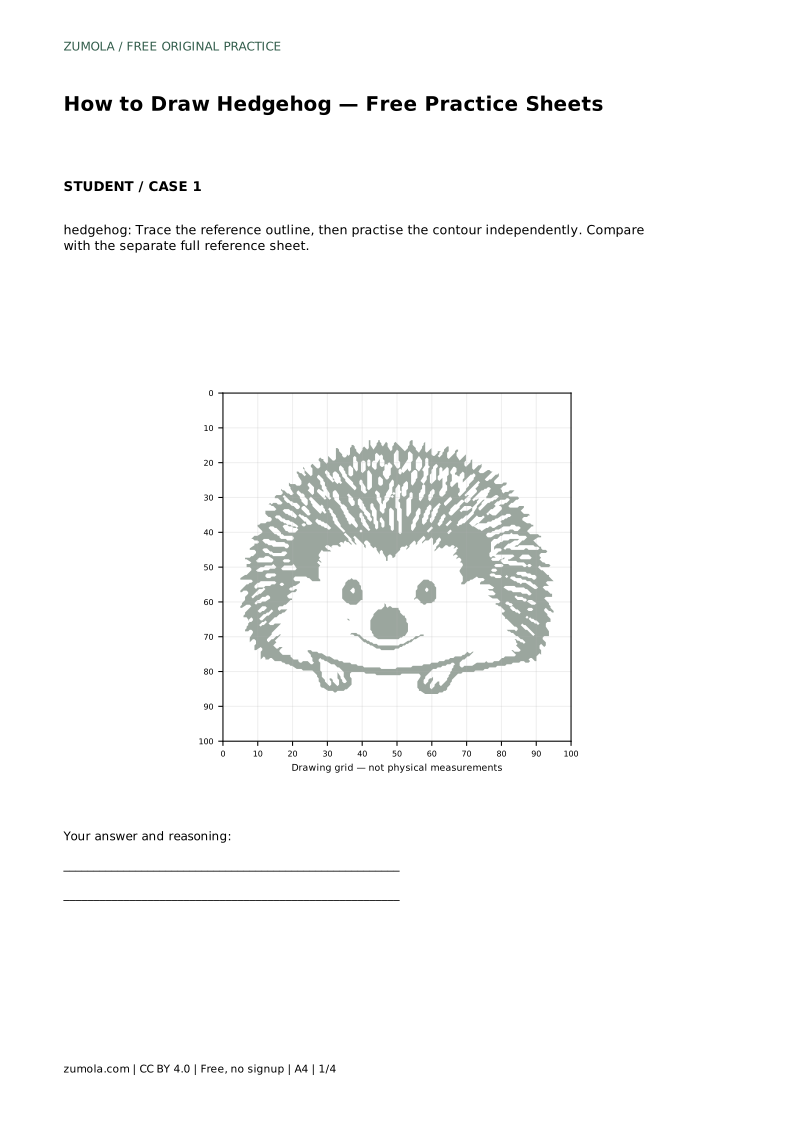
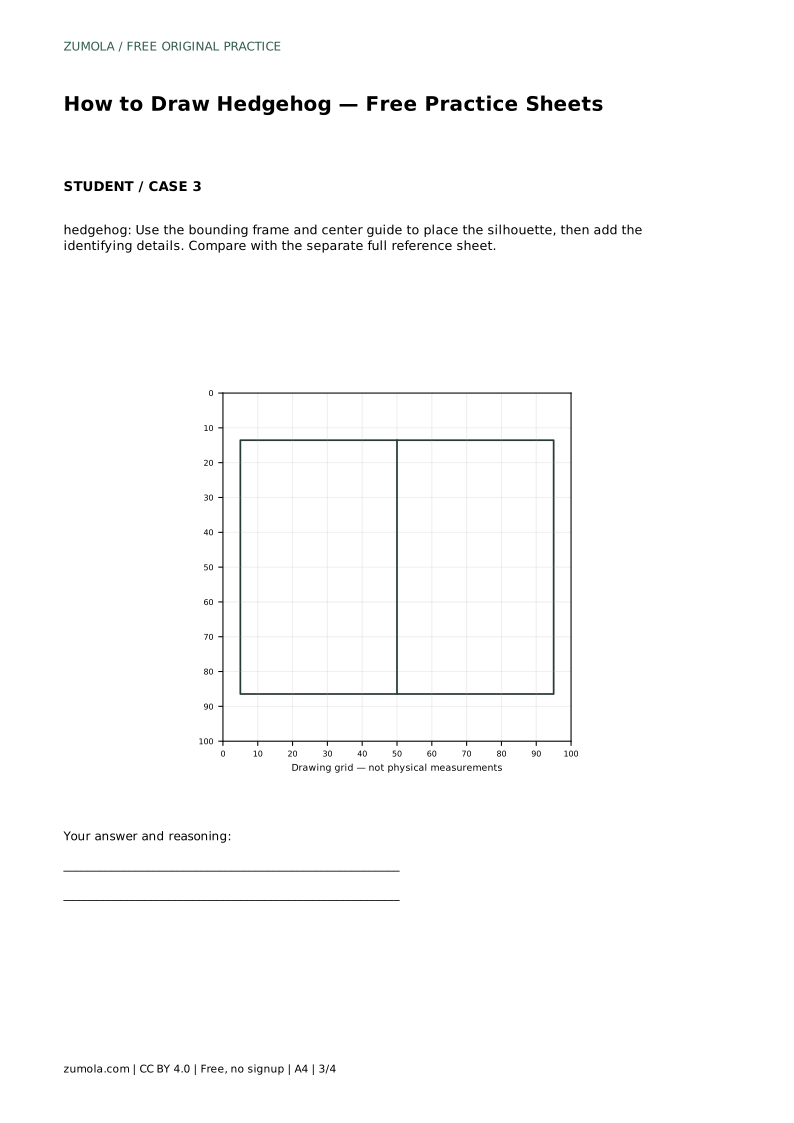
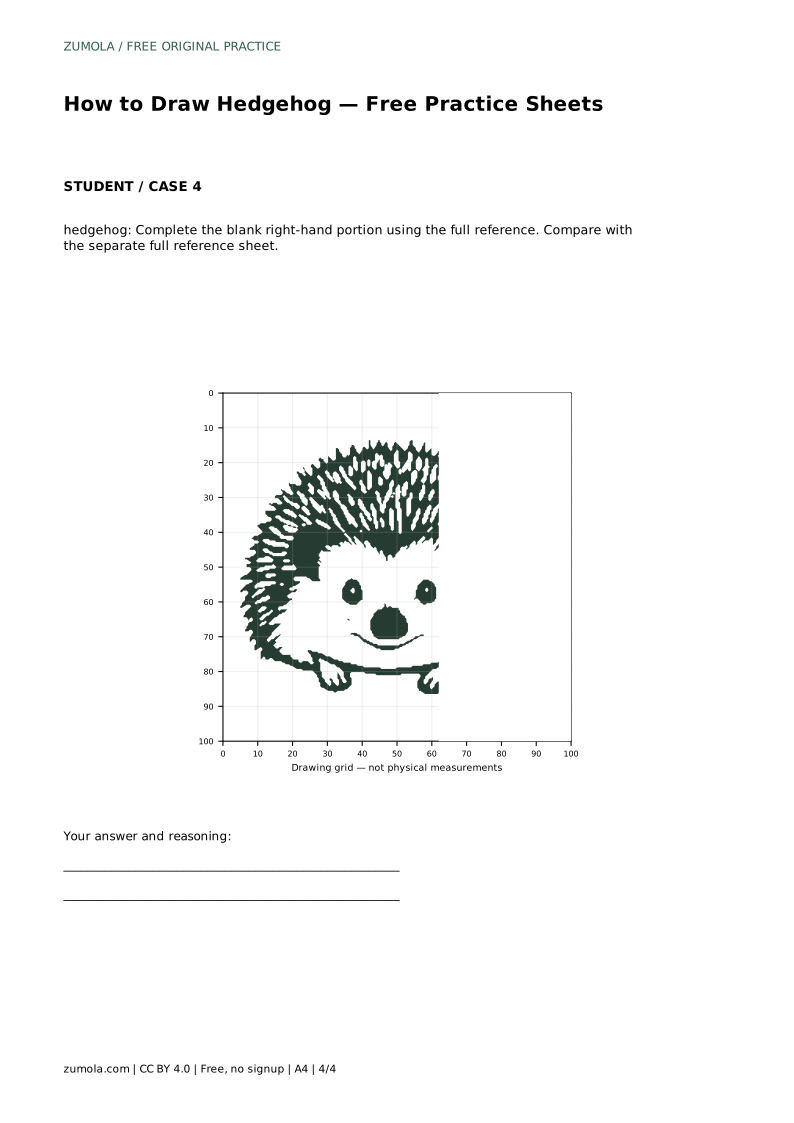
The trace sheet asks you to follow the reference outline first, then repeat the contour without it. The grid sheet asks you to copy the reference onto a blank grid using matching intersections, which trains proportion and placement. The frame-and-center-guide sheet helps you position the silhouette before adding details. The partial sheet gives you the left portion and asks you to complete the right side from the full reference.
In every case, compare your finished drawing with the separate full reference sheet. The goal is to preserve the visible features and their proportions, not to reproduce every line exactly. Different line weights, spike lengths, and small shifts in the face are all acceptable.
A useful check is to list the required features and confirm each one is present and correctly placed. Ask whether the quill coat forms a rounded dome with radiating spikes, whether the snout is small and pointed with a round nose and smile, whether the ears and eyes sit on the upper face, and whether two short legs with toes appear beneath the body.
Proportion matters more than polish. If the face is too large or the legs too long, the drawing stops reading as a hedgehog even if every detail is neat. Redraw the dome first if the overall shape feels wrong.
hedgehog: Trace the reference outline, then practise the contour independently. Compare with the separate full reference sheet.
Example solution: preserve spiky rounded back formed by radiating quill lines, small pointed snout with a round nose and smiling mouth, two short stubby front legs with small toes visible at the bottom. Other drawings can be correct; assess the visible features and proportions rather than pixel-perfect matching. Draw a large rounded dome for the body and cover it with outward-radiating spiky lines to form the quill coat. Add a small pointed snout at the lower center of the face, with a round nose and a curved smile. Place two dark rounded ears on either side of the upper face and two round eyes above the snout. Draw two short stubby front legs beneath the body, each ending in small toe marks, and connect them with a simple belly line.
No. Preserve the visible features and proportions; other drawings can be correct.
Start with the trace sheet, then move to the grid or frame sheet once the contour feels familiar.
A rounded spiky dome, a small pointed snout with a round nose and smile, upper-face ears and eyes, and two short legs with toes.
All drawing practice · Free coordinate paper
Original resources · CC BY 4.0 · Free for personal and classroom use with attribution.