Reference diagrams
LETTER · Download PDF
A4 · Download PDF
Free original resources
Learn to draw a sugar glider by building its body, face, gliding membrane, and bushy tail, then practise with tracing, grid, and frame sheets.
Four original cases, with reference diagrams, practice sheets and worked answers. Everything is free; no signup required.
LETTER · Download PDF
A4 · Download PDF
LETTER · Download PDF
A4 · Download PDF
LETTER · Download PDF
A4 · Download PDF
Use A4 or US Letter to match your printer. Use the stated values and conditions to solve each exercise; diagrams are not physical measuring rulers.
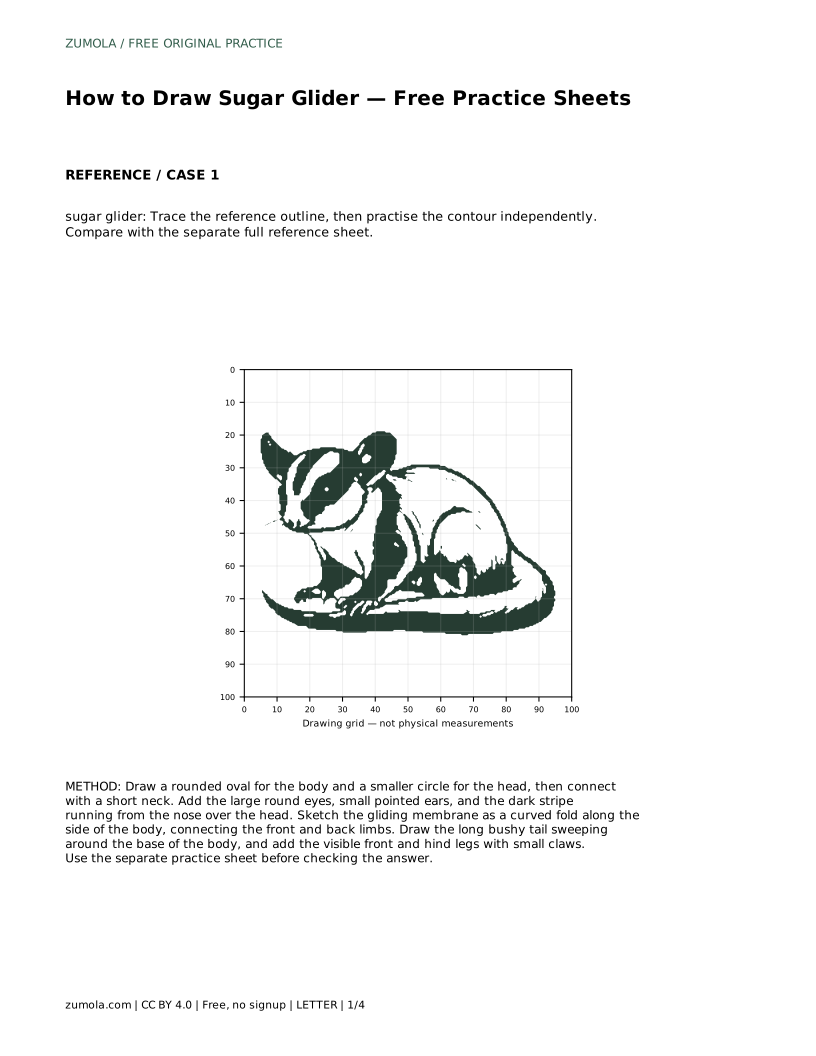
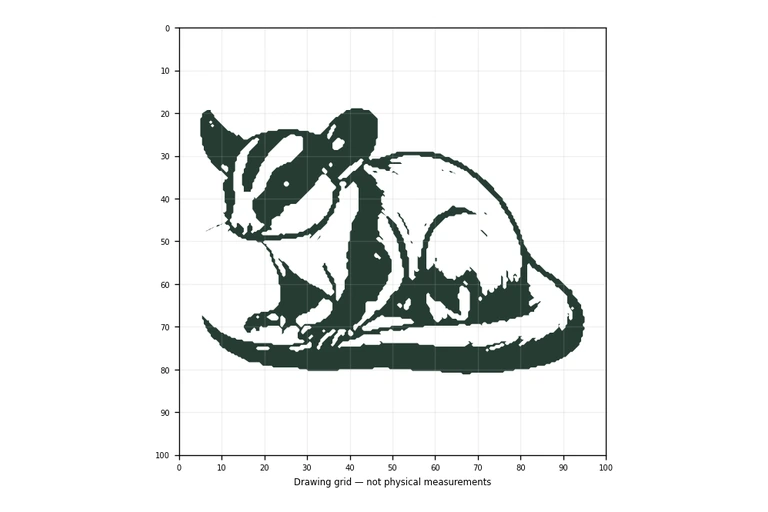
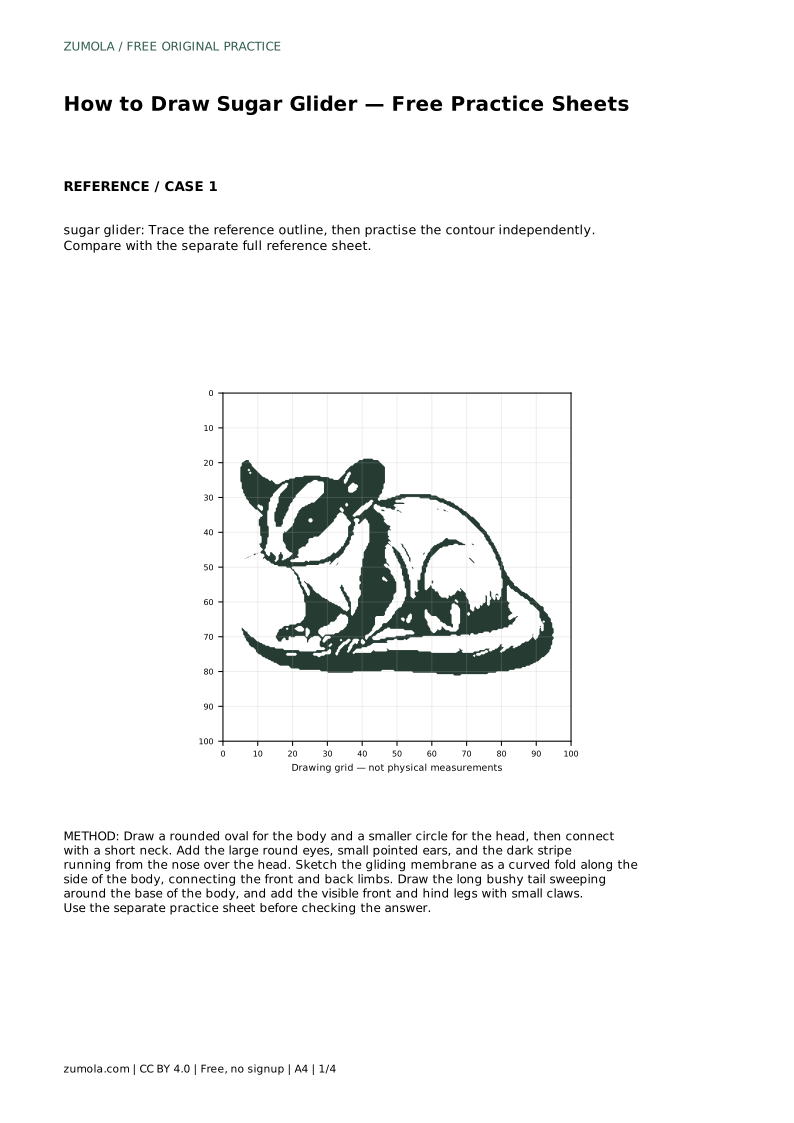
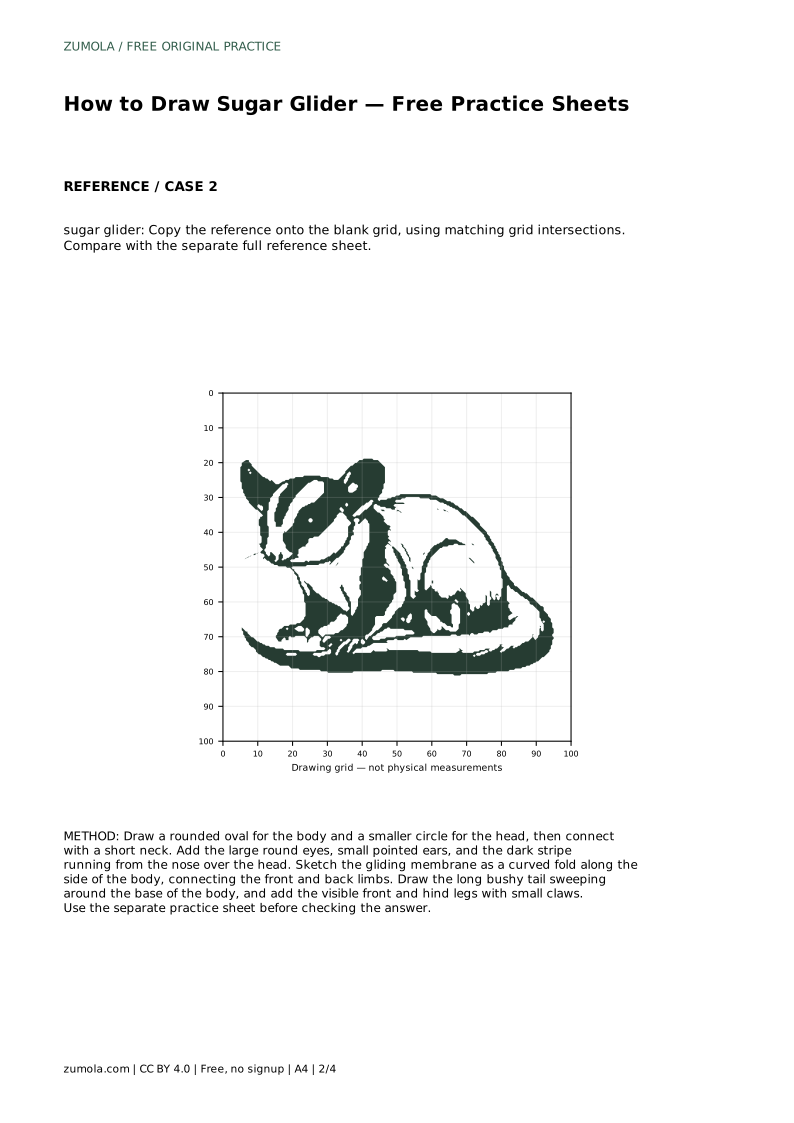
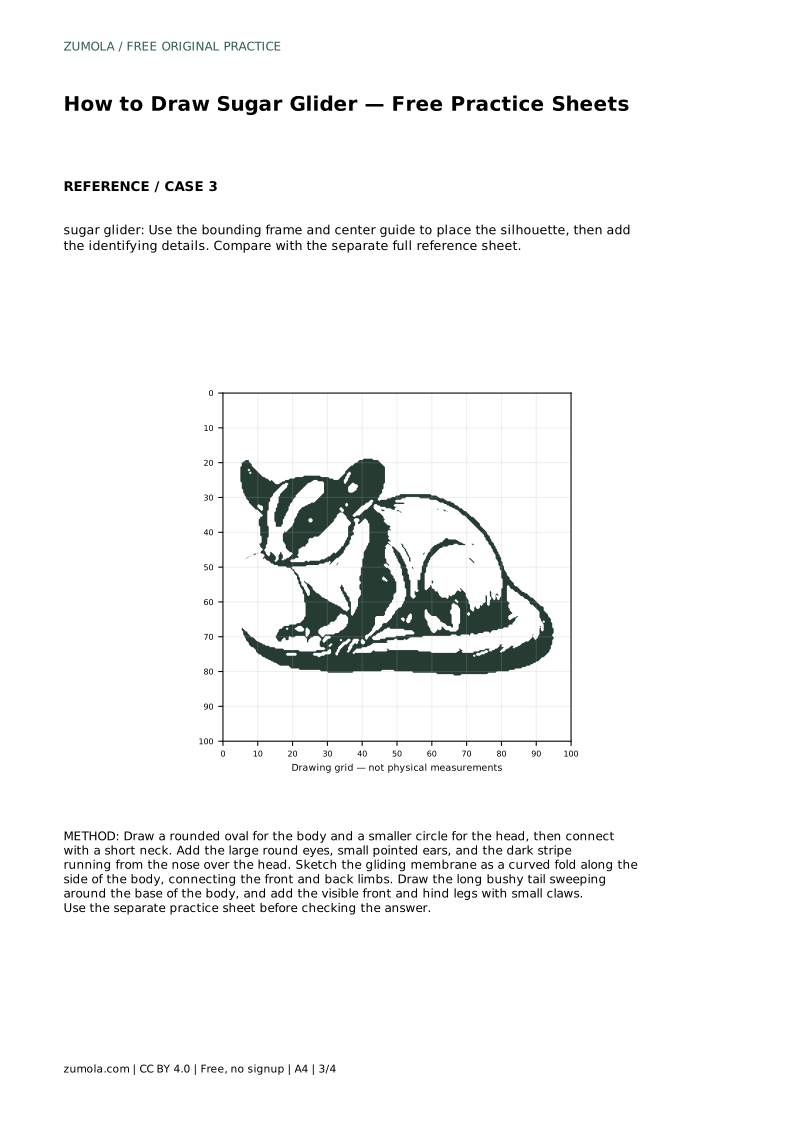
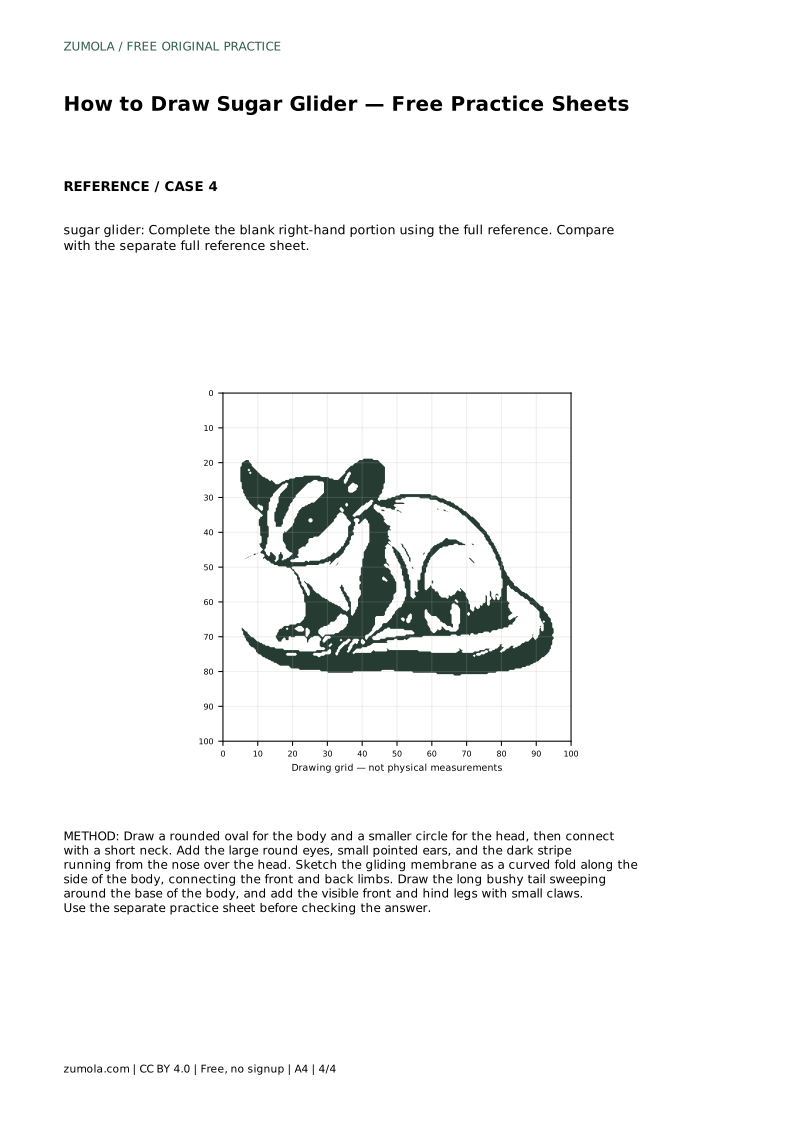
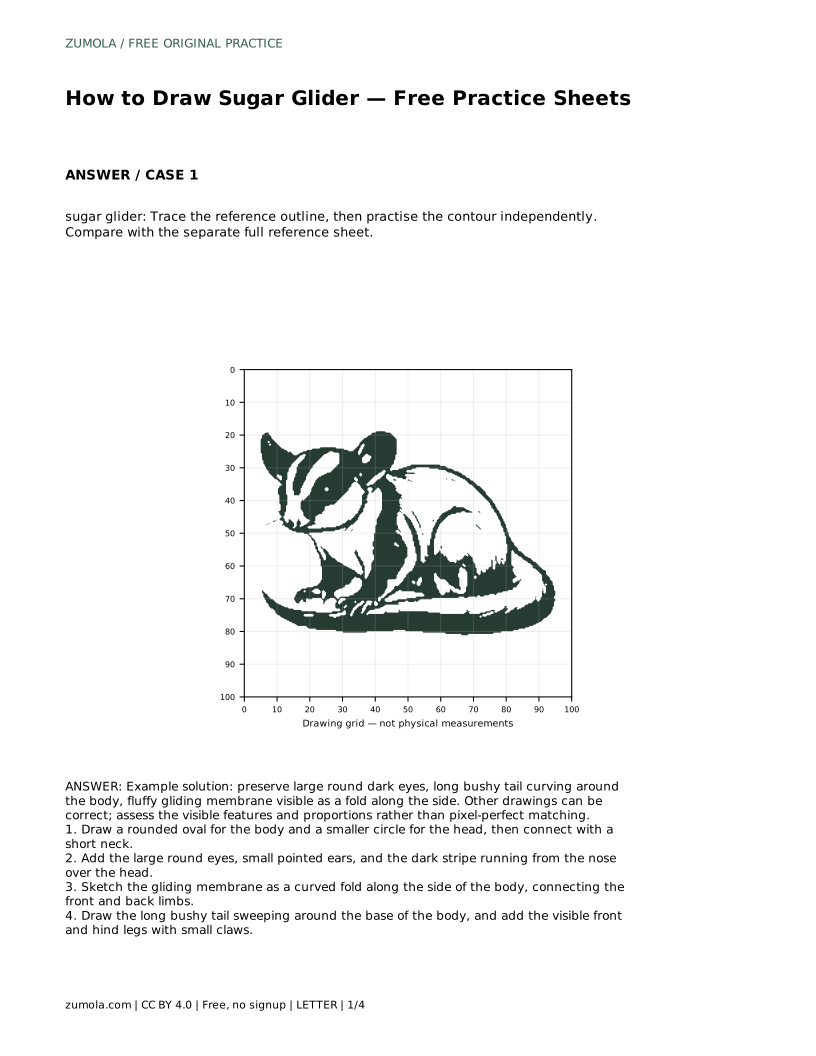
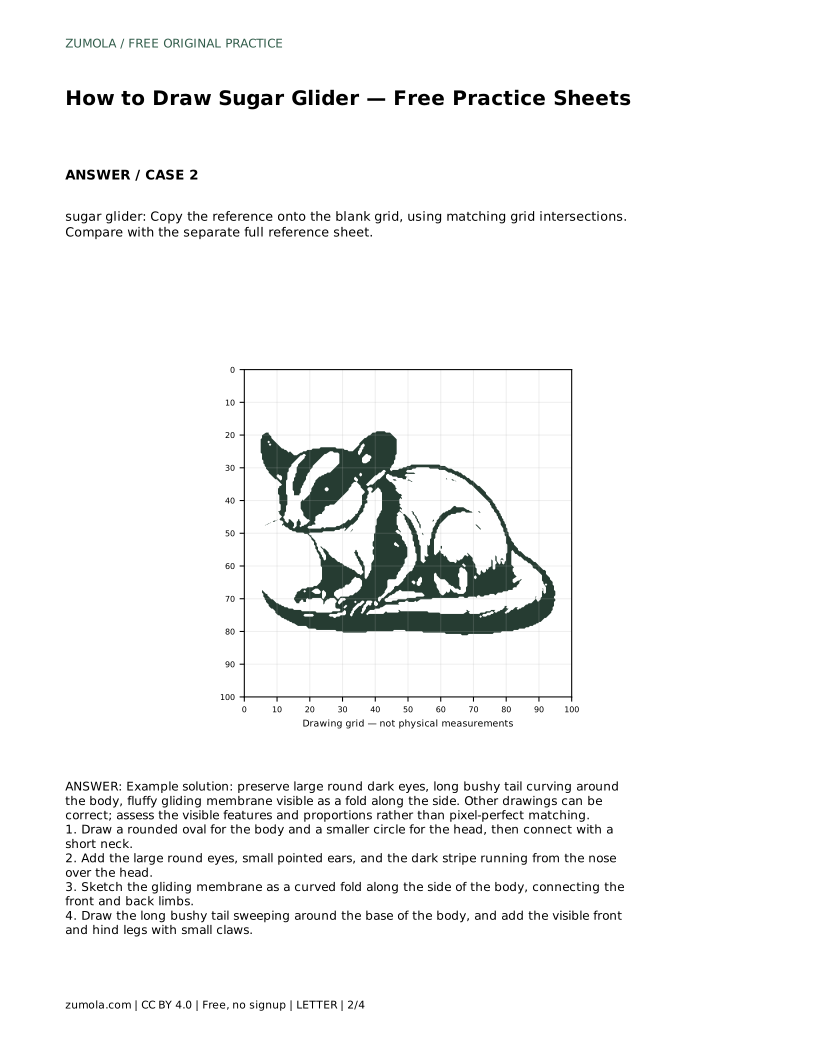
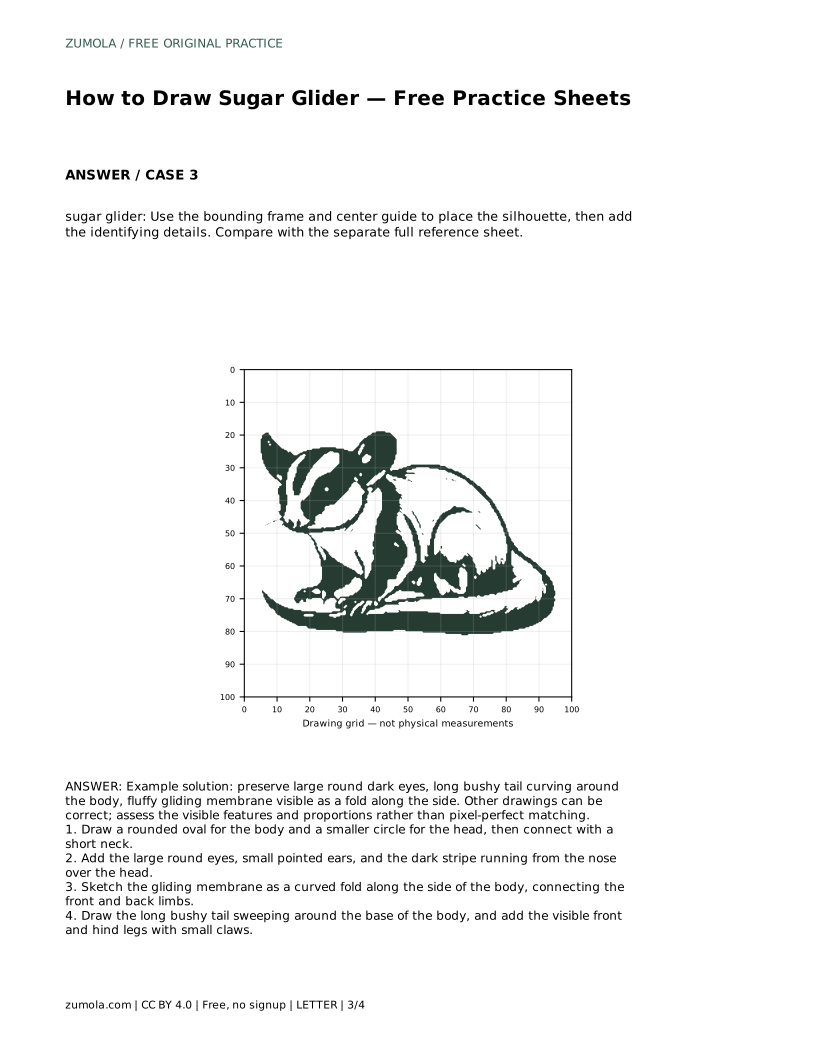
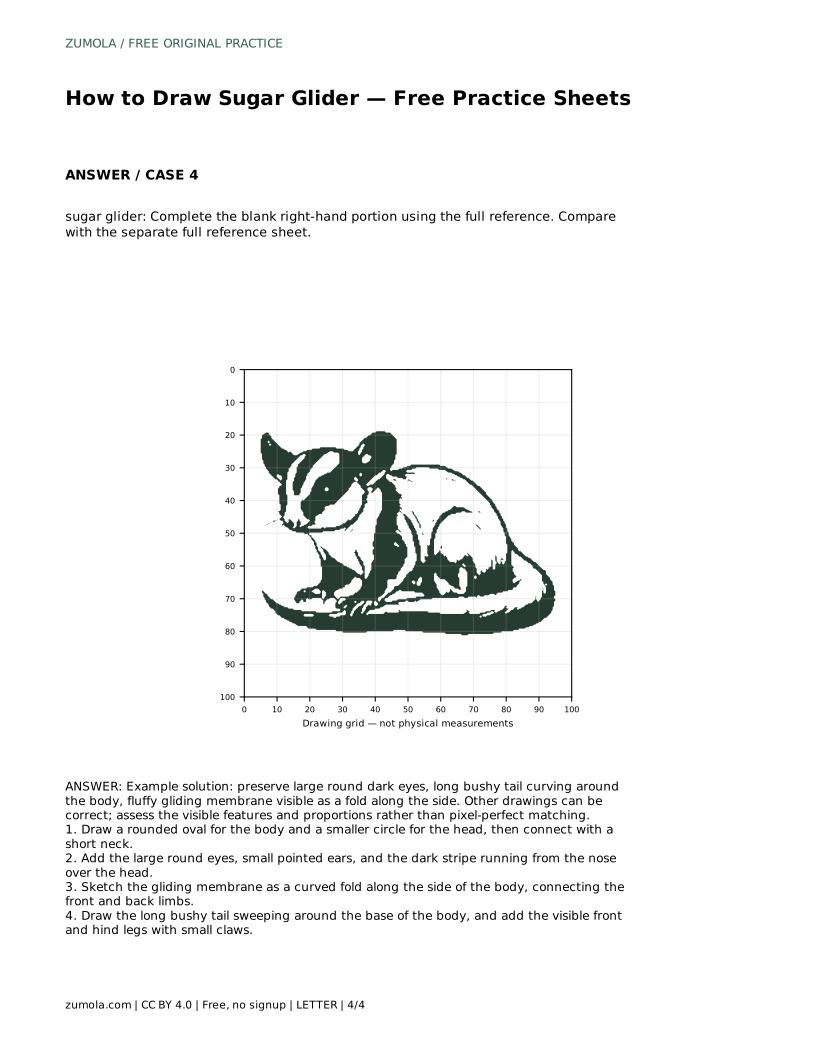
A sugar glider is recognisable by a few clear features: large round dark eyes, small pointed ears, a dark stripe over the head, a fold of gliding membrane along each side, and a long bushy tail that often curves around the body. This page shows how to build those features in order, from simple body shapes to the final contour, so you can practise on the free sheets and judge your drawing by visible structure rather than exact matching.
Begin lightly. Draw a rounded oval for the body, wider than it is tall, and a smaller circle for the head above and slightly forward of it. Join the two with a short neck so the head does not float. Keep the head noticeably smaller than the body; a common early error is making the head too large, which makes the animal look like a bear rather than a glider.
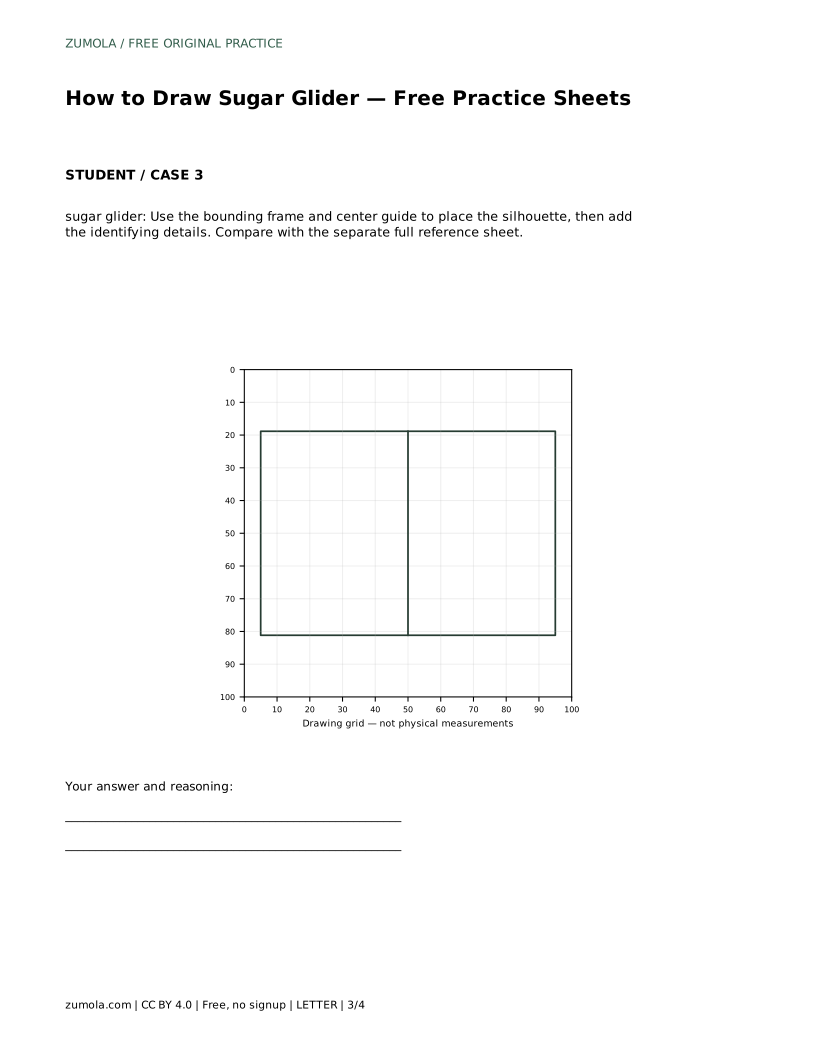
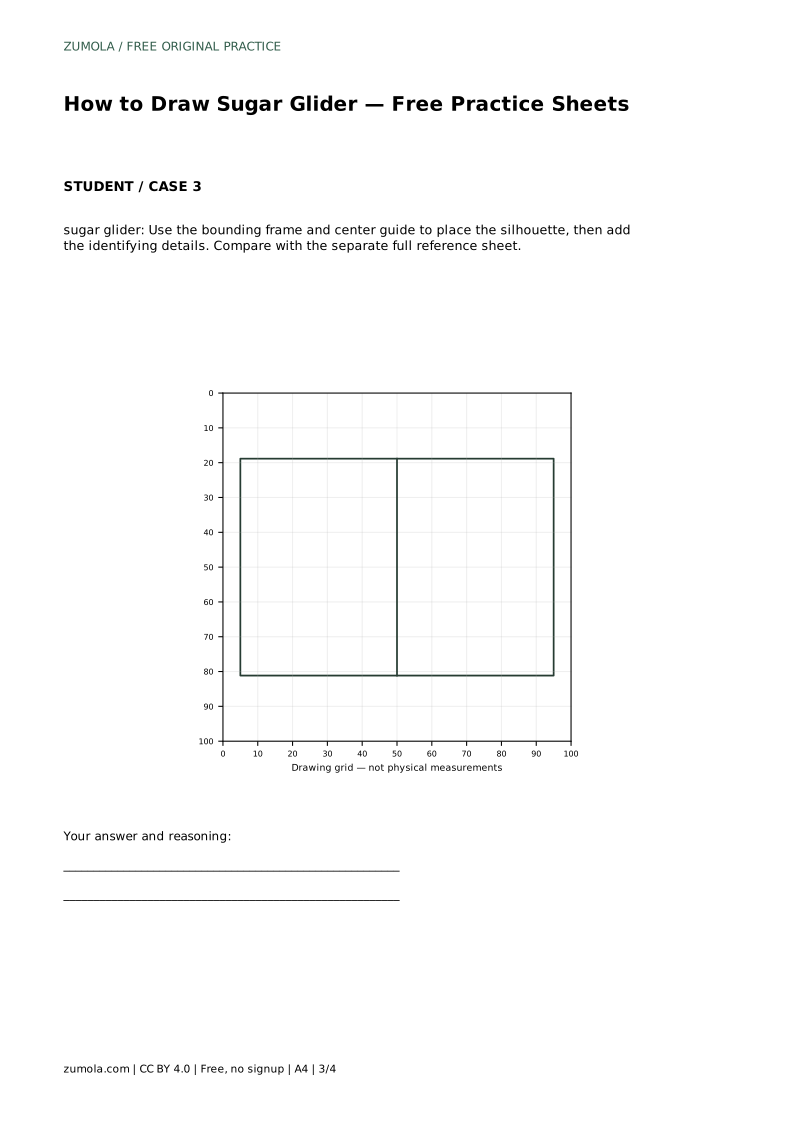
Check the overall silhouette before adding detail. The body oval should read as a soft, low shape, and the head circle should sit close to it. If you are using a bounding frame or centre guide, place the silhouette so the tail will have room to curve around the lower body without leaving the frame.
Place the eyes low and wide on the head circle. Sugar gliders have large, round, dark eyes, so draw them as generous circles with a small highlight, not tiny dots. Add small pointed ears at the top sides of the head, angled slightly outward.
The dark stripe is the face's strongest identifier. Draw it running from the nose, up between the eyes, and over the top of the head. Keep it narrow and continuous. Add a small nose at the front of the head and a subtle muzzle line below the eyes. These details should sit on the head shape you already drew, not replace it.
The gliding membrane is a fold of skin along each side of the body, connecting the front and back limbs. Draw it as a curved fold rather than a flat triangle: start near the front limb, sweep the line down and back, and end near the hind limb. The fold should look soft and slightly loose, as though it could stretch.
Add the visible front and hind legs with small claws. Keep the legs short and close to the body. The membrane line should pass behind or beside the limbs, not cut across them, so the anatomy reads clearly. This is a drawing convention for a stylised animal, not a clinical diagram.
The tail is long and bushy and often curves around the base of the body. Draw it as a thick, tapering shape rather than a thin line. Begin at the rear of the body, sweep it around the lower edge, and let the tip curl slightly. Keep the tail's width generous so it reads as fluffy.
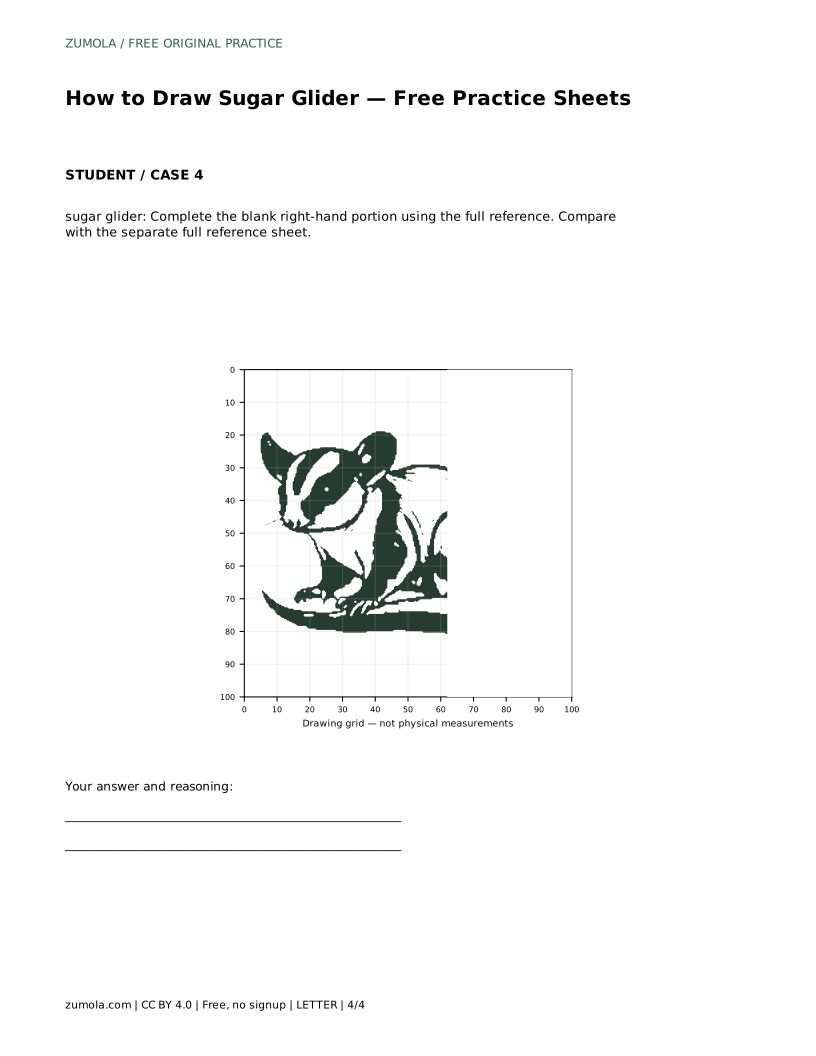
Once the tail is placed, compare your drawing with the reference sheet. Check the relative sizes of head, body, and tail, the position of the eyes, and whether the membrane fold is visible. Different drawings can all be correct; assess the visible features and proportions rather than pixel-perfect matching.
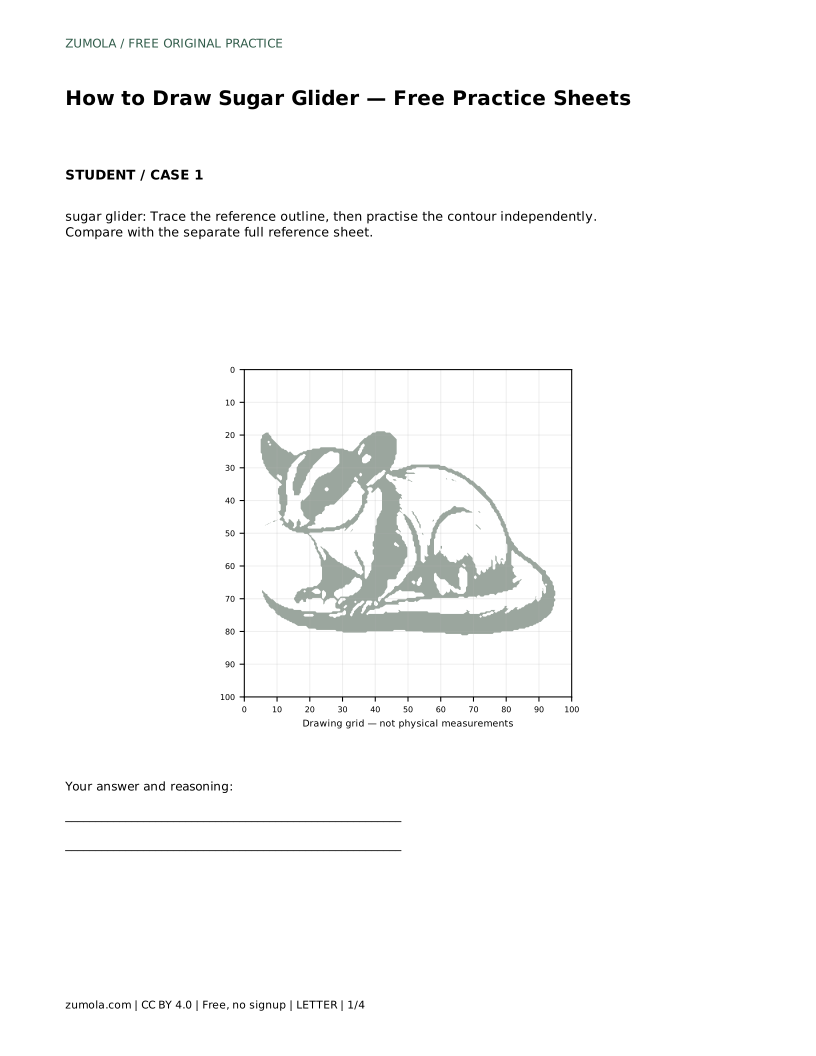
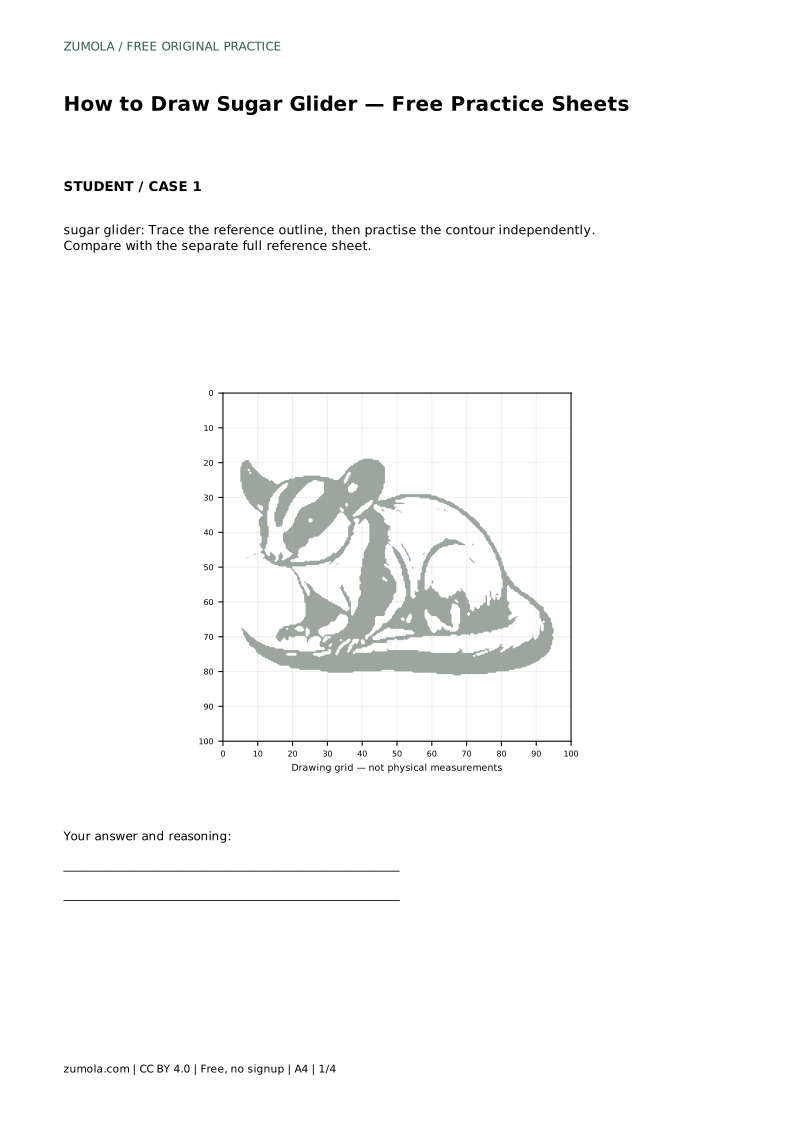
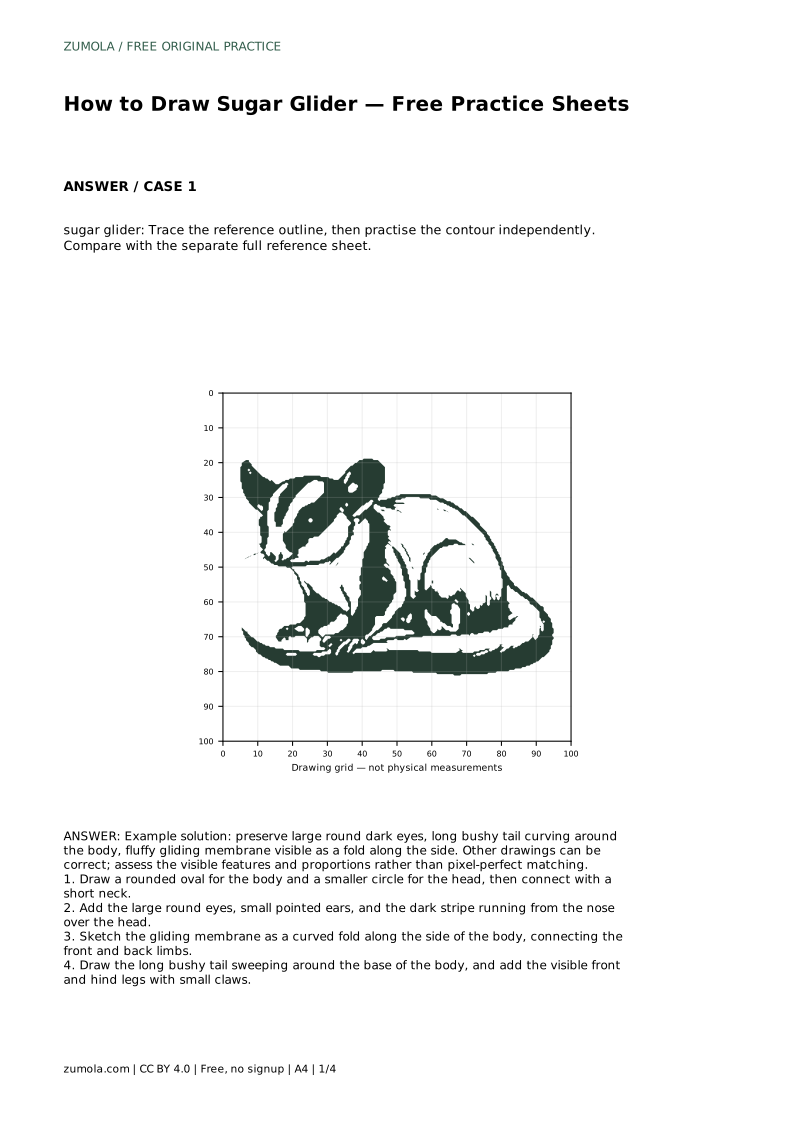
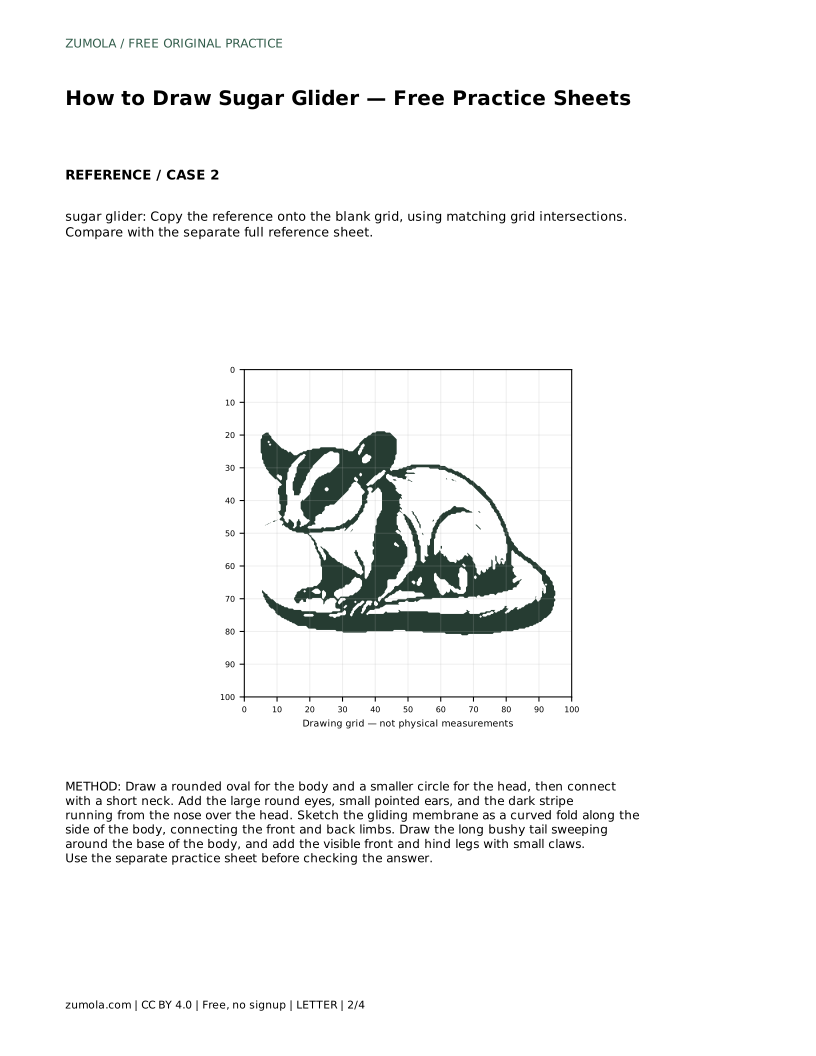
sugar glider: Trace the reference outline, then practise the contour independently. Compare with the separate full reference sheet.
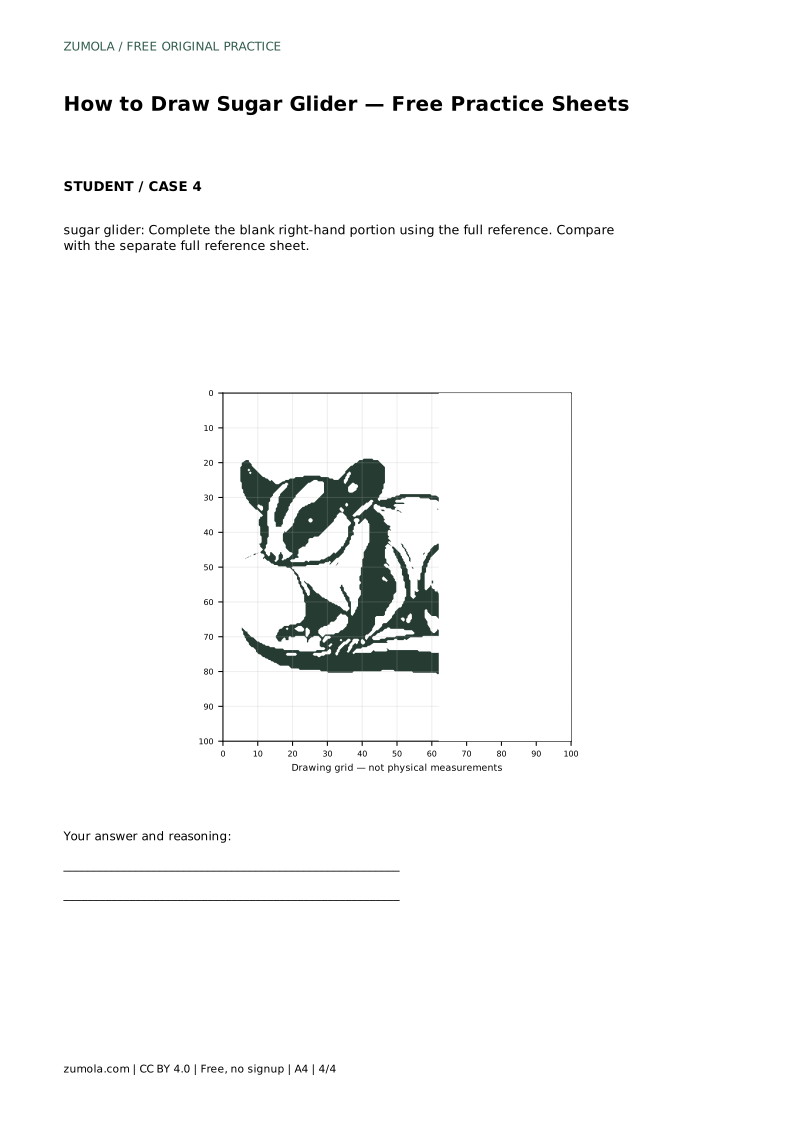
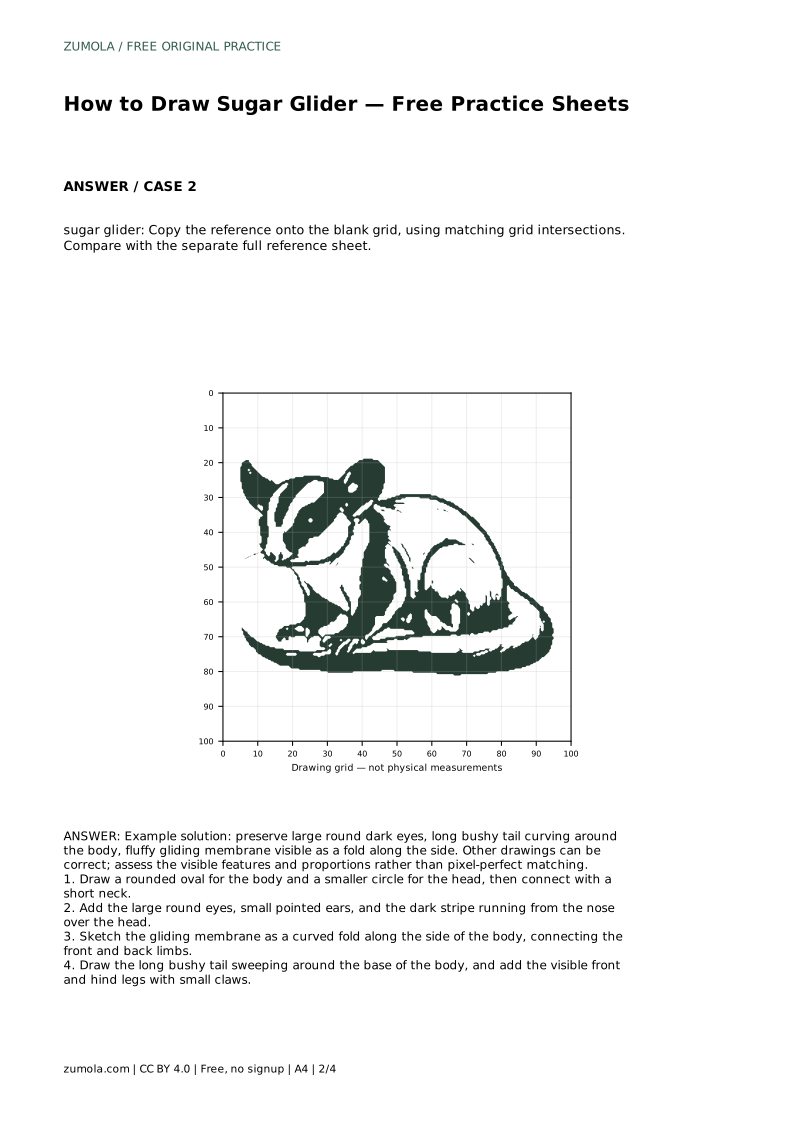
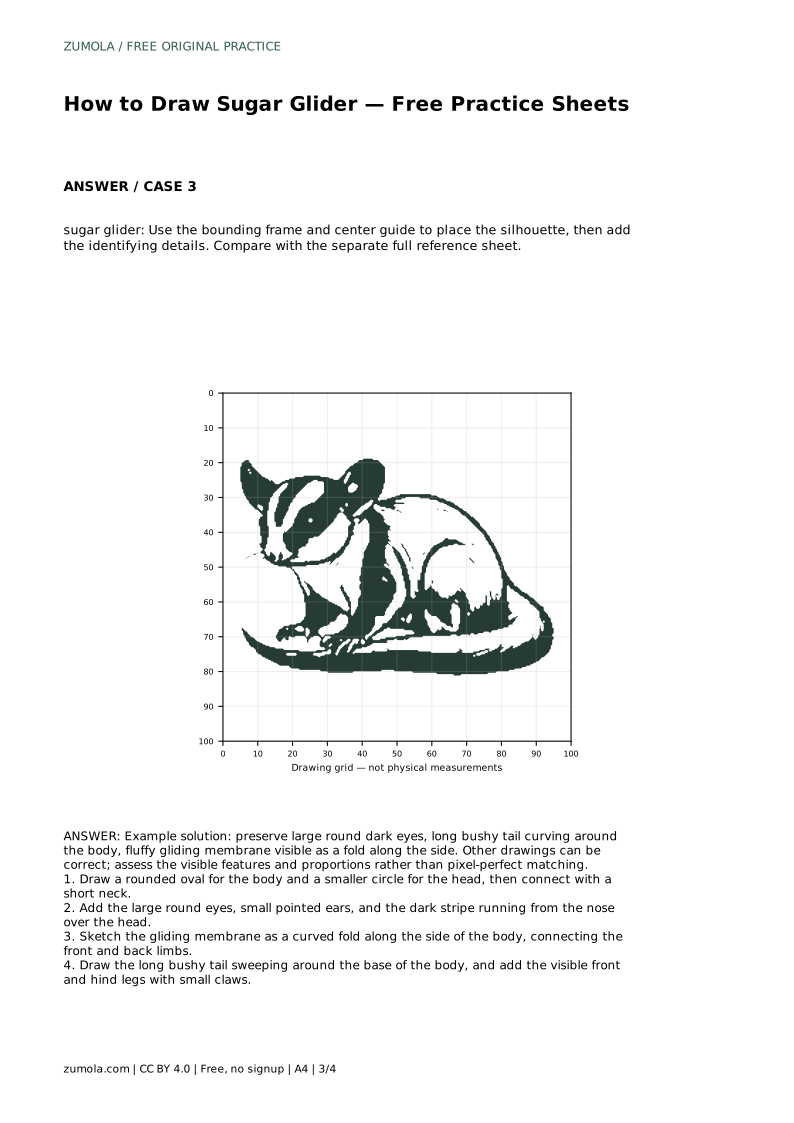
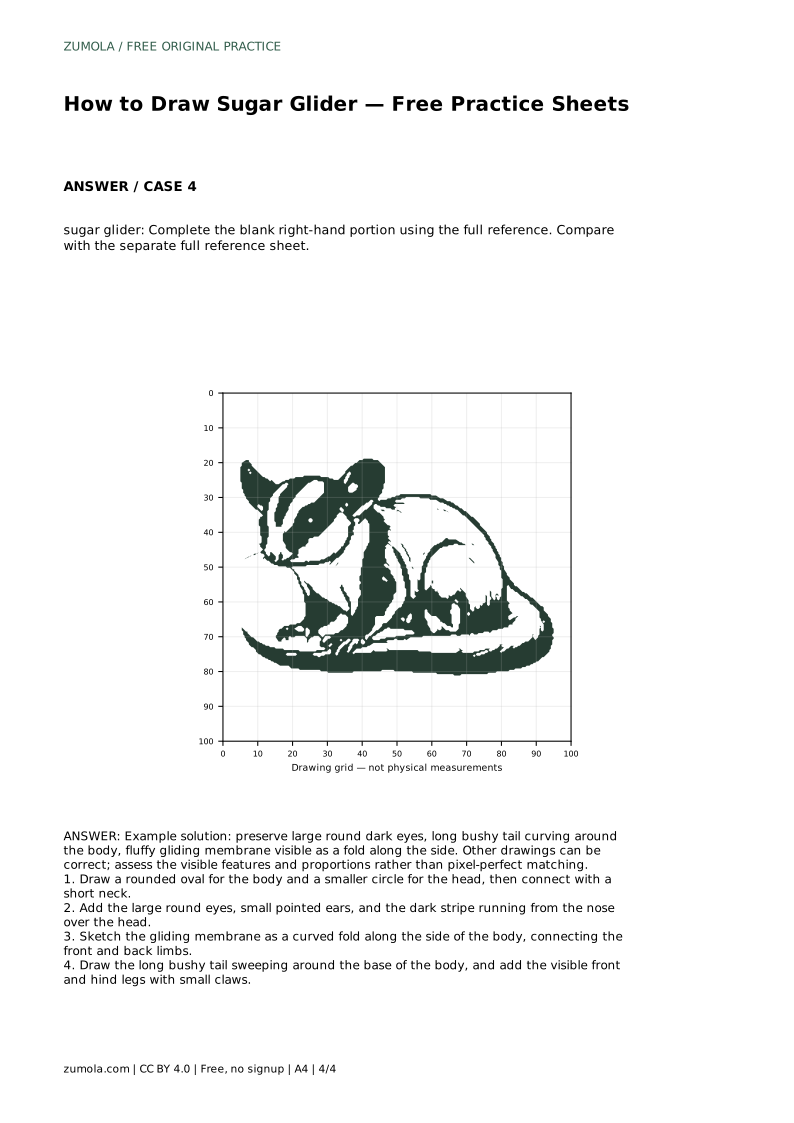
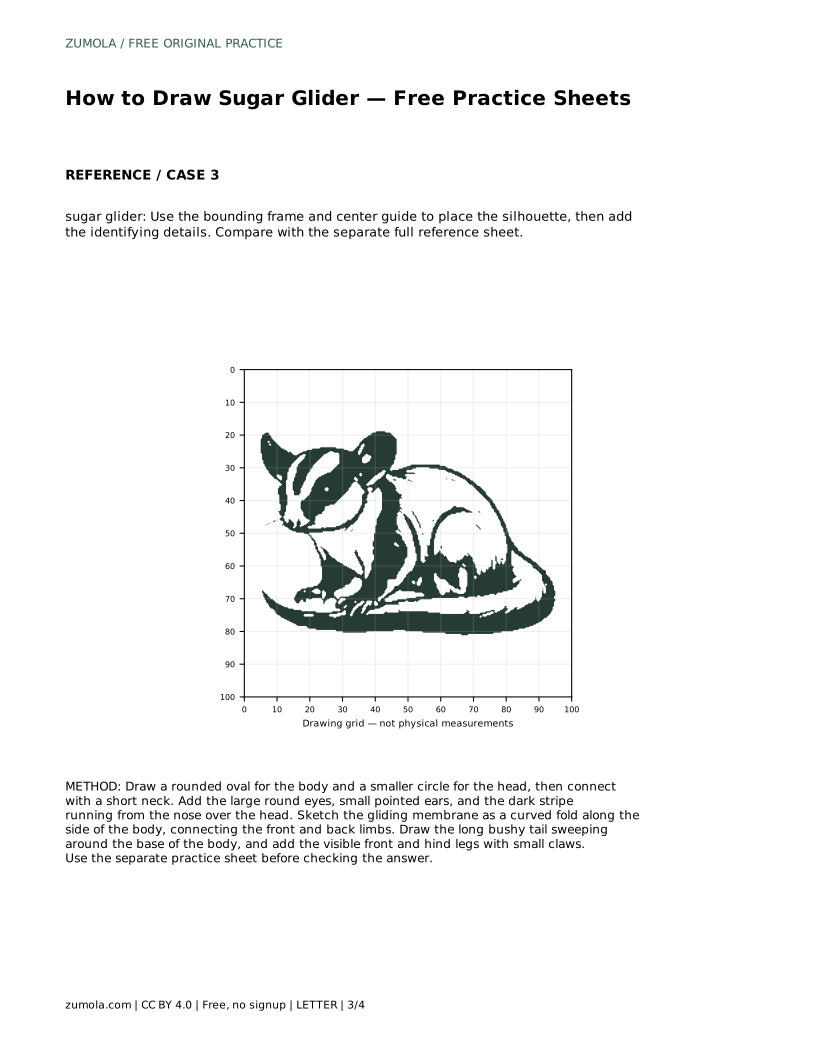
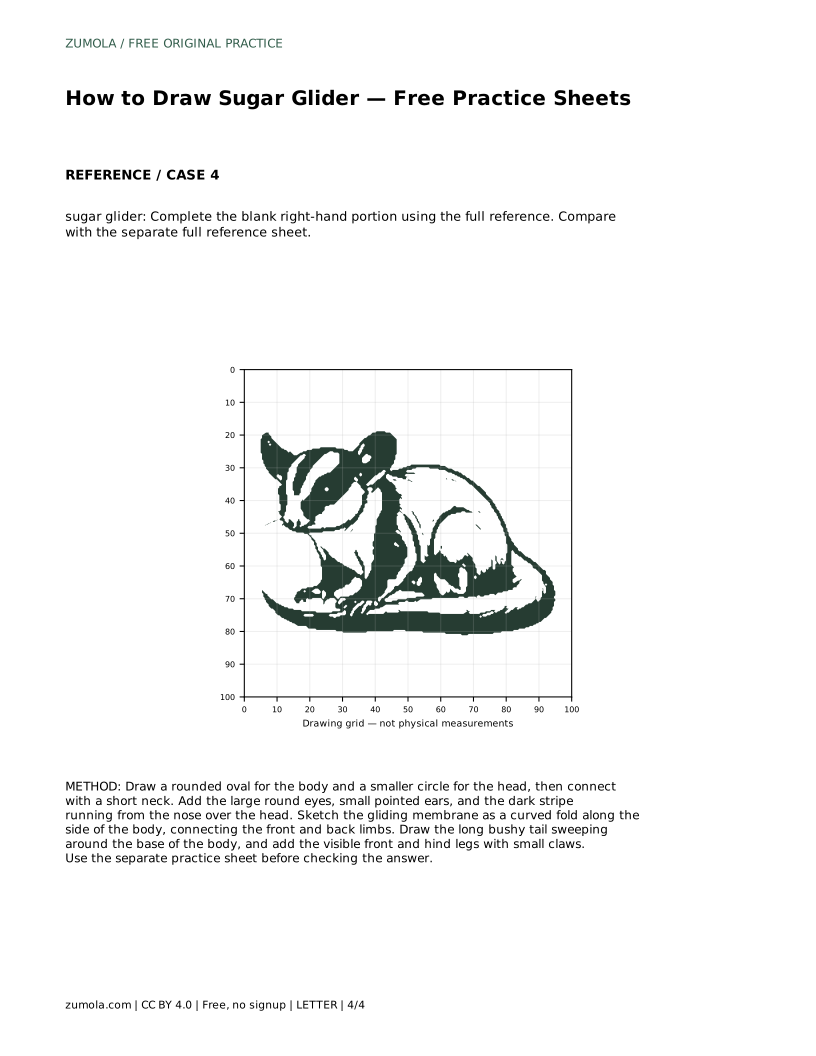
Example solution: preserve large round dark eyes, long bushy tail curving around the body, fluffy gliding membrane visible as a fold along the side. Other drawings can be correct; assess the visible features and proportions rather than pixel-perfect matching. Draw a rounded oval for the body and a smaller circle for the head, then connect with a short neck. Add the large round eyes, small pointed ears, and the dark stripe running from the nose over the head. Sketch the gliding membrane as a curved fold along the side of the body, connecting the front and back limbs. Draw the long bushy tail sweeping around the base of the body, and add the visible front and hind legs with small claws.
No. Several drawings can be correct. Judge your work by visible features and proportions: large round eyes, head stripe, membrane fold, and a long bushy tail.
Start with the body oval and head circle, then add the face, membrane, limbs, and tail in that order so each detail sits on a stable shape.
Yes. The grid sheet helps you place shapes by matching intersections, and the frame sheet helps you position the silhouette before adding details.
All drawing practice · Free coordinate paper
Original resources · CC BY 4.0 · Free for personal and classroom use with attribution.