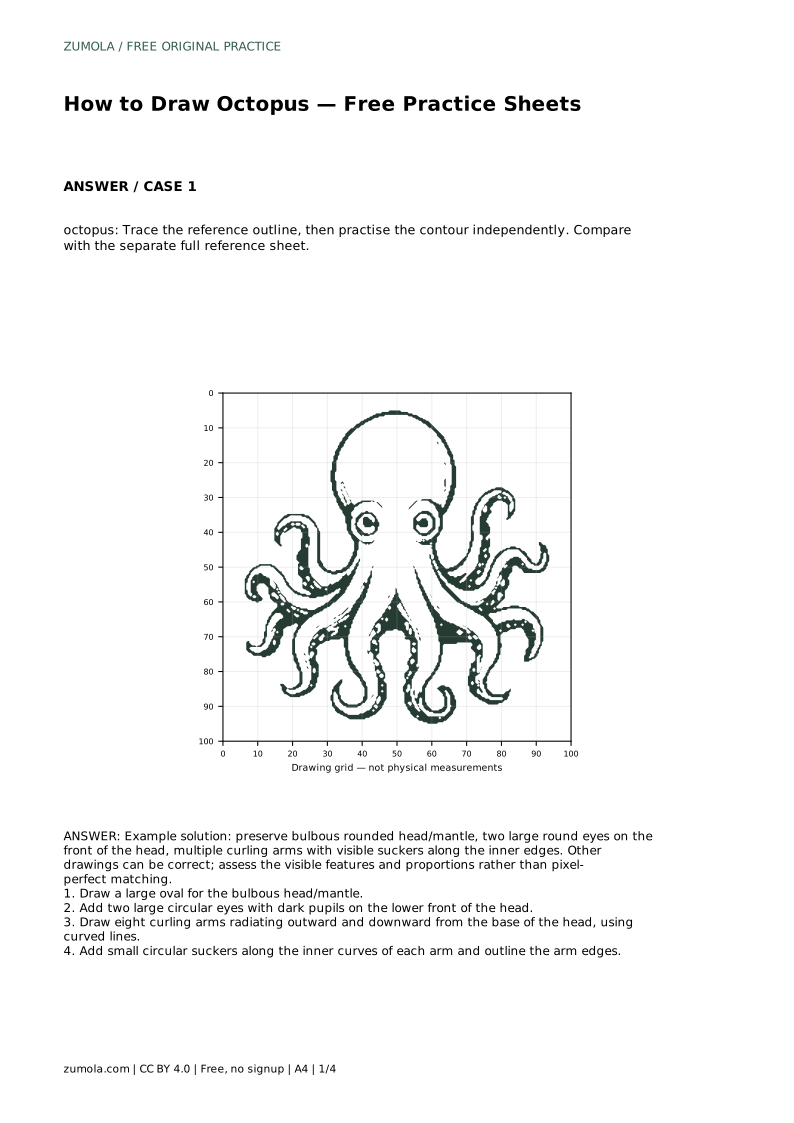
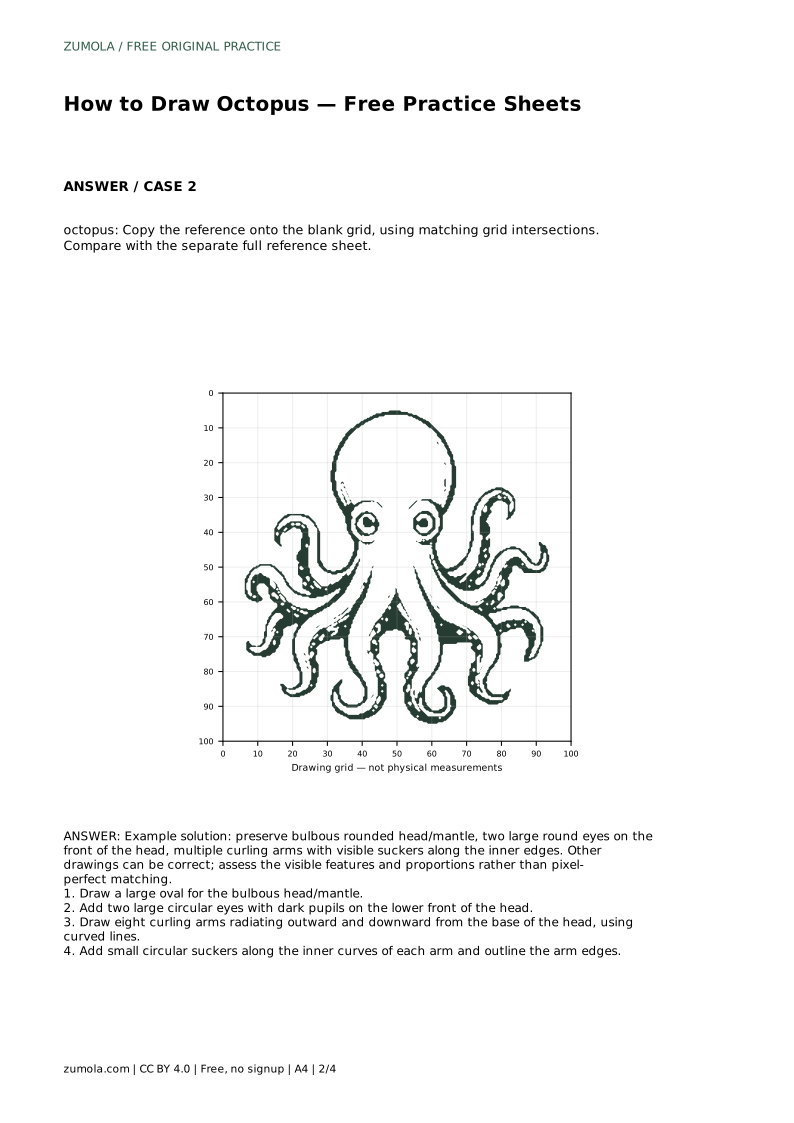
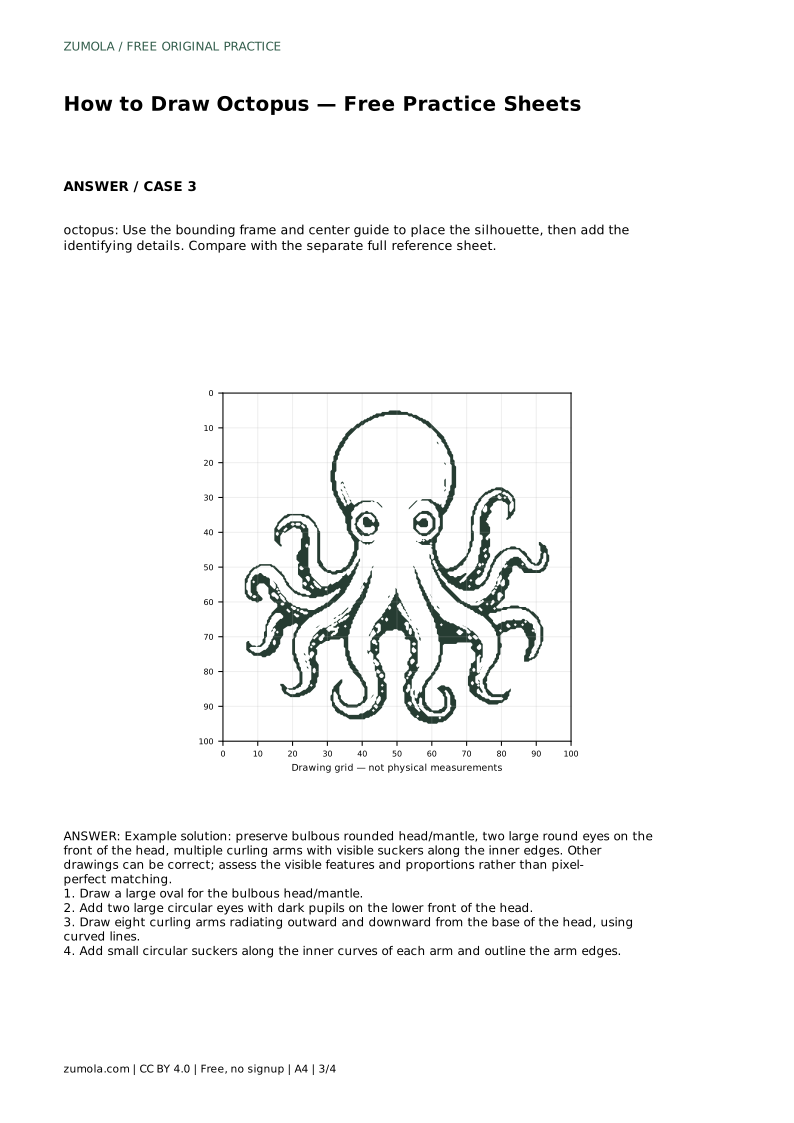
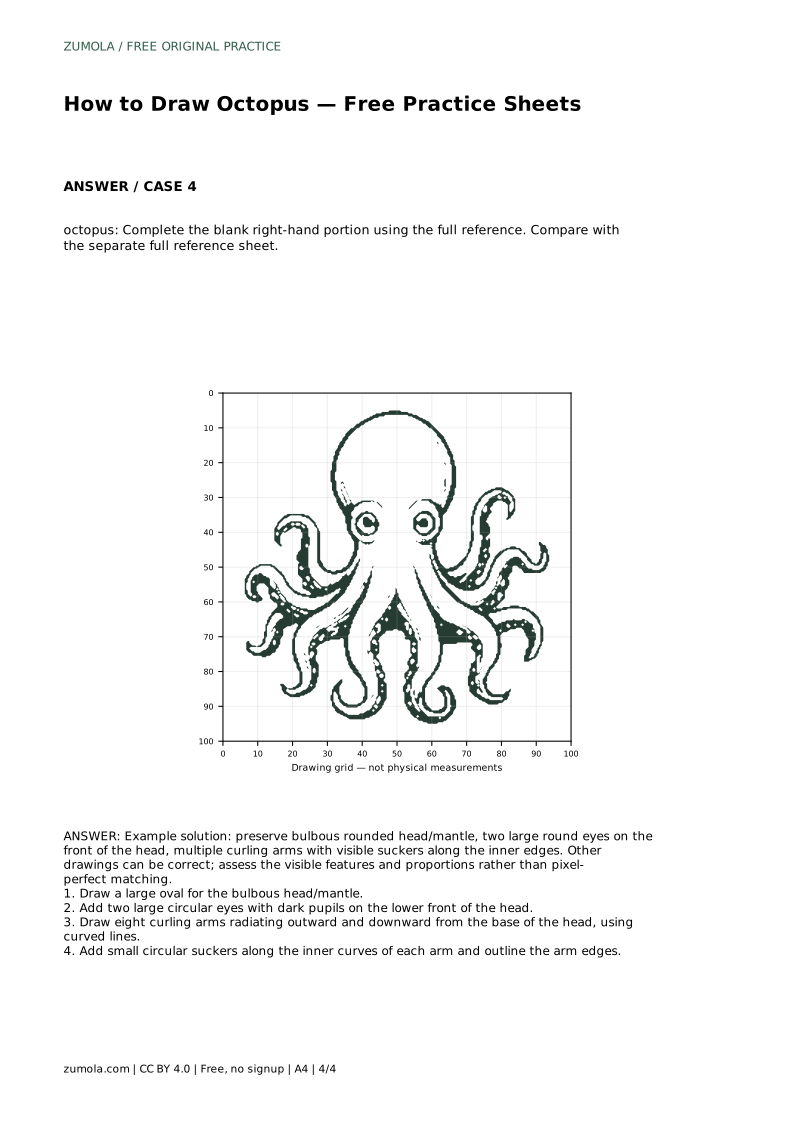
Reference diagrams
LETTER · Download PDF
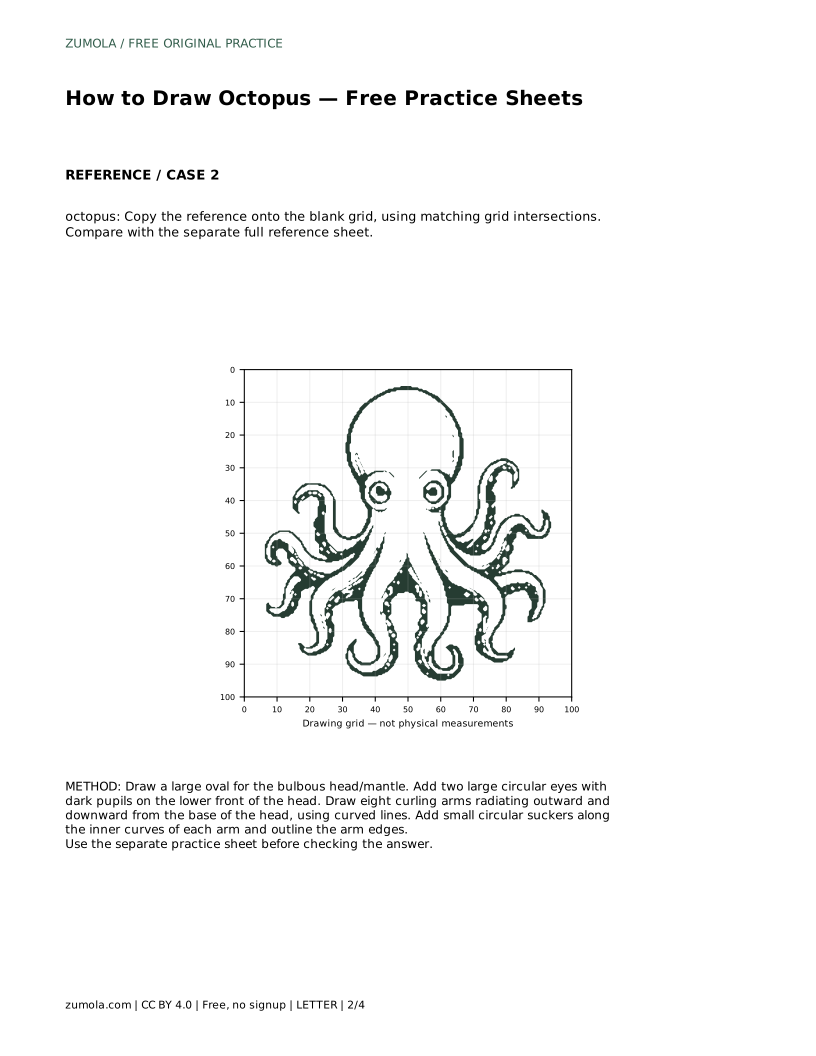
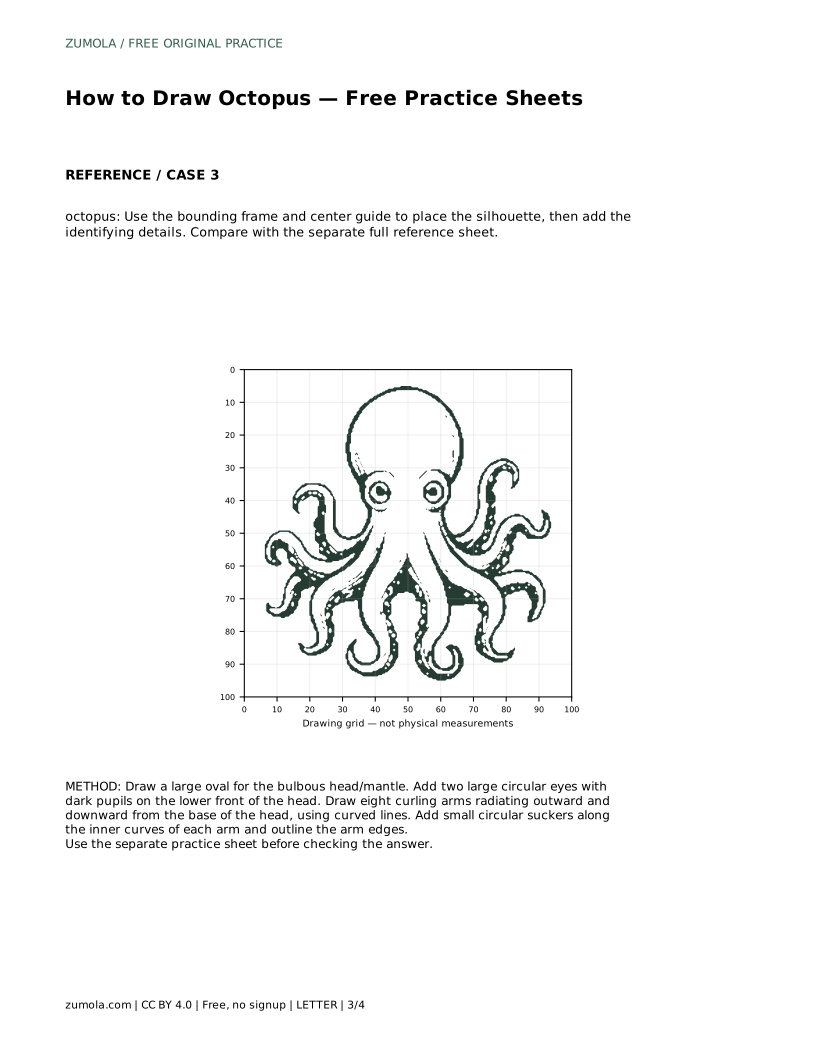
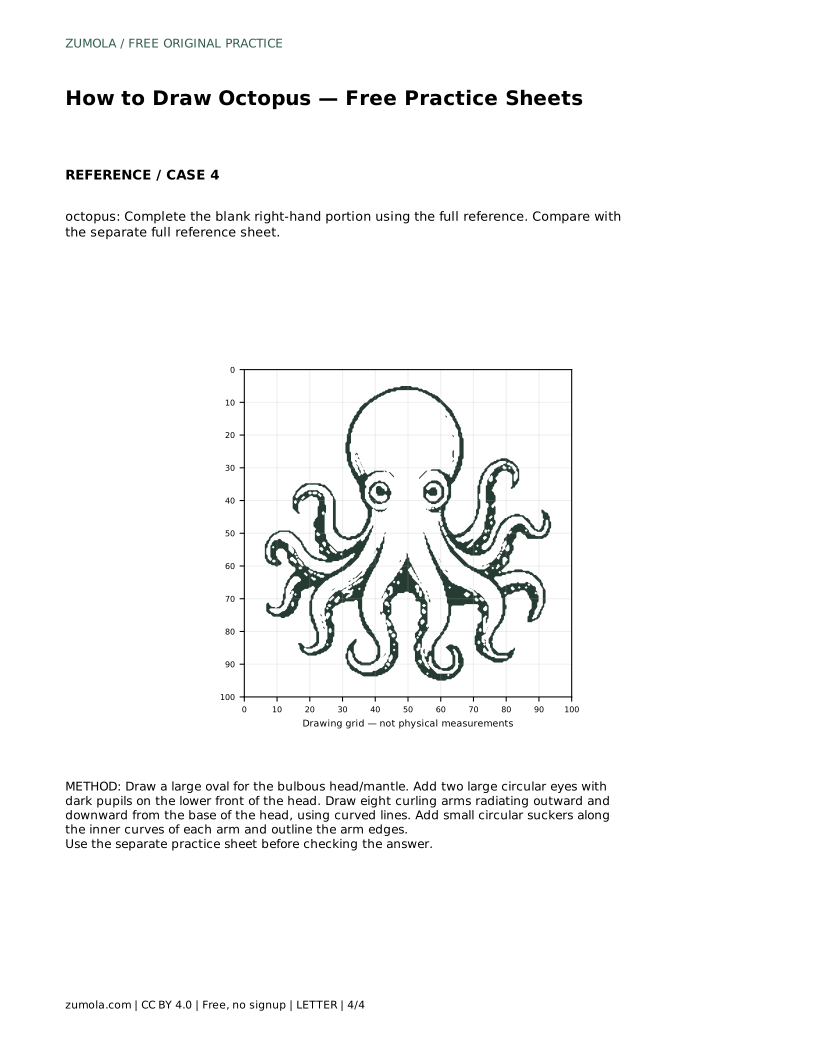
A4 · Download PDF
Free original resources
Learn to draw an octopus with a rounded mantle, two front eyes, eight curling arms, and inner-edge suckers. Trace, grid, and complete-the-picture practice included.
Four original cases, with reference diagrams, practice sheets and worked answers. Everything is free; no signup required.
LETTER · Download PDF
A4 · Download PDF
LETTER · Download PDF
A4 · Download PDF
LETTER · Download PDF
A4 · Download PDF
Use A4 or US Letter to match your printer. Use the stated values and conditions to solve each exercise; diagrams are not physical measuring rulers.
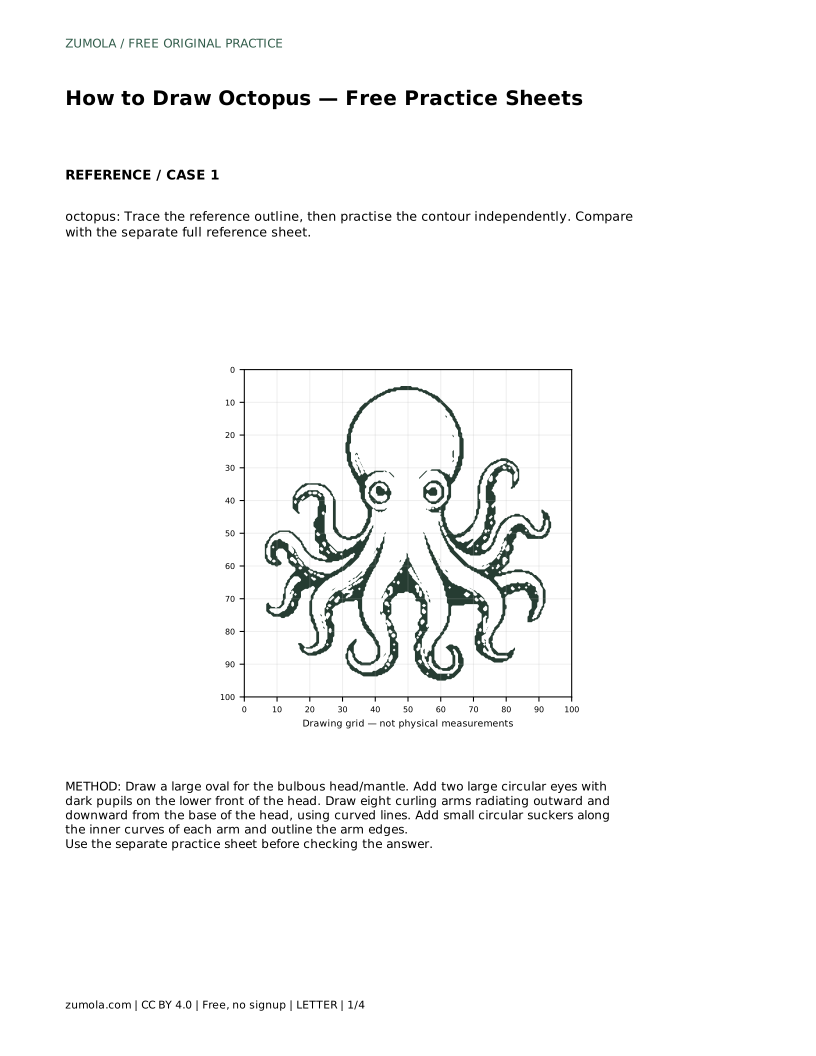
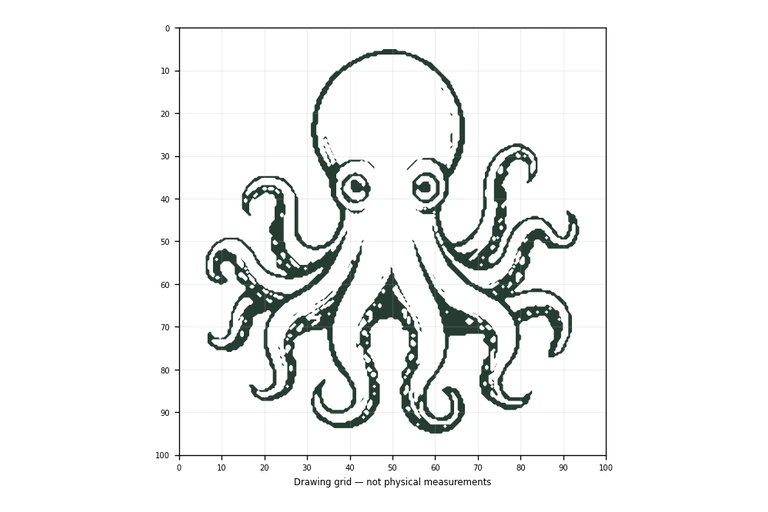
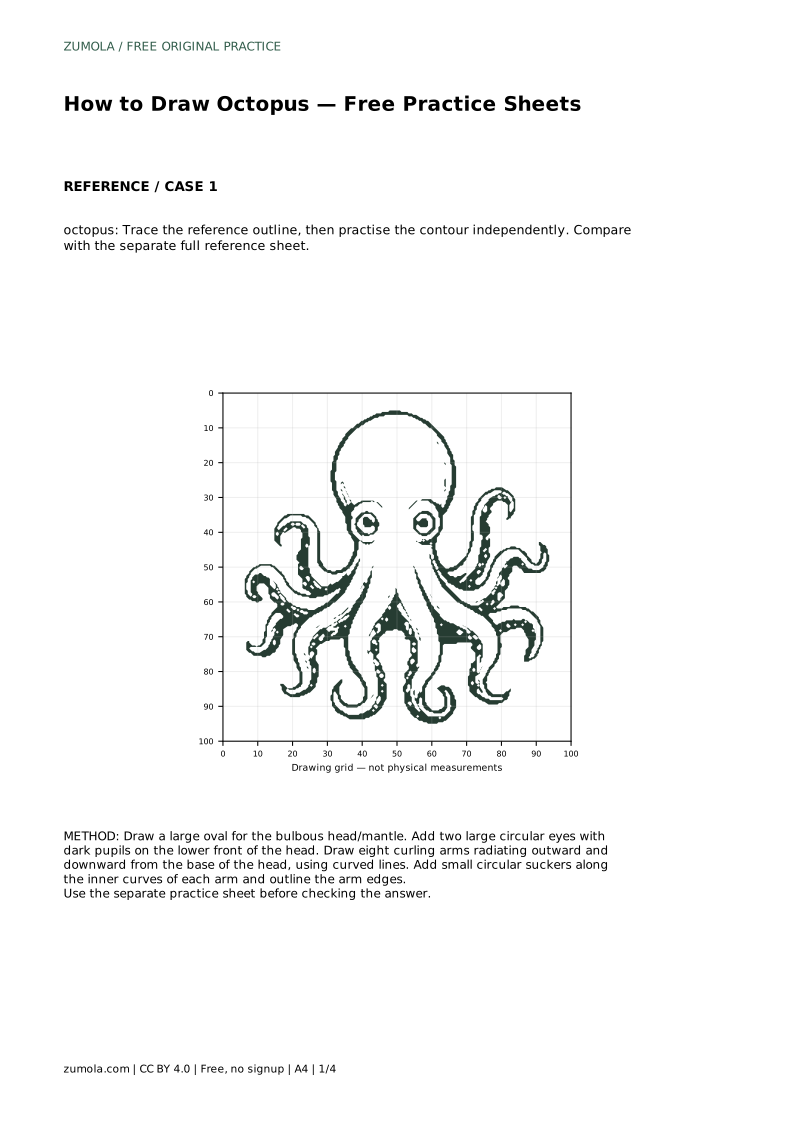
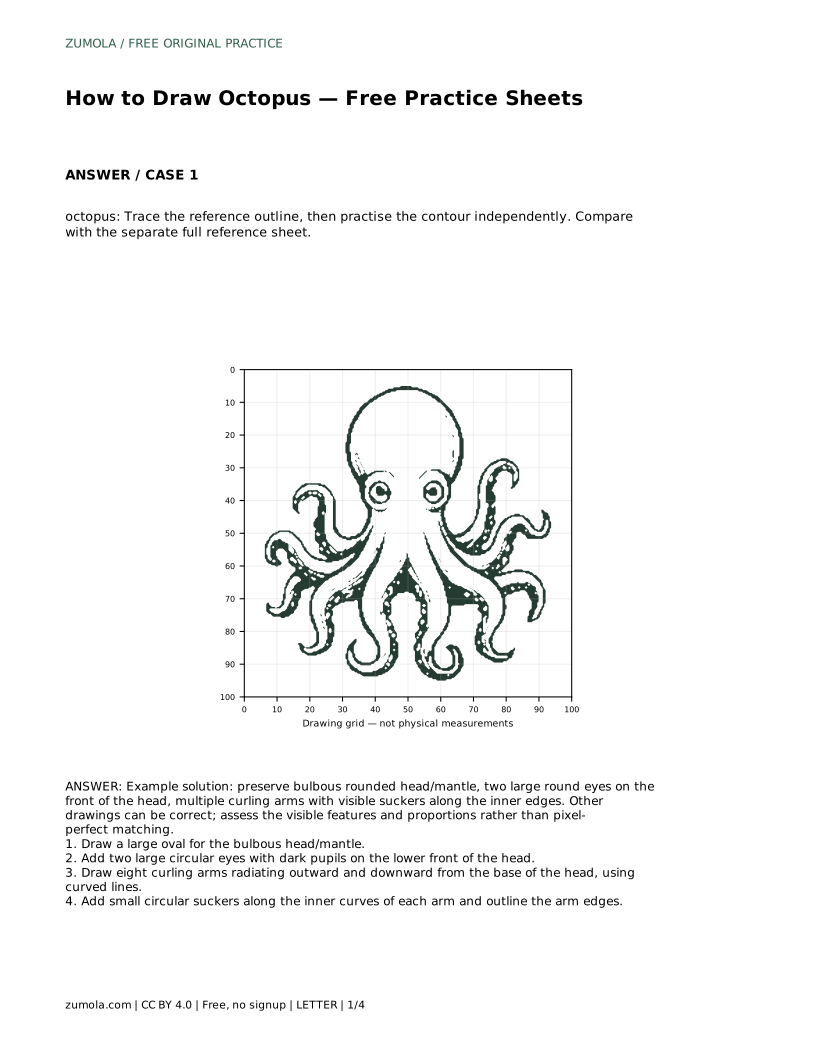
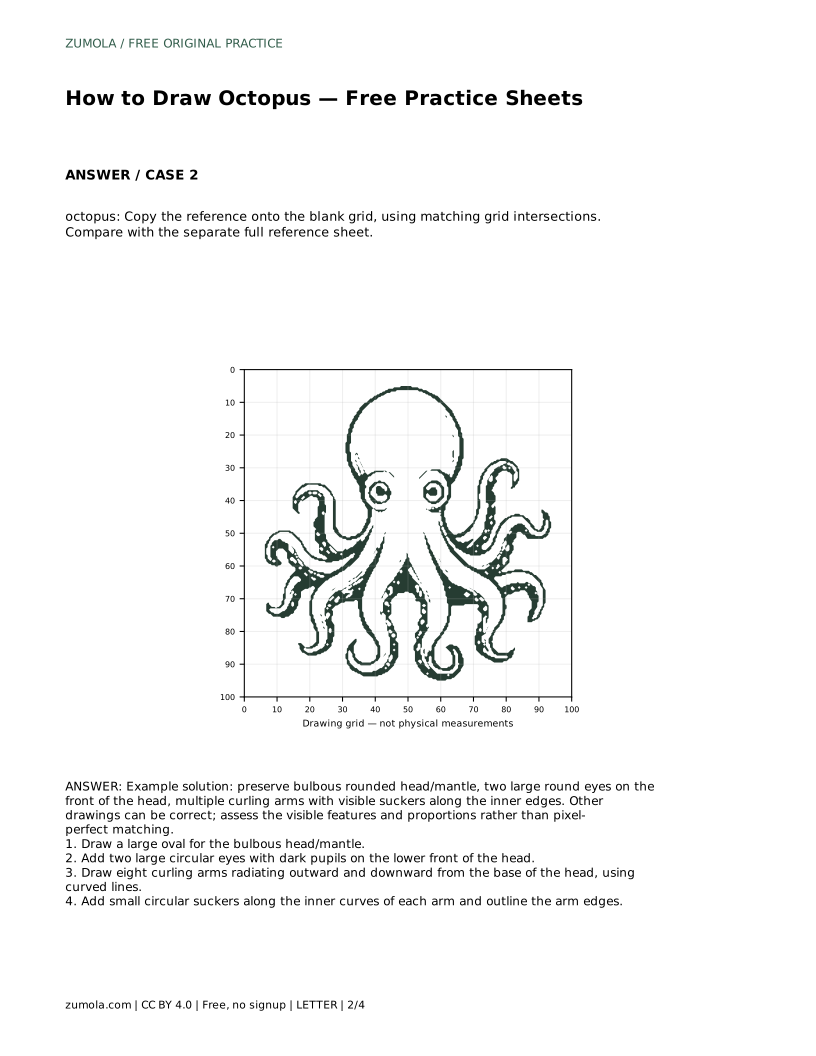
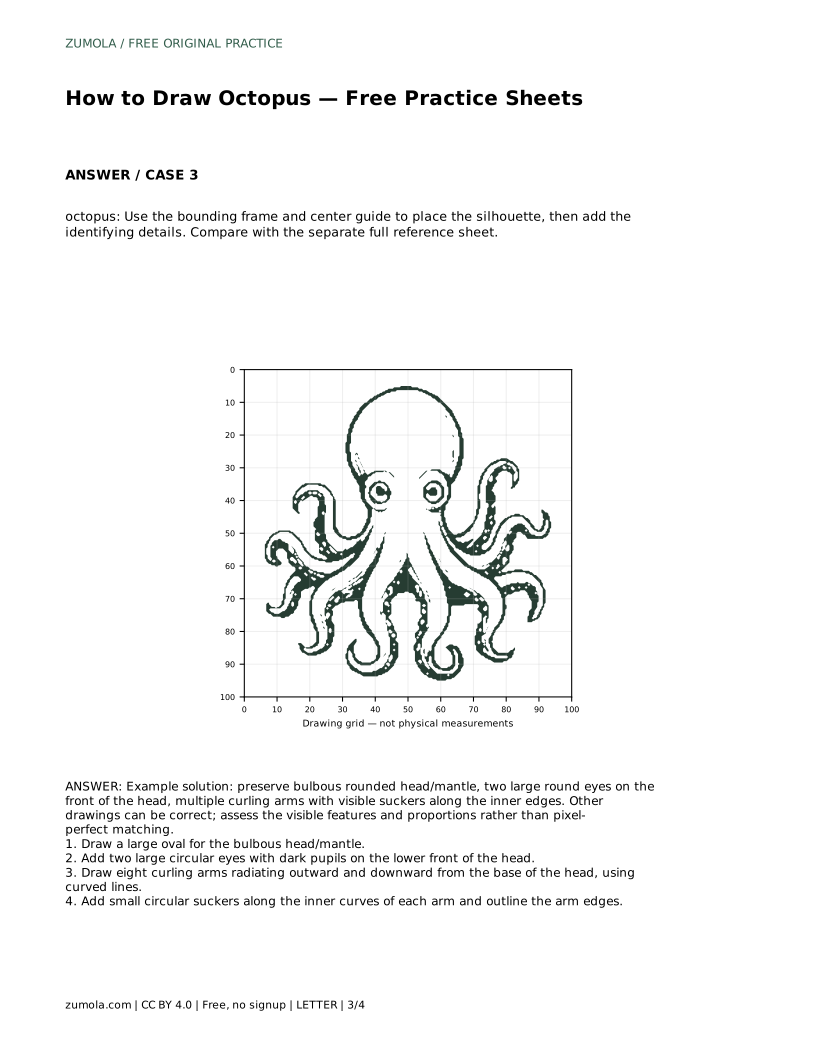
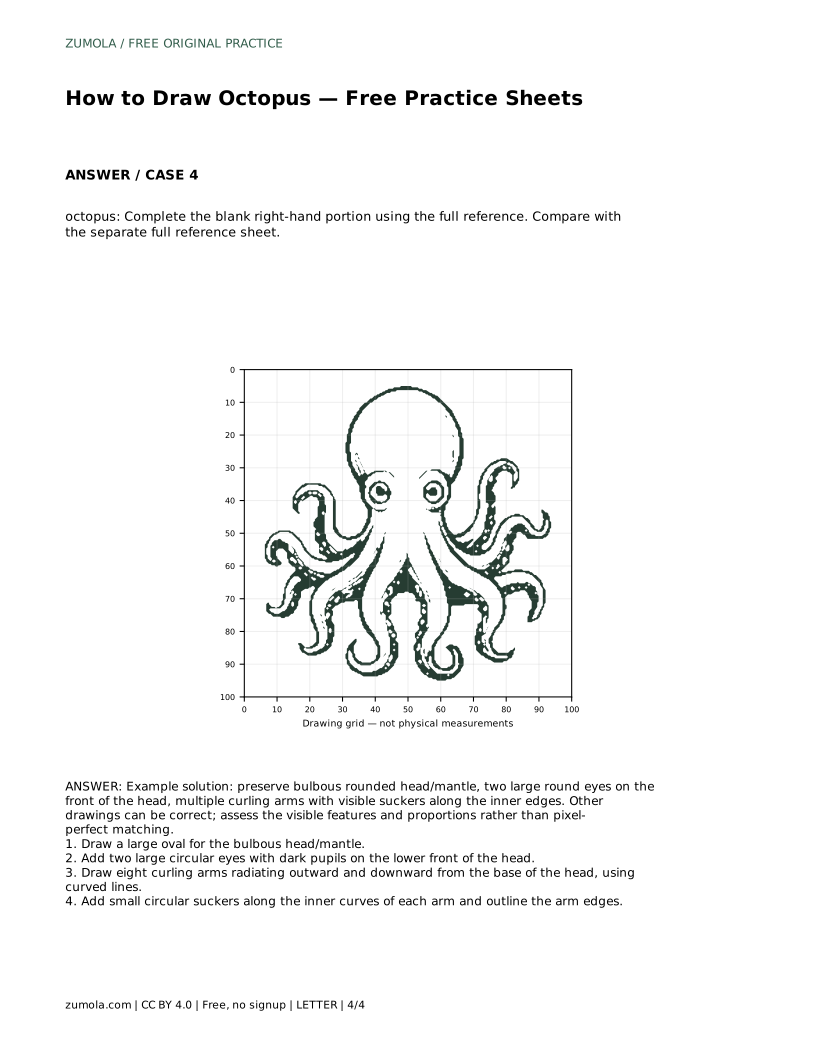
Drawing an octopus is easier when you break it into a few clear shapes: a bulbous head, two large eyes, and eight curling arms. This page explains the features that make an octopus recognizable and shows how to practise them with tracing, grid, and partial-outline sheets. The goal is not a pixel-perfect copy but a drawing that keeps the key proportions and details visible.
Begin with the largest shape: a broad oval for the head and mantle. Keep it rounded and slightly wider at the top, because the mantle is the bulky part above the arms. Place two large circular eyes on the lower front of the head, close together and clearly visible. Each eye gets a dark pupil, which gives the face its character. Draw lightly at first so you can adjust the oval and eye positions before committing to darker lines.
From the base of the head, draw eight arms radiating outward and downward. Use curved lines so each arm curls rather than sitting straight. Vary the direction and length slightly so the arms look lively, but keep all eight visible and attached to the base. Work around the head in order so you do not lose count. If an arm crosses another, draw the nearer arm last so the overlap reads clearly.
Add small circular suckers along the inner curves of each arm, then outline the arm edges. Suckers sit on the side of the arm that faces inward, so follow the curve rather than scattering dots randomly. Keep them small and evenly spaced. Finally, strengthen the outer contour of the head and arms. A clean outline helps the drawing read at a glance, and the suckers confirm the octopus identity.
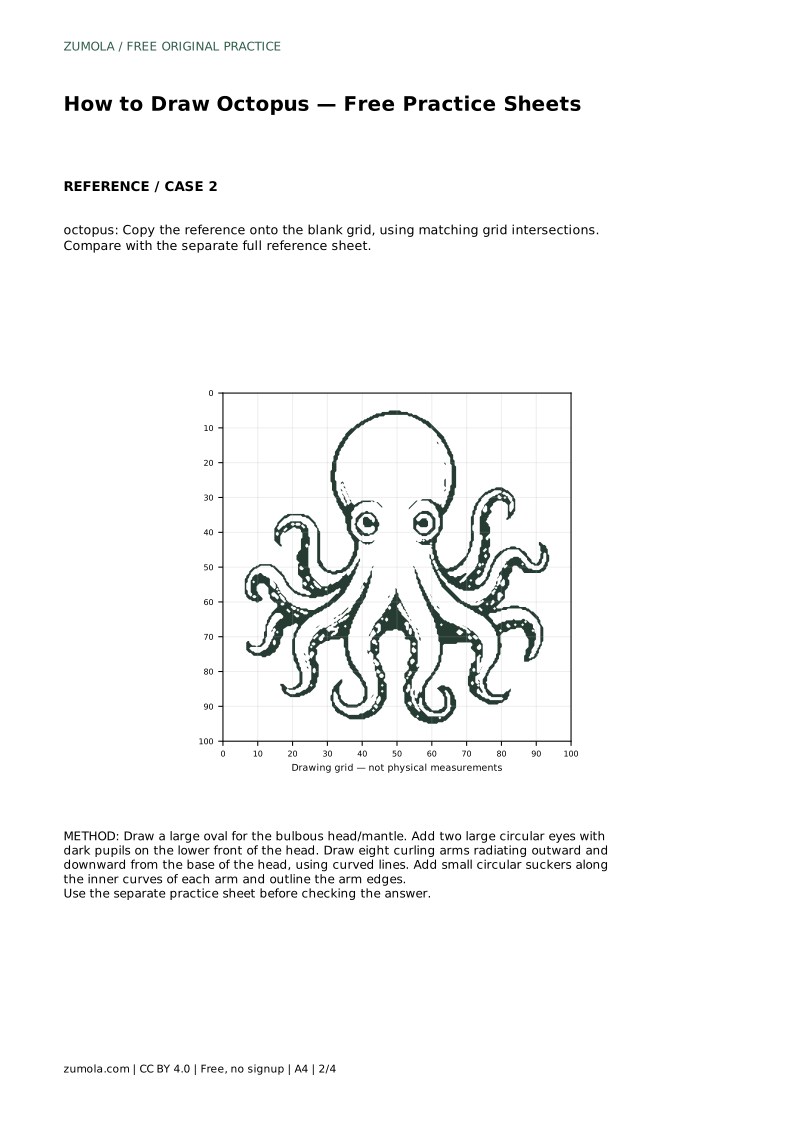
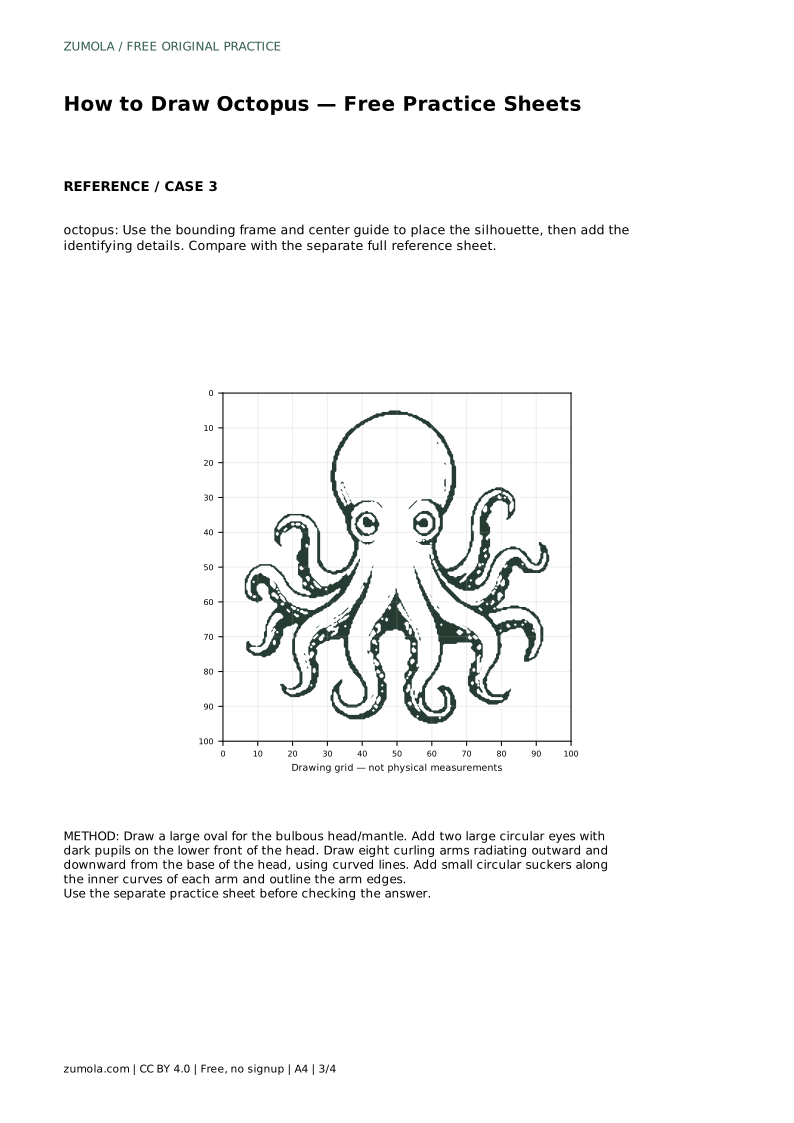
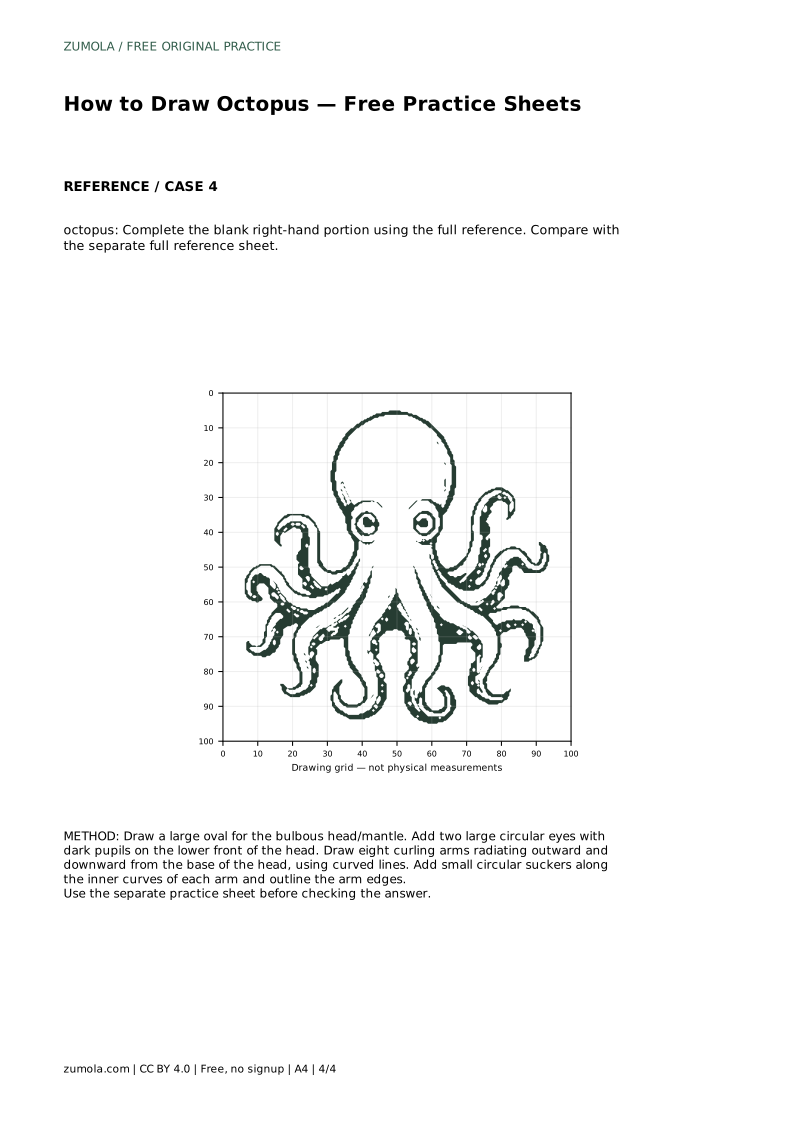
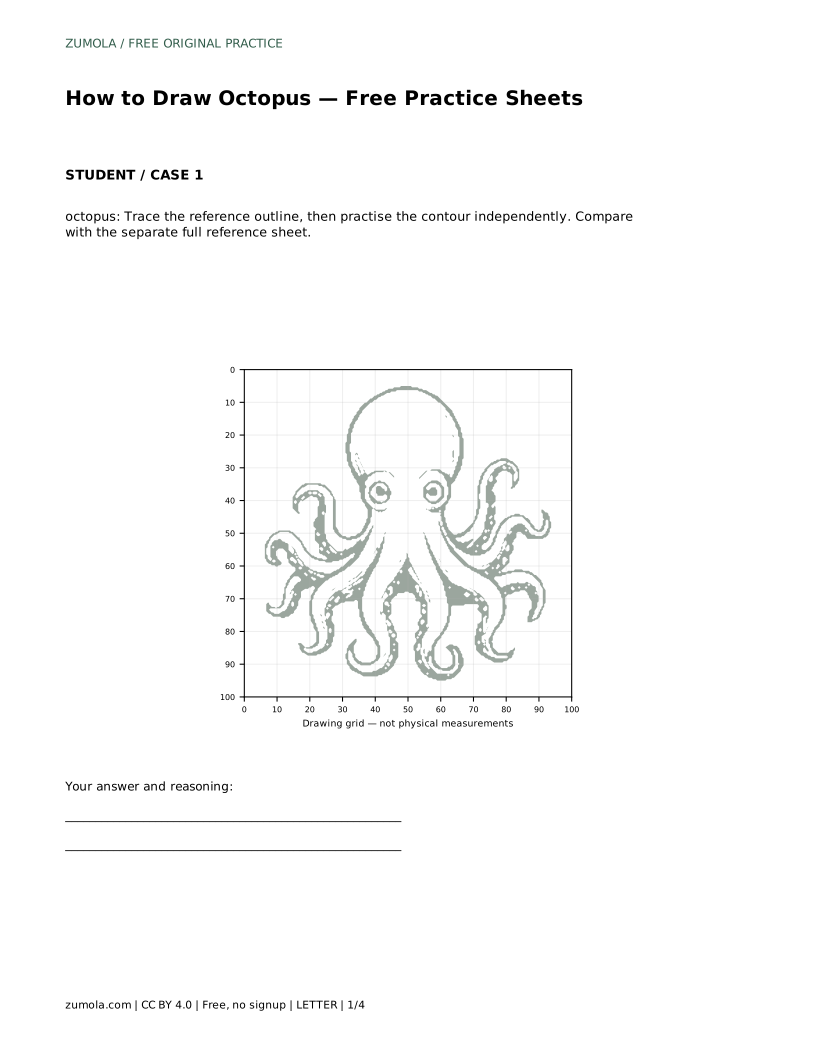
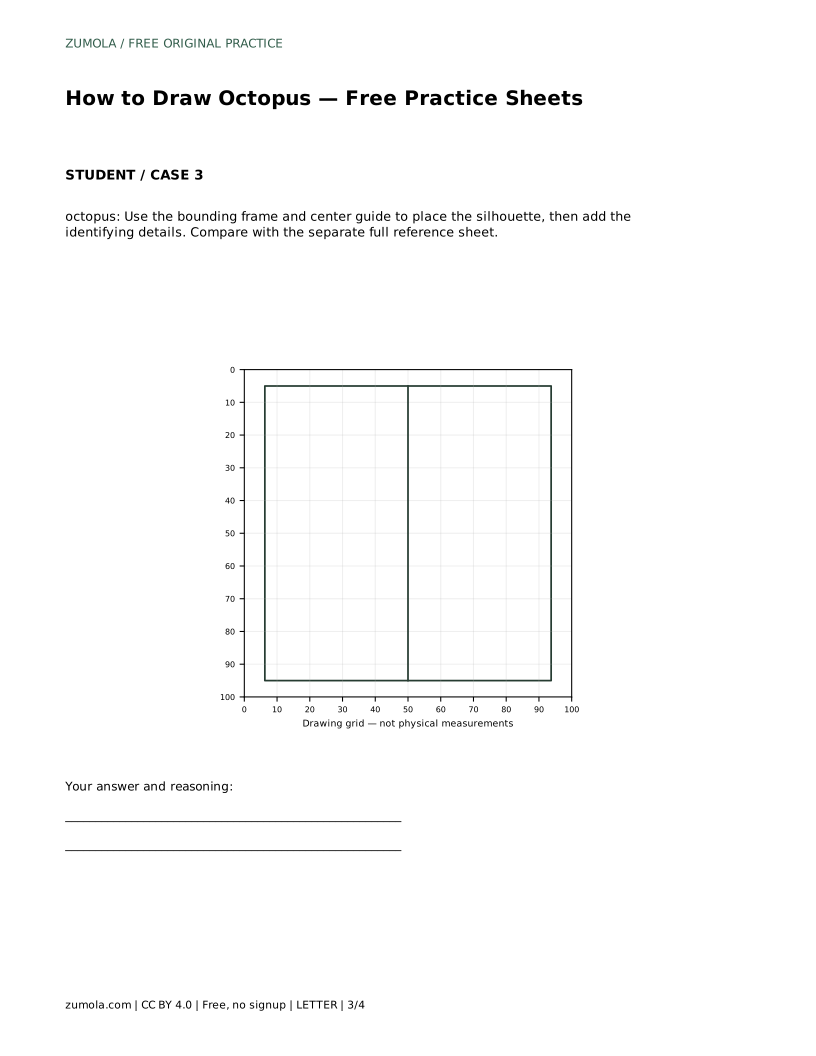
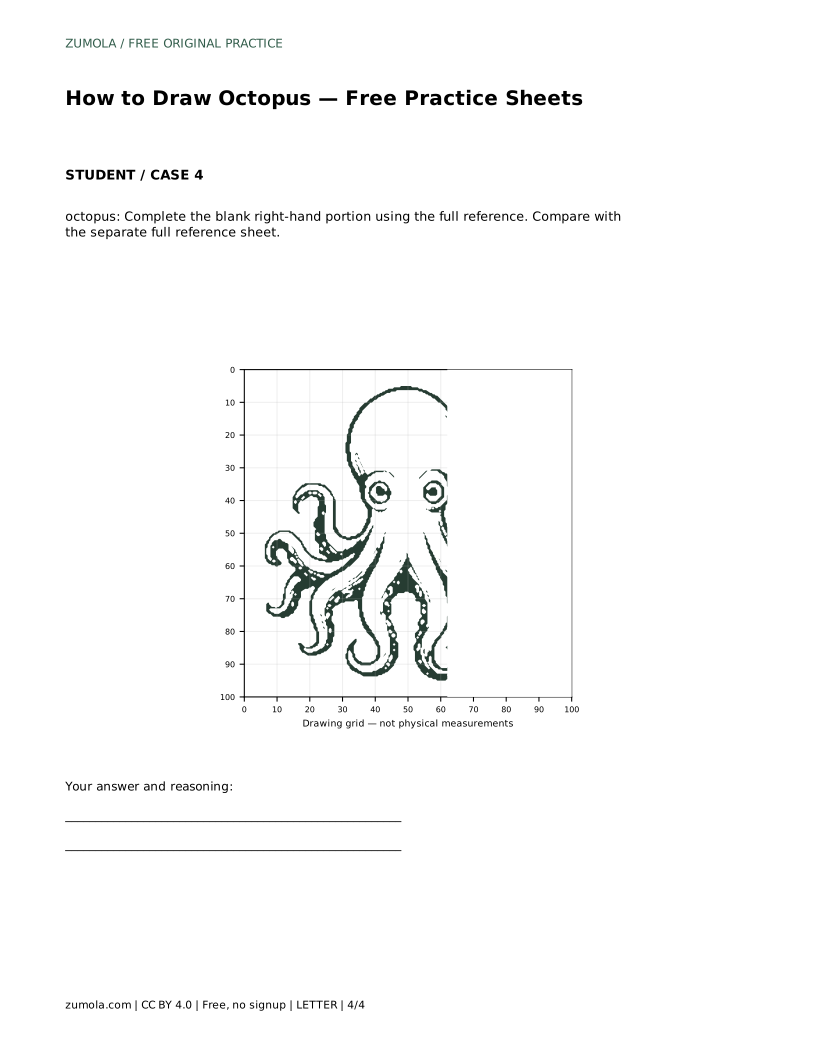
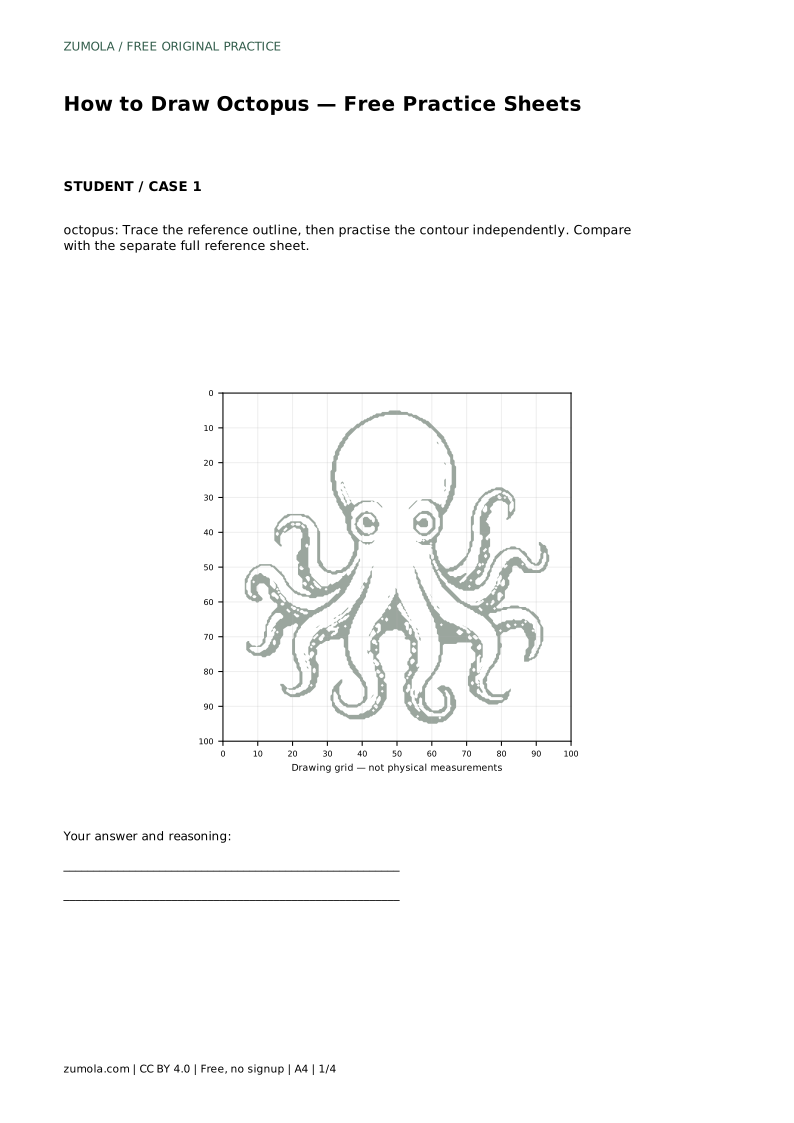
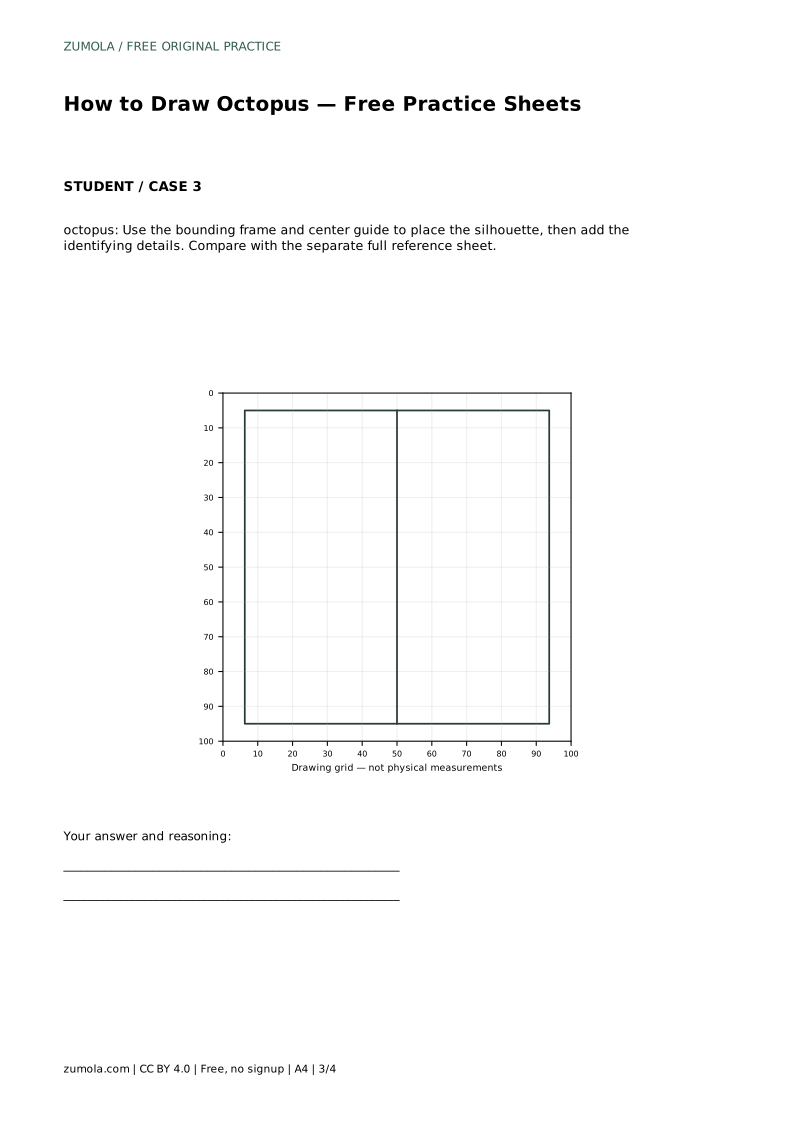
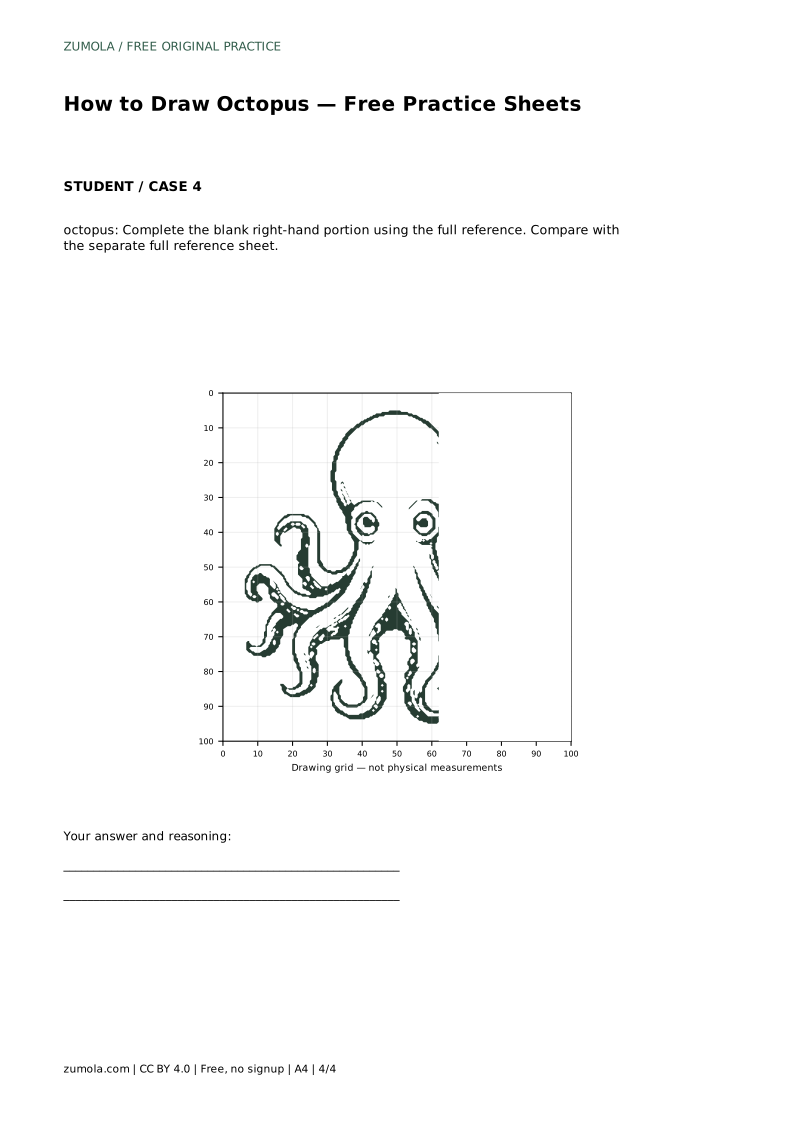
The trace sheet asks you to follow the reference outline, then repeat the contour independently. The grid sheet asks you to copy the reference onto a blank grid using matching intersections. The frame sheet uses a bounding frame and center guide to place the silhouette before adding details. The partial sheet asks you to complete the blank right-hand portion from the full reference. In every case, compare your drawing with the separate full reference sheet and check the visible features and proportions rather than exact matching.
Prompt: Trace the reference outline, then practise the contour independently. Compare with the separate full reference sheet. Example solution: preserve bulbous rounded head/mantle, two large round eyes on the front of the head, multiple curling arms with visible suckers along the inner edges. Other drawings can be correct; assess the visible features and proportions rather than pixel-perfect matching.
octopus: Trace the reference outline, then practise the contour independently. Compare with the separate full reference sheet.
Example solution: preserve bulbous rounded head/mantle, two large round eyes on the front of the head, multiple curling arms with visible suckers along the inner edges. Other drawings can be correct; assess the visible features and proportions rather than pixel-perfect matching. Draw a large oval for the bulbous head/mantle. Add two large circular eyes with dark pupils on the lower front of the head. Draw eight curling arms radiating outward and downward from the base of the head, using curved lines. Add small circular suckers along the inner curves of each arm and outline the arm edges.
Eight. Count them as you draw and check the finished outline before adding suckers.
On the lower front of the rounded head, close together and clearly visible, each with a dark pupil.
No. Keep the bulbous head, two front eyes, eight curling arms, and inner-edge suckers, then judge the visible features and proportions.
All drawing practice · Free coordinate paper
Original resources · CC BY 4.0 · Free for personal and classroom use with attribution.