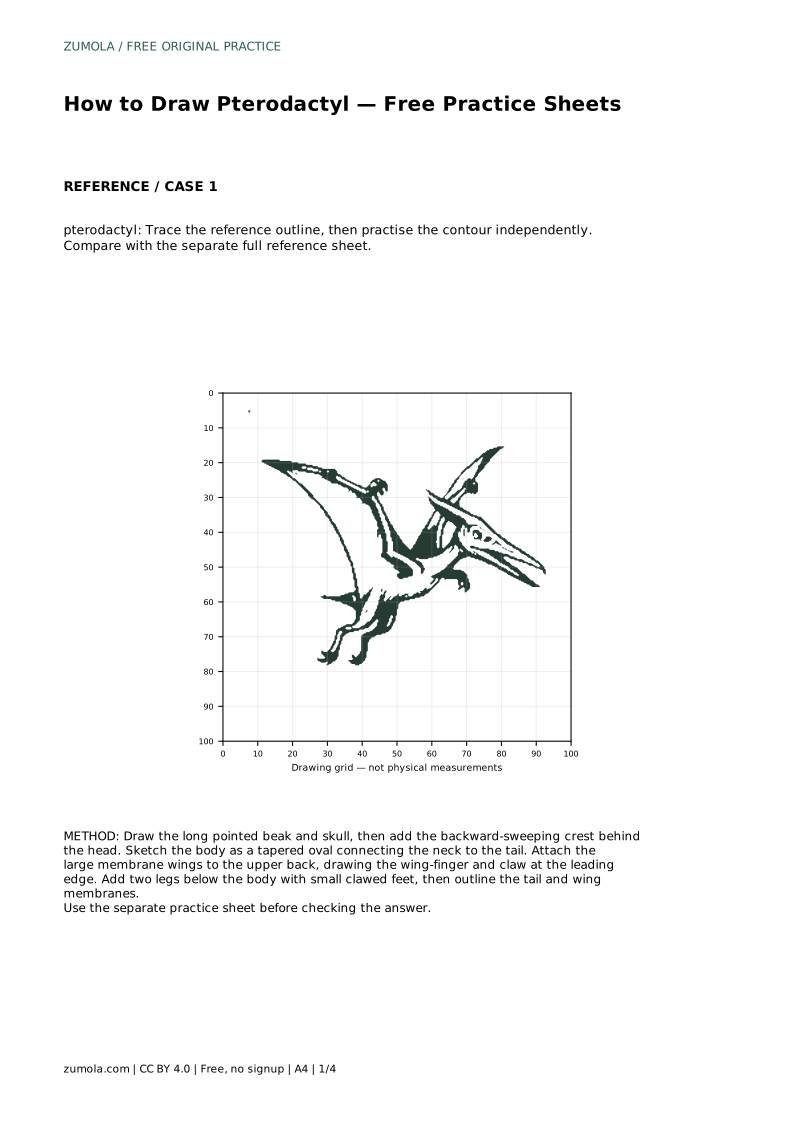
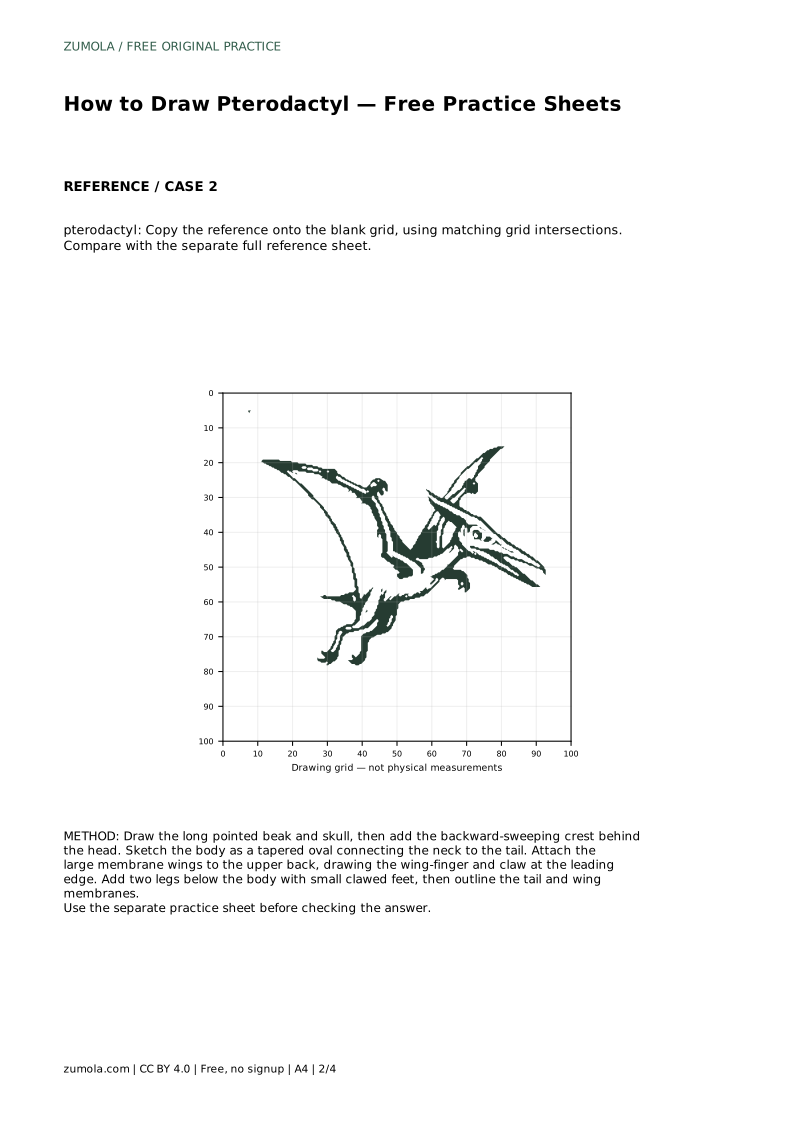
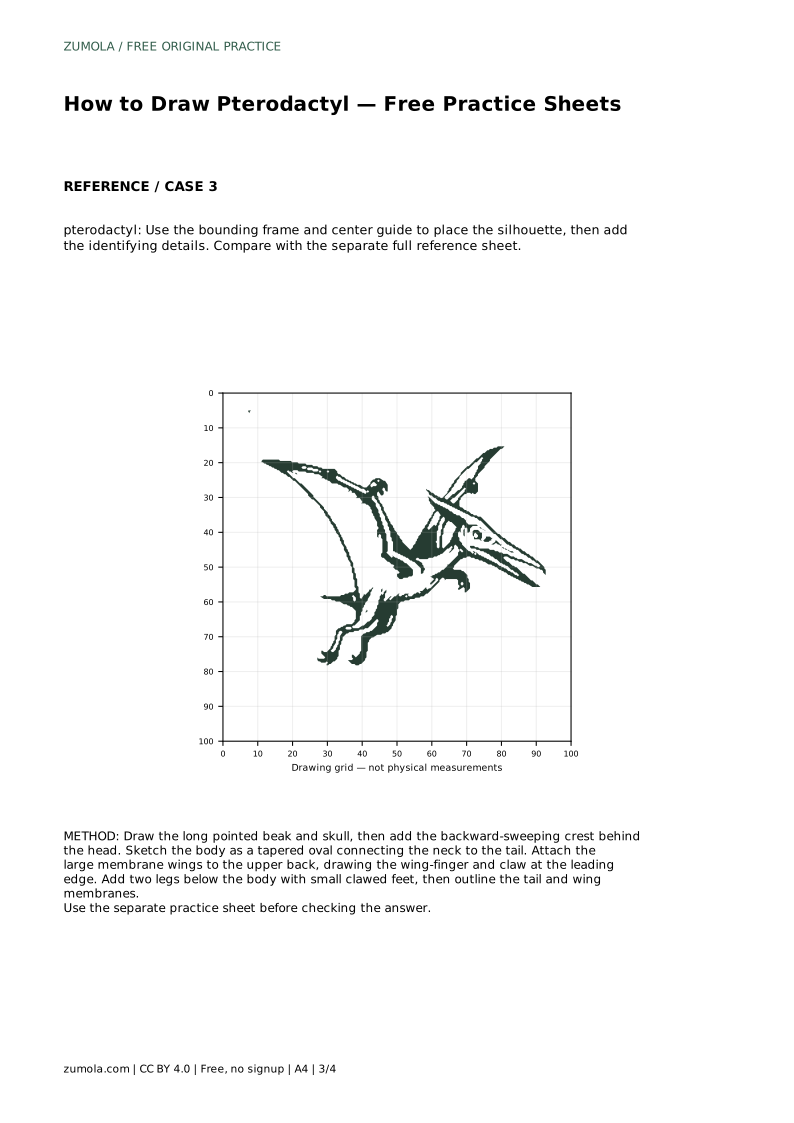
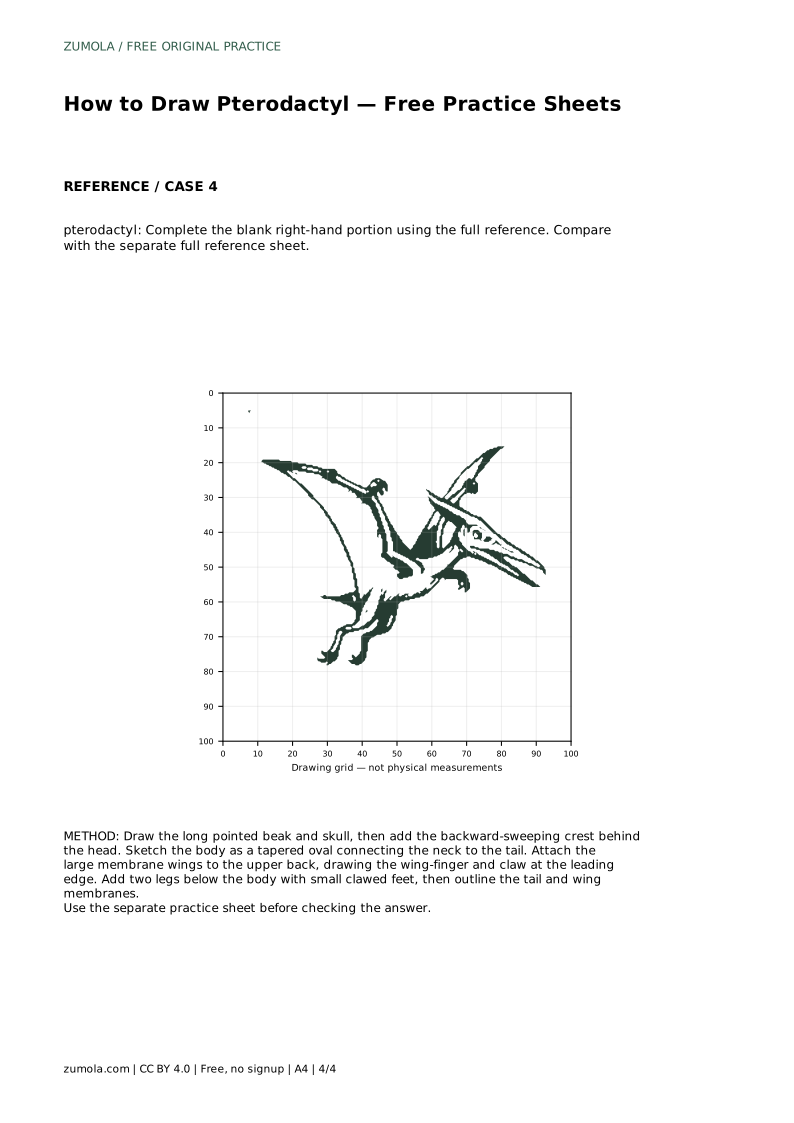
Reference diagrams
LETTER · Download PDF
A4 · Download PDF
Free original resources
Learn to draw a pterodactyl by tracing, gridding, and completing a reference. Build the beak, crest, membrane wings, wing-finger claw, legs, and tail in order.
Four original cases, with reference diagrams, practice sheets and worked answers. Everything is free; no signup required.
LETTER · Download PDF
A4 · Download PDF
LETTER · Download PDF
A4 · Download PDF
LETTER · Download PDF
A4 · Download PDF
Use A4 or US Letter to match your printer. Use the stated values and conditions to solve each exercise; diagrams are not physical measuring rulers.
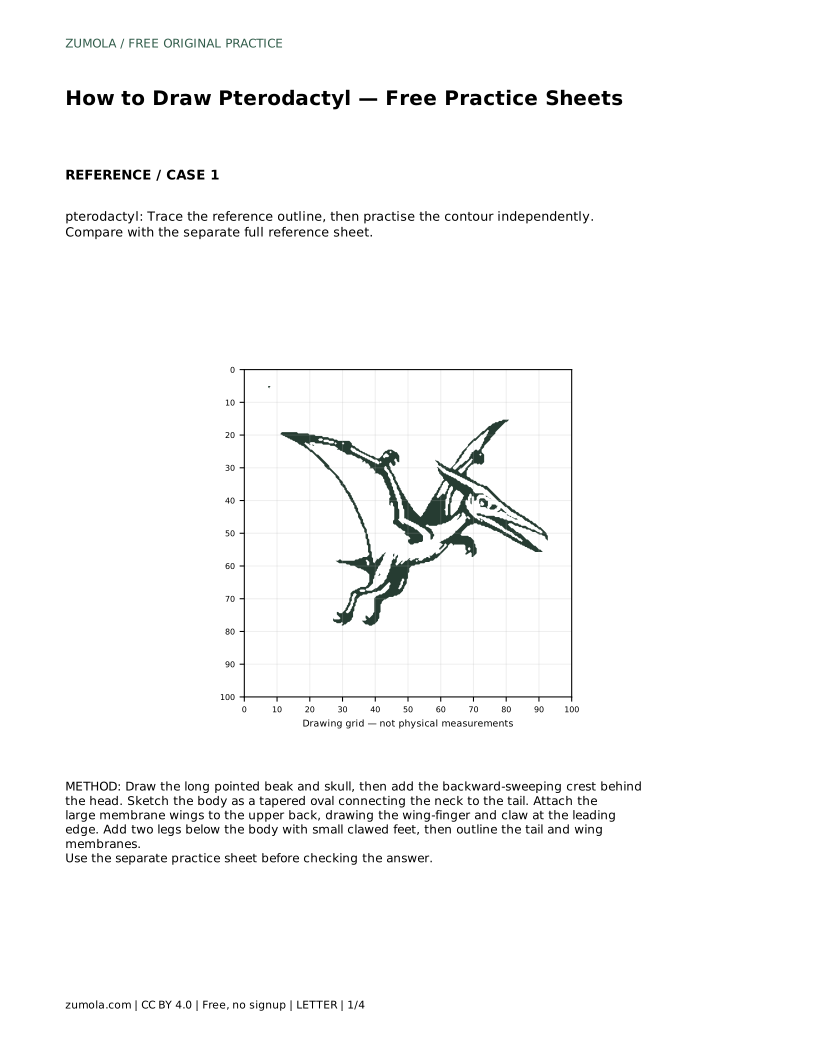
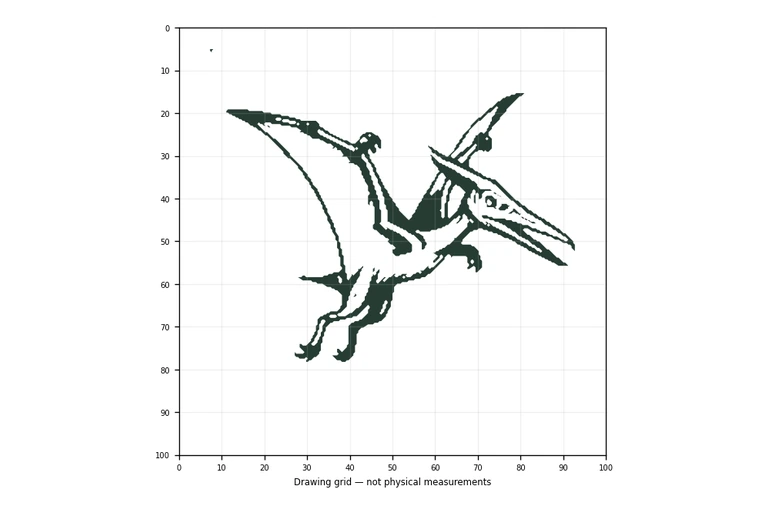
A drawing of a pterodactyl depends on a few clear shapes: a long pointed beak, a crest sweeping back from the skull, a tapered body, and broad membrane wings with a visible wing-finger and claw at the joint. This page explains how to build those features in a sensible order, then how to use tracing, grid, frame, and partial-reference practice sheets to strengthen your control. Art has many valid outcomes, so judge your work by visible features and proportions rather than an exact match.
Start with the head because it carries the most recognizable features. Draw a long pointed beak, then add the skull behind it and a crest that extends backward from the skull. Keep the beak and crest clearly connected to the head so the silhouette reads as one animal rather than separate parts.
Next, sketch the body as a tapered oval that links the neck to the tail. Attach the large membrane wings to the upper back. Along the leading edge of each wing, show the wing-finger and a small claw at the wing joint. Add two legs below the body with small clawed feet, then outline the tail and the wing membranes. Work lightly at first so you can adjust proportions before committing to darker lines.
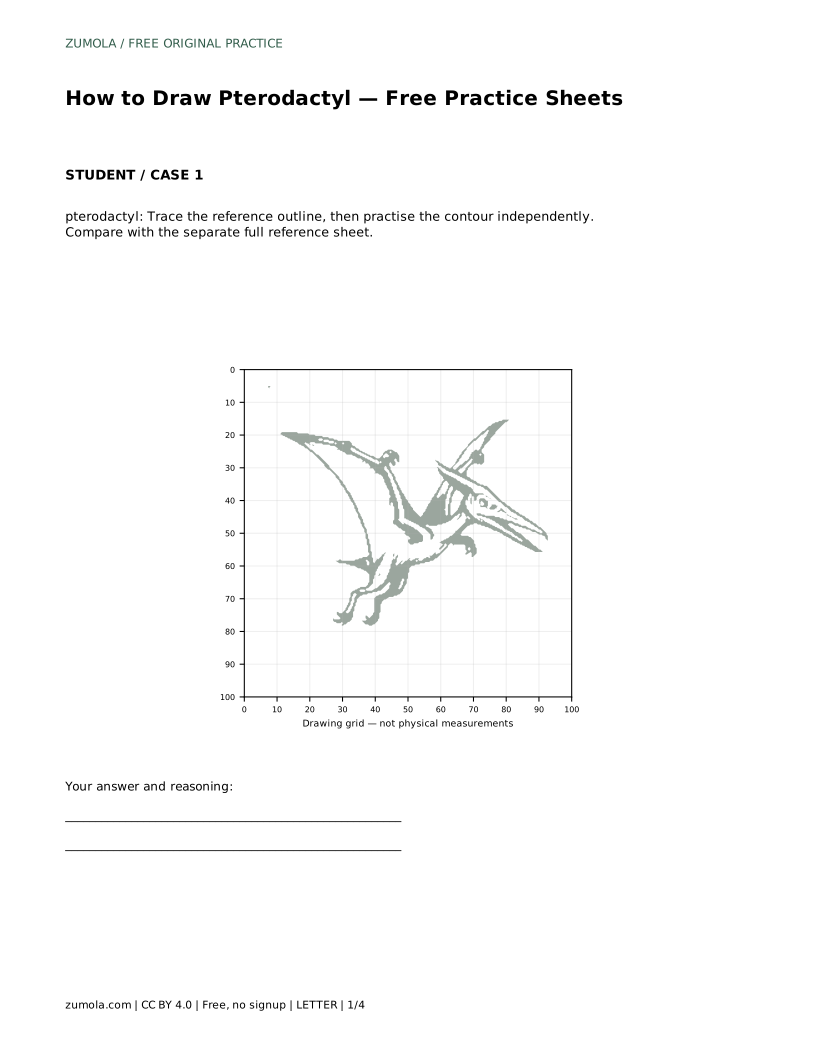
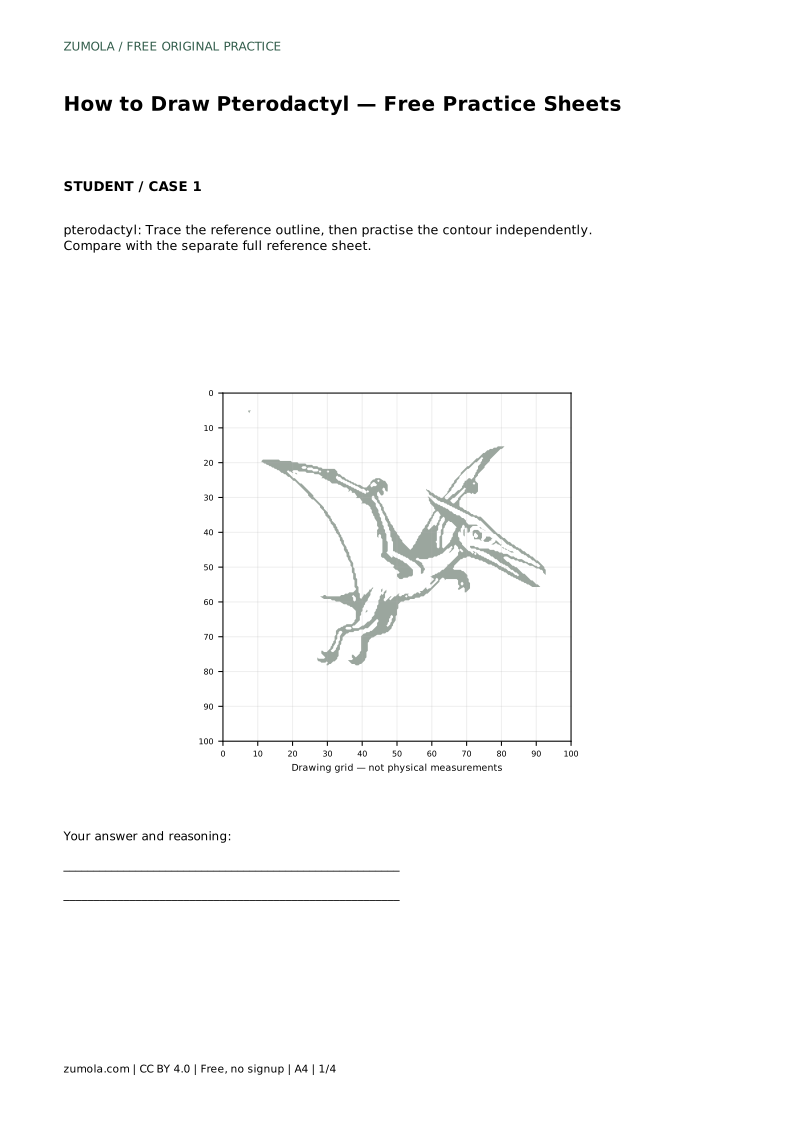
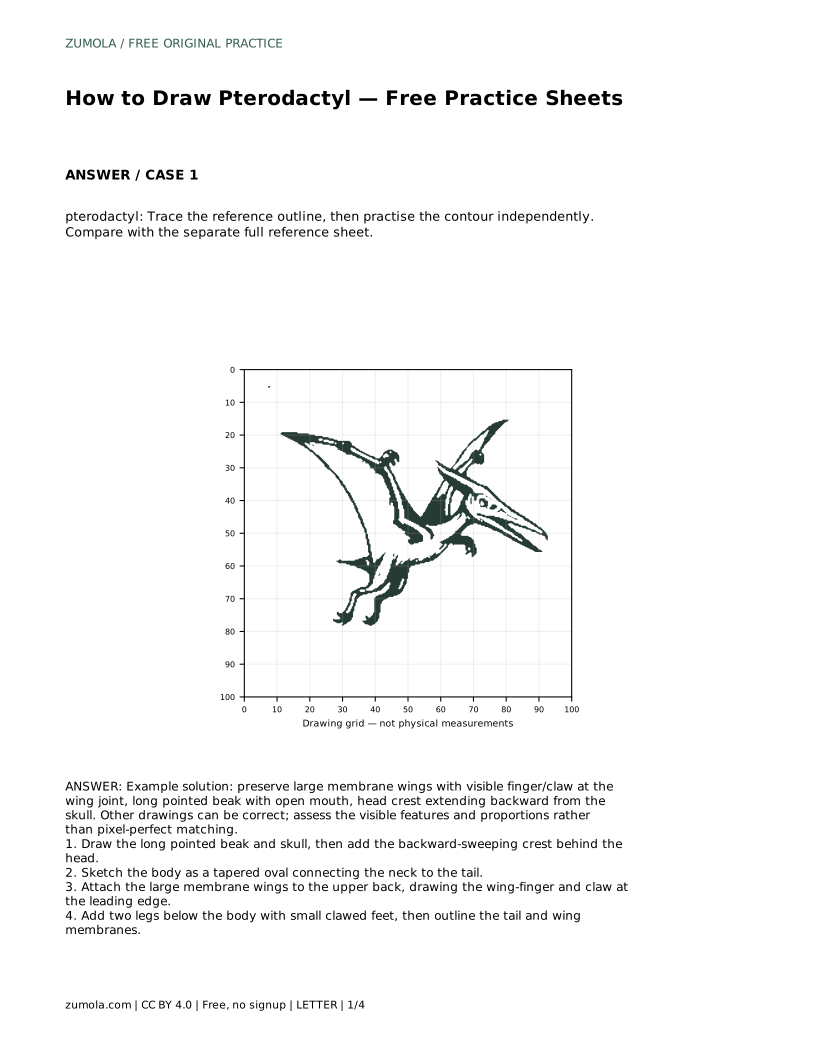
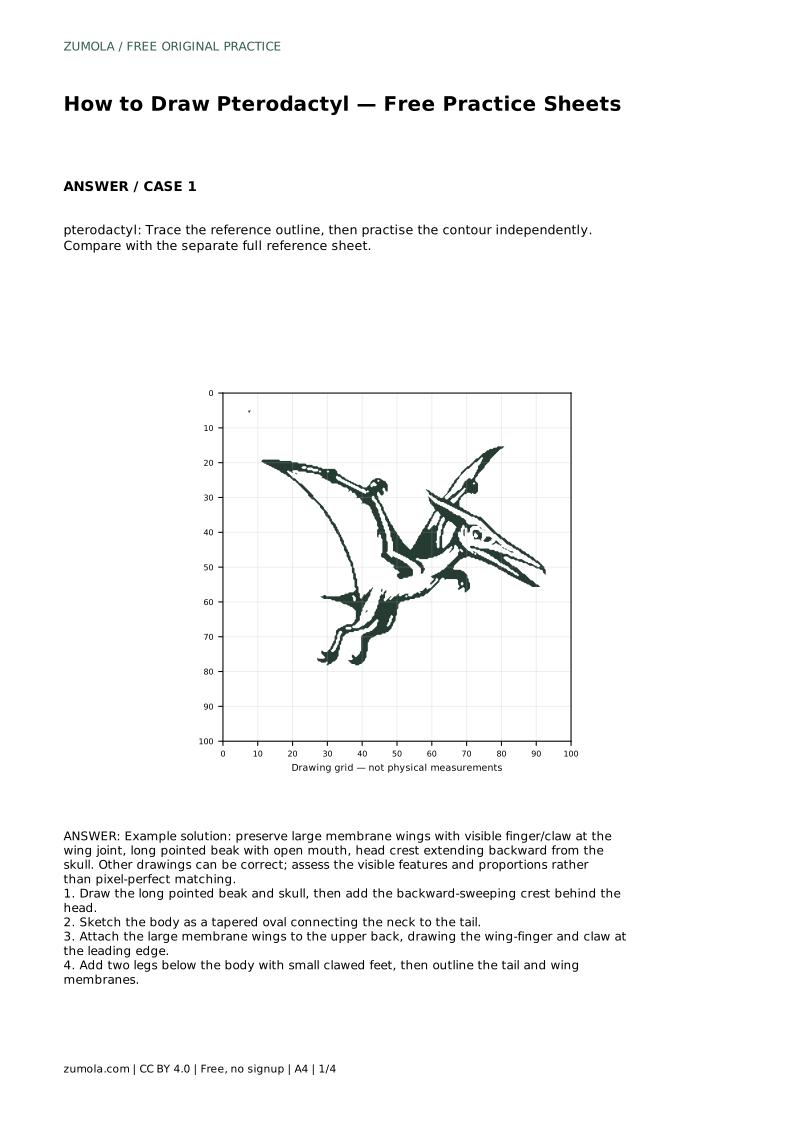
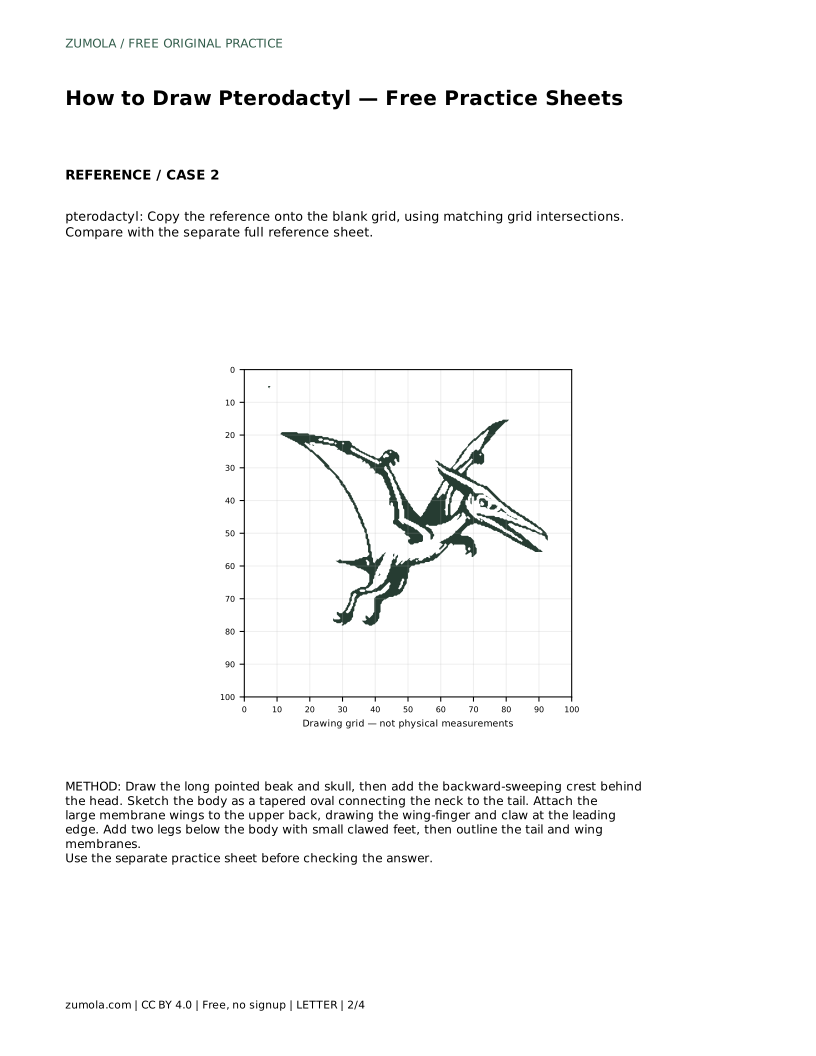
The trace sheet asks you to follow the reference outline first, then practise the contour independently. Tracing builds familiarity with the sequence of shapes; the independent pass shows whether you can reproduce that sequence without guidance. Compare your result with the separate full reference sheet afterward.
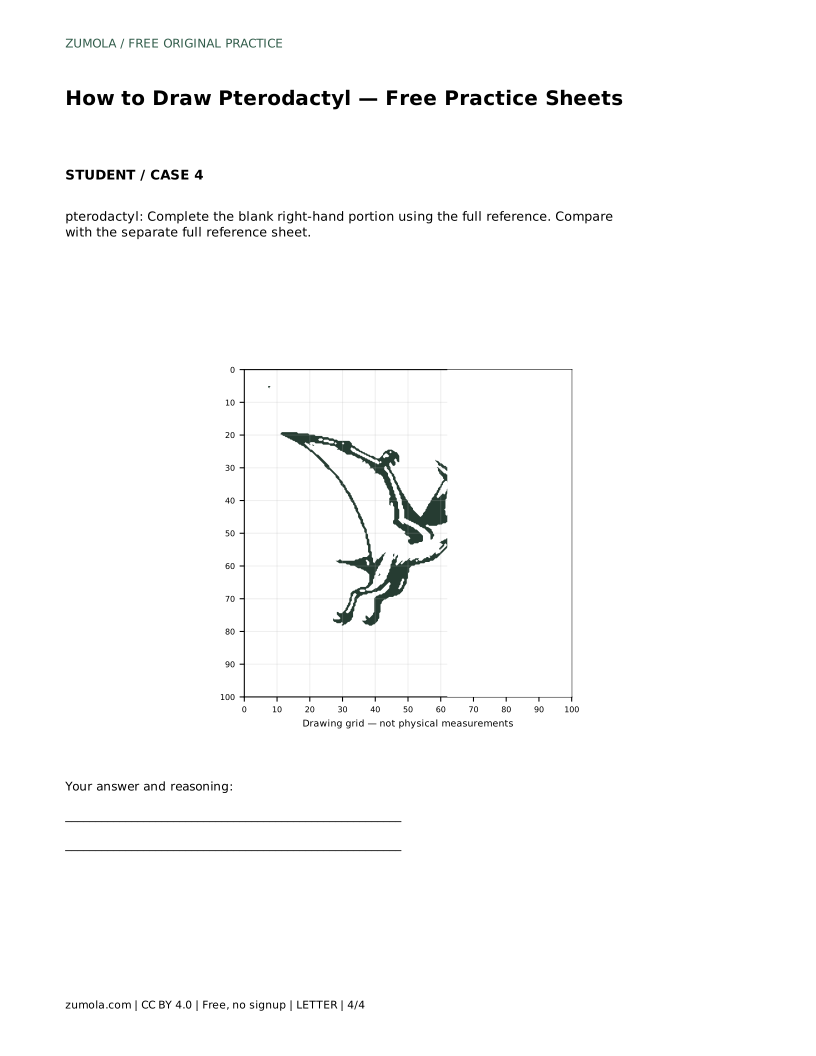
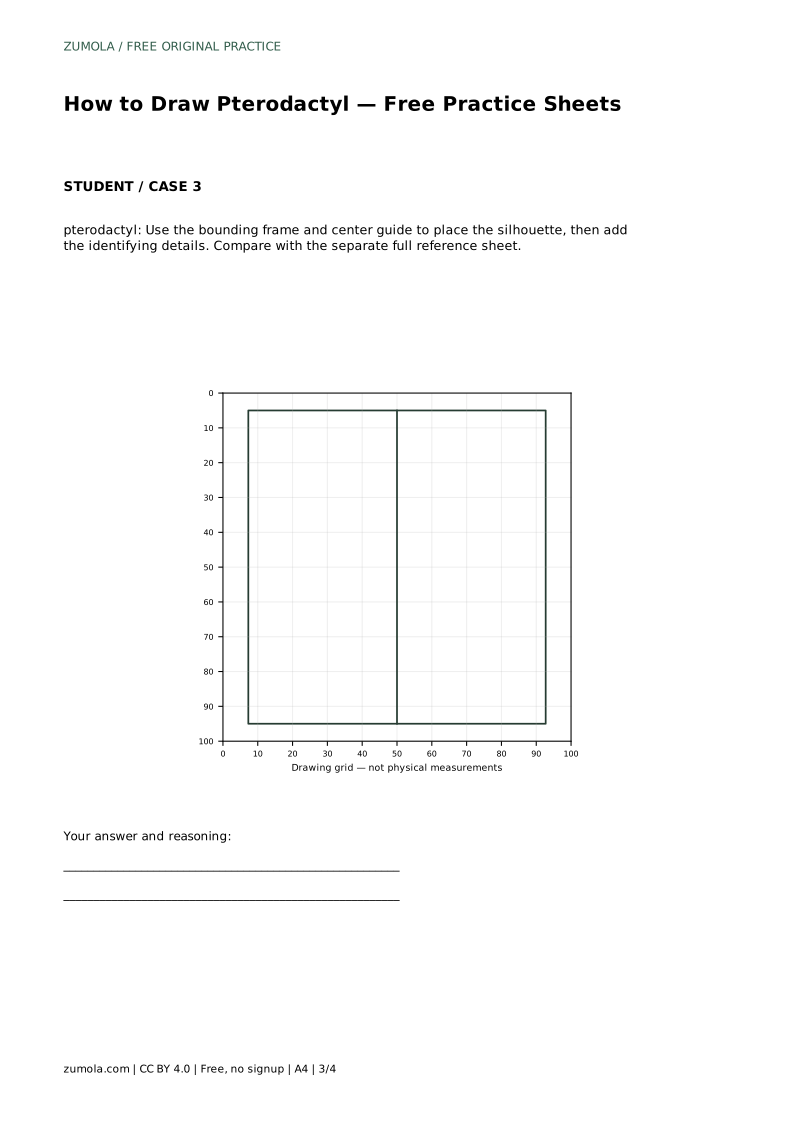
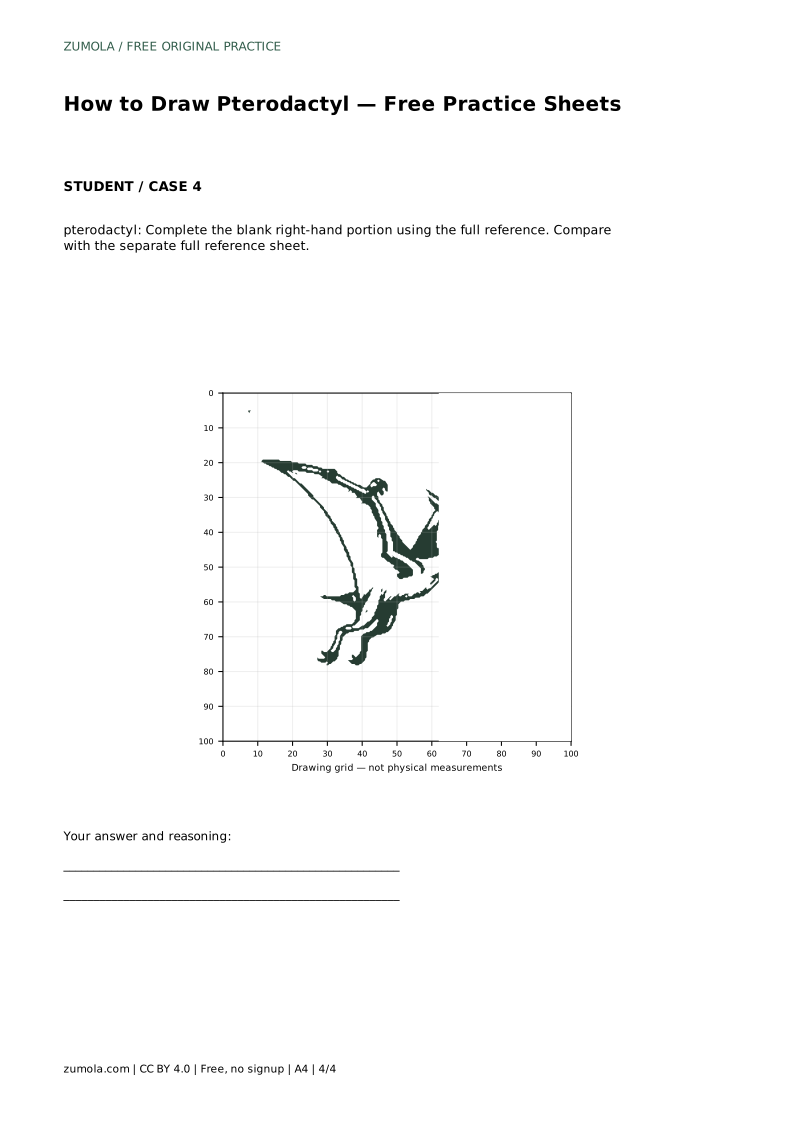
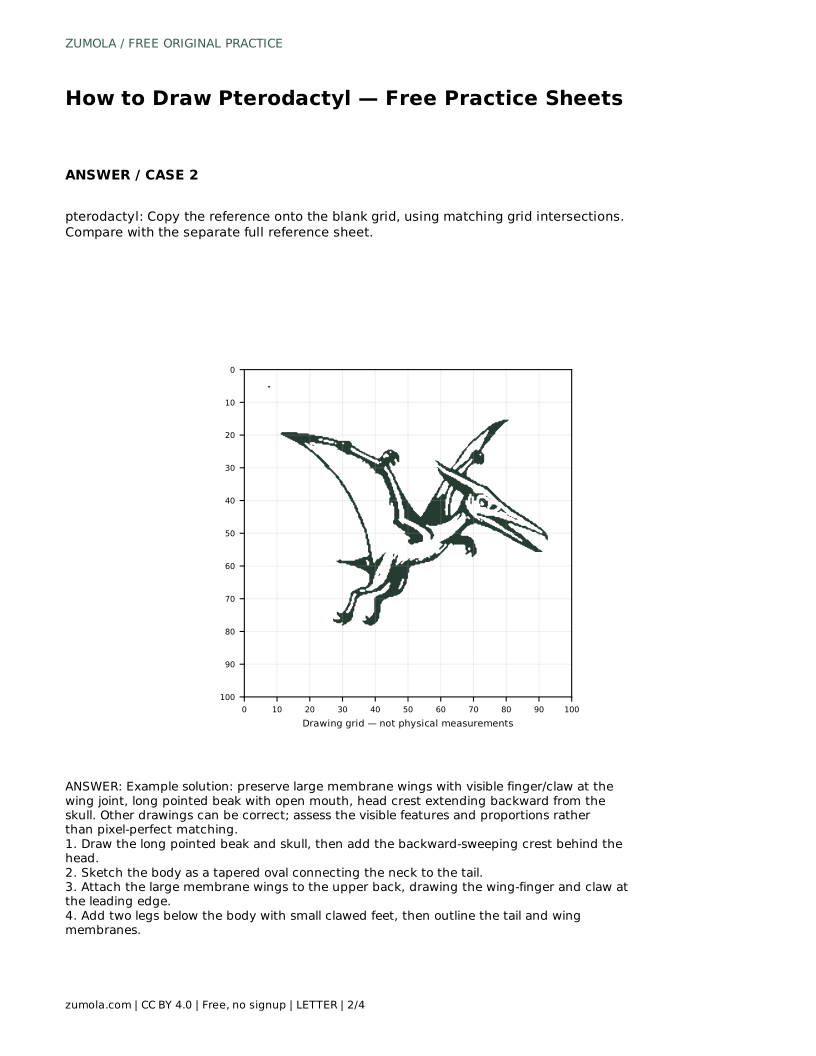
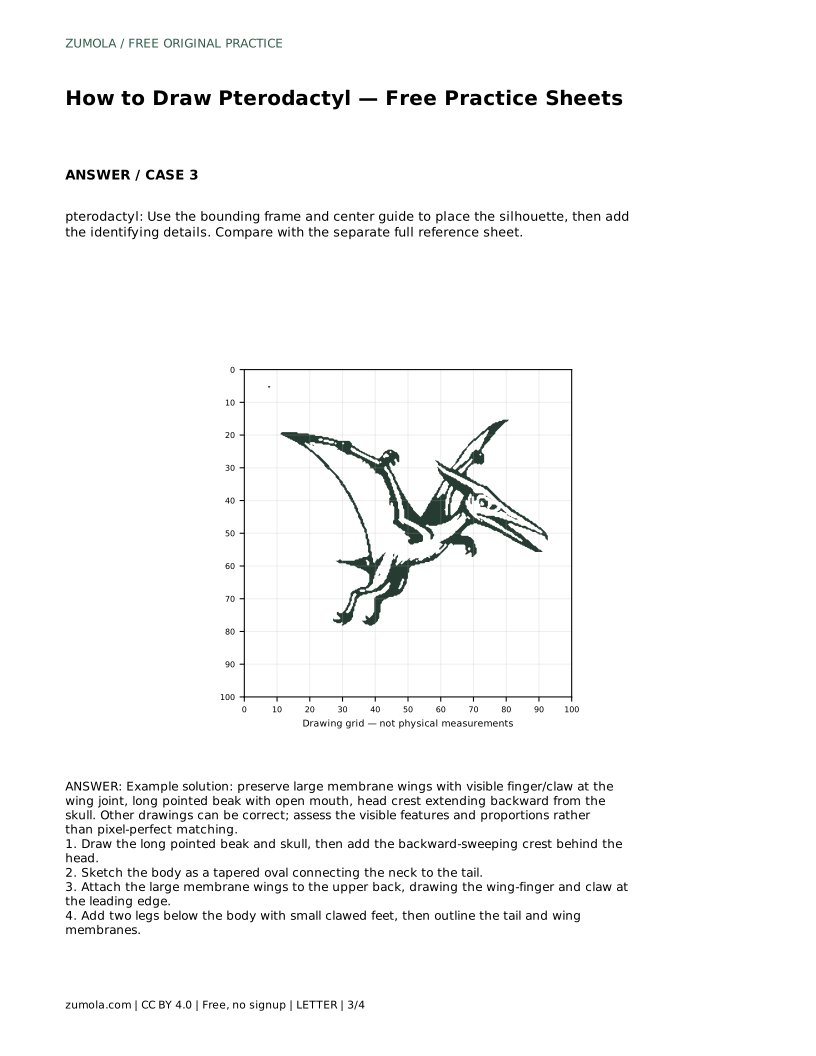
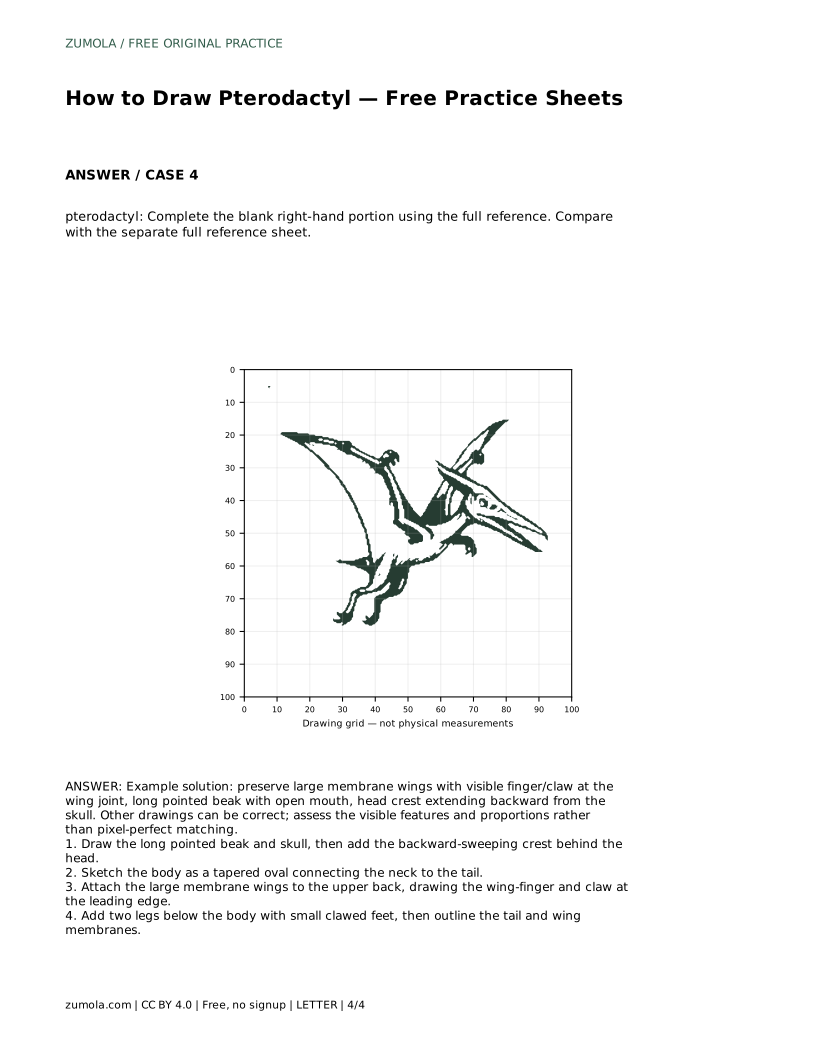
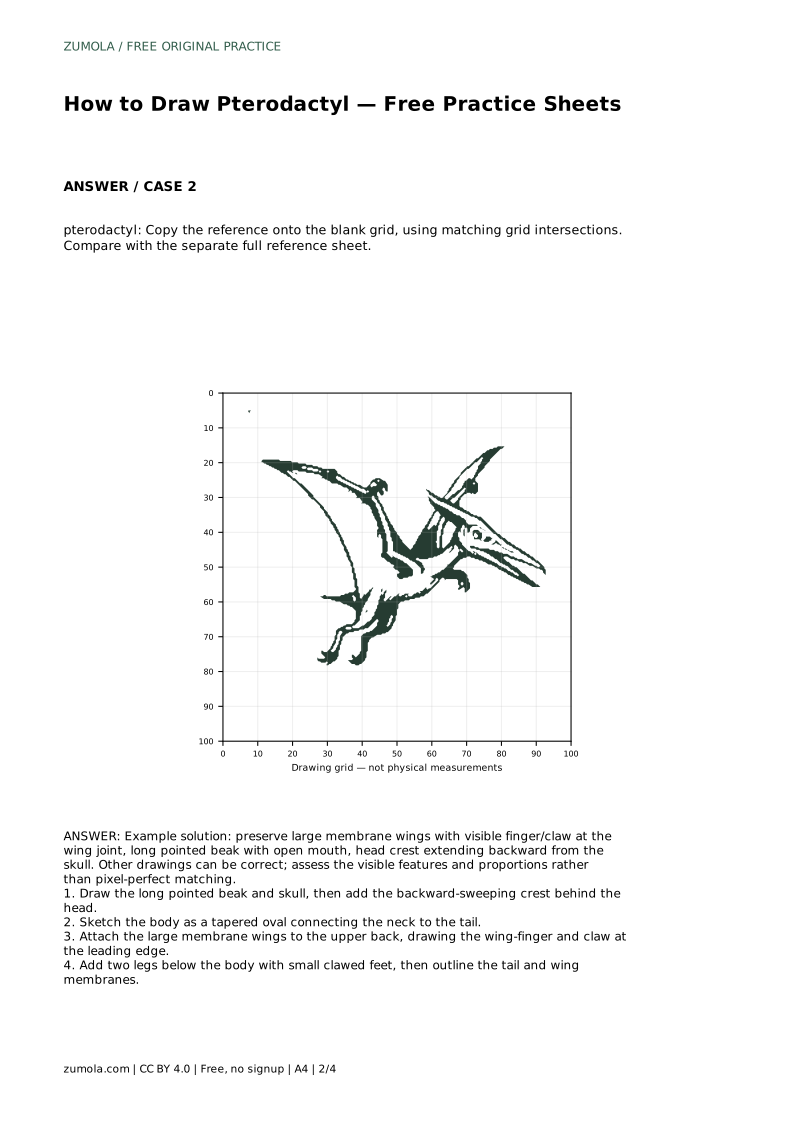
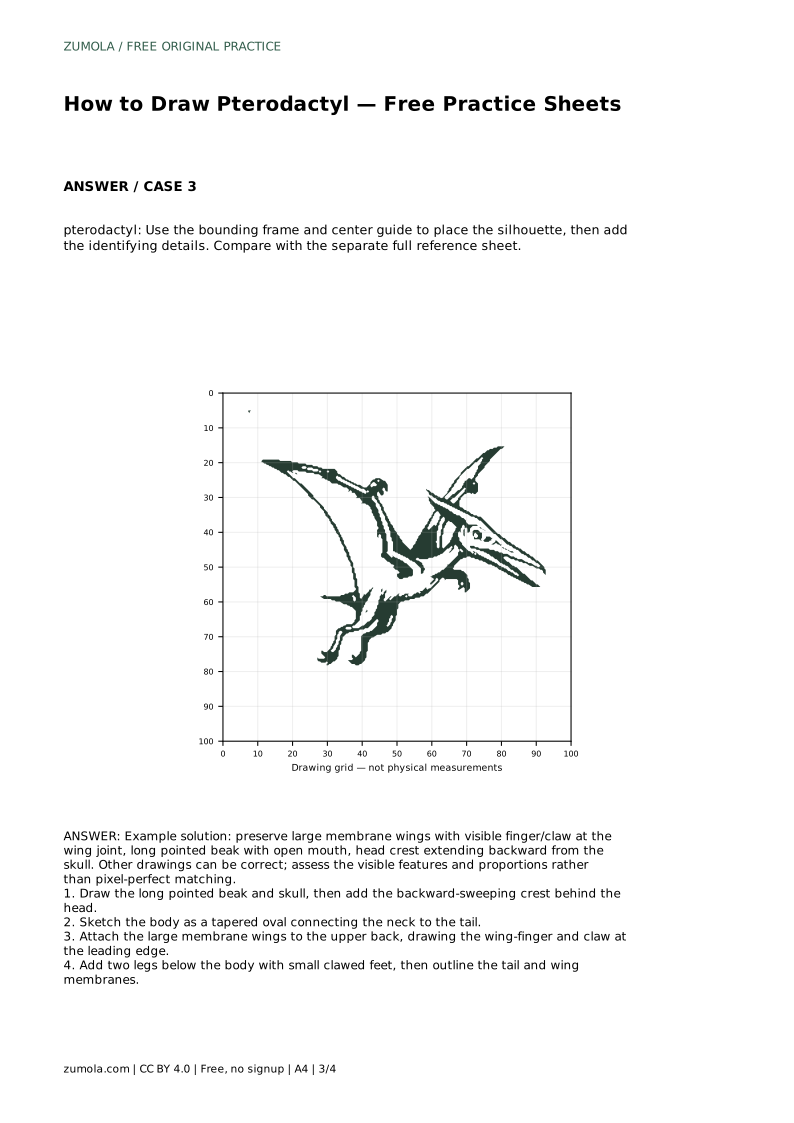
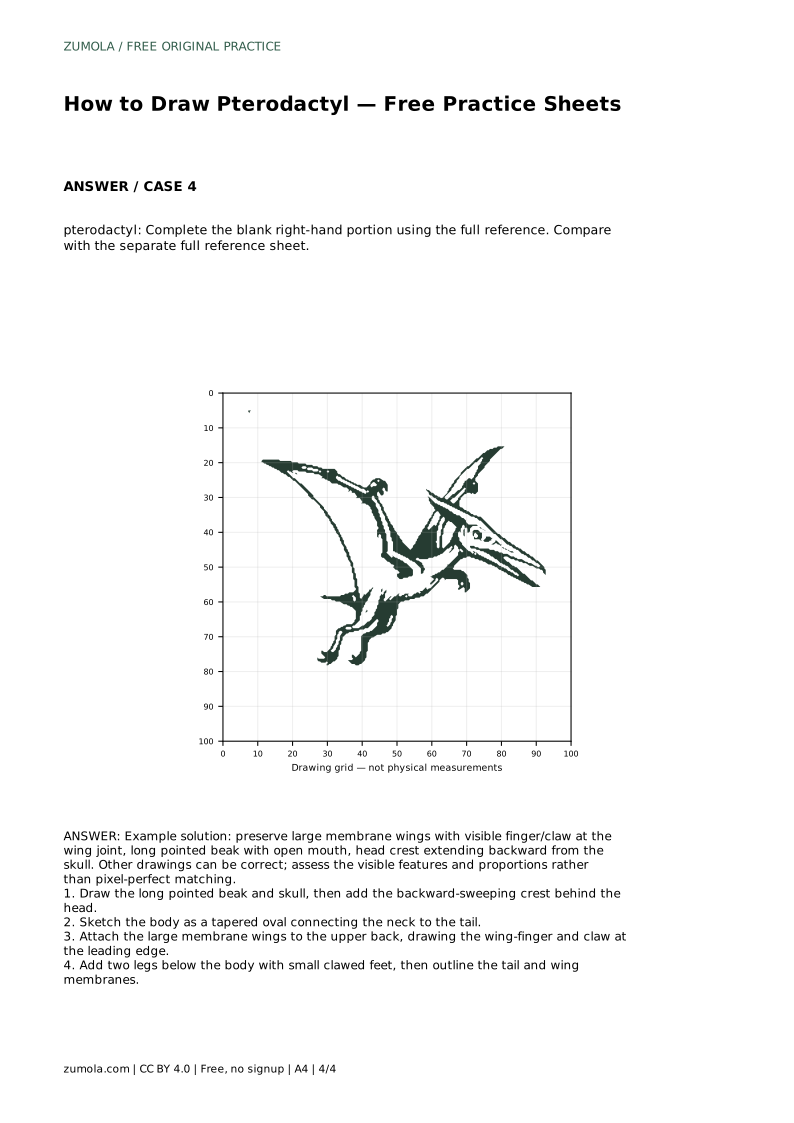
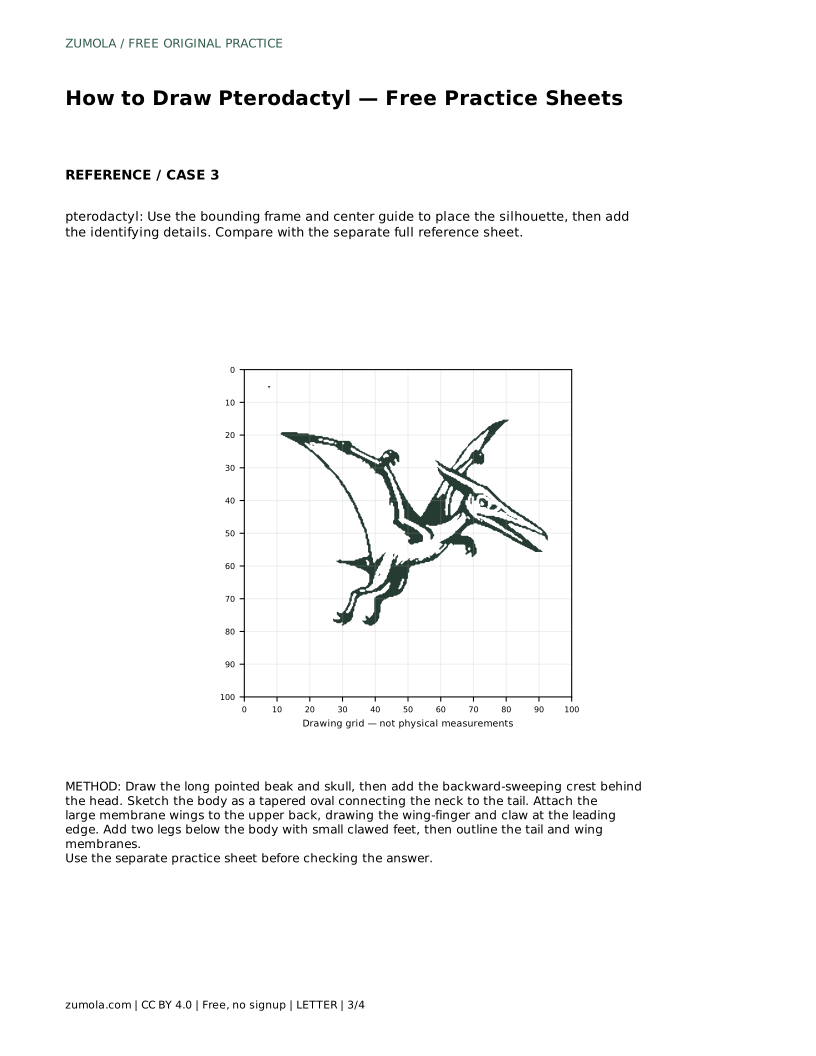
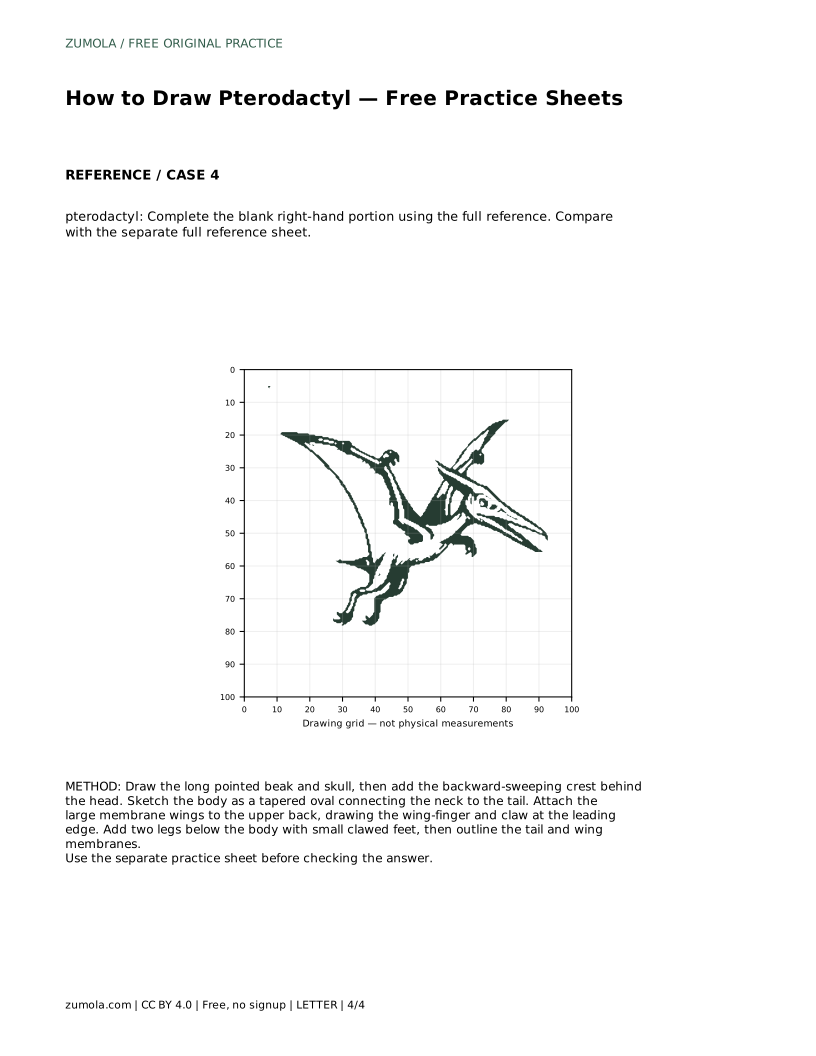
The grid sheet asks you to copy the reference onto the blank grid using matching grid intersections. Treat each intersection as a placement landmark: note where the beak tip, crest end, wing joint, and tail tip fall relative to nearby lines, then connect those points with the same curves. The bounding-frame sheet gives you a center guide for placing the overall silhouette before you add identifying details. The partial sheet gives you one side of the drawing and asks you to complete the blank portion using the full reference, which tests whether you can continue shapes and keep left-right proportions consistent.
Compare your drawing with the reference by listing the required features: long pointed beak, open mouth, backward crest, tapered body, large membrane wings, wing-finger and claw at the joint, two legs with clawed feet, and a tail. Then check proportions: the wings should be large relative to the body, and the head should sit at the end of a clear neck.
Because drawings can be correct in different ways, use a rubric rather than hunting for a single right answer. A drawing that keeps every listed feature visible and in plausible proportion is successful even if its curves differ from the reference.
Most problems come from drawing details before the overall shape is settled. If the wings look small, redraw the body smaller or the wings broader before adding membrane lines. If the head reads as a bird rather than a pterodactyl, lengthen the beak and make the crest more prominent. If the wing joint is unclear, redraw the leading edge with a distinct bend and place the claw there.
pterodactyl: Trace the reference outline, then practise the contour independently. Compare with the separate full reference sheet.
Example solution: preserve large membrane wings with visible finger/claw at the wing joint, long pointed beak with open mouth, head crest extending backward from the skull. Other drawings can be correct; assess the visible features and proportions rather than pixel-perfect matching. Draw the long pointed beak and skull, then add the backward-sweeping crest behind the head. Sketch the body as a tapered oval connecting the neck to the tail. Attach the large membrane wings to the upper back, drawing the wing-finger and claw at the leading edge. Add two legs below the body with small clawed feet, then outline the tail and wing membranes.
No. Other drawings can be correct. Assess the visible features and proportions rather than pixel-perfect matching.
Start with the trace sheet to learn the outline, then move to the grid, frame, or partial sheet to practise independent placement.
Check the large membrane wings, the wing-finger and claw at the joint, the long pointed beak with open mouth, and the backward crest.
All drawing practice · Free coordinate paper
Original resources · CC BY 4.0 · Free for personal and classroom use with attribution.