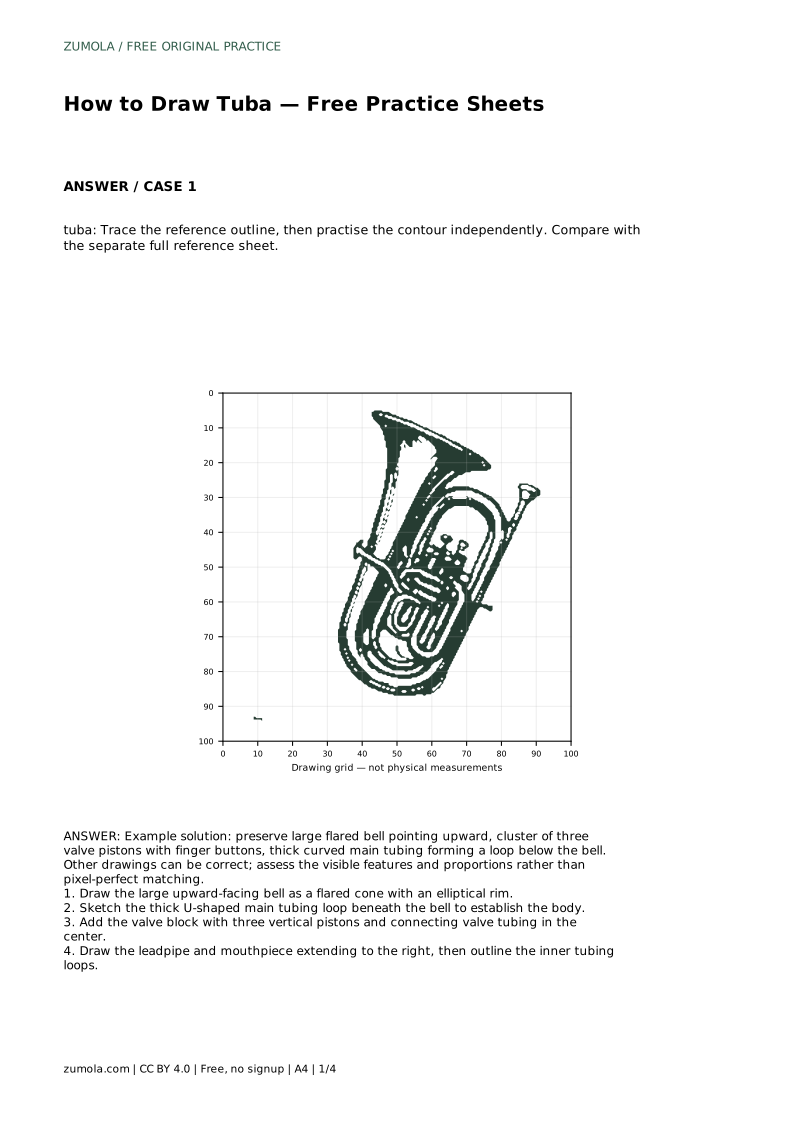
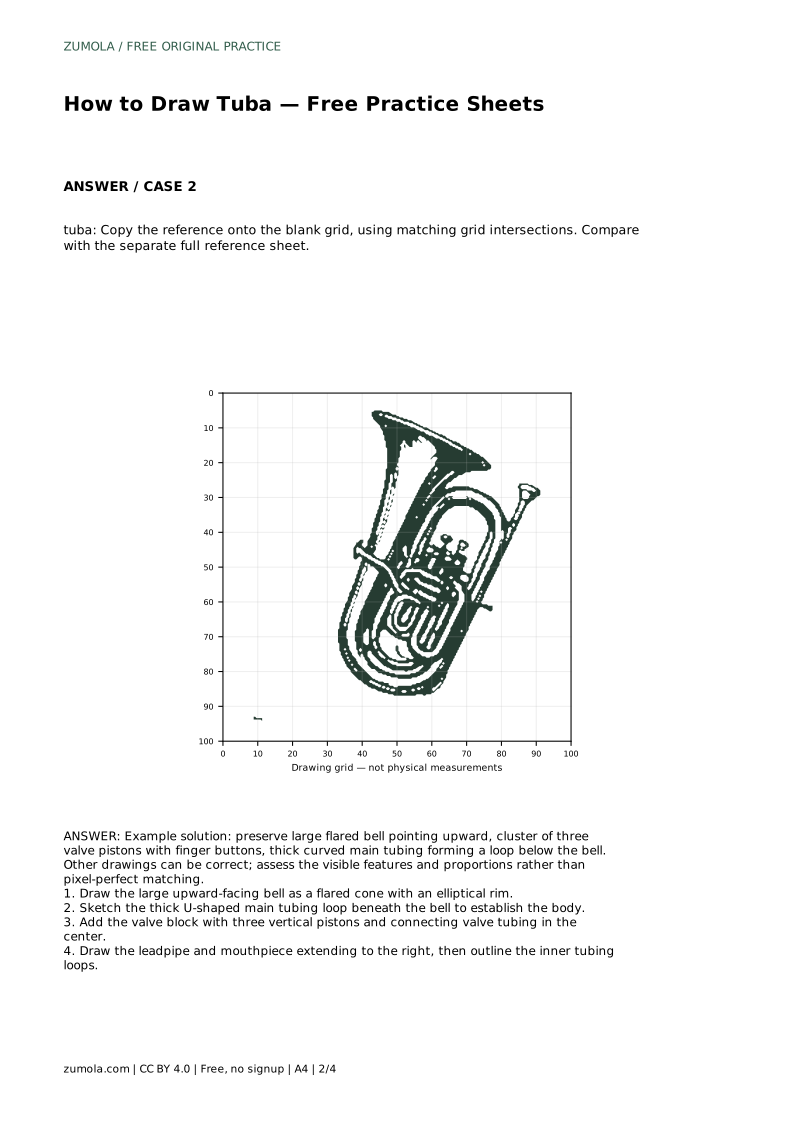
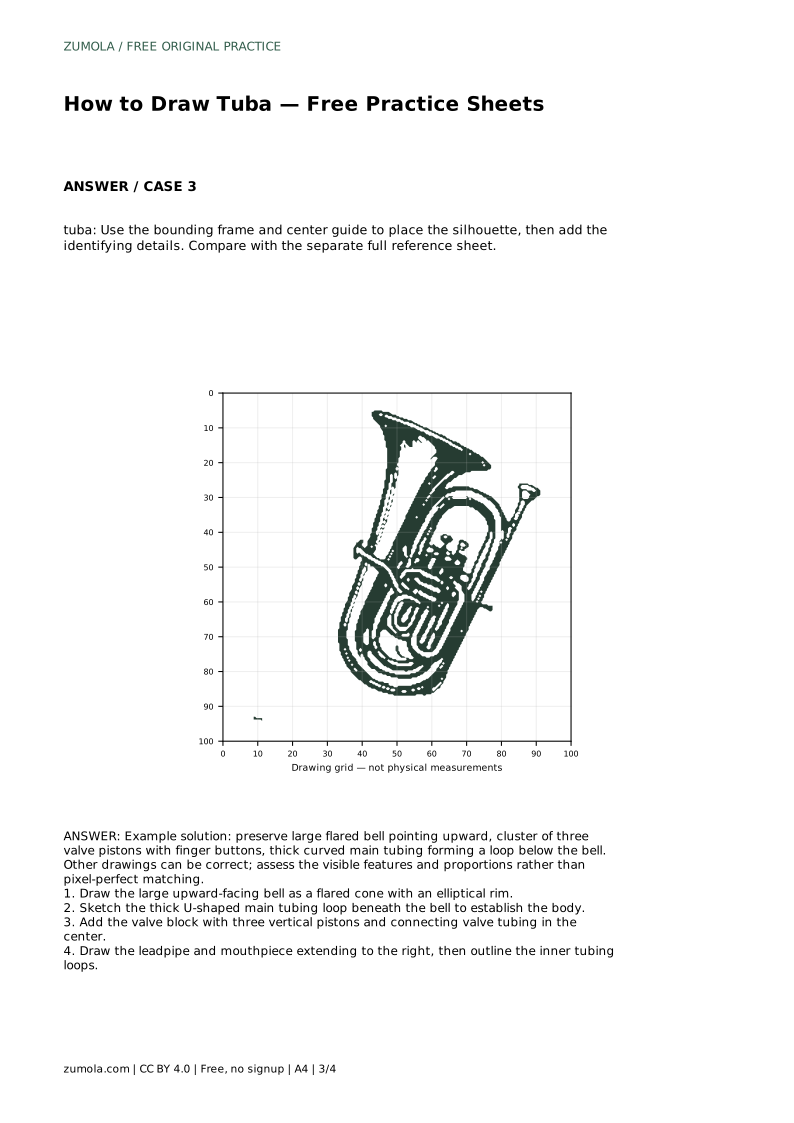
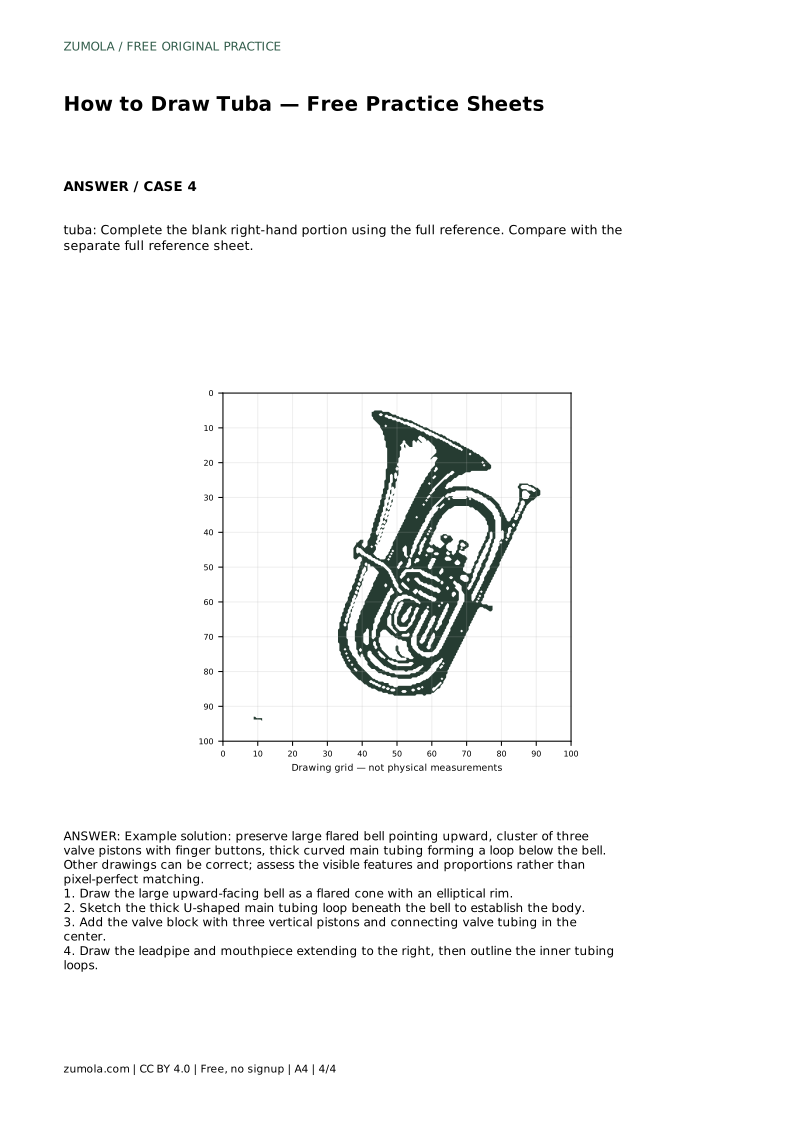
Reference diagrams
LETTER · Download PDF
A4 · Download PDF
Free original resources
Learn to draw a tuba by building its flared bell, U-shaped body loop, three-piston valve block, and leadpipe. Includes a worked example and assessment rubric.
Four original cases, with reference diagrams, practice sheets and worked answers. Everything is free; no signup required.
LETTER · Download PDF
A4 · Download PDF
LETTER · Download PDF
A4 · Download PDF
LETTER · Download PDF
A4 · Download PDF
Use A4 or US Letter to match your printer. Use the stated values and conditions to solve each exercise; diagrams are not physical measuring rulers.
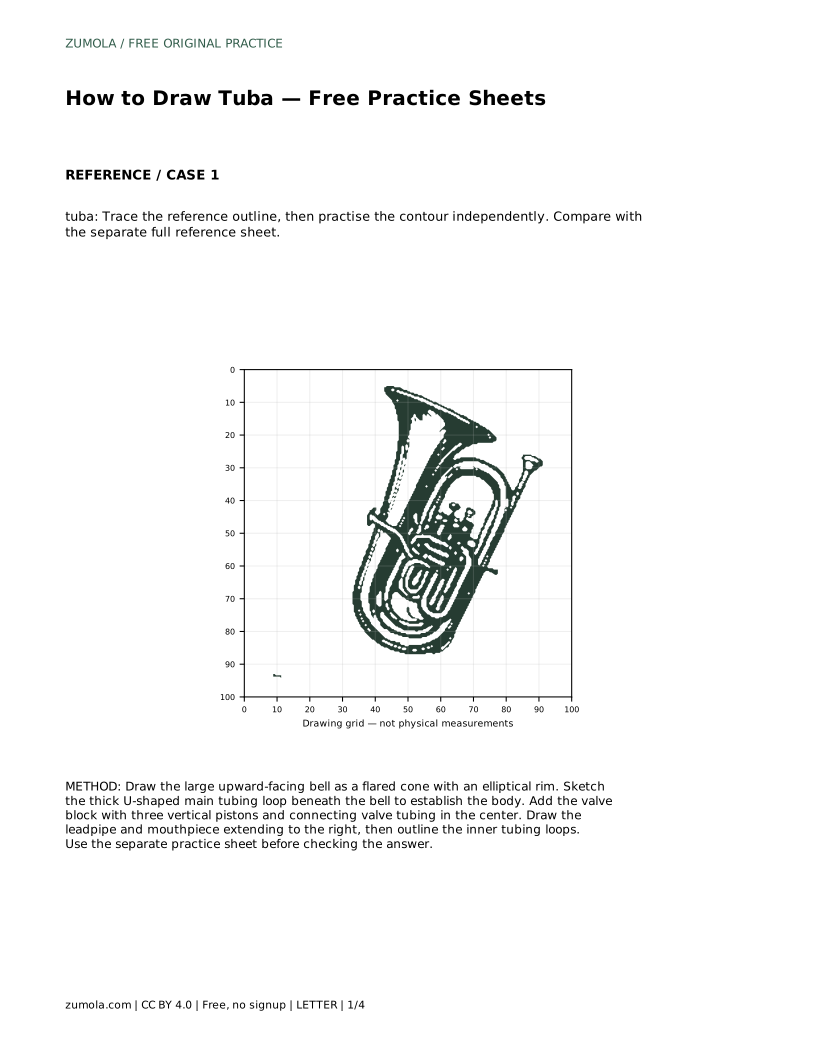
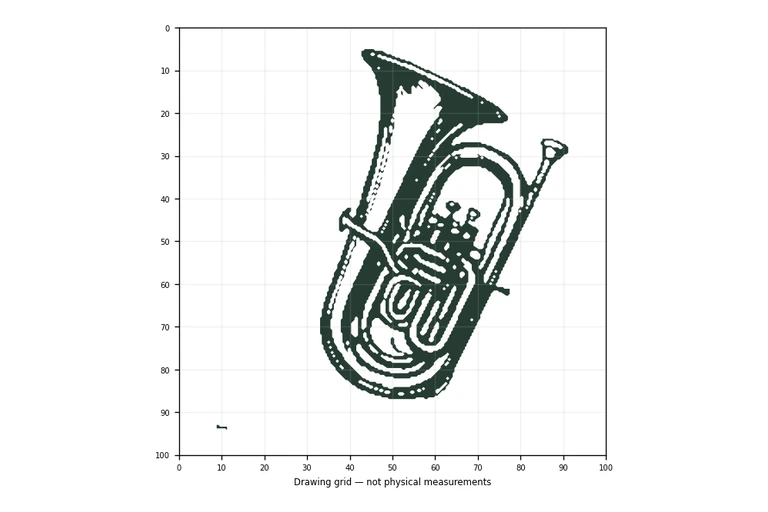
A tuba drawing is mostly a problem of arranging a few large shapes in the right order. The bell dominates the top, the thick tubing loop carries the weight below it, and the valve block sits where the player's hand would work. This page walks through that construction step by step, then explains how to judge a finished drawing fairly, since several different-looking tubas can all be correct.
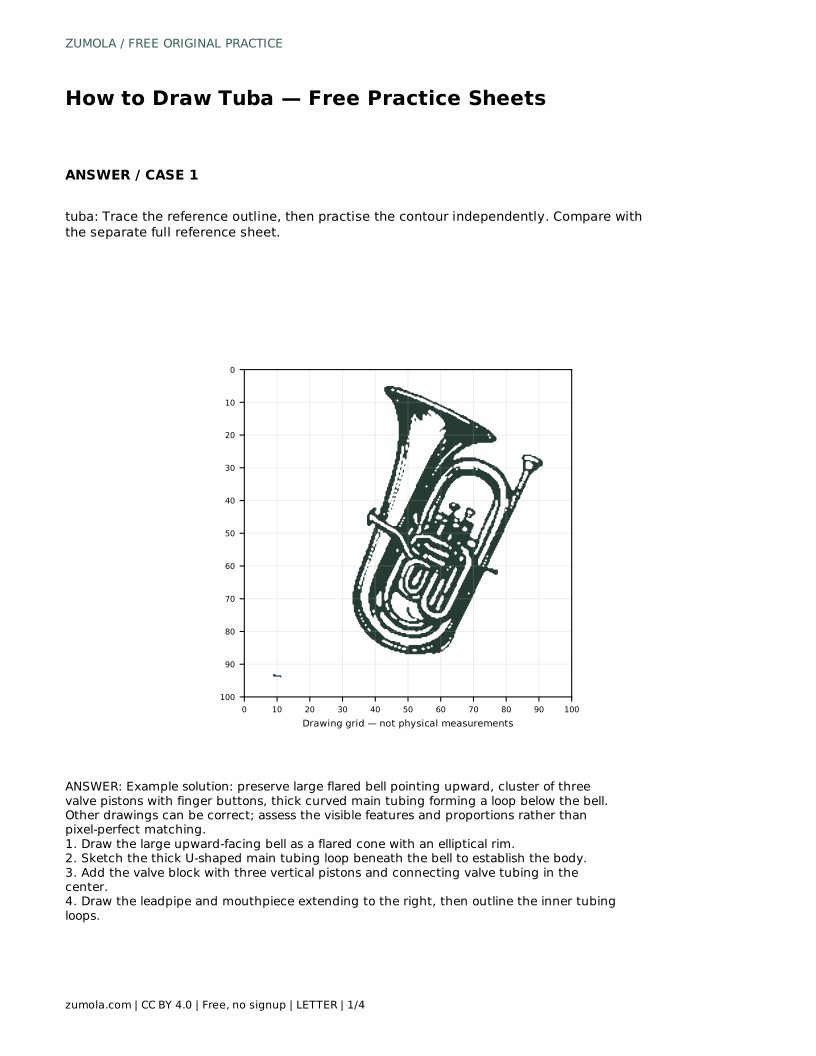
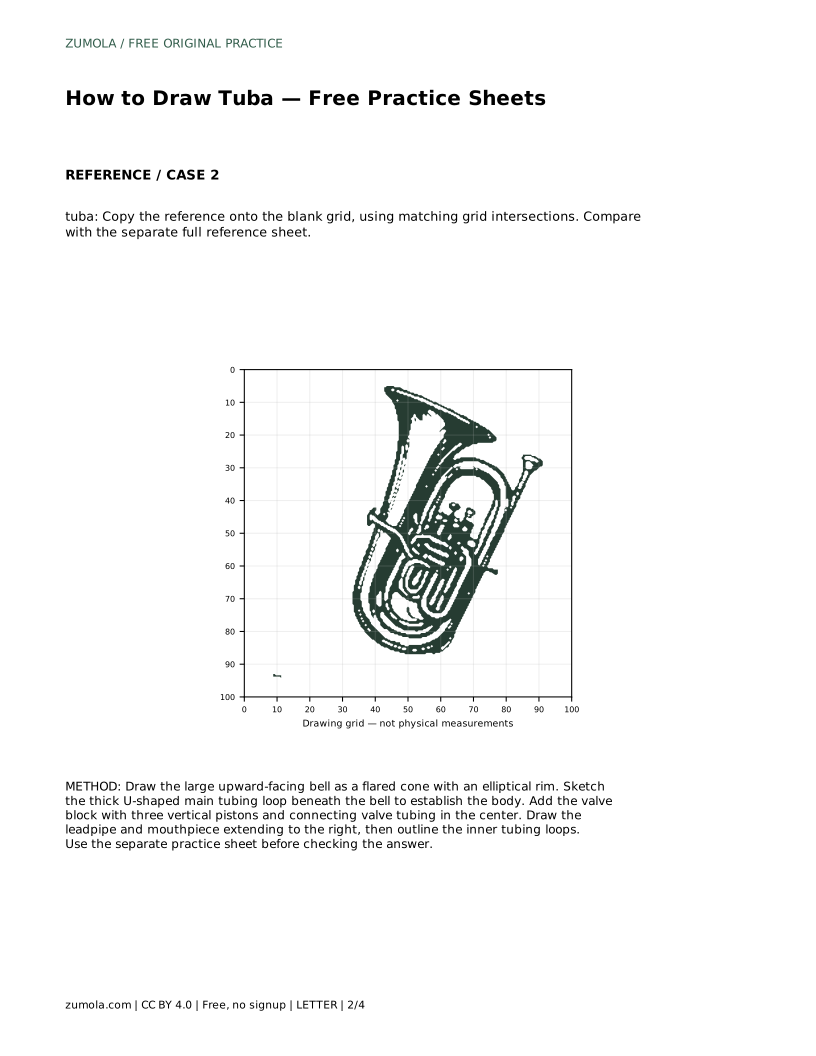
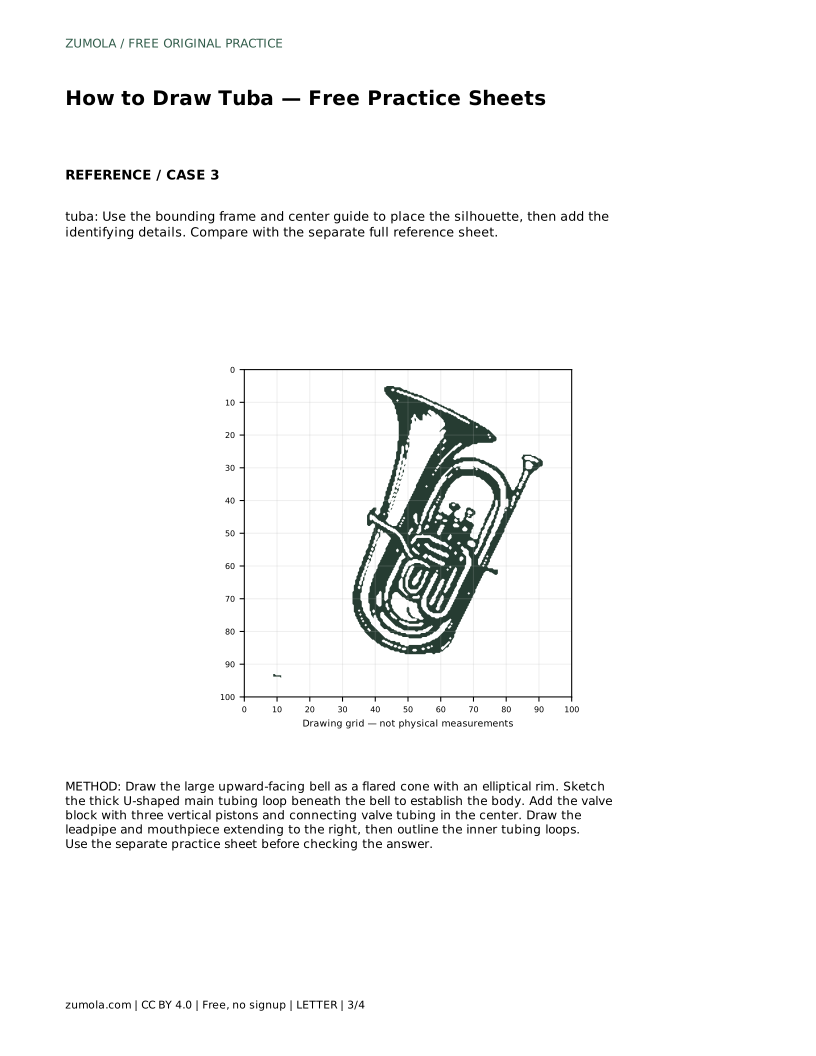
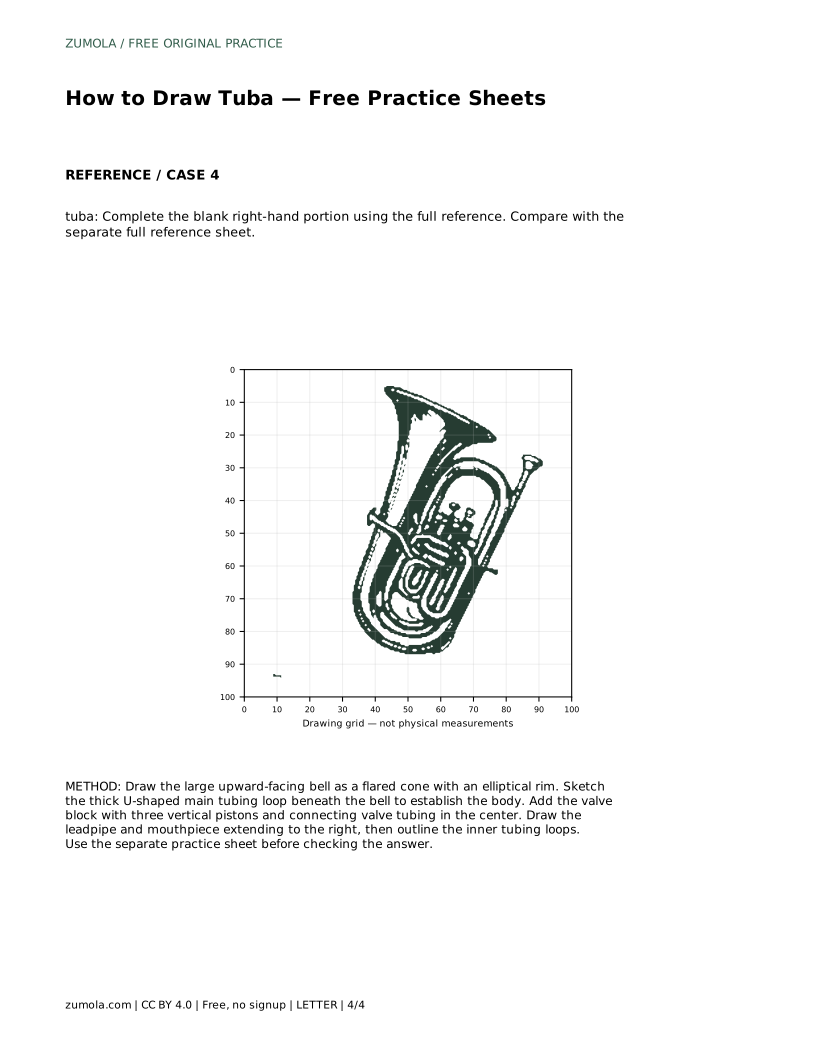
Before any detail, place the bell, the body loop, and the valve block. The bell is a flared cone opening upward, and its rim reads as an ellipse rather than a flat line because we see the opening at a slight angle. The main tubing forms a broad U-shaped loop beneath the bell; treat it as one thick curved band, not a bundle of separate pipes. The valve block is a compact vertical cluster of three pistons with finger buttons on top, positioned centrally where the tubing meets.
Getting these three shapes sized correctly relative to each other matters more than crisp edges. A tuba whose bell is too small or whose loop is too thin will not read as a tuba even if every line is neat.
The leadpipe is the narrower tube that runs from the mouthpiece toward the valve block. Draw it as a slimmer line than the main loop so the drawing distinguishes thick body tubing from the player's air path. The mouthpiece sits at the far end, small and cup-shaped.
Inner tubing loops fill the space inside the main U. Keep them thinner than the outer loop and let them curve naturally rather than crossing at sharp angles. These loops are what make the instrument look mechanically busy, so add them last, after the silhouette is settled.
There is no single correct tuba drawing. Bell angle, loop width, and valve placement vary between real instruments and between valid interpretations. Assess the visible features instead: is the bell large and flared with an elliptical rim, is there a thick curved loop forming the body, are three pistons clustered with buttons, and does a leadpipe reach a mouthpiece?
Proportions matter too. The bell should be the largest single element, and the valve block should sit roughly where the loop and leadpipe meet. A drawing that keeps these relationships can differ from the reference in style and still be correct.
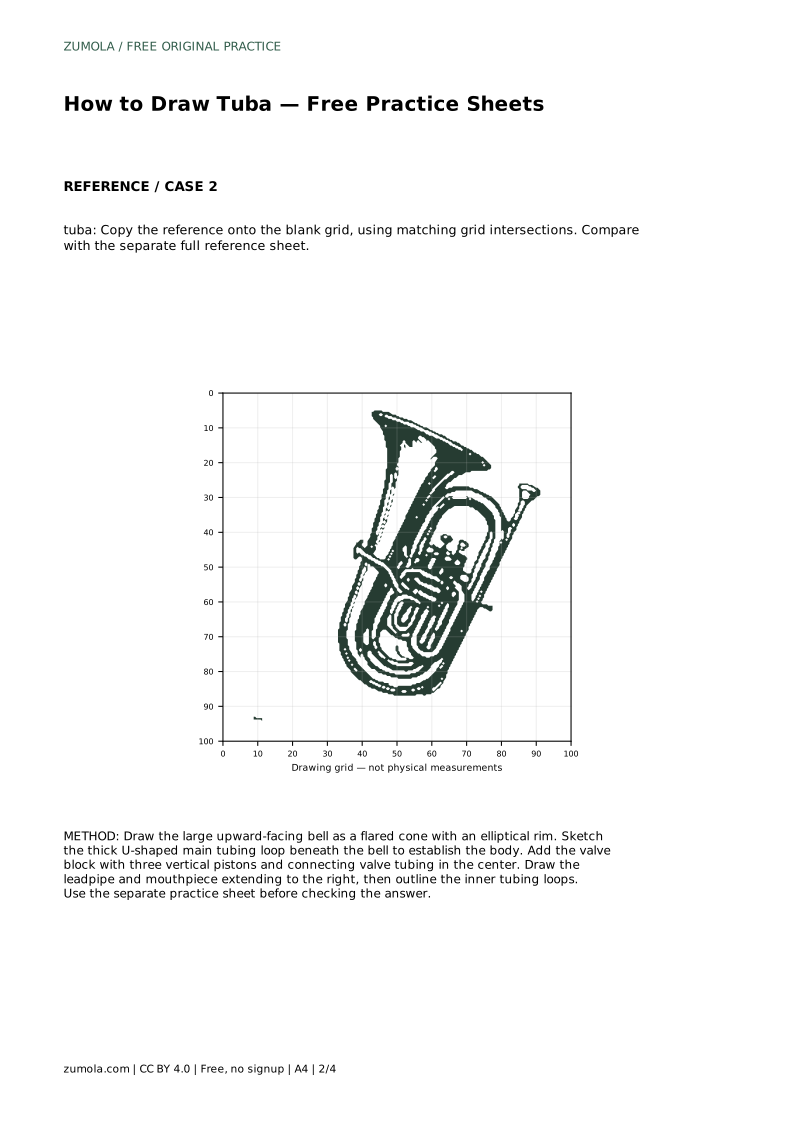
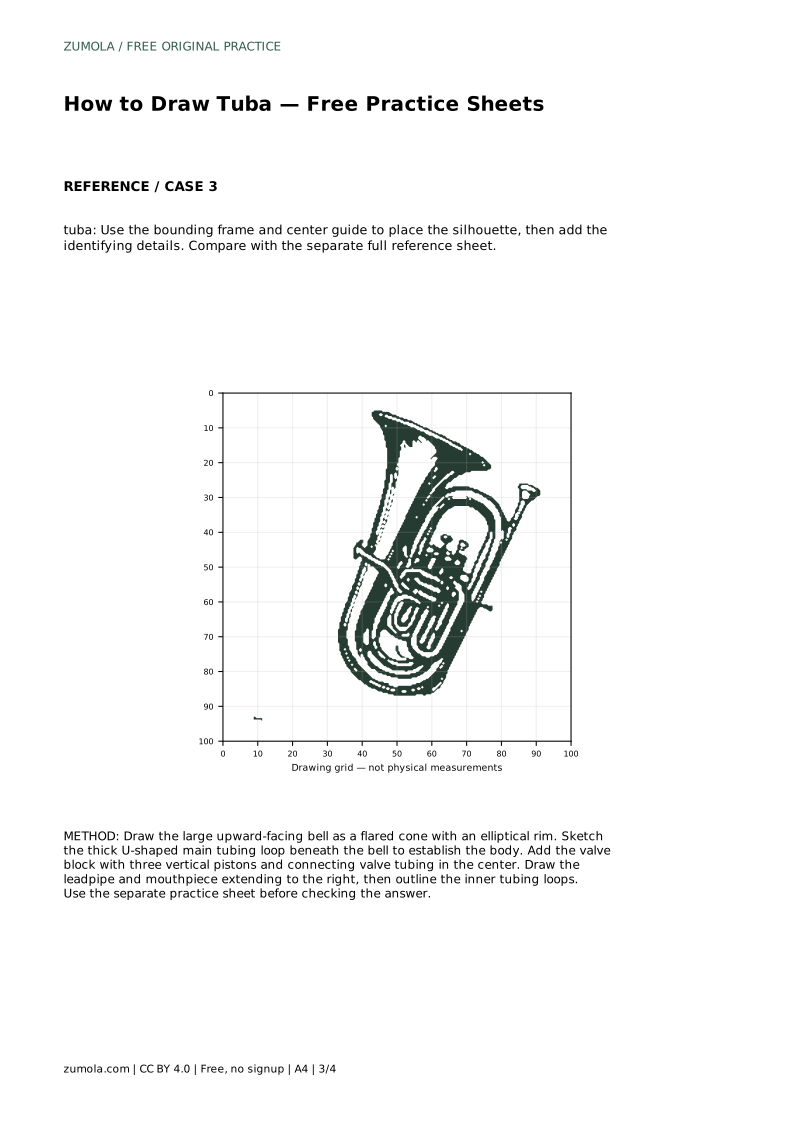
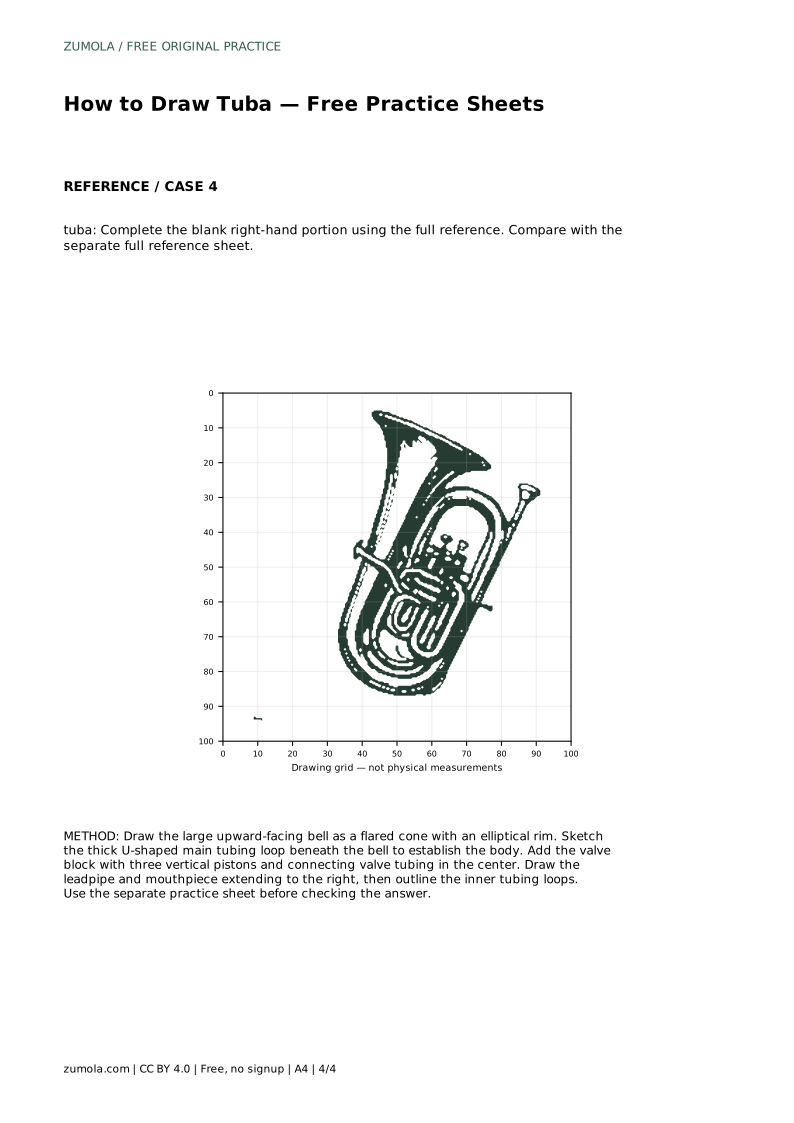
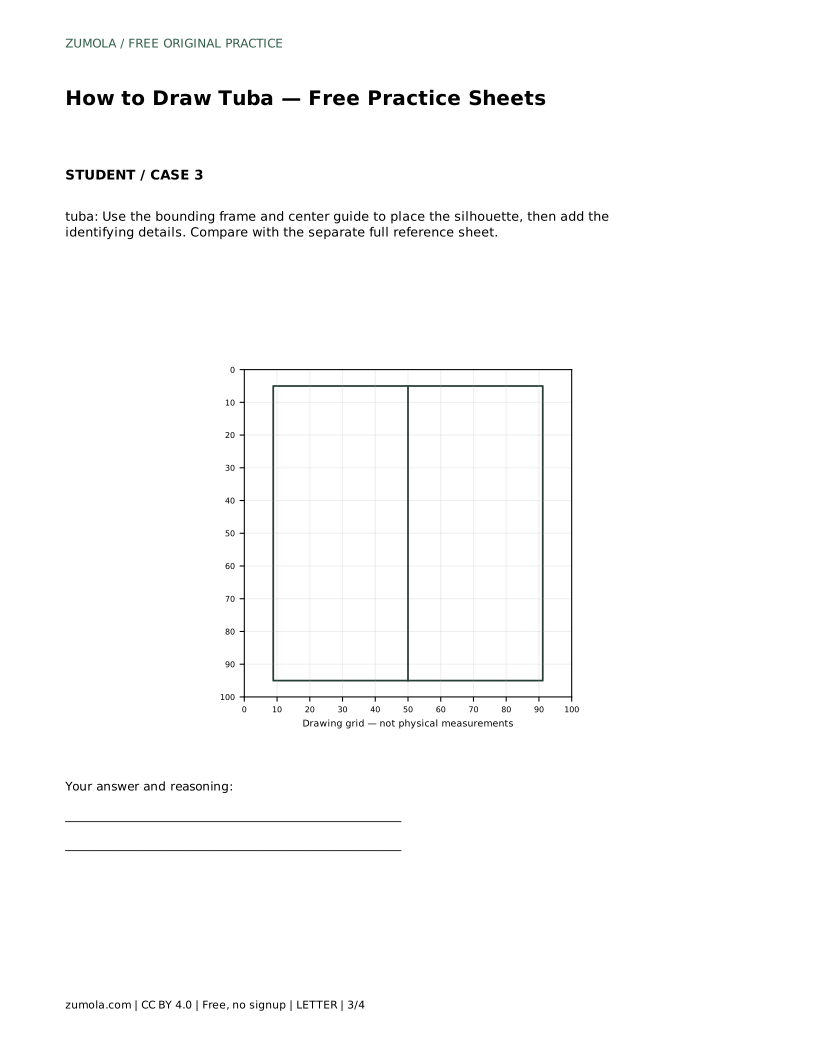
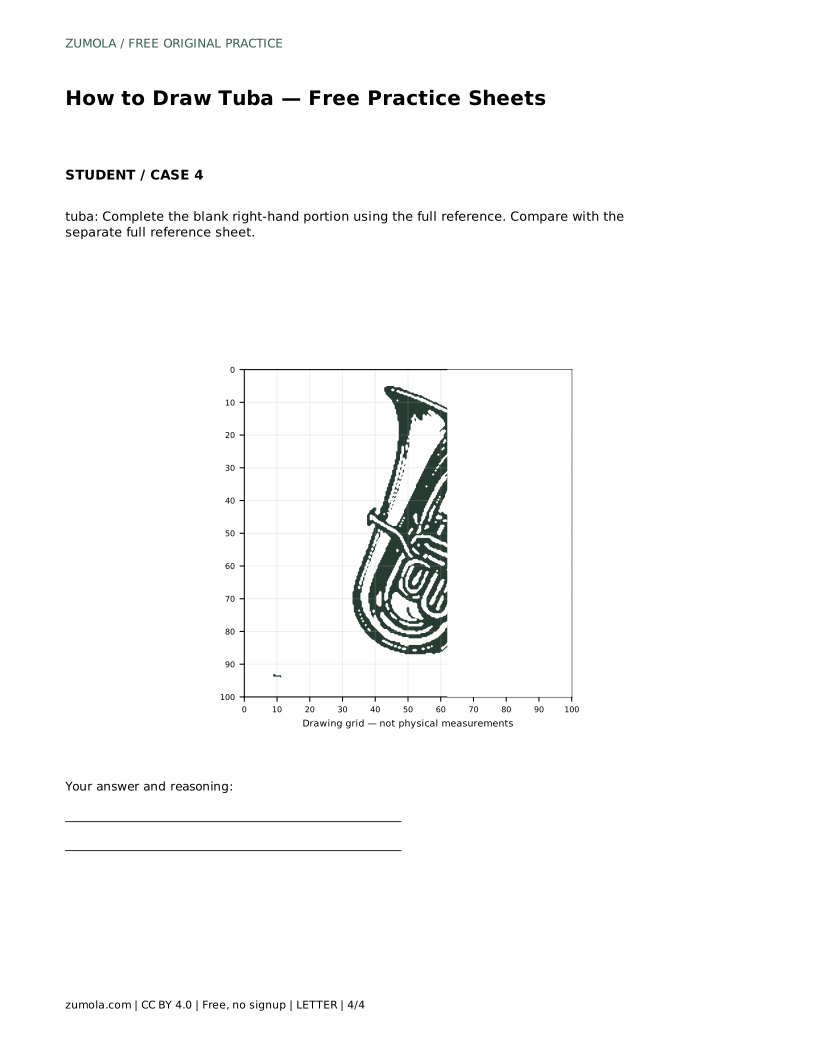
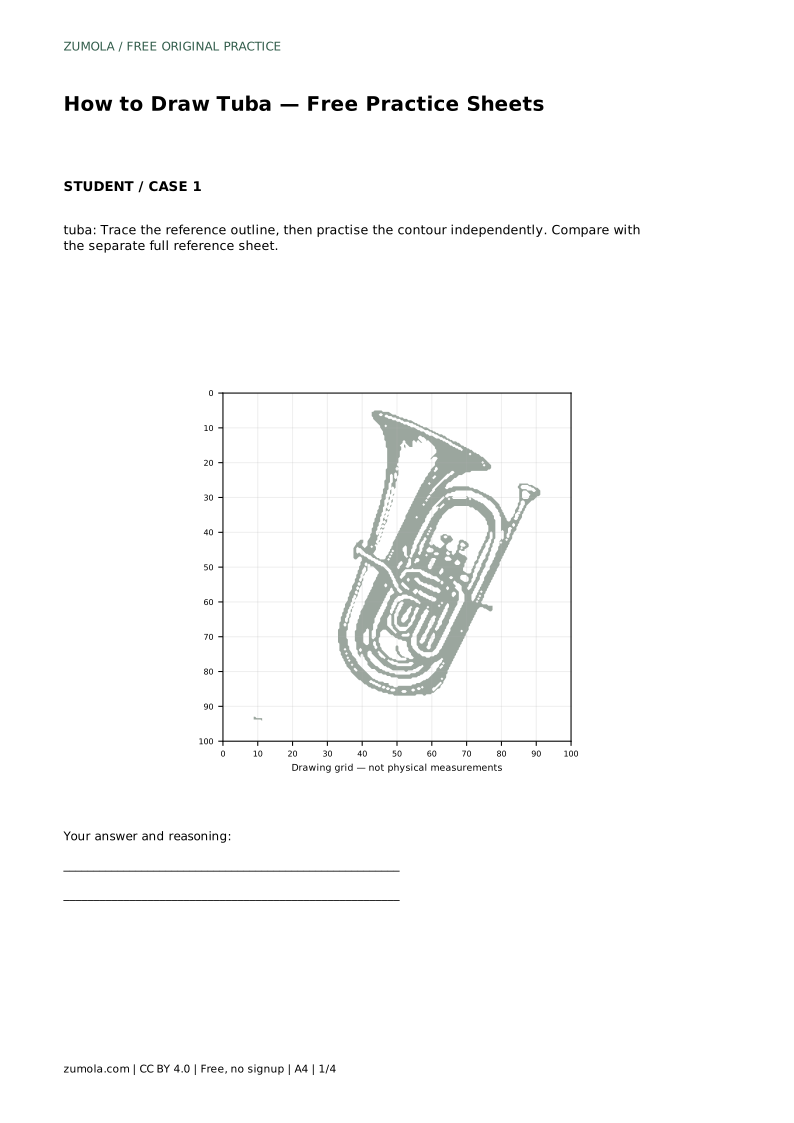
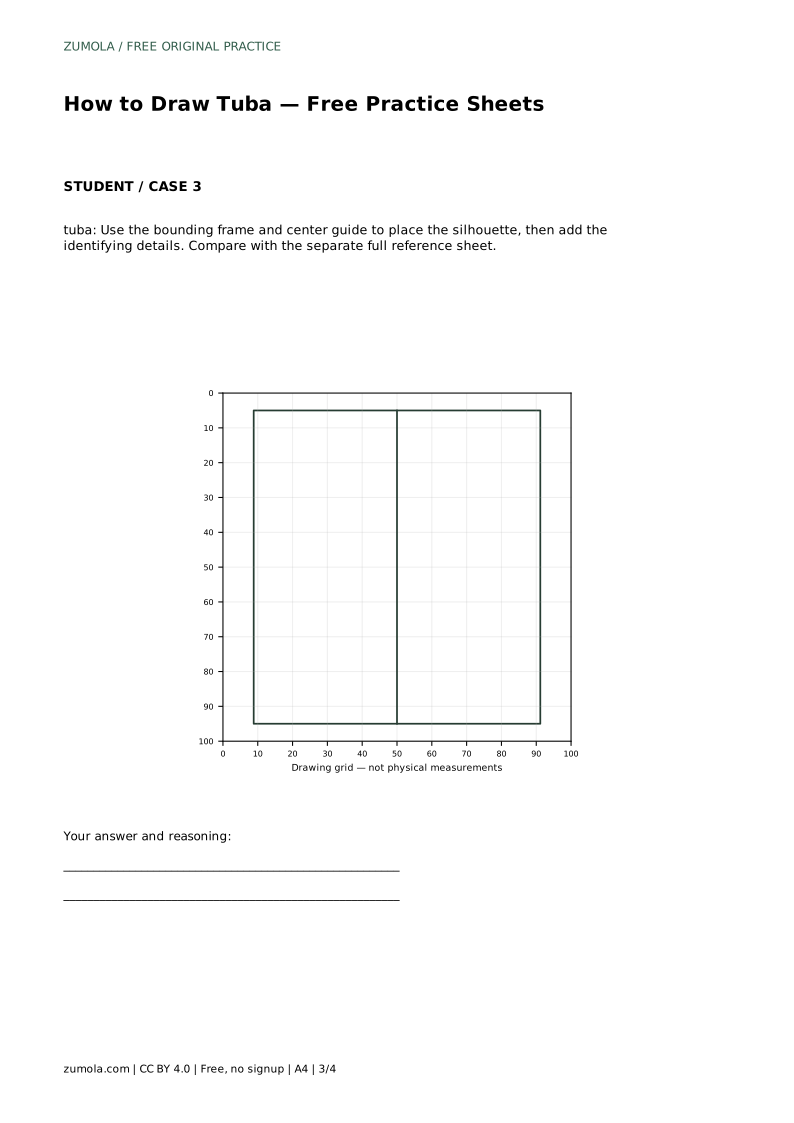
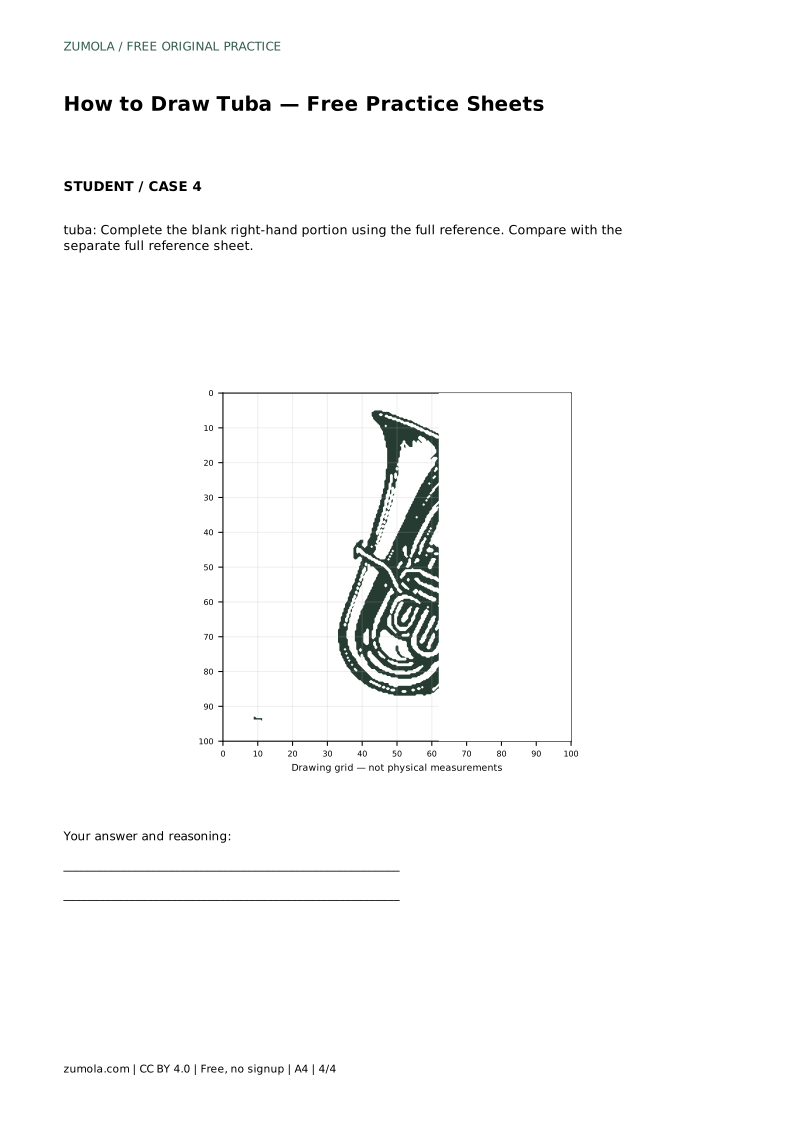
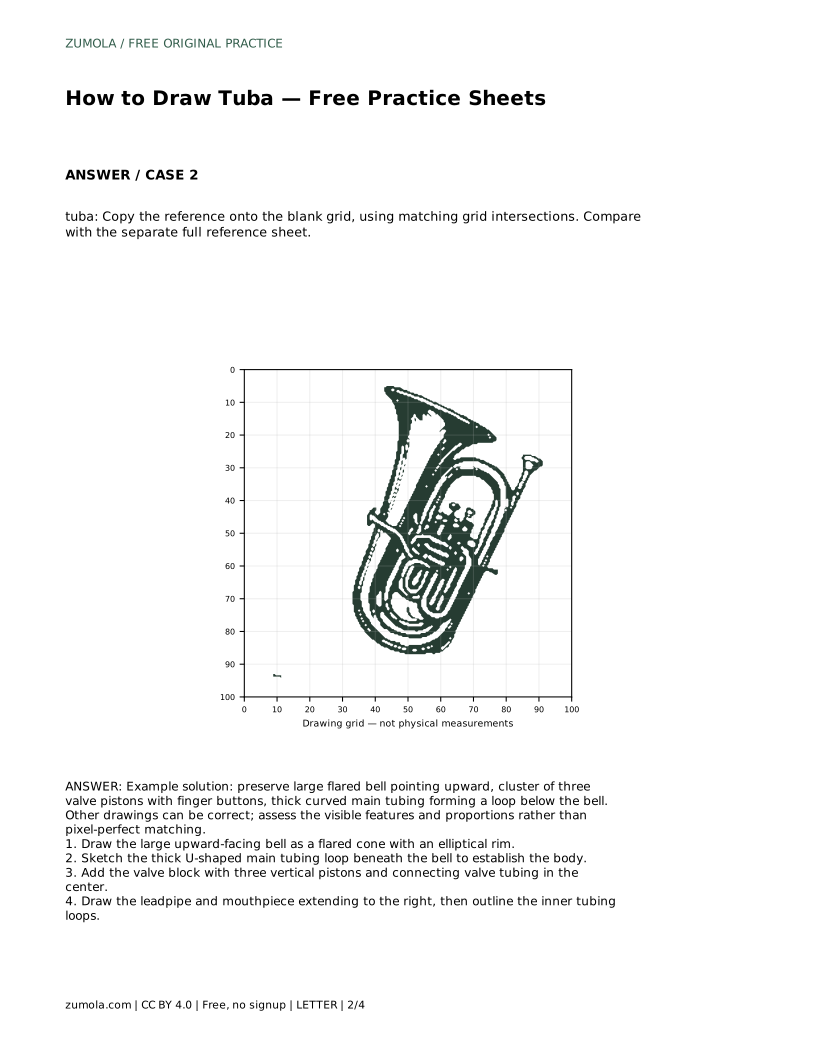
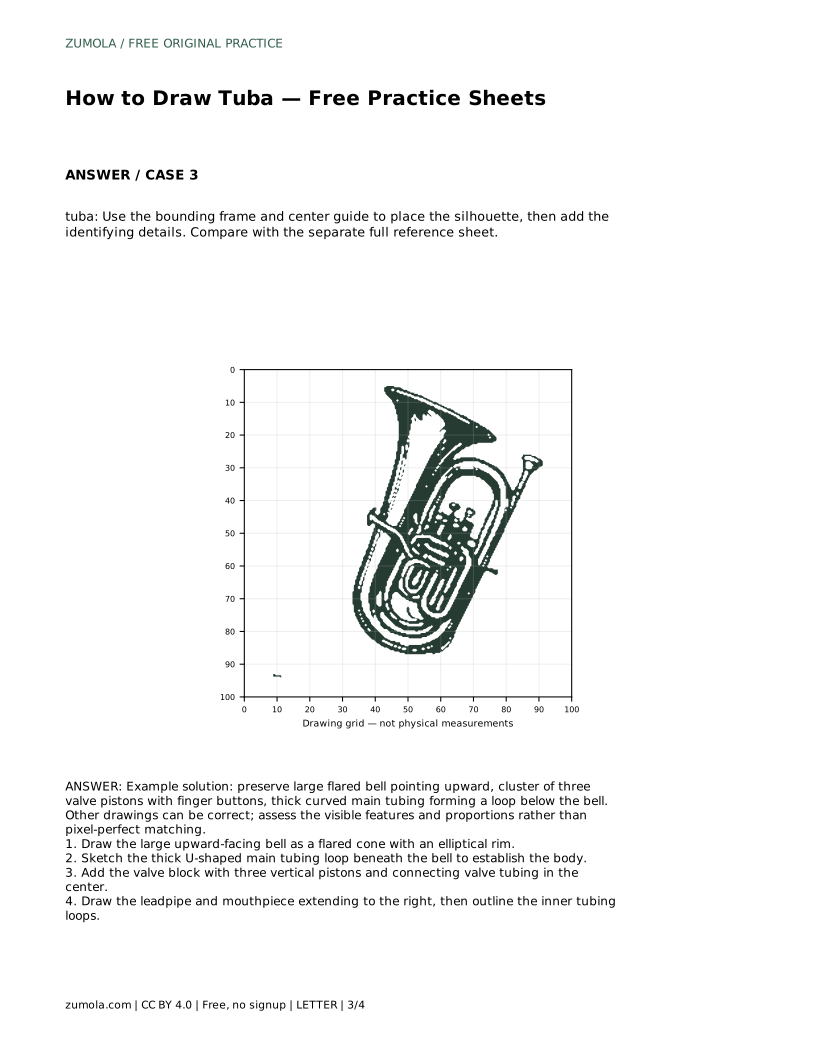
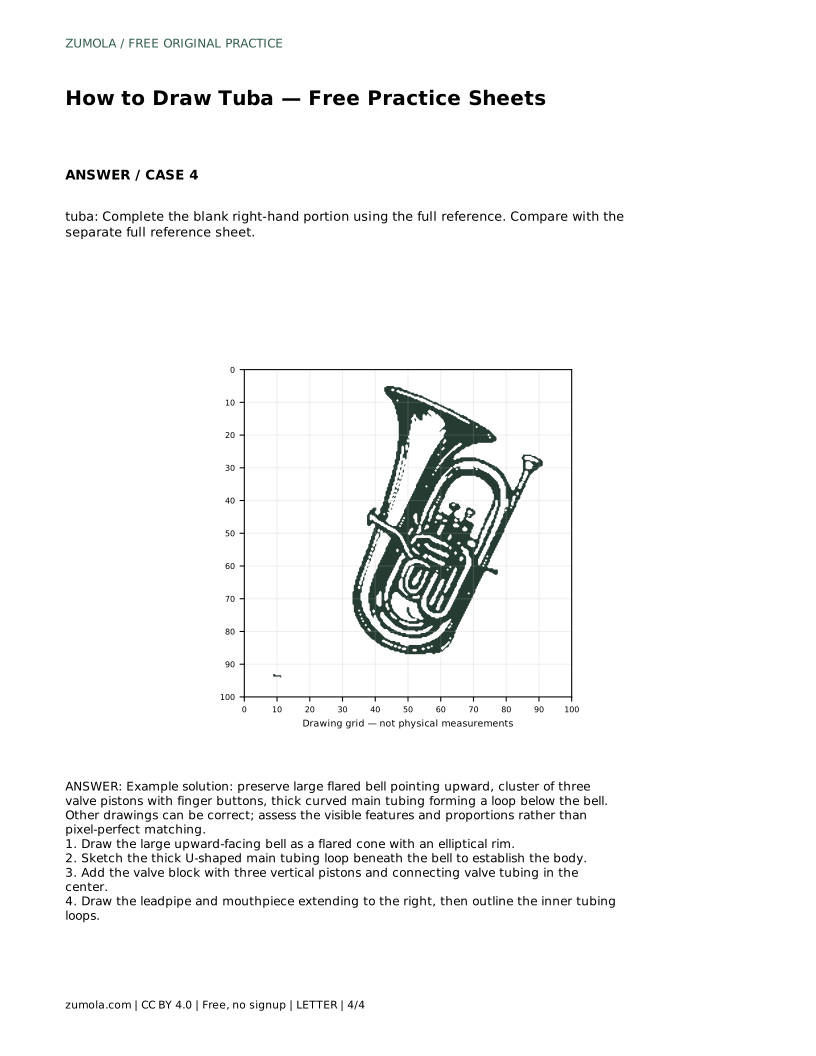
The tracing version asks you to follow the reference outline first, then repeat the contour on your own. The grid version asks you to copy the reference onto matching grid intersections, which trains proportion. The bounding-frame version gives you a center guide for placing the silhouette before adding details. The partial version leaves the right-hand portion blank so you complete it from the full reference.
Each format targets a different skill, so compare your result with the separate full reference sheet rather than with your memory of it.
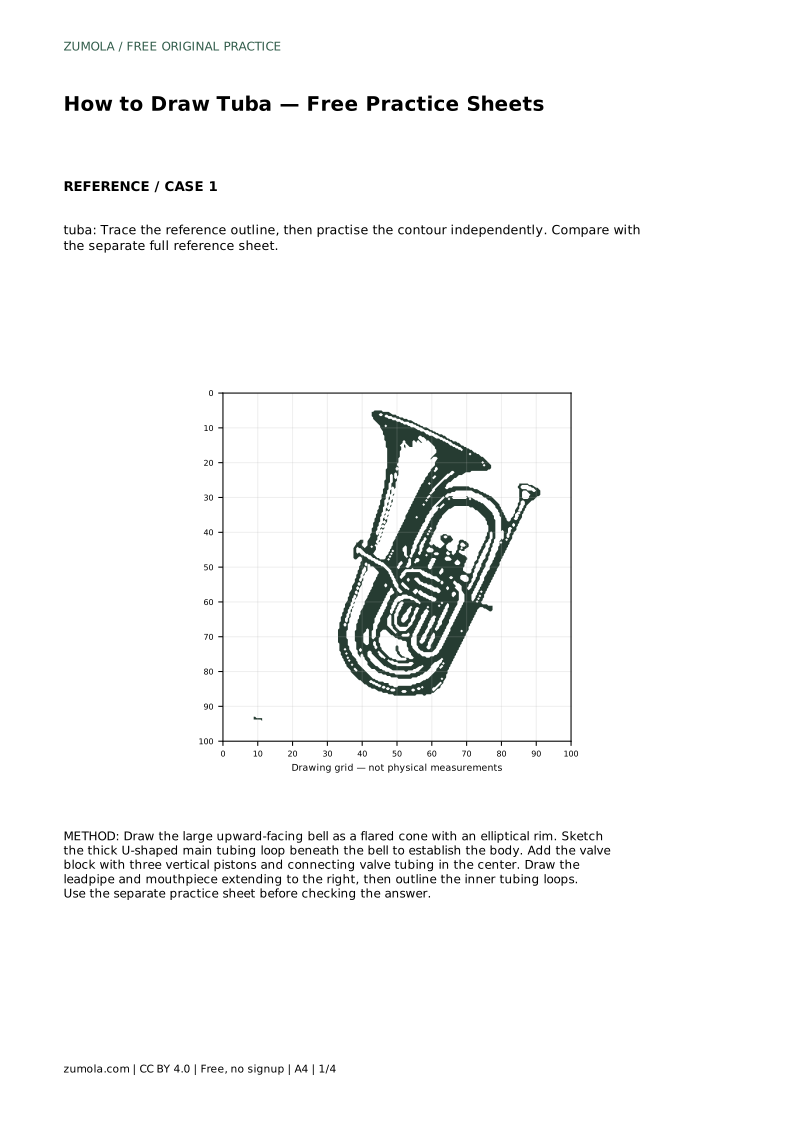
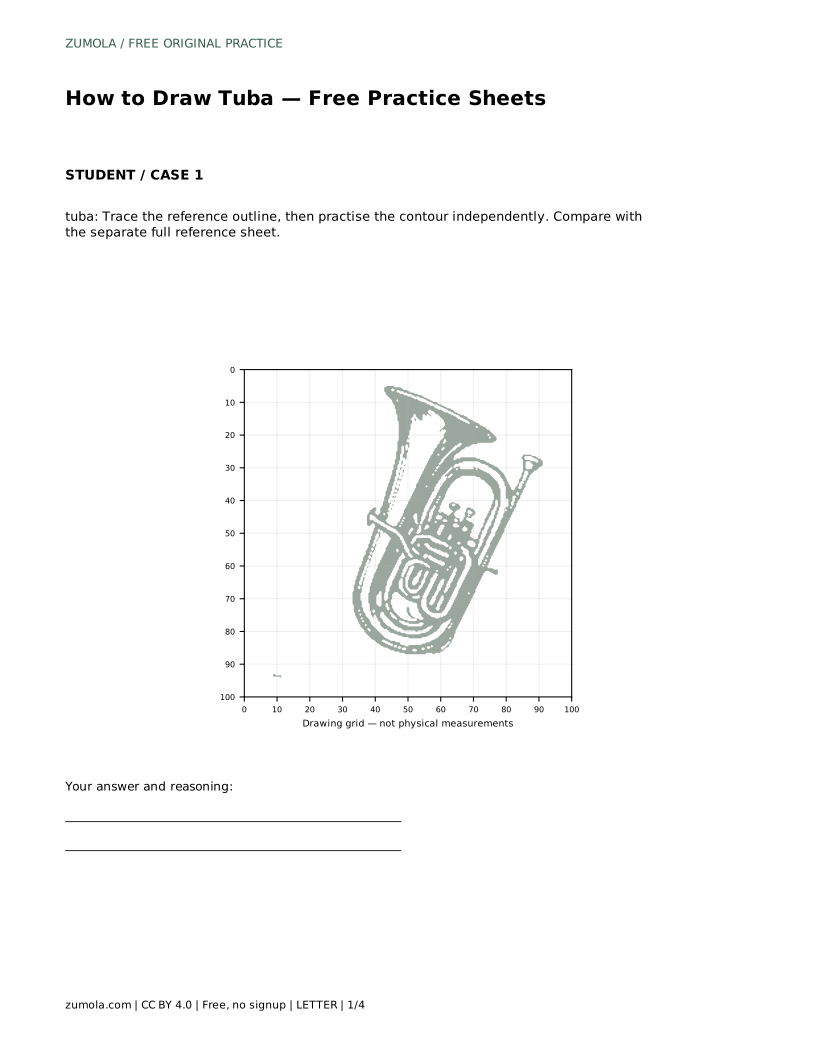
tuba: Trace the reference outline, then practise the contour independently. Compare with the separate full reference sheet.
Example solution: preserve large flared bell pointing upward, cluster of three valve pistons with finger buttons, thick curved main tubing forming a loop below the bell. Other drawings can be correct; assess the visible features and proportions rather than pixel-perfect matching. Draw the large upward-facing bell as a flared cone with an elliptical rim. Sketch the thick U-shaped main tubing loop beneath the bell to establish the body. Add the valve block with three vertical pistons and connecting valve tubing in the center. Draw the leadpipe and mouthpiece extending to the right, then outline the inner tubing loops.
No. Upward is the common reading, but a slight tilt is fine as long as the flare and elliptical rim stay clear.
Three is the standard cluster shown in the reference. Keep them vertical and close together with buttons on top.
Yes. Judge the visible features and proportions rather than pixel-perfect matching.
All drawing practice · Free coordinate paper
Original resources · CC BY 4.0 · Free for personal and classroom use with attribution.