Reference diagrams
LETTER · Download PDF
A4 · Download PDF
Free original resources
Learn to draw a dumbbell with a straight handle bar, symmetrical stacked weight plates, and outer end caps. Includes tracing, grid, and completion practice sheets.
Four original cases, with reference diagrams, practice sheets and worked answers. Everything is free; no signup required.
LETTER · Download PDF
A4 · Download PDF
LETTER · Download PDF
A4 · Download PDF
LETTER · Download PDF
A4 · Download PDF
Use A4 or US Letter to match your printer. Use the stated values and conditions to solve each exercise; diagrams are not physical measuring rulers.
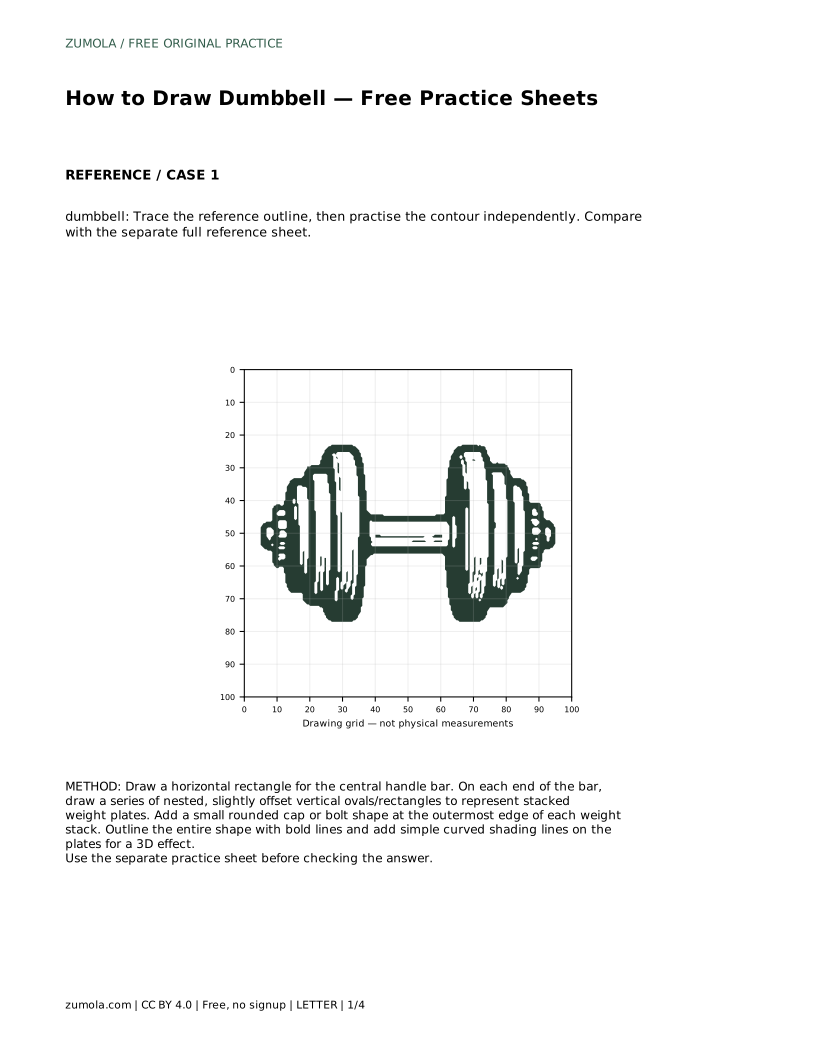
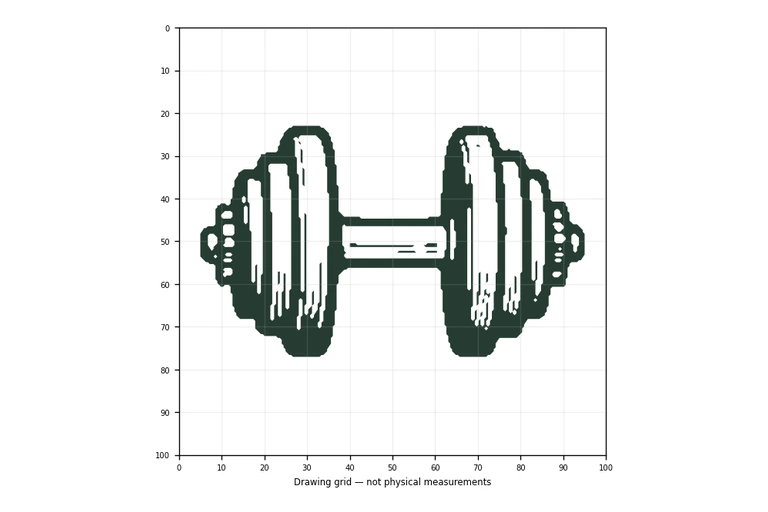
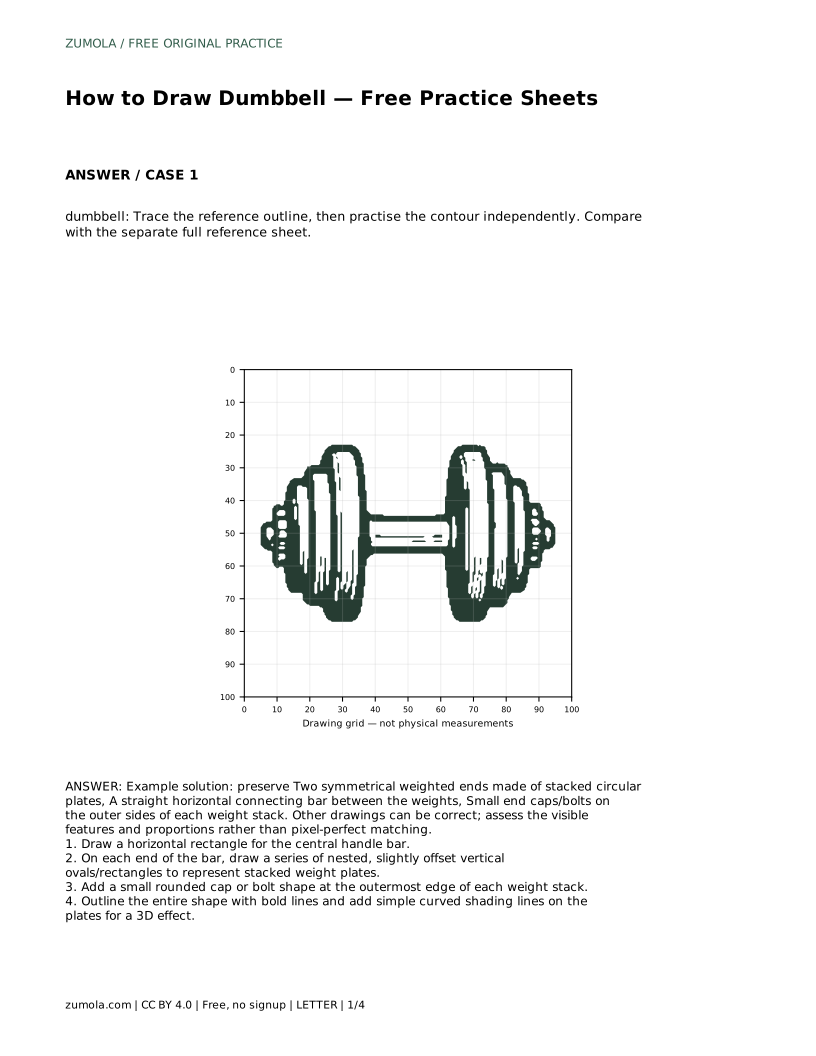
A dumbbell is a simple object with a clear structure: a straight horizontal handle bar, two symmetrical weighted ends made of stacked plates, and small end caps or bolts on the outer sides. Because the shape is regular and balanced, it is a useful subject for practising proportion, symmetry, and contour control. This guide explains the order to draw each part, how to keep both ends even, and how to judge your drawing against the reference rather than expecting an exact copy.
Begin by deciding how wide the whole dumbbell will be and where its centre sits. Draw a horizontal rectangle for the central handle bar. Keep it level, because a tilted bar makes the two weighted ends look mismatched even when each end is drawn correctly. The bar should be narrower than the weight stacks at each end, and it should meet both stacks at the same height.
Before adding plates, check the balance of the silhouette. The left and right weight stacks should occupy roughly equal space, and the handle should sit midway between them. Light guide marks for the outer edges of each stack help you keep the span even.
On each end of the bar, draw a series of nested, slightly offset vertical ovals or rectangles to represent stacked weight plates. Each plate is a little wider or narrower than its neighbour, which creates the stepped outline of a stack. Keep the plates on the left and right ends matched in number and size so the dumbbell reads as symmetrical.
Offset each plate slightly rather than stacking them perfectly flush. Small offsets suggest separate discs and give the stack depth. Work on both ends in turn, comparing them as you go, so one side does not grow larger than the other.
Add a small rounded cap or bolt shape at the outermost edge of each weight stack. These caps close the ends of the dumbbell and make the silhouette look finished. Keep them the same size on both sides.
Outline the entire shape with bold lines, then add simple curved shading lines on the plates for a 3D effect. Curved lines that follow the roundness of each plate suggest volume without turning the drawing into a detailed rendering. Shade both ends in the same direction so the light appears consistent.
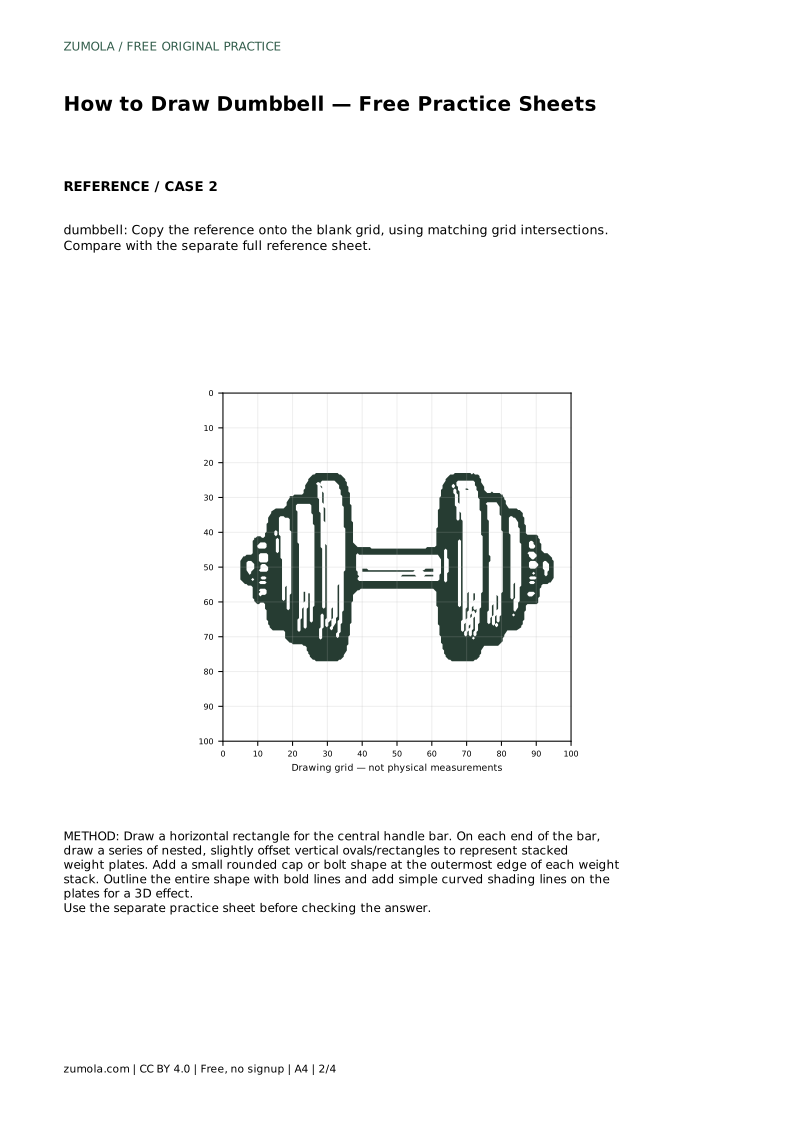
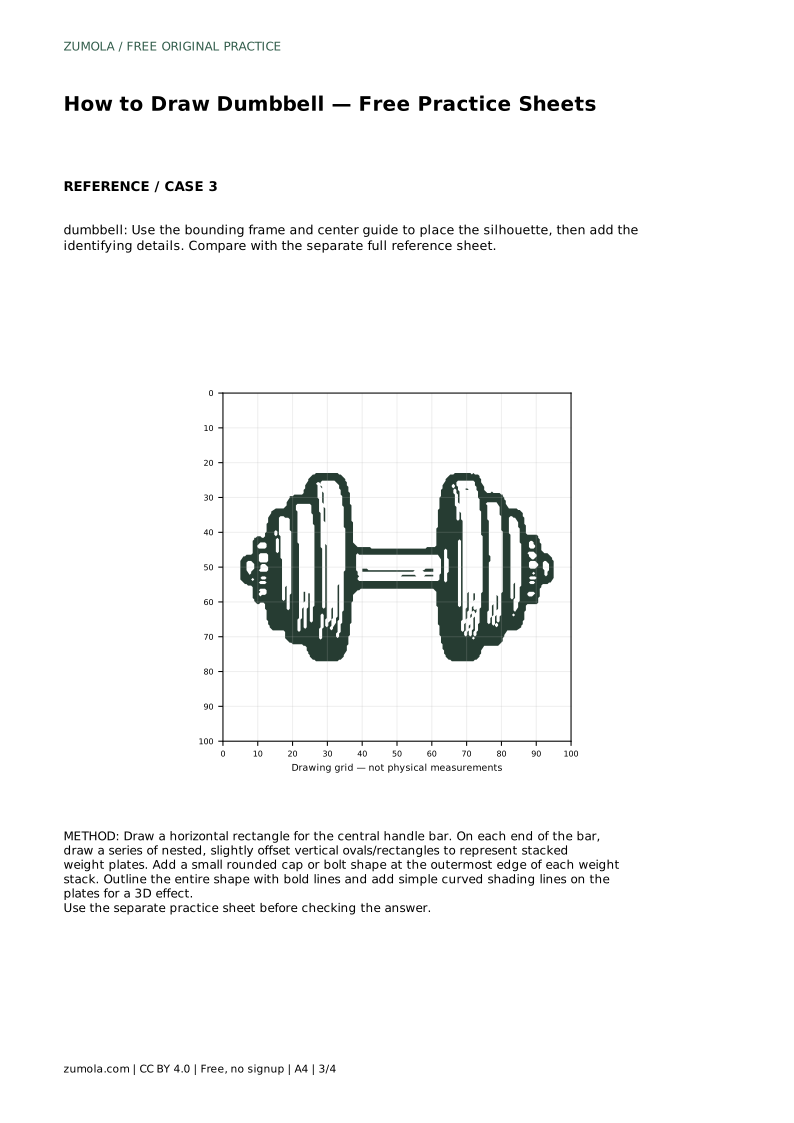
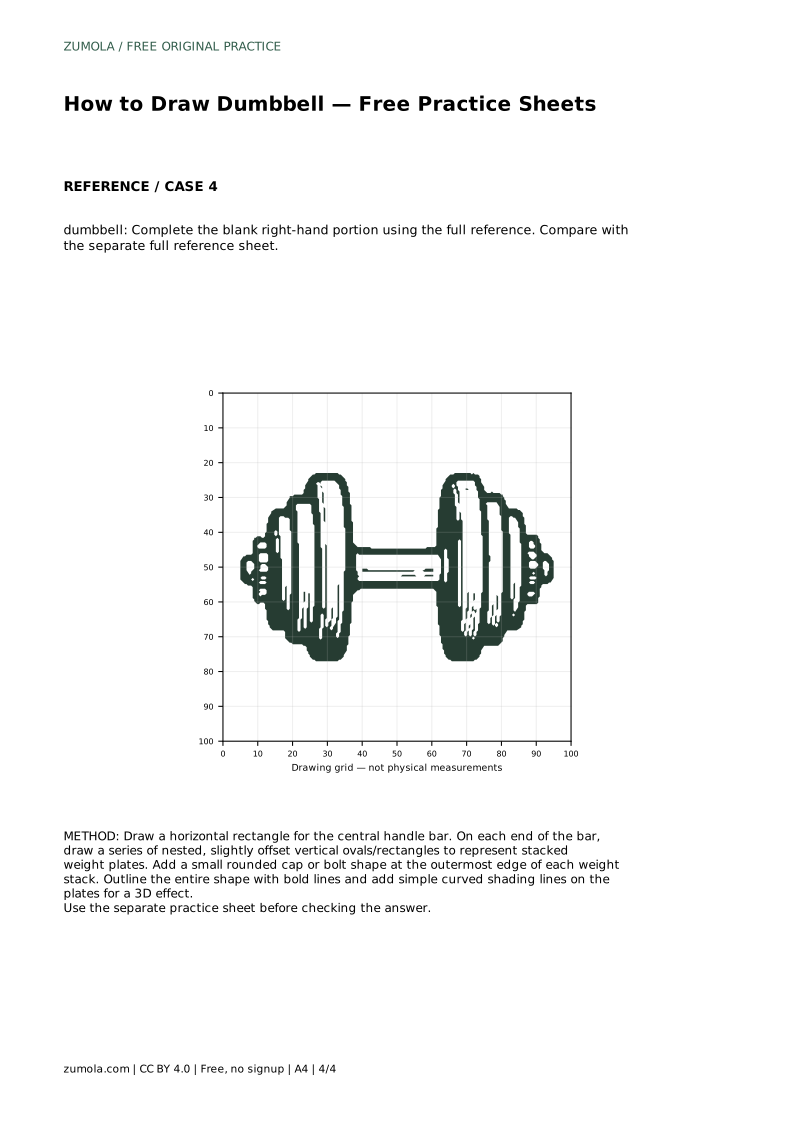
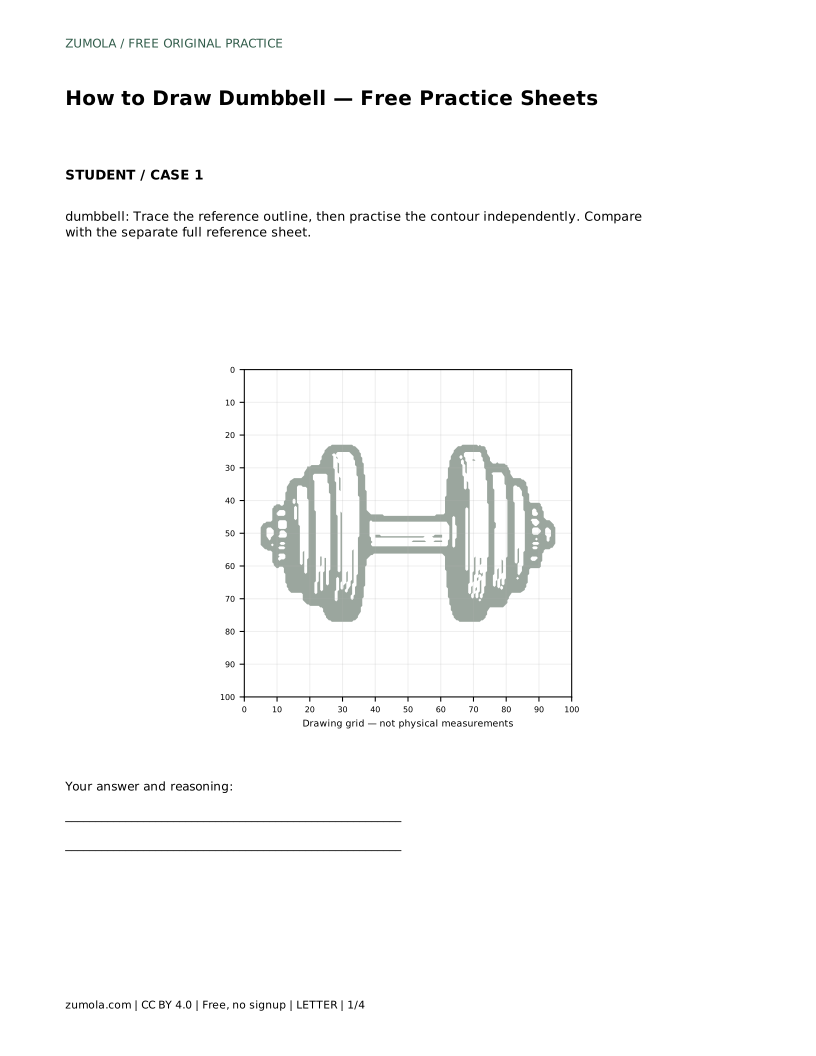
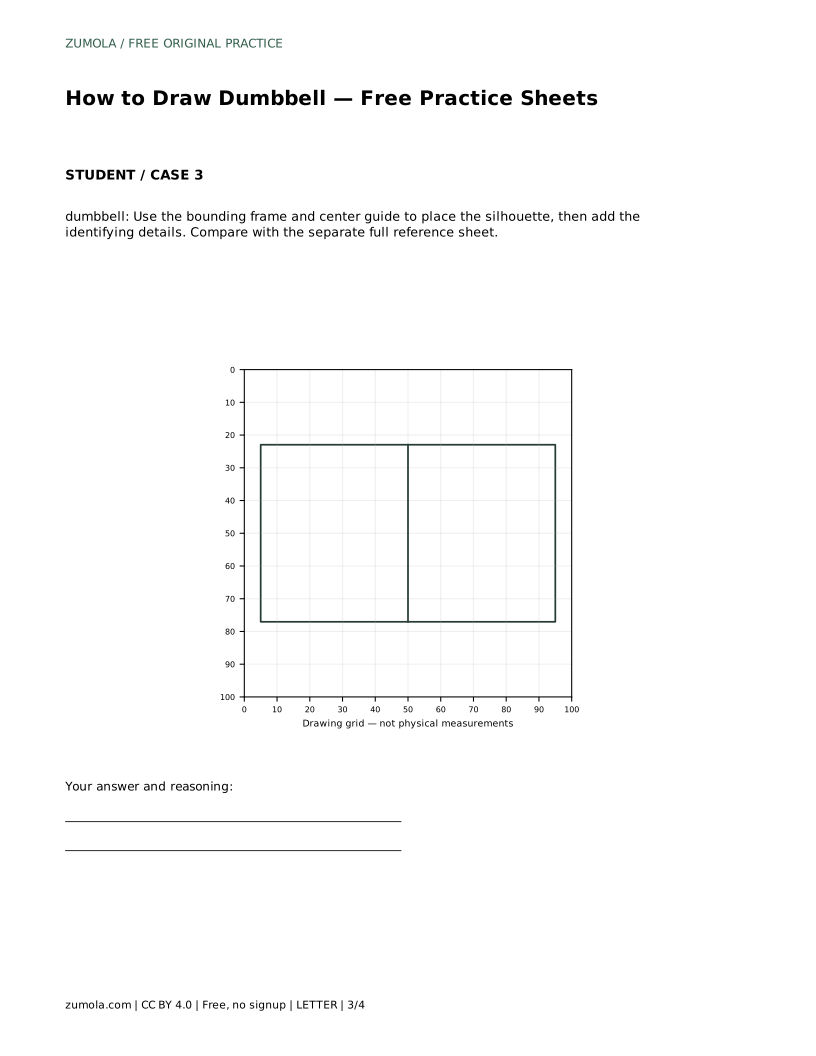
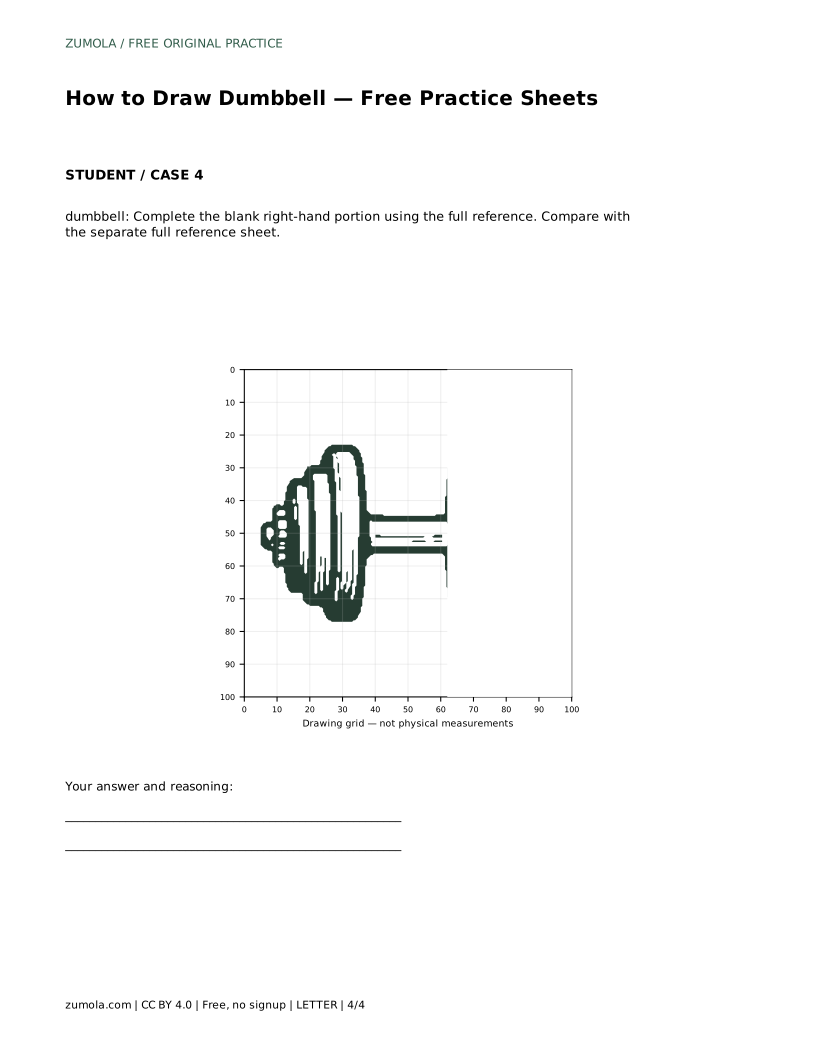
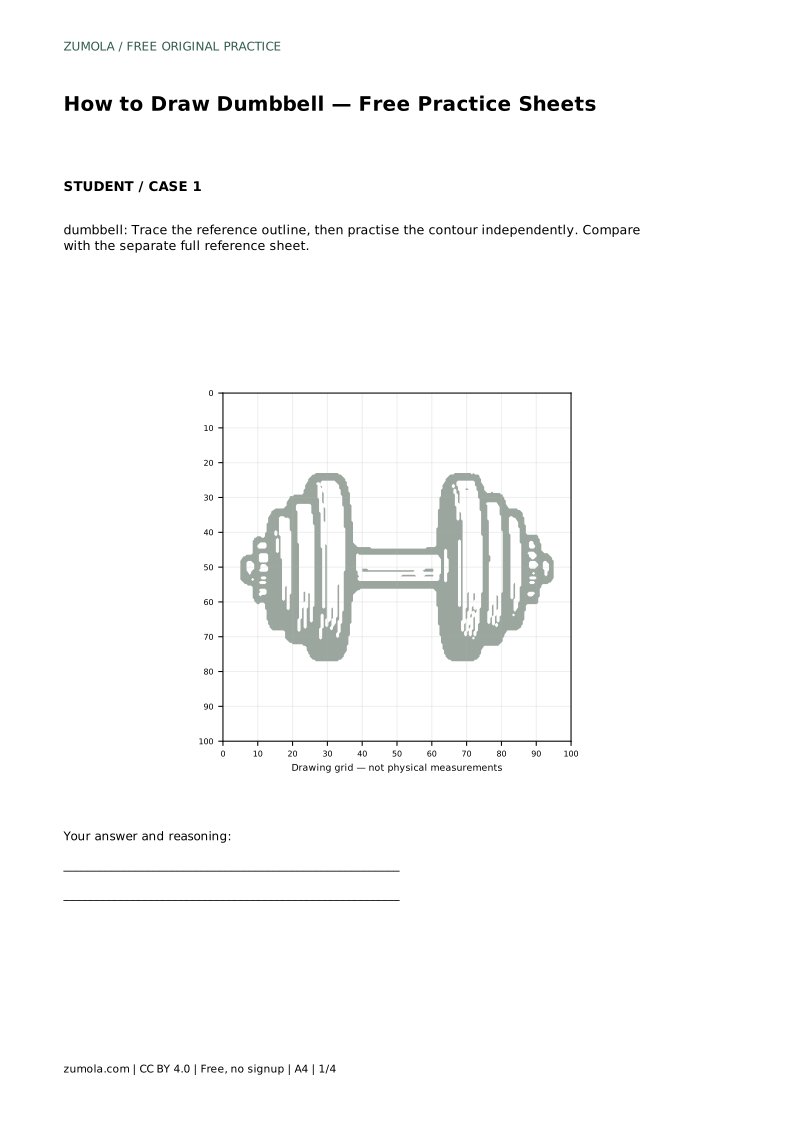
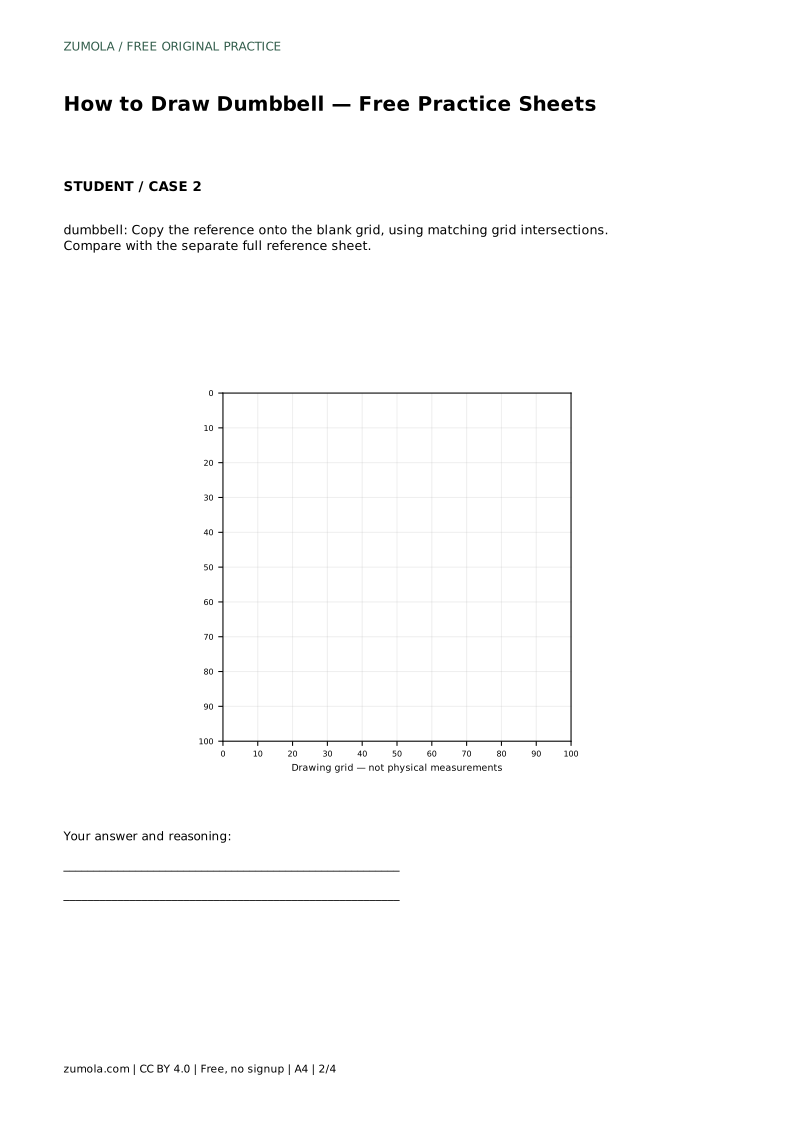
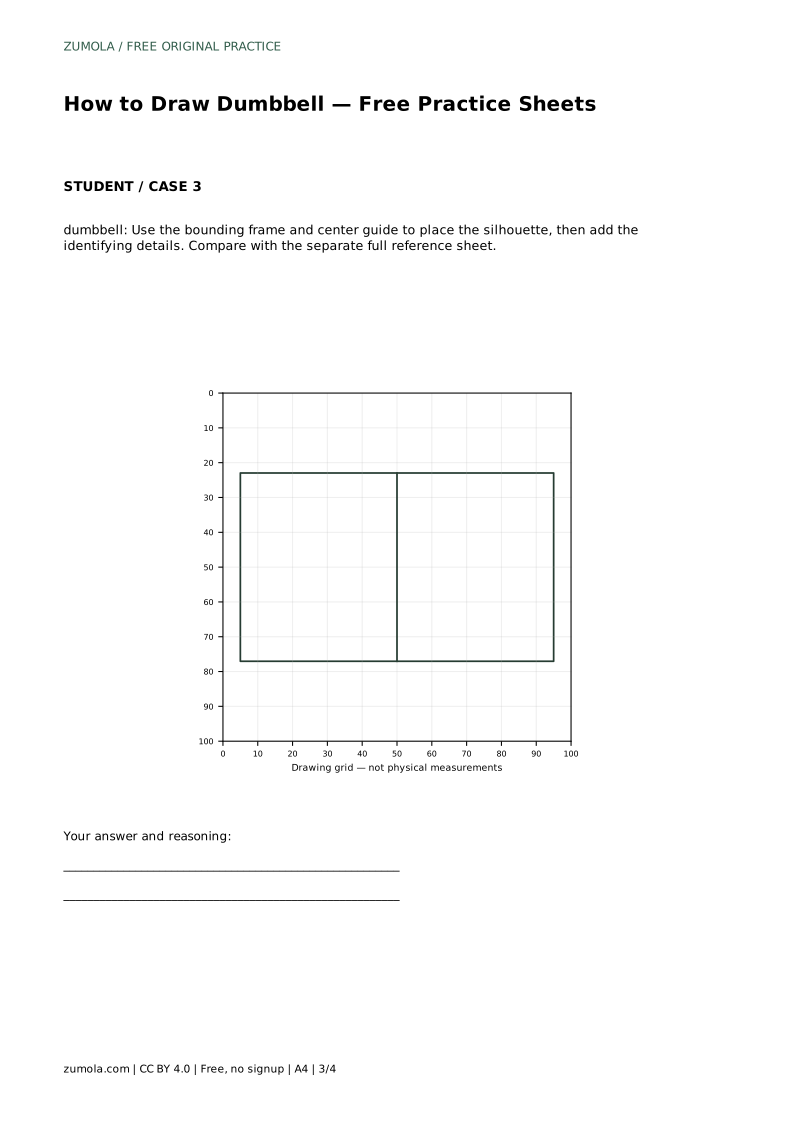
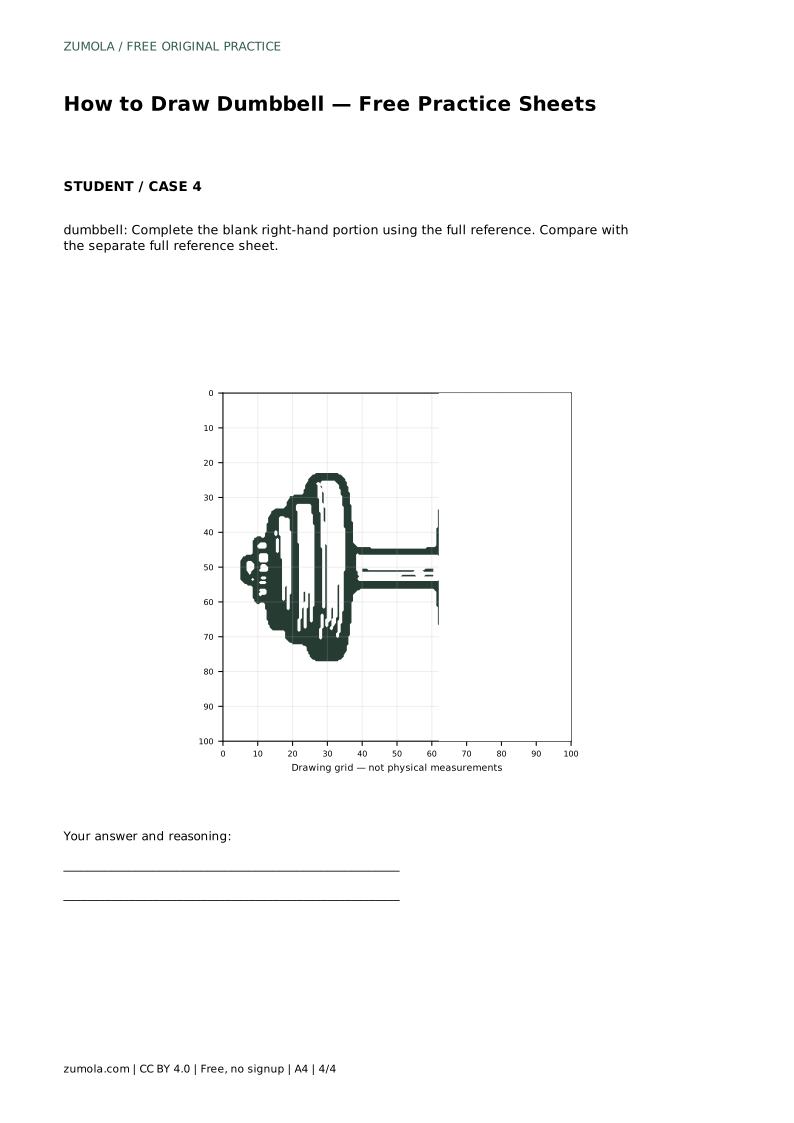
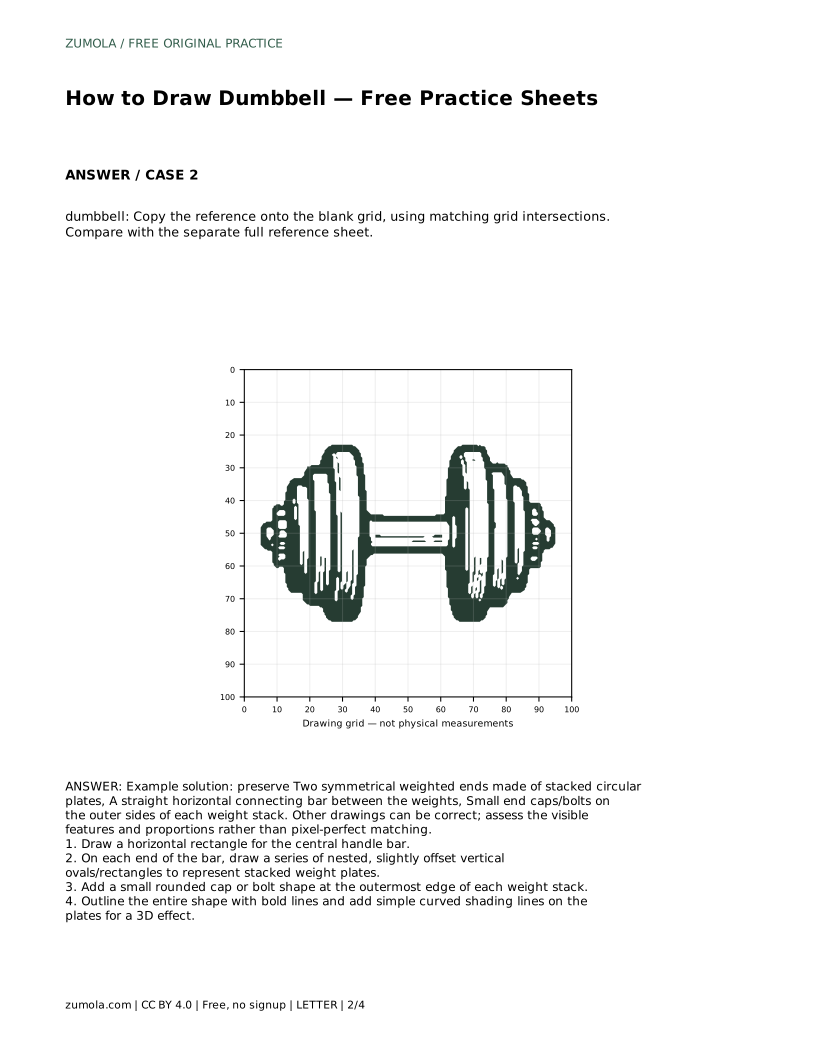
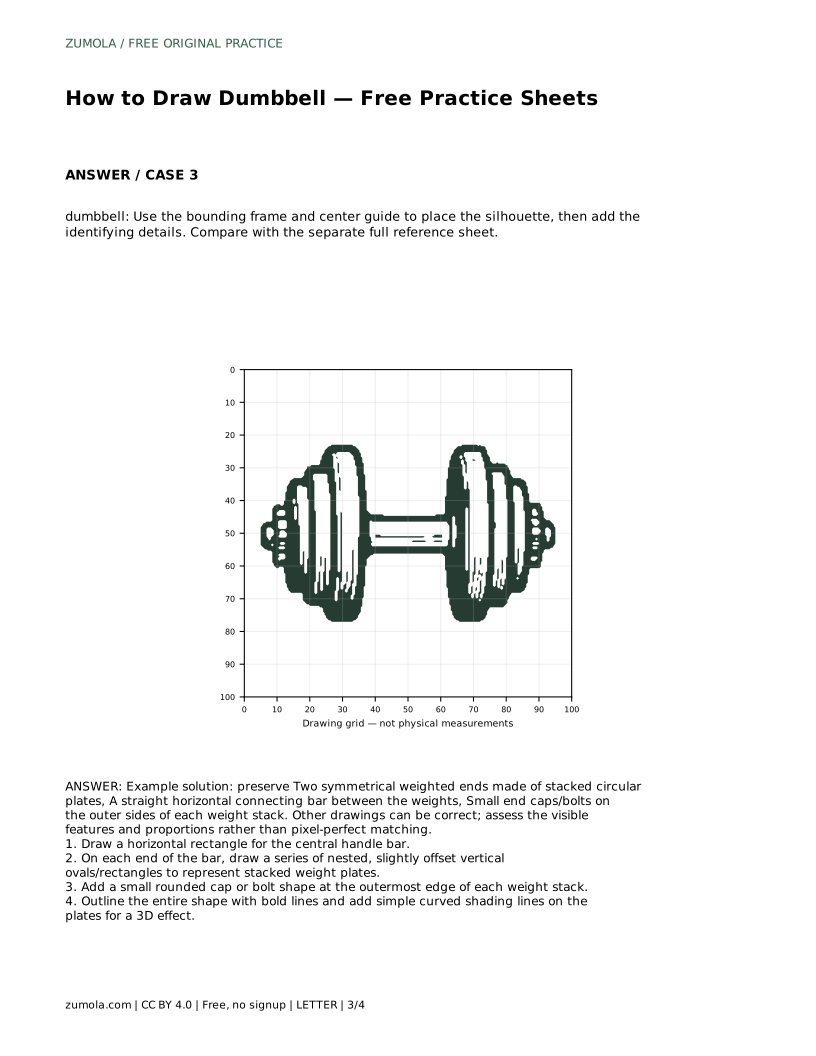
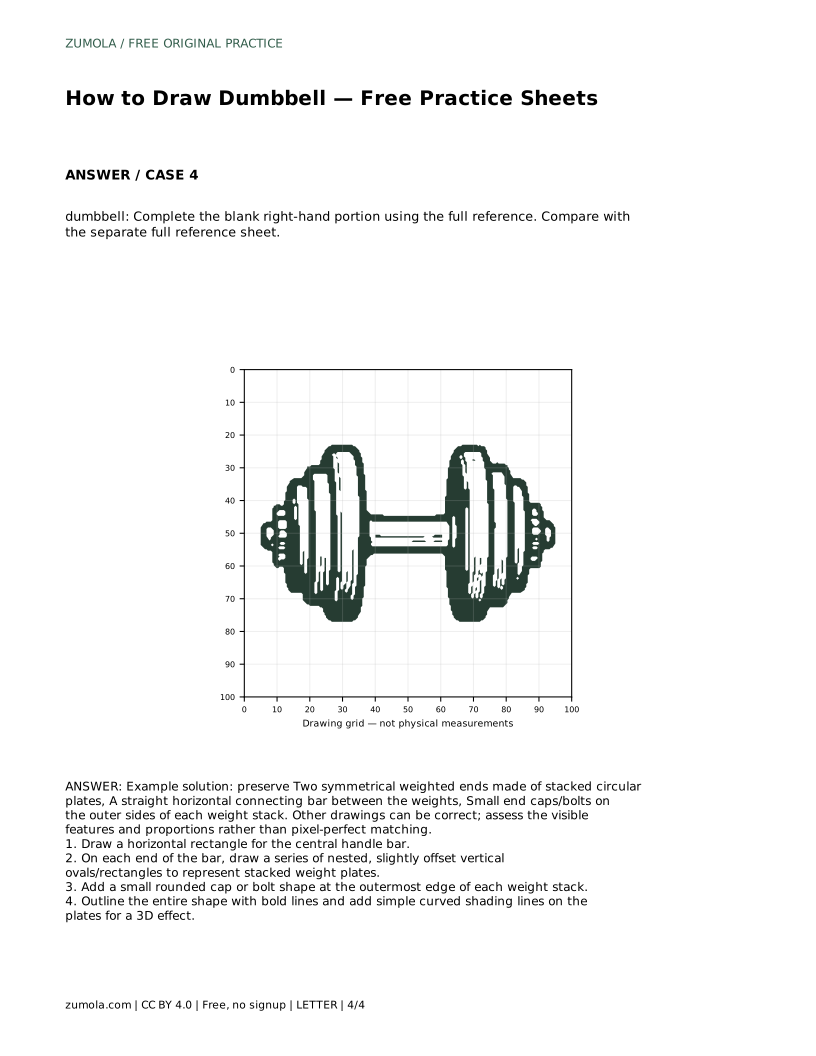
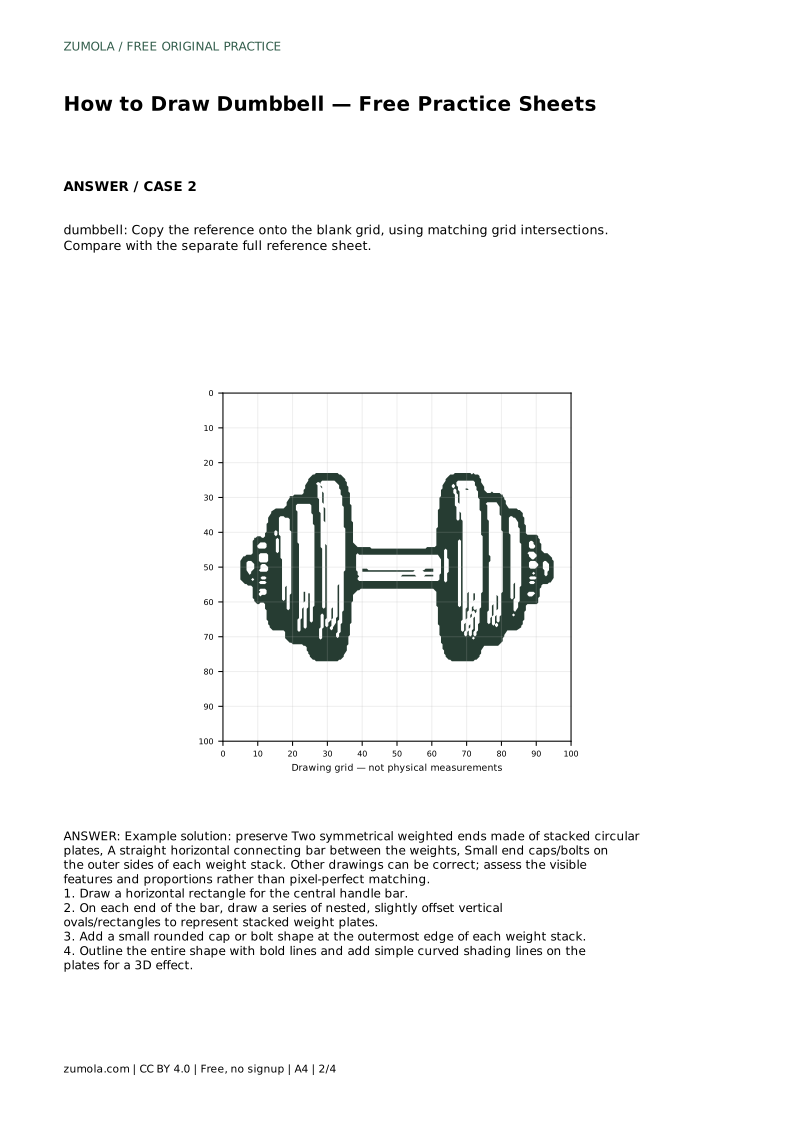
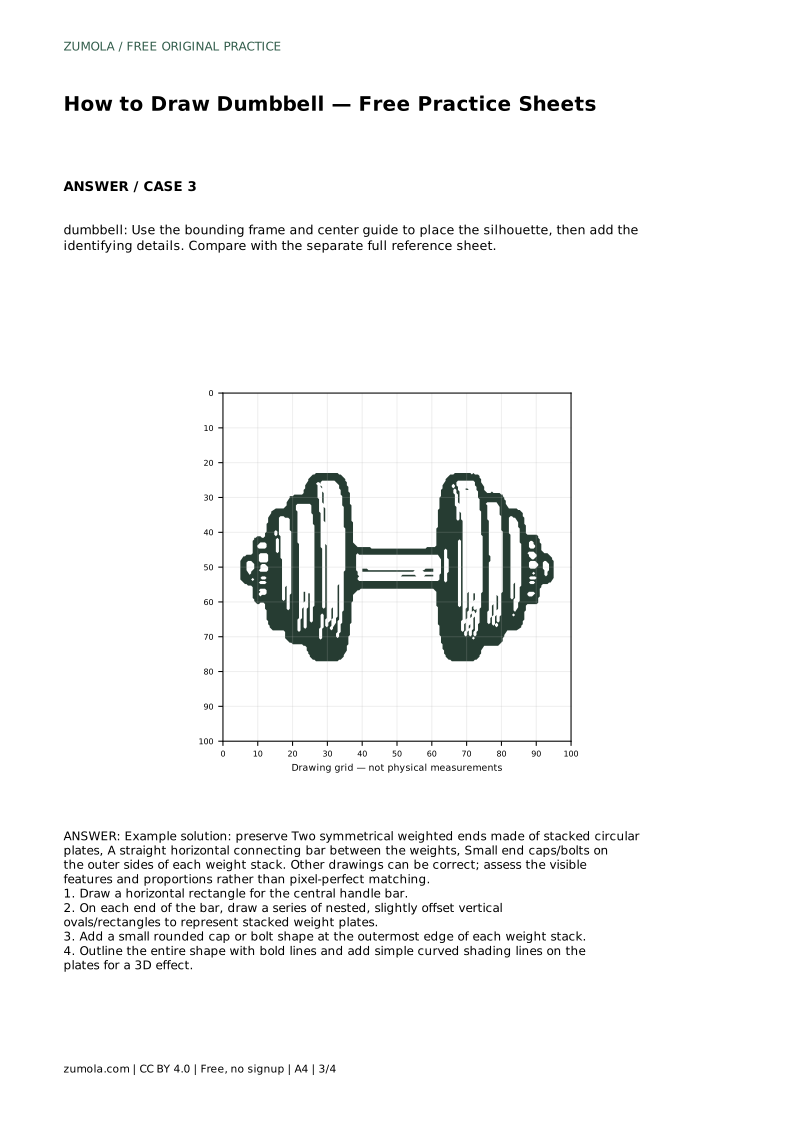
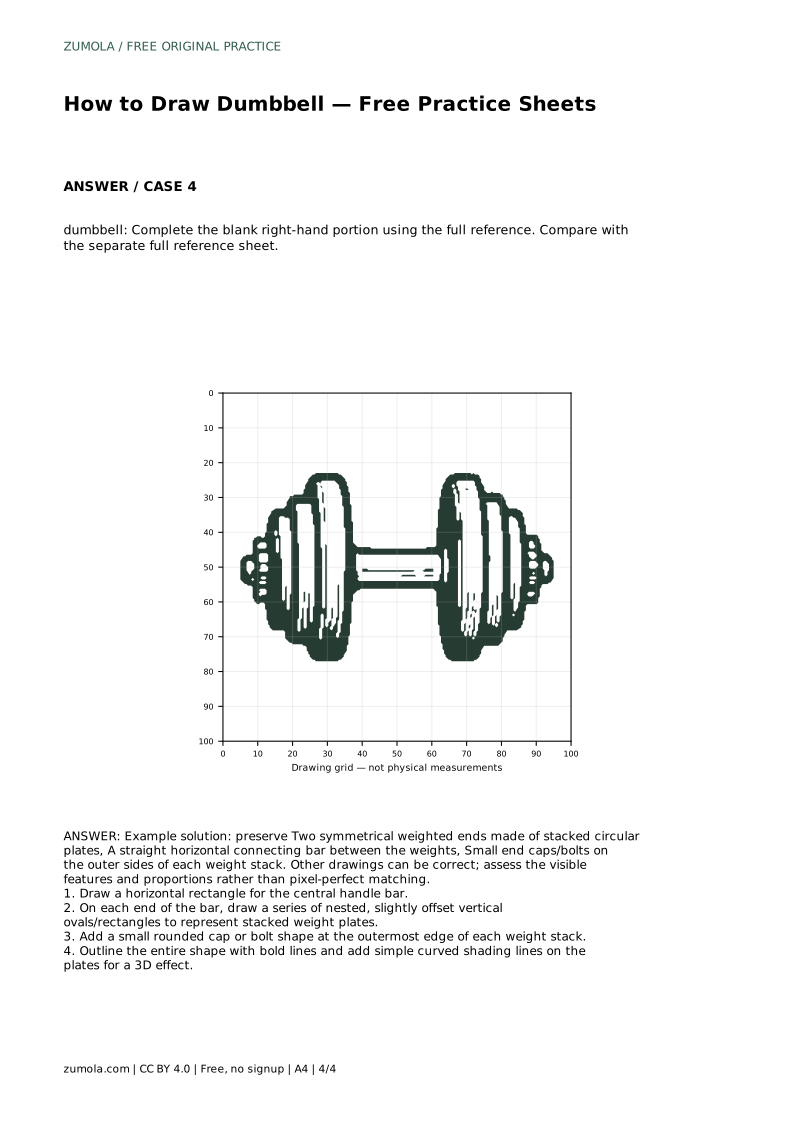
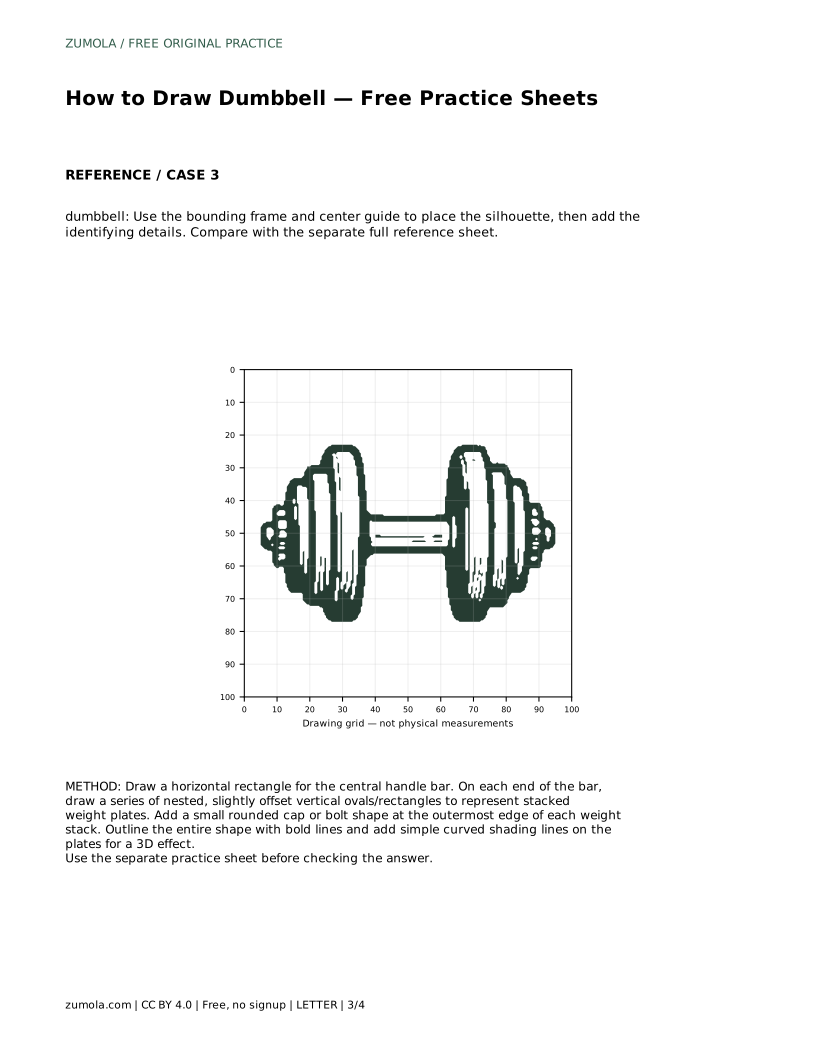
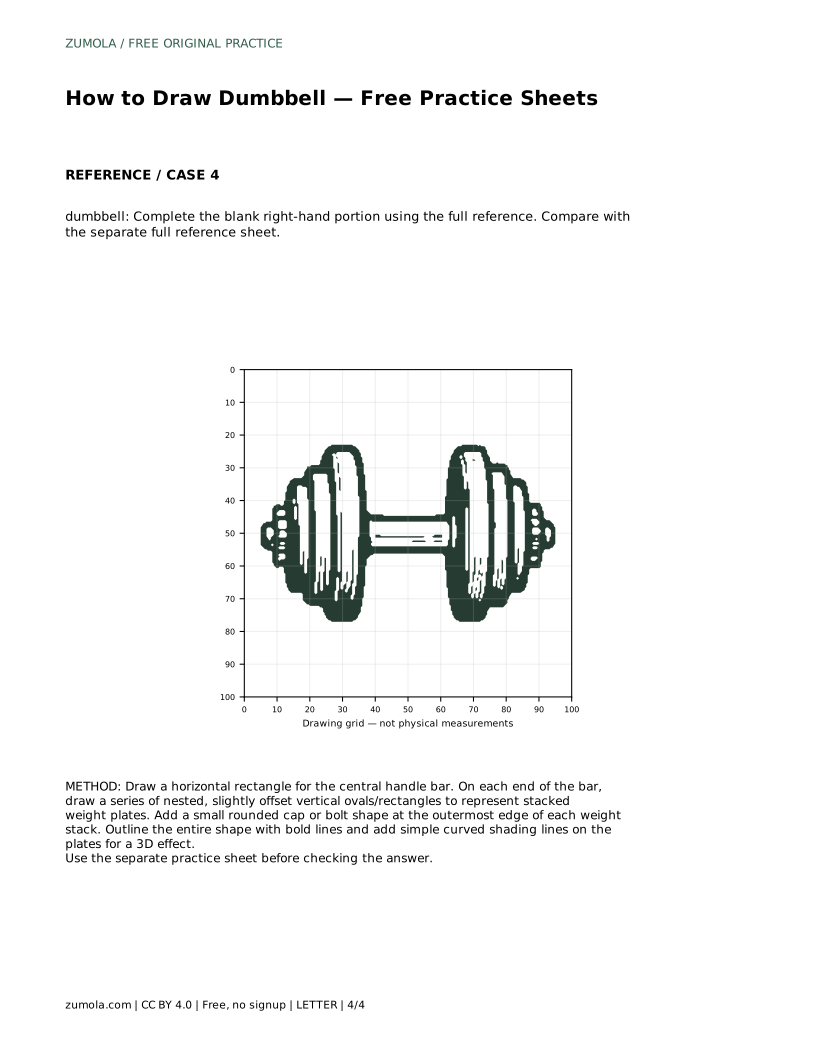
The tracing sheet asks you to follow the reference outline first, then practise the contour independently. The grid sheet asks you to copy the reference onto the blank grid using matching grid intersections. The bounding-frame sheet gives you a frame and centre guide to place the silhouette before adding details. The completion sheet gives you the left portion and asks you to finish the blank right-hand portion from the full reference.
In every format, compare your drawing with the separate full reference sheet at the end. The goal is to preserve the identifying features and sensible proportions, not to match every pixel. Different line weights, plate counts, and shading styles can all produce a correct dumbbell.
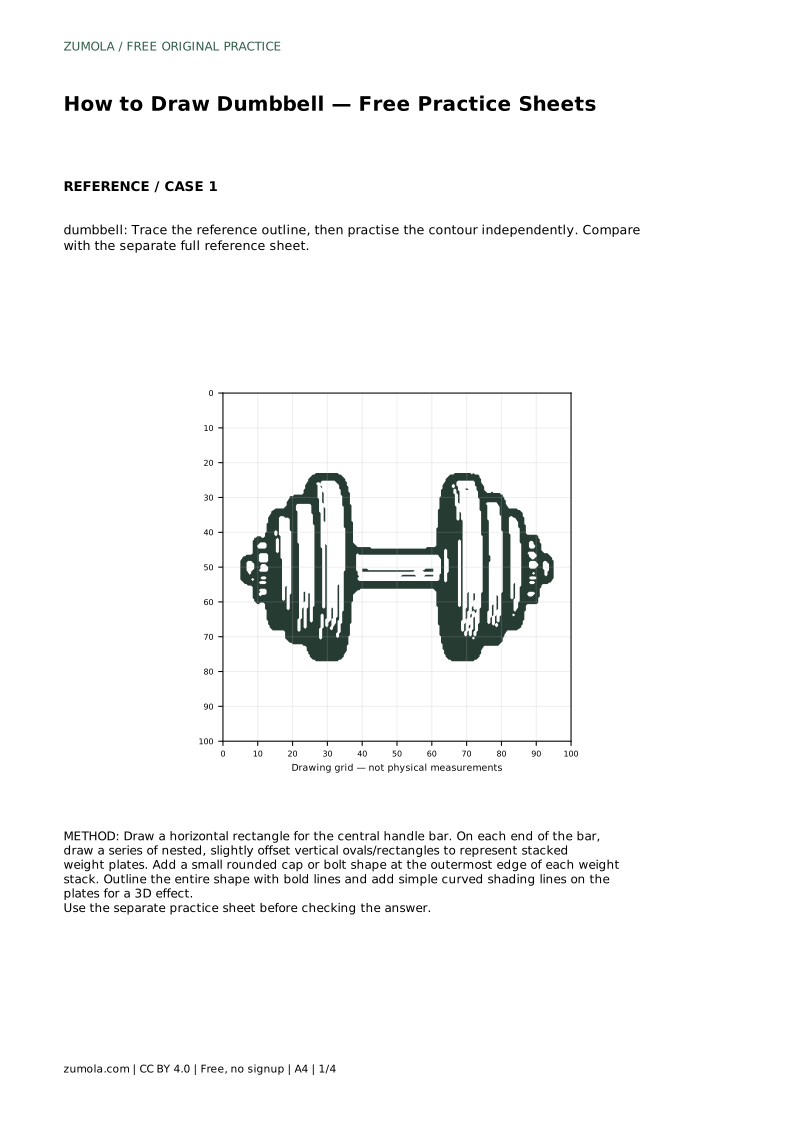
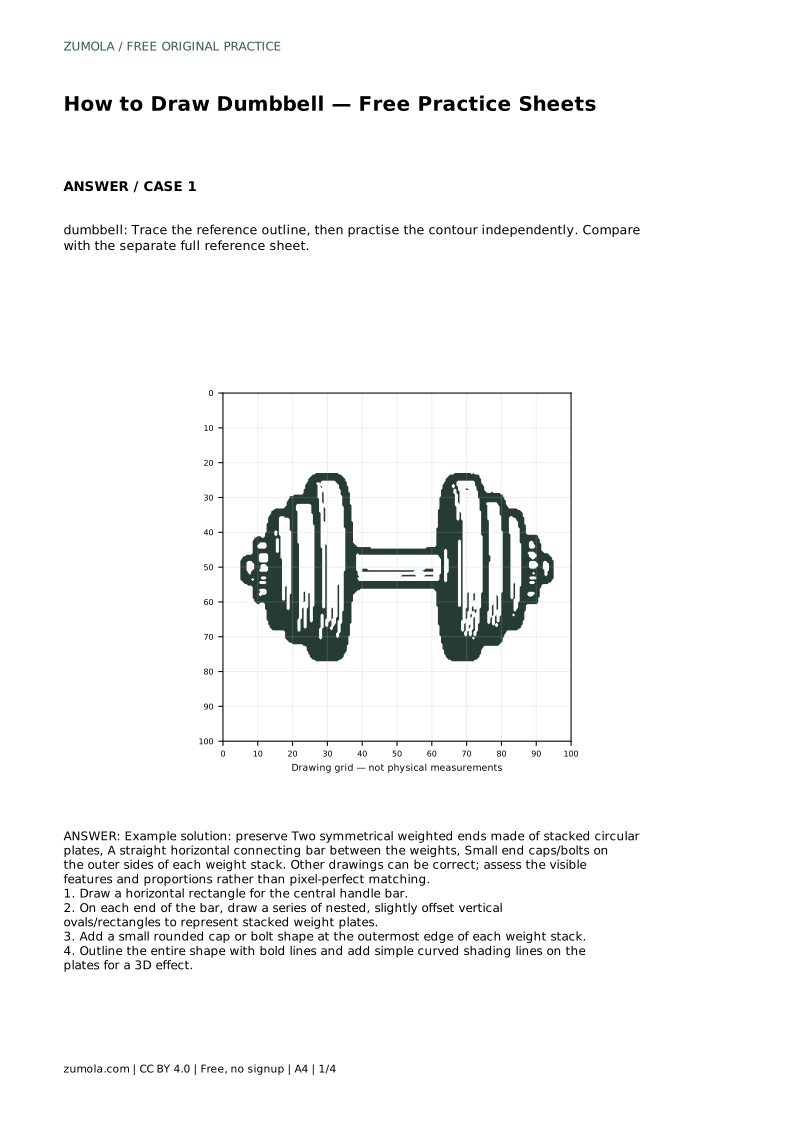
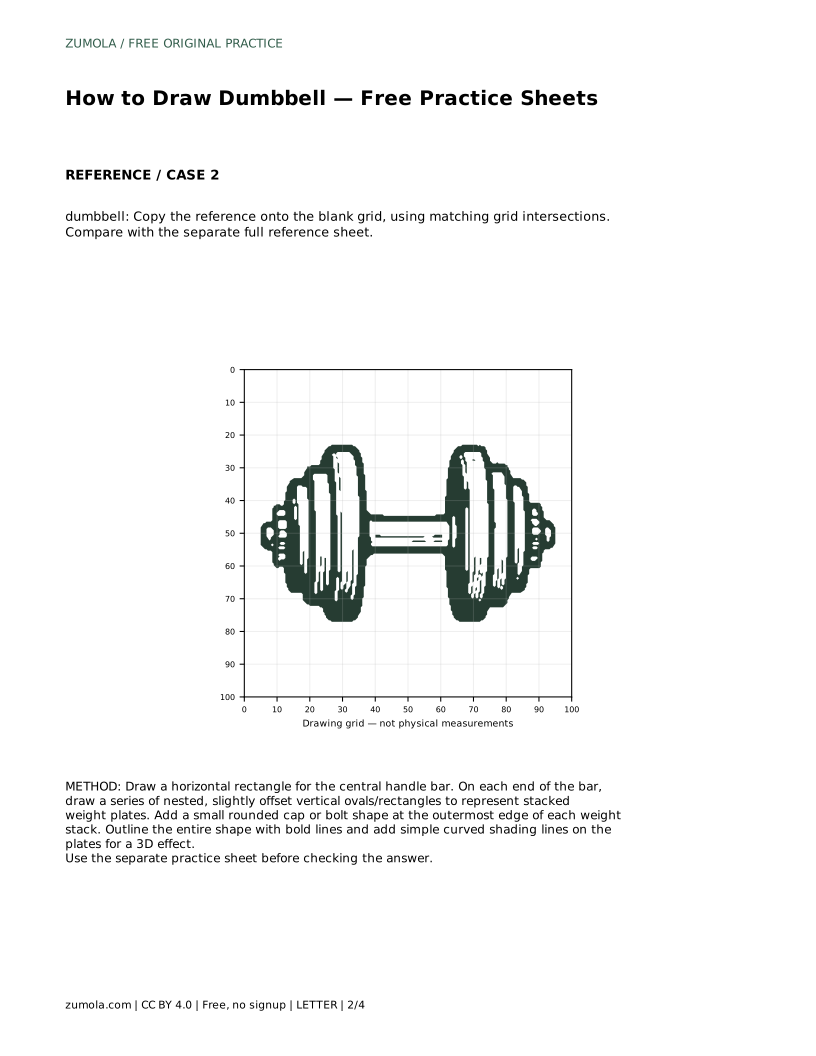
dumbbell: Trace the reference outline, then practise the contour independently. Compare with the separate full reference sheet.
Example solution: preserve Two symmetrical weighted ends made of stacked circular plates, A straight horizontal connecting bar between the weights, Small end caps/bolts on the outer sides of each weight stack. Other drawings can be correct; assess the visible features and proportions rather than pixel-perfect matching. Draw a horizontal rectangle for the central handle bar. On each end of the bar, draw a series of nested, slightly offset vertical ovals/rectangles to represent stacked weight plates. Add a small rounded cap or bolt shape at the outermost edge of each weight stack. Outline the entire shape with bold lines and add simple curved shading lines on the plates for a 3D effect.
No. The reference shows one valid arrangement. What matters is that both ends are symmetrical, the plates read as stacked discs, and the handle bar connects them level.
Shading is optional but helpful. Simple curved lines following each plate suggest roundness. Keep the shading direction consistent on both ends so the light source appears the same.
Check the visible features: two symmetrical weighted ends of stacked plates, a straight horizontal connecting bar, and small end caps on the outer sides. Then judge the proportions against the reference rather than expecting an exact match.
All drawing practice · Free coordinate paper
Original resources · CC BY 4.0 · Free for personal and classroom use with attribution.