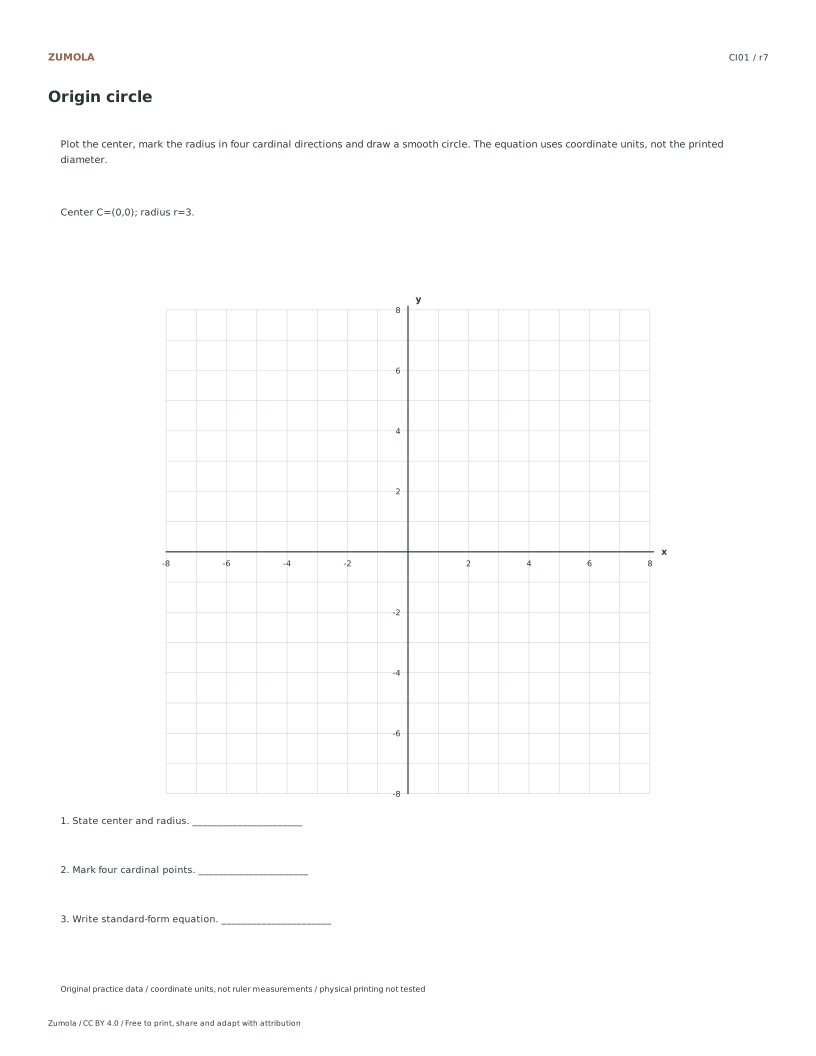
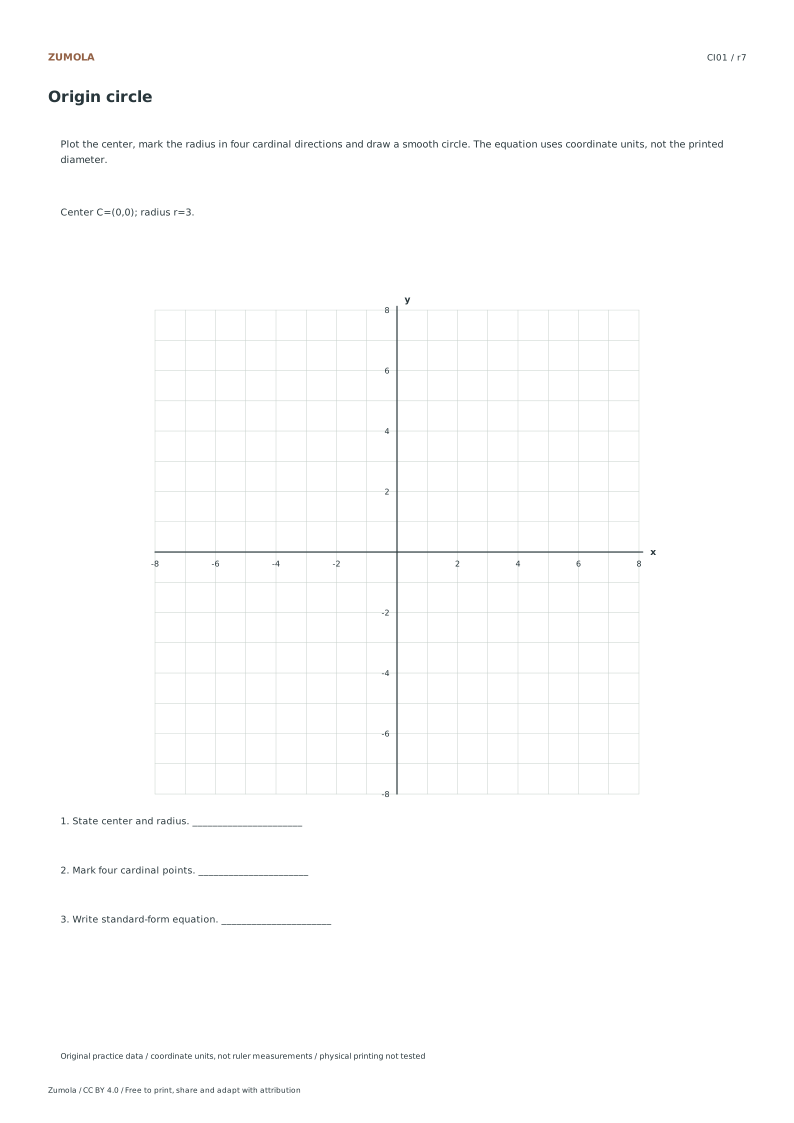
Graph four circles from center and radius. Mark the four cardinal points, write standard form and keep coordinate radius separate from printed paper size.
Graph four circles from center and radius. Mark the four cardinal points, write standard form and keep coordinate radius separate from printed paper size.
Choose Letter or A4, then download a student sheet first. Keep the separate reference or answer file closed until you have attempted the case. Every worksheet, SVG and answer is free without signup.
Choose your paper and download
Download paper size
Every worksheet and answer is free. No signup.
Free original resourceCI01
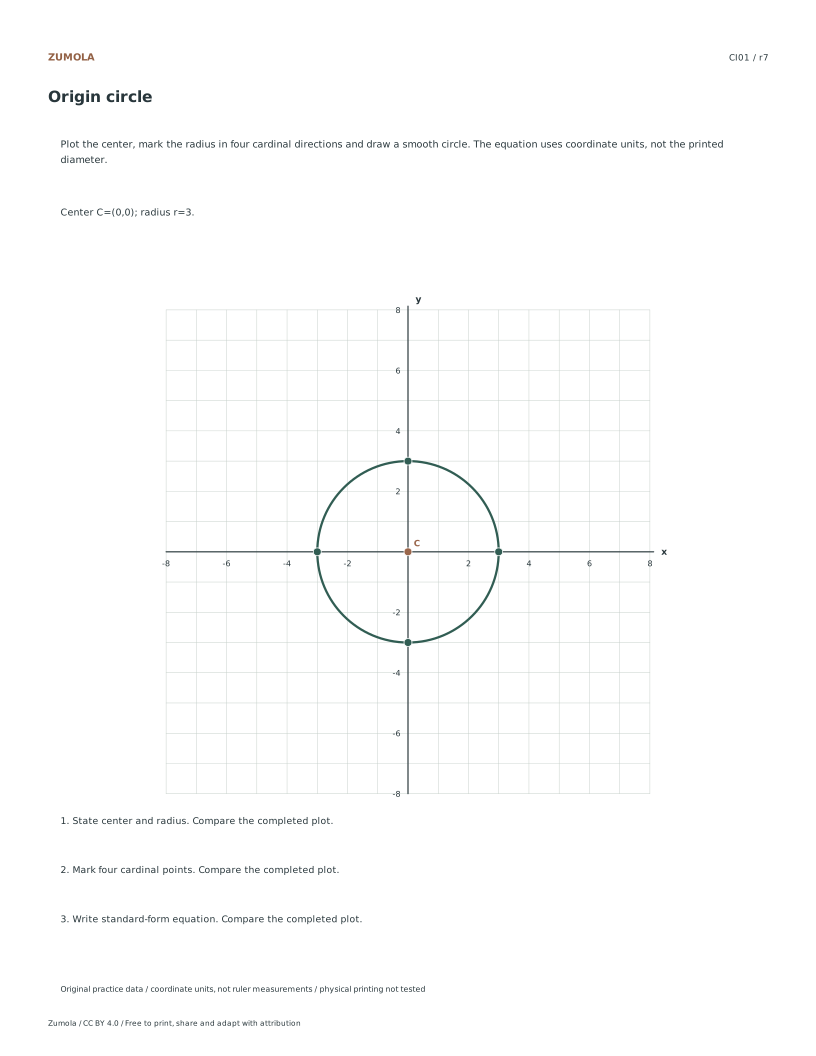
Origin circle
Original worksheet collection. Letter or A4 PDF and editable SVG.
All examples use original fictional data and coordinate units. They are practice material, not measured classroom results, published questions or evidence about real people.
Check the first case
CI01: Origin circle
Check
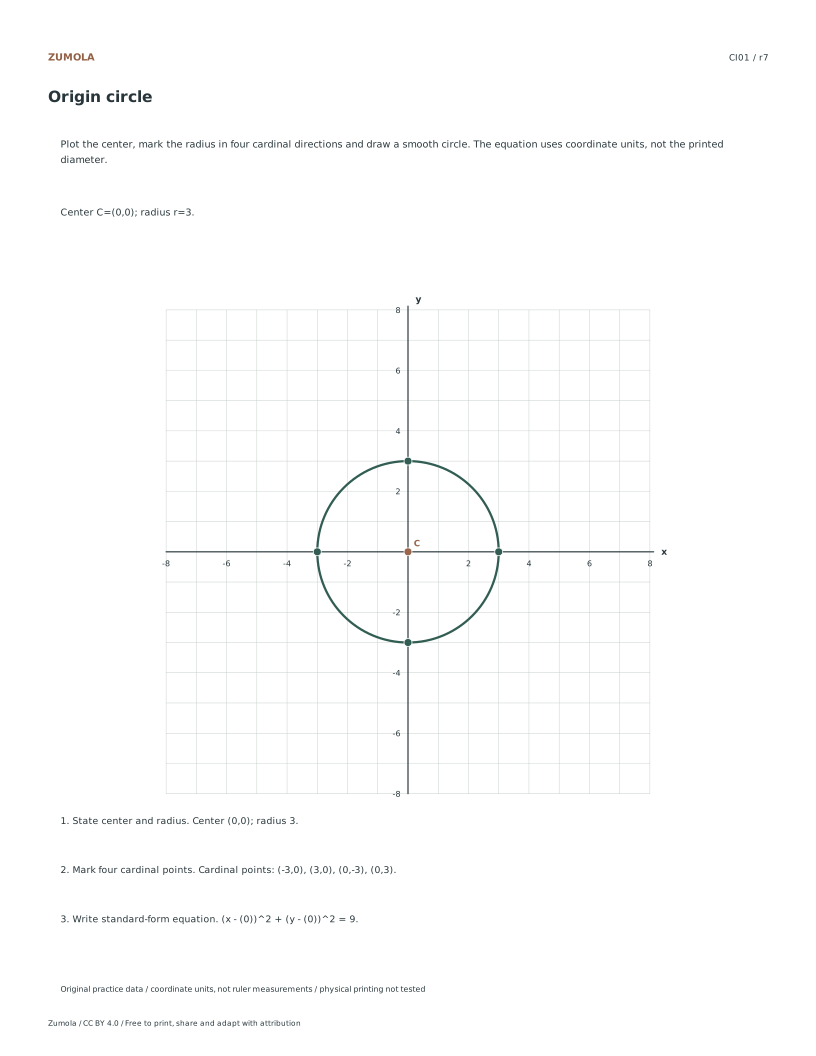
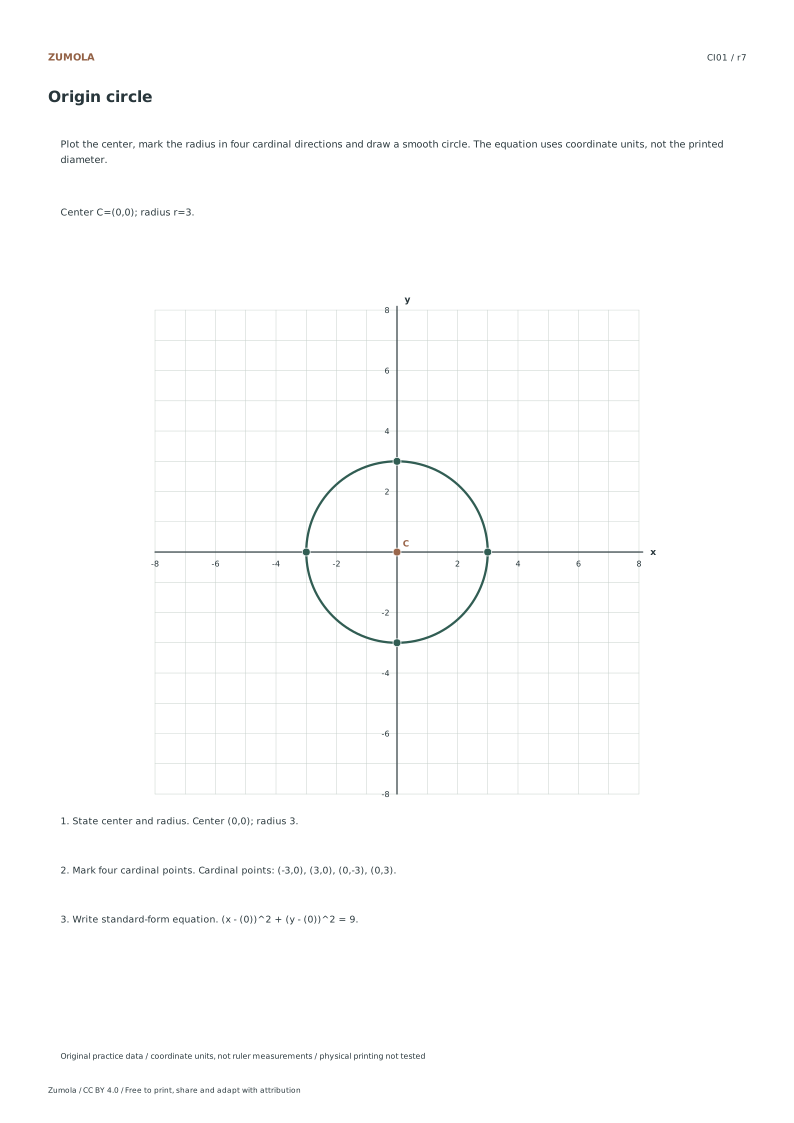
Worked result
1
Center (0,0); radius 3.
2
Cardinal points: (-3,0), (3,0), (0,-3), (0,3).
3
(x - (0))^2 + (y - (0))^2 = 9.
The first case shows the checking pattern. Individual answer files contain the completed graph and result for every case.
Work through the graph
Locating the Center Point
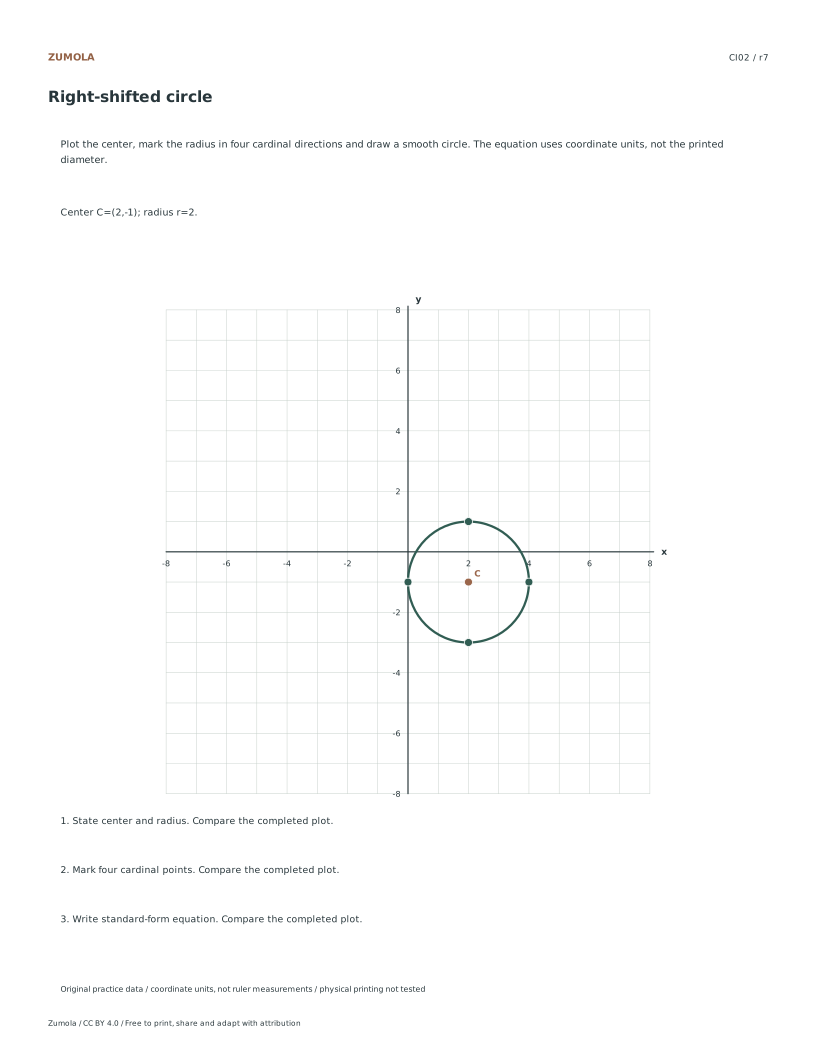
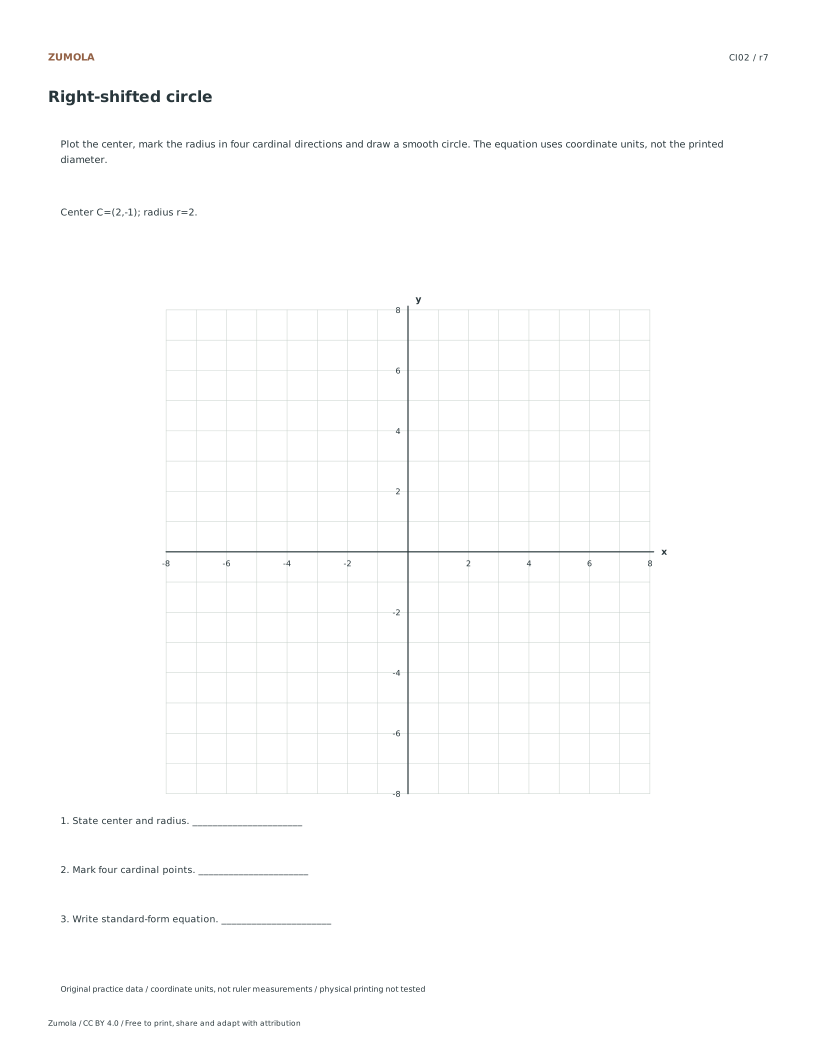
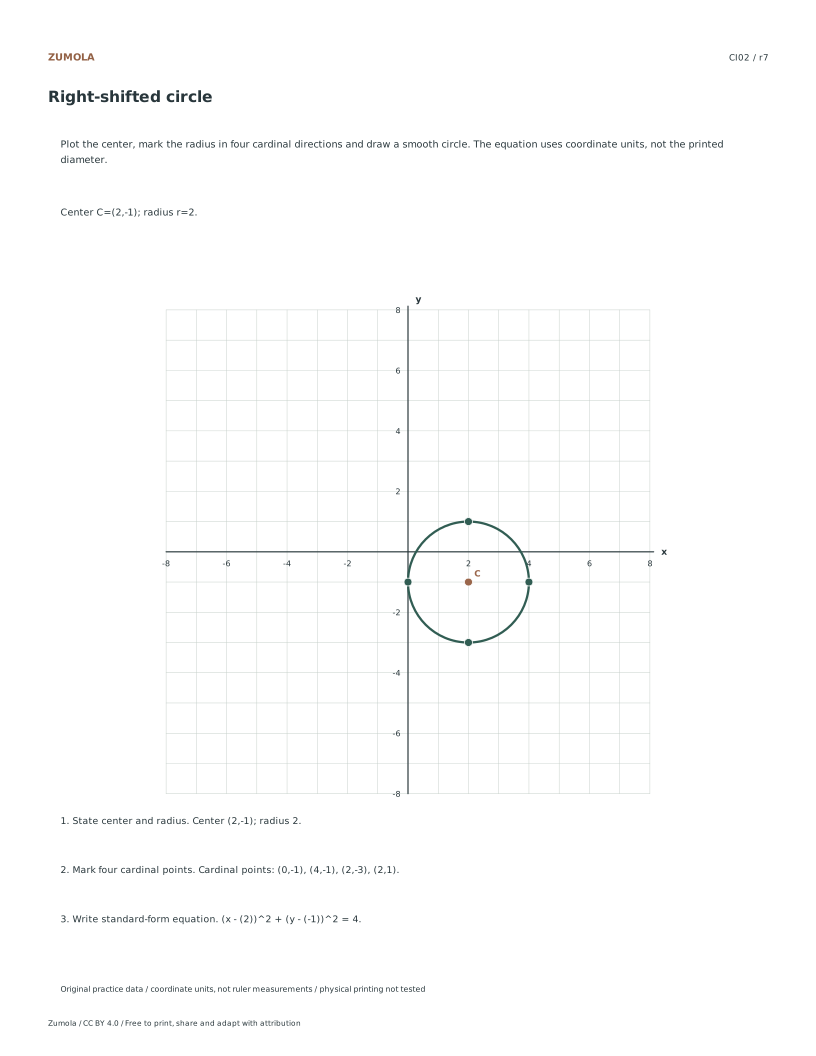
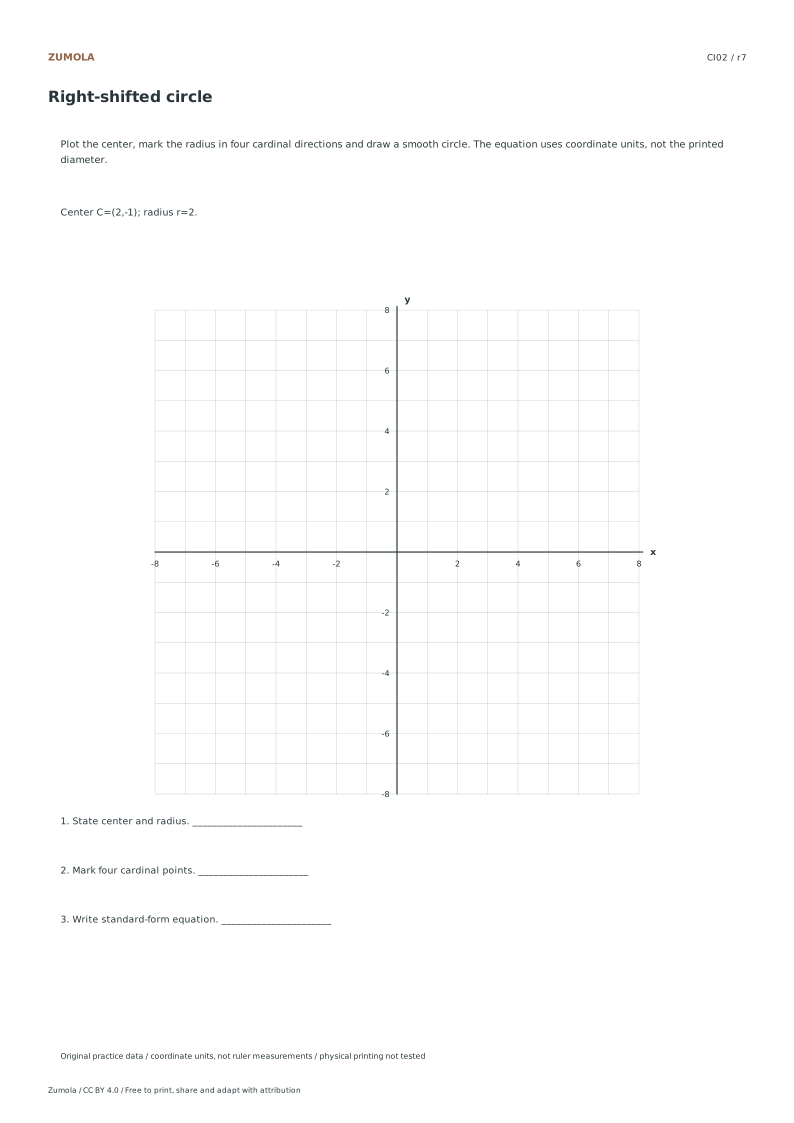
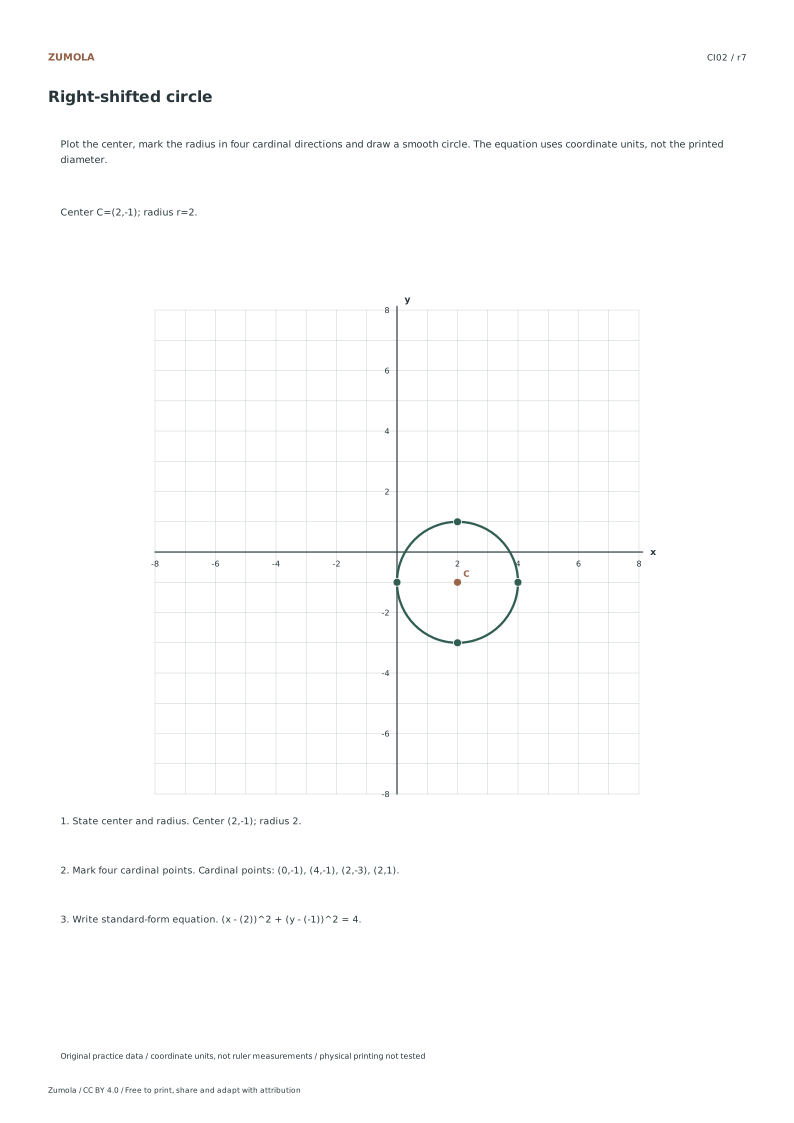
Begin by identifying the center coordinates provided in the reference PDF for each specific case. For instance, the Origin circle uses center zero zero while the Right-shifted circle uses two negative one. Mark this exact point on your graph paper using a sharp pencil. This step is crucial because the entire circle geometry relies on this fixed anchor point. Do not estimate the location based on visual approximation. Use the grid lines to ensure precision. The center is not the same as the paper diameter. Accurate placement here prevents cumulative errors in subsequent steps. Verify the coordinates against the supplied values before proceeding to the next phase of the construction process.
Marking Cardinal Radius Points
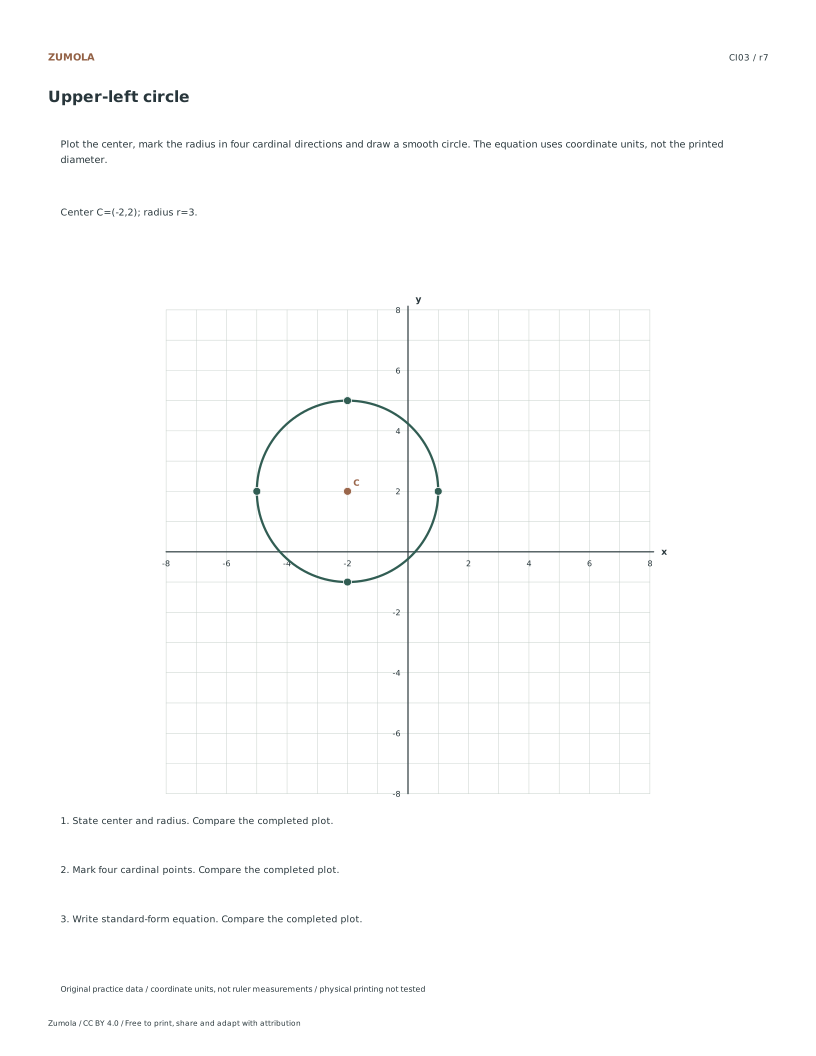
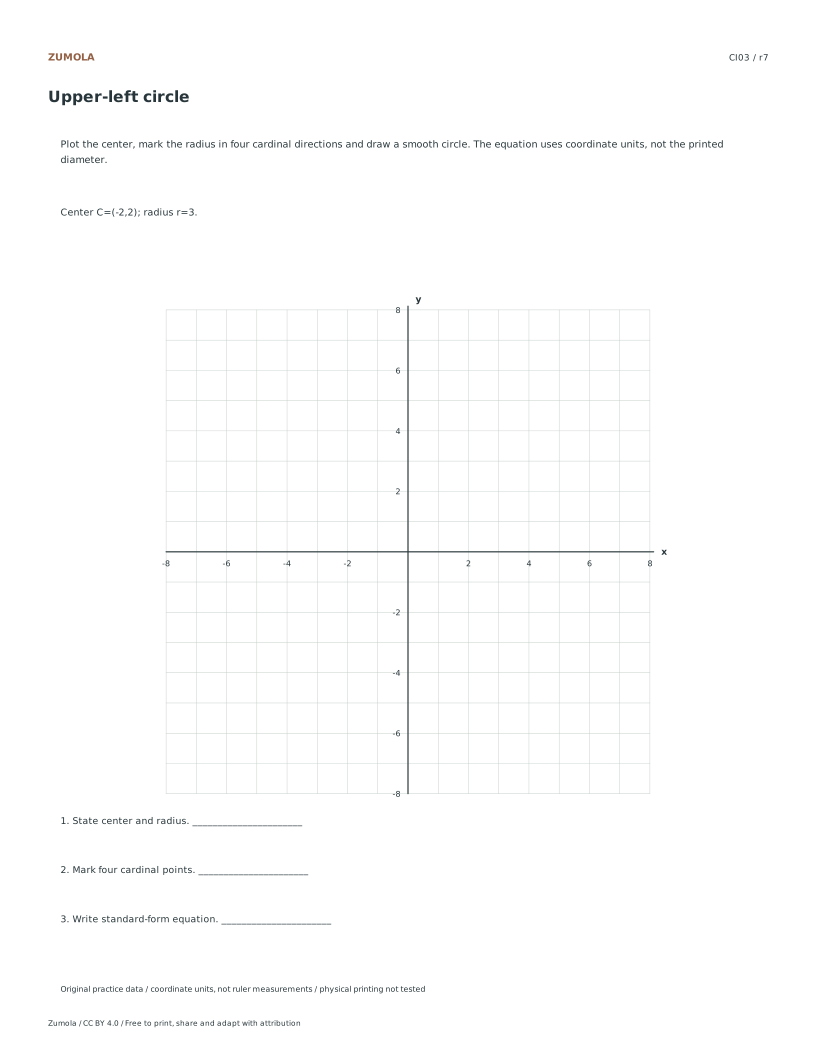
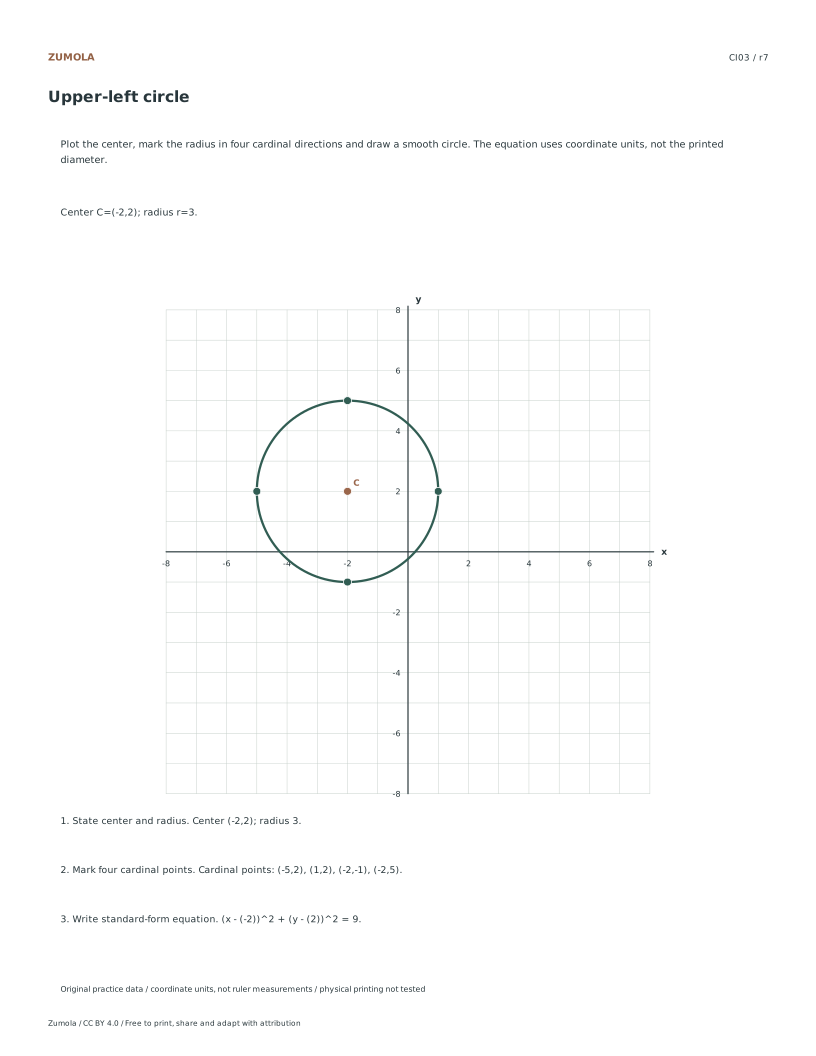
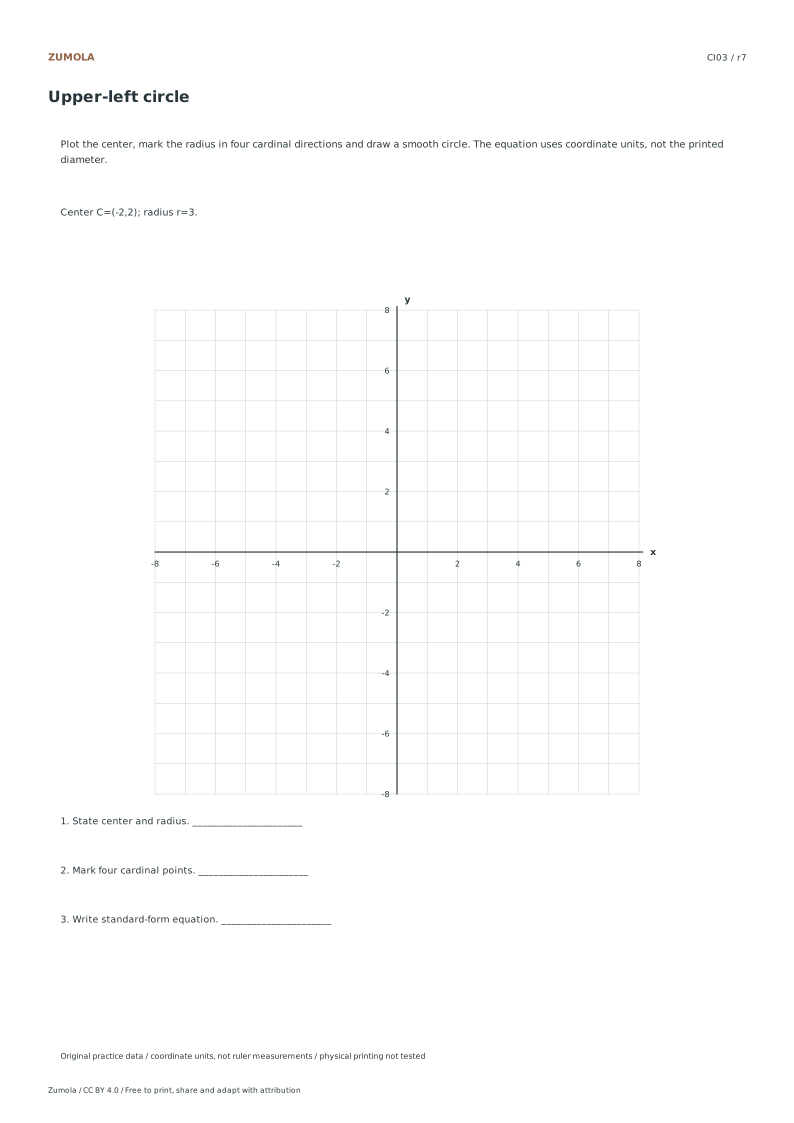
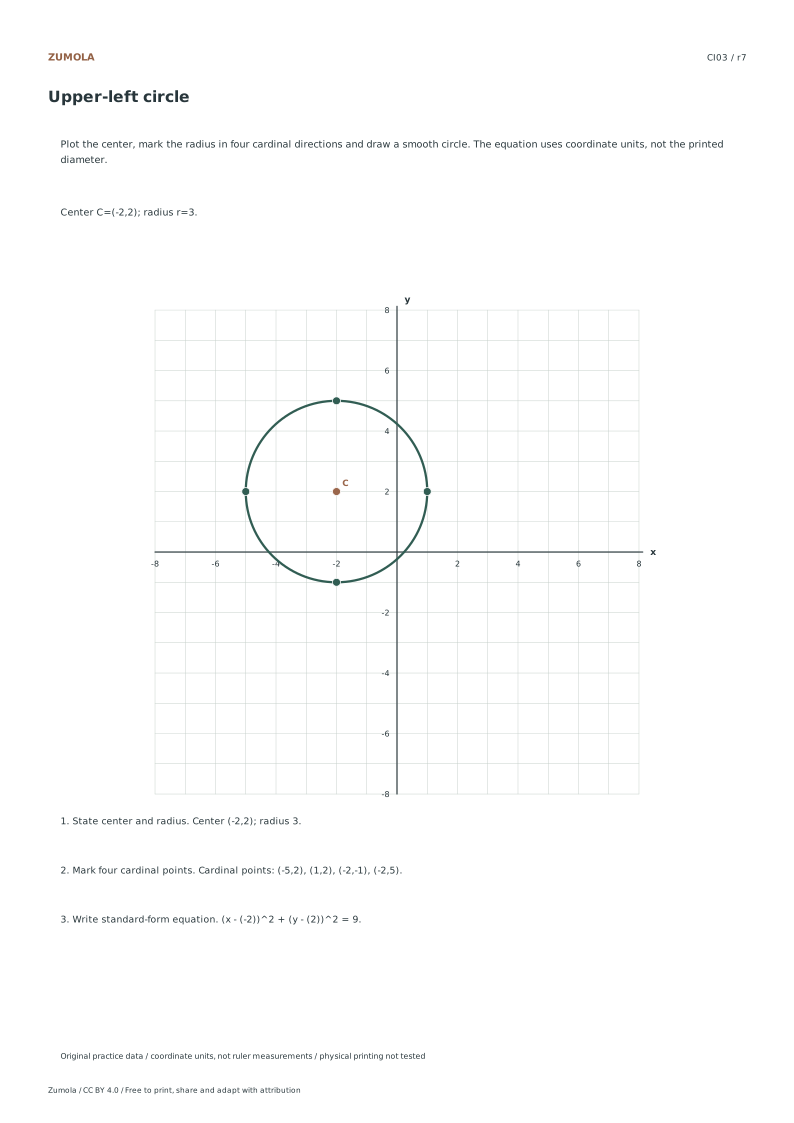
Once the center is marked, measure the radius distance in four cardinal directions. For the Upper-left circle, move three units up, down, left, and right from center negative two two. Mark these four points clearly. These points define the boundary of the circle. Remember that the radius is a numerical value derived from listed coordinates, not a physical measurement of the printed paper. Use a ruler to ensure straight lines from the center to each cardinal point. This creates a cross shape that guides the final sketch. Precision in these four marks ensures the circle remains symmetrical and true to the mathematical definition provided in the original fictional practice material.
Sketching the Smooth Circle
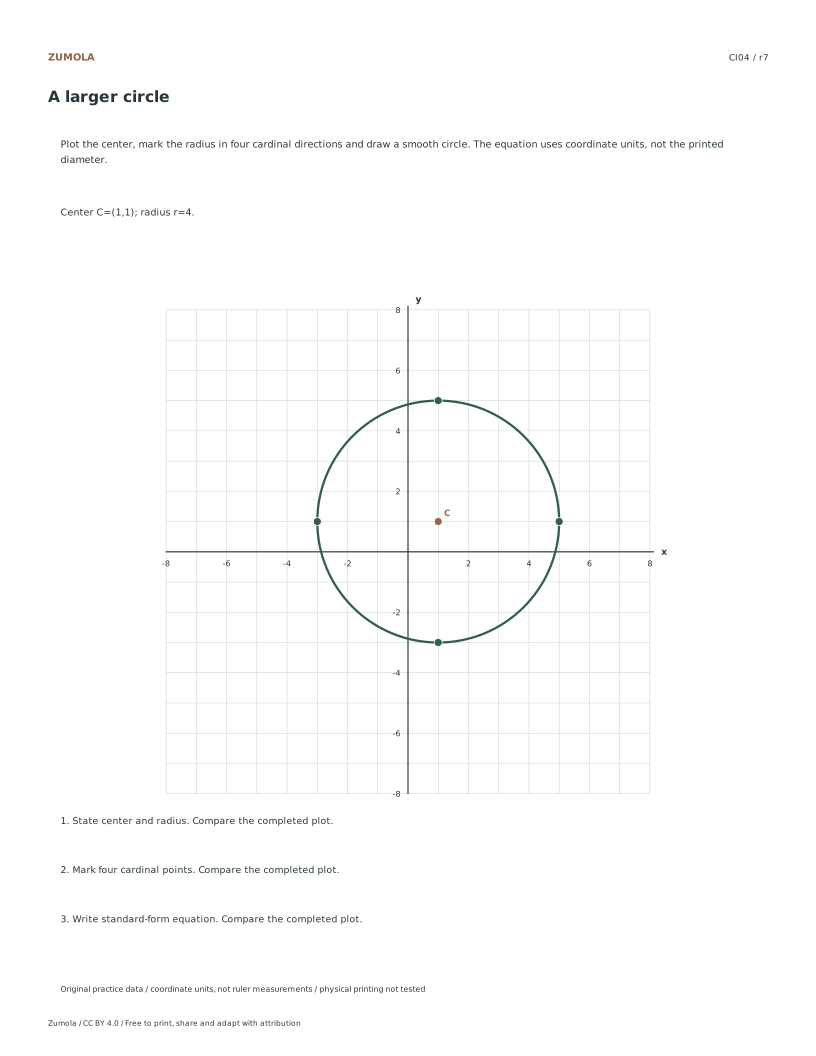
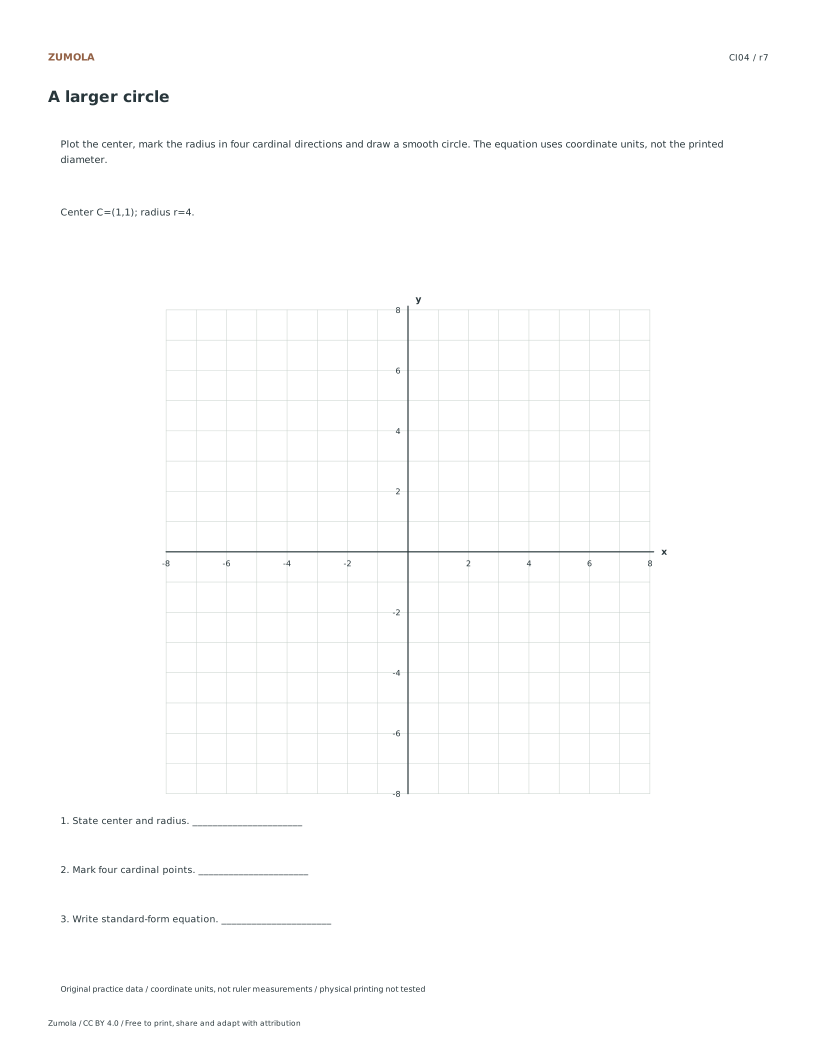
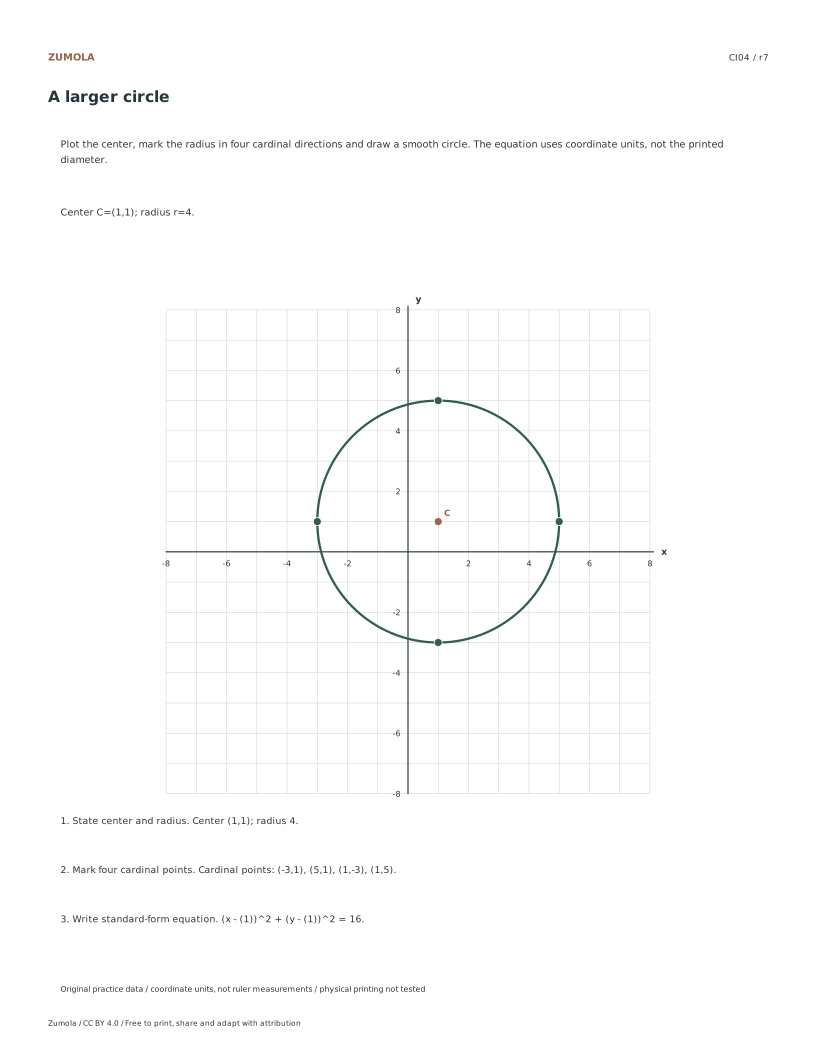
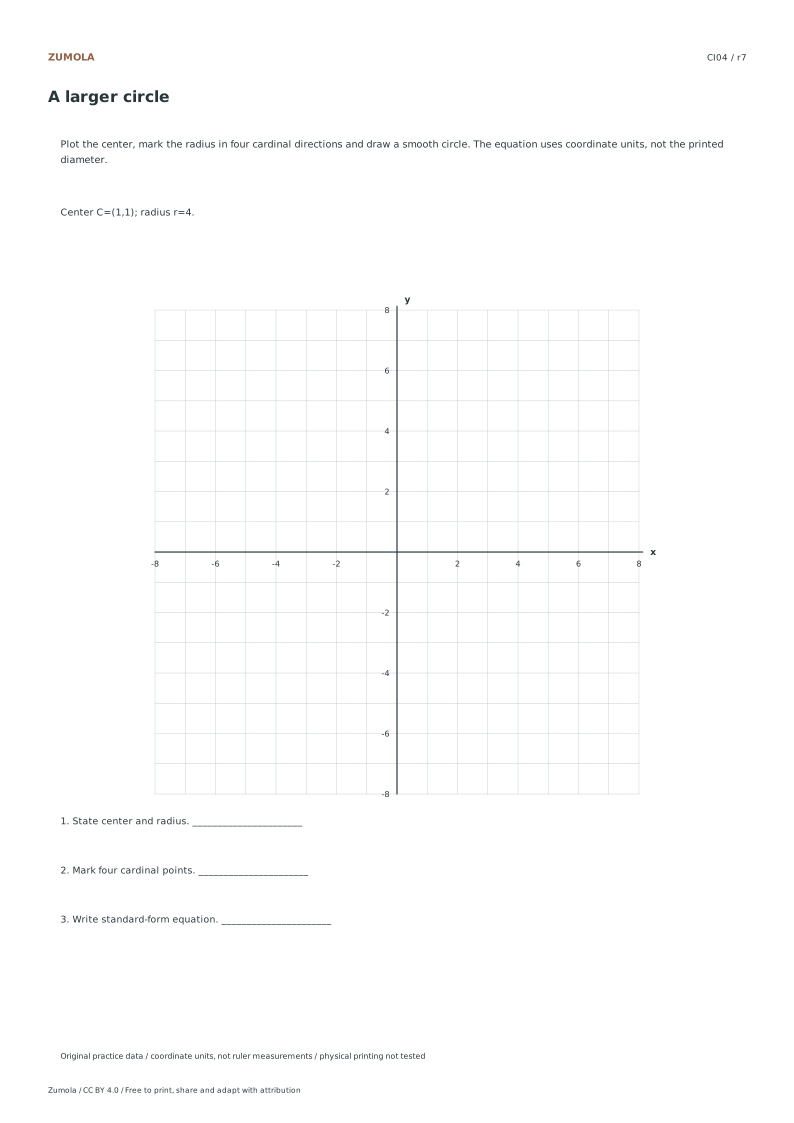
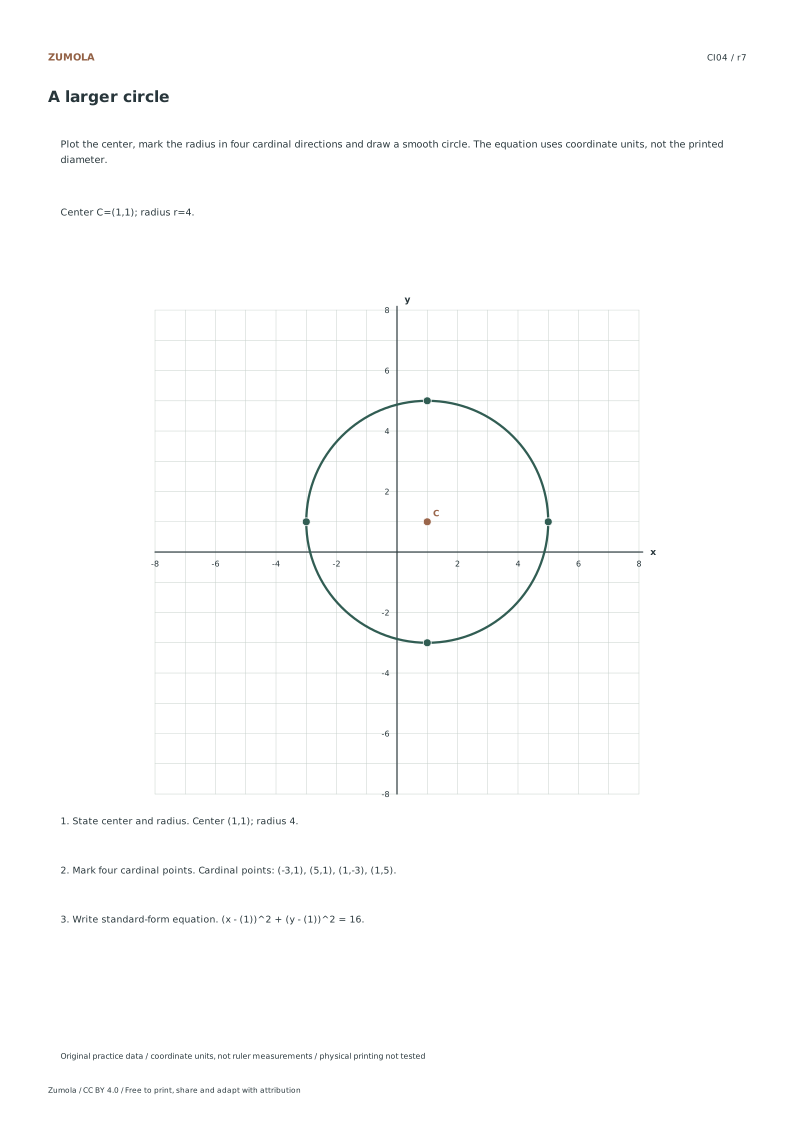
Connect the four cardinal points with a smooth, continuous curve. Avoid jagged lines or sharp corners. The circle should pass evenly through all four marked points. For the larger circle with radius four, ensure the curve extends sufficiently from center one one. Use a light hand to allow for adjustments if necessary. The goal is to represent the equation x minus h squared plus y minus k squared equals r squared visually. Do not rely on the physical diameter of the printed sheet as a guide. The listed coordinates determine the answer. Check your sketch against the answer PDF to verify accuracy. This visual representation completes the geometric construction for each original fictional case.
Checks that catch common errors
Watch for
Check instead
Confusing the physical paper diameter with the numerical radius value.
Always use the numerical radius provided in the reference PDF, such as three for the Origin circle, regardless of the printed page size.
Estimating the center location without using the grid coordinates.
Plot the exact integer center coordinates, like two negative one for the Right-shifted circle, using the grid lines for precise placement.
Drawing a jagged or uneven circle through the cardinal points.
Sketch a smooth curve that passes evenly through the four marked cardinal points to accurately represent the circle definition.
Keep the labels and margins readable
Choose the PDF that matches your paper. Print at Actual size / 100% and turn off Fit, Shrink and browser headers. SVG is editable but an editor can rescale it; the PDF is the simpler print route. Physical printer, classroom and curriculum tests have not been completed.
Useful answers
How do I mark a circle accurately?
Plot the center, then move the radius units left, right, up and down. Use those four points to guide a smooth circle.
Does a printed diameter equal 2r?
Only if physically printed at the intended scale. The exercise radius is defined by coordinate units.
What is standard form?
For center (h,k) and radius r, use (x-h)^2+(y-k)^2=r^2.
Are the answer files and editable graphs free?
Yes. The individual student, reference and answer files plus collection packs are free without signup. Credit Zumola under CC BY 4.0 when sharing or adapting.
Optional Google Analytics helps us understand which free resources are useful. It is off until you allow it. Drawing tools and downloads work with either choice. Privacy details