Free original resources
Landscape Drawing: Organise Foreground, Middle Ground and Background
Learn a four-step landscape drawing method using a low horizon, layered ridges, one foreground subject and restrained depth cues, with a rubric for judging results.
Free resources
Letter & A4
PDF & SVG
Letter & A4
PDF & SVG
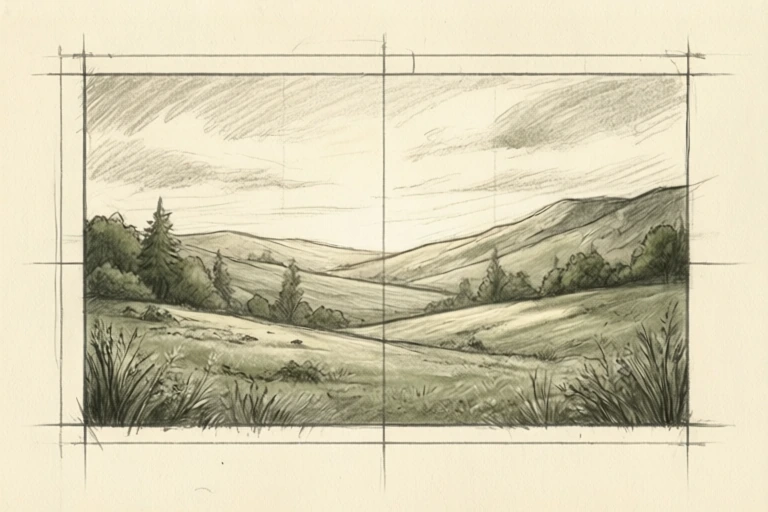
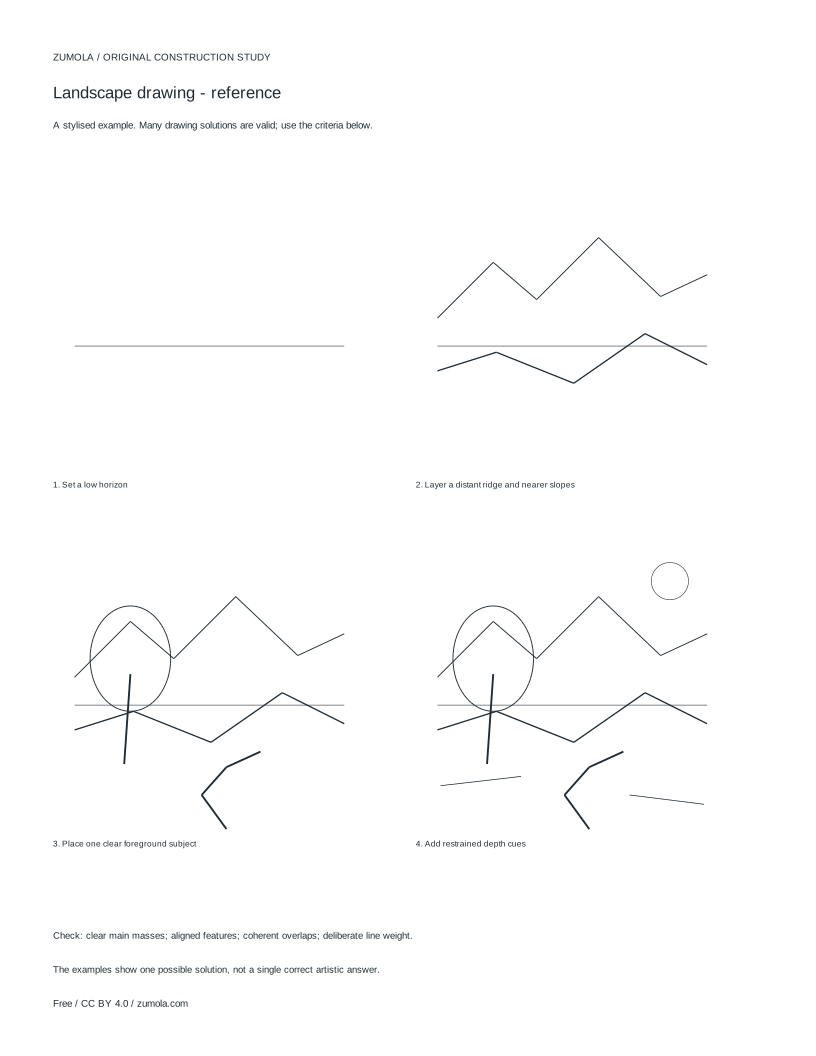
Build the drawing in four stages.
Your free printable kit.
Original reference, student practice and separate worked answers. No account or payment.
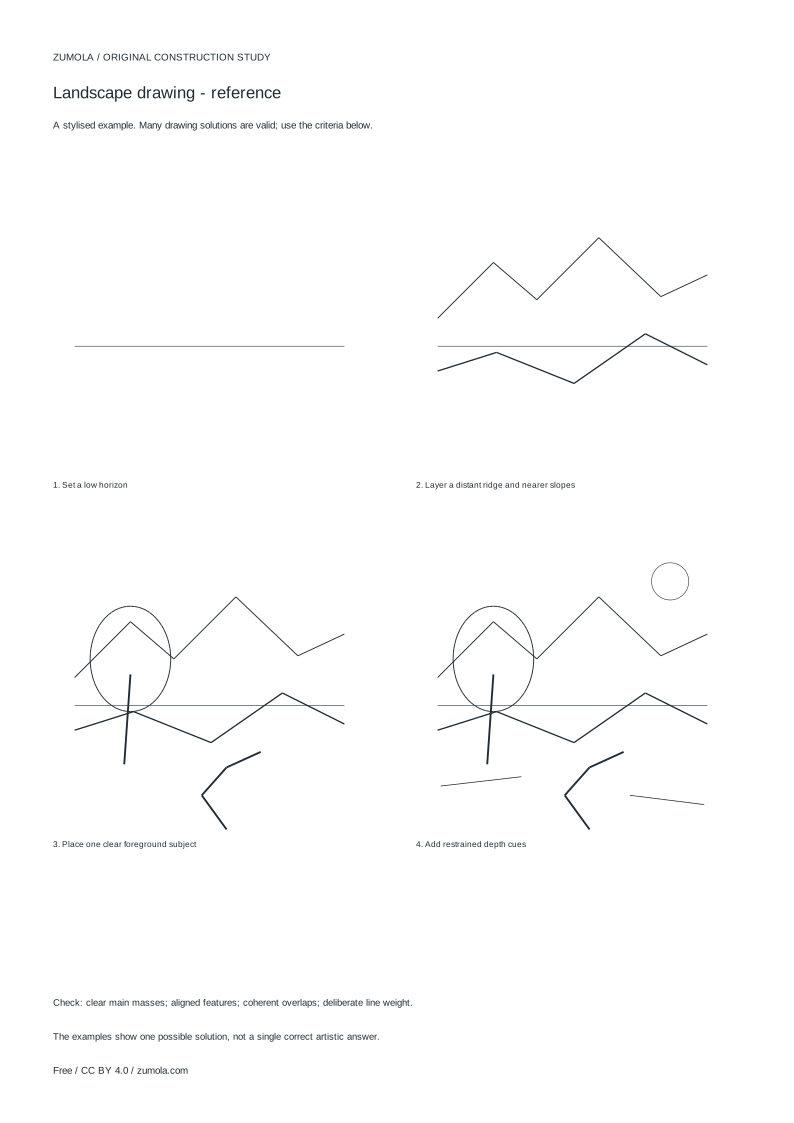
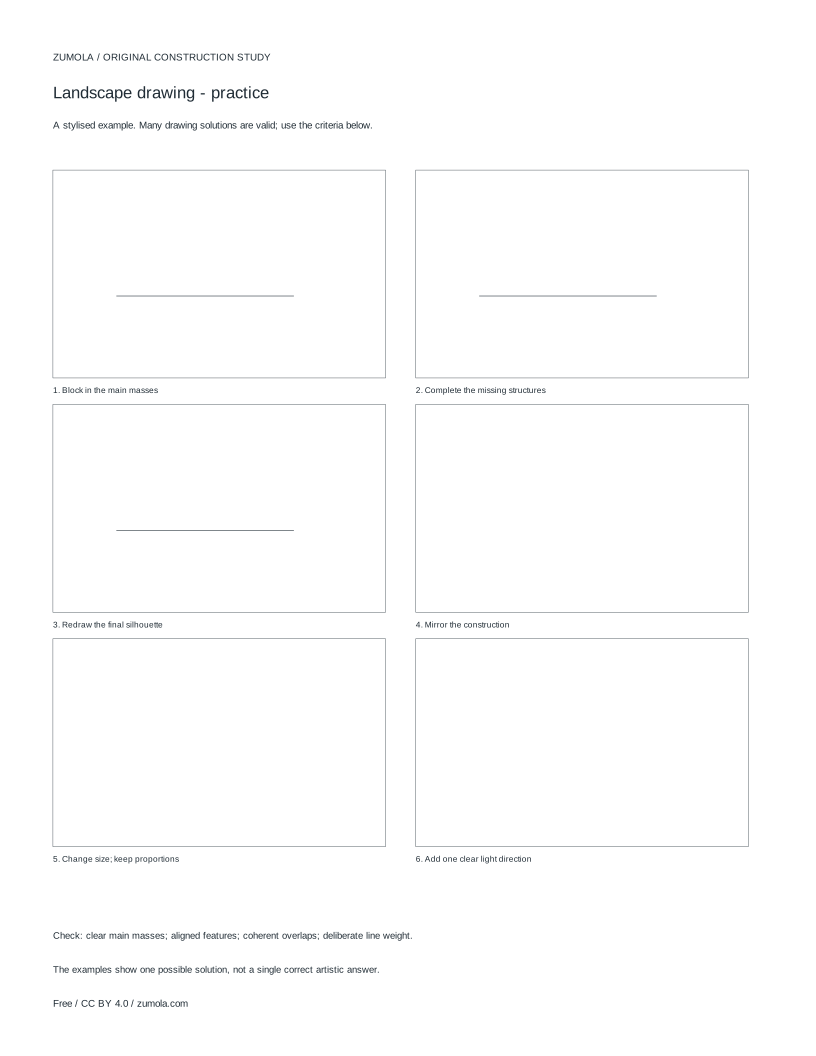
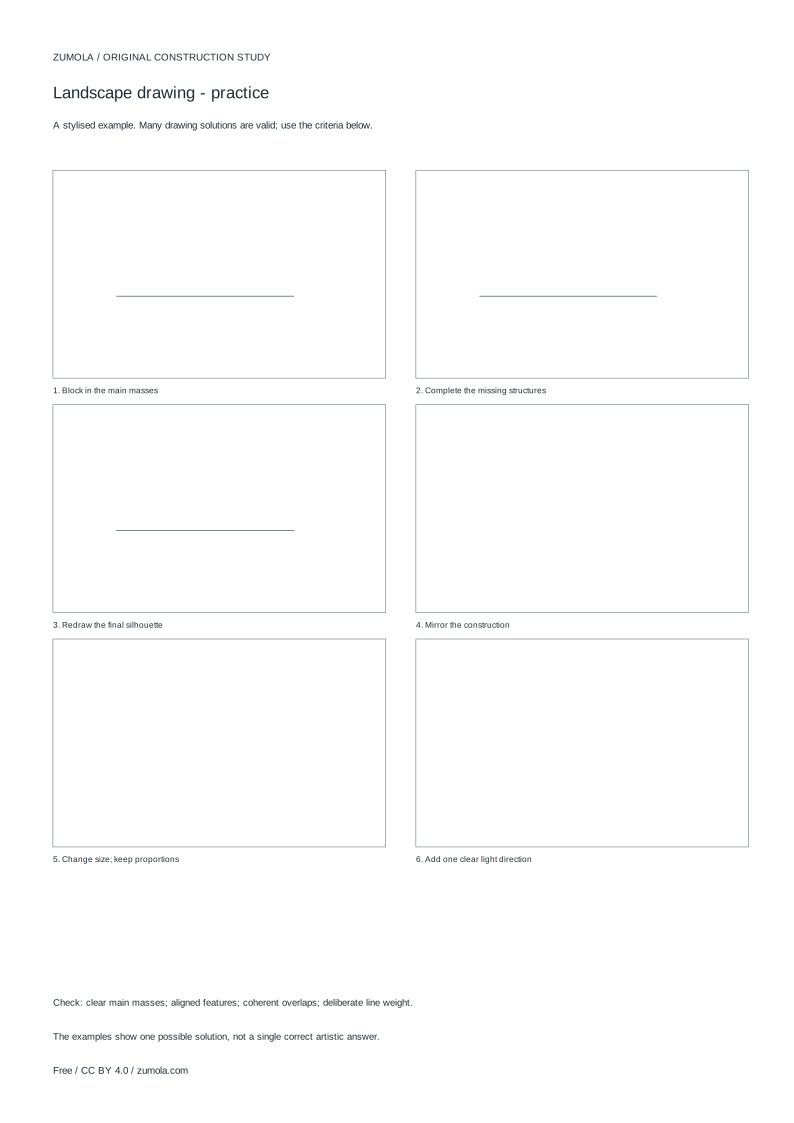
Practice worksheet
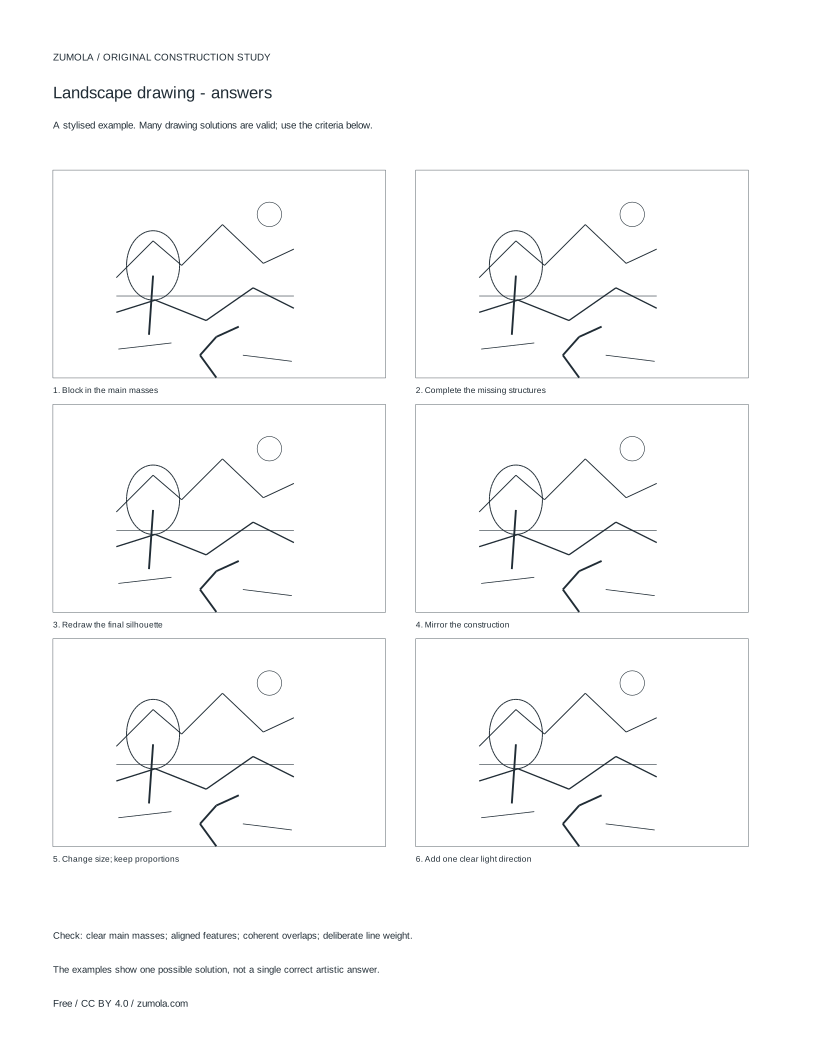
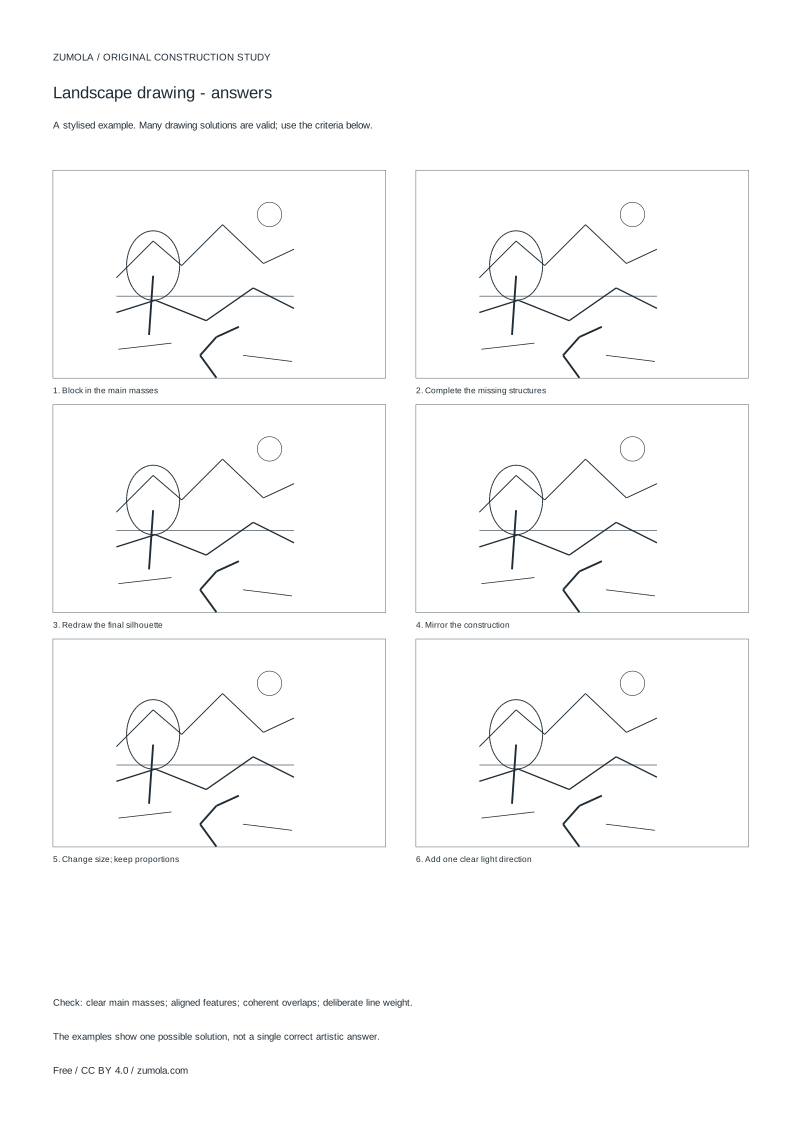
Worked answers / rubric
Print at Actual size / 100%. Check the calibration bar before using physical dimensions.
A landscape drawing reads clearly when the viewer can separate near, middle and far masses. This tutorial builds an original stylised study in four stages: set a low horizon, layer a distant ridge and nearer slopes, place one clear foreground subject, then add restrained depth cues. Each stage adds lines you can check against the previous one, so overlaps and spacing stay deliberate rather than accidental. The aim is a believable arrangement of shapes, not photorealism.
Start with the horizon and the big masses
Begin by deciding where the ground meets the sky. A low horizon leaves most of the sheet to land, which suits layered hills and gives room for a foreground subject. Draw the horizon as a light straight line, then block the sky as one open area and the land as one broad shape. Keep these first marks faint; they are guides, not final edges.
Next, split the land into two or three horizontal bands of different heights. These bands will become the far, middle and near zones. Varying their heights prevents the drawing from looking like stacked stripes. Check that no band is exactly the same depth as its neighbour.
- Draw a faint horizontal horizon line low on the sheet.
- Block the sky as one open area above it.
- Divide the land below into two or three bands of unequal height.
Layer the distant ridge and nearer slopes
Inside the farthest band, draw a ridge line with gentle, irregular peaks. Keep the peaks small relative to the sheet so the distance reads as far away. In the middle band, draw slopes that overlap the base of the distant ridge. Overlap is the key signal: a nearer slope crossing in front of a farther one tells the eye which is closer.
Use lighter, thinner lines for the distant ridge and slightly firmer lines for the middle slopes. Do not outline every fold; a few clear edges are enough. Leave gaps where shapes meet so you can adjust the overlaps before committing.
- Draw a low, irregular ridge line in the farthest band.
- Add middle-ground slopes that cross in front of the ridge base.
- Keep distant lines lighter and thinner than nearer ones.
- Check each overlap: the nearer shape should interrupt the farther edge.
Place one clear foreground subject
Choose a single foreground subject, such as a cluster of rocks, a small tree or a simple fence post, and place it off-centre. One strong subject is easier to read than several competing ones. Draw it larger than the middle-ground shapes so scale supports depth.
Make the foreground subject overlap the middle ground clearly. Its base should sit on the nearest band, and its outline should cross at least one middle-ground edge. This single overlap does most of the depth work, so keep it deliberate.
- Pick one foreground subject and position it off-centre.
- Draw it larger than middle-ground shapes.
- Make its outline cross a middle-ground edge so the overlap is visible.
Add restrained depth cues
Depth cues should support the structure, not replace it. Reduce detail in the distance: fewer lines, softer edges and lighter marks. In the foreground, allow a little more contrast and a few specific details. Avoid scattering texture evenly across the whole sheet, which flattens the layers.
Air perspective means distant shapes appear paler and less distinct. In pencil or charcoal, achieve this with lighter pressure and fewer strokes rather than erasing. Stop adding cues once the three zones read clearly; extra marks often weaken the separation you have built.
- Lighten and simplify marks in the distant band.
- Increase contrast slightly in the foreground subject.
- Leave middle-ground detail between the two extremes.
- Stop when far, middle and near zones are distinguishable.
Checking your drawing against a rubric
Landscape art has many valid outcomes, so judge structure rather than matching an exact picture. Compare the main masses, the placement of features, the overlaps and the line weight. A drawing can be stylised and still succeed if these relationships are clear.
- Compare the sizes of far, middle and near masses.
- Check that each overlap shows which shape is in front.
- Confirm distant lines are lighter than foreground lines.
Try this example
On a sheet, set a horizon one-third from the bottom. Draw a distant ridge with two small peaks, a middle slope crossing its base, and one rock cluster in the foreground overlapping that slope.
Show the worked explanation
The horizon sits low, so land fills two-thirds of the sheet. The distant ridge occupies the upper land band with two small peaks. The middle slope is drawn slightly firmer and crosses the ridge base, so the ridge edge stops where the slope begins. The rock cluster is larger than the peaks, placed off-centre, and its outline crosses the slope edge, showing it is nearest. Distant lines stay light, foreground lines firmer, so the three zones read in order.
Common mistakes
- Drawing the horizon in the middle of the sheet, leaving equal sky and land. Move the horizon lower or higher so one zone dominates, then recheck the band heights.
- Outlining every ridge and slope with the same line weight. Thin and lighten distant edges, and reserve firmer lines for the foreground subject.
- Placing several foreground subjects that compete for attention. Keep one clear foreground subject and reduce the others to simple middle-ground shapes.
Check your work
- The horizon is clearly placed and the land bands have unequal heights.
- The distant ridge is smaller and lighter than the middle slopes.
- At least one middle-ground edge visibly overlaps the distant ridge.
- One foreground subject is larger than middle-ground shapes and overlaps them.
- Line weight decreases from foreground to background.
- The three zones can be identified without labels.
Questions before you start
How many layers should a landscape drawing have?
Three readable zones are enough: a distant ridge, middle slopes and one foreground subject. More layers can work, but each must overlap clearly or it adds clutter.
Can I use this method for a winter landscape?
Yes. Keep the same structure and let lighter marks stand for distant, paler forms. The layering and overlap logic stays the same; only the surface treatment changes.
Does the foreground subject have to be a mountain?
No. A tree, rock cluster or post works equally well. The requirement is one clear subject that overlaps the middle ground and sits larger than distant shapes.