Free original resources
Calligraphy Paper Generator: Control x-Height, Ascenders, Descenders and Slant
Plan calligraphy guide sheets by setting x-height, ascender and descender zones, slant angle and line spacing, then check capacity before printing at 100%.
Free resources
Letter & A4
PDF & SVG
Letter & A4
PDF & SVG
Make it yours.
Free · no signup · calculated in your browser
Your free printable kit.
Original reference, student practice and separate worked answers. No account or payment.
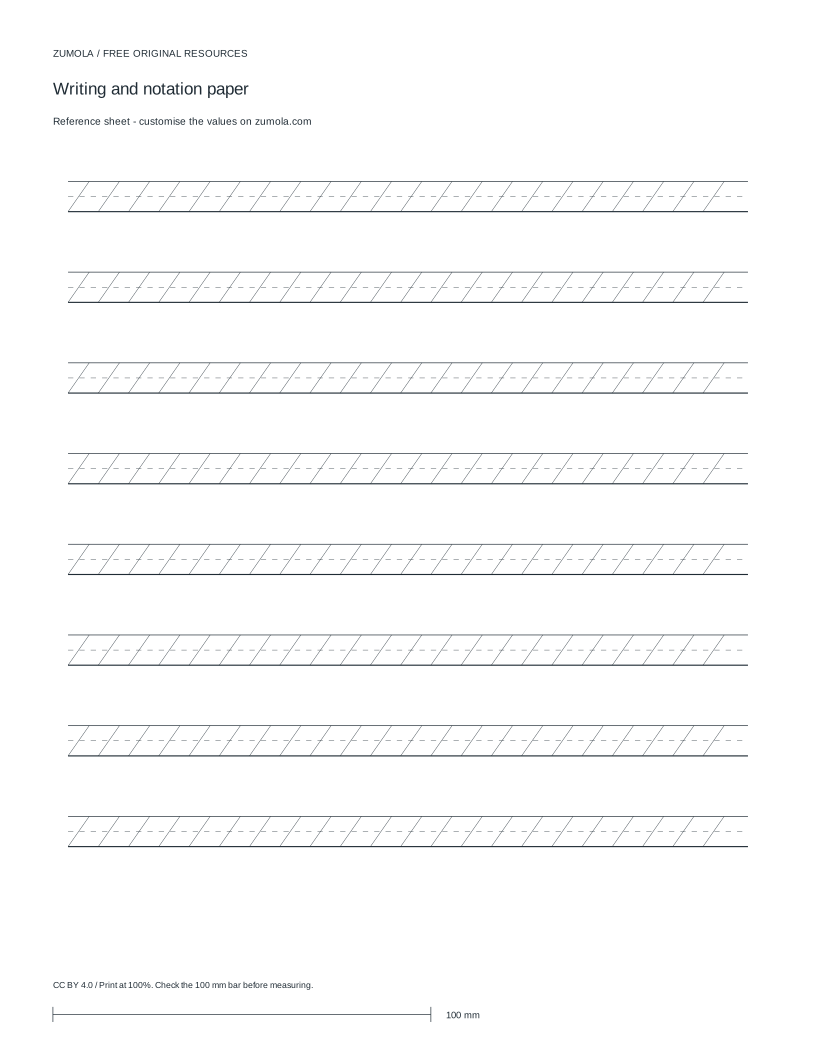
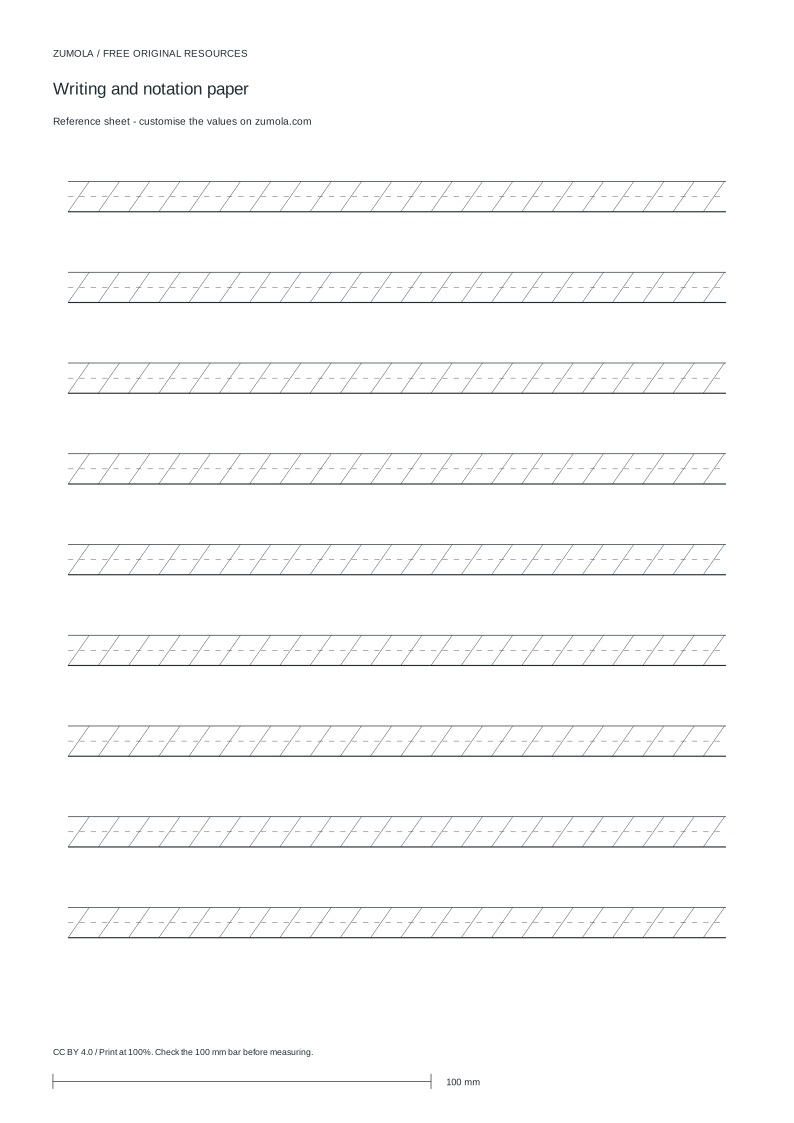
Practice worksheet
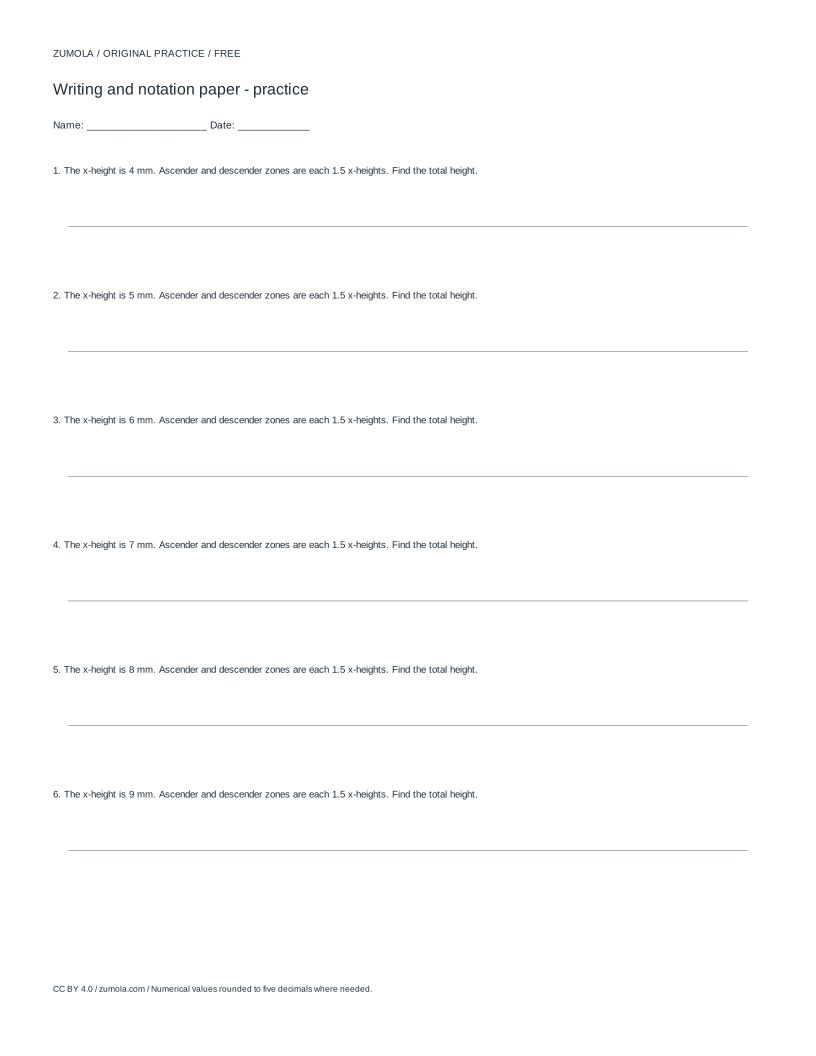
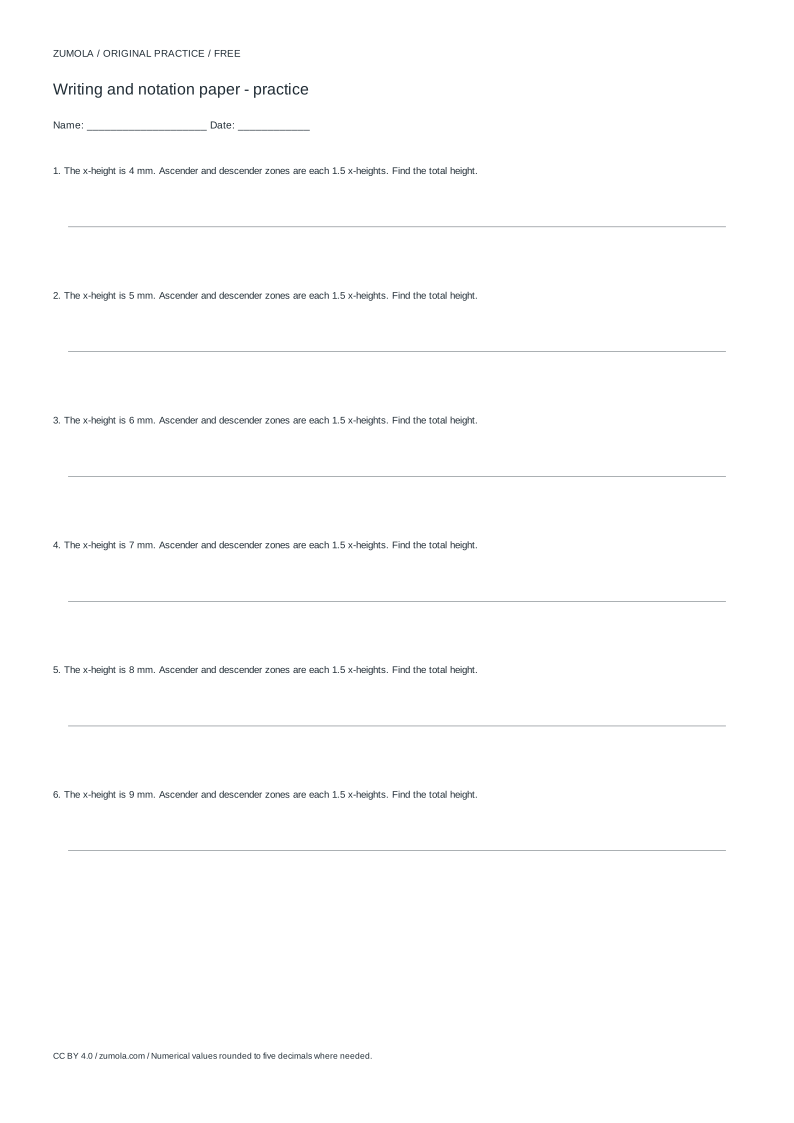
Worked answers / rubric
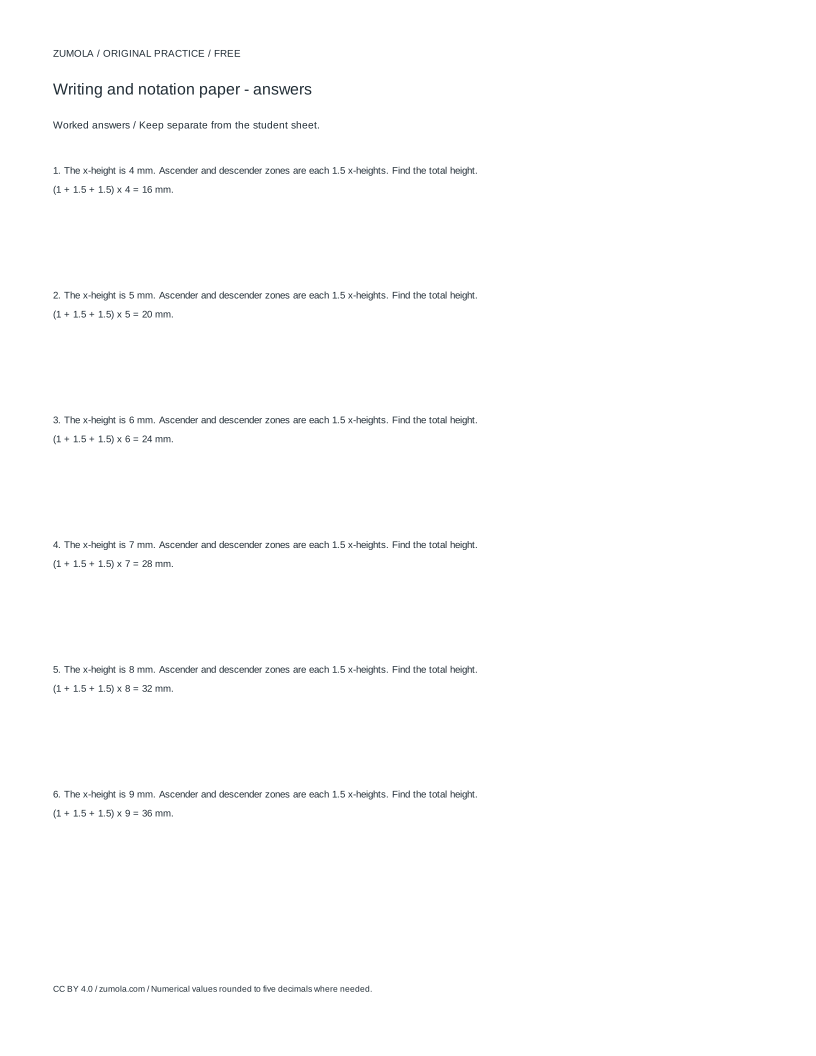
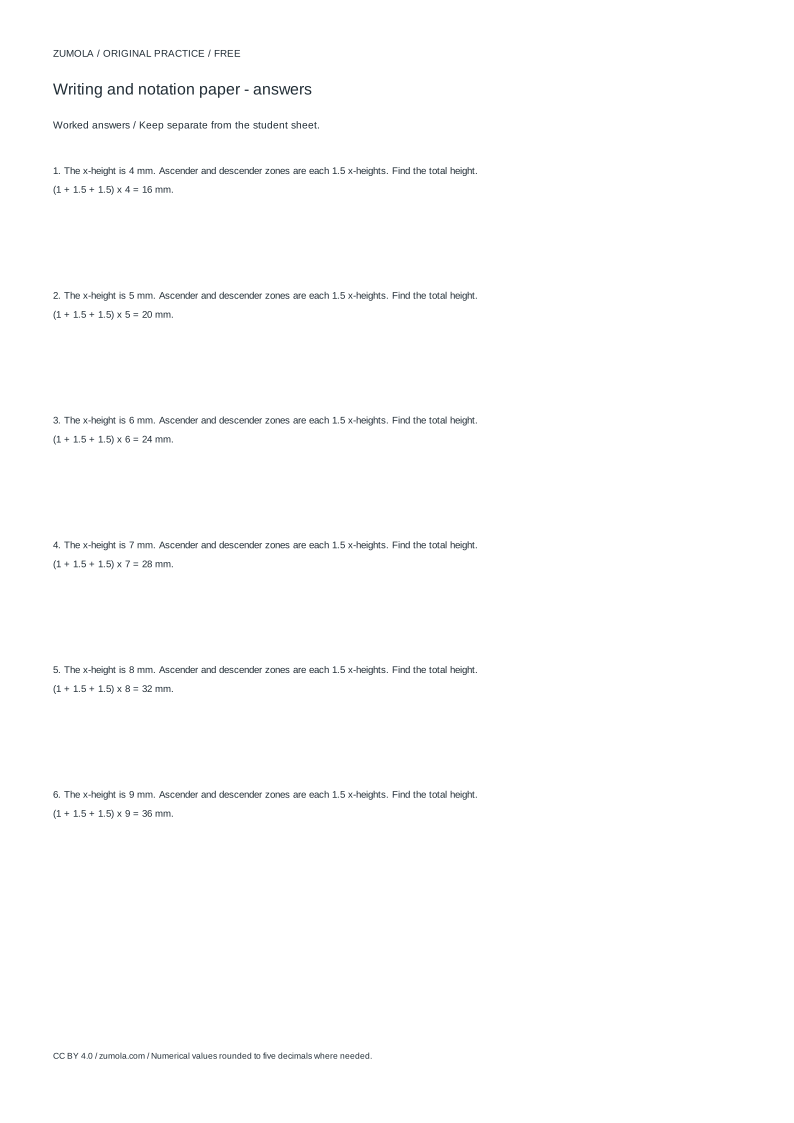
Print at Actual size / 100%. Check the calibration bar before using physical dimensions.
A calligraphy guide sheet is a set of horizontal and slanted reference lines that tell you where small letters sit and how far tall and deep strokes may reach. This page explains how to control x-height, ascender and descender zones, slant guides and line spacing as one connected system. You will learn how the zones stack, why spacing must exceed the full letter height, and how to verify baseline, zone widths and page capacity with simple arithmetic before printing at 100%.
How the guide zones stack
Treat each writing line as a vertical stack measured in millimetres. The baseline is the line small letters rest on. The x-height is the distance from baseline up to the waistline, where letters such as a, e and o stop. Above the waistline sits the ascender zone, reached by tall strokes in b, d, h and l. Below the baseline sits the descender zone, used by g, j, p, q and y. A slant guide crosses all zones at a chosen angle from vertical, so the same lean applies to short and tall letters alike.
The full letter height is x-height plus ascender zone plus descender zone. Line spacing must be at least that total, otherwise a descender from one line collides with an ascender on the line below. Keeping the zones explicit prevents the common habit of drawing only a baseline and guessing the rest.
- Decide the x-height first; it sets the visual size of lowercase letters.
- Add an ascender zone above the waistline and a descender zone below the baseline.
- Sum x-height, ascender zone and descender zone to get full letter height.
- Set line spacing equal to or greater than that sum.
- Choose a slant angle measured from vertical and apply it across every zone.
Choosing slant and spacing values
Slant is an angle, not a distance. A slant of 55 degrees from vertical leans noticeably to the right; a smaller angle leans more, and zero degrees is upright. Because the guide is a straight line, it stays consistent through the ascender, x-height and descender zones, which is what makes a slanted hand look even.
Spacing is the vertical distance between repeated baselines. With an 8 mm x-height, a 6 mm ascender zone and a 4 mm descender zone, full letter height is 18 mm, so spacing below 18 mm risks overlap. Spacing of 20 mm leaves 2 mm of clear air between the descender of one line and the ascender of the next. Margins reduce usable width, so subtract them from page width before counting characters per line.
- Write the three zone heights in millimetres.
- Add them to find full letter height.
- Pick spacing at or above that total, then note the leftover gap.
- Subtract left and right margins from page width to get usable width.
- Divide usable width by your intended letter width to estimate characters per line.
Checking capacity before printing
Capacity has two directions. Vertically, usable height divided by line spacing gives the number of writing lines. Horizontally, usable width divided by average letter width gives approximate characters per line. These are planning estimates, not guarantees, because letter widths vary.
Print a calibration bar first and measure it with a ruler. If the measured length differs from the stated length, adjust printer scaling until it matches, then print the guide sheet at 100%. Do not rely on fit-to-page settings, which silently change zone heights and slant geometry.
- Measure page height and subtract top and bottom margins.
- Divide by line spacing to estimate writing lines per page.
- Measure page width and subtract side margins.
- Divide by average letter width to estimate characters per line.
- Print a calibration bar, measure it, and confirm 100% scaling before the full sheet.
Try this example
A sheet has an 8 mm x-height, a 6 mm ascender zone, a 4 mm descender zone and 20 mm line spacing. Usable height is 200 mm and usable width is 150 mm. Find full letter height, the gap between lines, writing lines per page, and characters per line at 5 mm average letter width.
Show the worked explanation
Full letter height is 8 + 6 + 4 = 18 mm. With 20 mm spacing the clear gap is 20 - 18 = 2 mm. Writing lines are 200 / 20 = 10. Characters per line are 150 / 5 = 30, an estimate because letter widths vary.
Common mistakes
- Setting line spacing equal to x-height only. Use full letter height, x-height plus ascender and descender zones, as the minimum spacing.
- Applying slant only inside the x-height zone. Extend each slant guide through ascender, x-height and descender zones so the lean is uniform.
- Printing with fit-to-page scaling enabled. Check a calibration bar with a ruler and print at 100% so zone heights and angles stay true.
Check your work
- x-height, ascender zone and descender zone are each stated in millimetres.
- Line spacing is at least the sum of the three zones, with the leftover gap noted.
- Slant is given as an angle from vertical and applied across all zones.
- Baseline, waistline and zone boundaries are labelled consistently.
- Capacity estimates show the division used for lines and characters.
- A calibration bar is measured before printing at 100%.
Questions before you start
What is x-height on a calligraphy guide sheet?
It is the distance from the baseline to the waistline, the height of small letters such as a, e and o. Tall letters extend into the ascender zone above it, and descending letters reach into the descender zone below the baseline.
How do I stop lines from overlapping?
Make line spacing at least the sum of x-height, ascender zone and descender zone. Any spacing below that total lets a descender meet an ascender from the next line.
Why check a calibration bar before printing?
Printer scaling can change millimetre measurements and slant angles. Measuring a calibration bar confirms the sheet prints at true size at 100%.